 Late in the month I took the first concrete steps towards construction of the new layout - I built the first set of L-Girders. From humble beginnings...
At the end of the mont h I started replacing the old fluorescent light fixtures with new LED panels. This was a great decision! I started in the area where Casper, the first part of the layout to be built, will go. This, along with ceiling panel installation, is an ongoing effort until the entire ceiling is done.
Over the last five weeks I've added to the ceiling panels, "finishing" additional areas. I also installed the LED lights.
After looking at the LEDs for a couple of weeks, I've decided to use them throughout the basement. I ordered four more, which arrived about ten days ago. That will keep me going for awhile.
The last several days I've been cleaning the train room in preparation for starting layout construction. Except for one or two panels, the ceiling over the Casper yard sections is complete. Tomorrow I'll lay out the benchwork outlines on the floor with masking tape, to give a better sense of layout proportions and free space for aisleways. Then the Casper sub-base L-girders will go up, and construction of Casper will begin in earnest.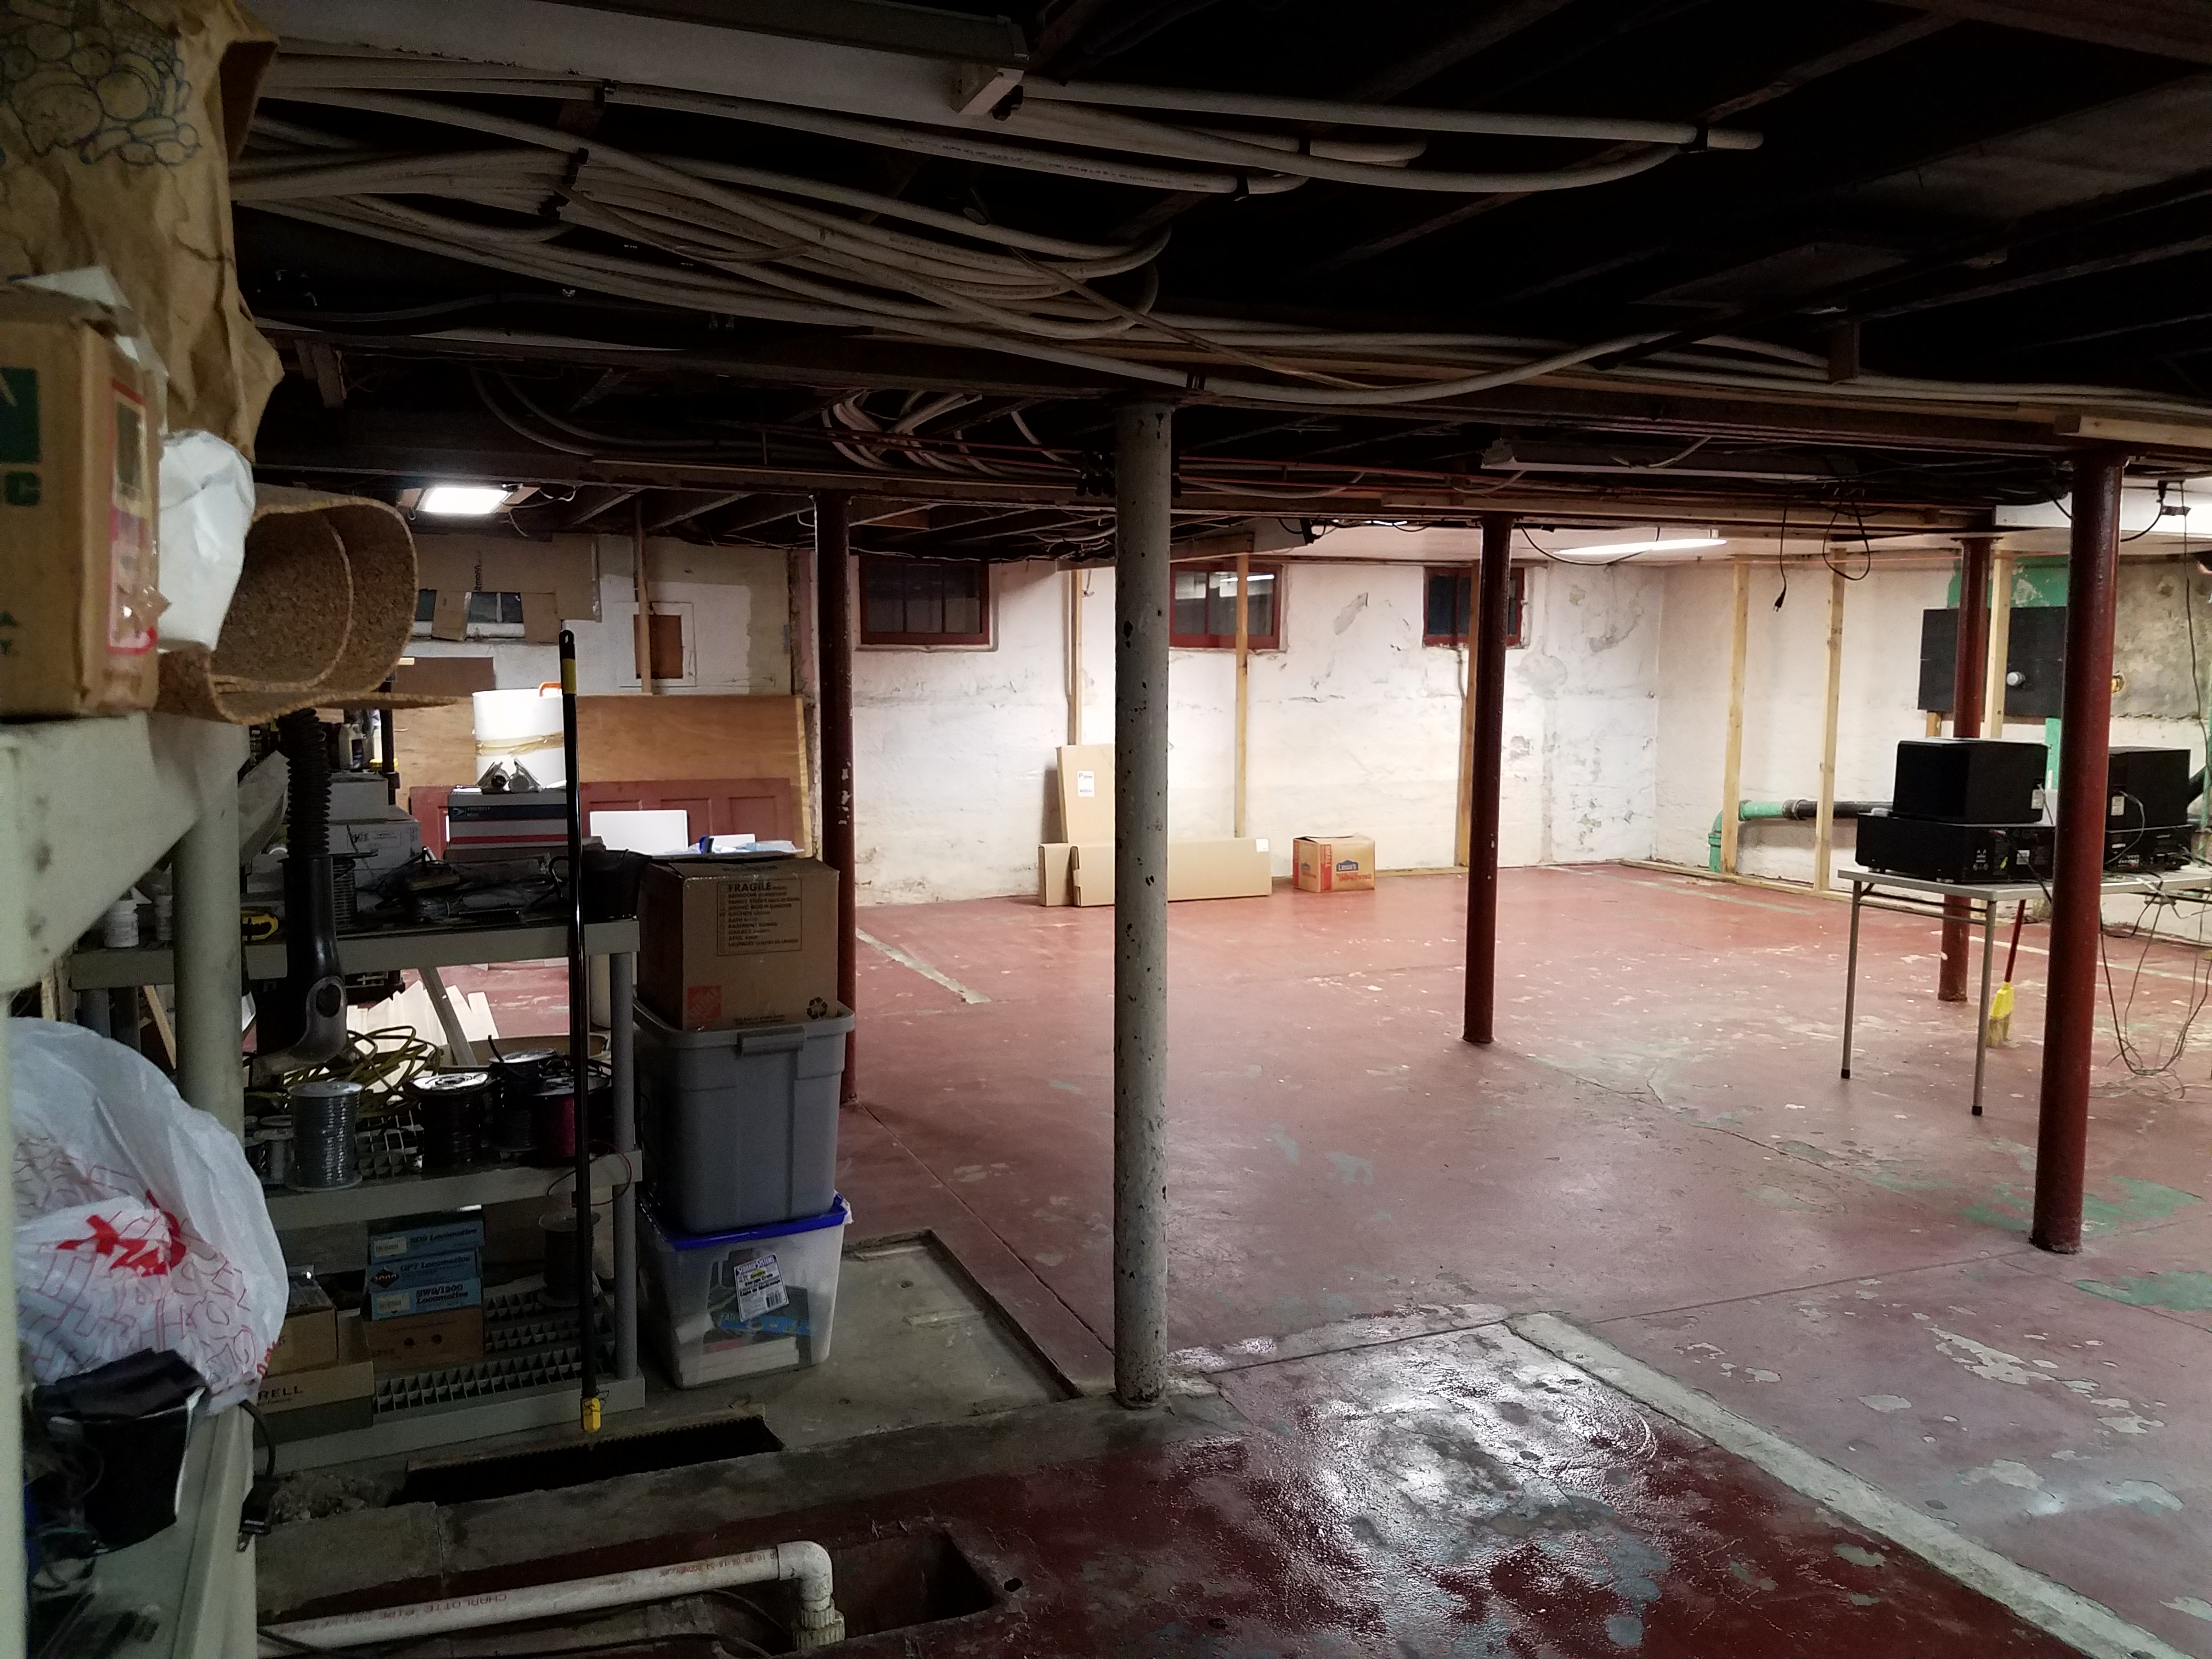


Construction has finally really begun!
A few days ago we marked up the benchwork outline on the floor with masking tape, and added labels for major features and locations:
Then we started adding 1x2 stringers to the studs to support the backdrop. We test fit the first section of backdrop, which I had saved from the old layout from ten years ago. It will need repainting, but I'm glad I'll be able to re-use the materials.
And yesterday we built the first L-Girder bench which will support the grids. It still needs to have feet attached:

Benchwork is well underway, with two of the three Casper yard sections ready for subroadbed.

It's taken this long to get the benchwork up because we were on a family trip out west for a week. After standing next to the benchwork I think it's too high, so I'm going to lower it about 6 inches. Then I'll get the final section for Casper built and install the backdrop in this area. Then it will finally be on to tracklaying!
Today is a red-letter day on the layout. The first pieces of track have been laid!
The backdrop was installed and painted last week, then the foam was positioned and glued down to the benchwork using Locktite construction adhesive:
Then a couple of days ago I dug out all my home-made switches and inventoried them. This is most of them. There's a mix of code 70 and code 83 #6 switches, plus two or three code 83 #8 switches, which I probably will not use on this layout:
Yesterday I picked up a couple boxes of Midwest cork roadbed (one HO, one N for the yards) and laid out the mainline track centerline in Casper, off which the entire yard will be positioned (sorry about the focus - the phone has a tendency to lock onto the closest items, rather than the center of the photo):
Using that same Locktite construction adhesive, I put down the first few pieces of cork. I'm going to use a different caulk from this point I think - the gray construction adhesive is thick and hard to spread. It does seem to hold really good, though:
And the afternoon I placed the first pieces of flextrack on the cork! I used Dap Alex 230 caulk, which was much easier to spread than the Locktite. I hope I bought clear, but I have a sneaking suspicion that I got white. No big deal - when I paint the track the caulk will get covered too:

Progress continues in the Casper area, with the beginnings of yard ladder construction:
I had to change the switch lead a bit (that's the cork in the foreground with no track on it yet), because I forgot to include the switch for the runaround track (DOH!).
Here's what the area looked like after I removed the incorrectly located cork: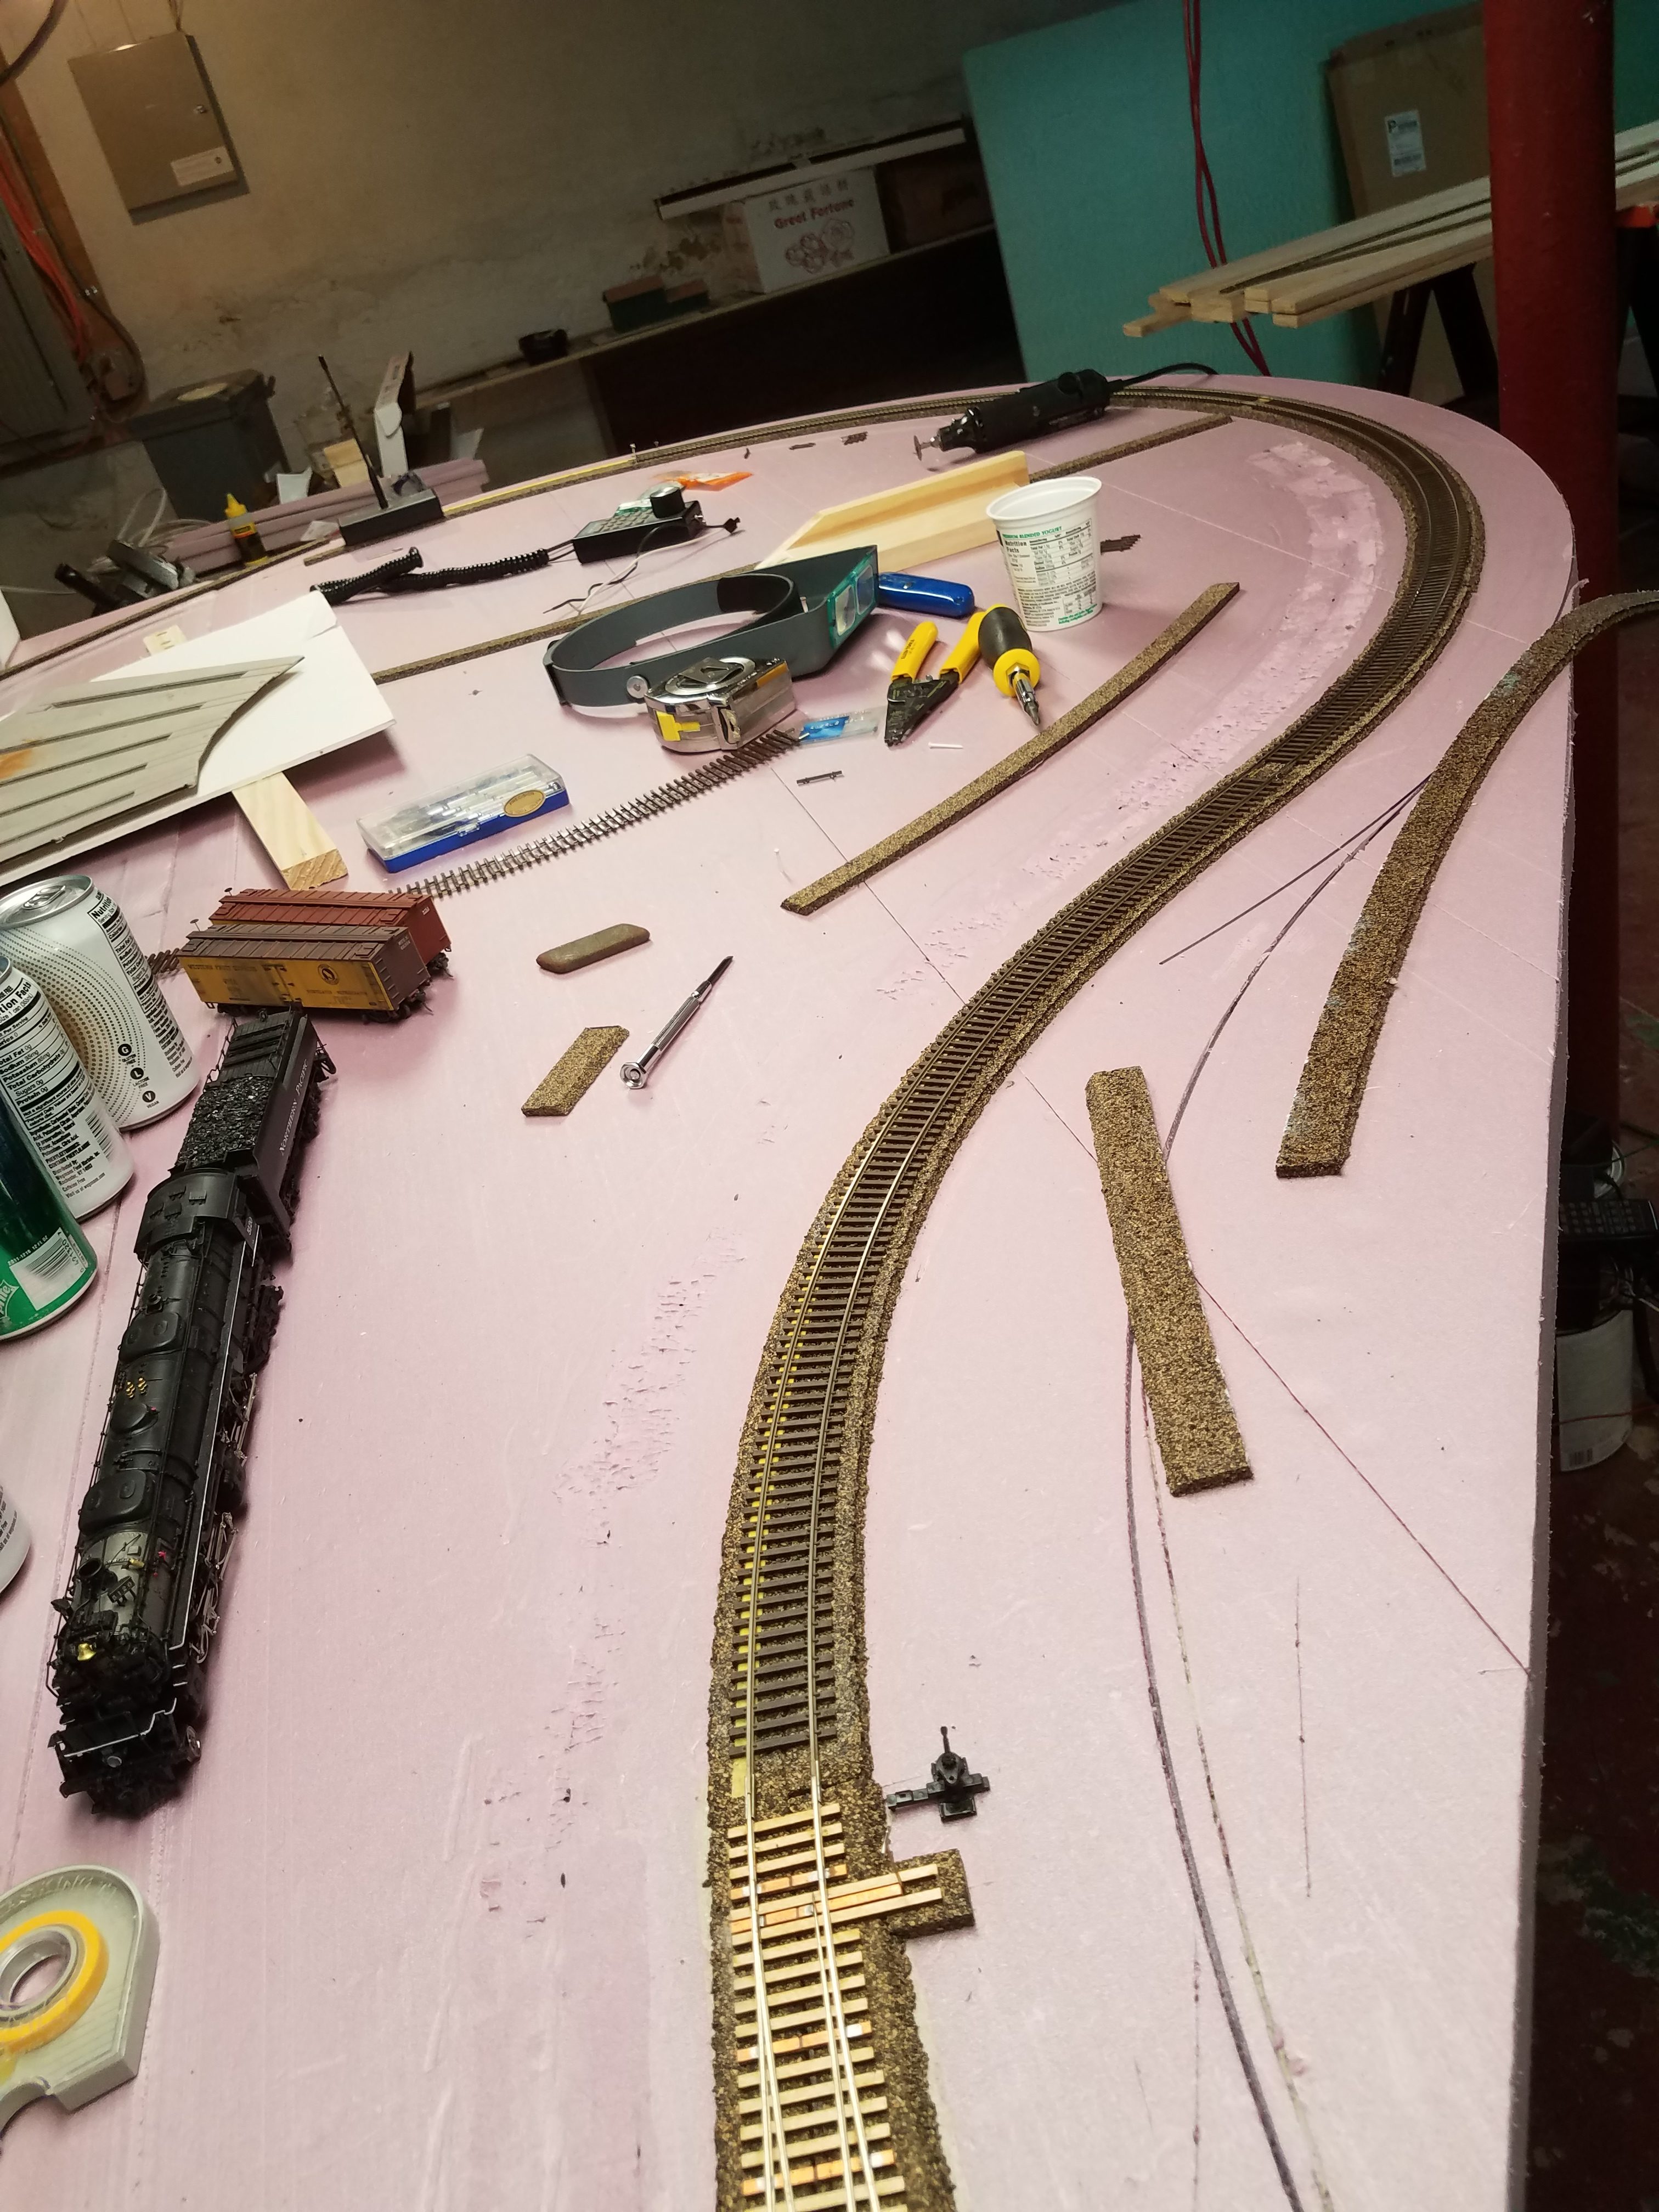
The cork came up pretty easy using a putty knife. You can see where the foam surface was abraded a bit...
And here's what it looked like after the cork was relaid to include room for the switch:
It looks almost identical to the original alignment, but the lead is shifted about 1/4 inch to the left of the mainline. That was all that was necessary to allow the straight area for the switch, which will go in the foreground at the bottom left of the photo.
The Casper yard ladder is progressing, and roadbed has been laid for the first few body tracks:
Casper yard work continues. Four of the six body tracks are complete, with Caboose Industries Ground Throws installed and tested, and feeders fully connected:

The Casper classification tracks are all installed and the ladder turnouts all work properly. Feeders and ground throws are all installed. The runaround track isn't complete yet - I have to build a couple of left hand switches before I can complete it. I scratchbuilt that station 25 years ago. It isn't the one for Casper - I just placed it there temporarily.
Today I spent several hours laying out the Casper turntable area. This photo doesn't show the layout too clearly, but if you look close you can see the tracks, turntable and roundhouse locations. You can also see a few crossed out lines where I mislocated a few tracks and had to move them.
And finally, Thursday while out for a walk downtown, we wandered past the local candy factory (Aunt Charlotte's, a local icon) and saw that they had a huge stack of beadboard styrofoam rectangles out for trash pickup Friday. After checking with them, that stack, in very short order, found itself in my basement! It's pretty crappy foam, used as packaging in some order they received a few days ago. But it should make really great landforms for my layout, and once glued together, shaped and sporting ground cover, it won't matter what it looks like underneath. Best of all, it was completely free!
I've started the incline behind Casper that goes to Frannie / Orin Junction. I start out with the same pink foam I used for the Casper subroadbed, cut to an angle to produce a 2% grade (basically cut at a 2 degree angle):
The ramp, in three sections, is long enough to raise the roadbed far enough above the Casper subroadbed to allow the grade to continue on its own 1" thick riser-supported roadbed: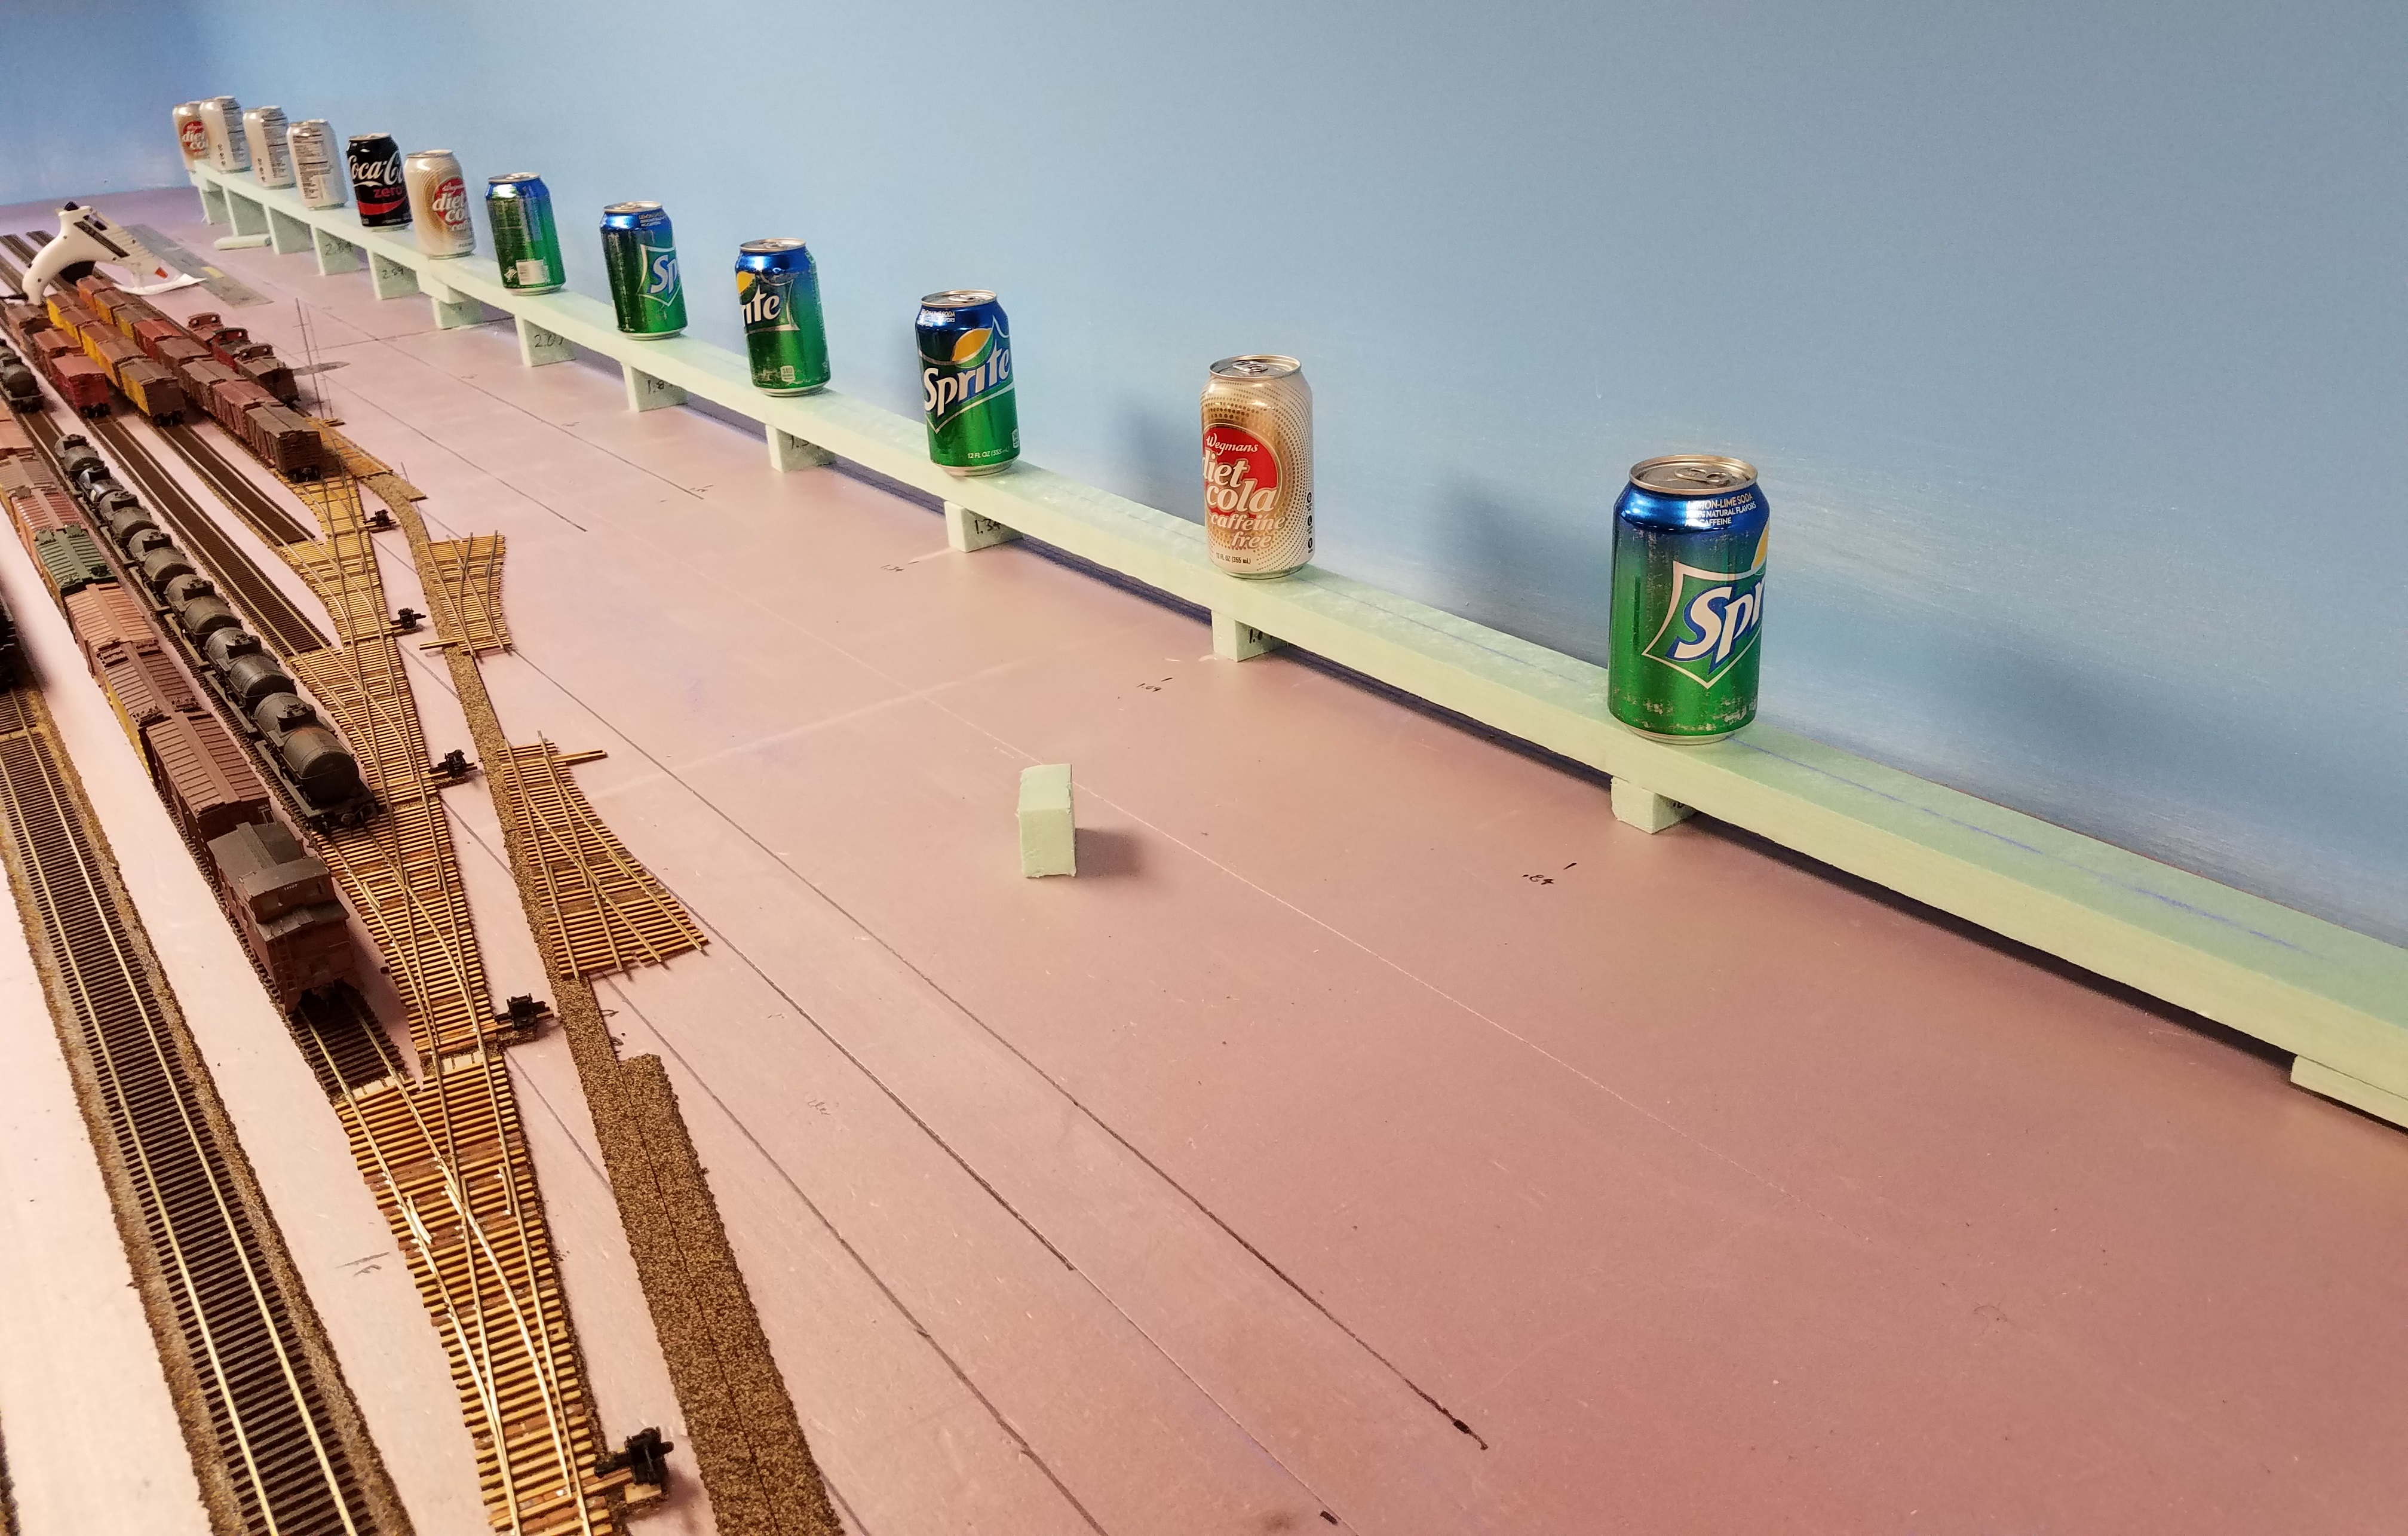 The roadbed on the grade is green extruded styrofoam from Lowes, as are the risers and splice plates between sections. Parts are glued together using hot glue (the soda cans are there just to hold the subroadbed down on the risers while the hot glue sets. I just left them while I proceed to the next riser up the grade). Risers are spaced every 12.5 inches, making each riser 1/4" taller than the preceding one. I'm still a bit out of my comfort zone using foam instead of plywood, but I'm learning fast, and it sure is easier to work with than plywood!
Roadbed and track have been placed on most of the incline heading east out of Casper (while not arrow straight, the track isn't as curvy as it looks. The low perspective exaggerates lateral variations):
Here's a train on the grade, in a shot taken from the other end of the incline. The Proto 2000 NP Z-4 Mallet is straight out of the box, unweathered as of yet. It pulled 24 cars plus caboose onto the 2% incline, wheels slipping after about car 20 hit the grade. This is more than sufficient pulling power, as the NP locos will be relegated to the as-yet-unbuilt NP trackage on the layout. There will be no grade on the NP section of the layout.
I spent most of the past week sorting out all my parts, tools, etc. and finally setting up my model building space. It looked like this when I started: Now it's organized. Tools, kits and parts are out of the boxes and on shelves placed between the workbench and the wall. Sorry, I didn't take a photo of the cleaned-up workbench.
Once the workbench was ready to use, I started building new turnouts in order to complete the Casper yard engine facility. It's been four years since I've built any turnouts, so I'm having to re-learn how. Here's a completed-except-for-crossties one. I need to build about five more left-hand and a couple of right-hand to complete all yard trackage.
Classification area of the Casper yard is nearly complete, with the runaround track now operational: The switch the loco is sitting on will lead to the engine servicing facilities, with the one behind it leading to the Standard Oil Refinery tank car loading racks. The far one will lead to the reefer icing facility behind the classification tracks.
I still need to install switchstands on the three switches off the runaround, and Hayes bumpers at the ends of all the tracks.
Once the turntable and roundhouse are installed, I'll be able to get those locos off the classification tracks!
The turntable and two garden tracks have been installed at Casper, and the table is functional.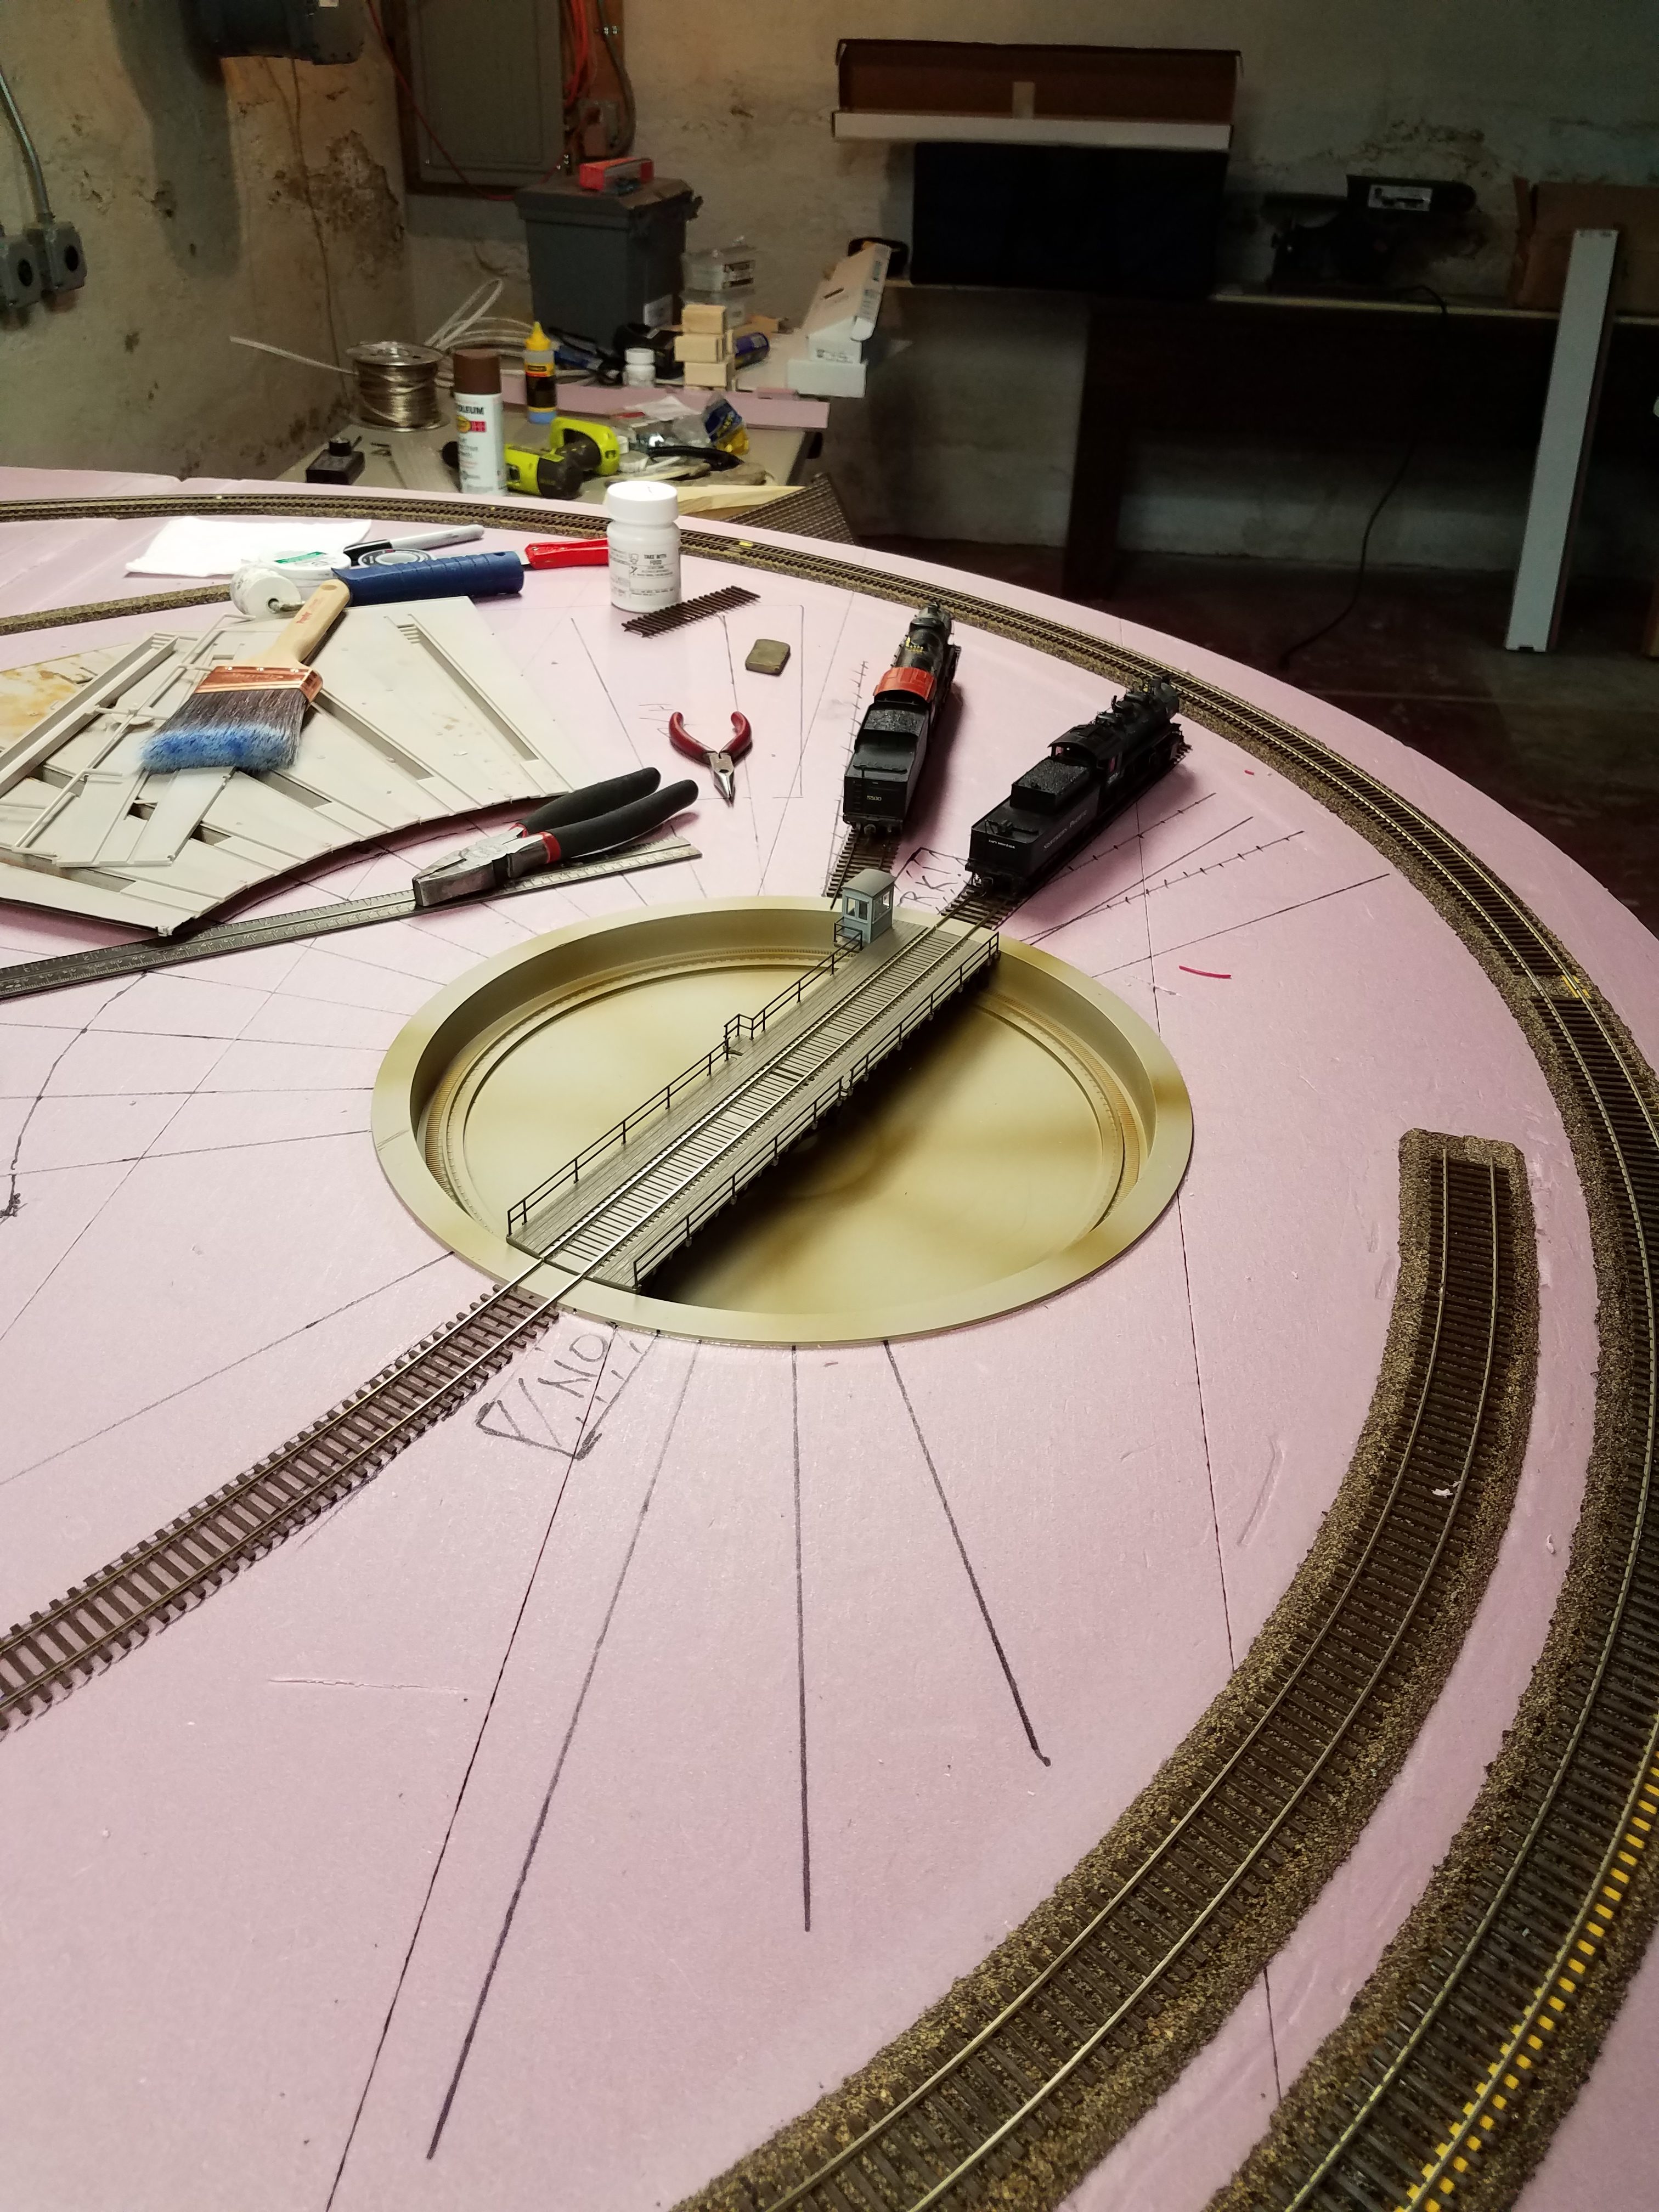

My friend Walt came over yesterday and helped me prepare the bench top for the roundhouse floor in Casper. He's using my hot wire cutter to cut grooves in the foam for the roundhouse inspection pits. I took an old yogurt cup, cut a hole in the bottom and trimmed the height until the cutter stuck out just enough to cut the groove to an ample depth.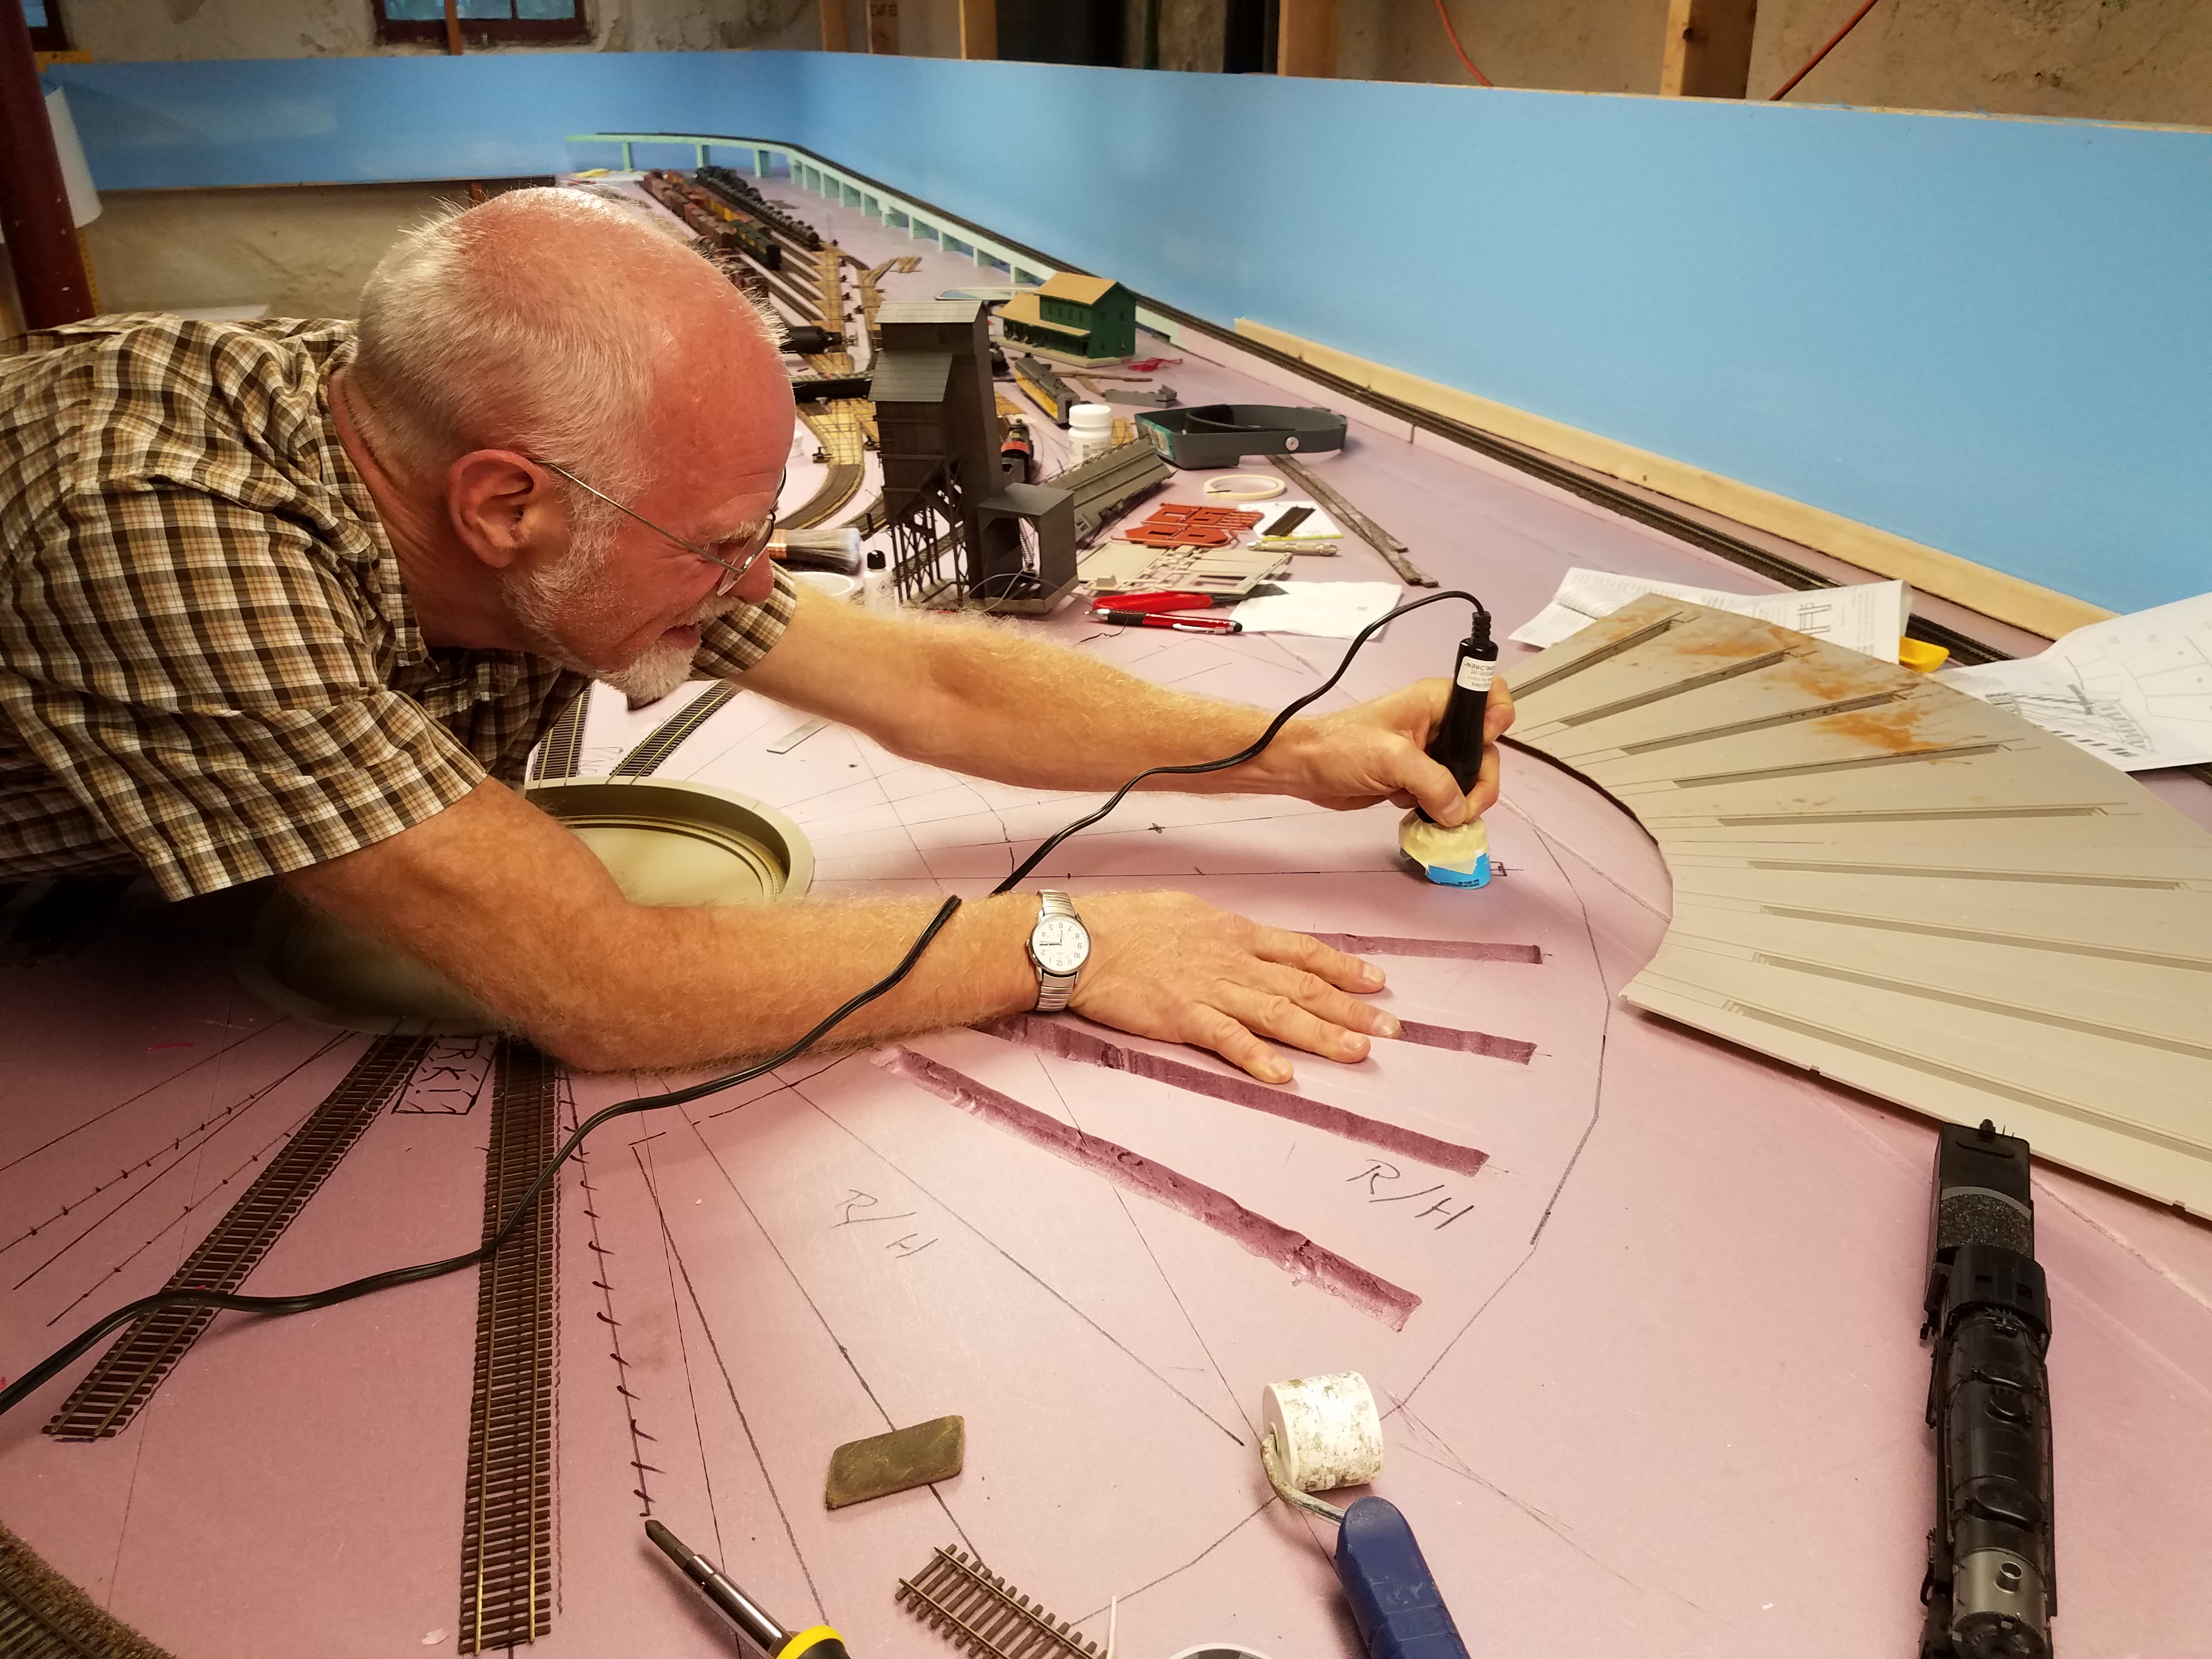
Today I finally finished up the roadbed for the rest of the A/D track and caboose spur in Casper. I cleared the yard by pulling all the cars up onto the grade.![]() Once I finish laying the A/D and caboose tracks I plan to finish installing ties under all the rail joiners (ugh!), followed with painting all the yard tracks. Weathering them will probably come somewhat later.
Once I finish laying the A/D and caboose tracks I plan to finish installing ties under all the rail joiners (ugh!), followed with painting all the yard tracks. Weathering them will probably come somewhat later.
I've taken a bit of a detour for a few days to begin construction of a set of bookcases for my library. Still, I have been able to do a few things around the layout...
The caboose and A/D tracks are now laid:
I also started painting the yard. First is a general coat of brown rattle-can paint. It turns out the paint, a Rustoleum flat paint, mildly attacks the pink foam baseboard. It's not too severe, but I think I'll probably brush a coat of latex brown paint on the foam before using the Rustoleum again. Yesterday Walt and I went to the Timonium Maryland train show. I was able to acquire another of the small Walthers roundhouse kits, so I have enough stalls now to build the entire structure.
I've started scenicking Casper yard.
It may not be working out very well...
After getting all the track laid in the classification area, I painted the track. That seemed to go ok for the most part:
So now it's time to work on the spaces between the tracks.
I started out by mixing up and applying a small batch of plaster of paris. As I was applying it I realized it might have been a bit too stiff, but before it started hardening I got this: Hmmm. Maybe not so good. But, undaunted, I press on.
Today I mixed up another small batch, much thinner this time - kind of like a medium-thin pancake batter - and poured it between the tracks. I got this (new part still wet):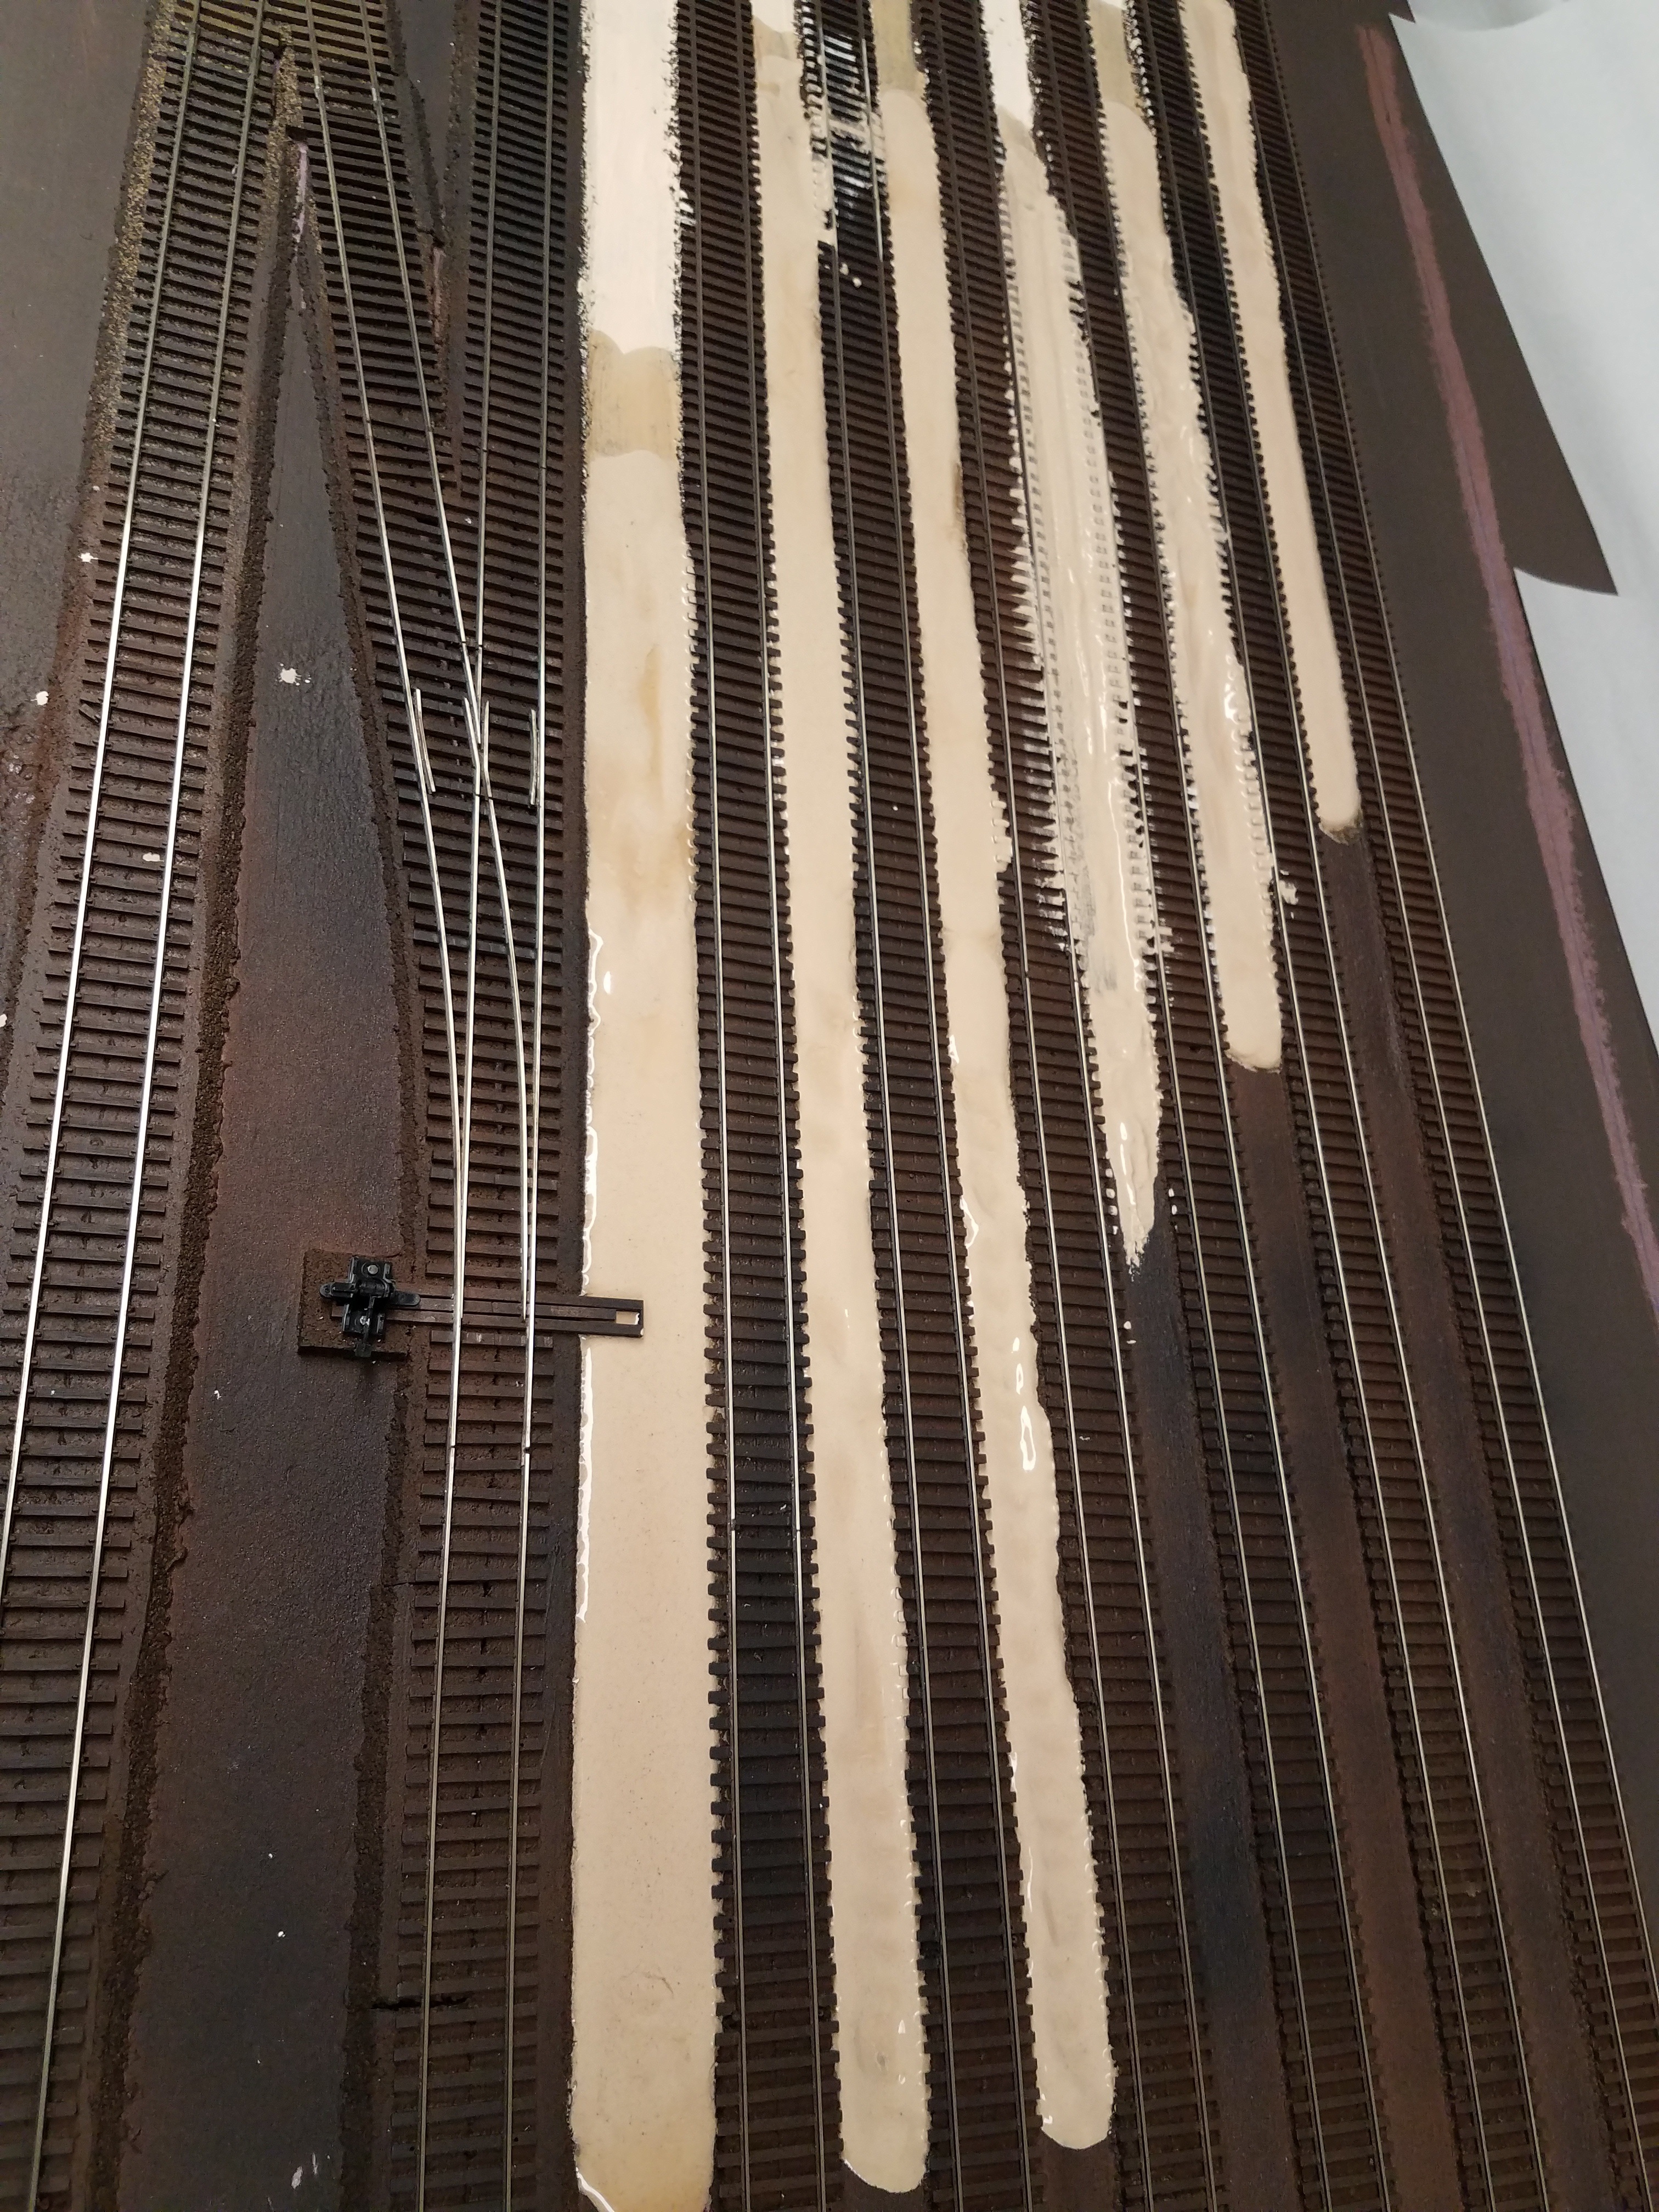 Not looking promising. I'm hoping that after it dries, and I apply some ballast to the track and weathering to the plaster, that it will look better. I'm not really feeling very confident right now, though.
Maybe I should throw in the towel and take up bar hopping as a hobby...
Work on the layout has slowed because I've been splitting my time between the layout and constructing a large set of built-in bookcases in the library.
I think the yard is going to work out OK, though. I've continued to work on the small area that looked really bad, and it seems to be looking a bit better: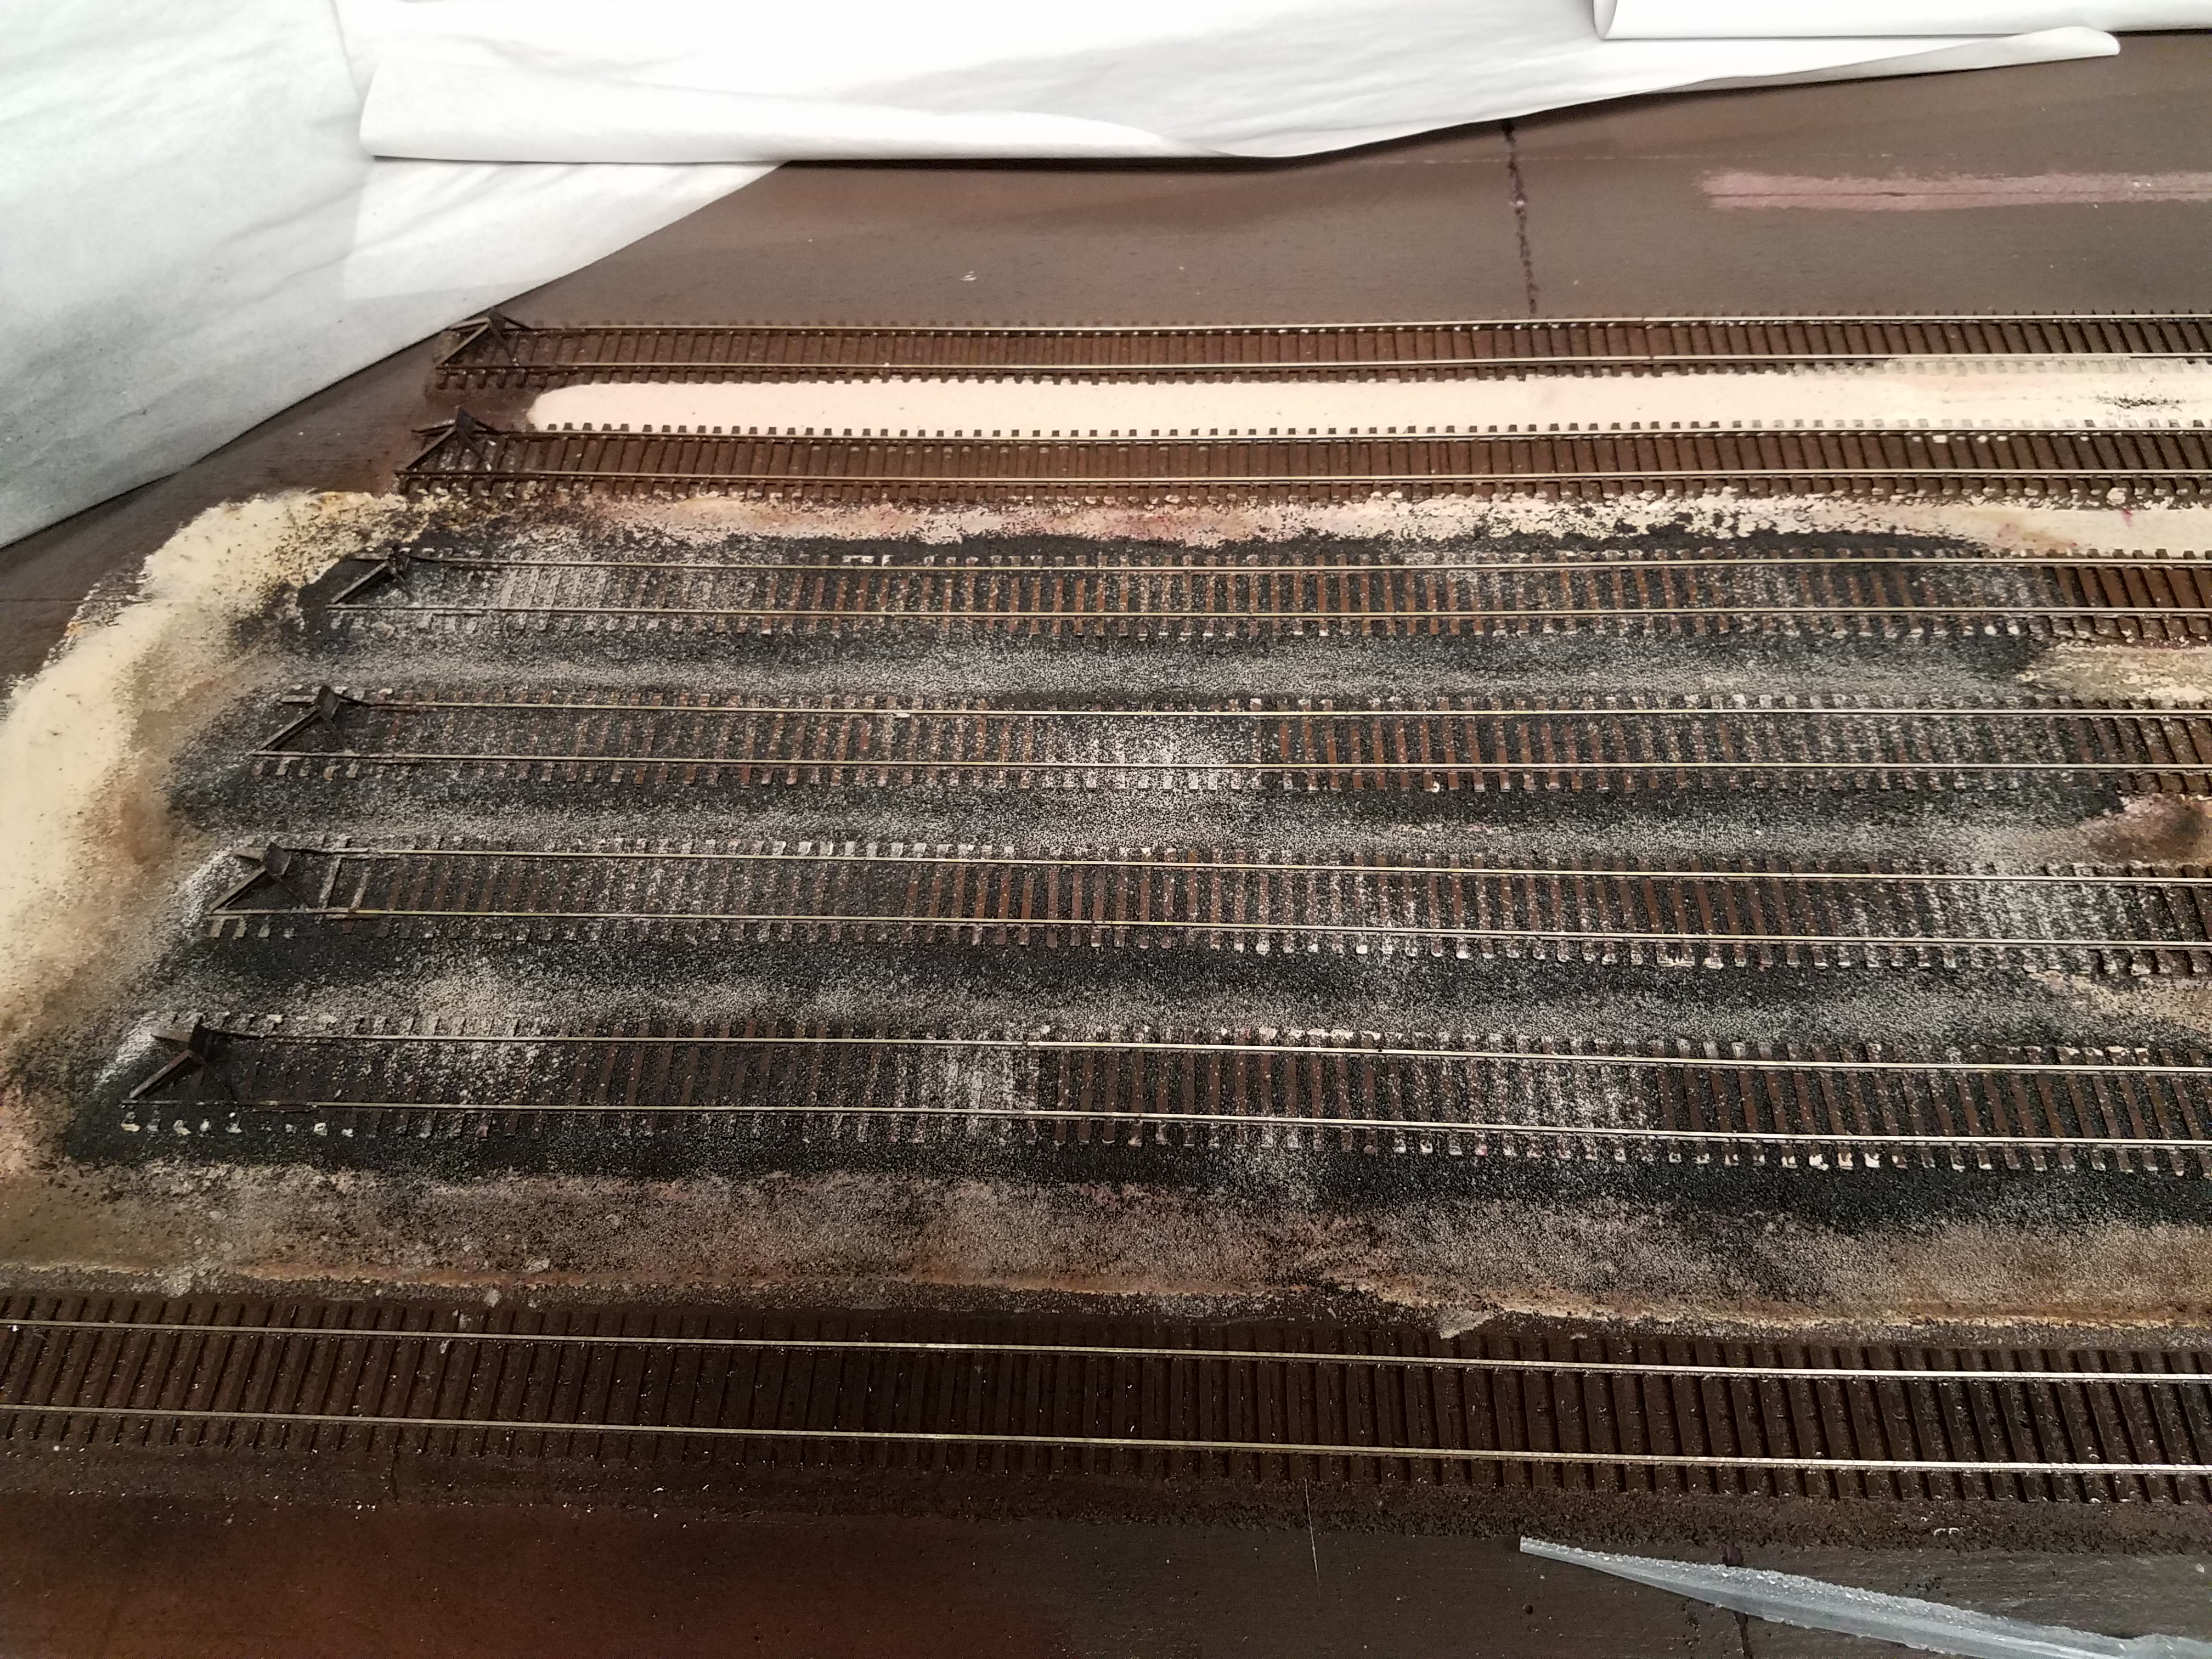
The four tracks I've been focusing on (you can figure out which ones, I'm sure) are not completely finished, but I think they'll be passable by the time I'm finished.
I've also been spending a bit of time on the roundhouse, and started painting the pink foam in the engine facilities area: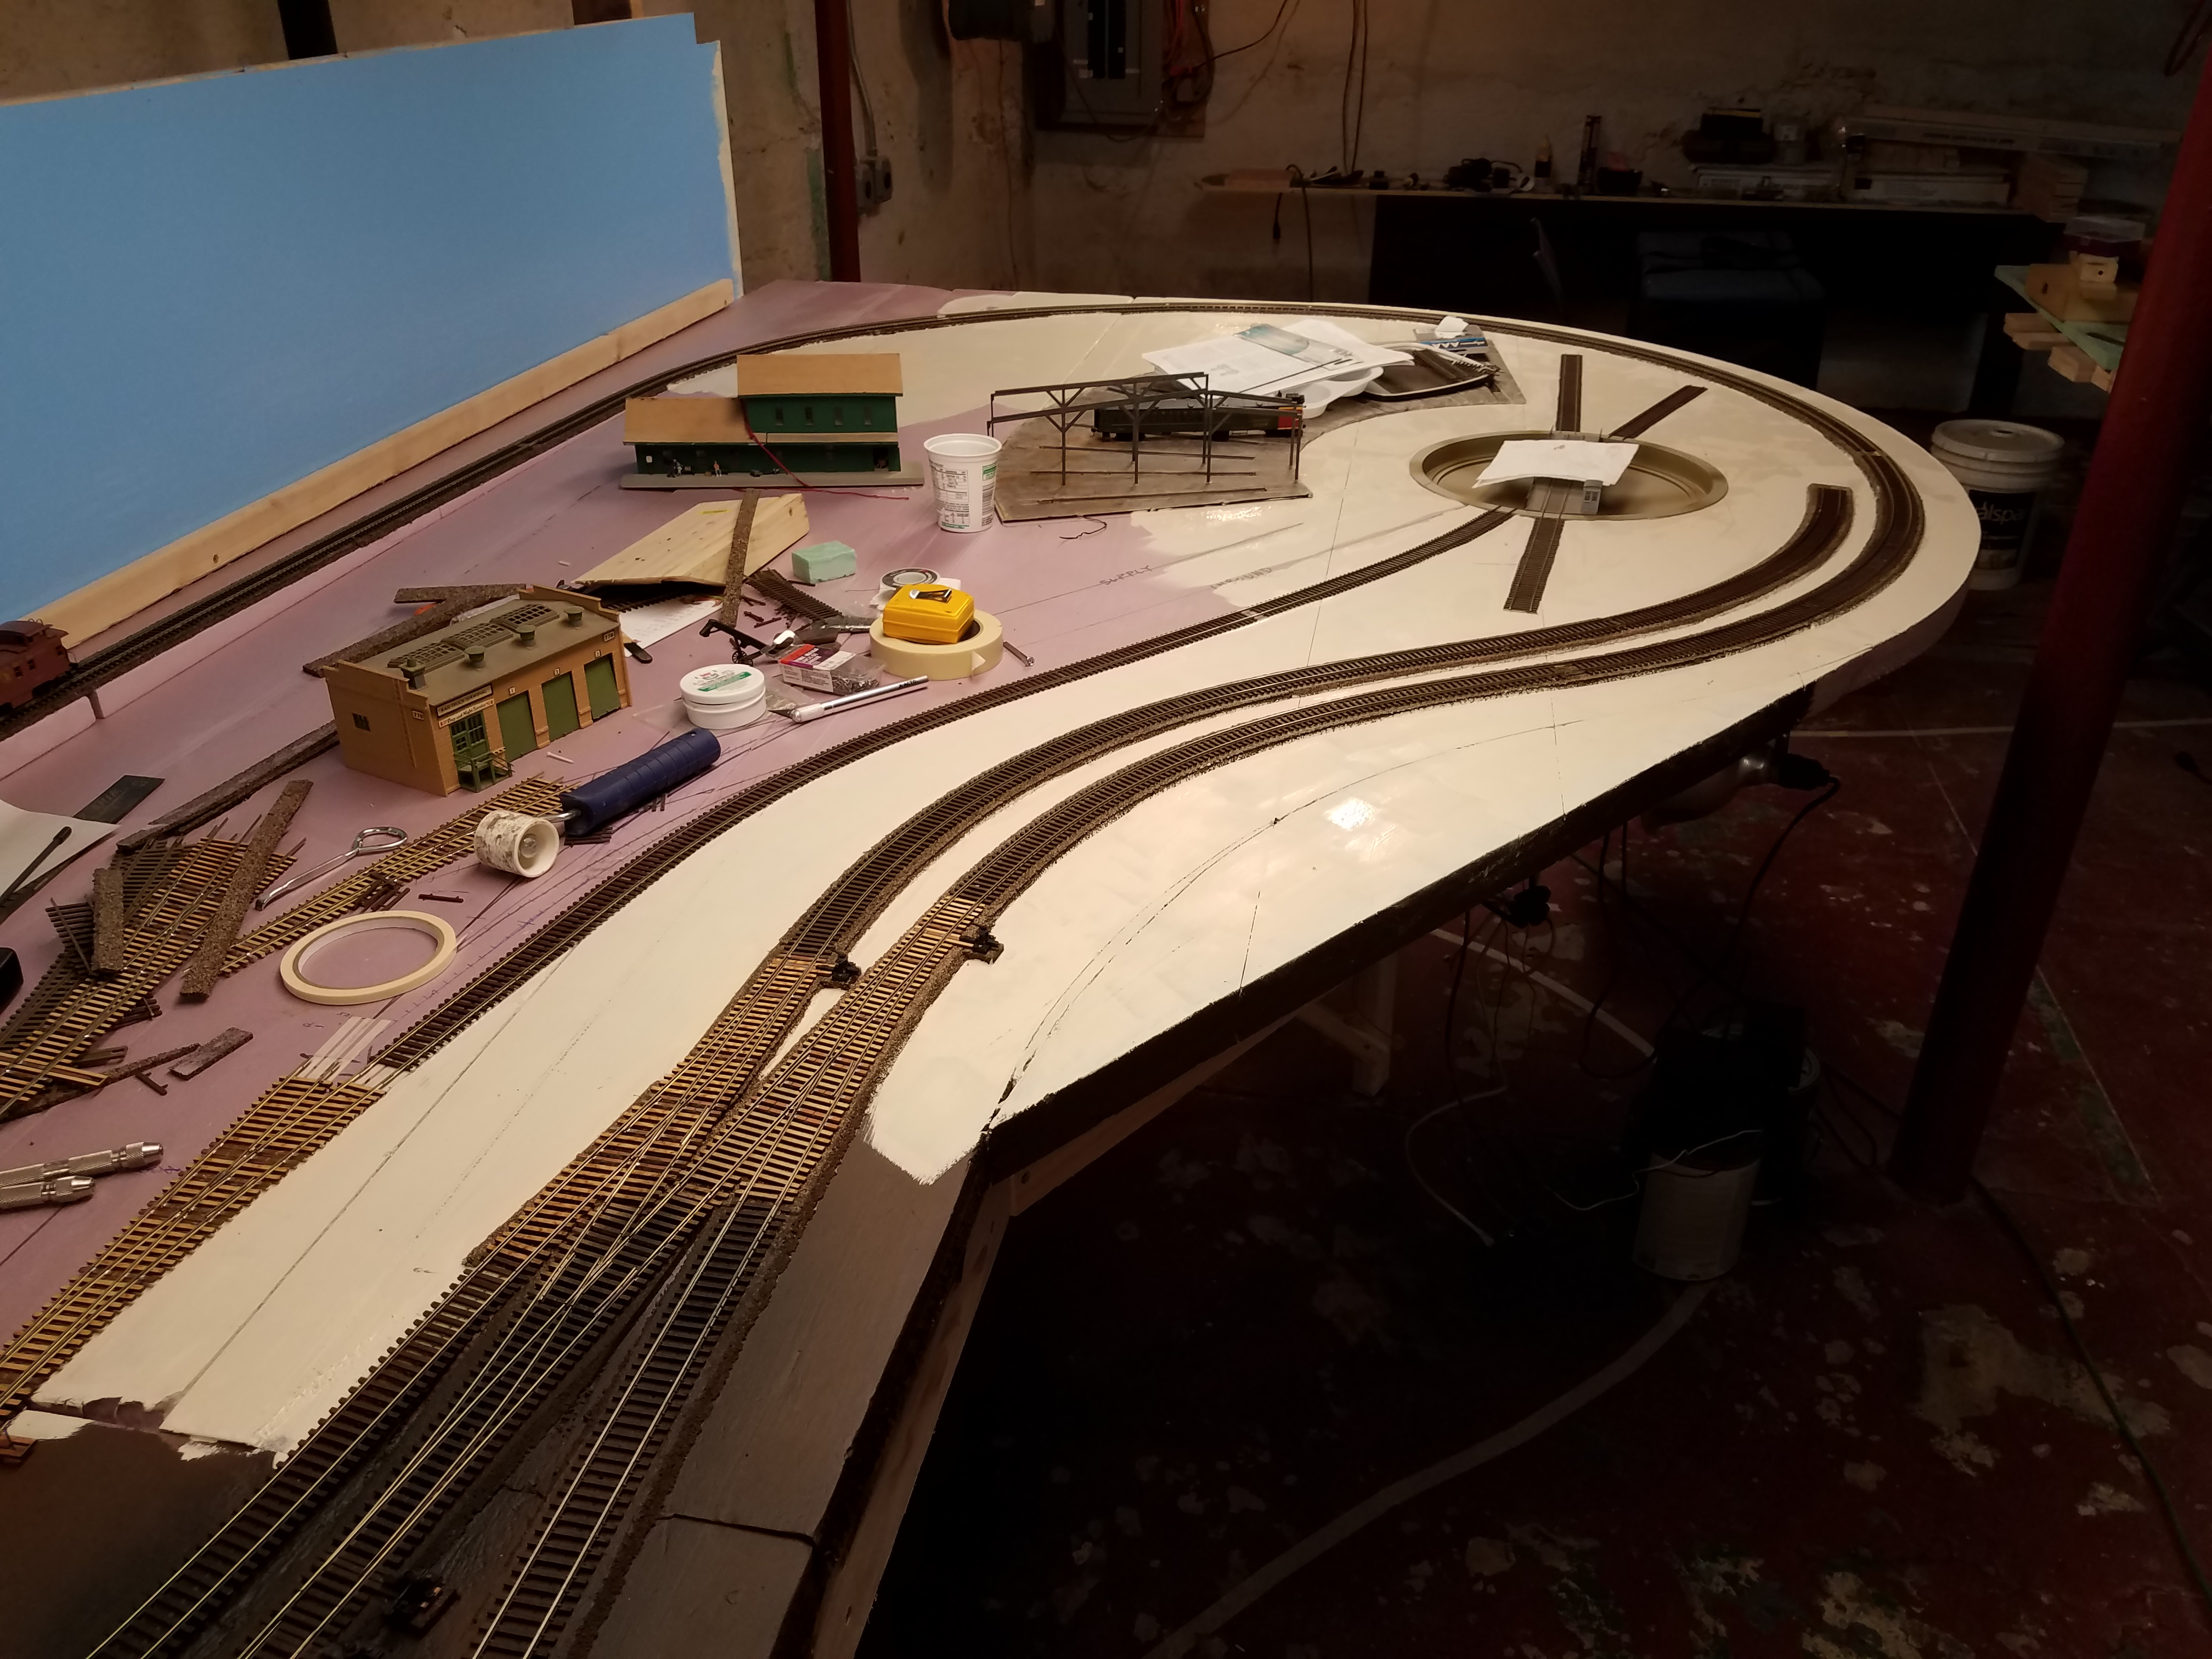 The tan color is more in keeping with the dirt color in the Casper Wyoming area. I'm going to go back and cover most of the yard area with it, where I used the way-too-dark brown color earlier. Live and learn.
Work on the layout has shifted now from scenery in the Casper Classification Yard to making some progress in the engine facility. Specifically, I'm getting the roundhouse tracks installed: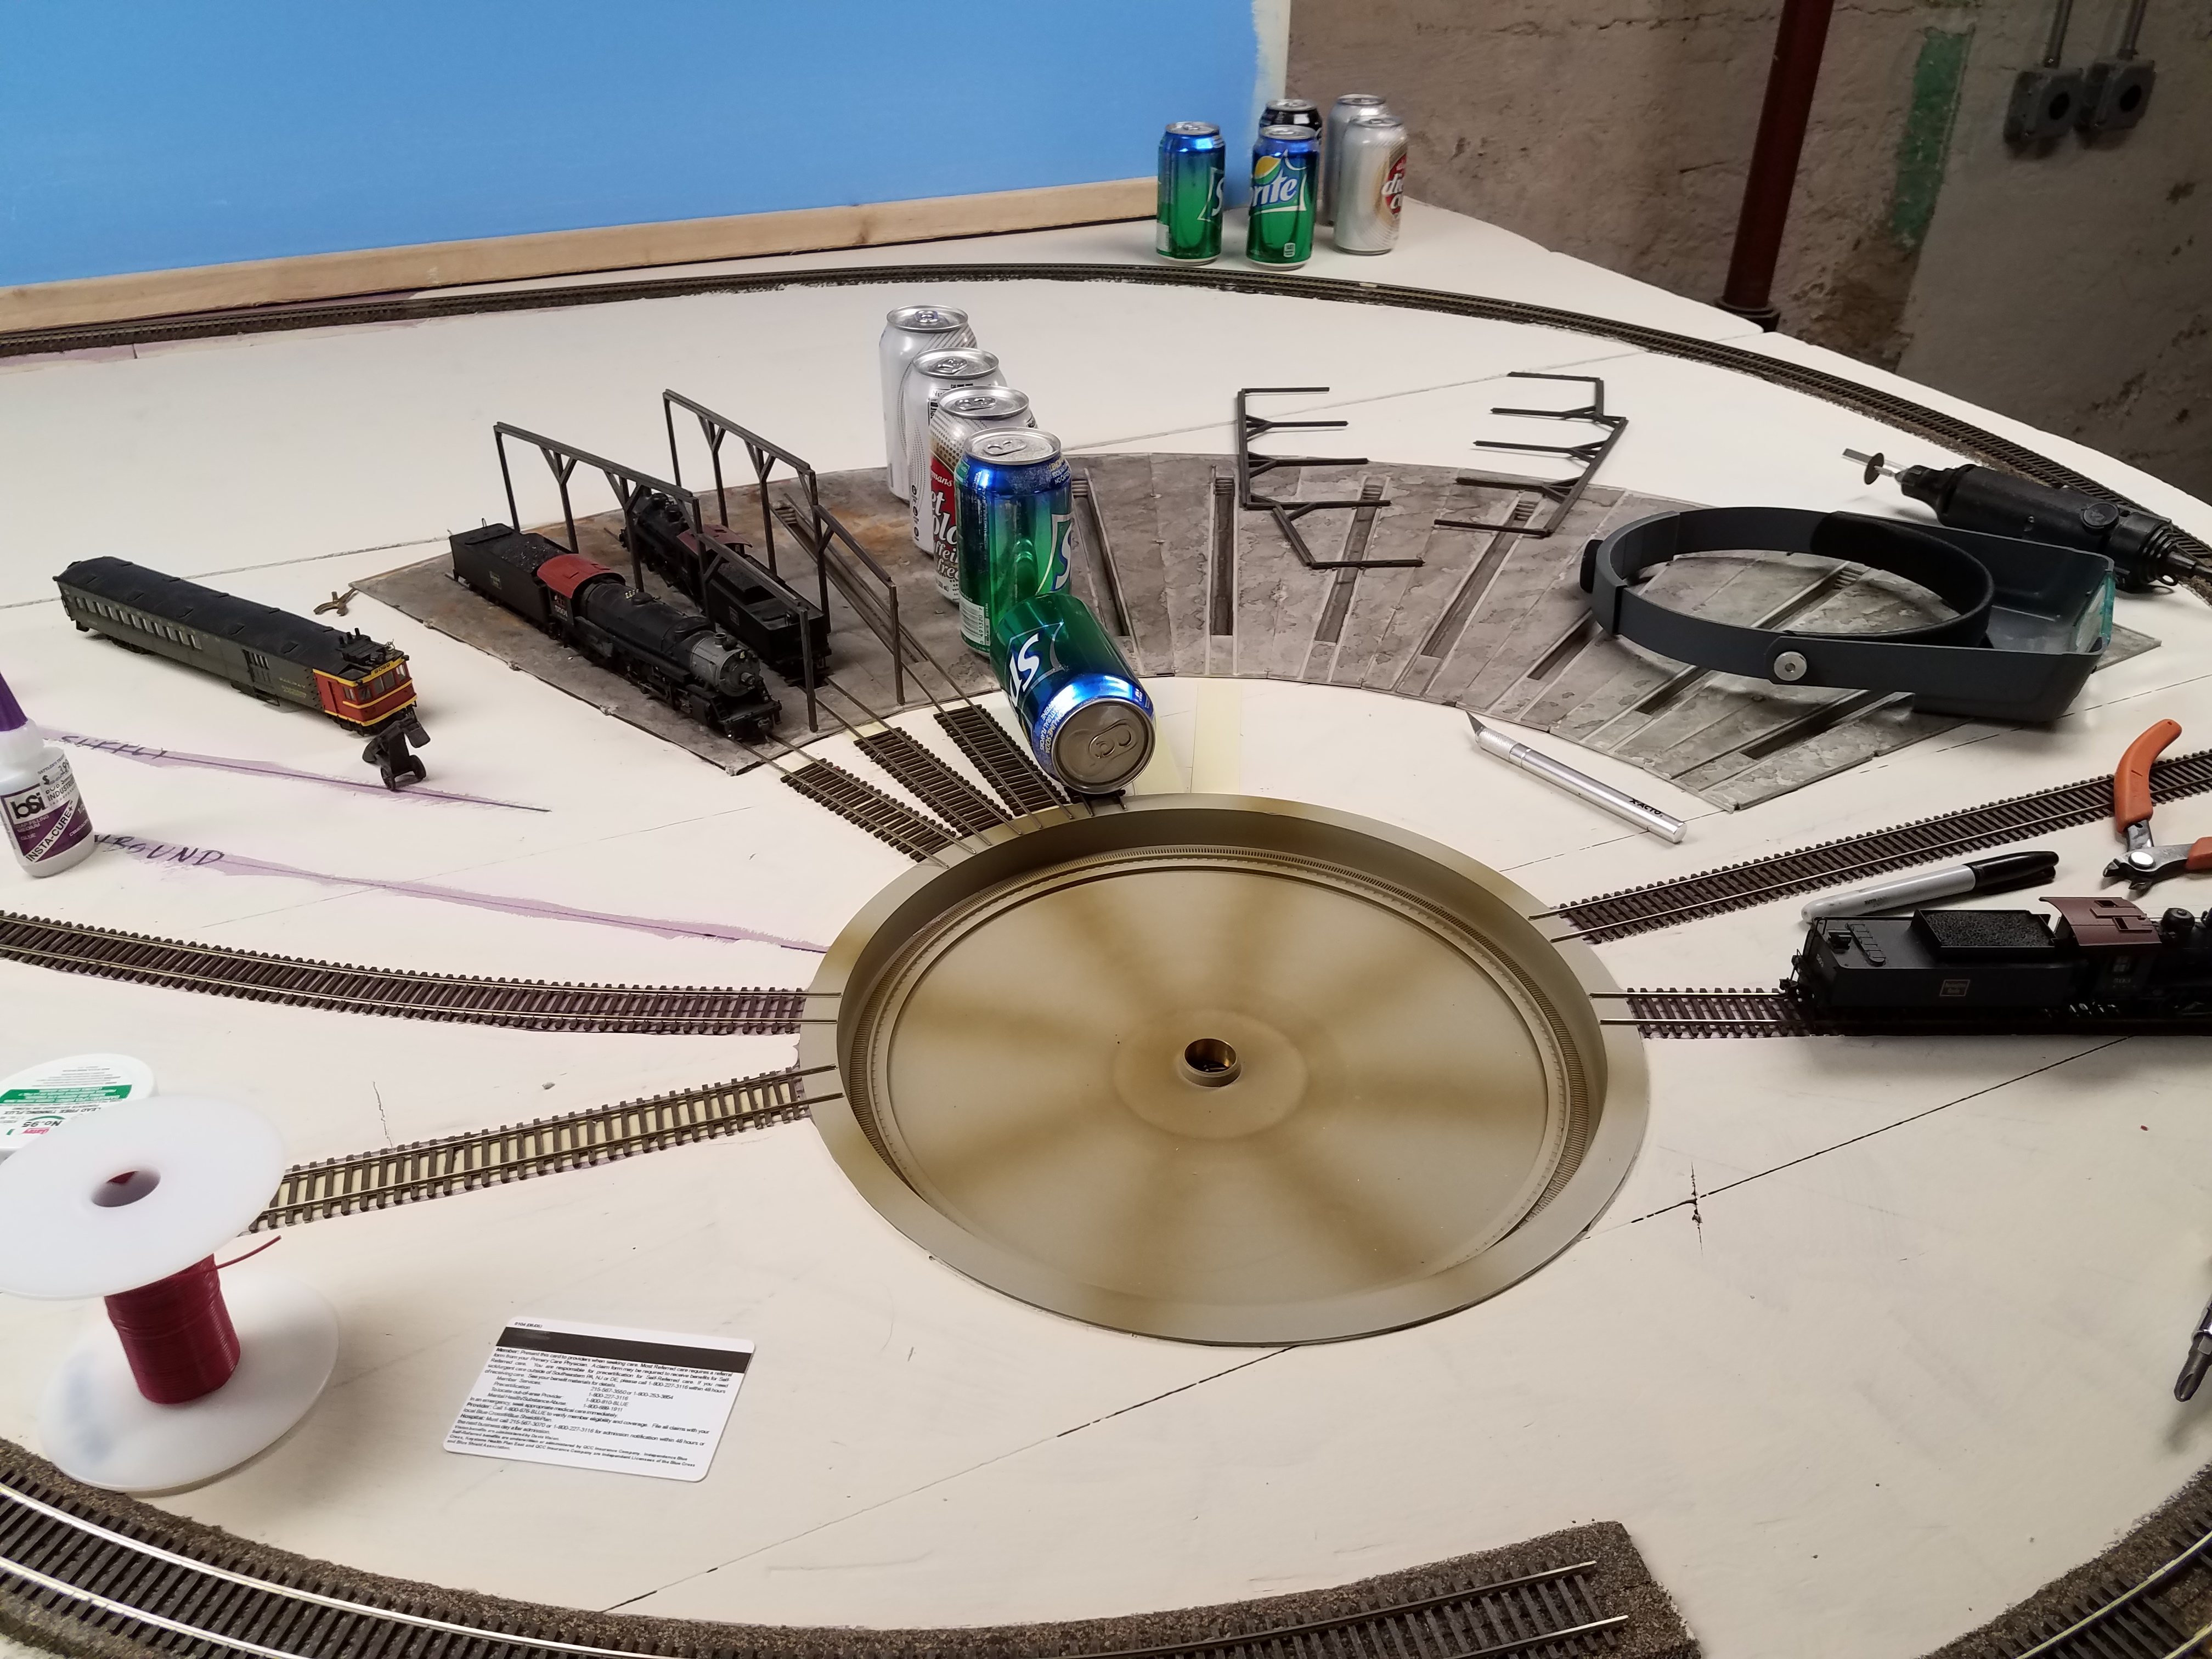
Finally finished installing the roundhouse tracks. All tracks are powered, and the turntable aligns with each one on both ends of the bridge. This photo shows all my Burlington locos "in" the roundhouse: Roundhouse exterior wall construction has also started - barely (note the two end walls lying behind a couple of the stall tracks).
Making progress on the roundhouse.
Here the walls are drying after being painted with a Rustoleum flat red: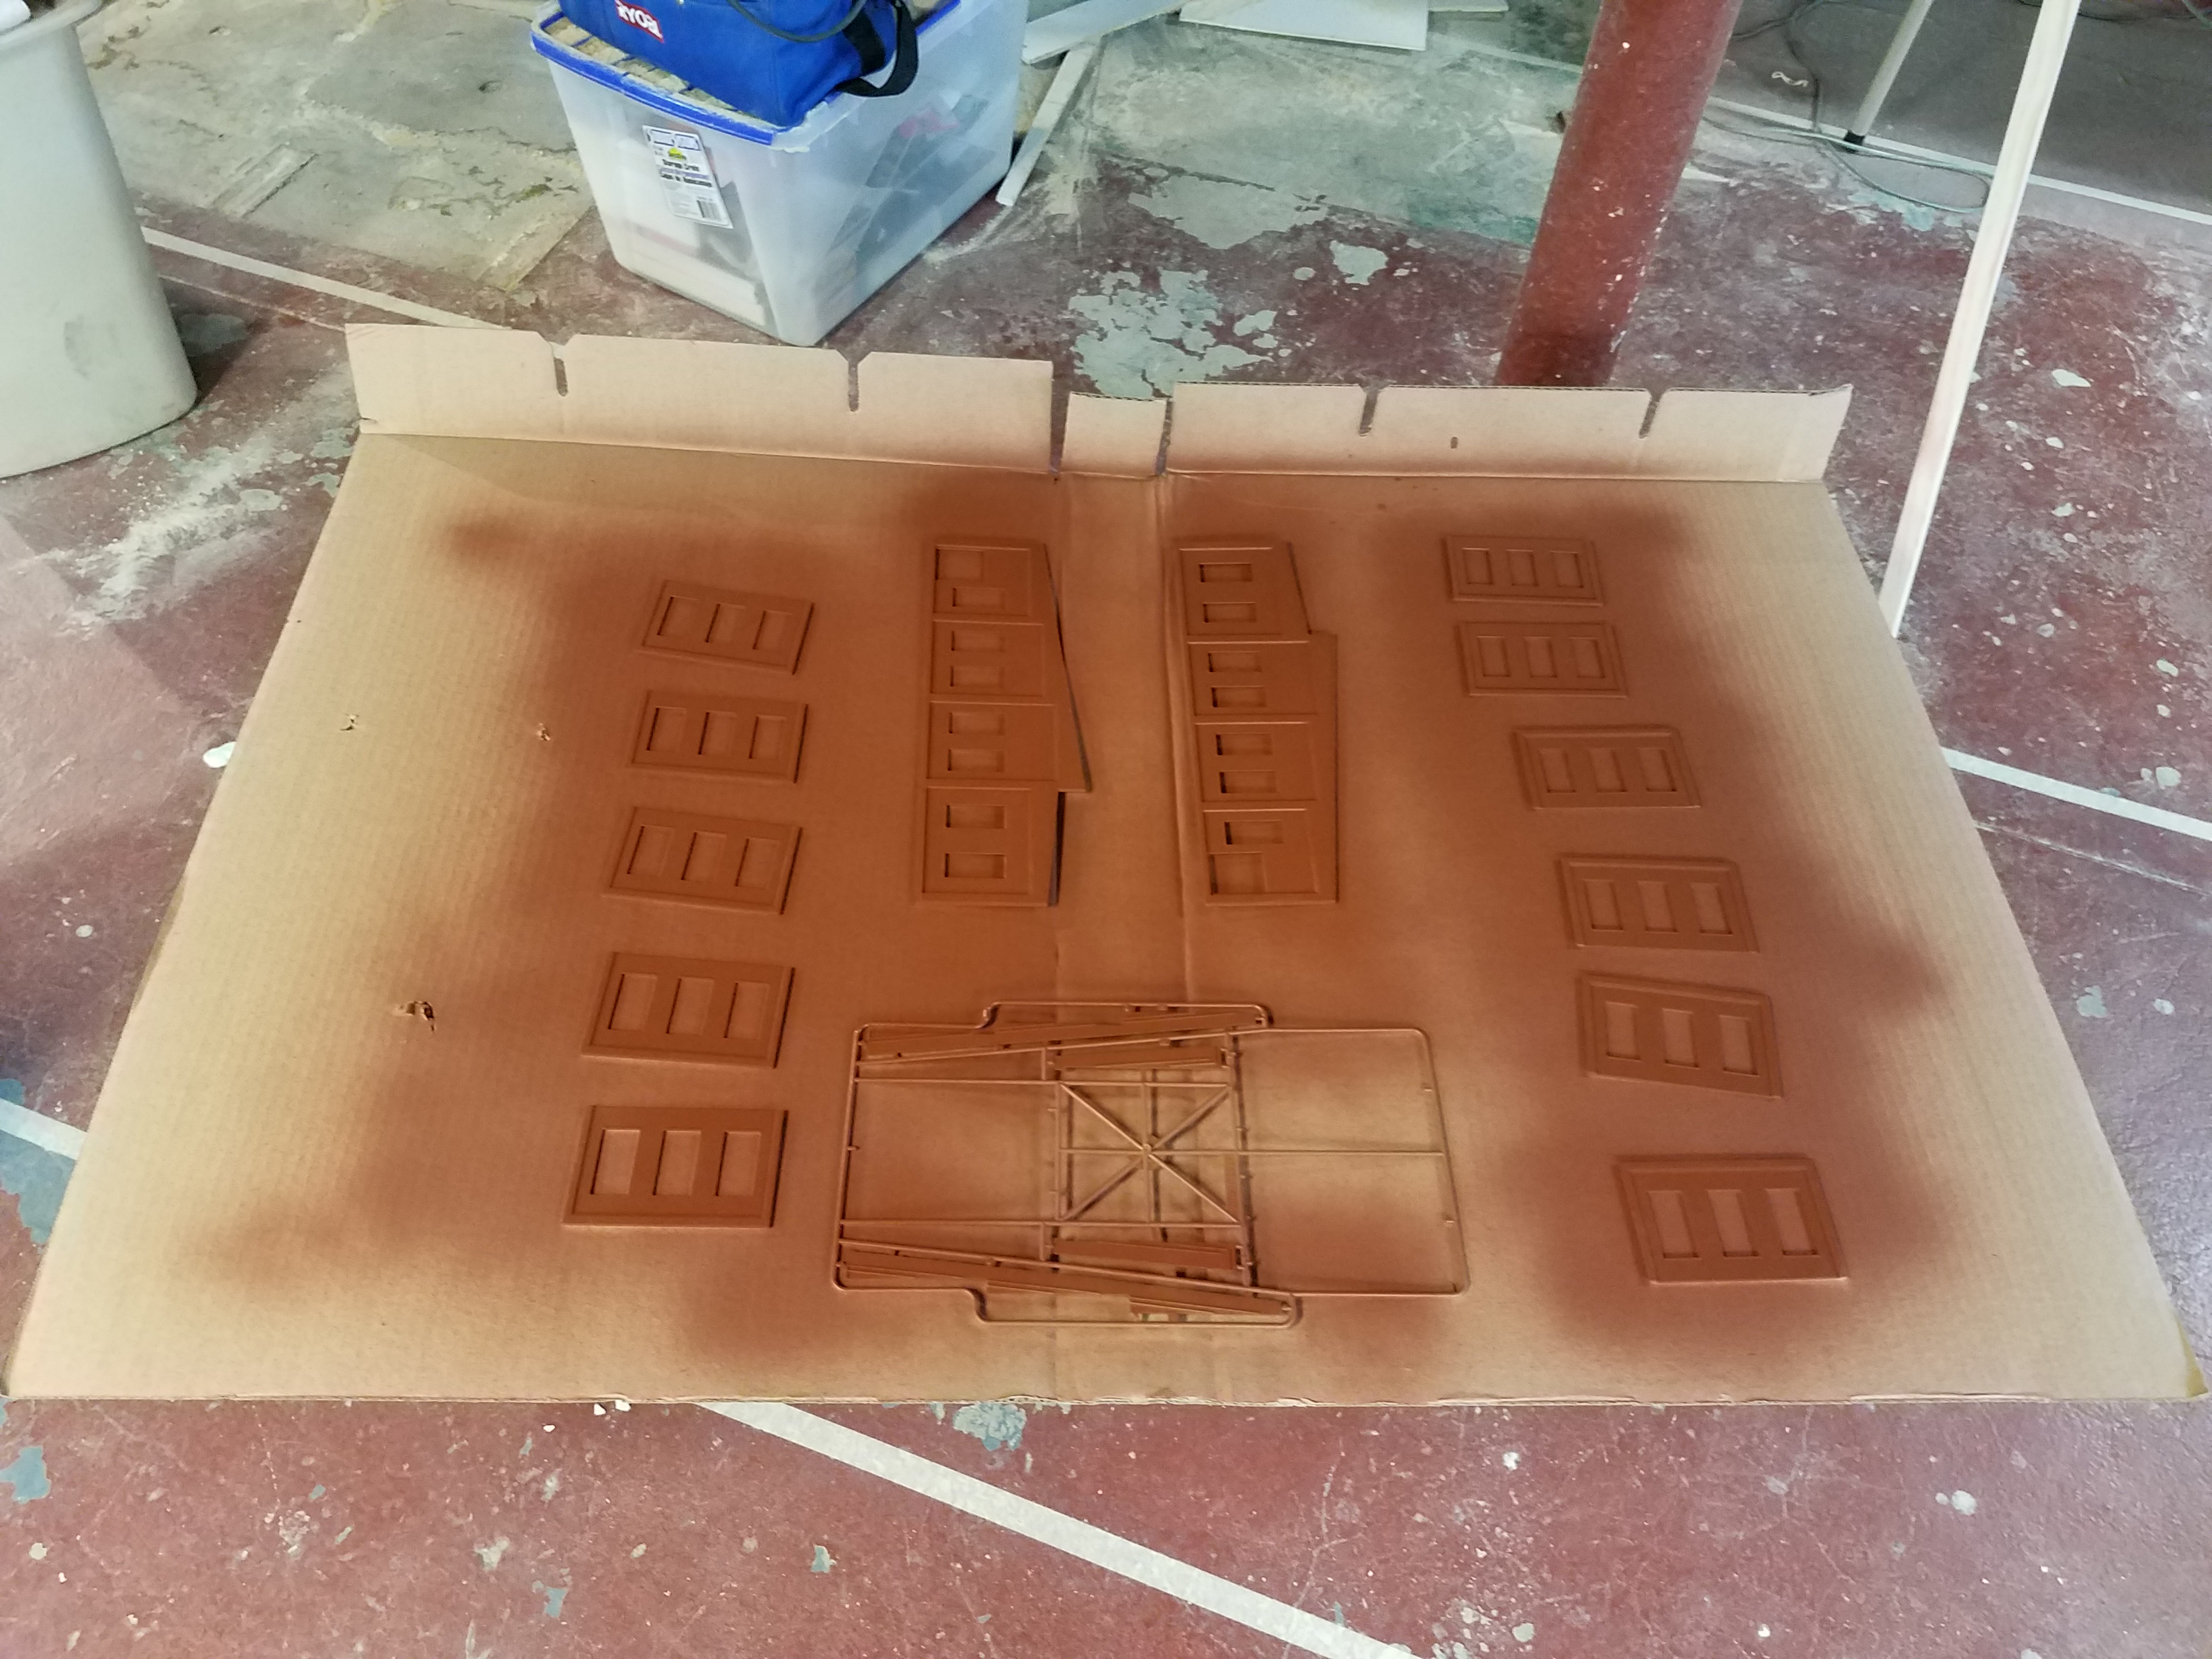
I want to light the interior, but don't want to spend a fortune on LED's or tiny incandescents. Hmmm. What to do?
Maybe these will work? At 75% off after Christmas, they were $5.00. At that price, certainly worth a shot, anyway!
Out of the box:
After a few minutes of unwinding the red & white yarn and unthreading the snowflakes, I got this: Yes, I can certainly do something with these. I need to figure out how to replace the 3-AA-batteries power box with a connection to my 12 volt power supply and I'm off to the races. Shouldn't be too hard...