Minor work on the layout the last couple of days. On July 5 I started stringing and connecting a new 12 ga. DCC buss. I spent many hours on the 4th looking for my spade terminals, to no avail. I had some #8 stud ring terminals, but the diameter is too big to fit between the dividers on the barrier strips. Not being able to find anything that did fit that would accept a 12 ga. wire, I clipped off the edges of the ring terminals to make them fit. That's not easy to do, but I managed to do about a dozen, which gave me enough to connect up the buss at all the barrier strips.
Of course, today I found the spade terminals I needed.
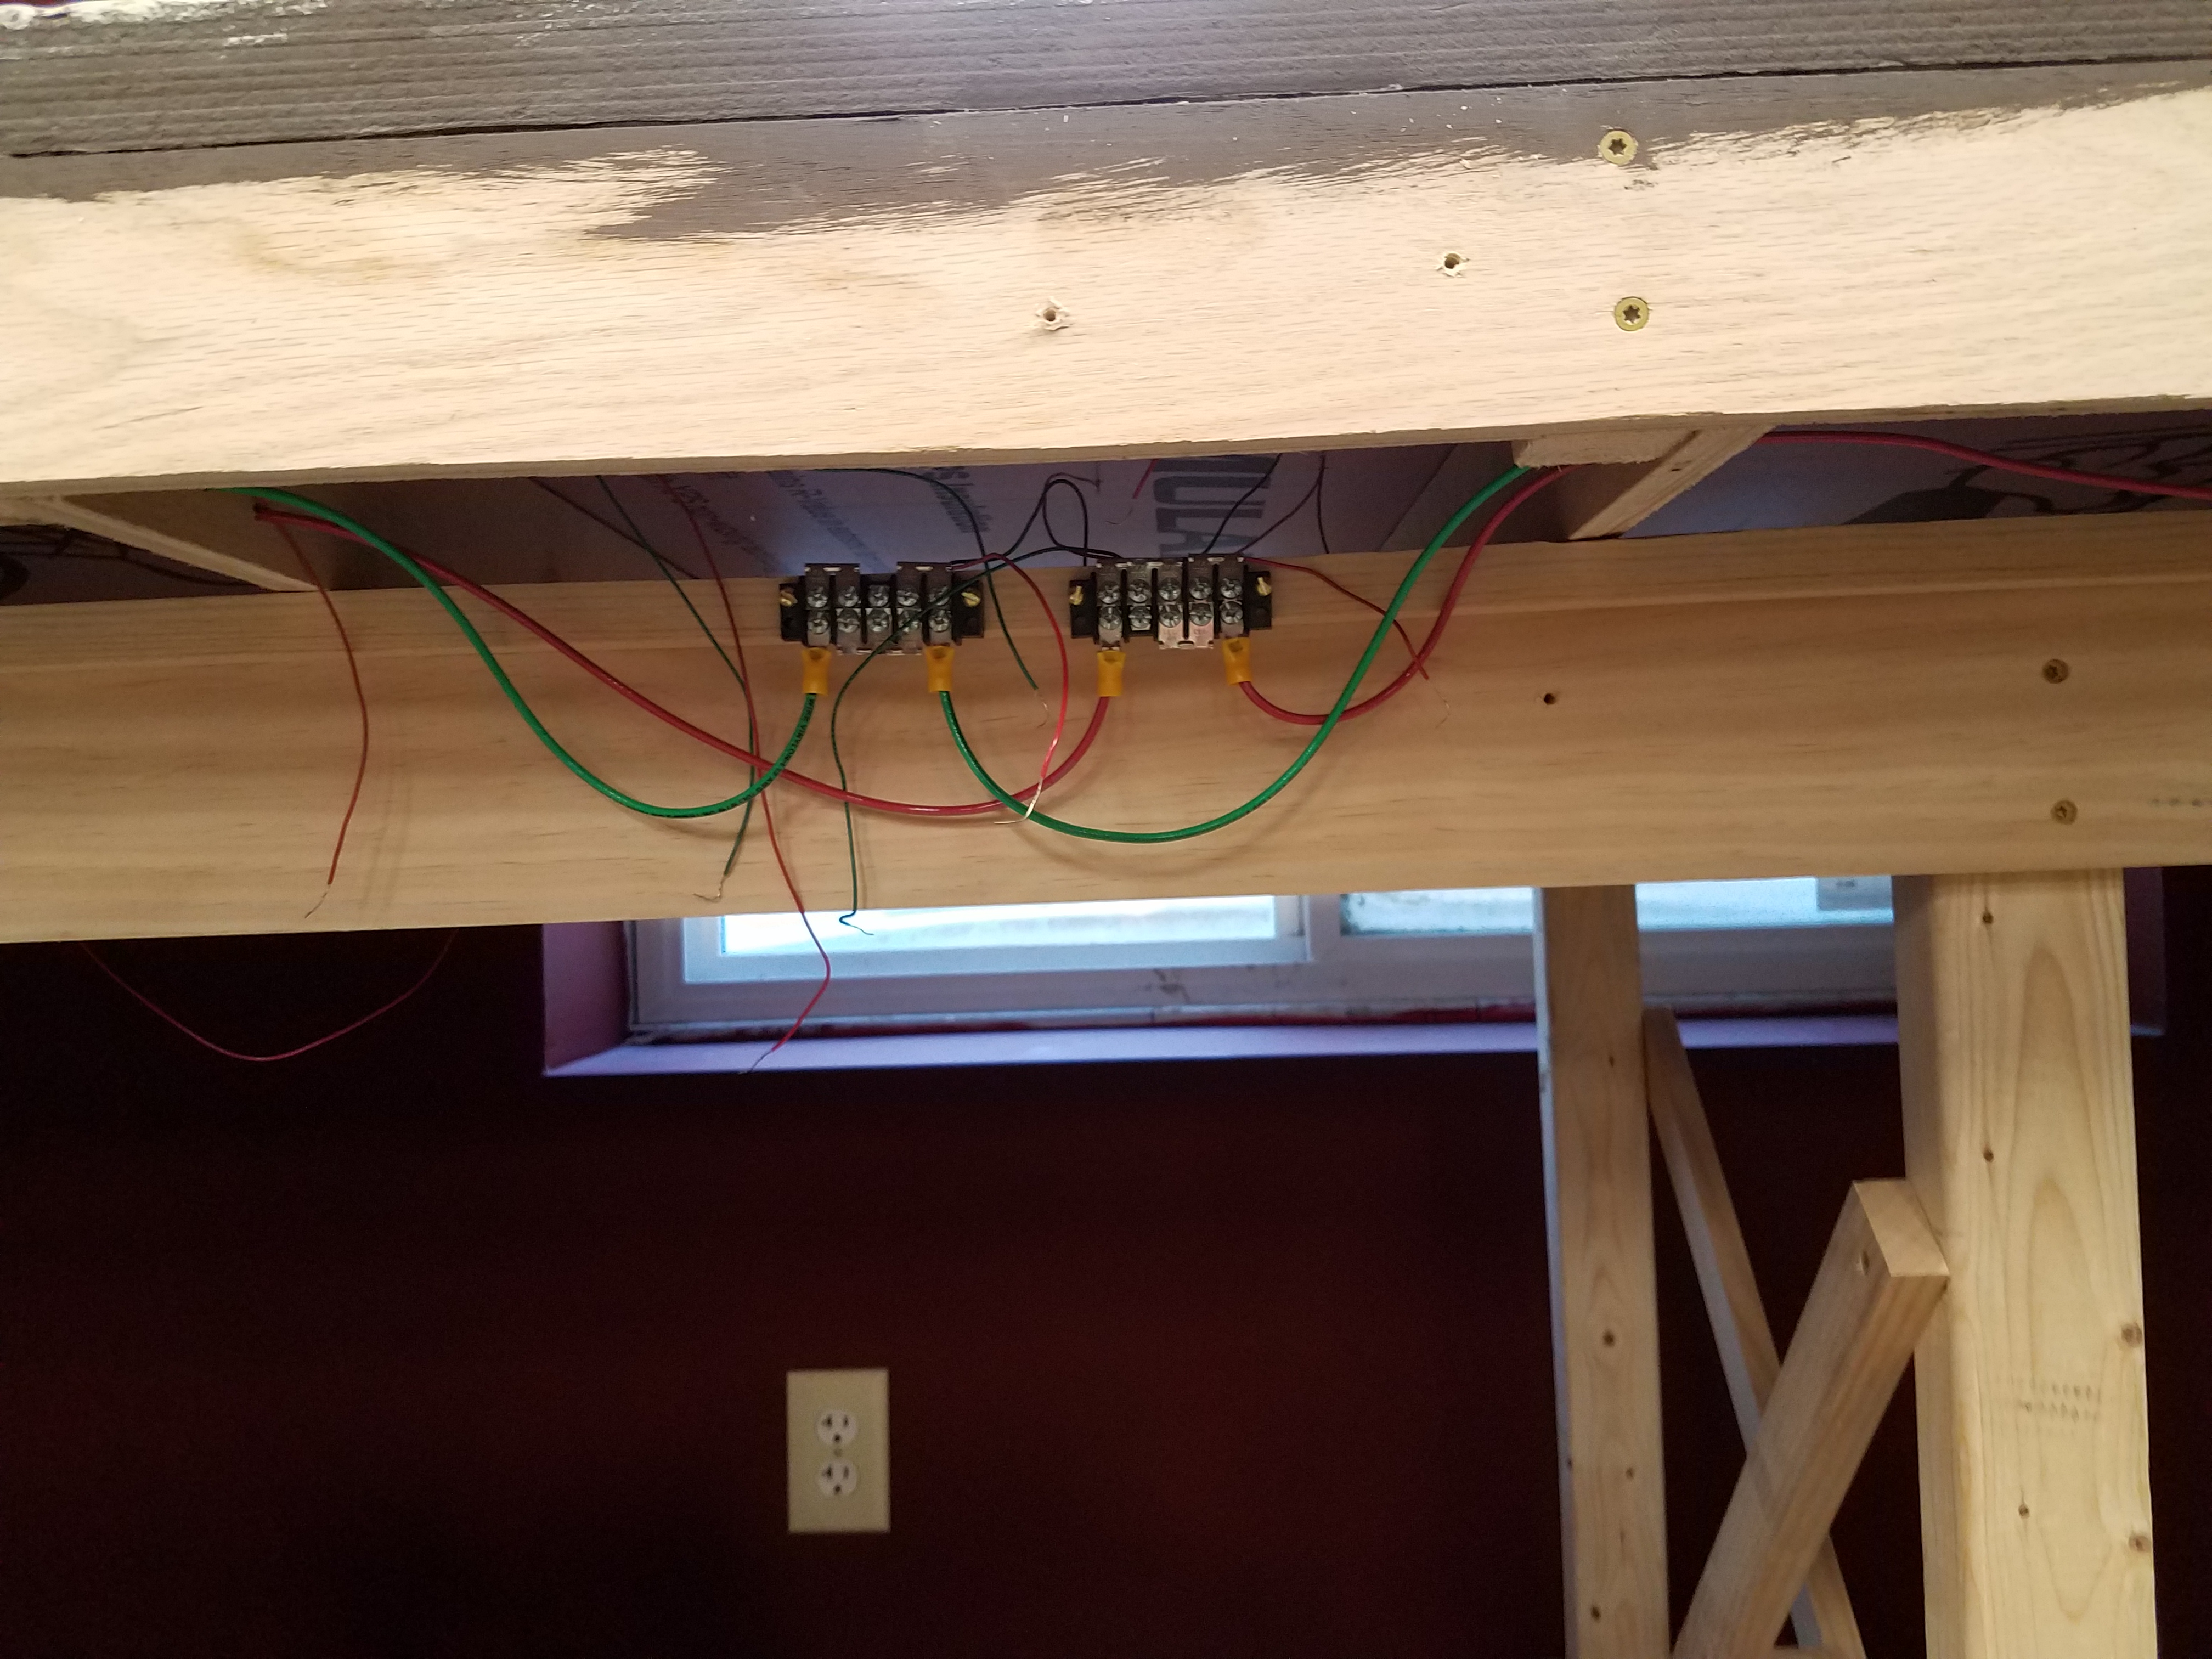
Here's one of the barrier strip sets. The feeders are yet to be connected.
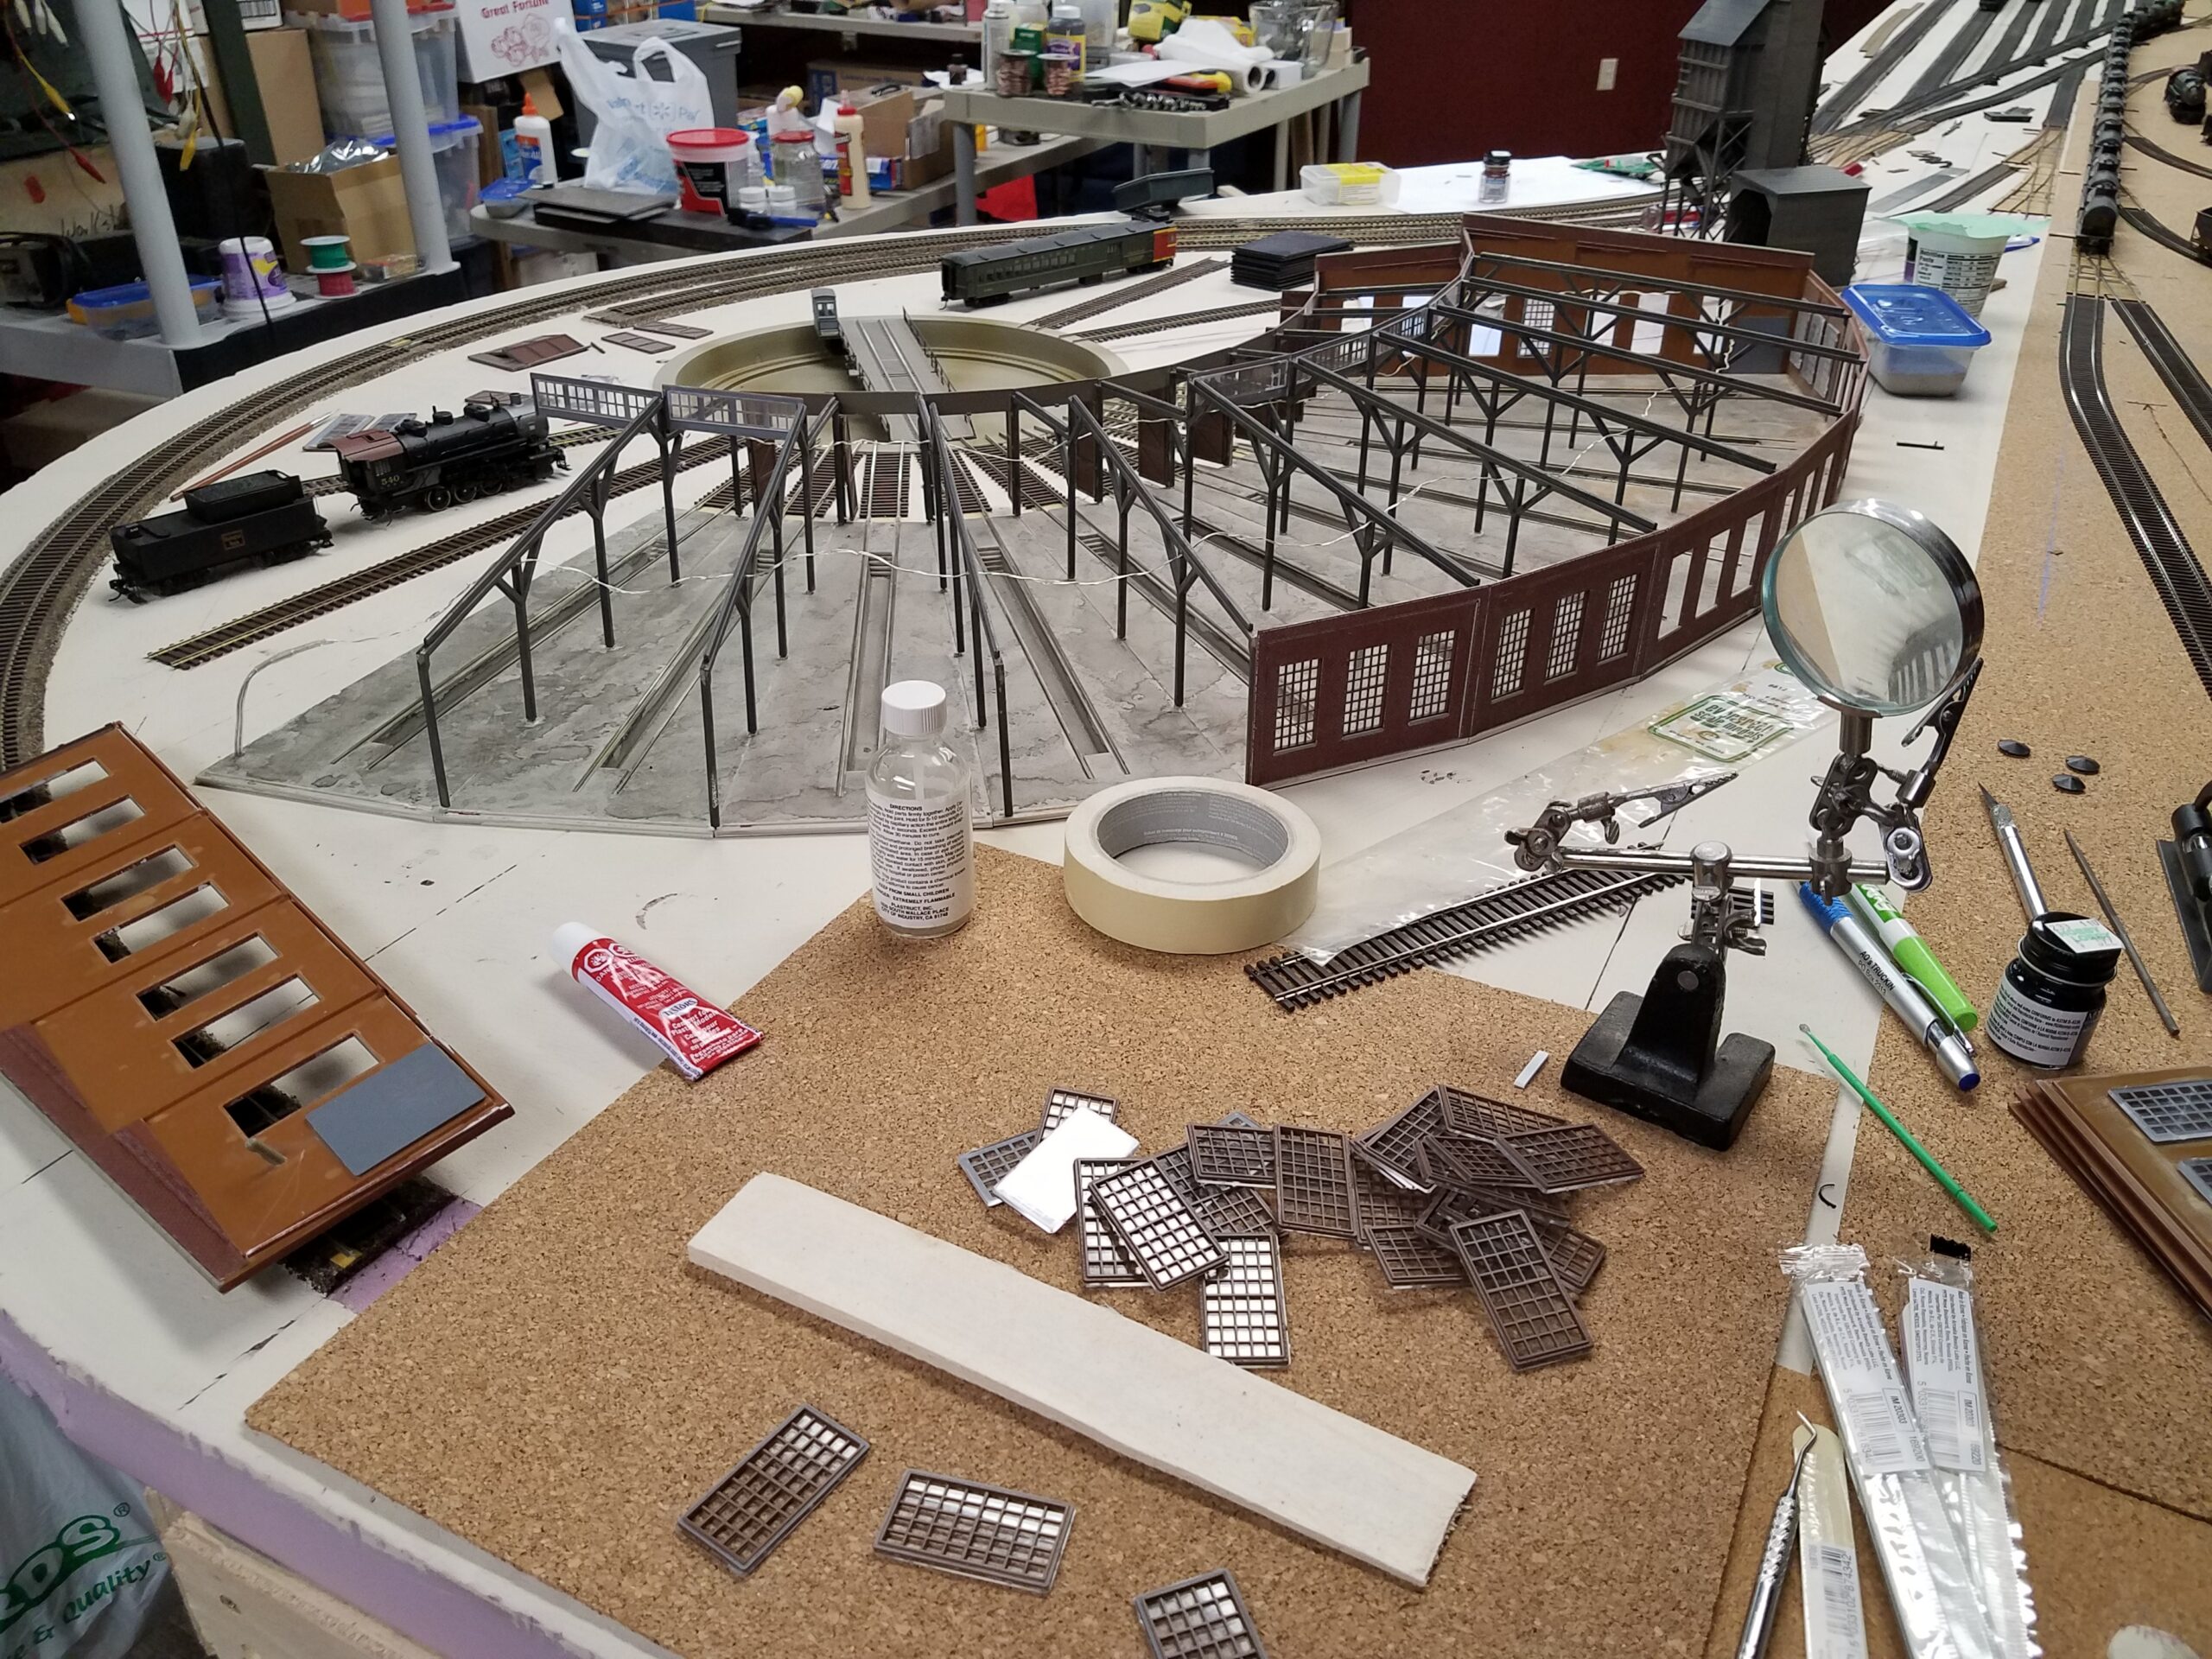
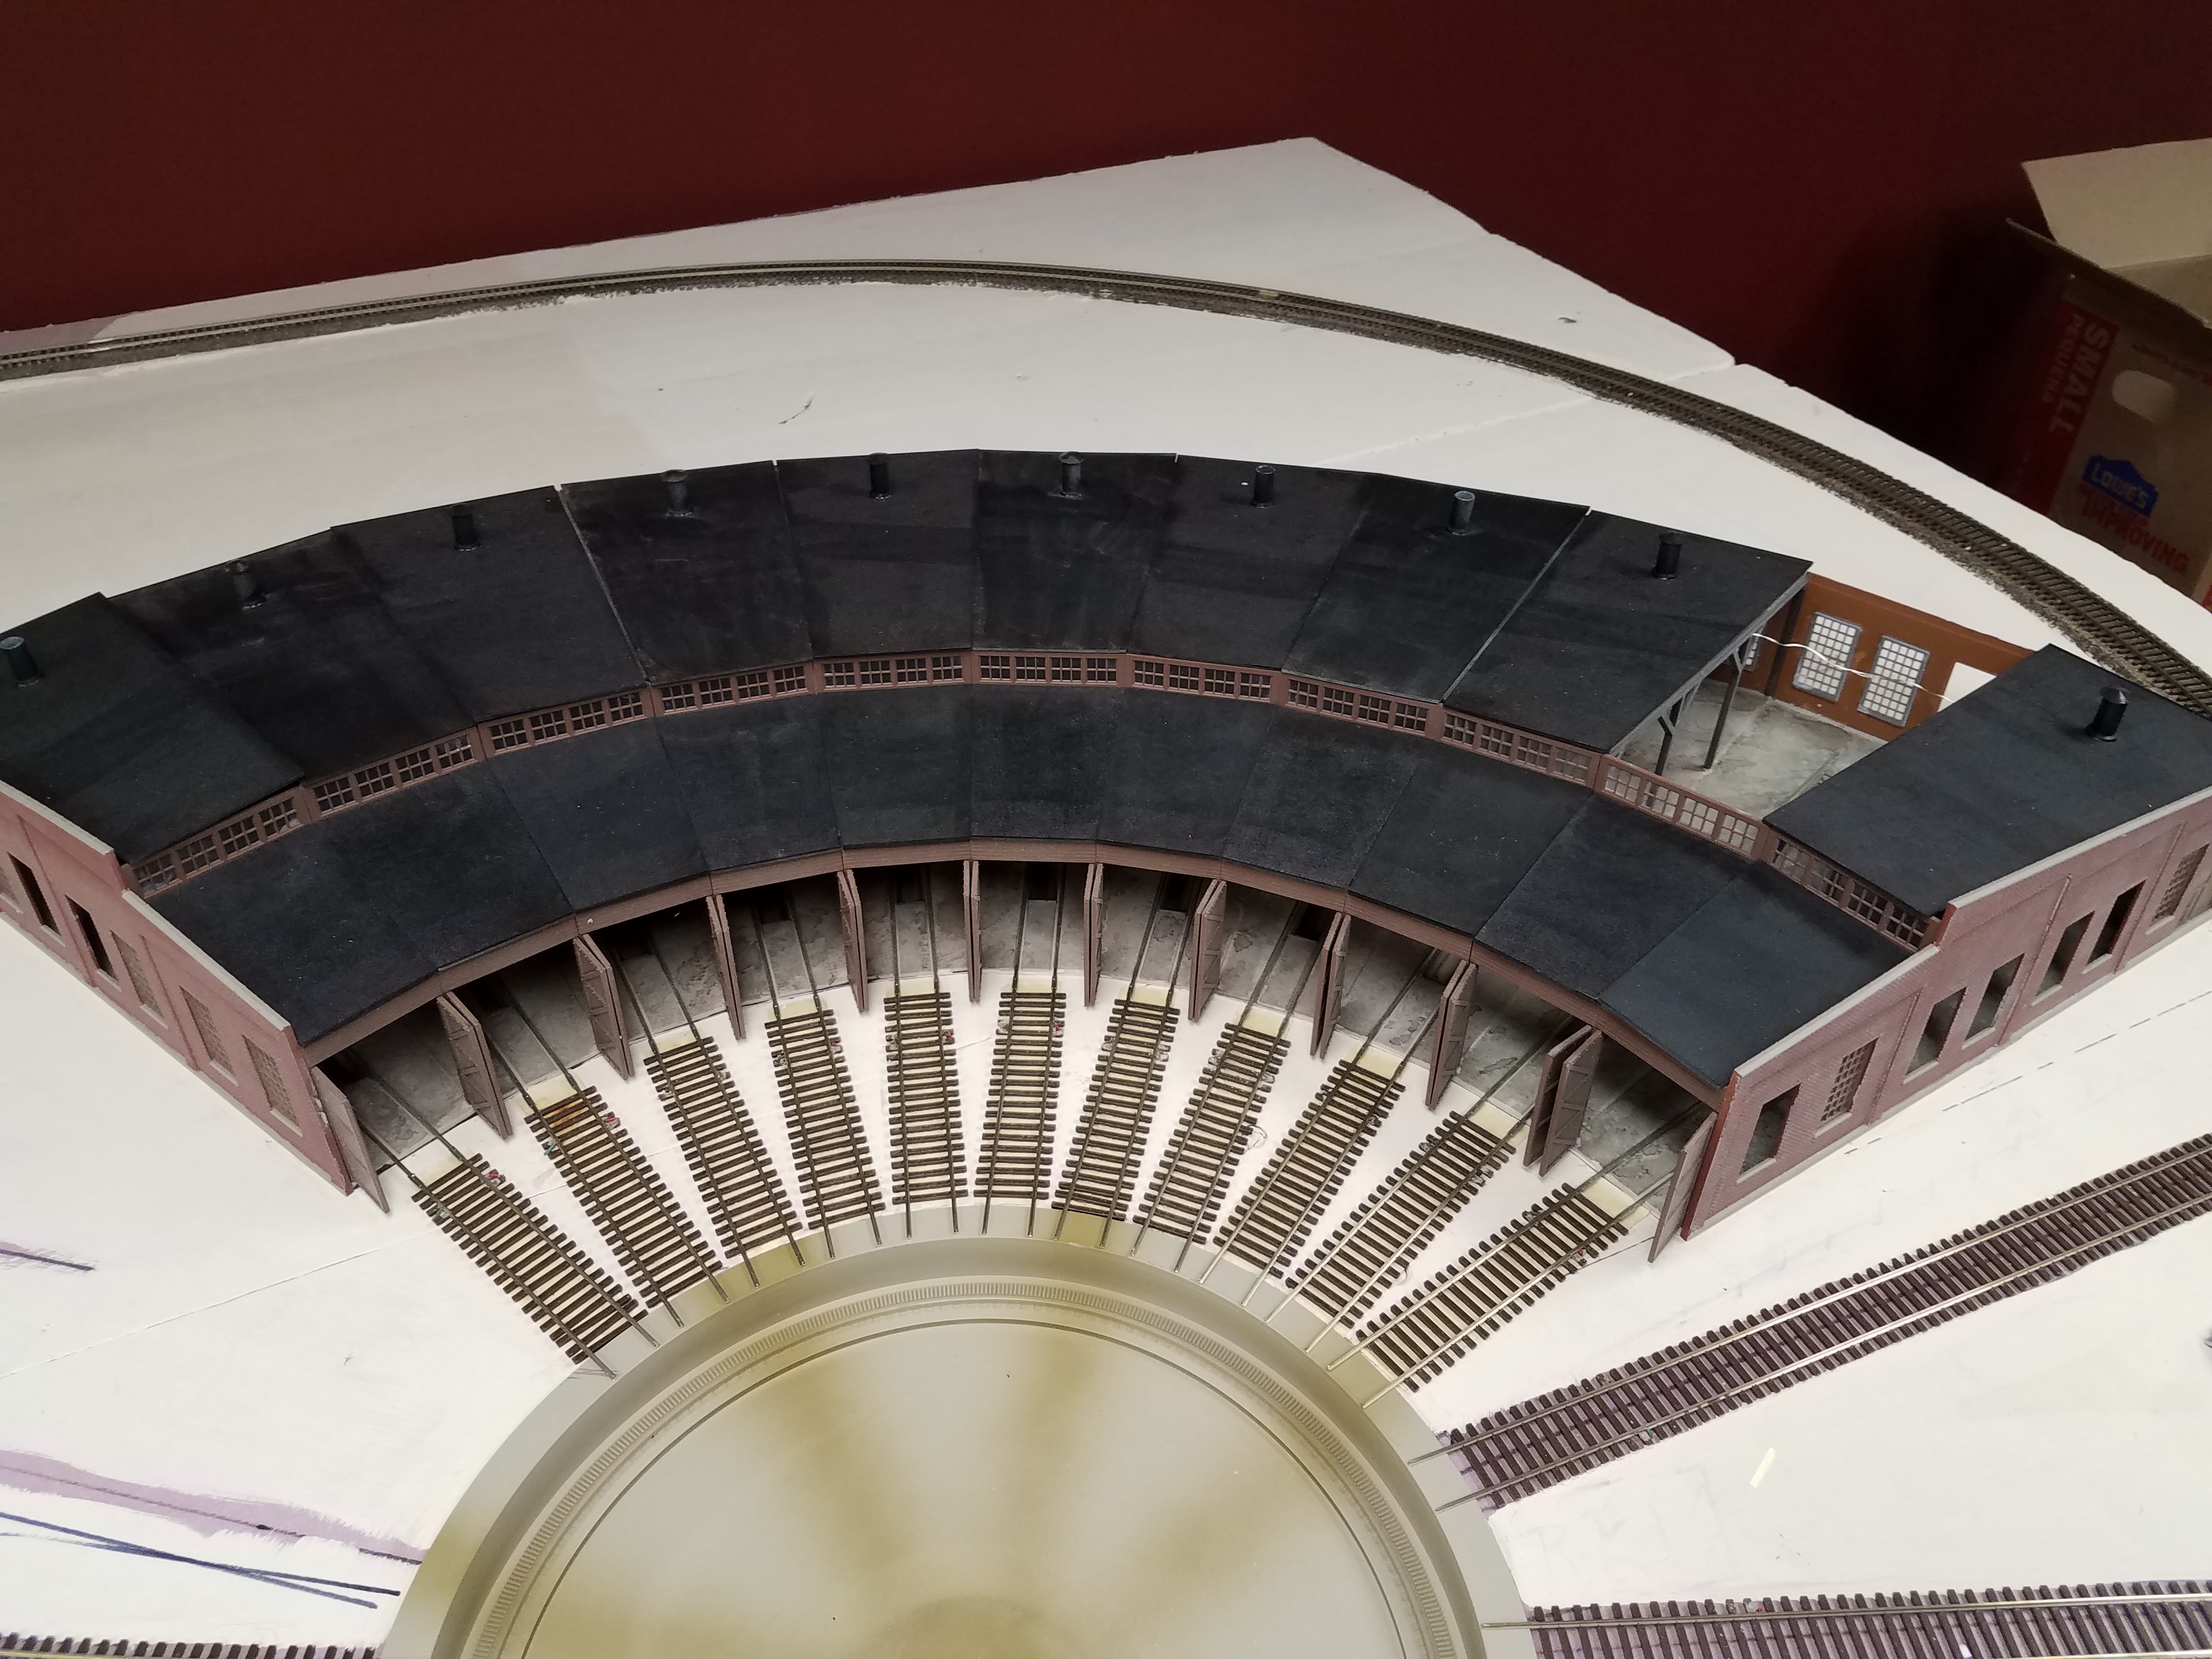
During transit from New Jersey, and while sitting in the basement here, the engine terminal section of Casper yard accumulated a lot of dust. After I put most of the removable roundhouse roof sections, which were in a box for moving, onto the roundhouse it showed just how much dust had accumulated. The grayish sections of roof are the ones that are permanently attached to the roundhouse, and were exposed to all the dust from the move:

So I dug out my little vacuum attachment with the soft brush and cleaned off the roundhouse roof - kinda. Still needs more cleaning, but now it looks a lot better (the dirtier looking sections are the ones from the box):
 I also vacuumed the entire yard from one end to another to prepare for track reinstallation. There was a LOT of dust!
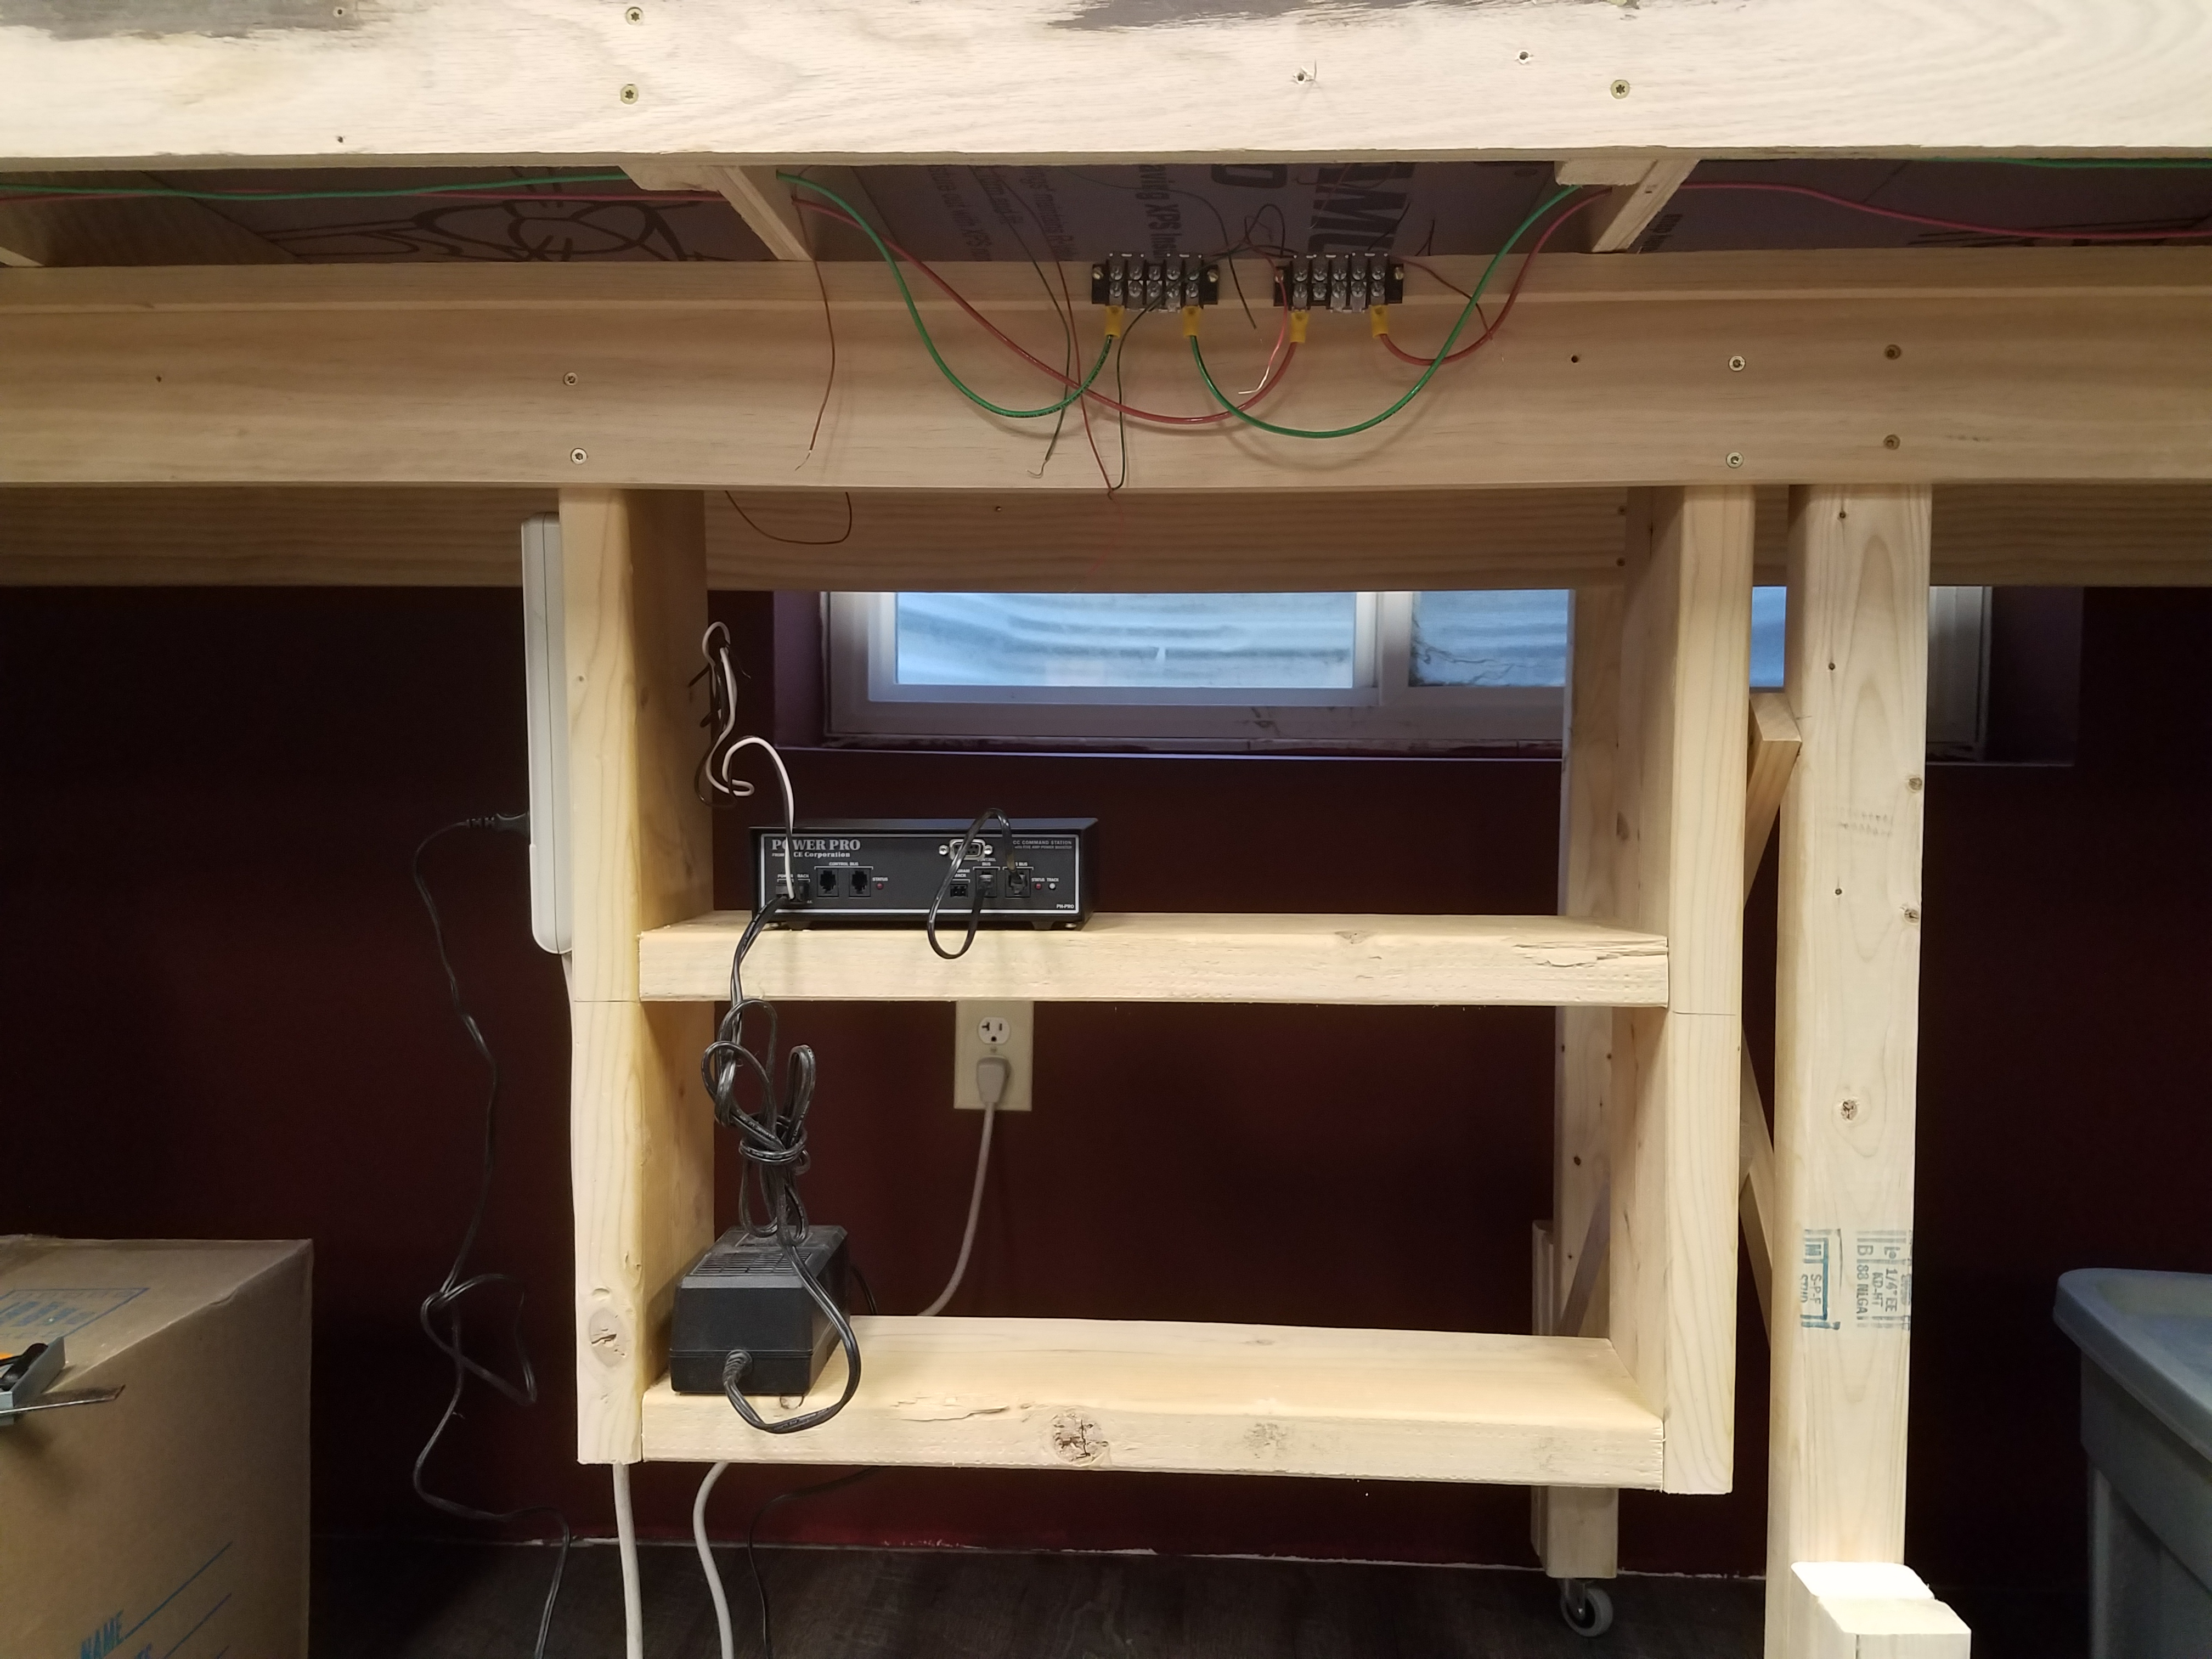
And today I built a set of shelves for my DCC system, hung below one of the Casper L-Girders. The entire time I was building the layout in New Jersey I had the system sitting on a paint can, wired into the layout through a couple of alligator clips. I swore I wouldn't do that again.
Two days ago I put a loco on the mainline in Casper after I hooked the center section feeders to the power buss. Here's the loco sitting on the Mainline:
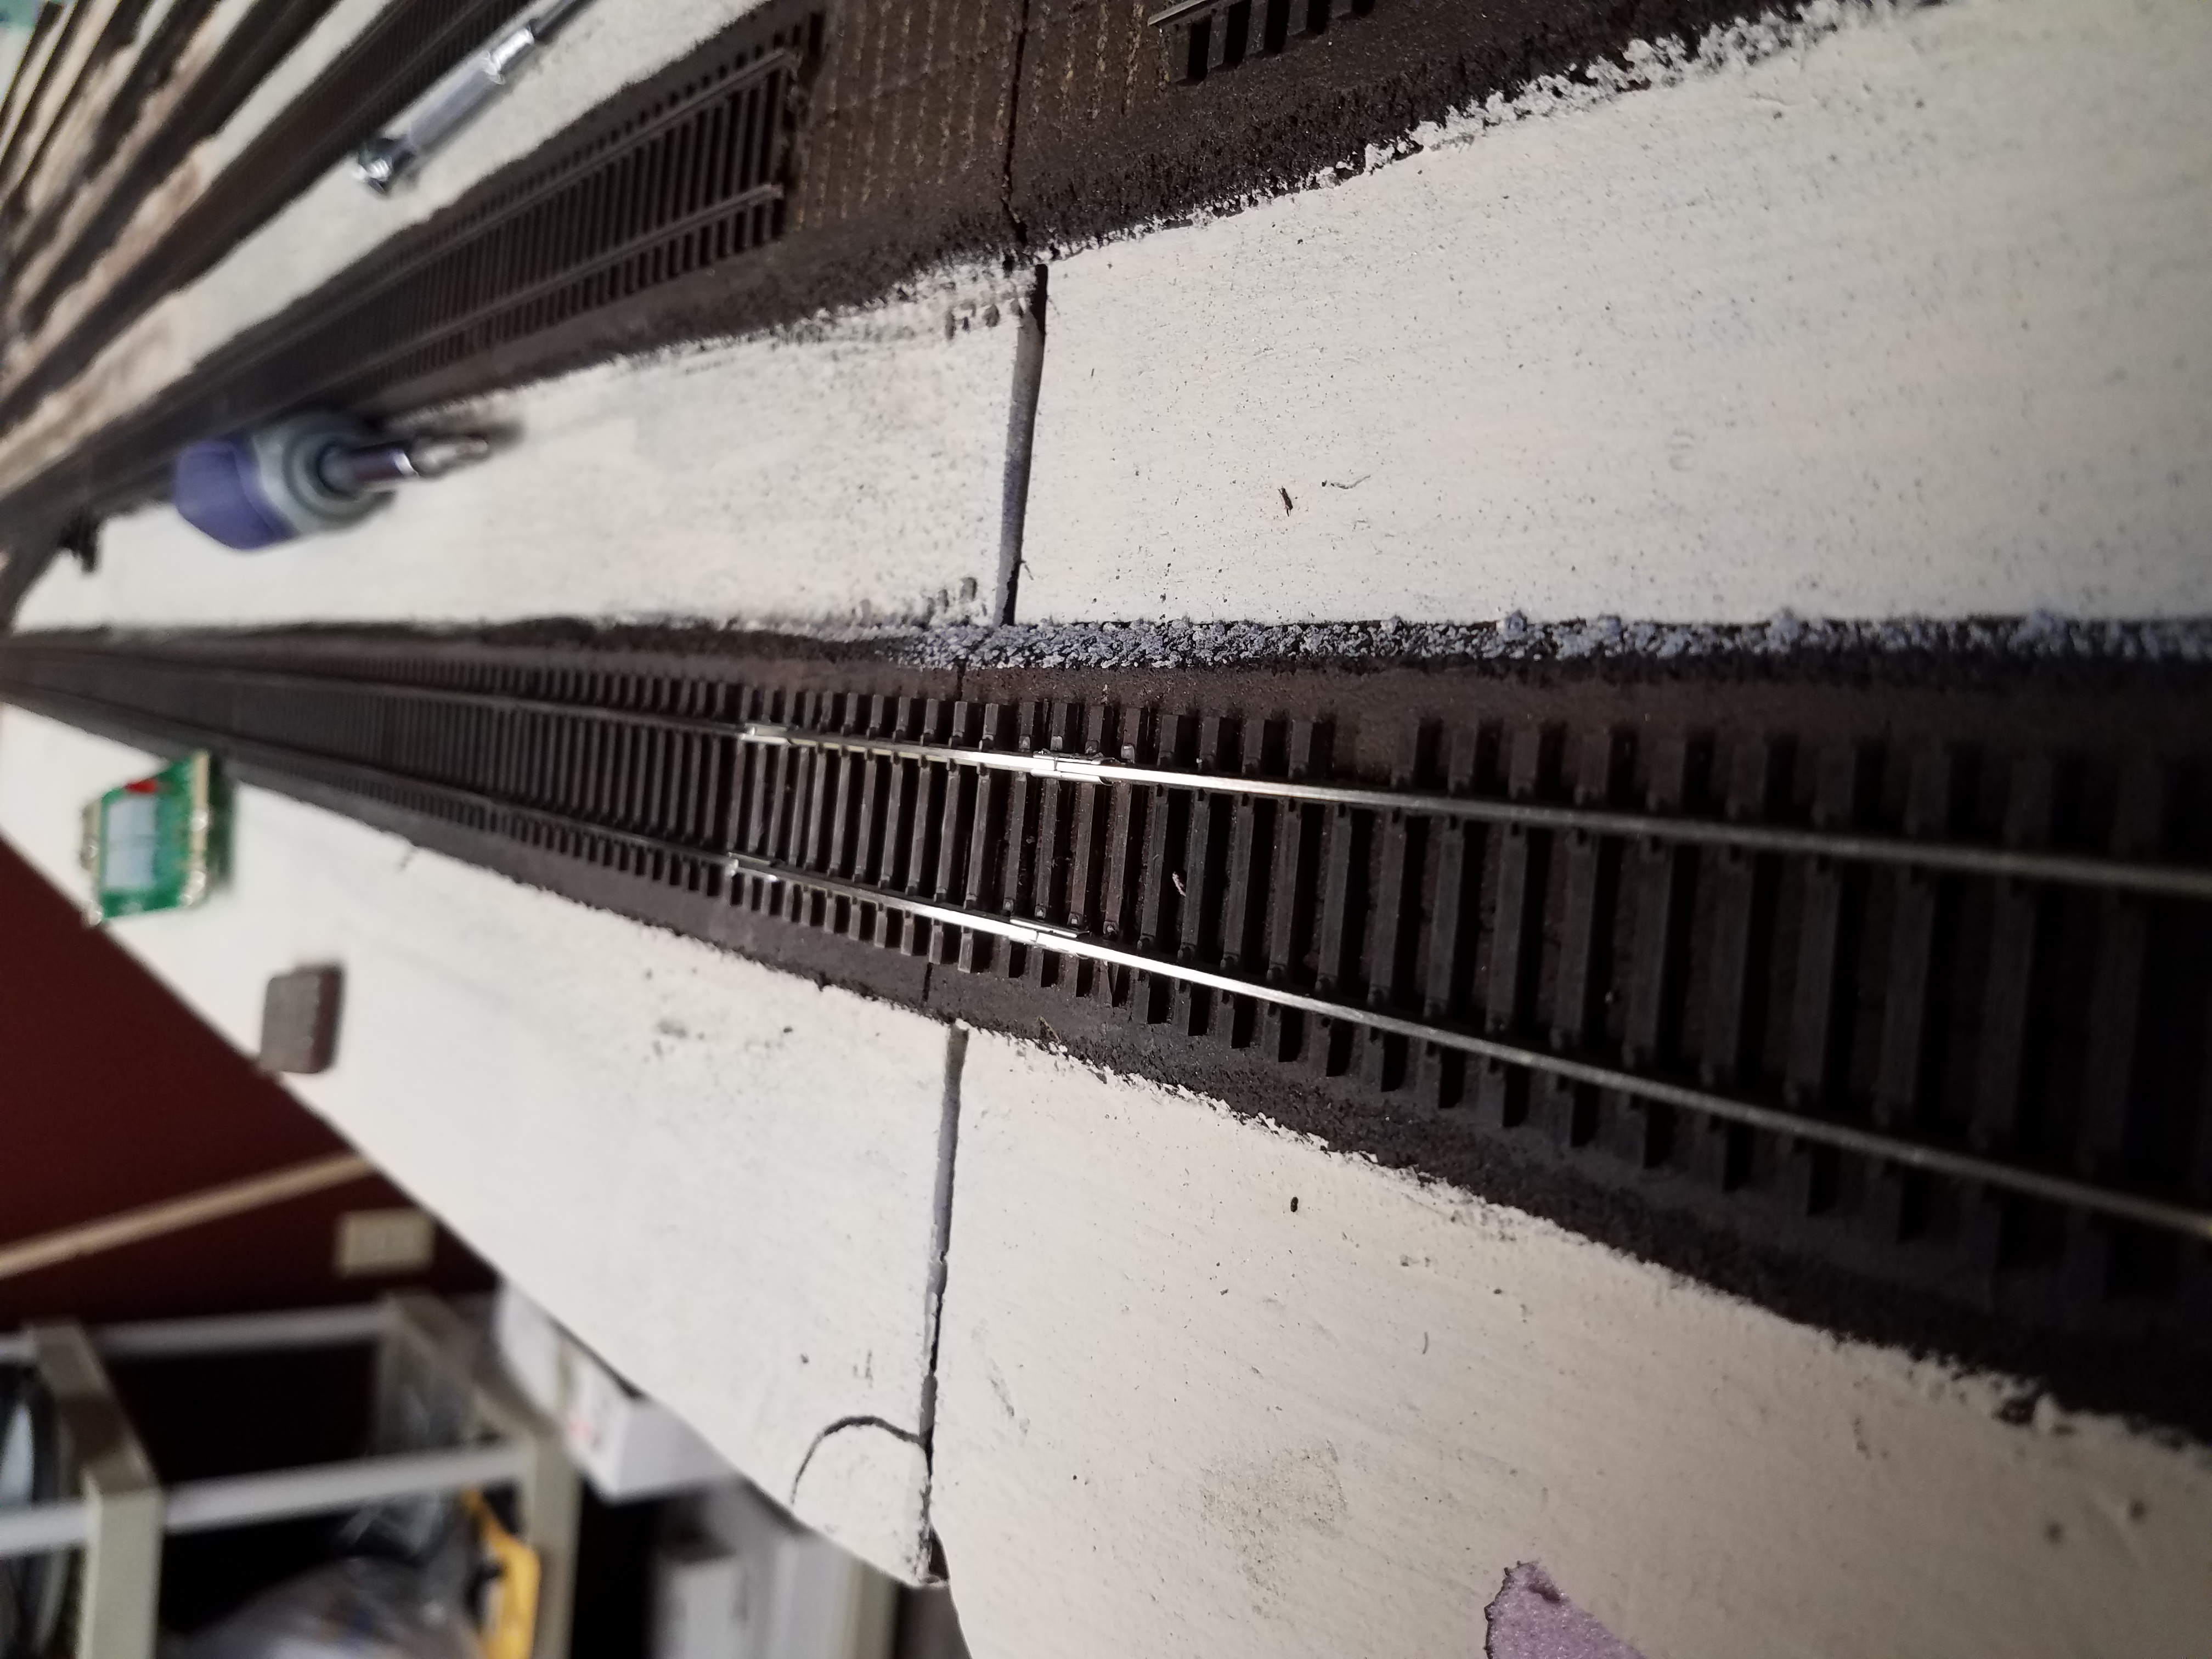
The last couple of days I've been reconnecting feeders to the buss and splicing across the yard sections split. Here's the mainline splice:
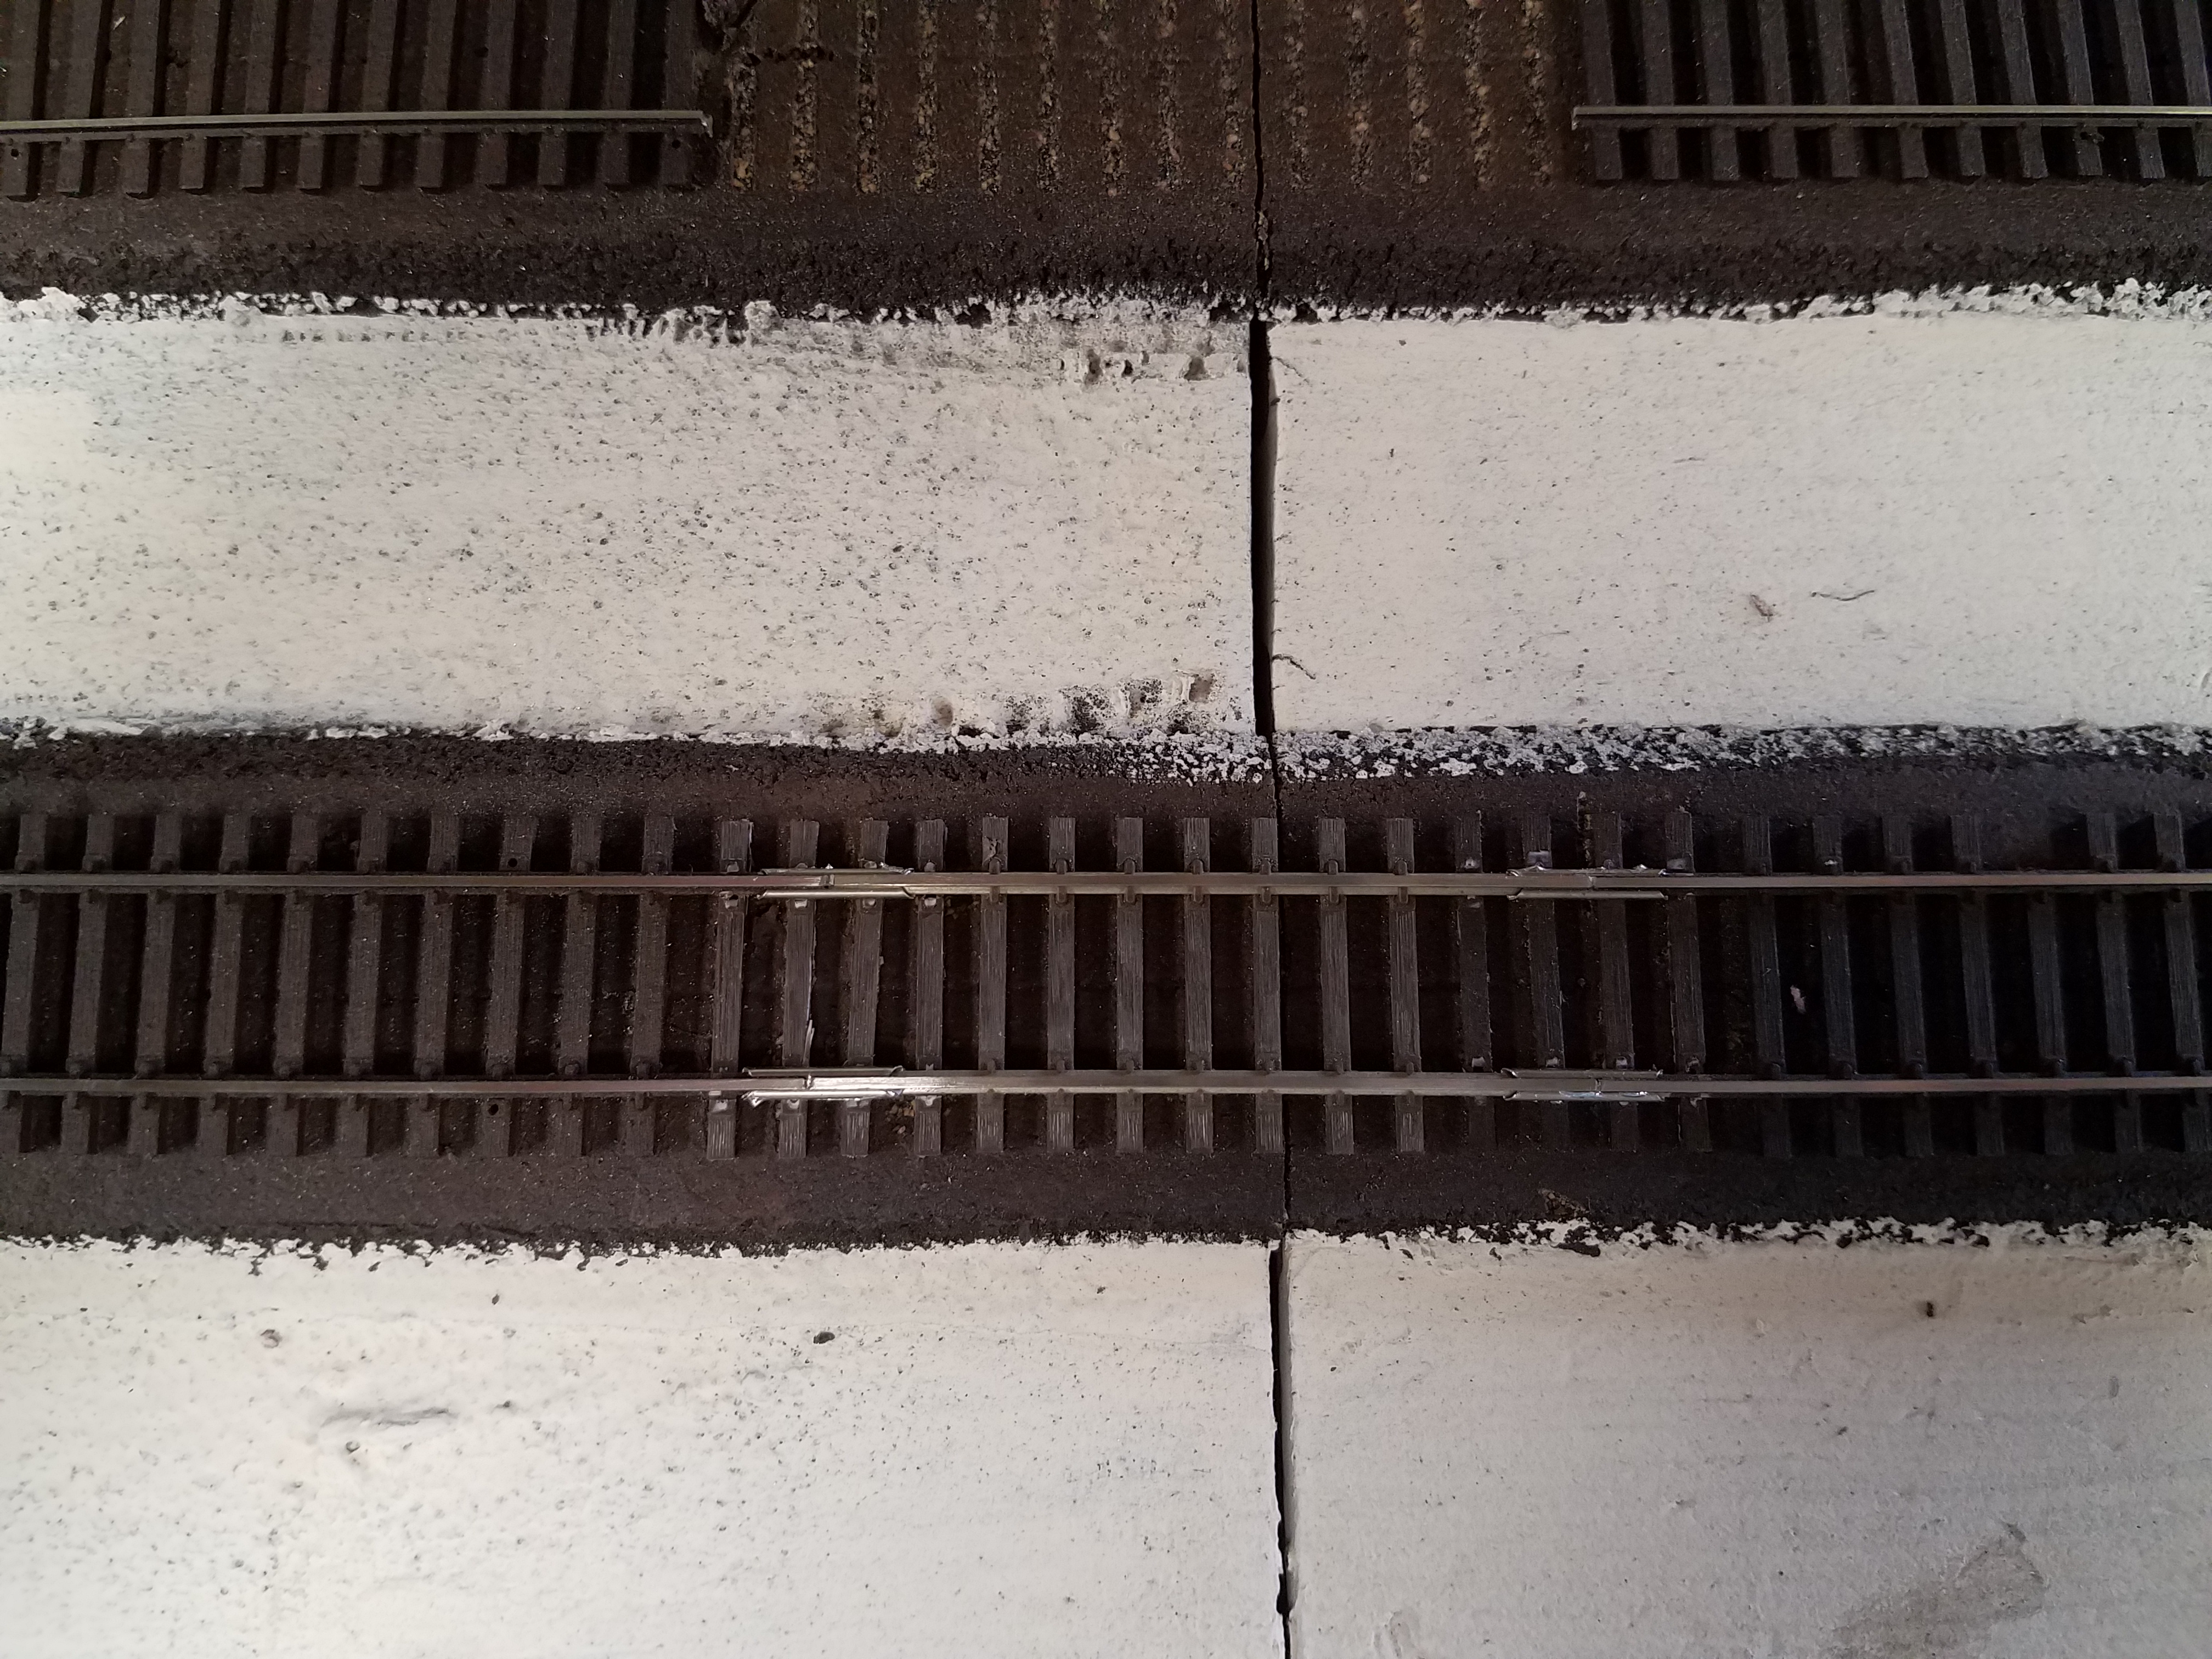
And behind the roll of solder is the first classification track splice:
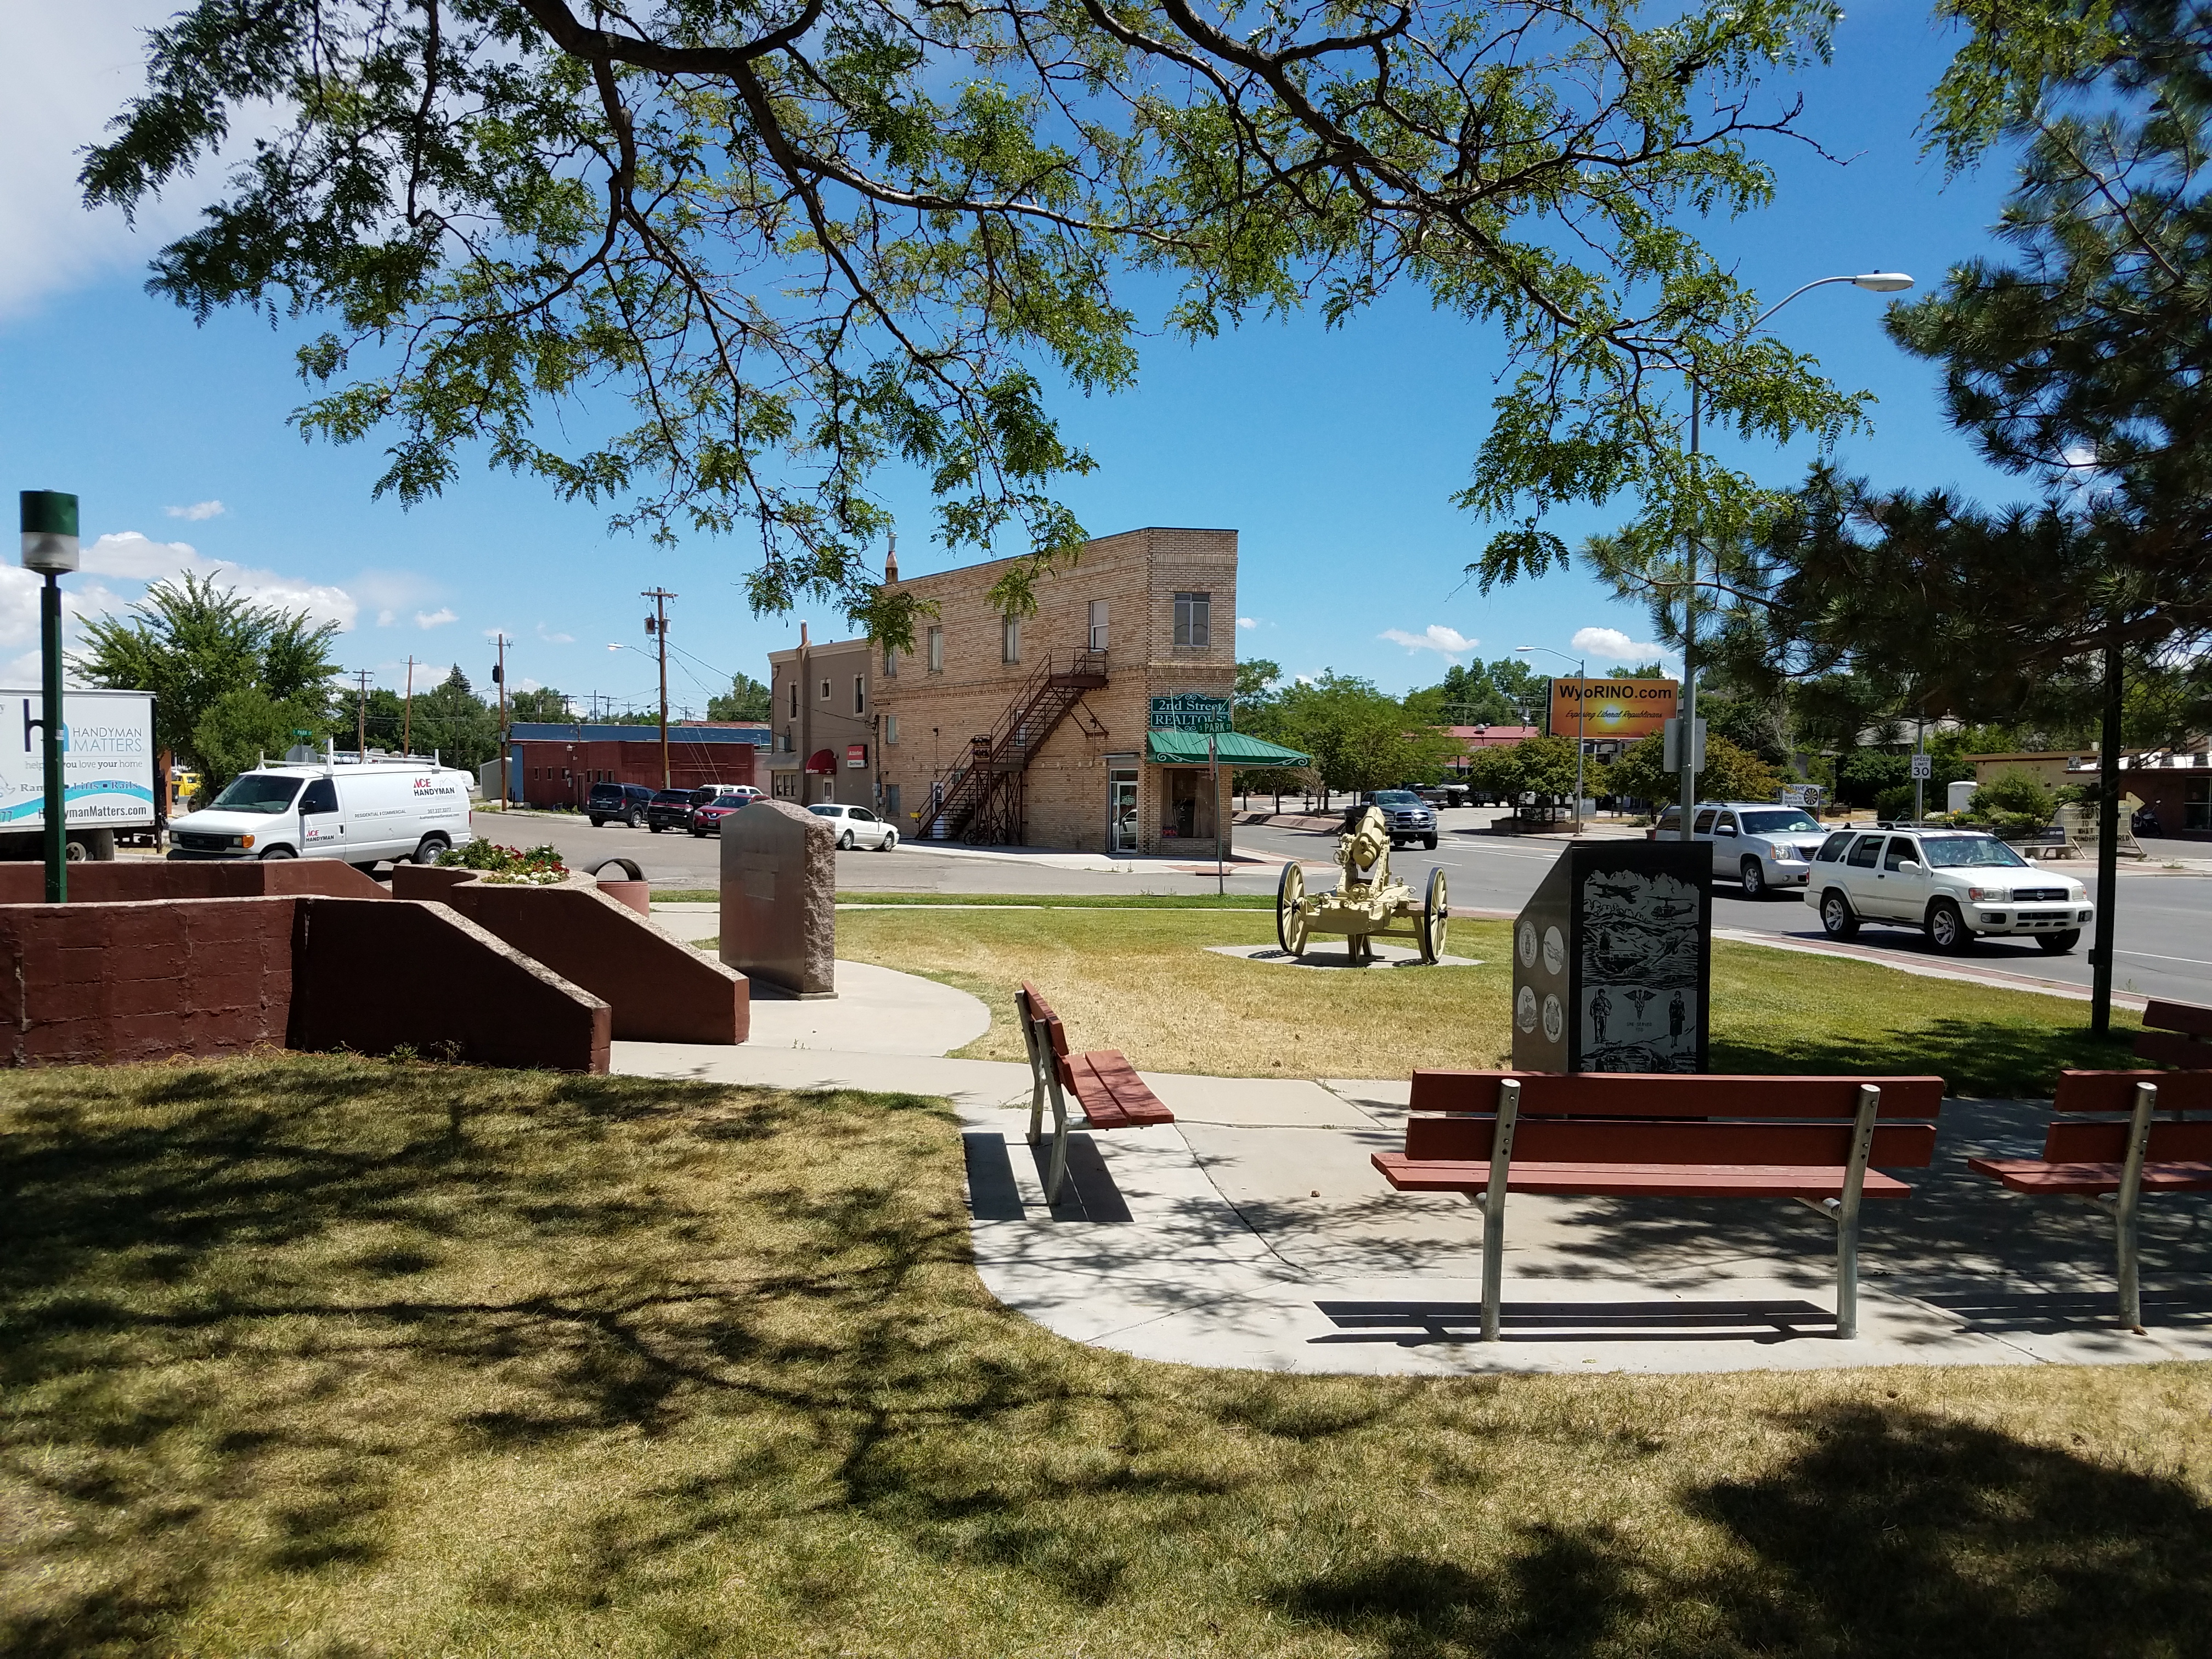
On Tuesday the 14th, I took the morning and walked the western half of the Casper Rail Trail, the old Chicago & Northwestern line in Casper. The entire trail about six miles long; I walked the three miles that go through downtown Casper. The trail is very nice - the entire section I walked is concrete, with benches and maps periodically along the path. I've added a page about the trail to the Railfanning section of the website. You can click here to go see that. Here's one shot along the trail, at Veteran's Park in Casper:
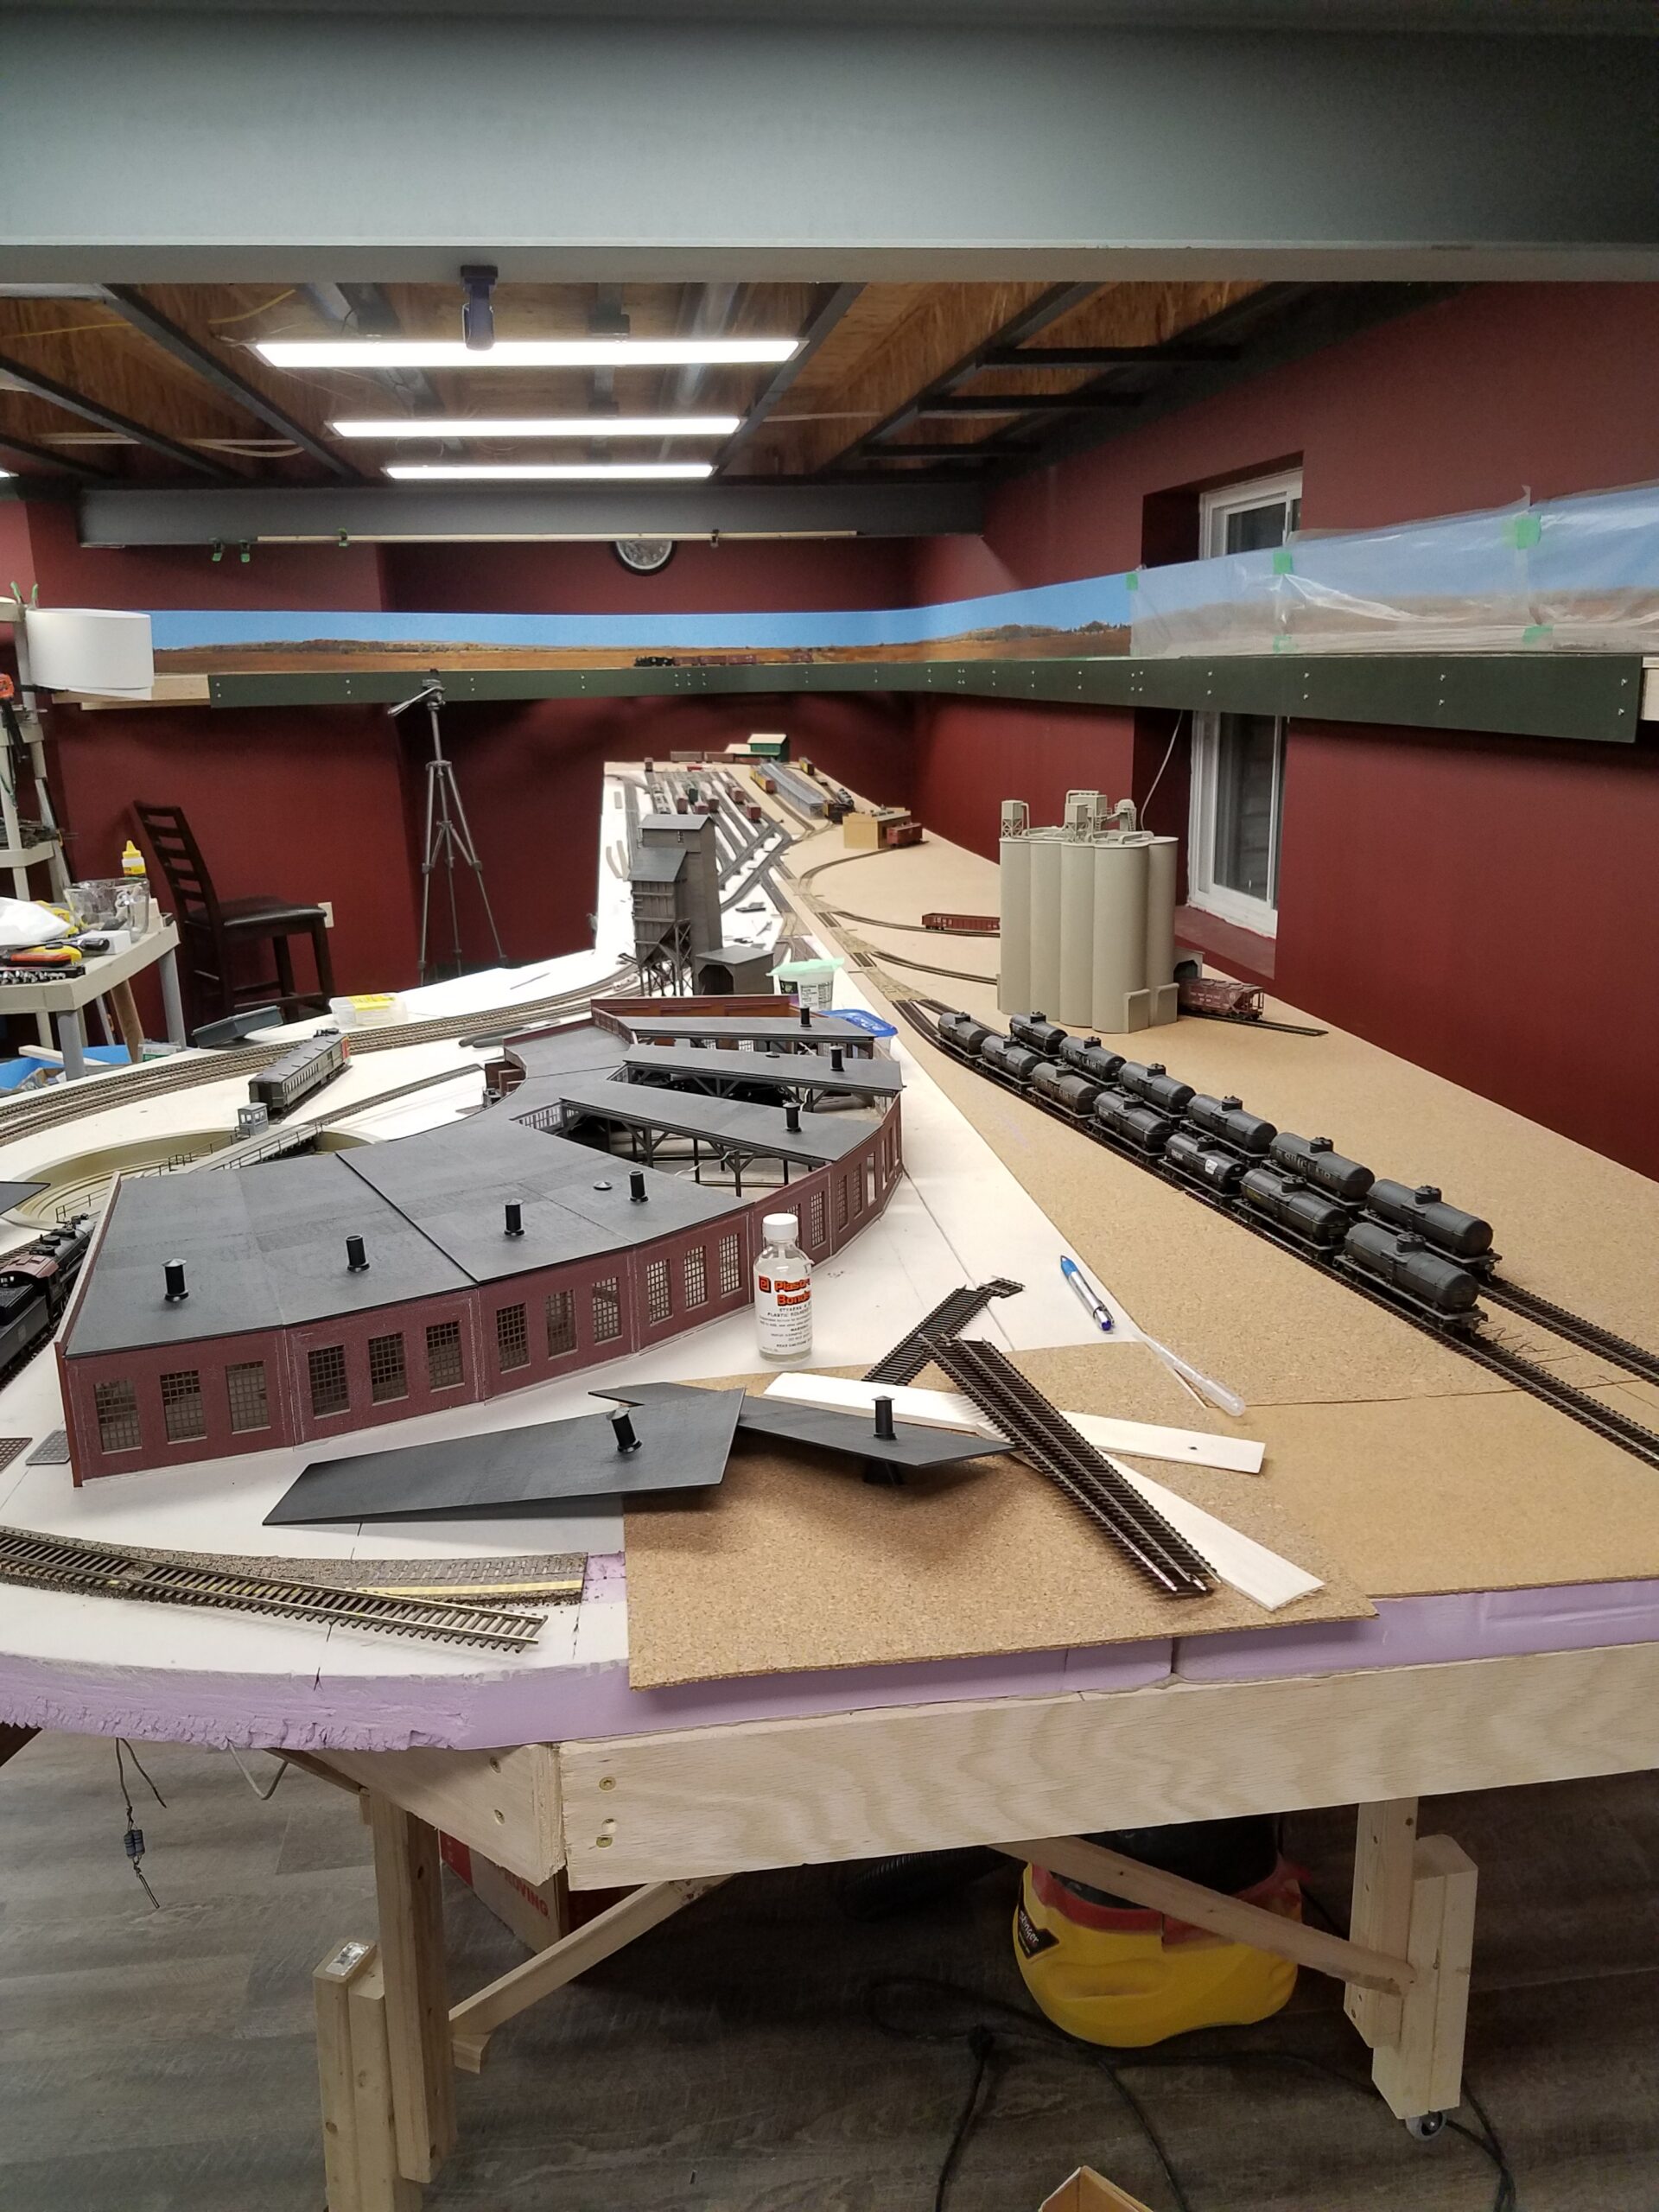
On the 16th I unpacked all my road-ready freight cars and repopulated the Casper yard. Here's a shot from the 18th of the month:
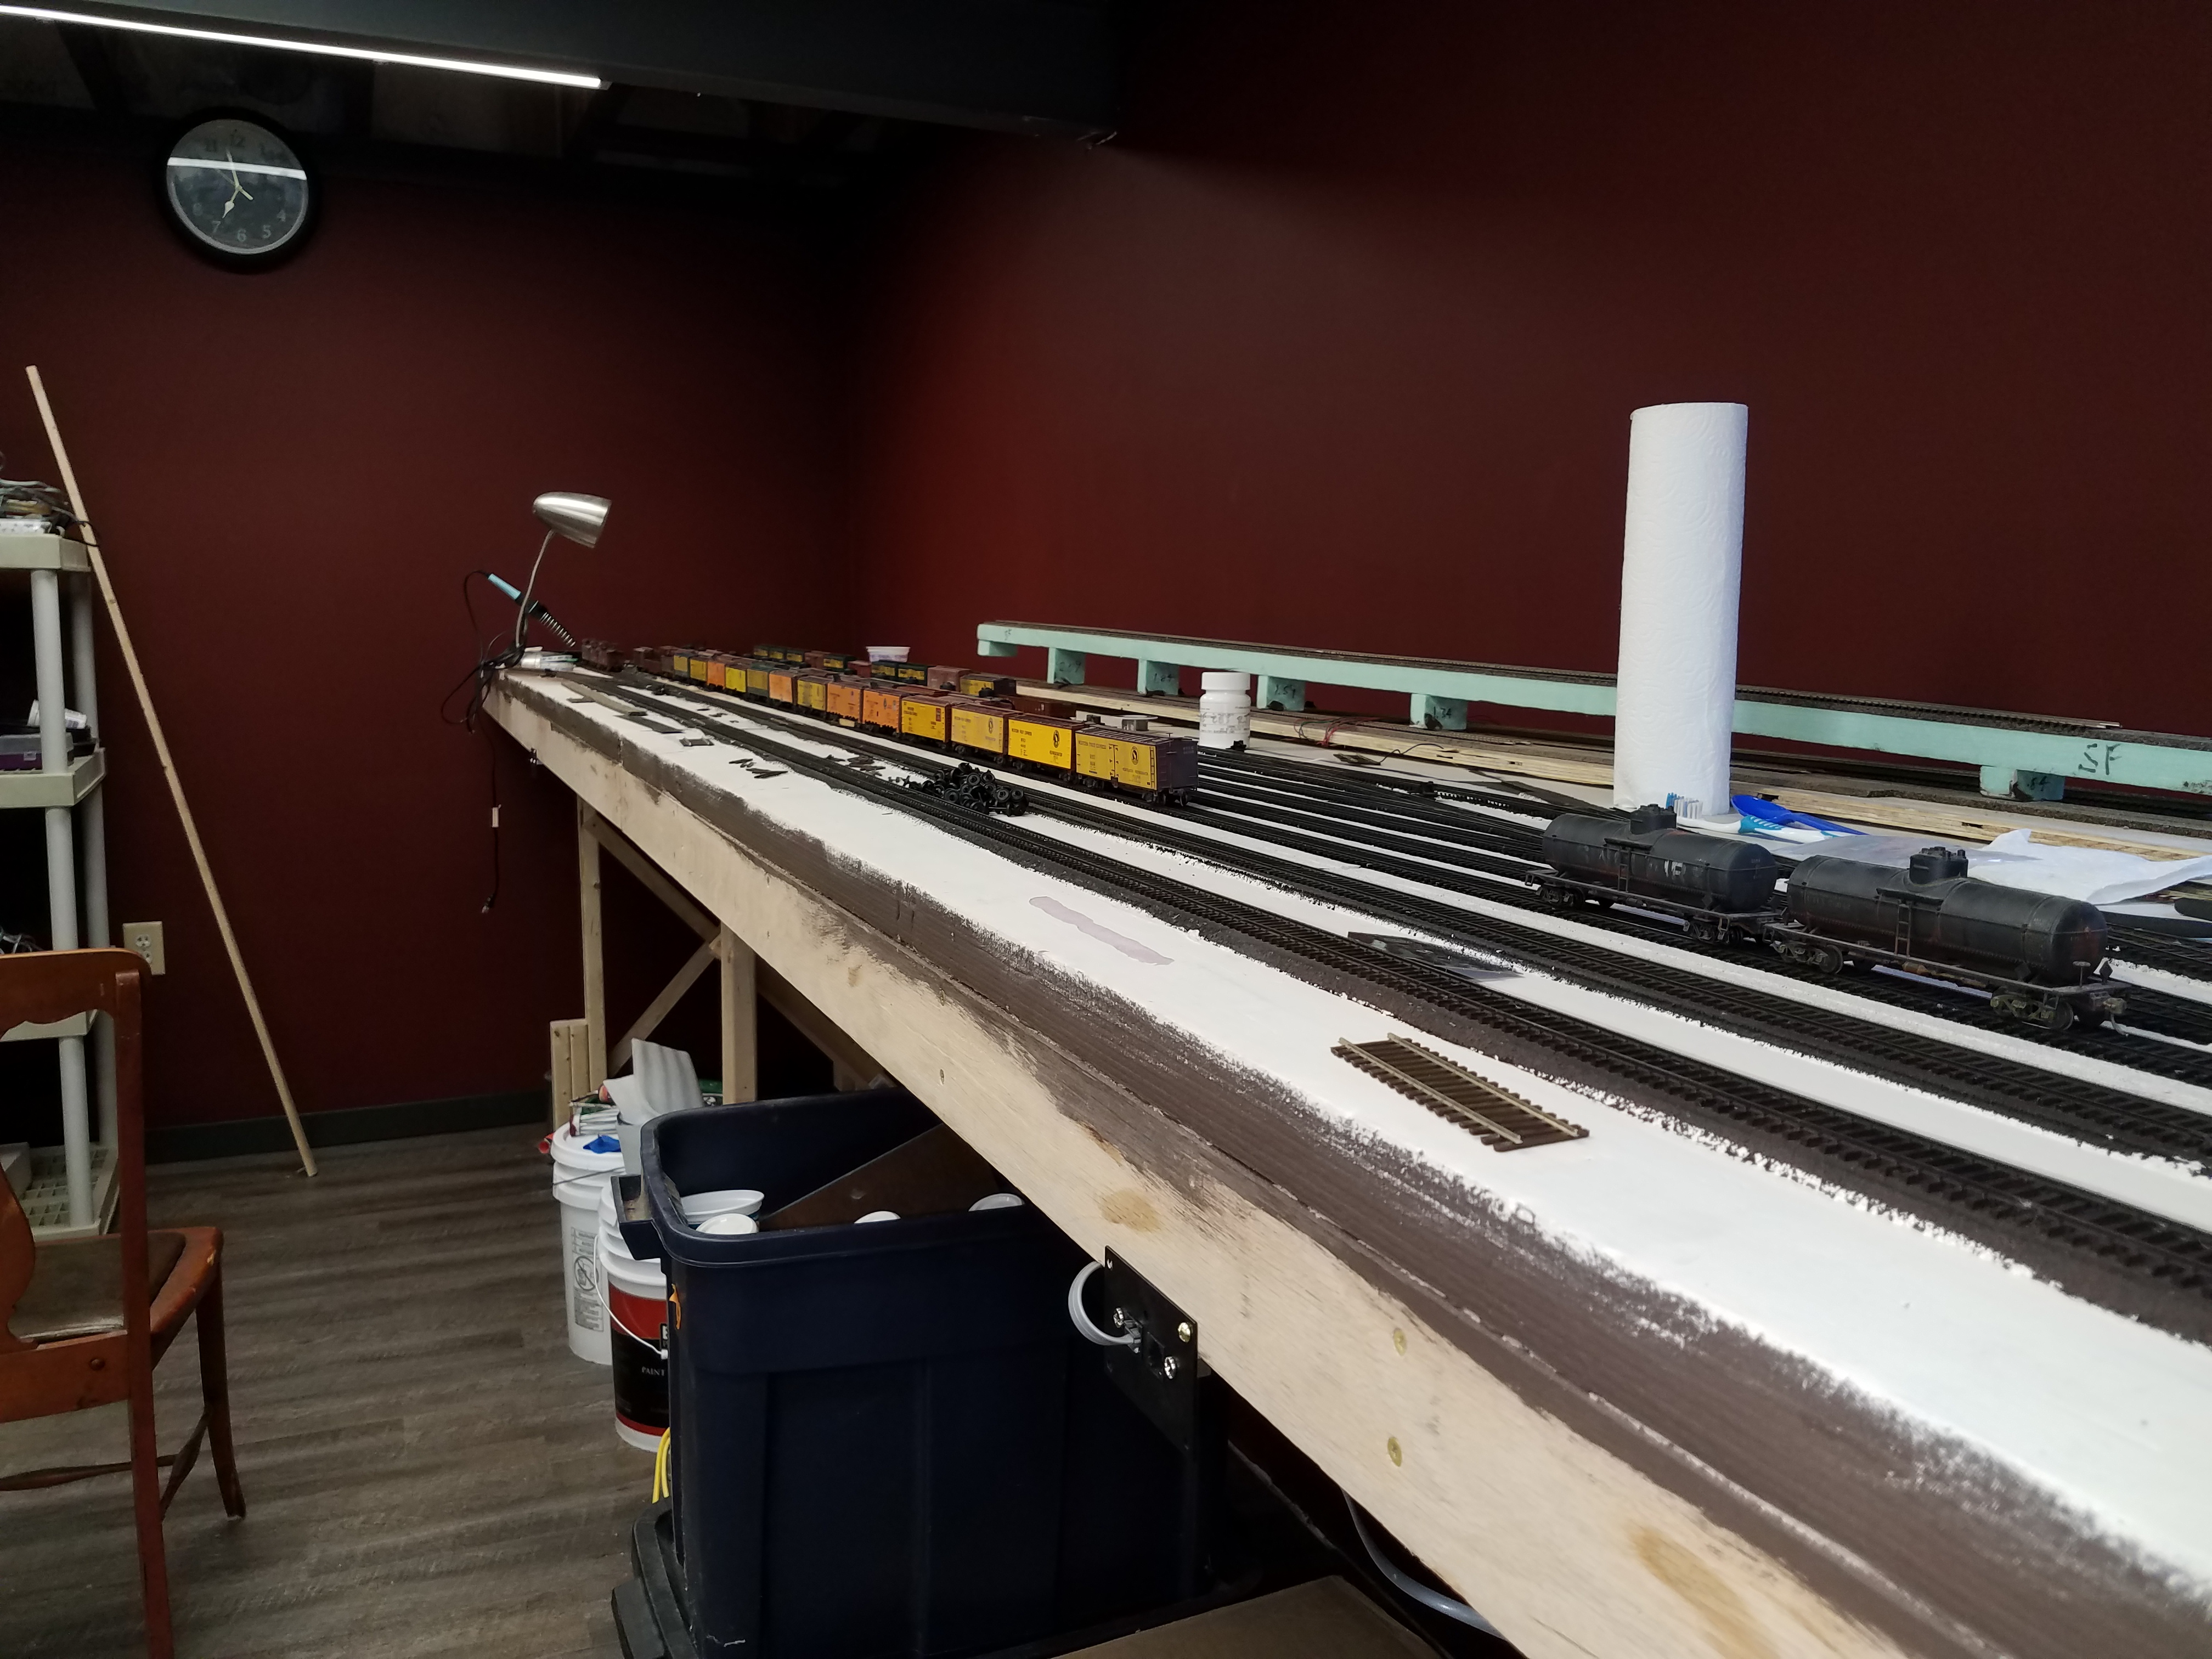
That pile of wheel sets in front of the string of reefers is enough semi-scale (.088" tread width) wheels for about 13 cars. A friend bought them for his layout, then discovered that they don't play well with Atlas switches! They cause frequent derailments, he said. I'm guessing the drop into the gap at the frog. Anyway, since I build my own switches with a Fast Tracks jig, he offered them to me.
I tested them on a couple of tank cars, and they work fine in my yard throat. So I'm swapping out the standard .110" tread wheelsets in my Kadee trucks for these, which fit like a glove. Then I'll give my old wheelsets to my friend, who will swap them out with the cars he has that have plastic wheels. What a deal for me (and him, I'd like to think)!
I put a couple of tank cars on adjacent tracks to compare the appearance of the semi-scale wheels on the left, to the standard wheels on the right. I think the semi-scale wheels look pretty good! When they've been running awhile and the treads are polished, they'll look even better! On tank cars, where the wheel treads are very visible, this makes a BIG difference!

Looking at the wheels from this perspective, I think the flanges are also a bit finer than the RP-25 flanges on the Kadee wheels.
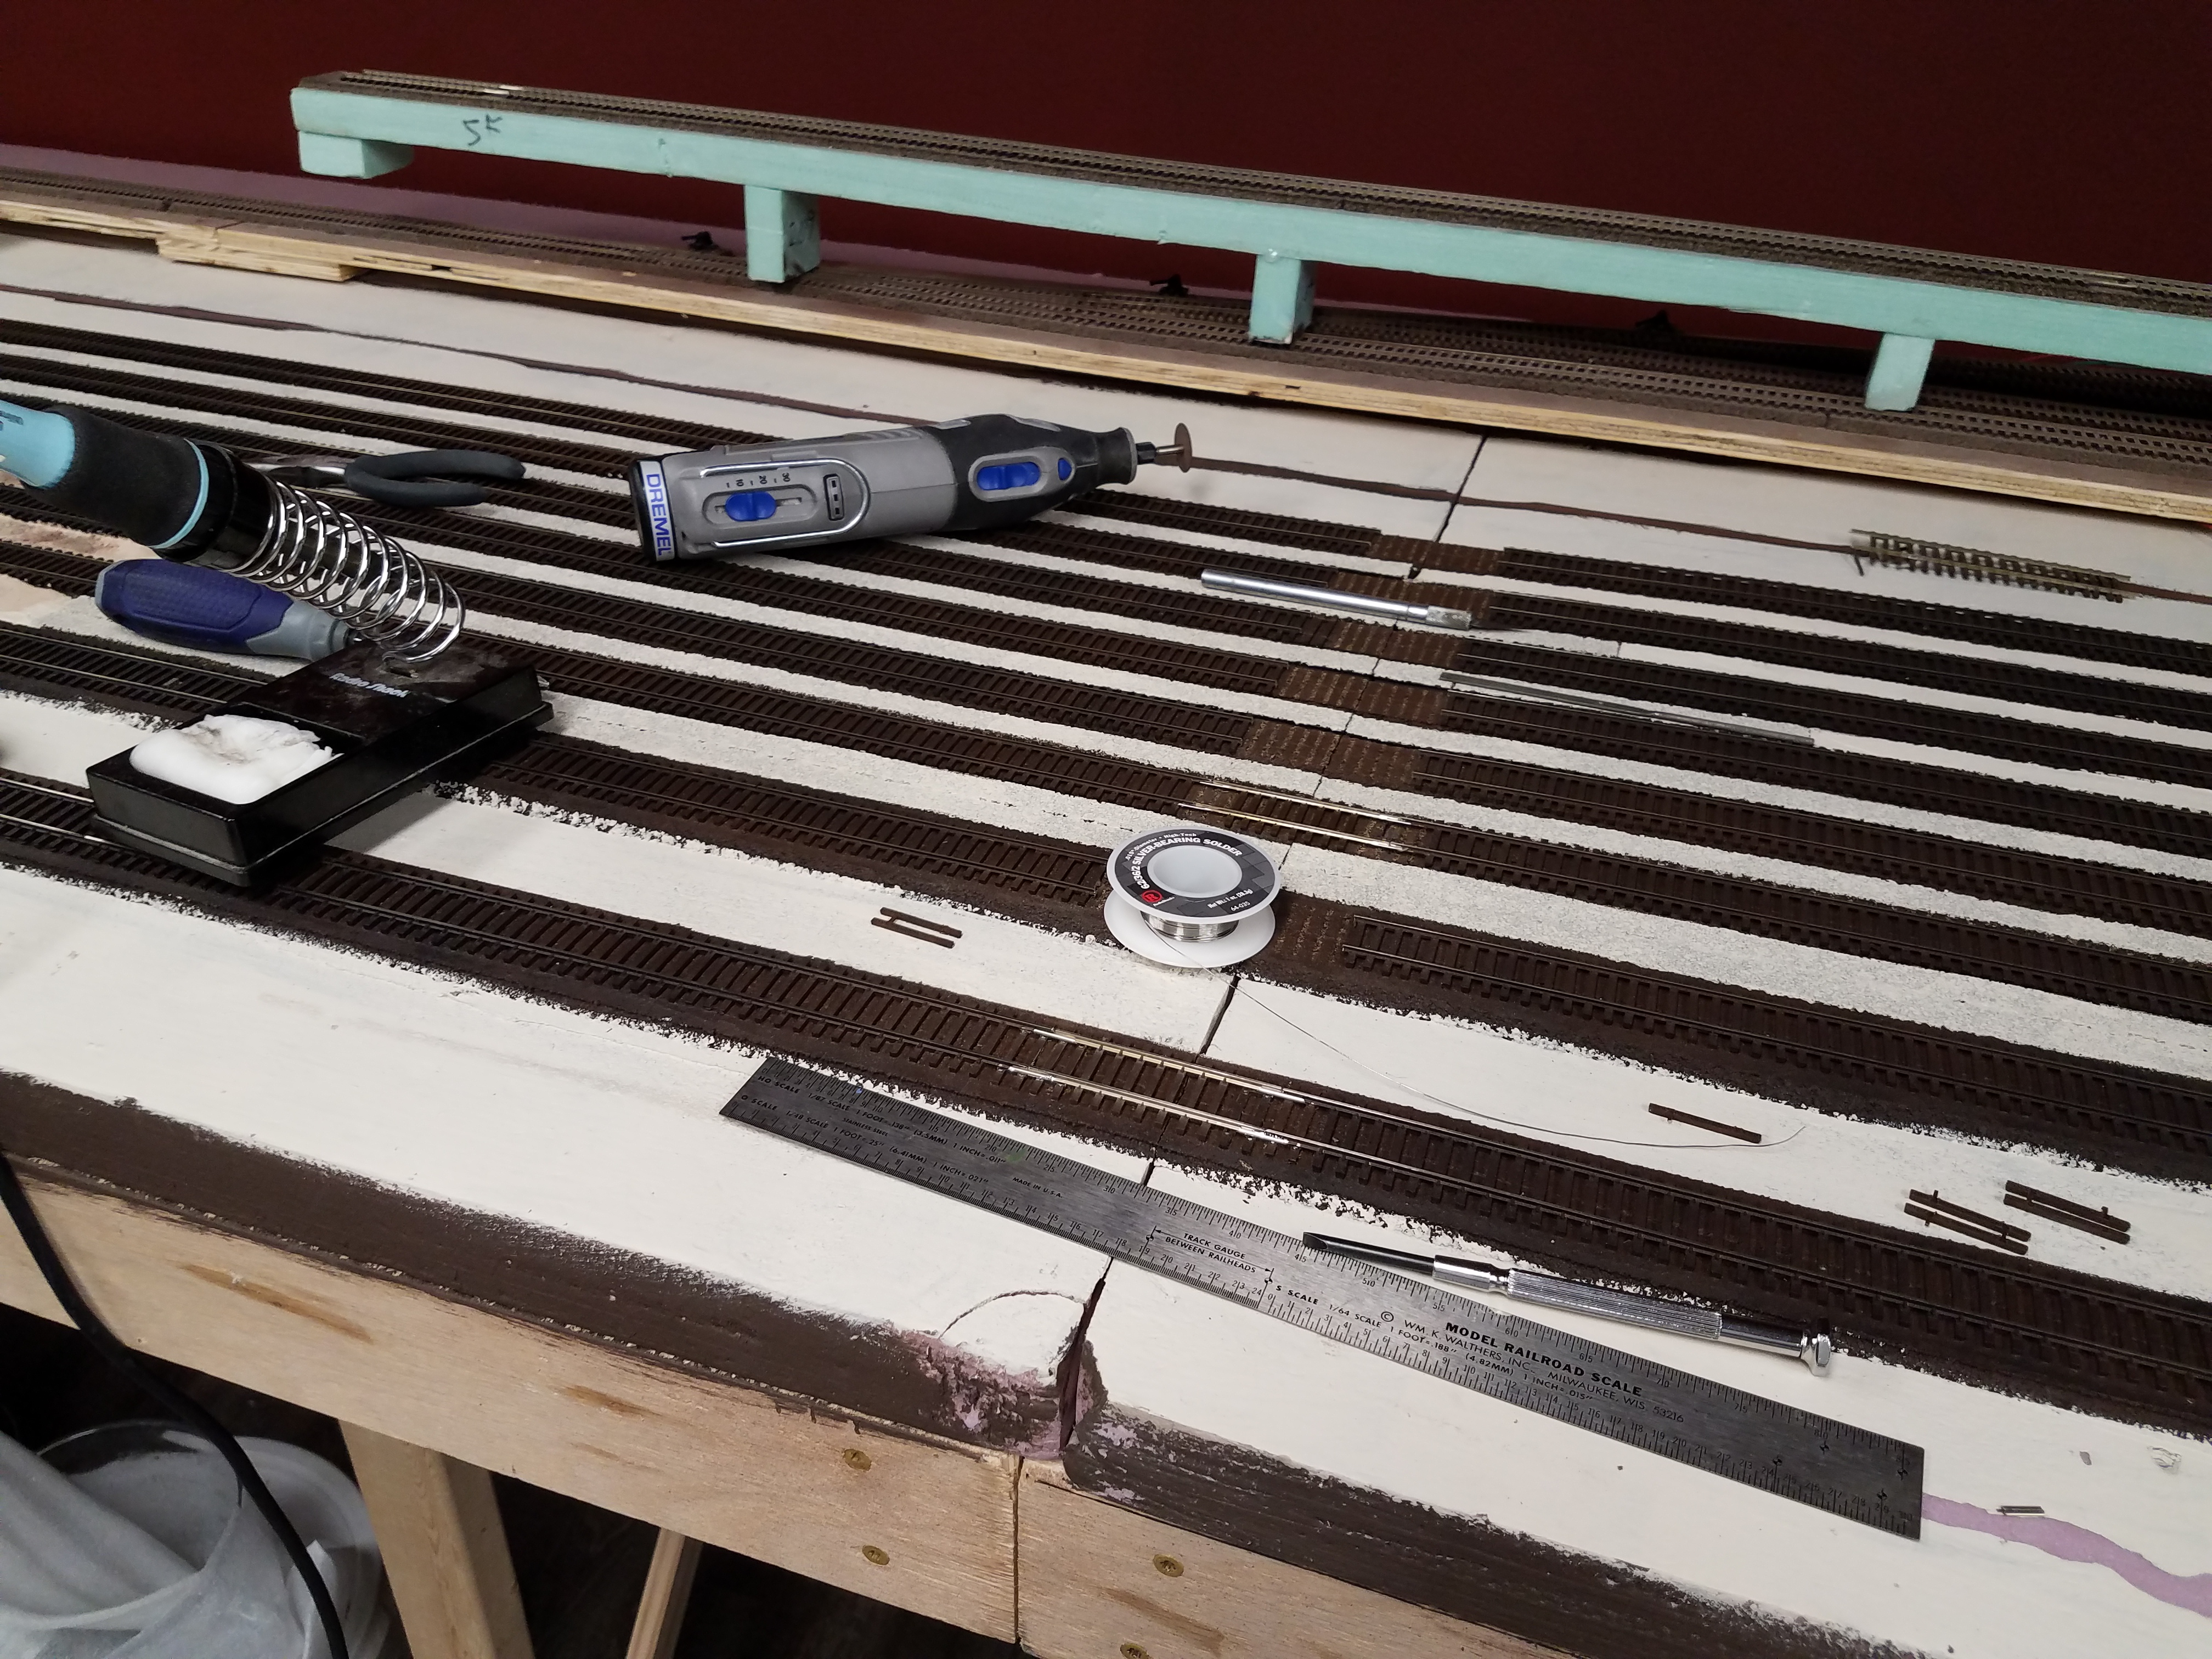
Armed with the new rail joiners, I was able to finish reconnecting all the Casper yard tracks:
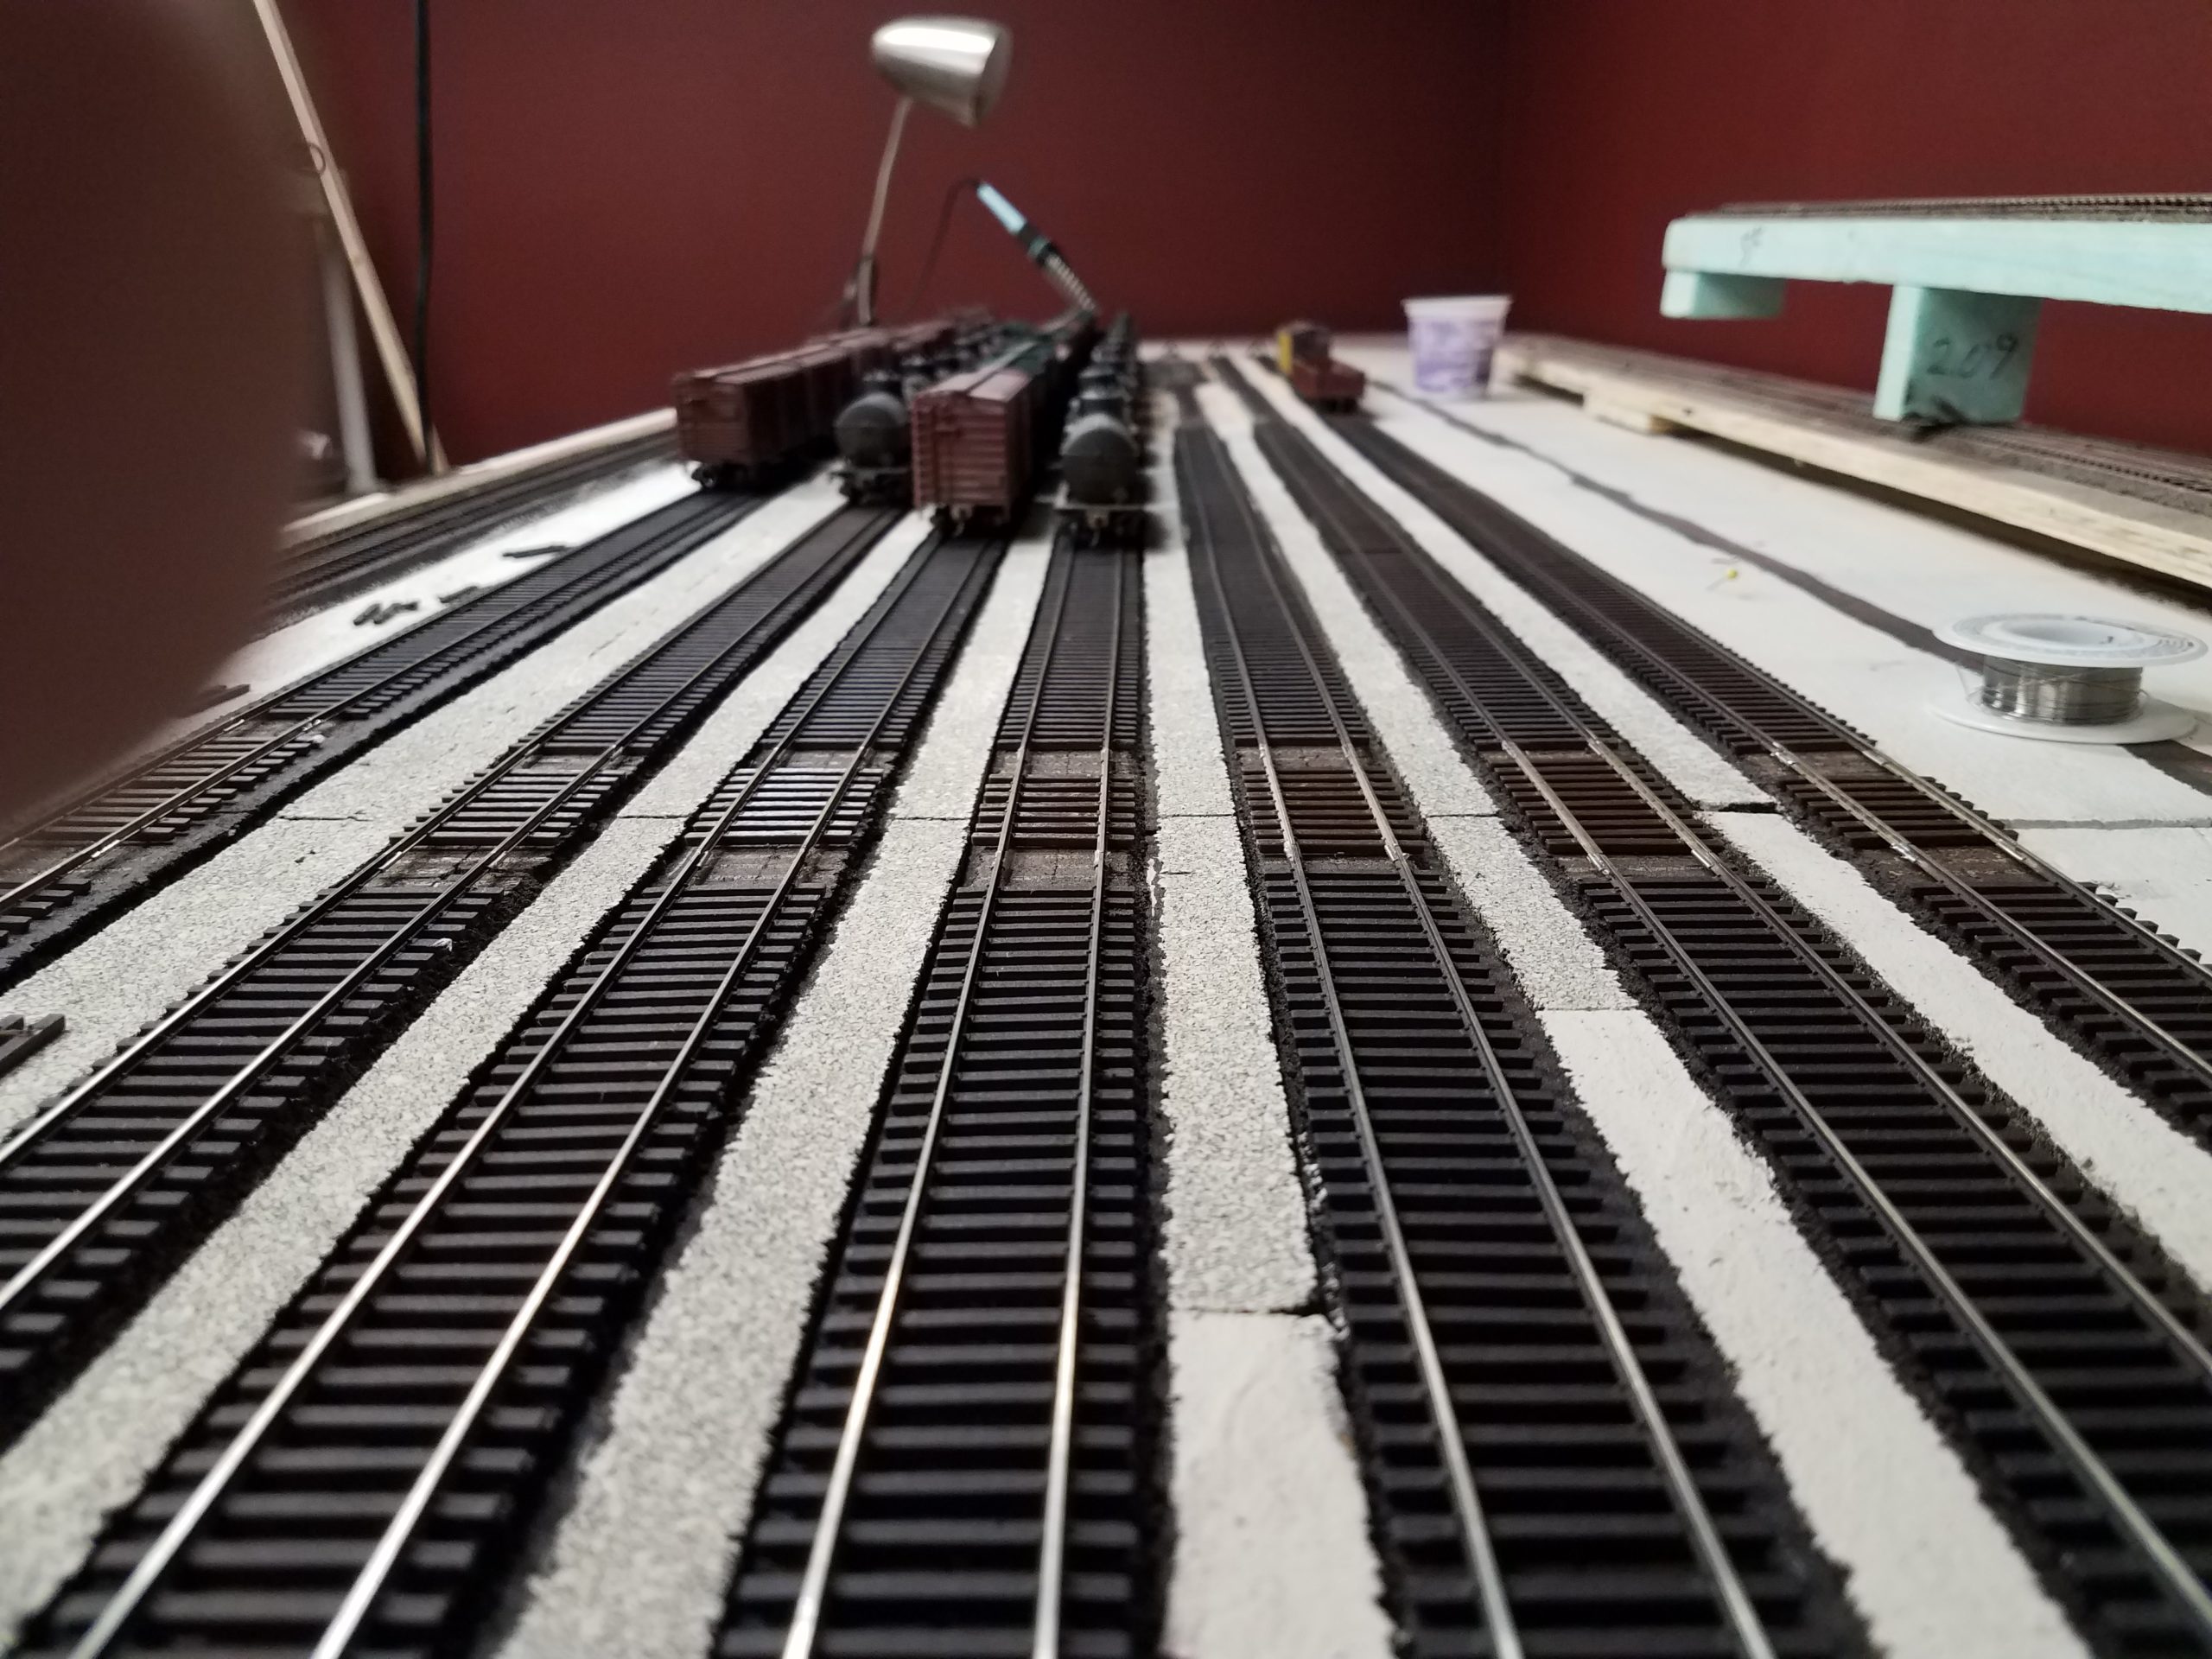
Obviously I still have to replace the end ties and weather the track.
I also got the runaround track reconnected, so the yard is basically fully functional again. I still have to mess with a few ground throws that got cranky during the move, but beyond that I'm ready to start on the Casper industrial tracks.
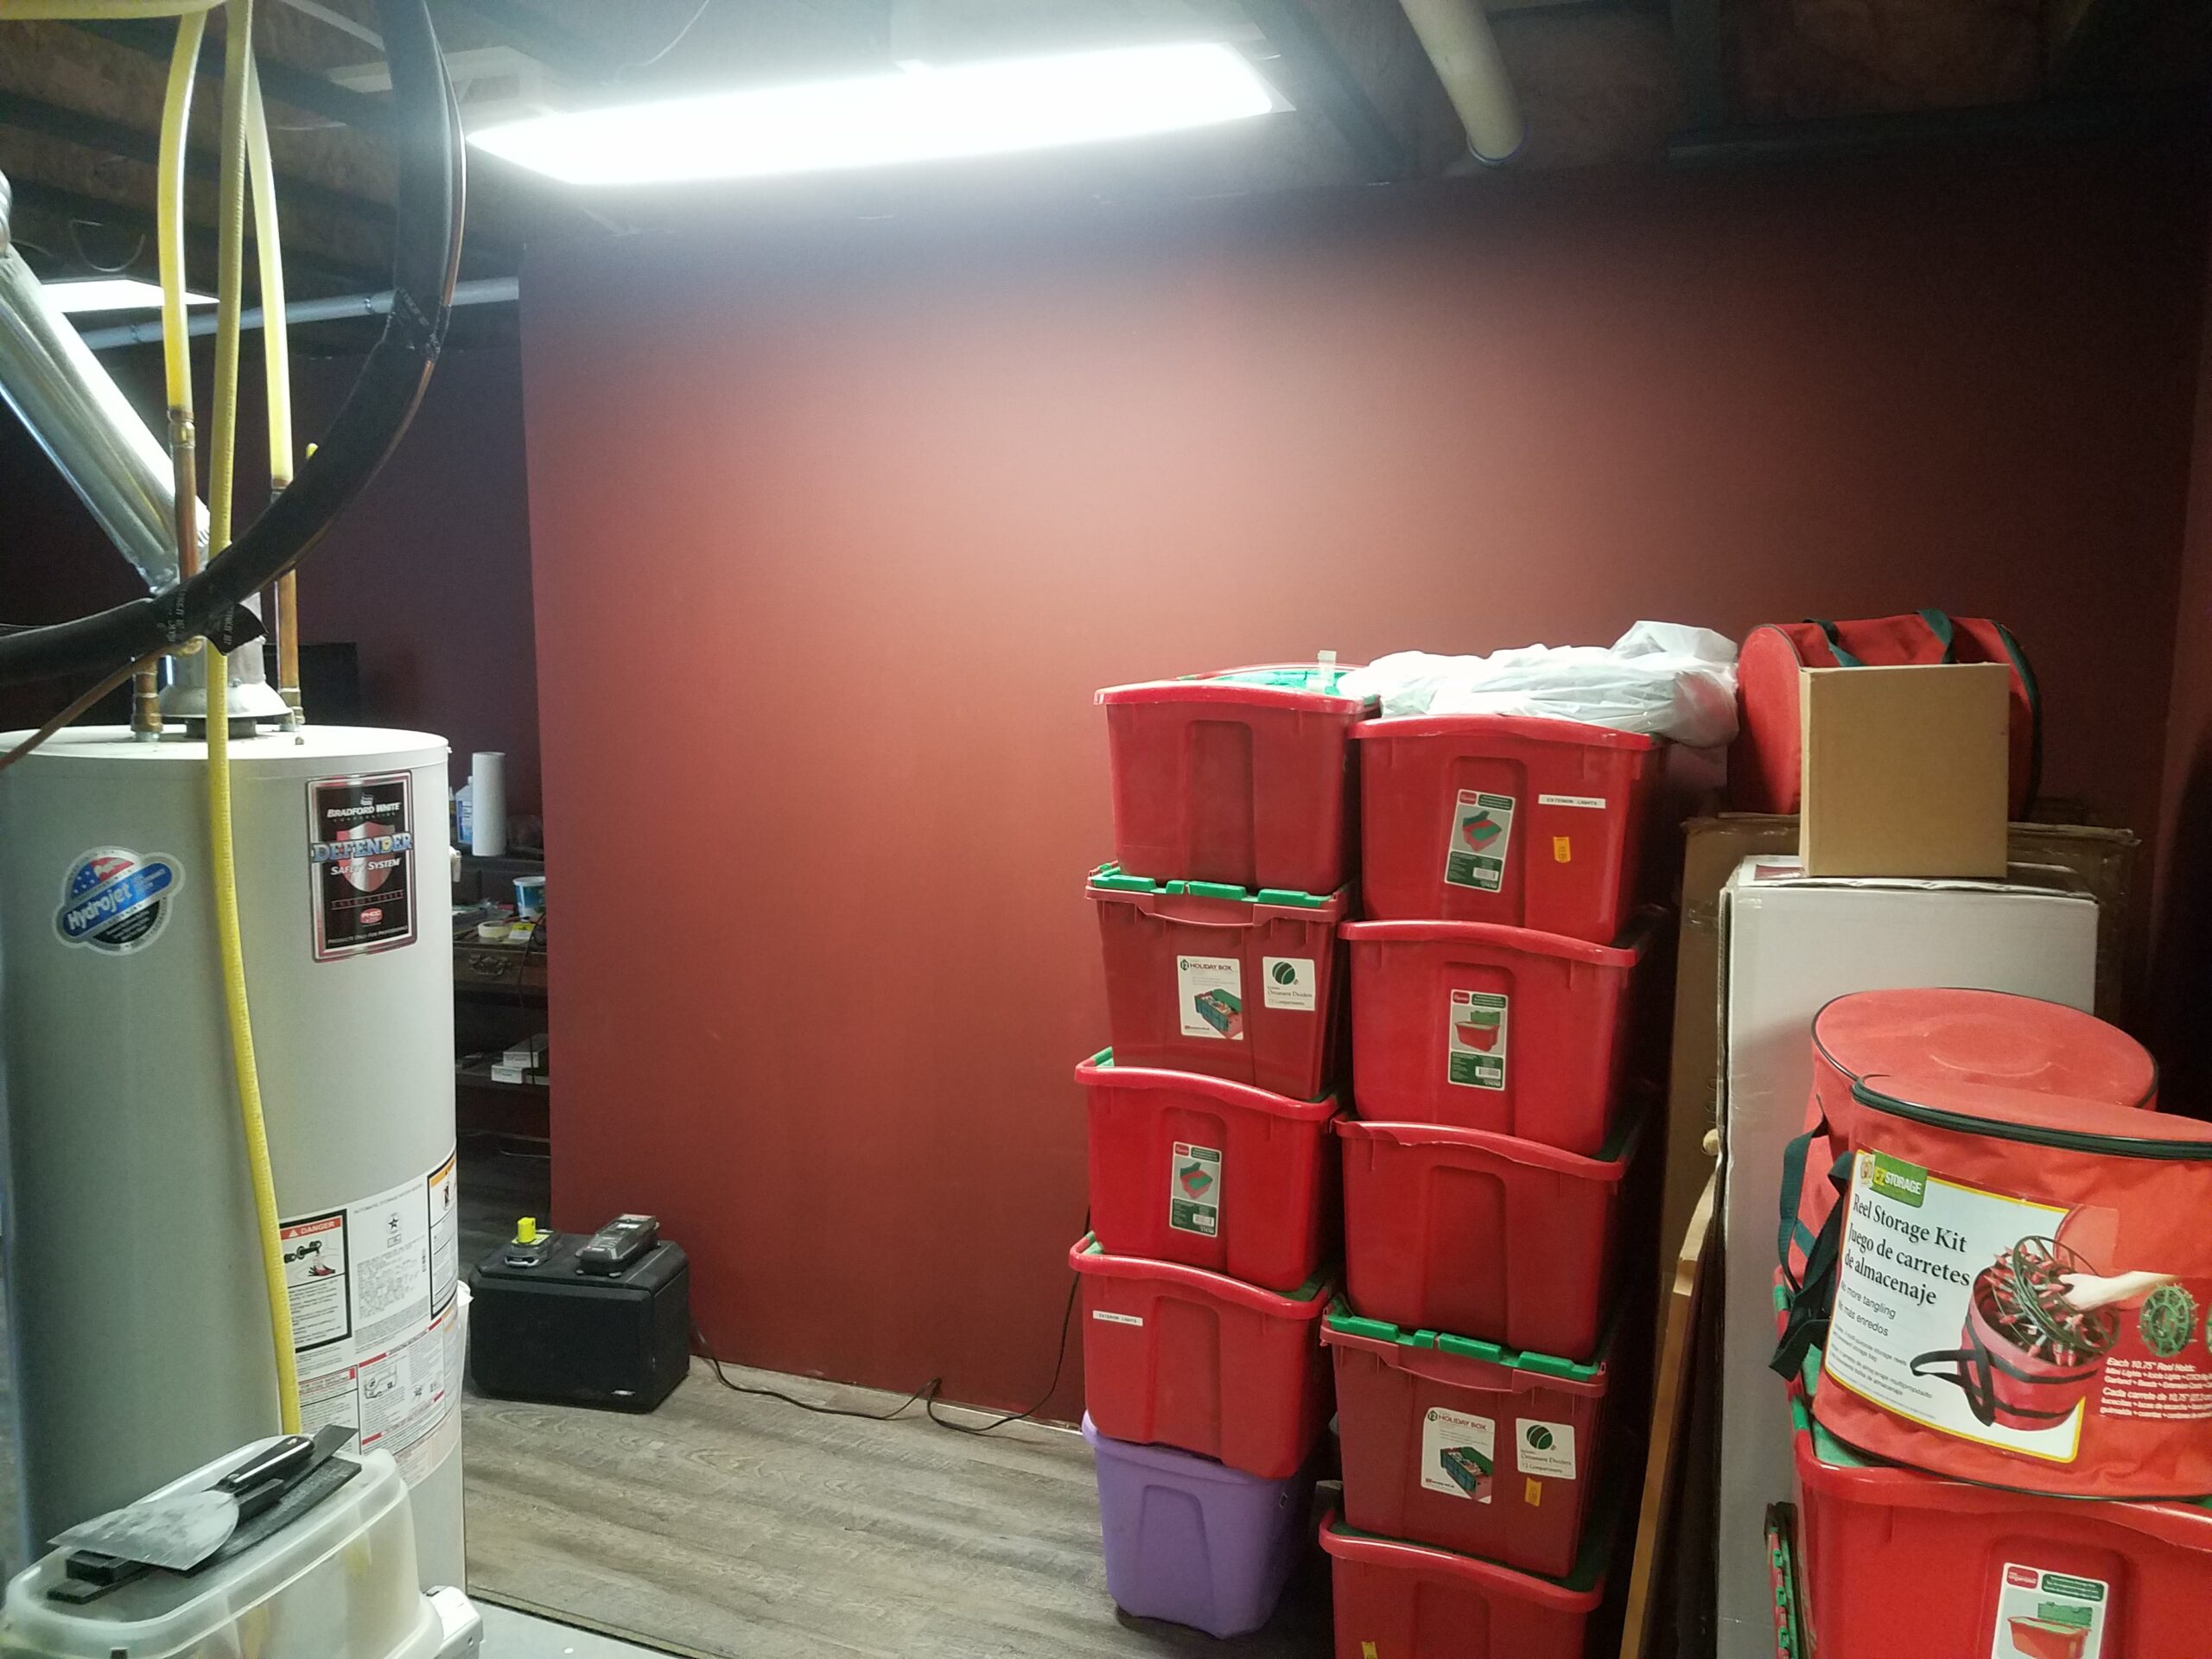
I cleaned off the Casper Yard area a bit, in preparation for new construction. The bit of Frannie / Orin yard I had built in New Jersey had been sitting there, and I came up with a pretty snappy way (I think) to store it until I need it:
I also finally got my workbench located:
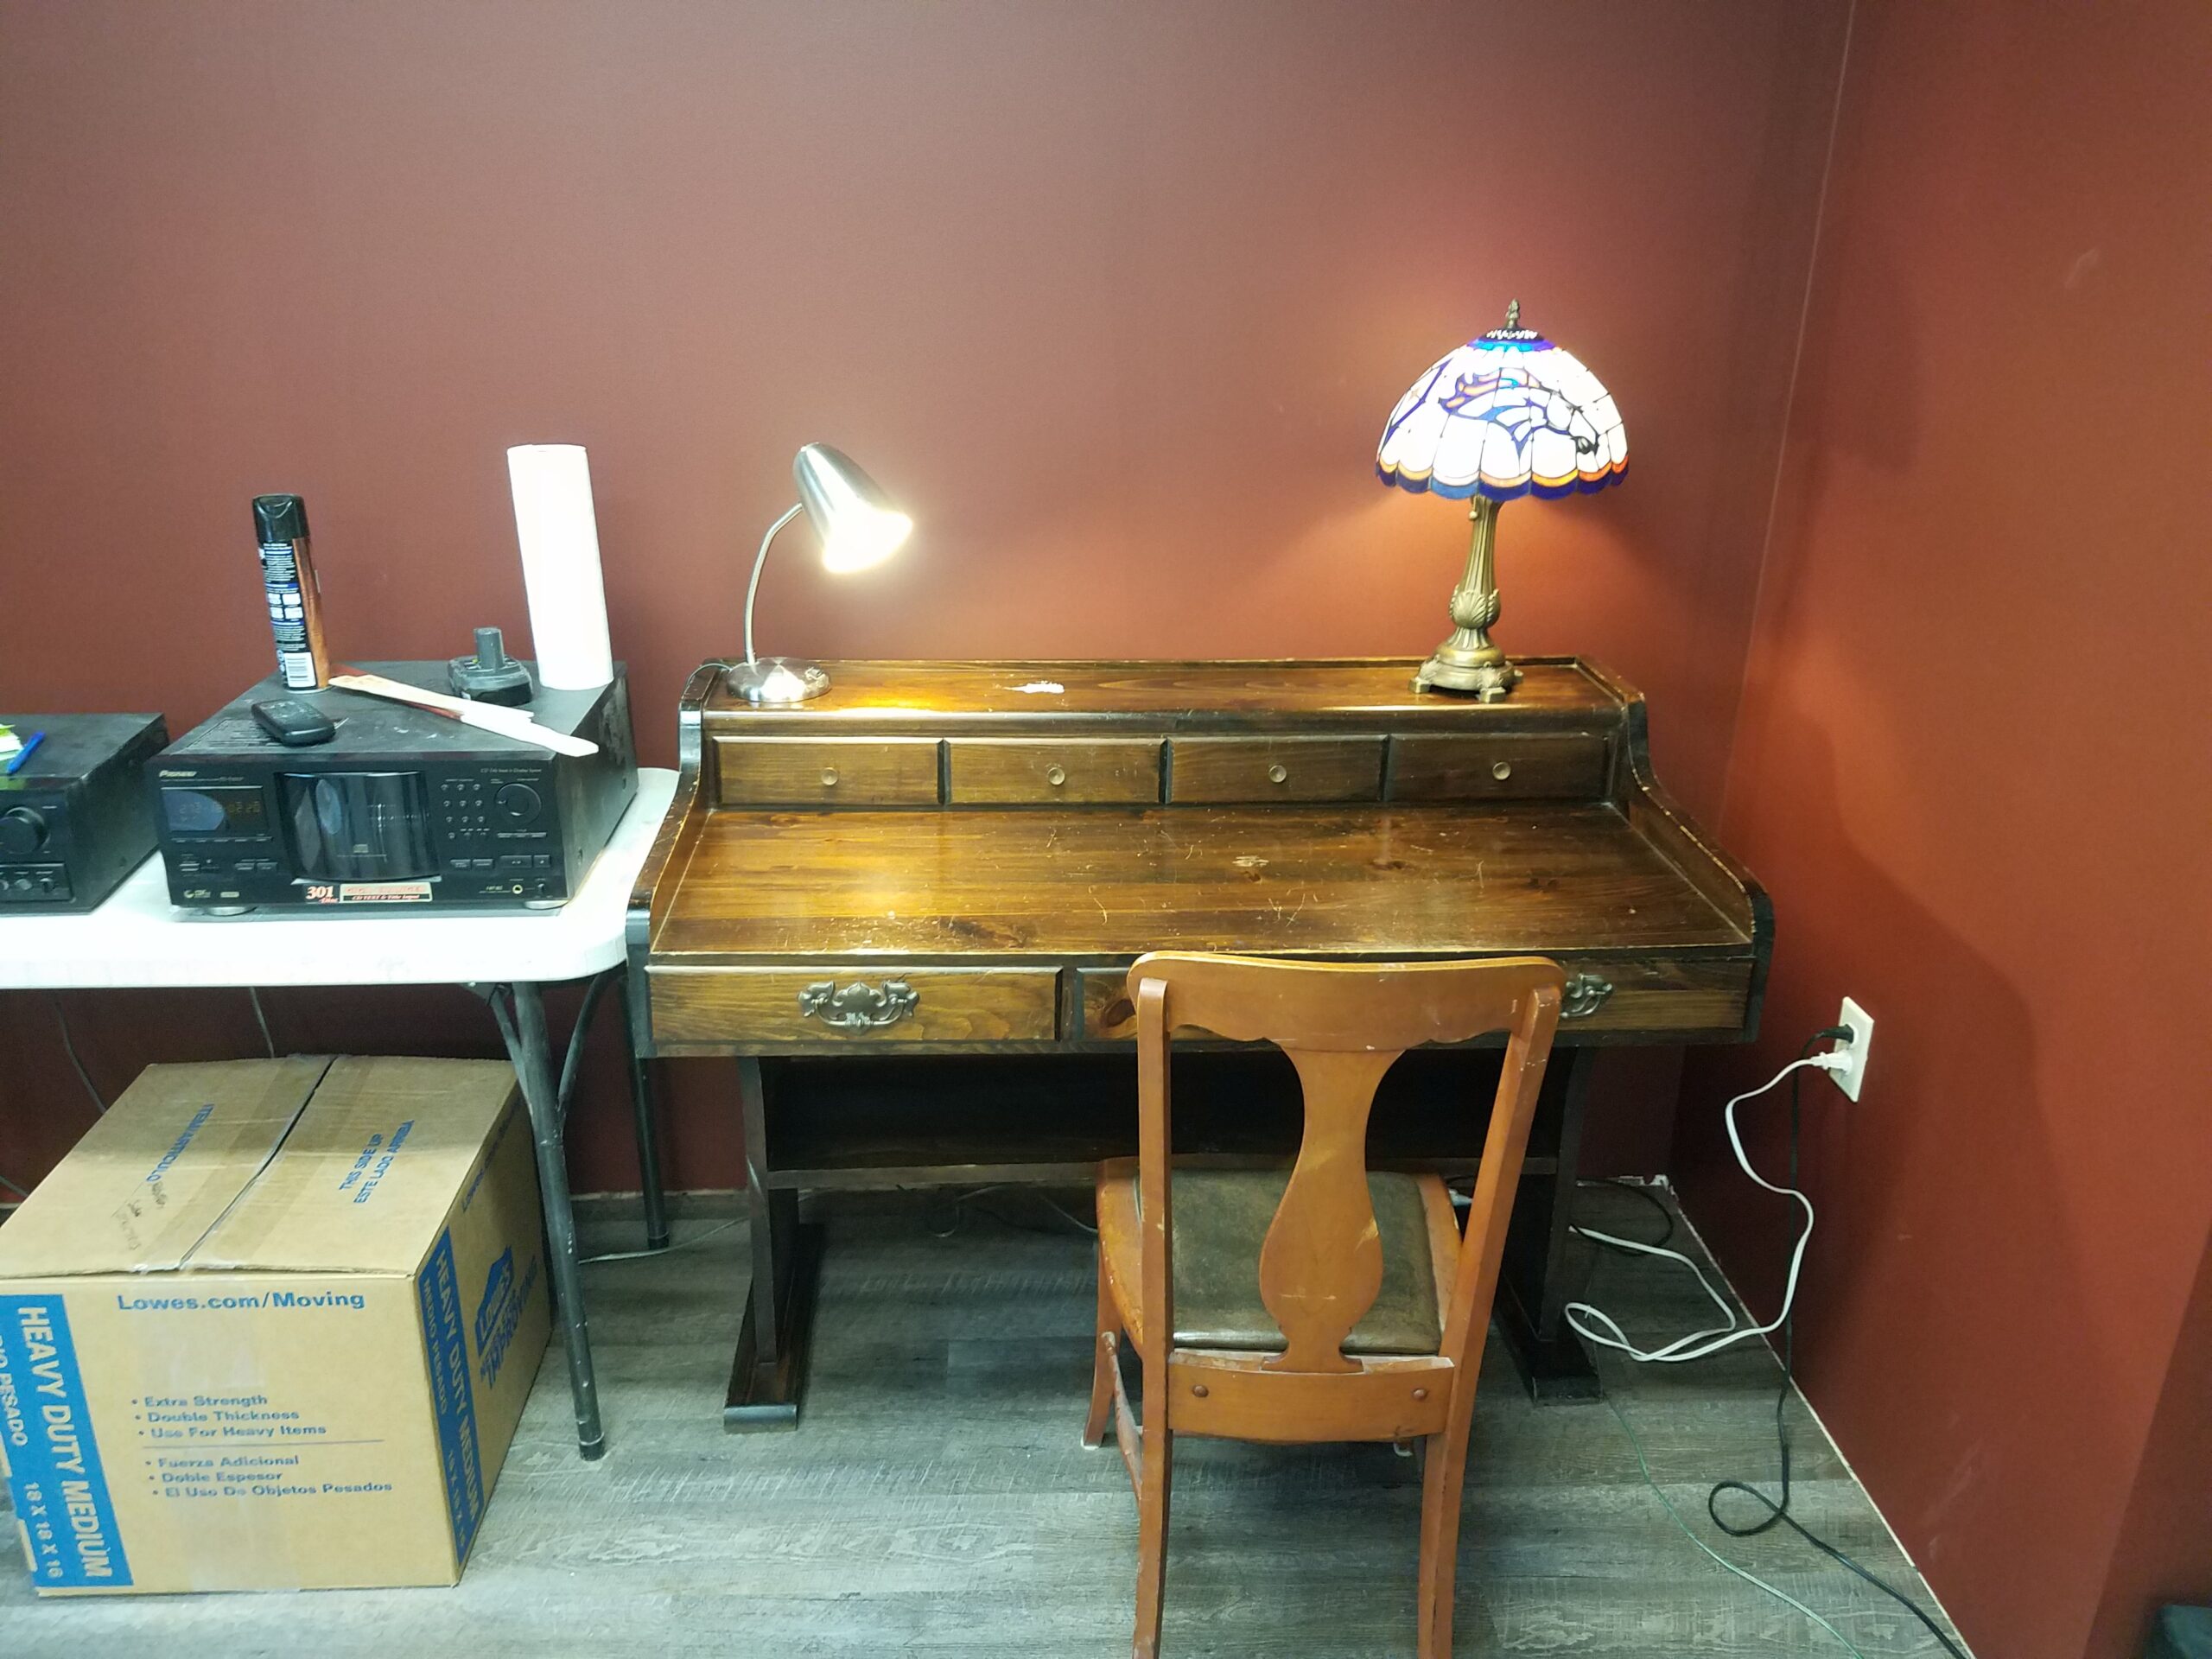
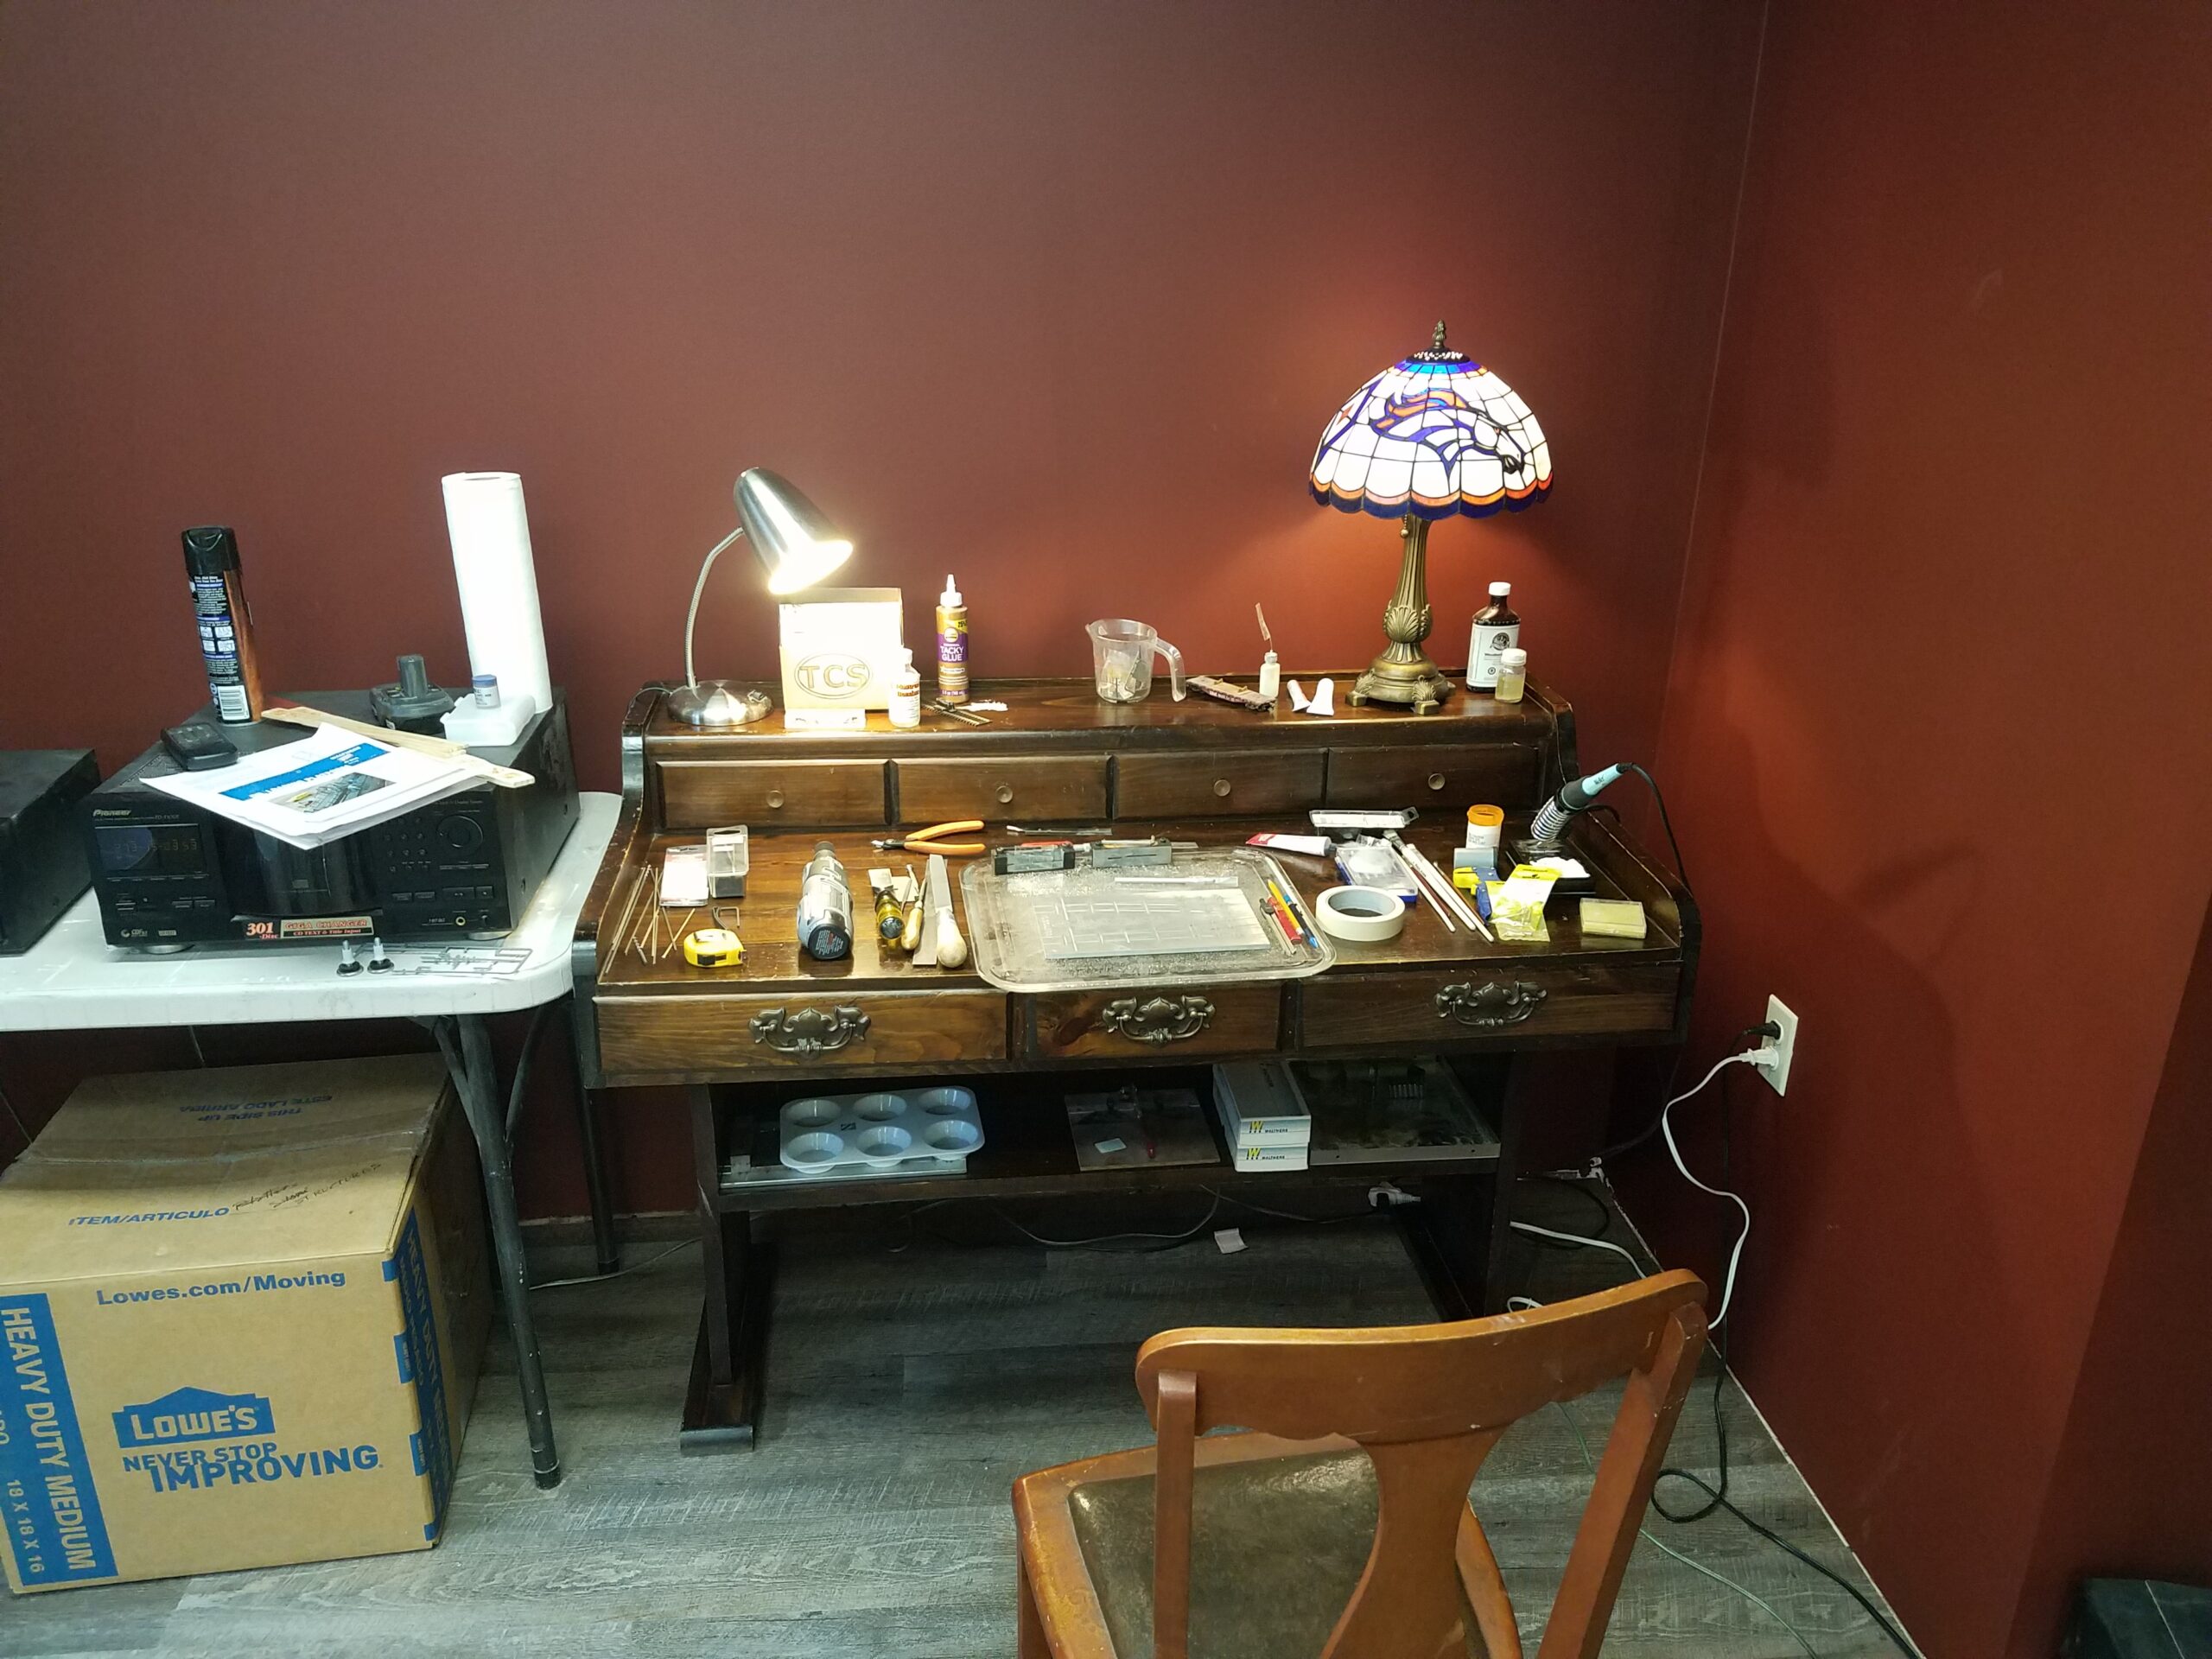
And set up:
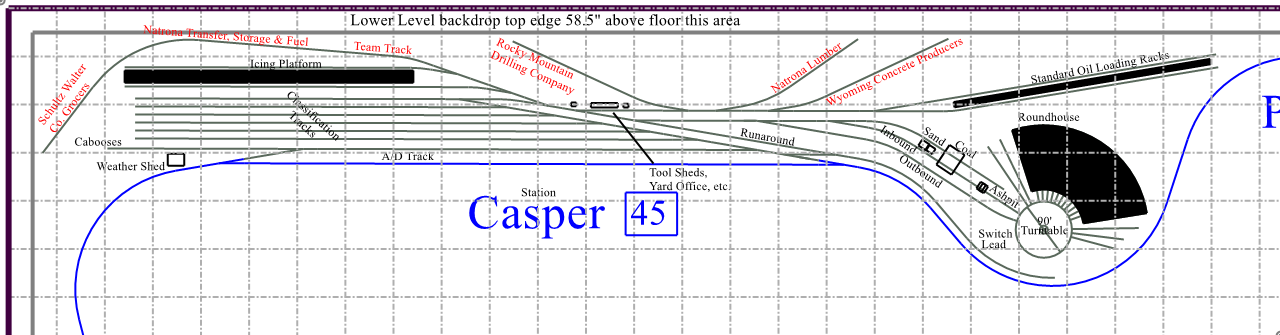
As a final step in preparing for new construction I revised the Casper area a bit, sliding the Standard Oil racks further behind the roundhouse and adding several new industries. This was all made possible by the area that was freed up when the mainline loop behind Casper was removed in the new track plan. Here's the revised Casper track plan. New industries are highlighted by red lettering:
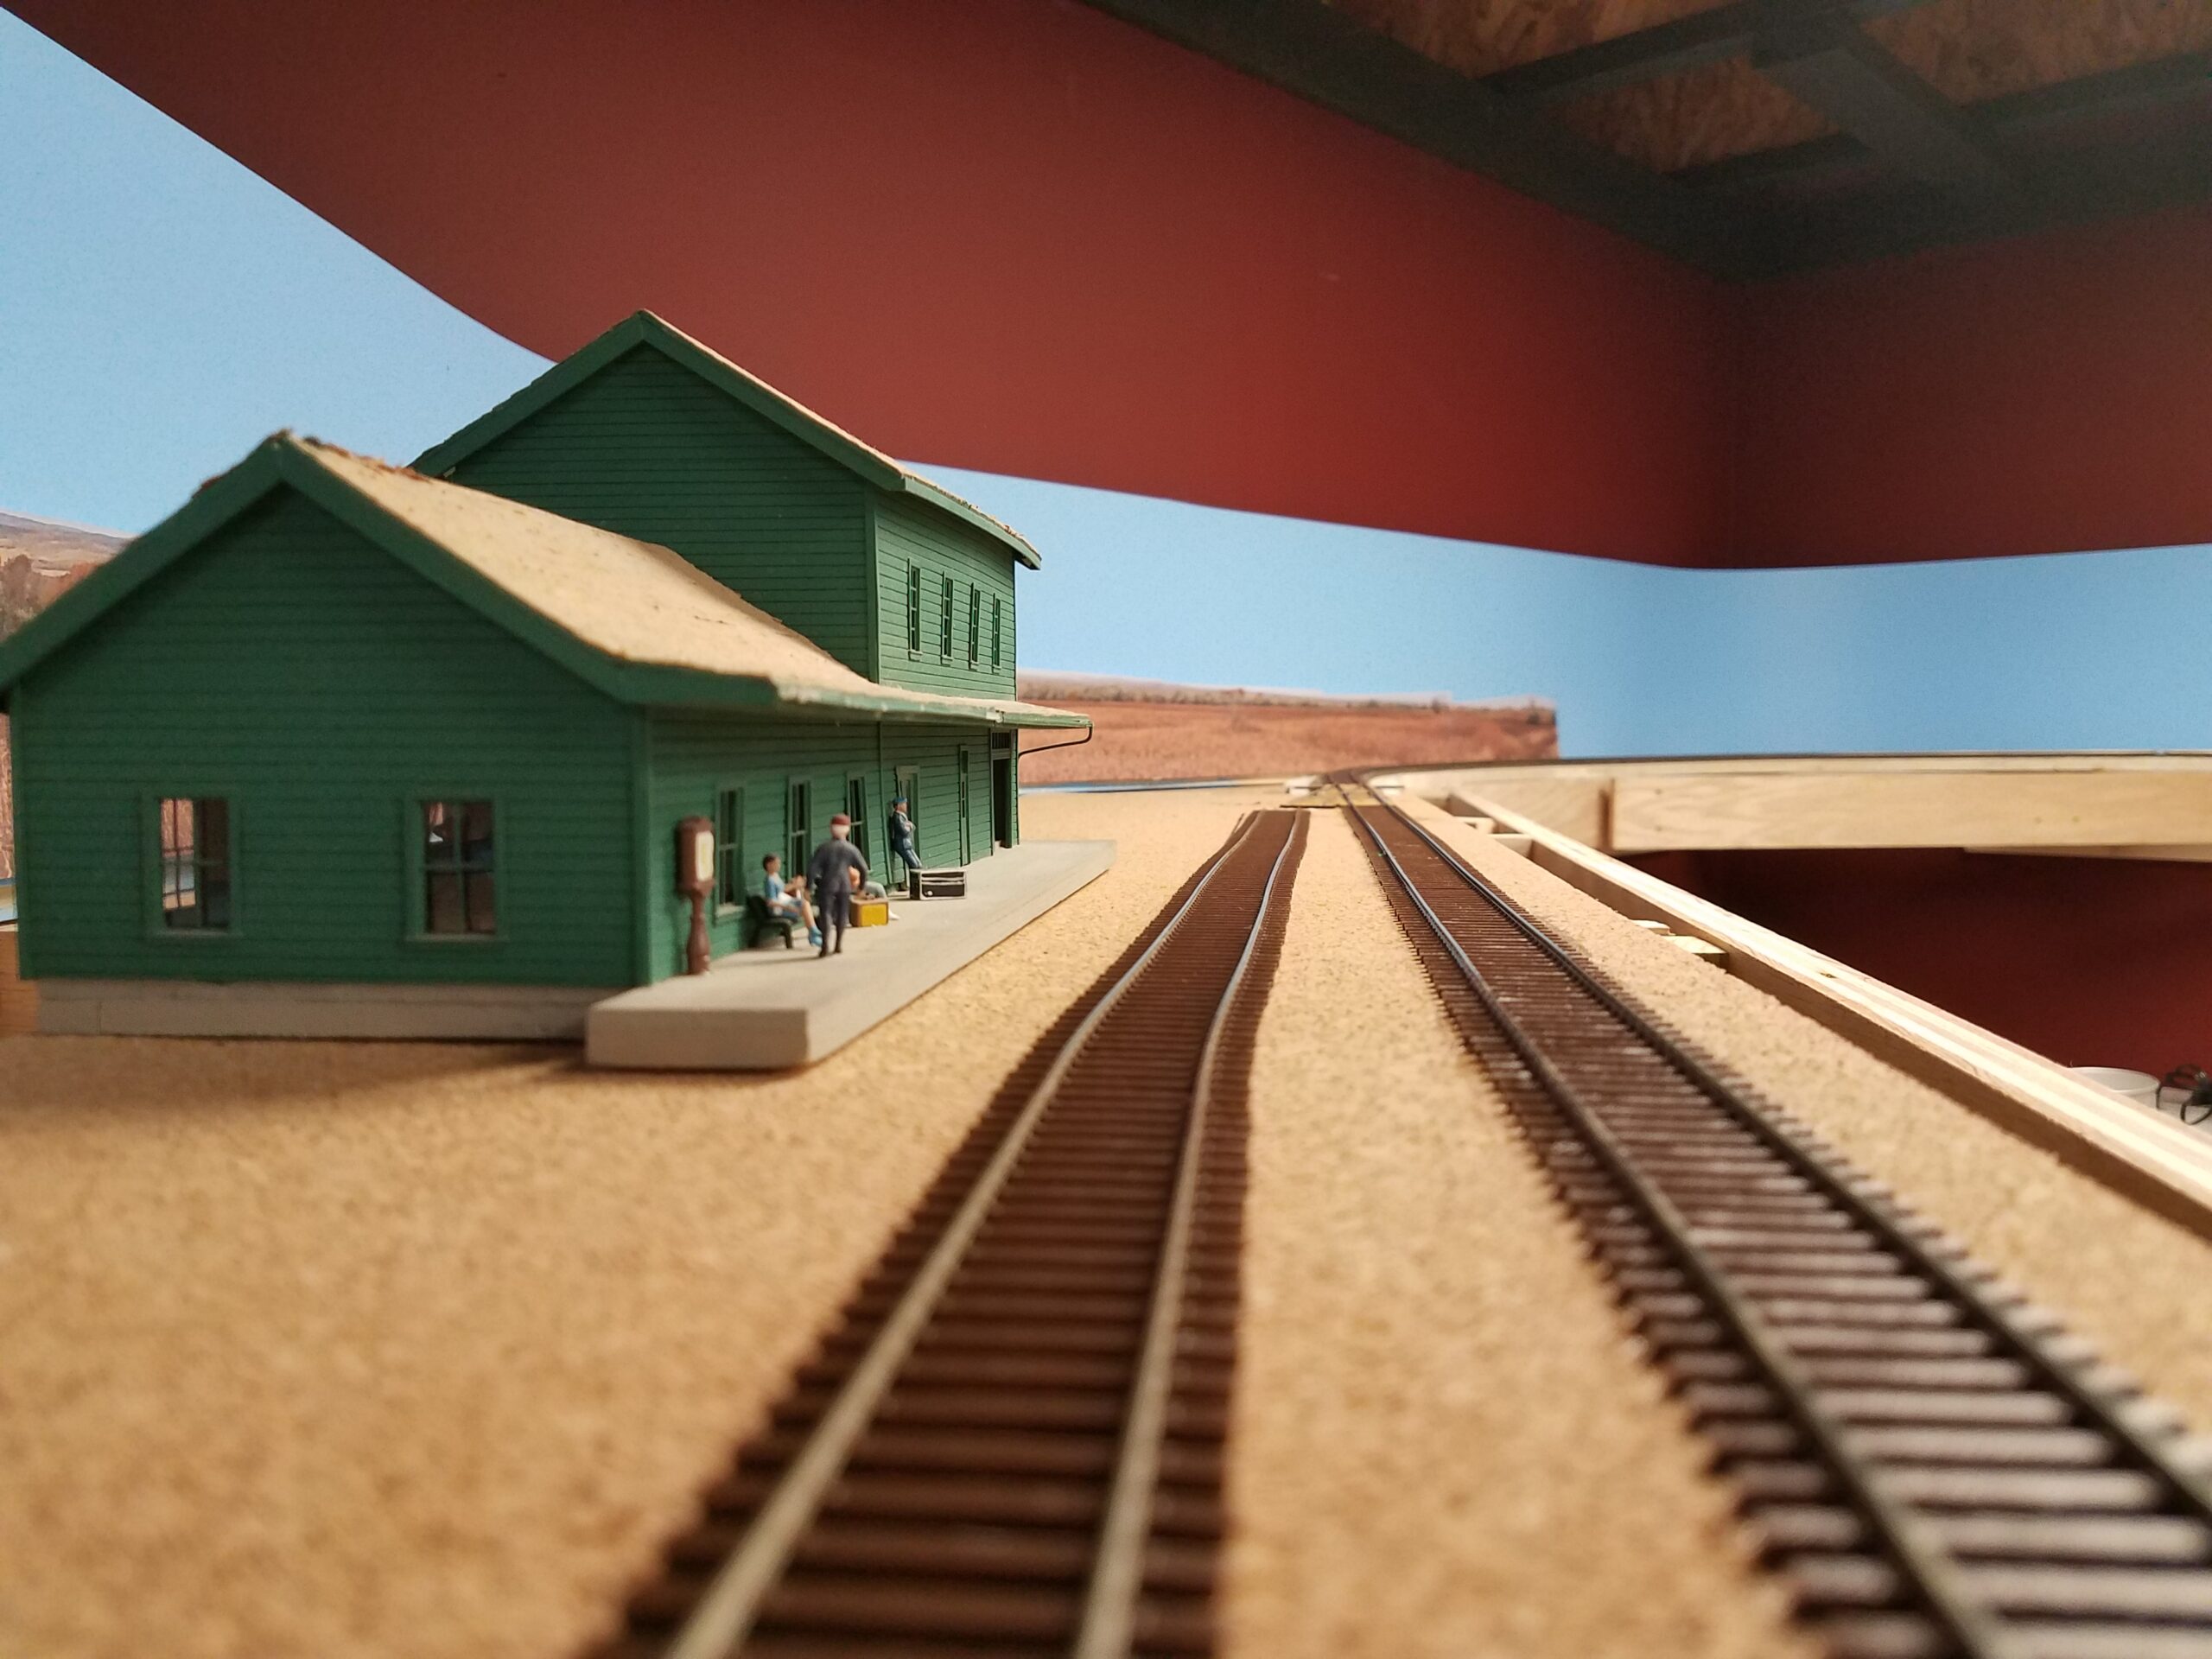
I also took the time to flesh out Riverton on the CNW branch, located above and to the right of Casper along the same wall. I had to do that so I would know the configuration of the benchwork above Casper, especially the far right end of the engine terminal (which will be under the Riverton Depot in the left side of this image).

Here's a still at the yard lead of some switching going on:

I bought a Roku attachment so I could stream videos to my old Toshiba TV. I set it up next to the workbench so I can follow along how-to videos while I'm at the workbench.

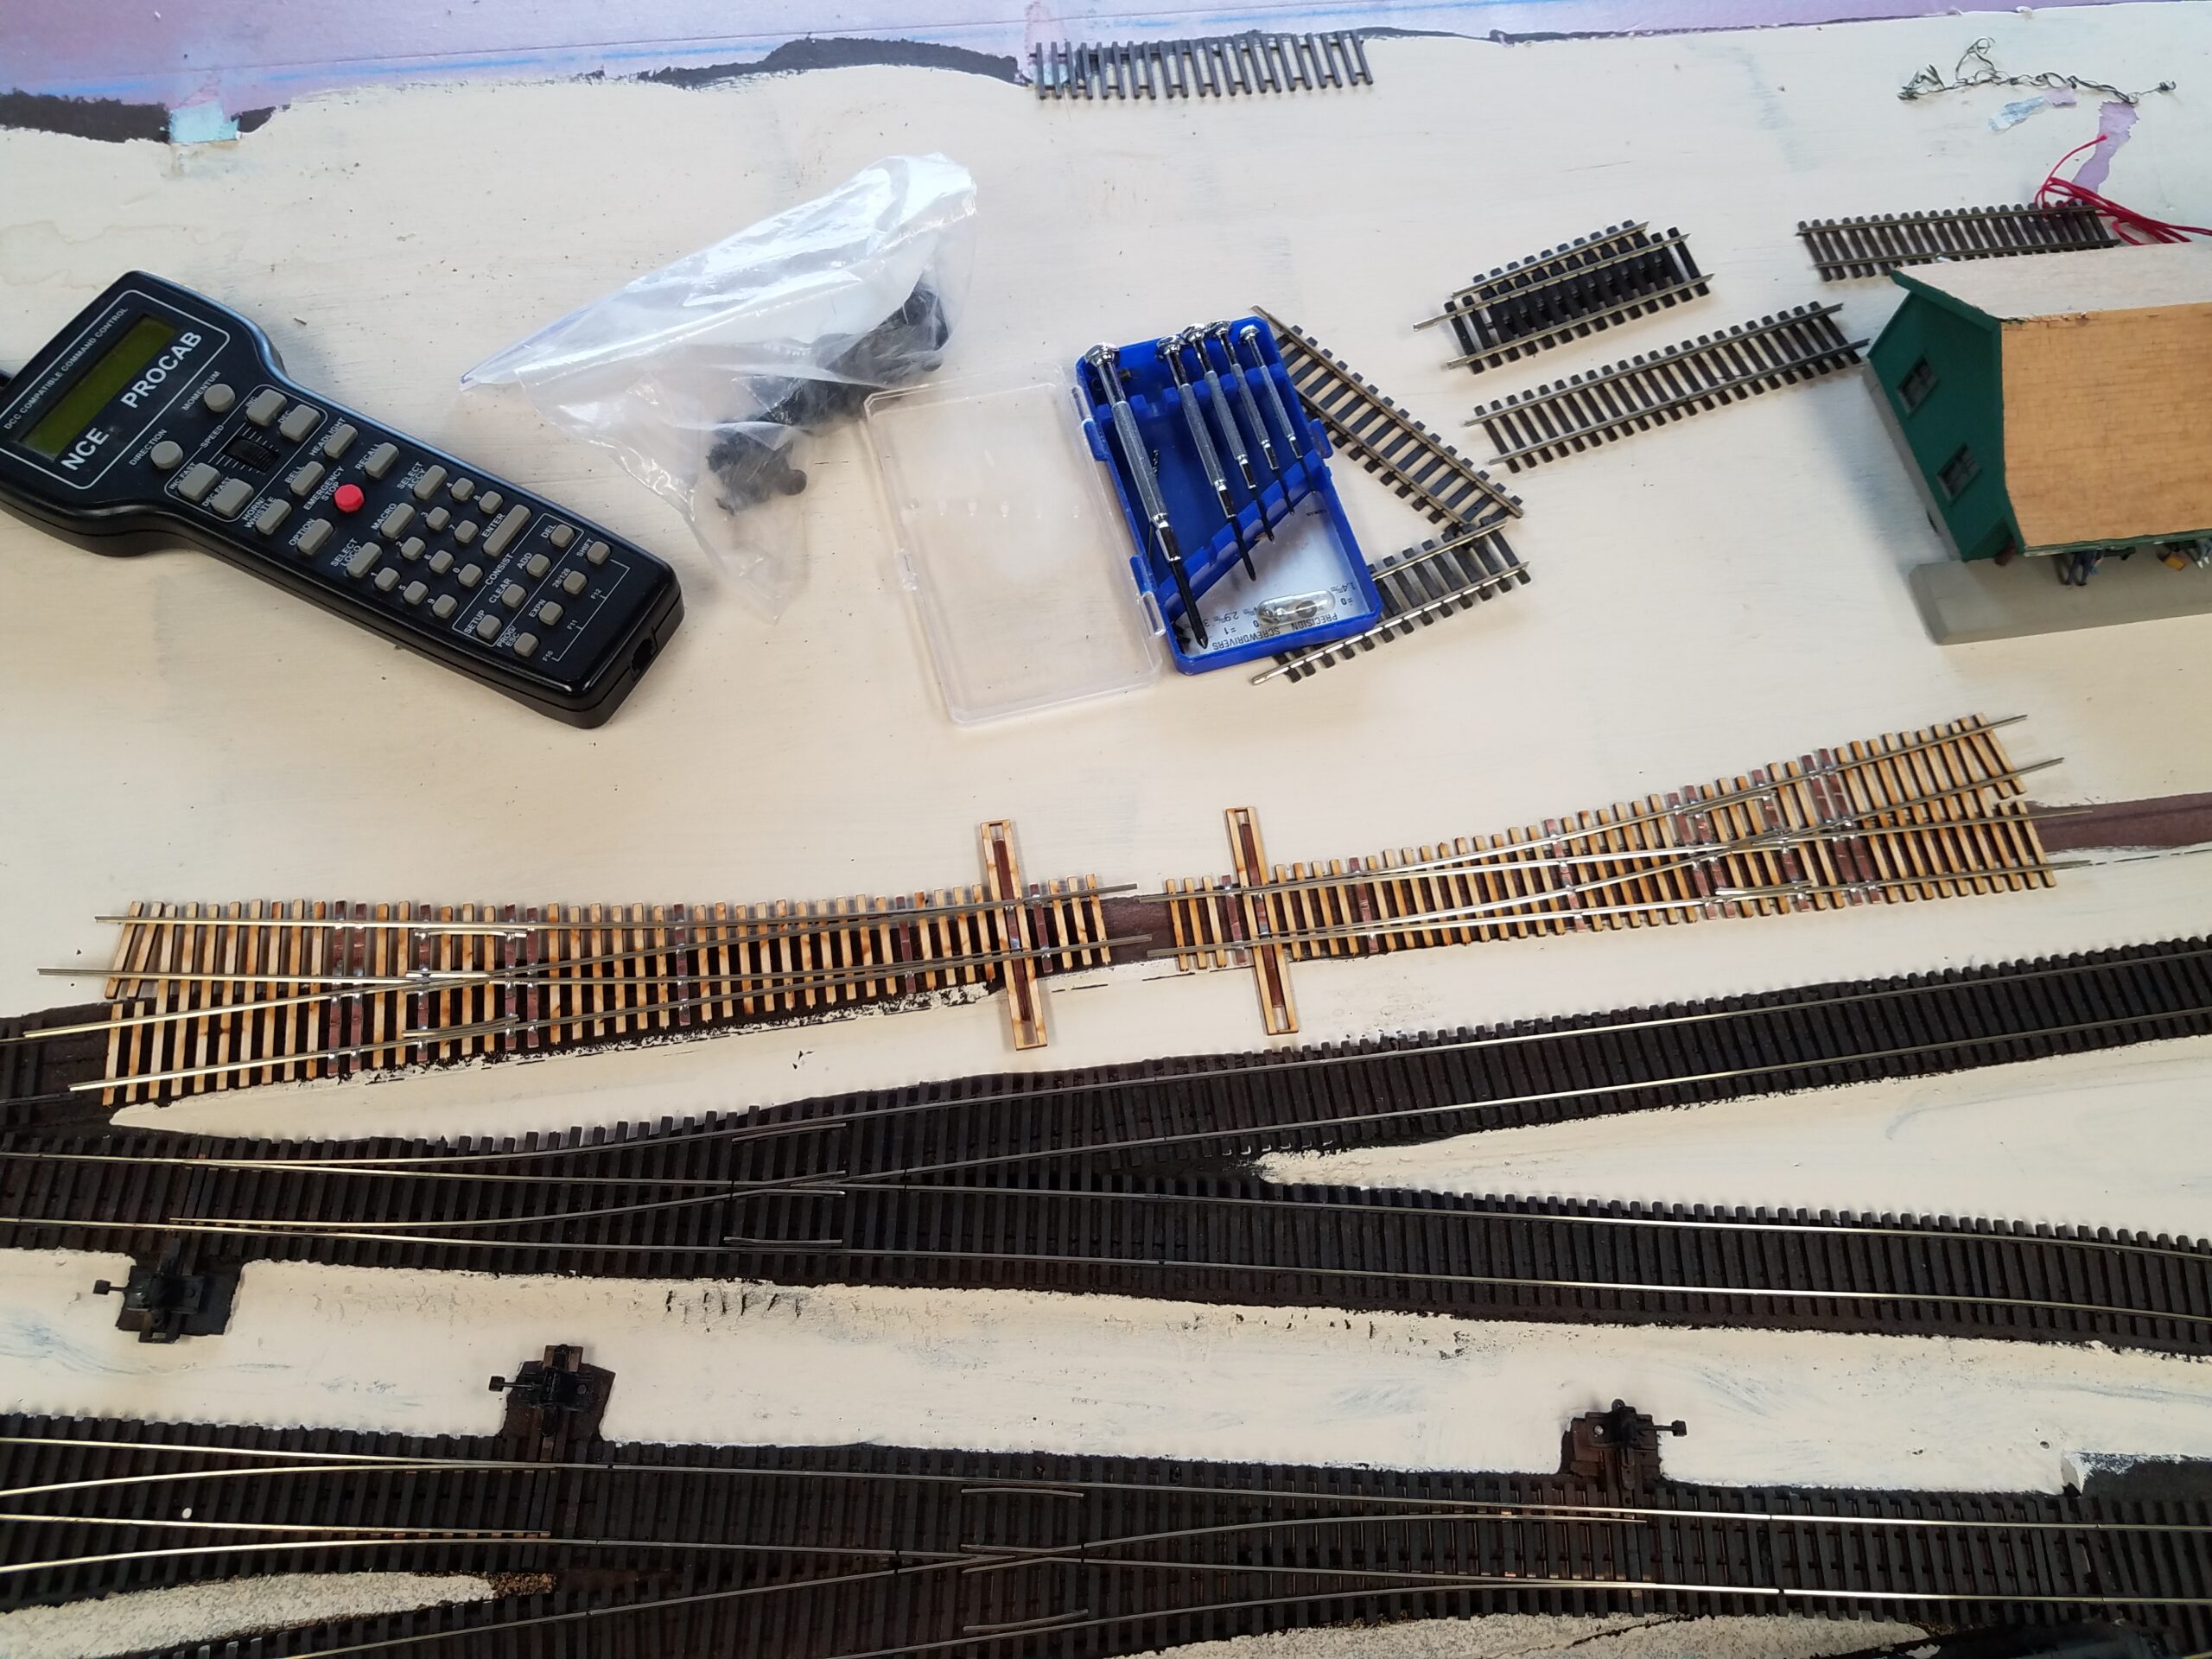
I started making turnouts for the new industries in Casper:

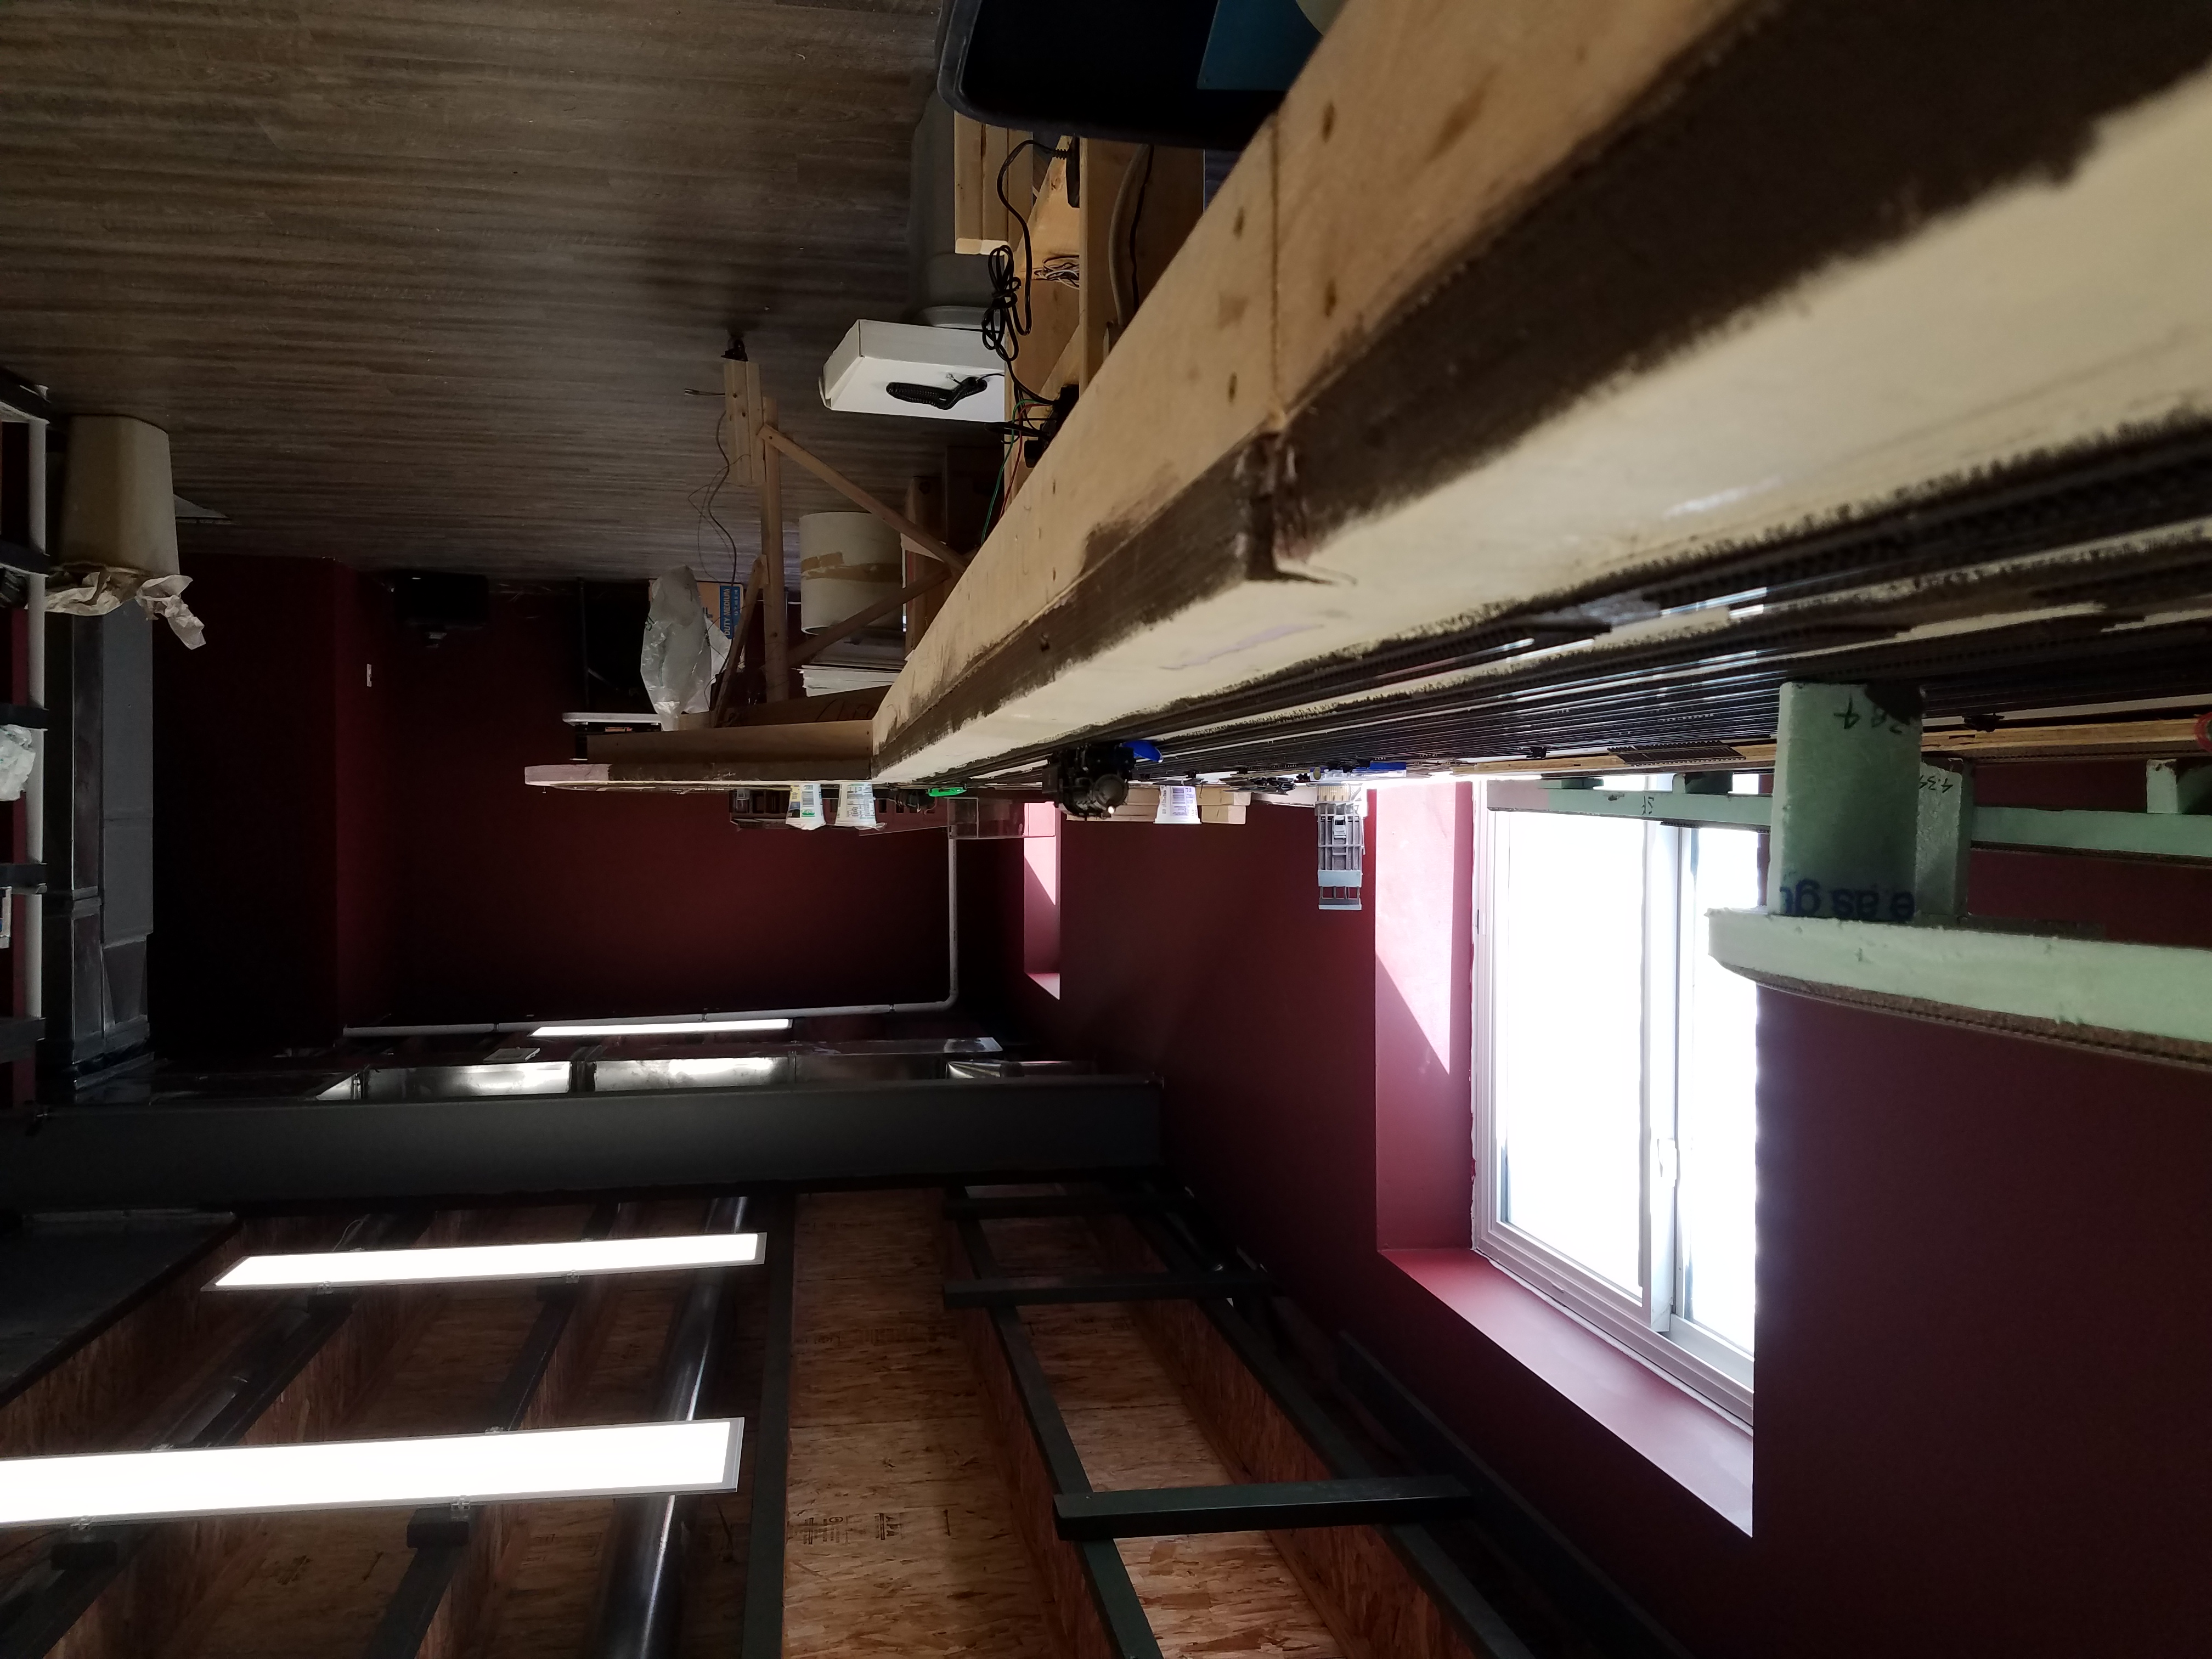
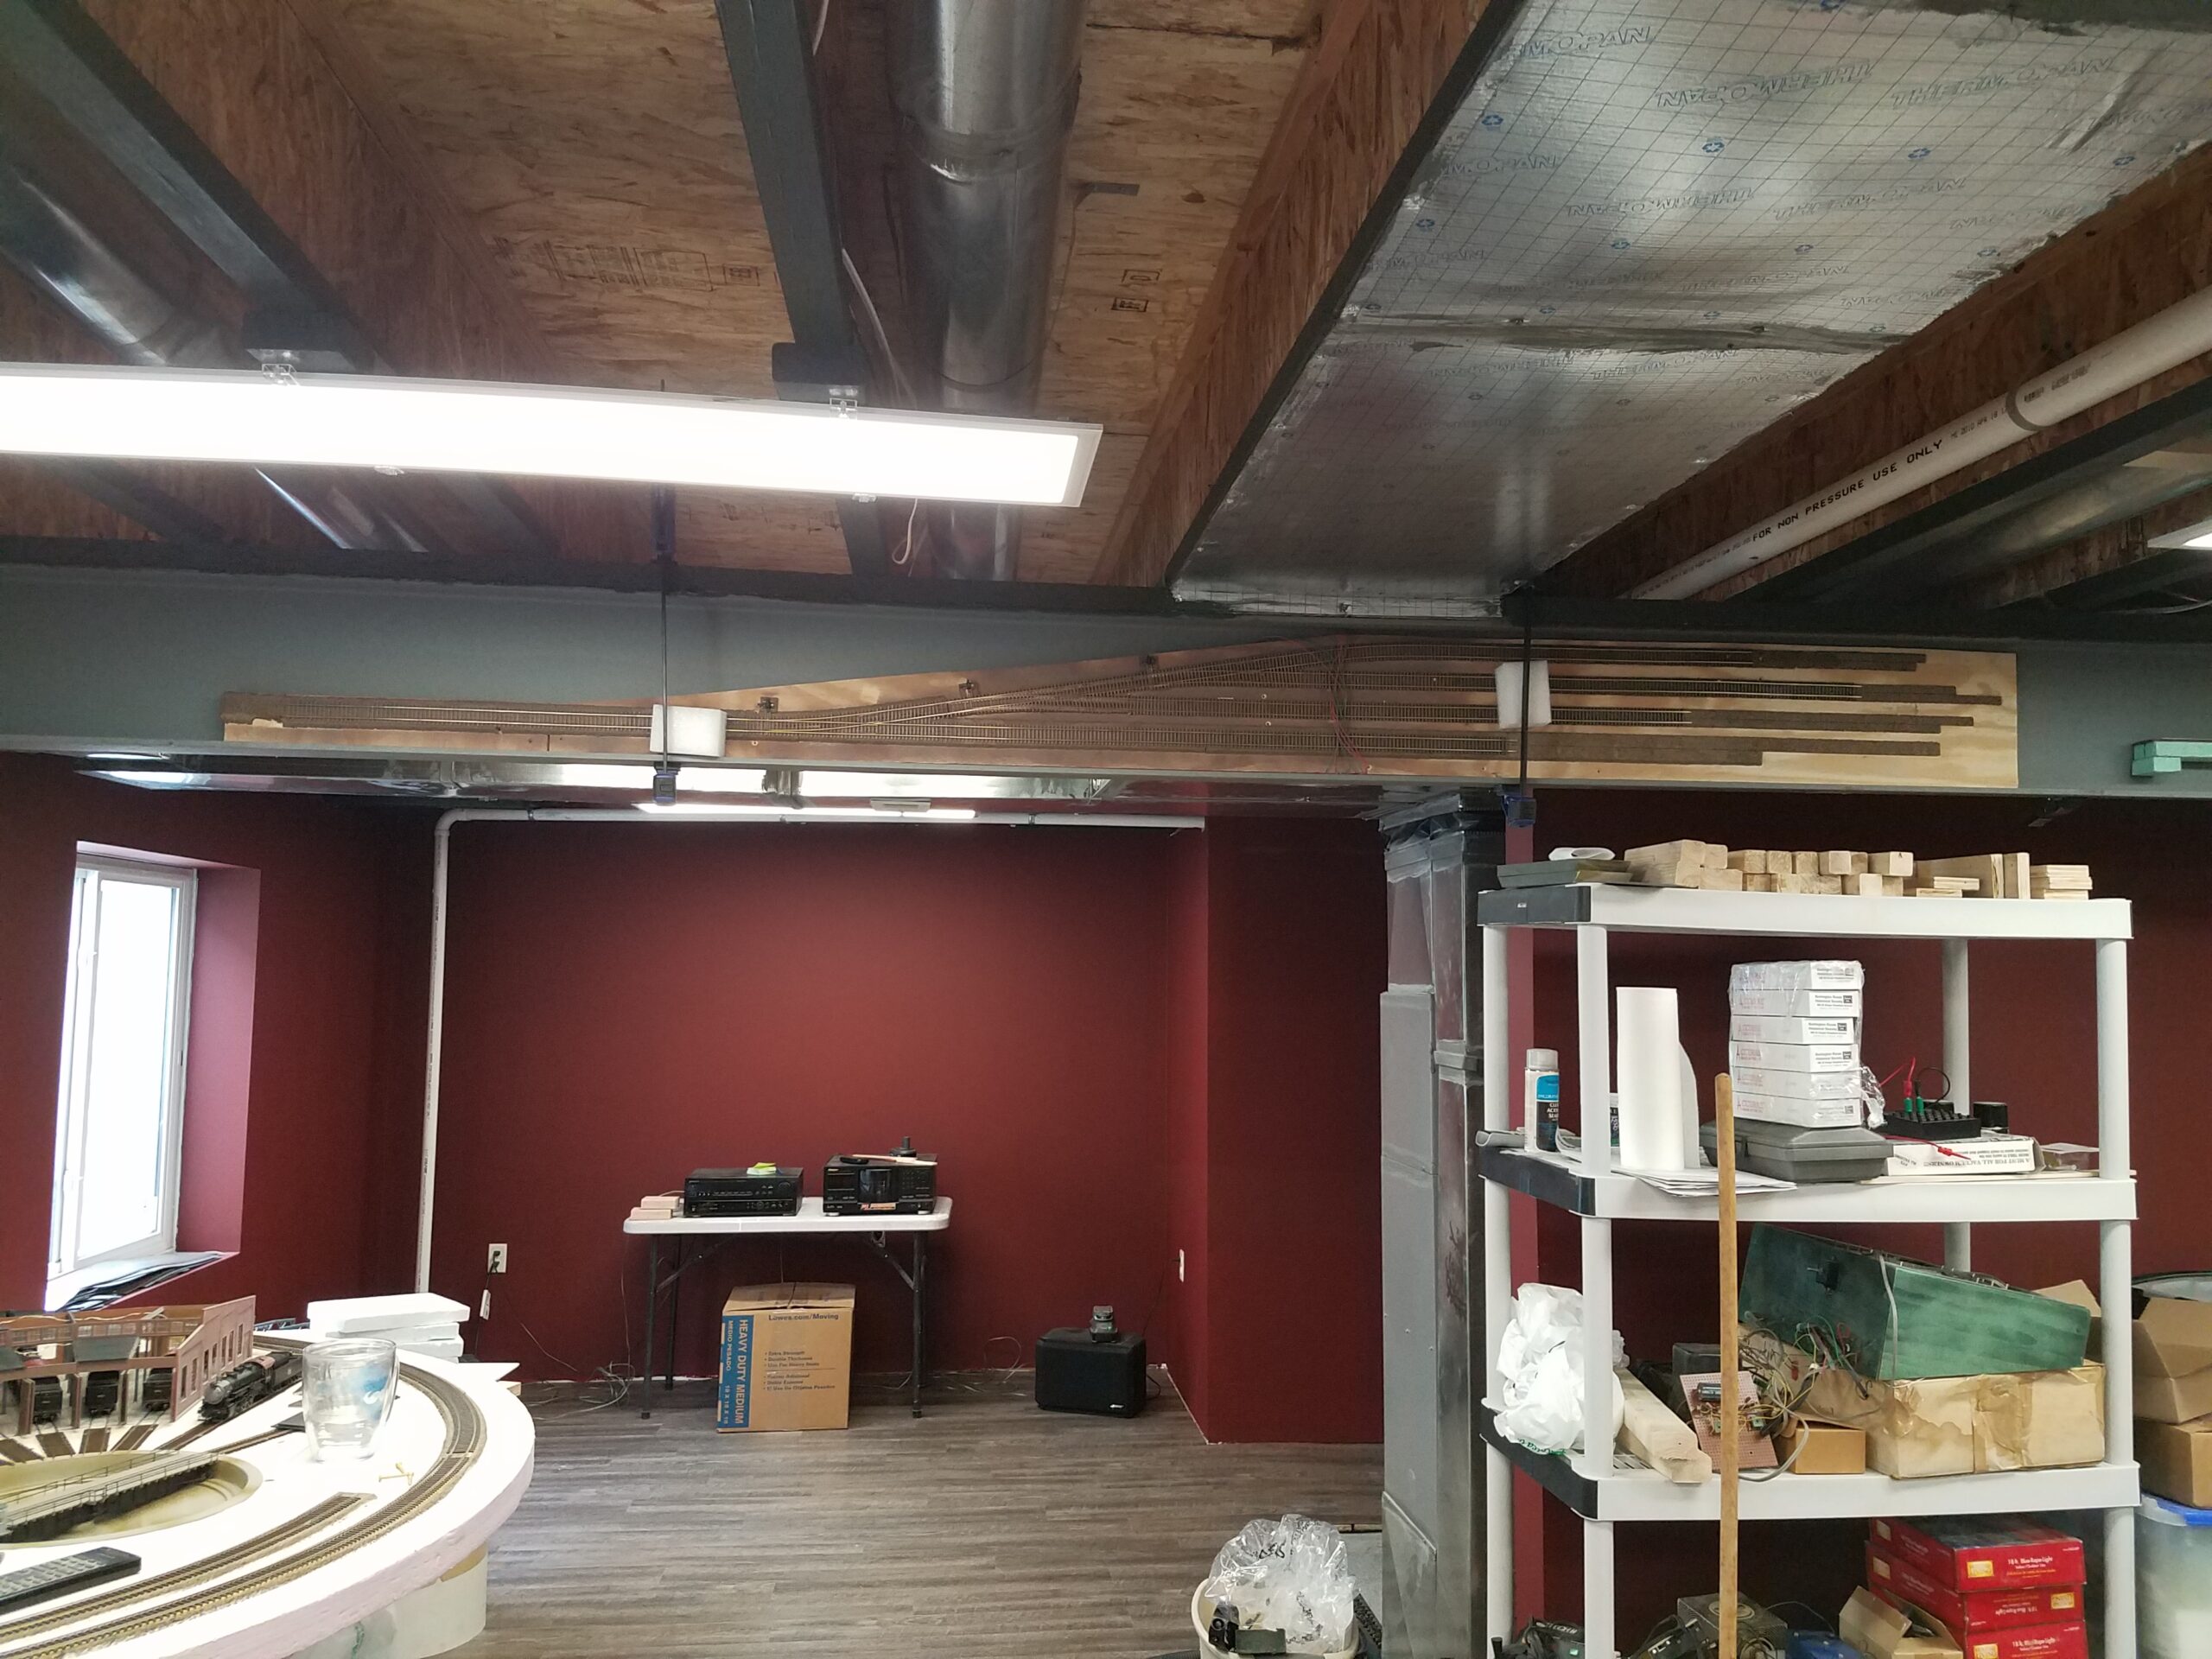
Late last week I installed the final overhead light in the train room. All the junk will be moved once the other half of the basement is finished.
About two weeks ago I ordered a roll of 3mm thick cork to make roadbed for sidings, and as an underlayment in industrial areas. It came in yesterday.

Turnout construction is proceeding. I needed five new ones for Casper industries; I've built three and am working on the fourth. Here are two of them set roughly in place on the layout:
Last night I walked around some of the old Standard Refinery in Casper. It's laced with trails and roadways now. The old Chicago & Northwestern bridge across the Platte River at the east end of the refinery site is now part of one of the trails. I took a couple shots of it:


I also walked past the old refinery headquarters building. Sometime around 2012 the Casper Business Innovation Center took over the building and proceeded to build onto it a much larger and much uglier structure. Why does this happen? Would it have been that much more expensive to have tried to match the architectural style of the building? That was a classic early 20th century industrial office building.
What the short-sighted idiots at the Innovation Center did is akin to grafting Frankenstein's monster onto Reese Witherspoon. You may be able to do it, but it sure does destroy the aesthetics.
Here's the building now:

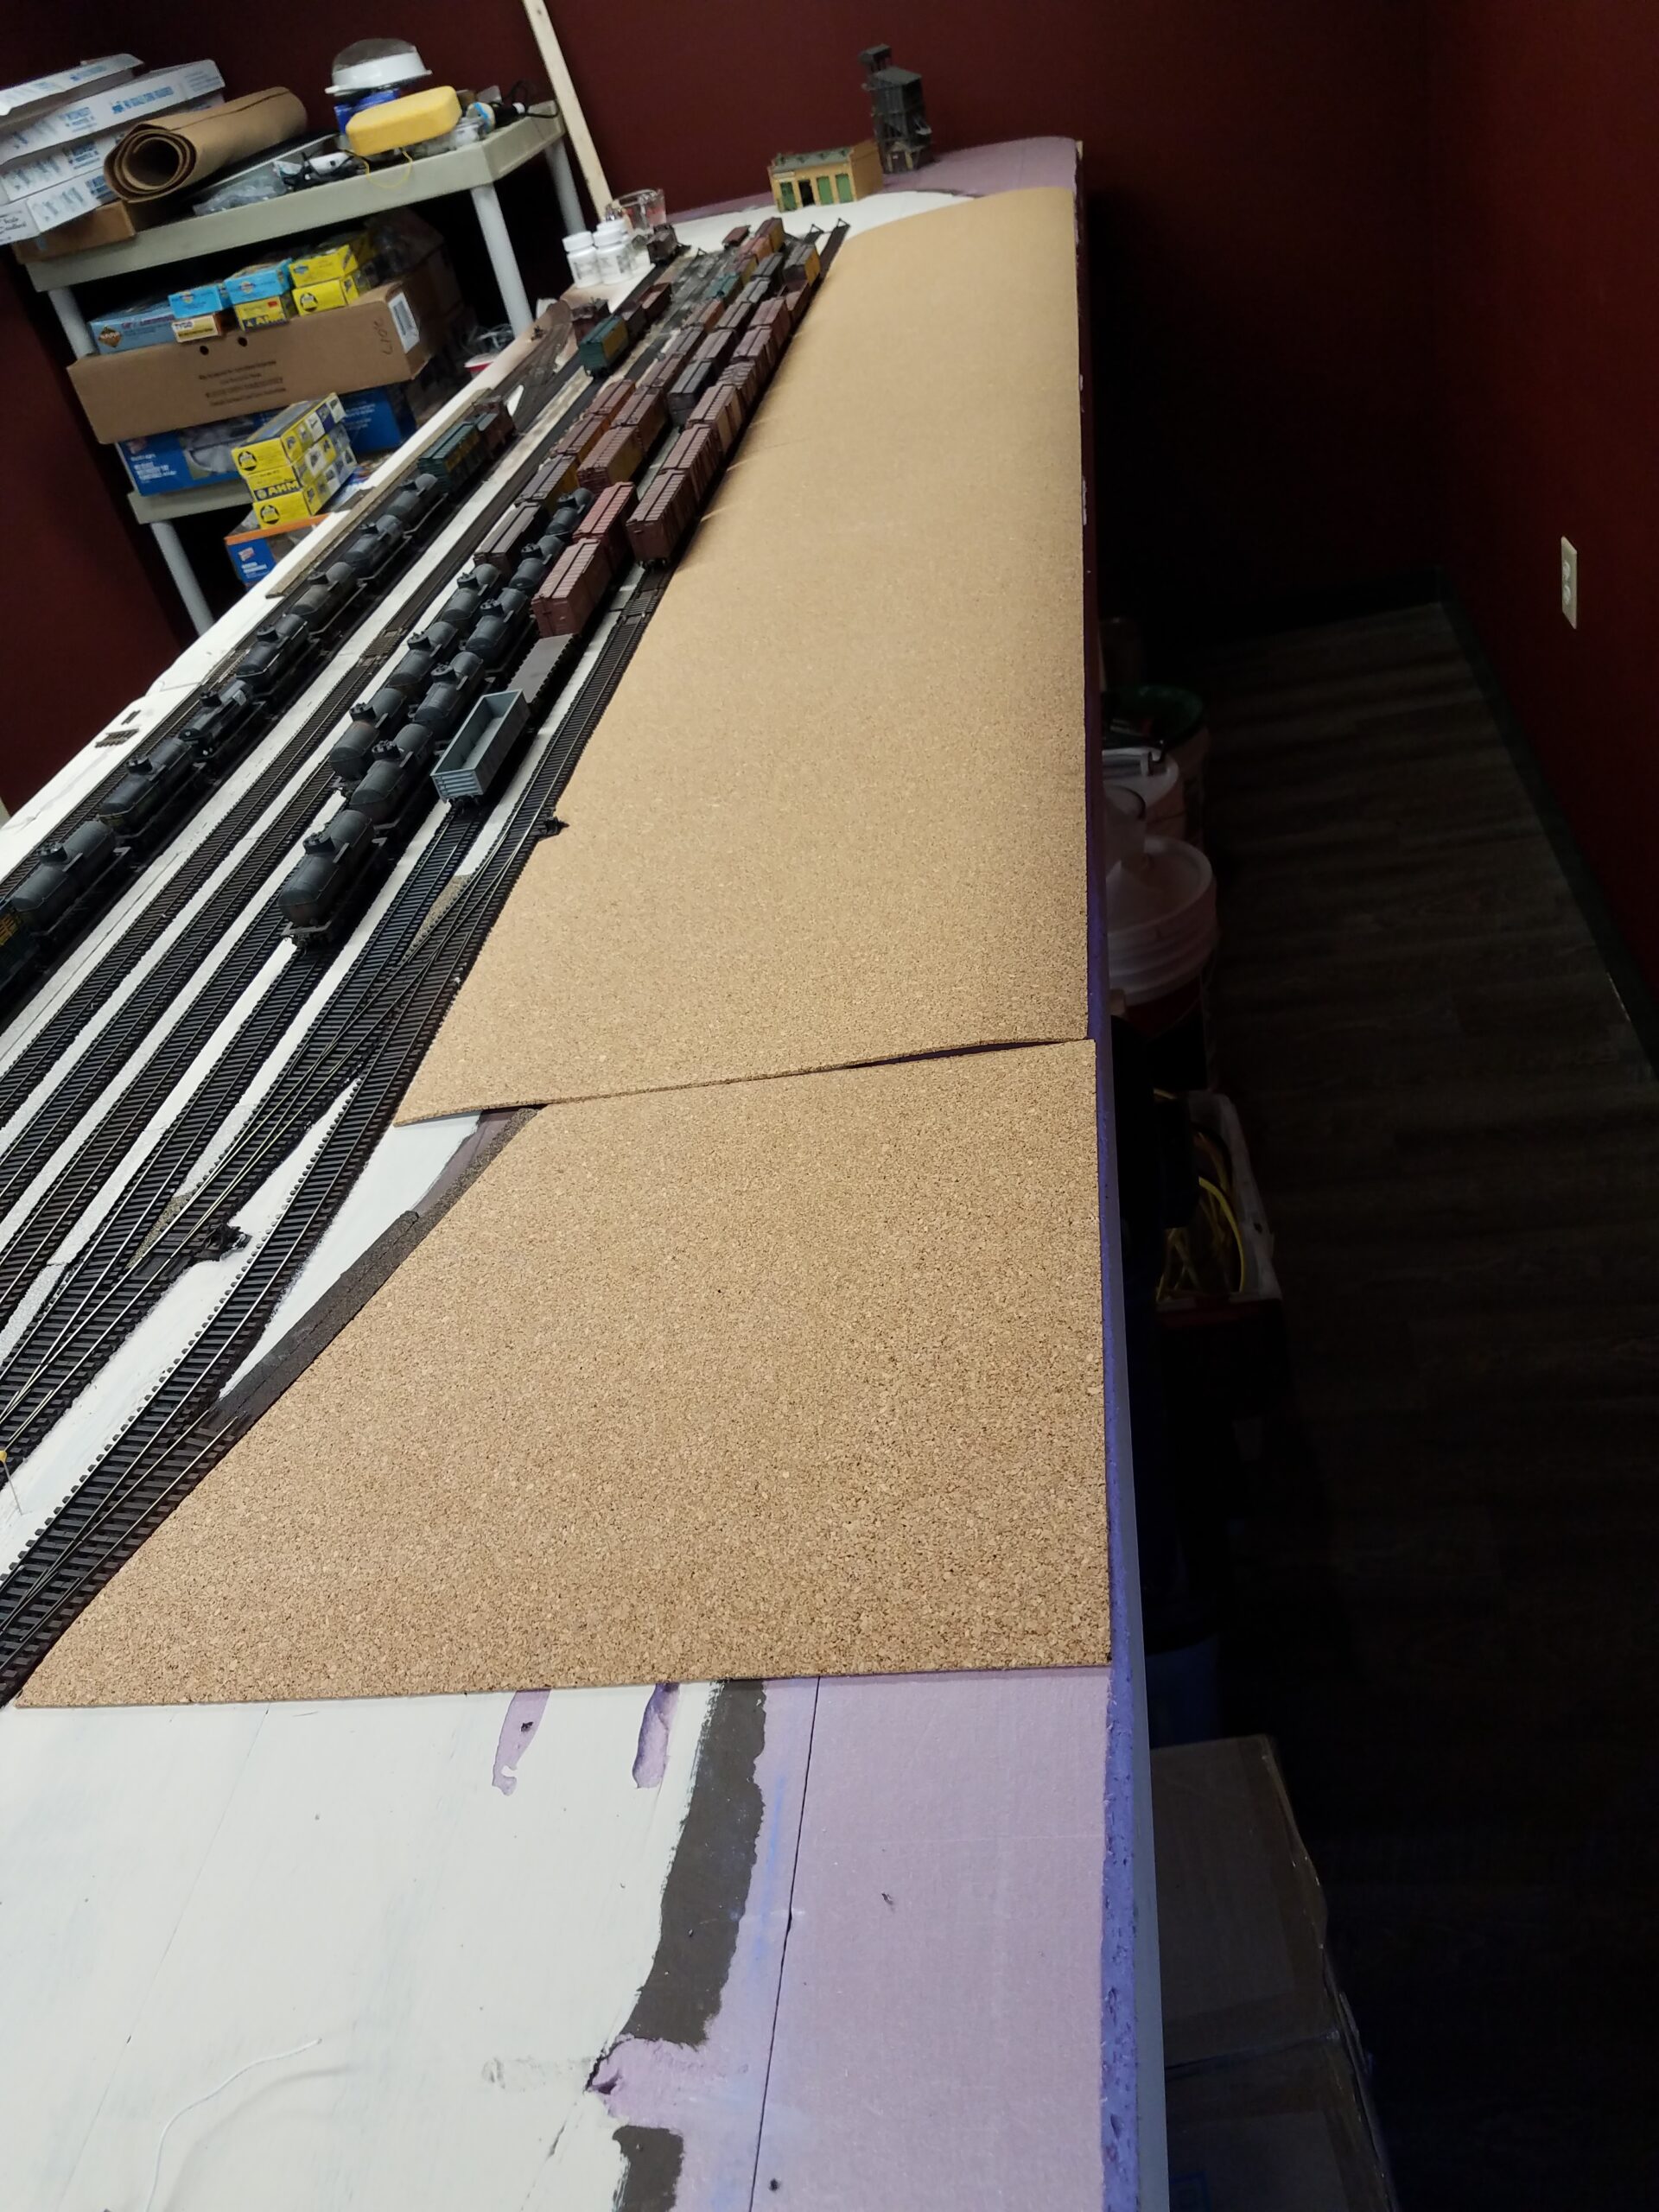
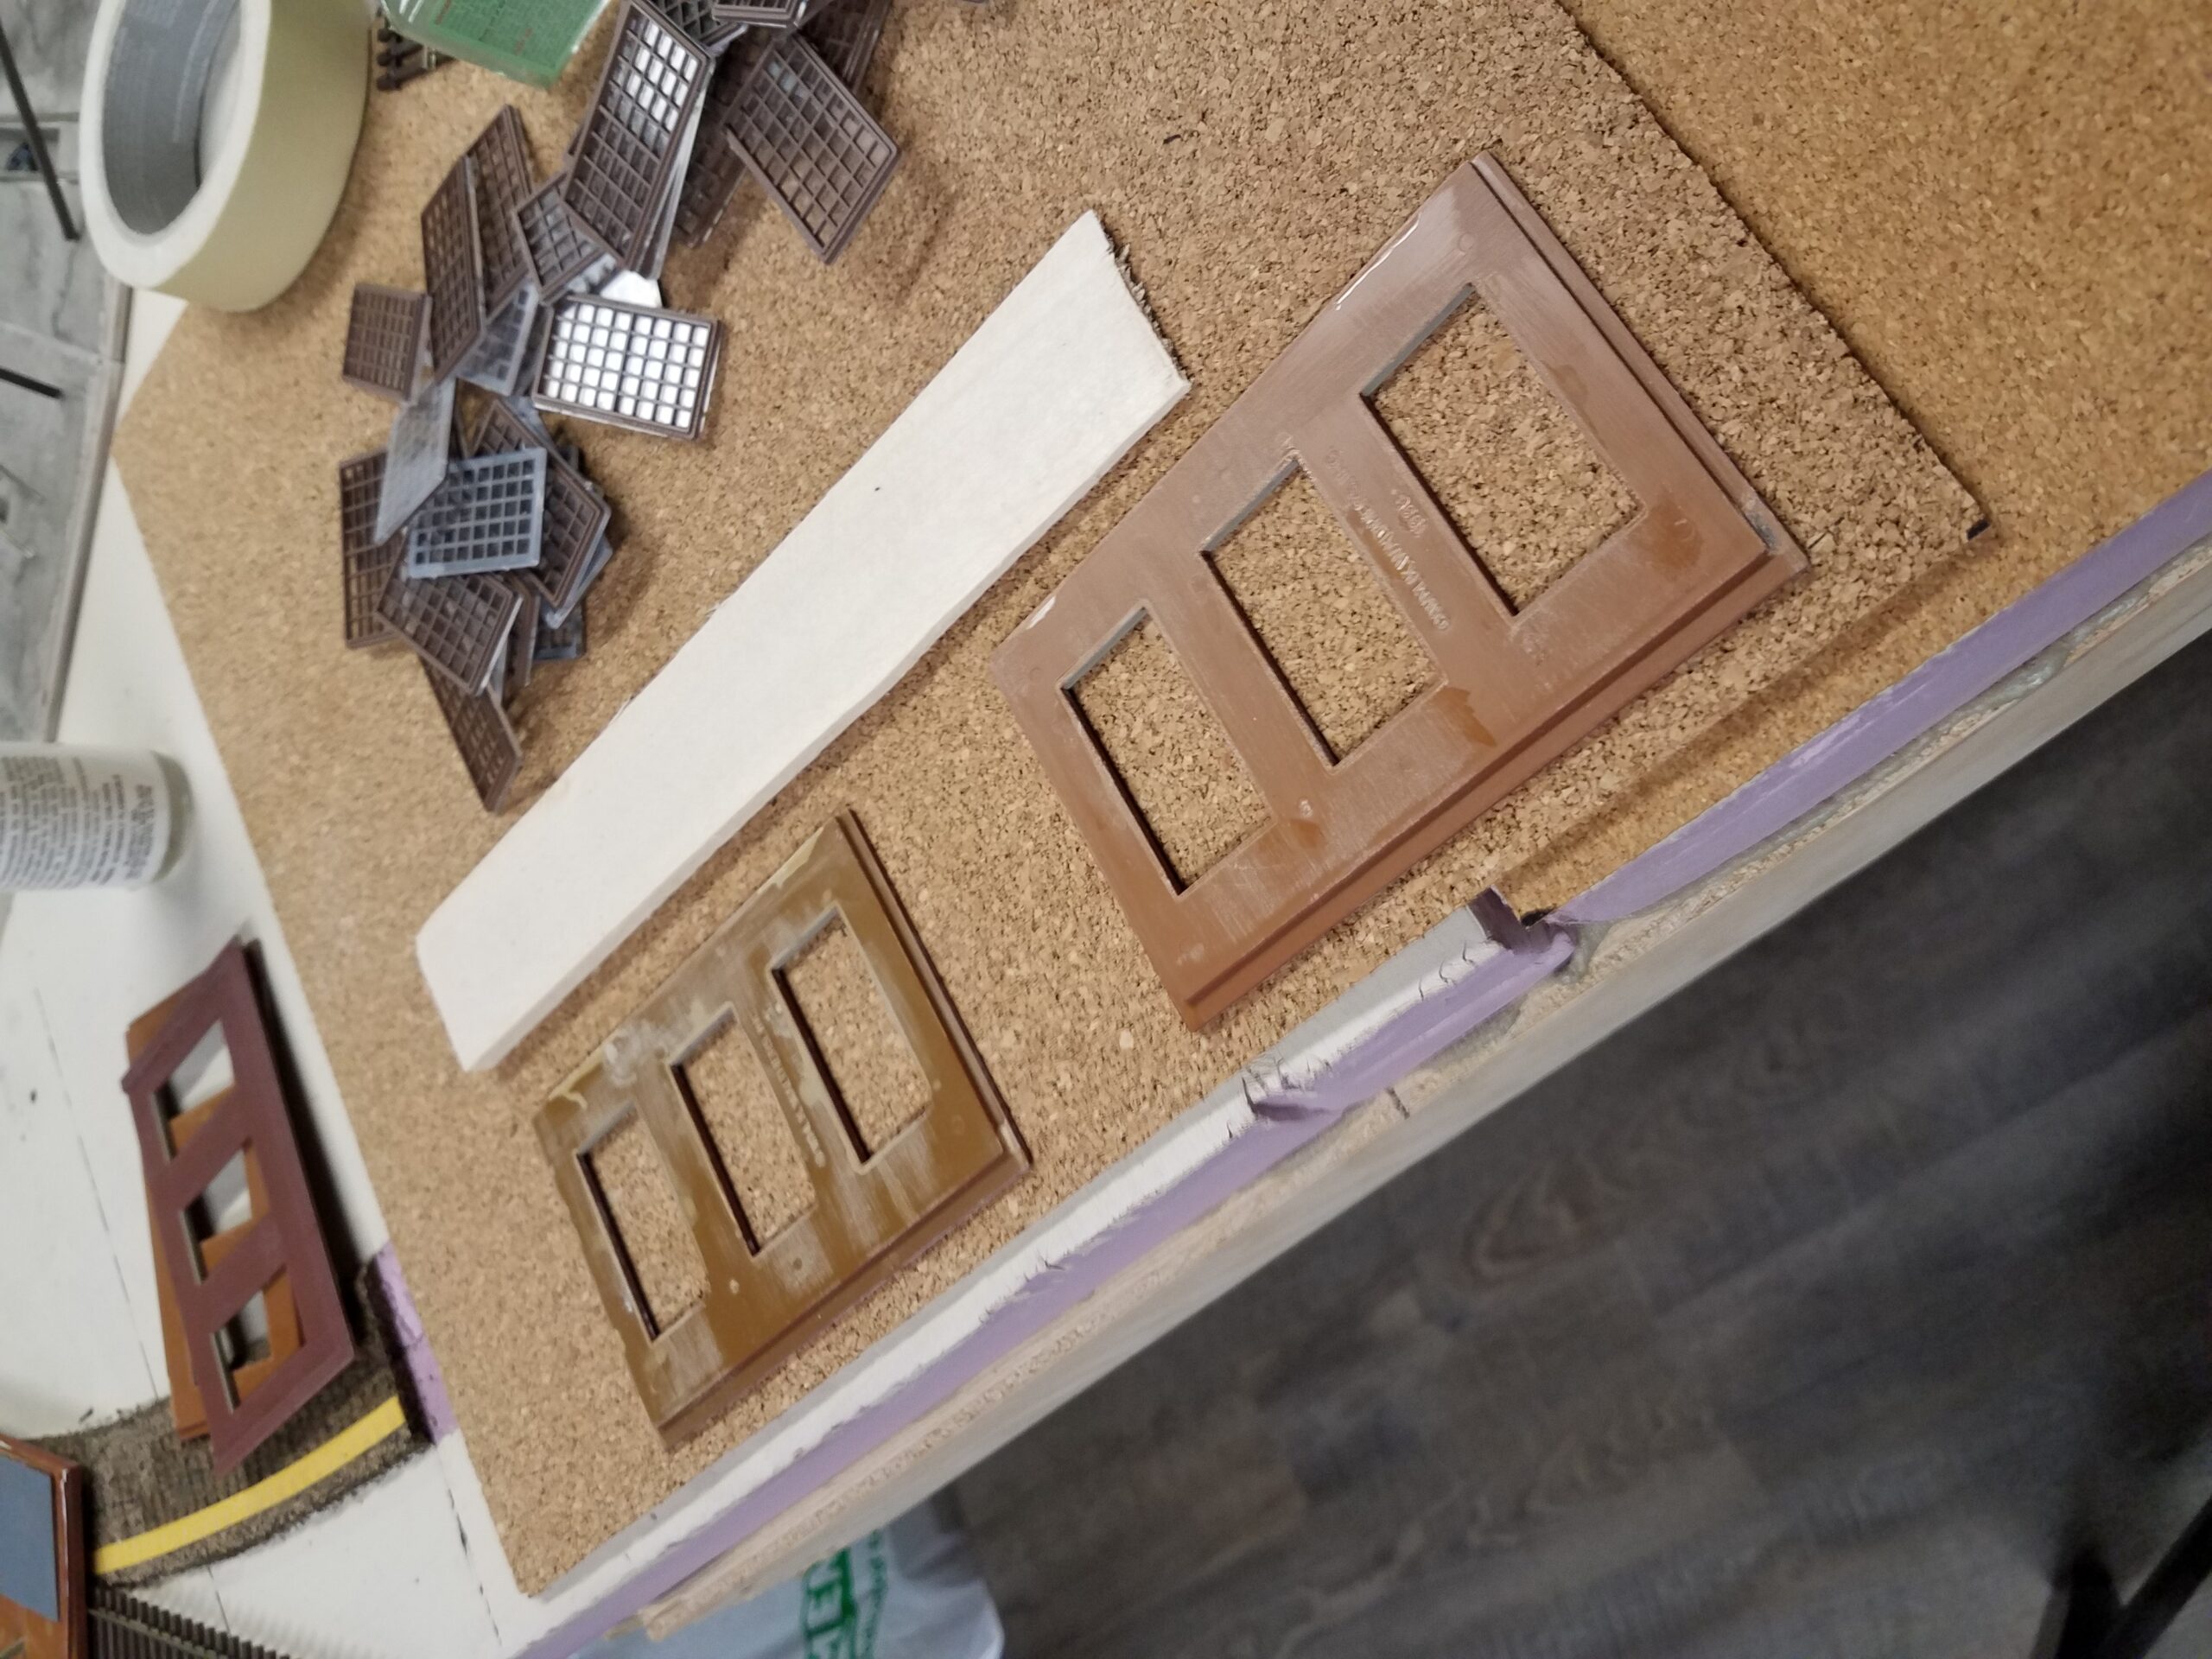
A couple days ago I set up my "roadbed factory."

And began cutting cork sheets to put the Casper icing facility on.
Yesterday I picked up a sheet of 3/4" oak plywood. This is raw material for benchwork. I just started cutting it into 3" strips.
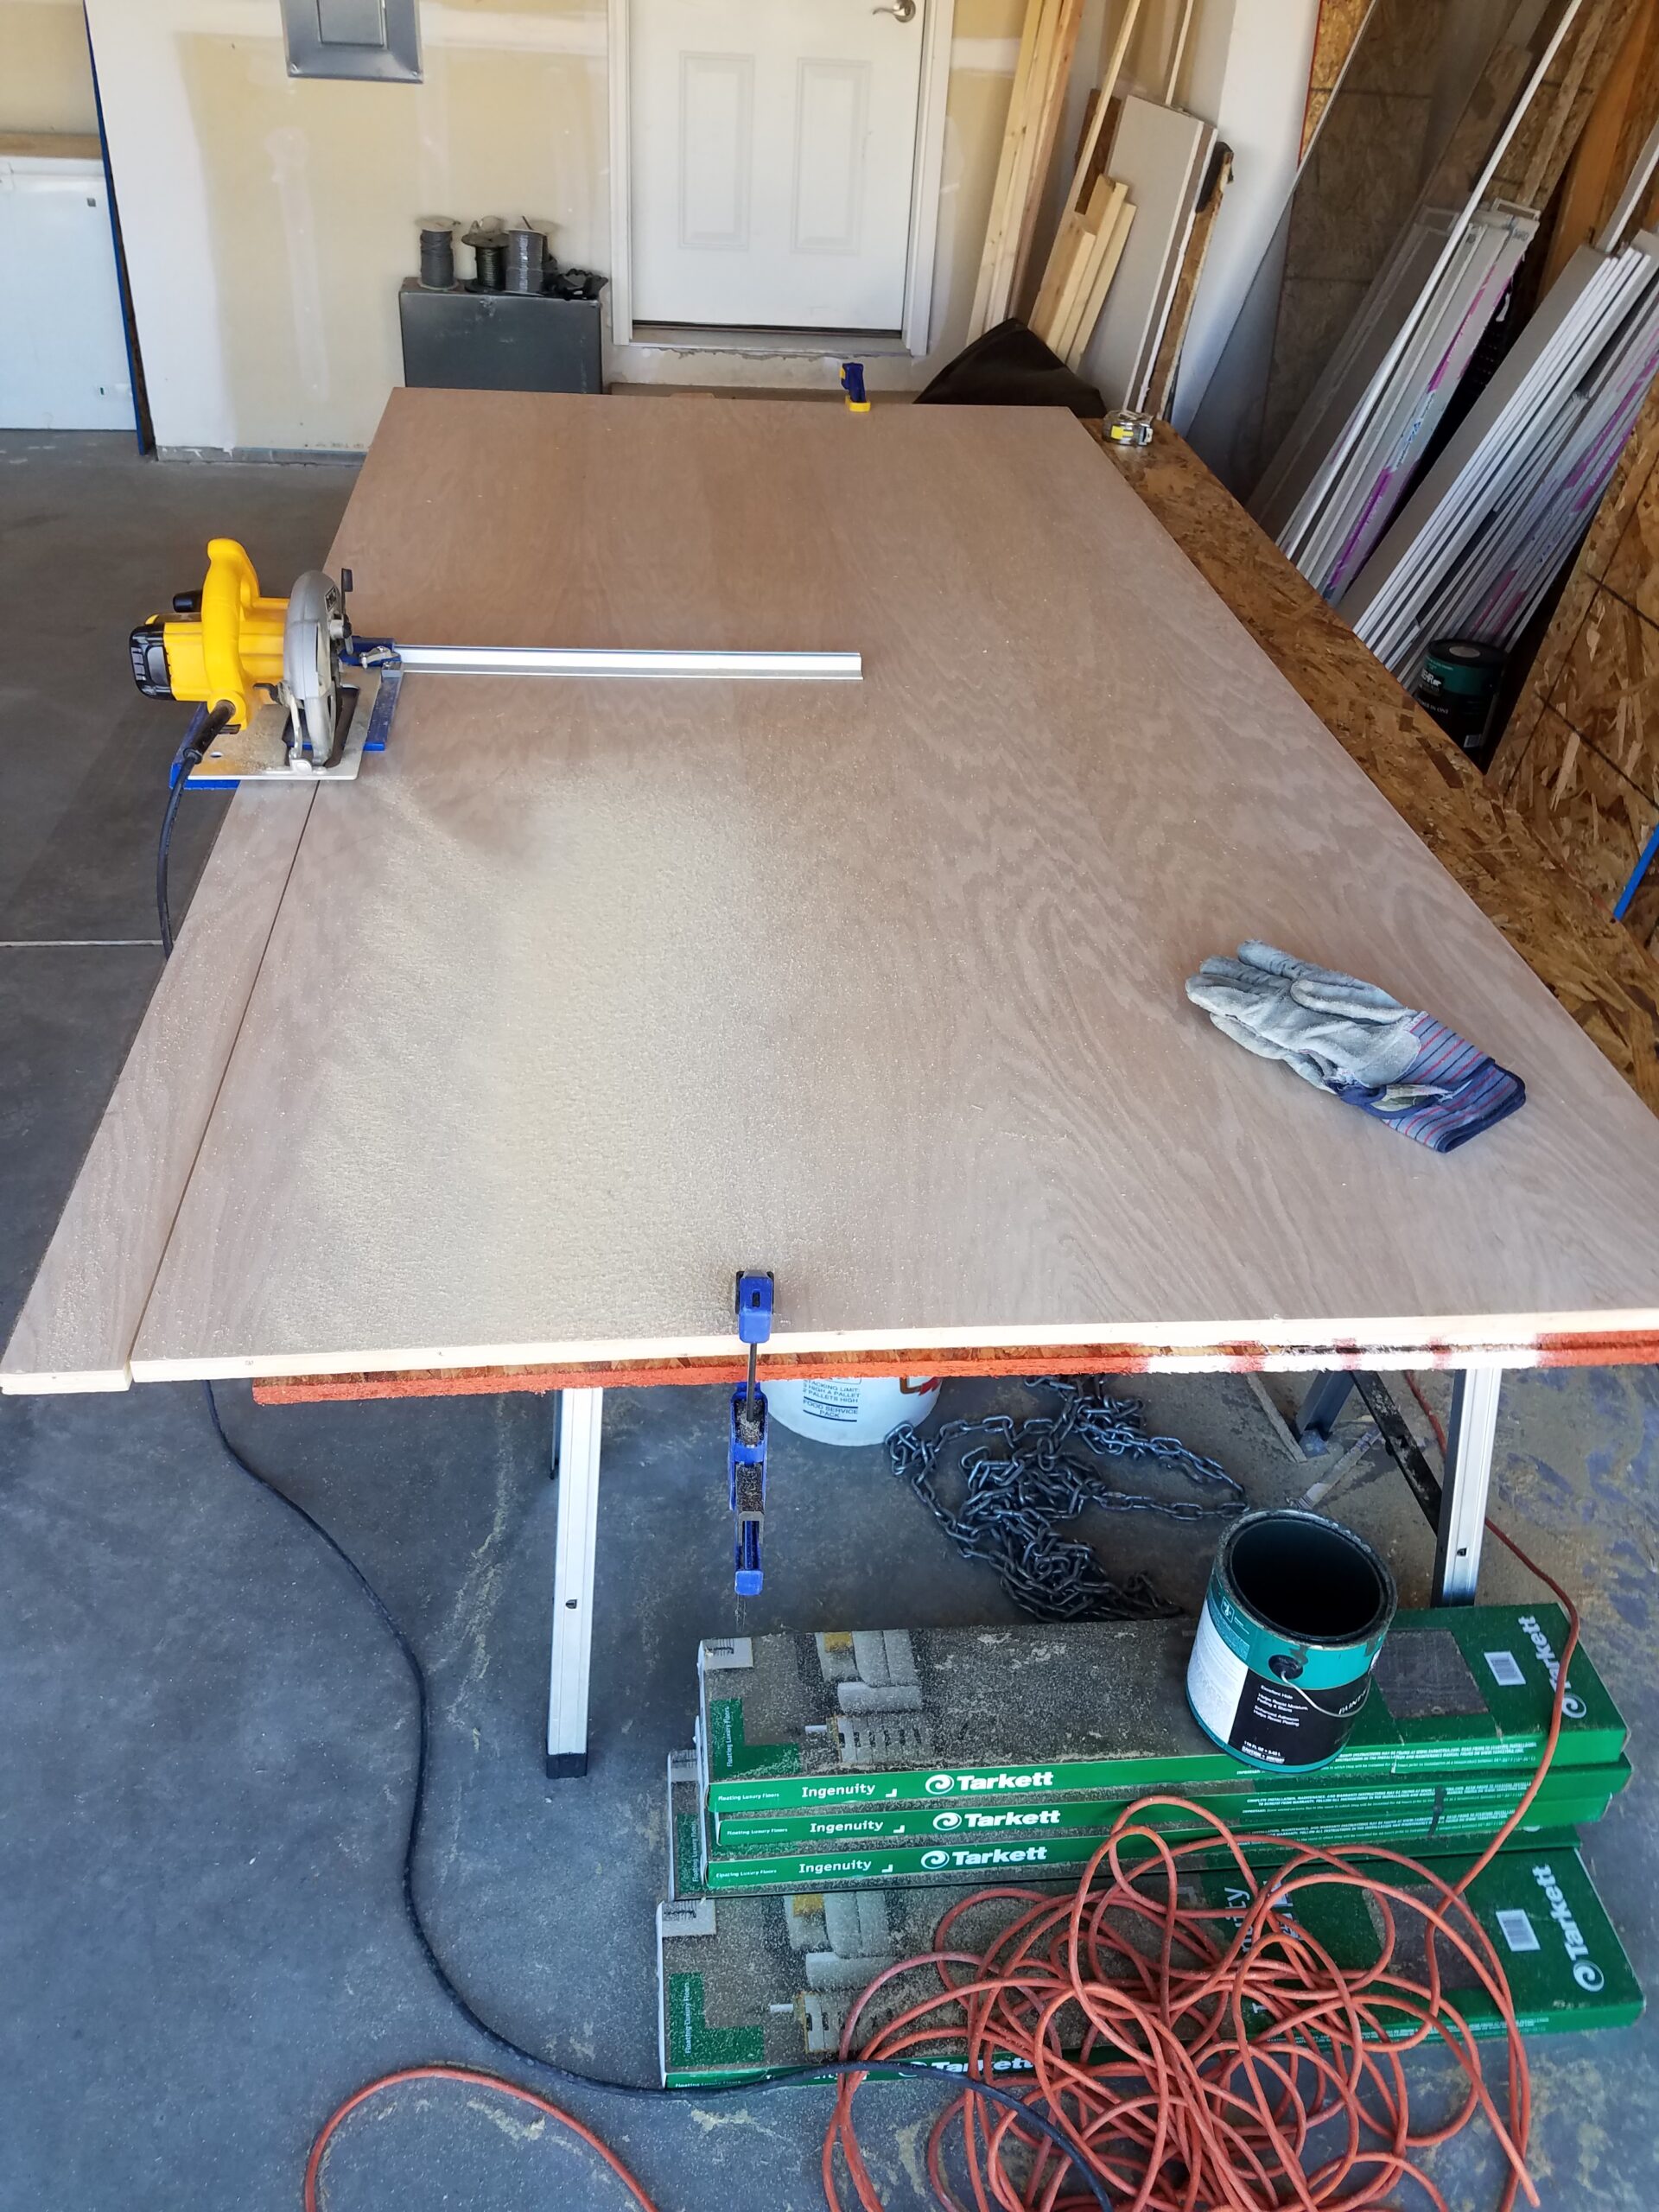
And here it is all cut. There are 15 3" X 8' strips. Even at $54 a sheet, this is much cheaper (and straighter and more stable) than dimensional lumber.
Sure did leave a pile of sawdust!

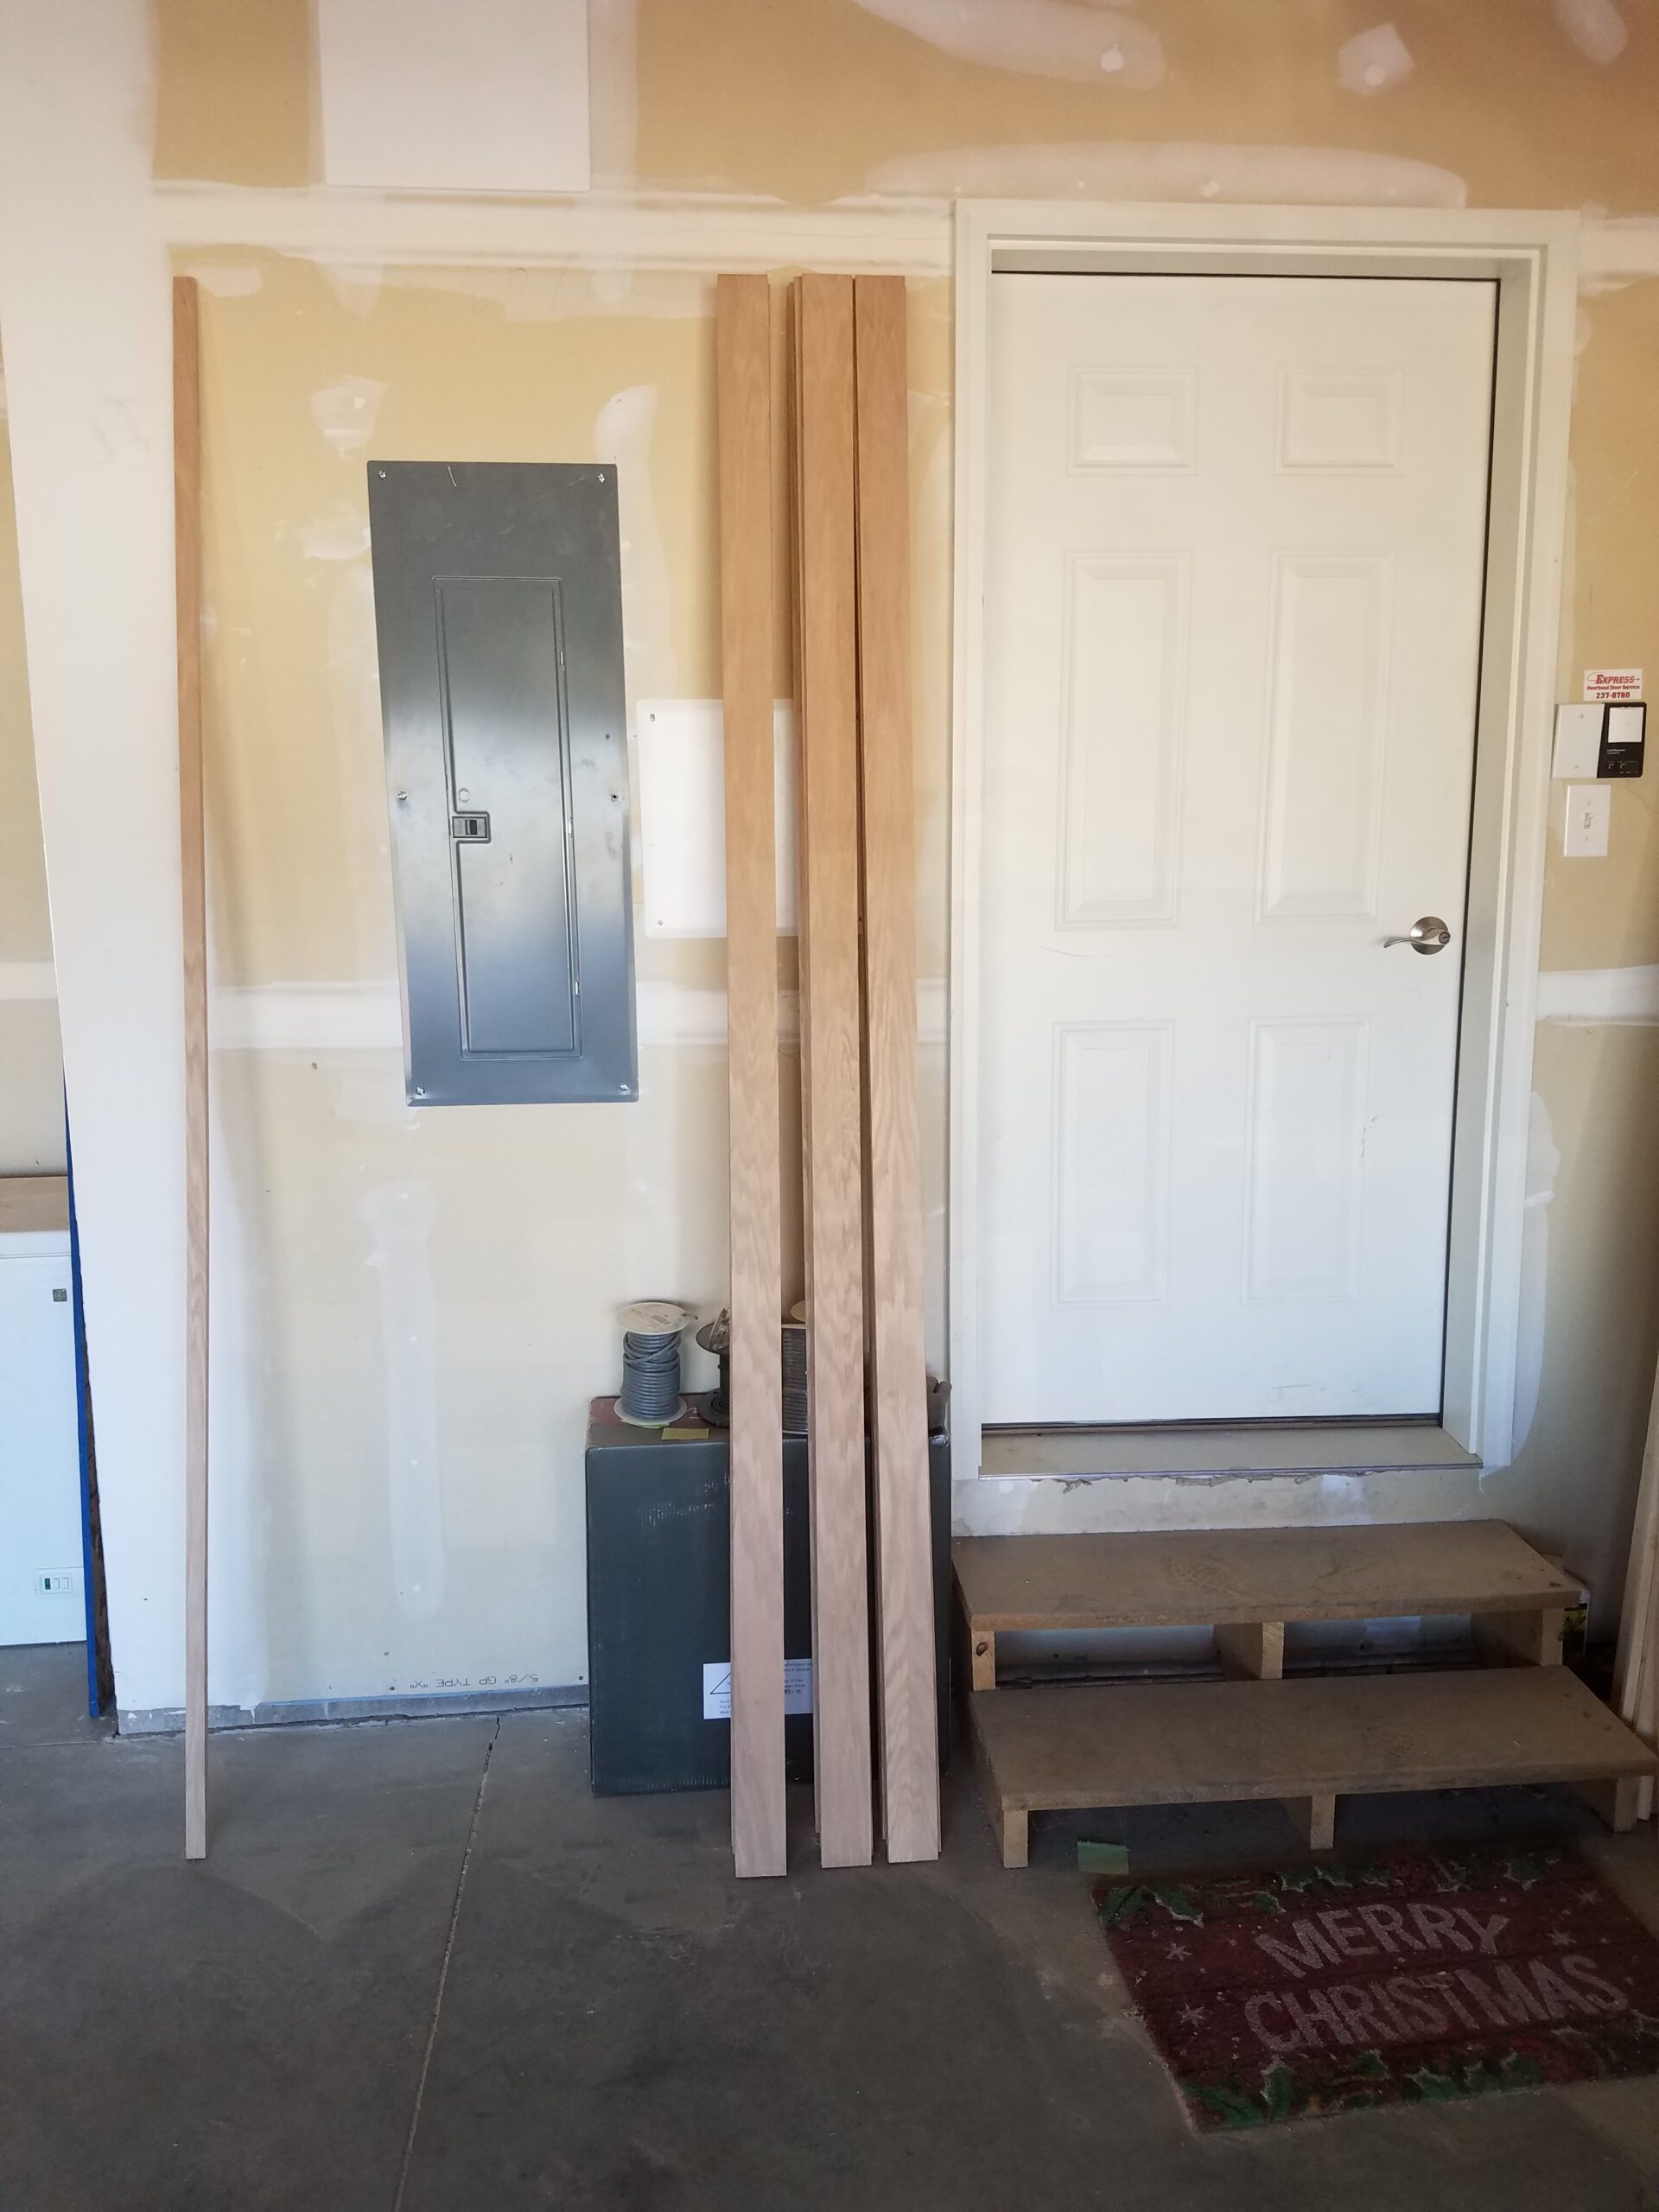
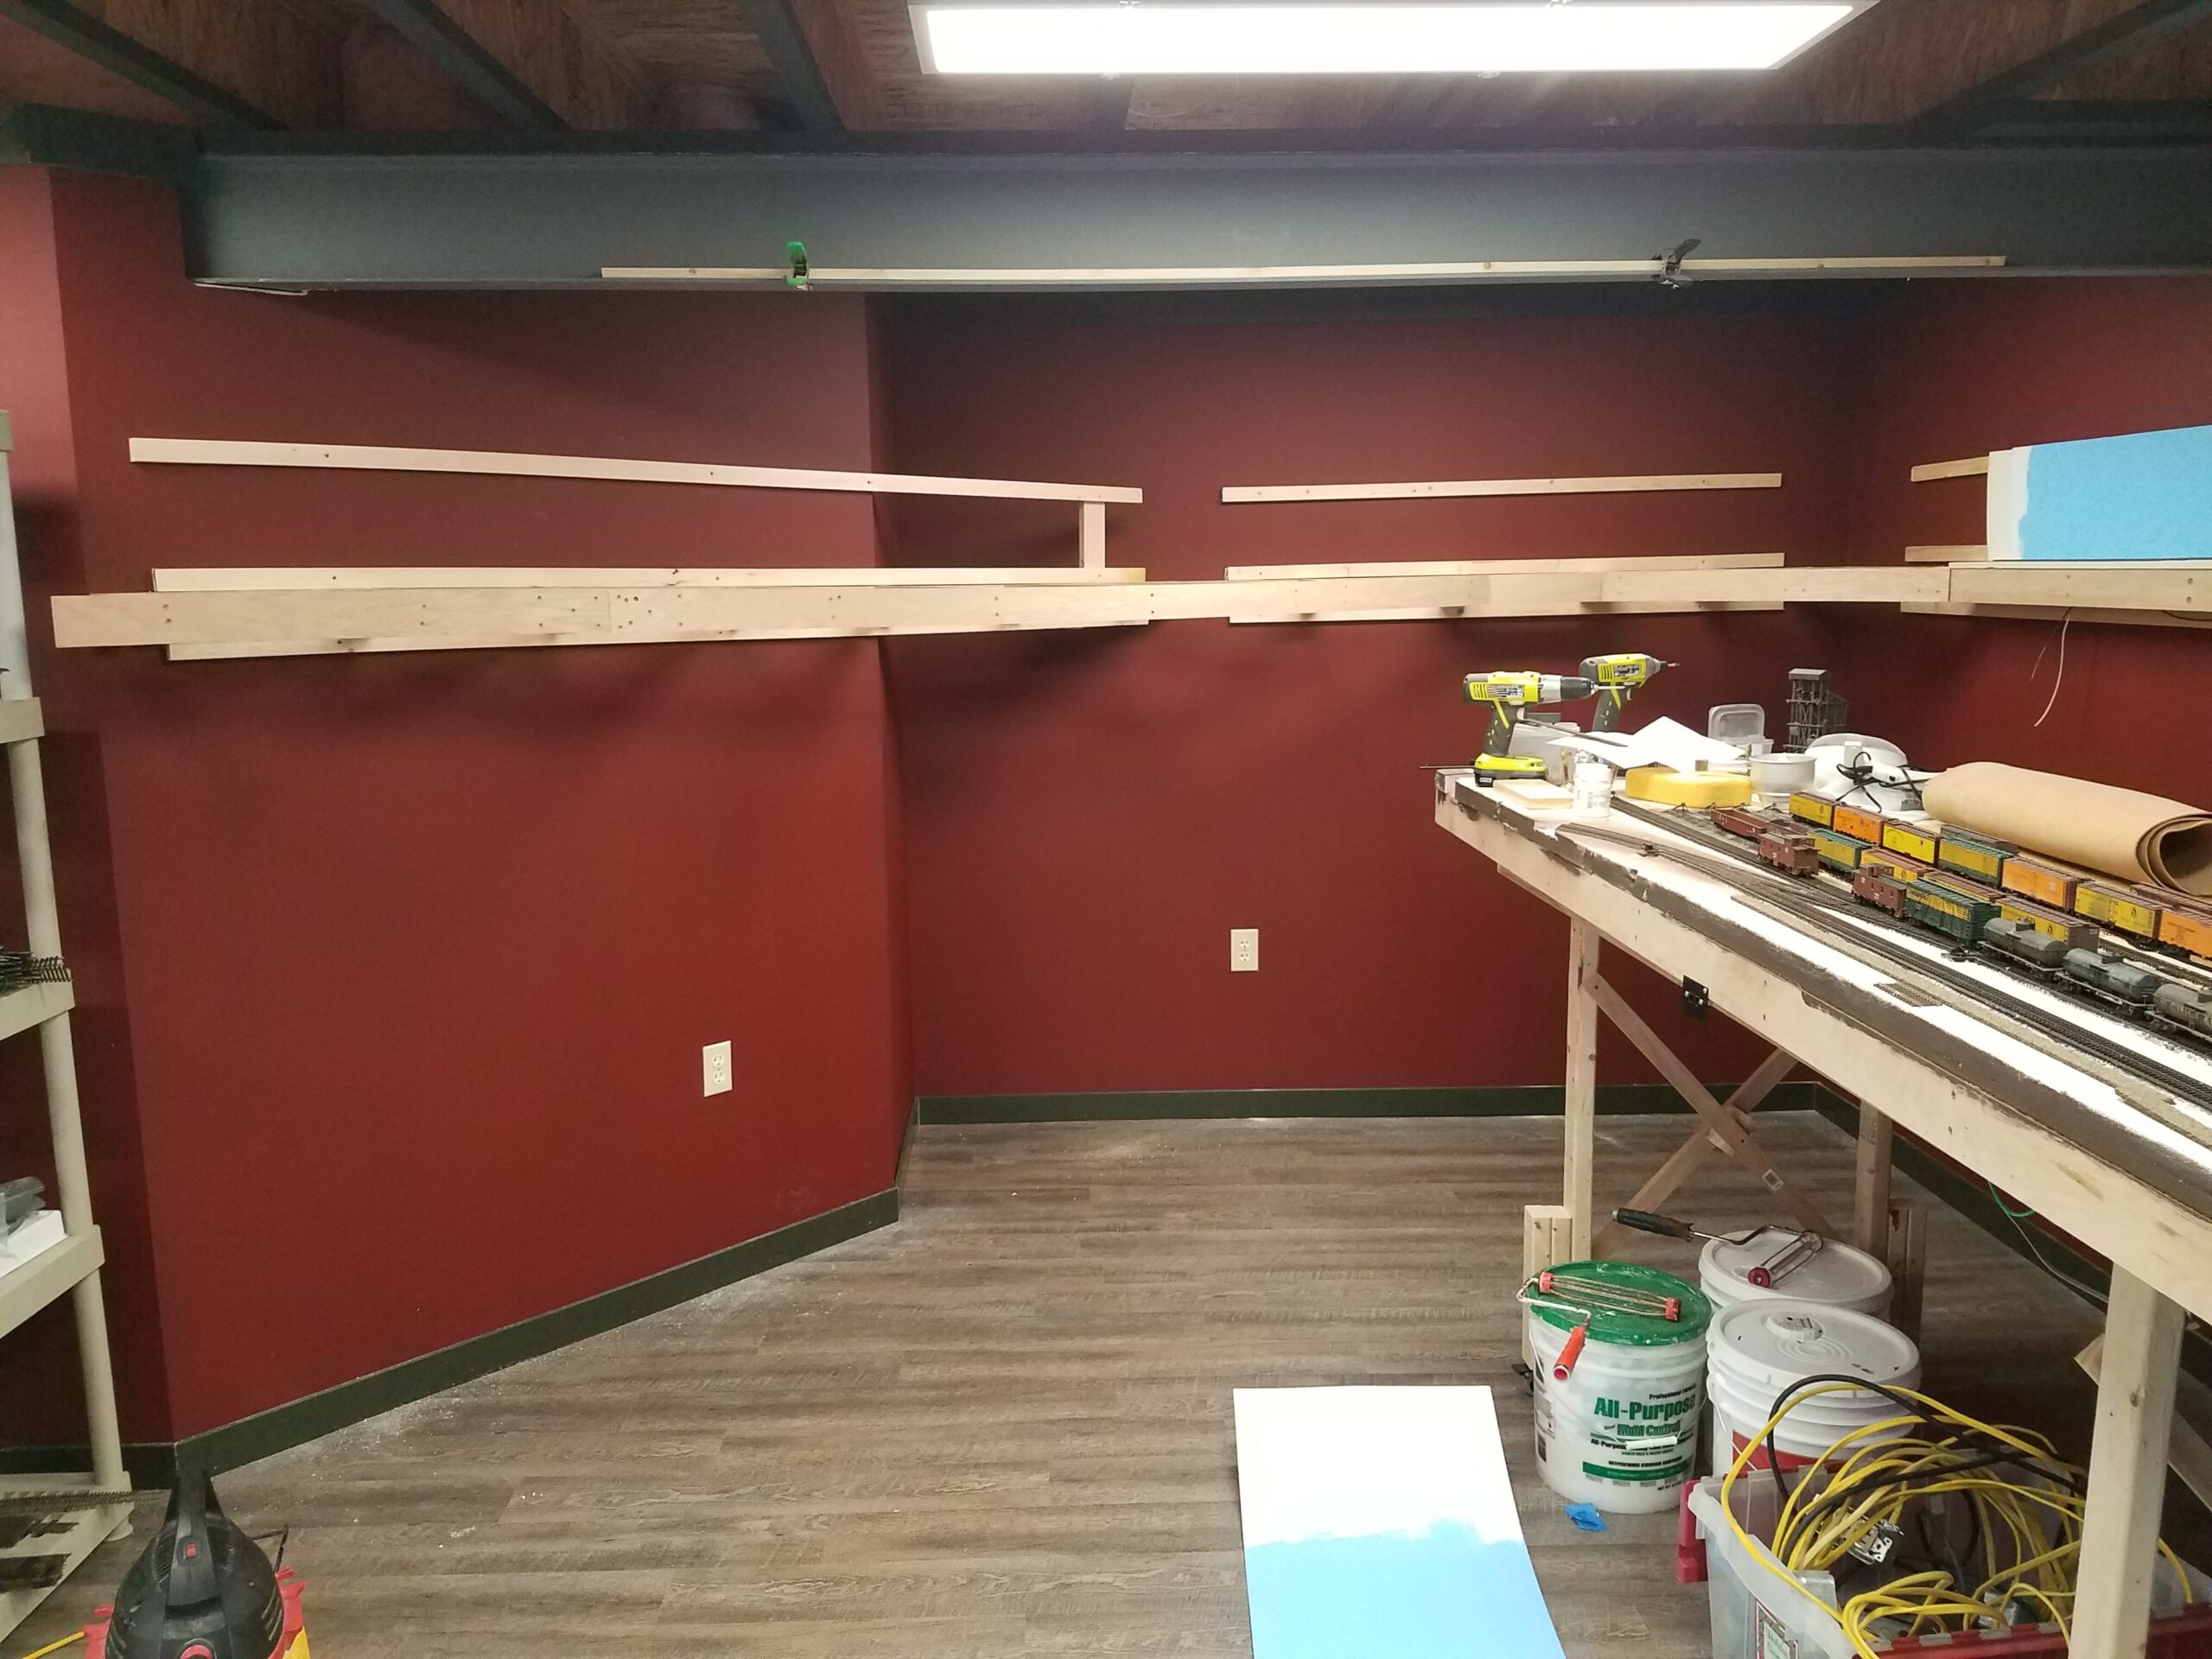
And today I put it to use! I began building the benchwork for the Chicago & North Western line between Riverton and Hudson, which will run above Casper. Here are the raw materials for beginning this project.
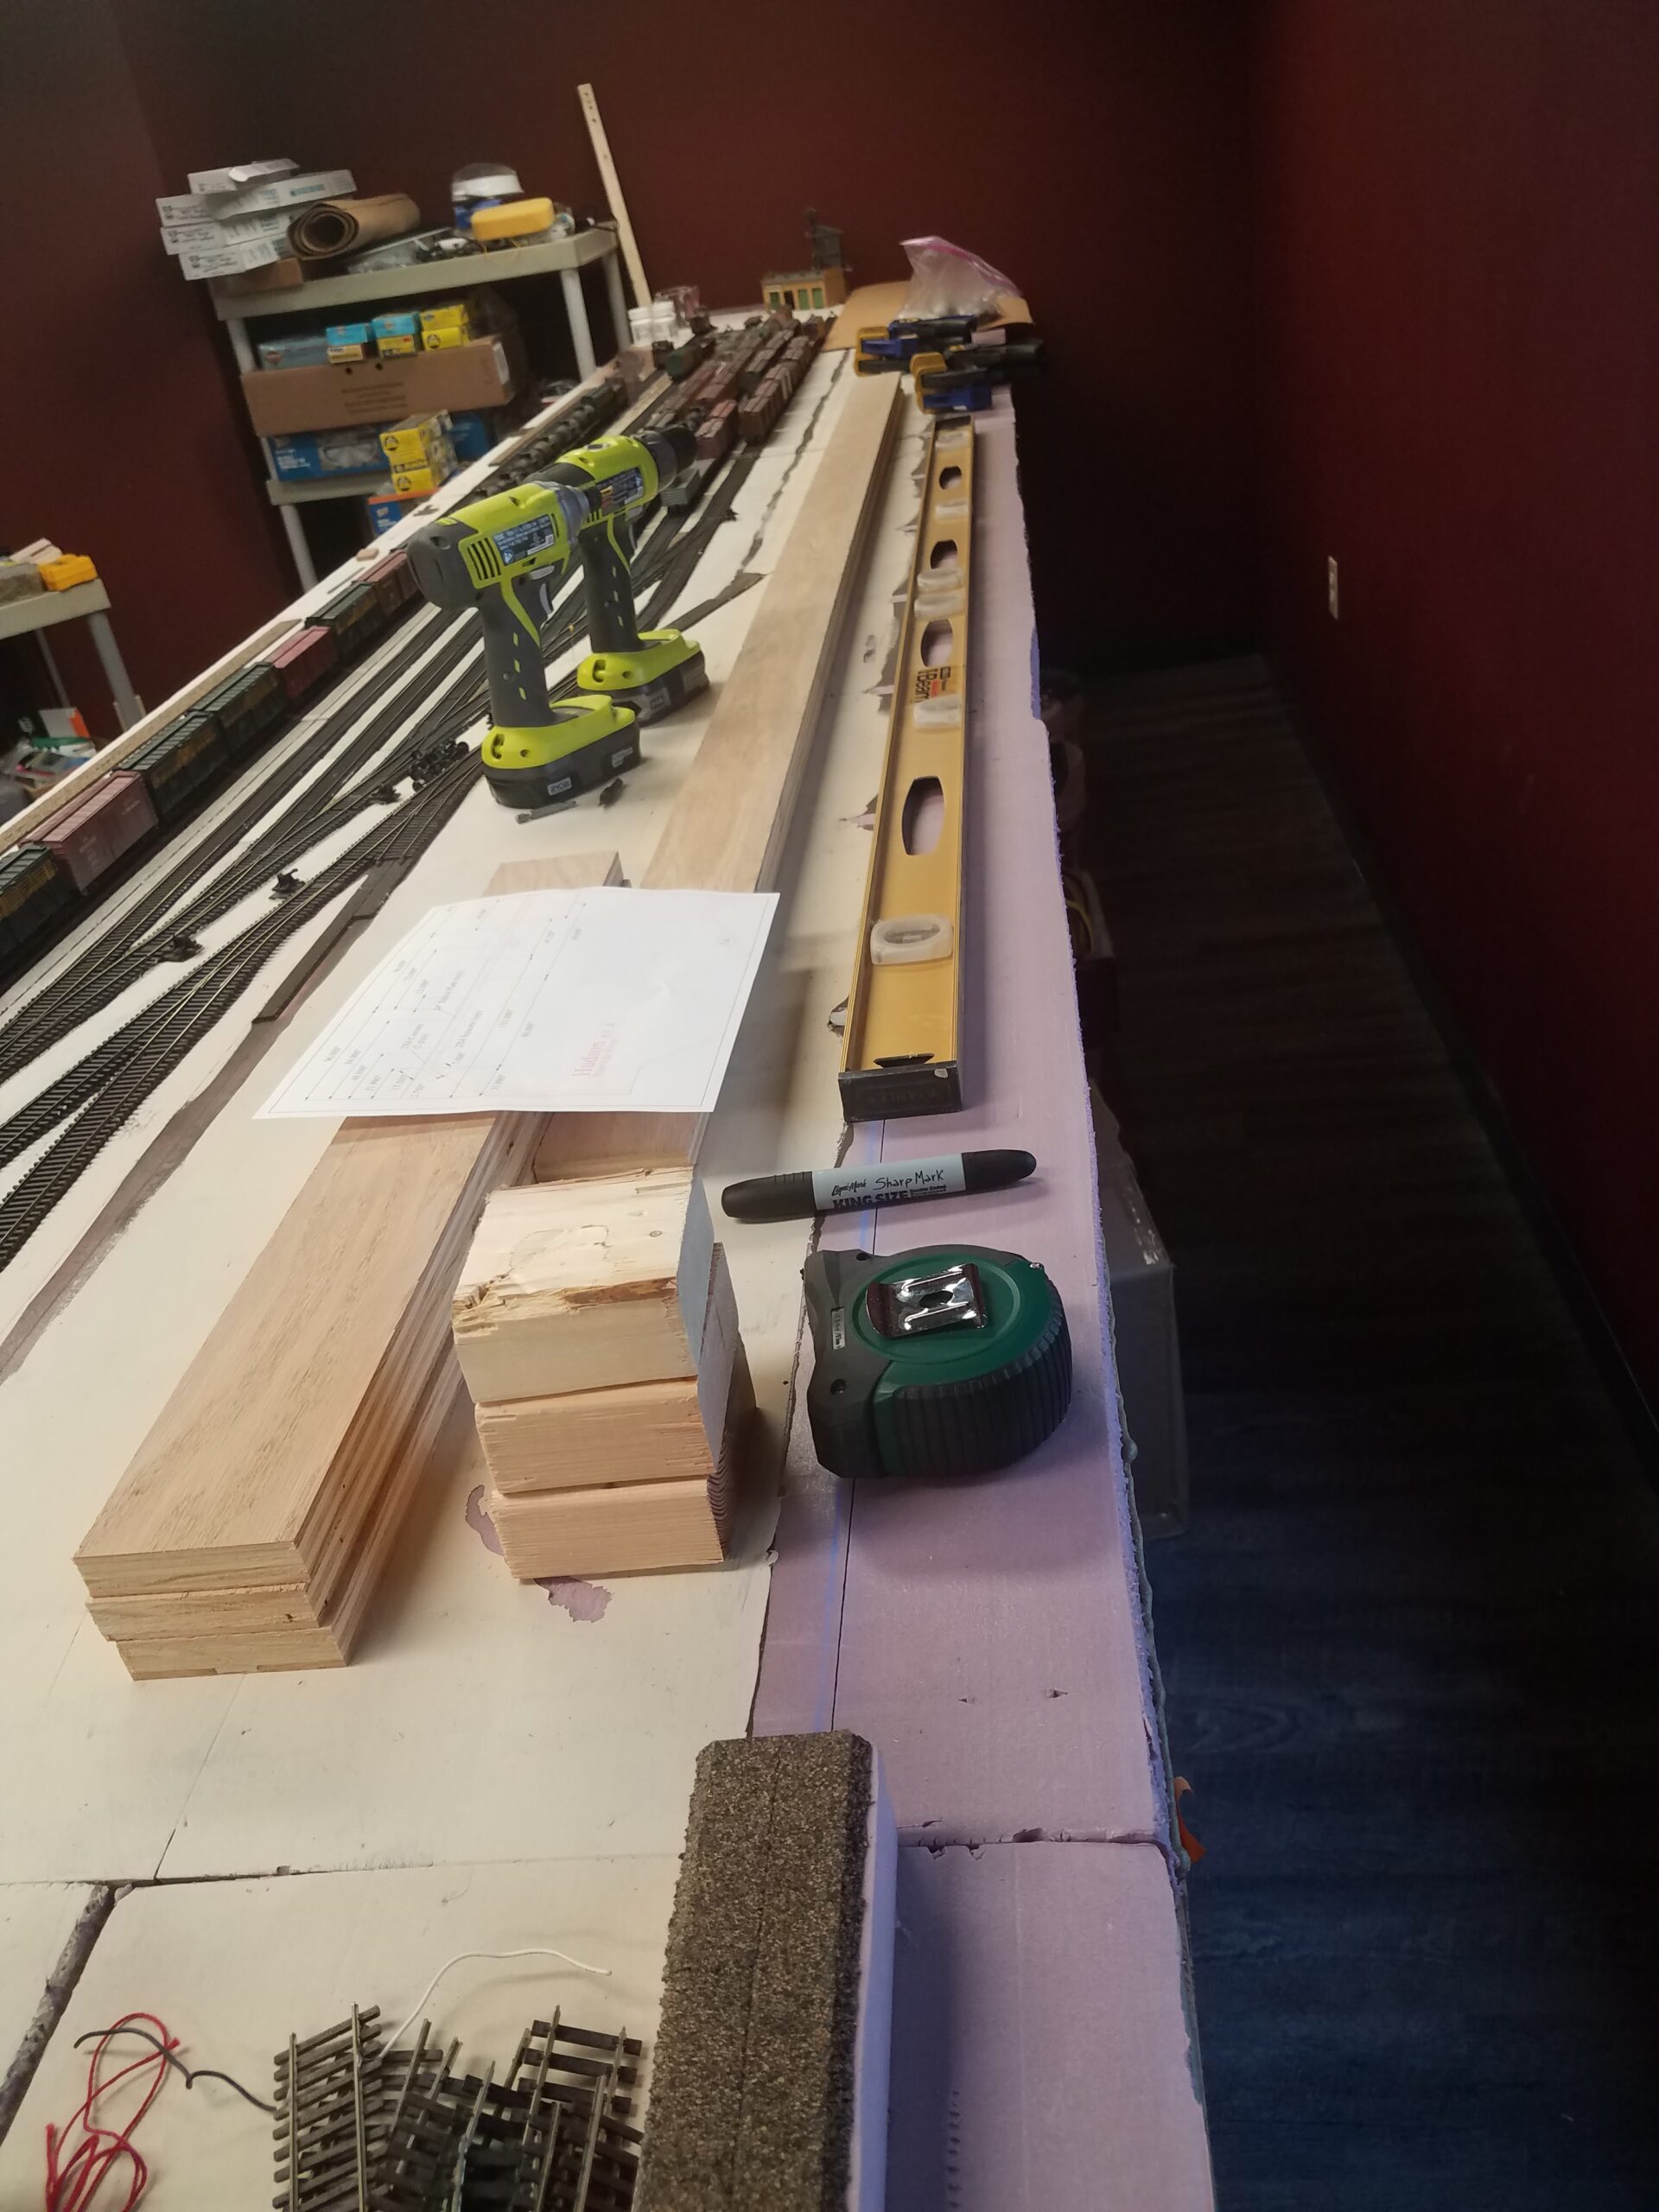
Here's the working plan for the left end of the line over Casper.

So it begins. I clamped two 8' strips to my 6-foot level before splicing them, to make sure the top of the benchwork will be straight.

Here are three strips all spliced together. Looks pretty straight to me!
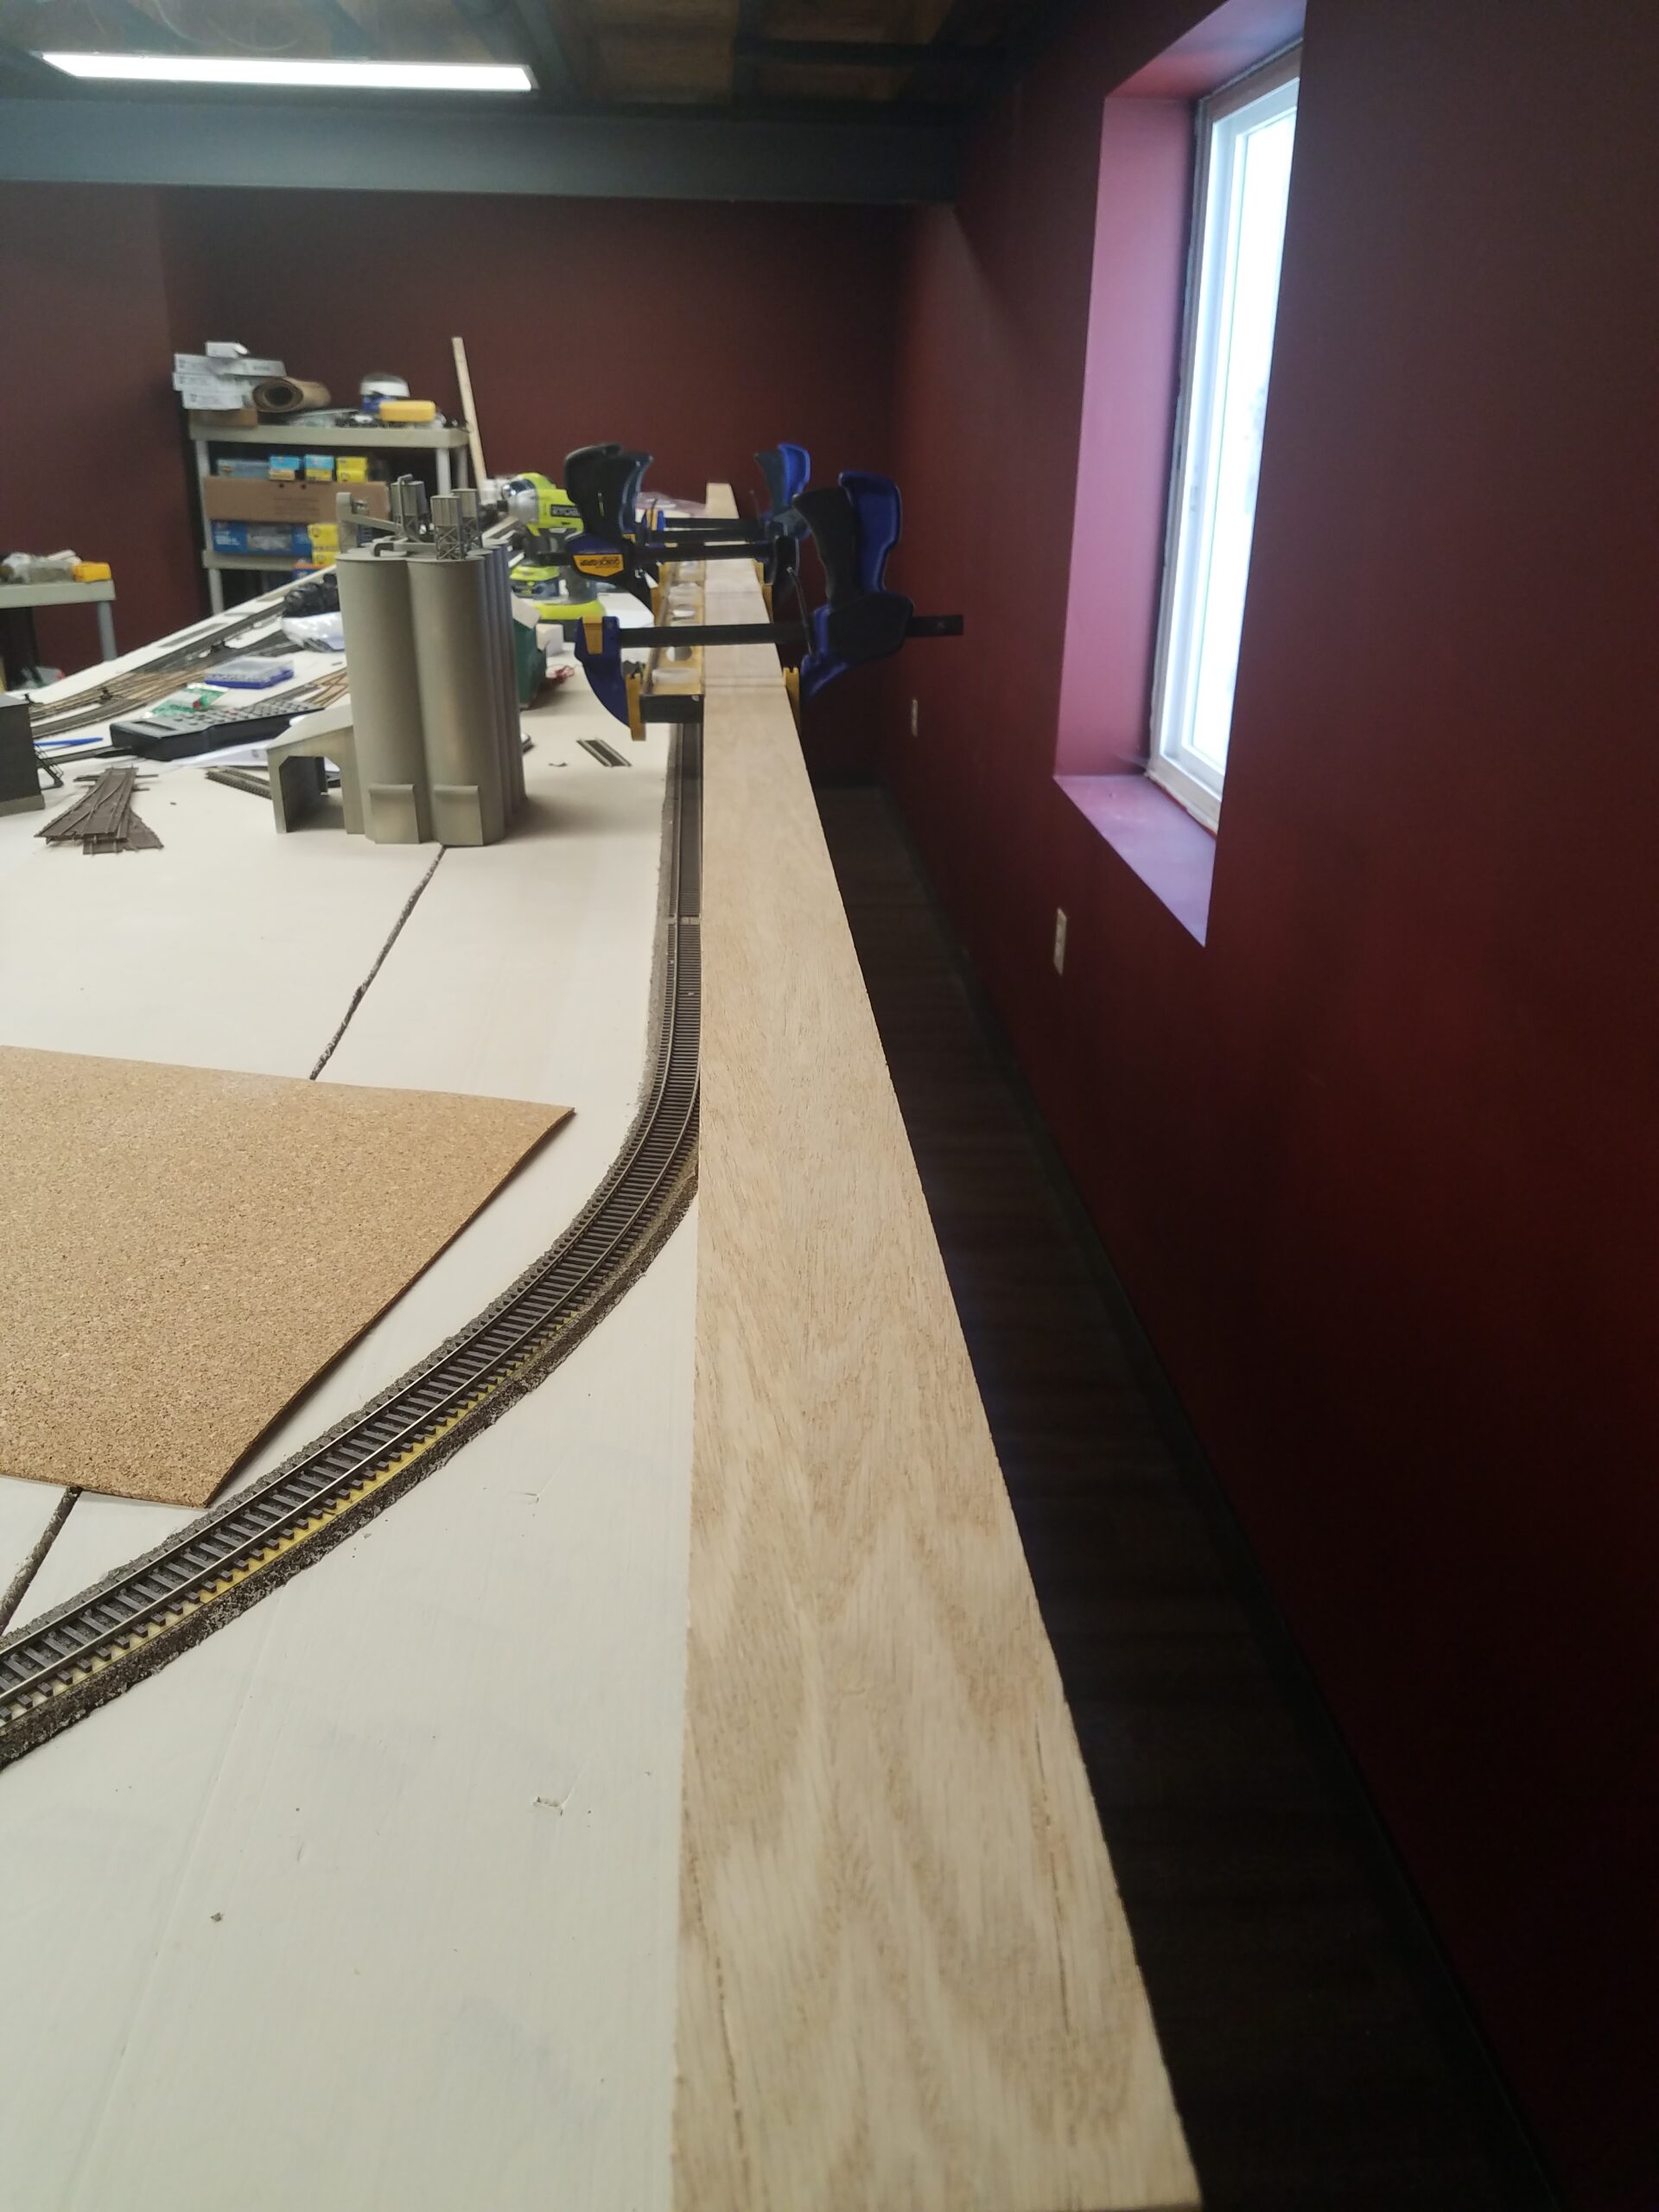
Here's the first big section laying on its top. This benchwork is just wide enough for one track - 5 1/2 inches wide.
I mounted the section on temporary legs behind Casper to get an idea of how it would look.

After staring at it and mulling it over a bit, I decided it was fine and went ahead with mounting it permanently to the wall.

And here it is from a bit of an angle.

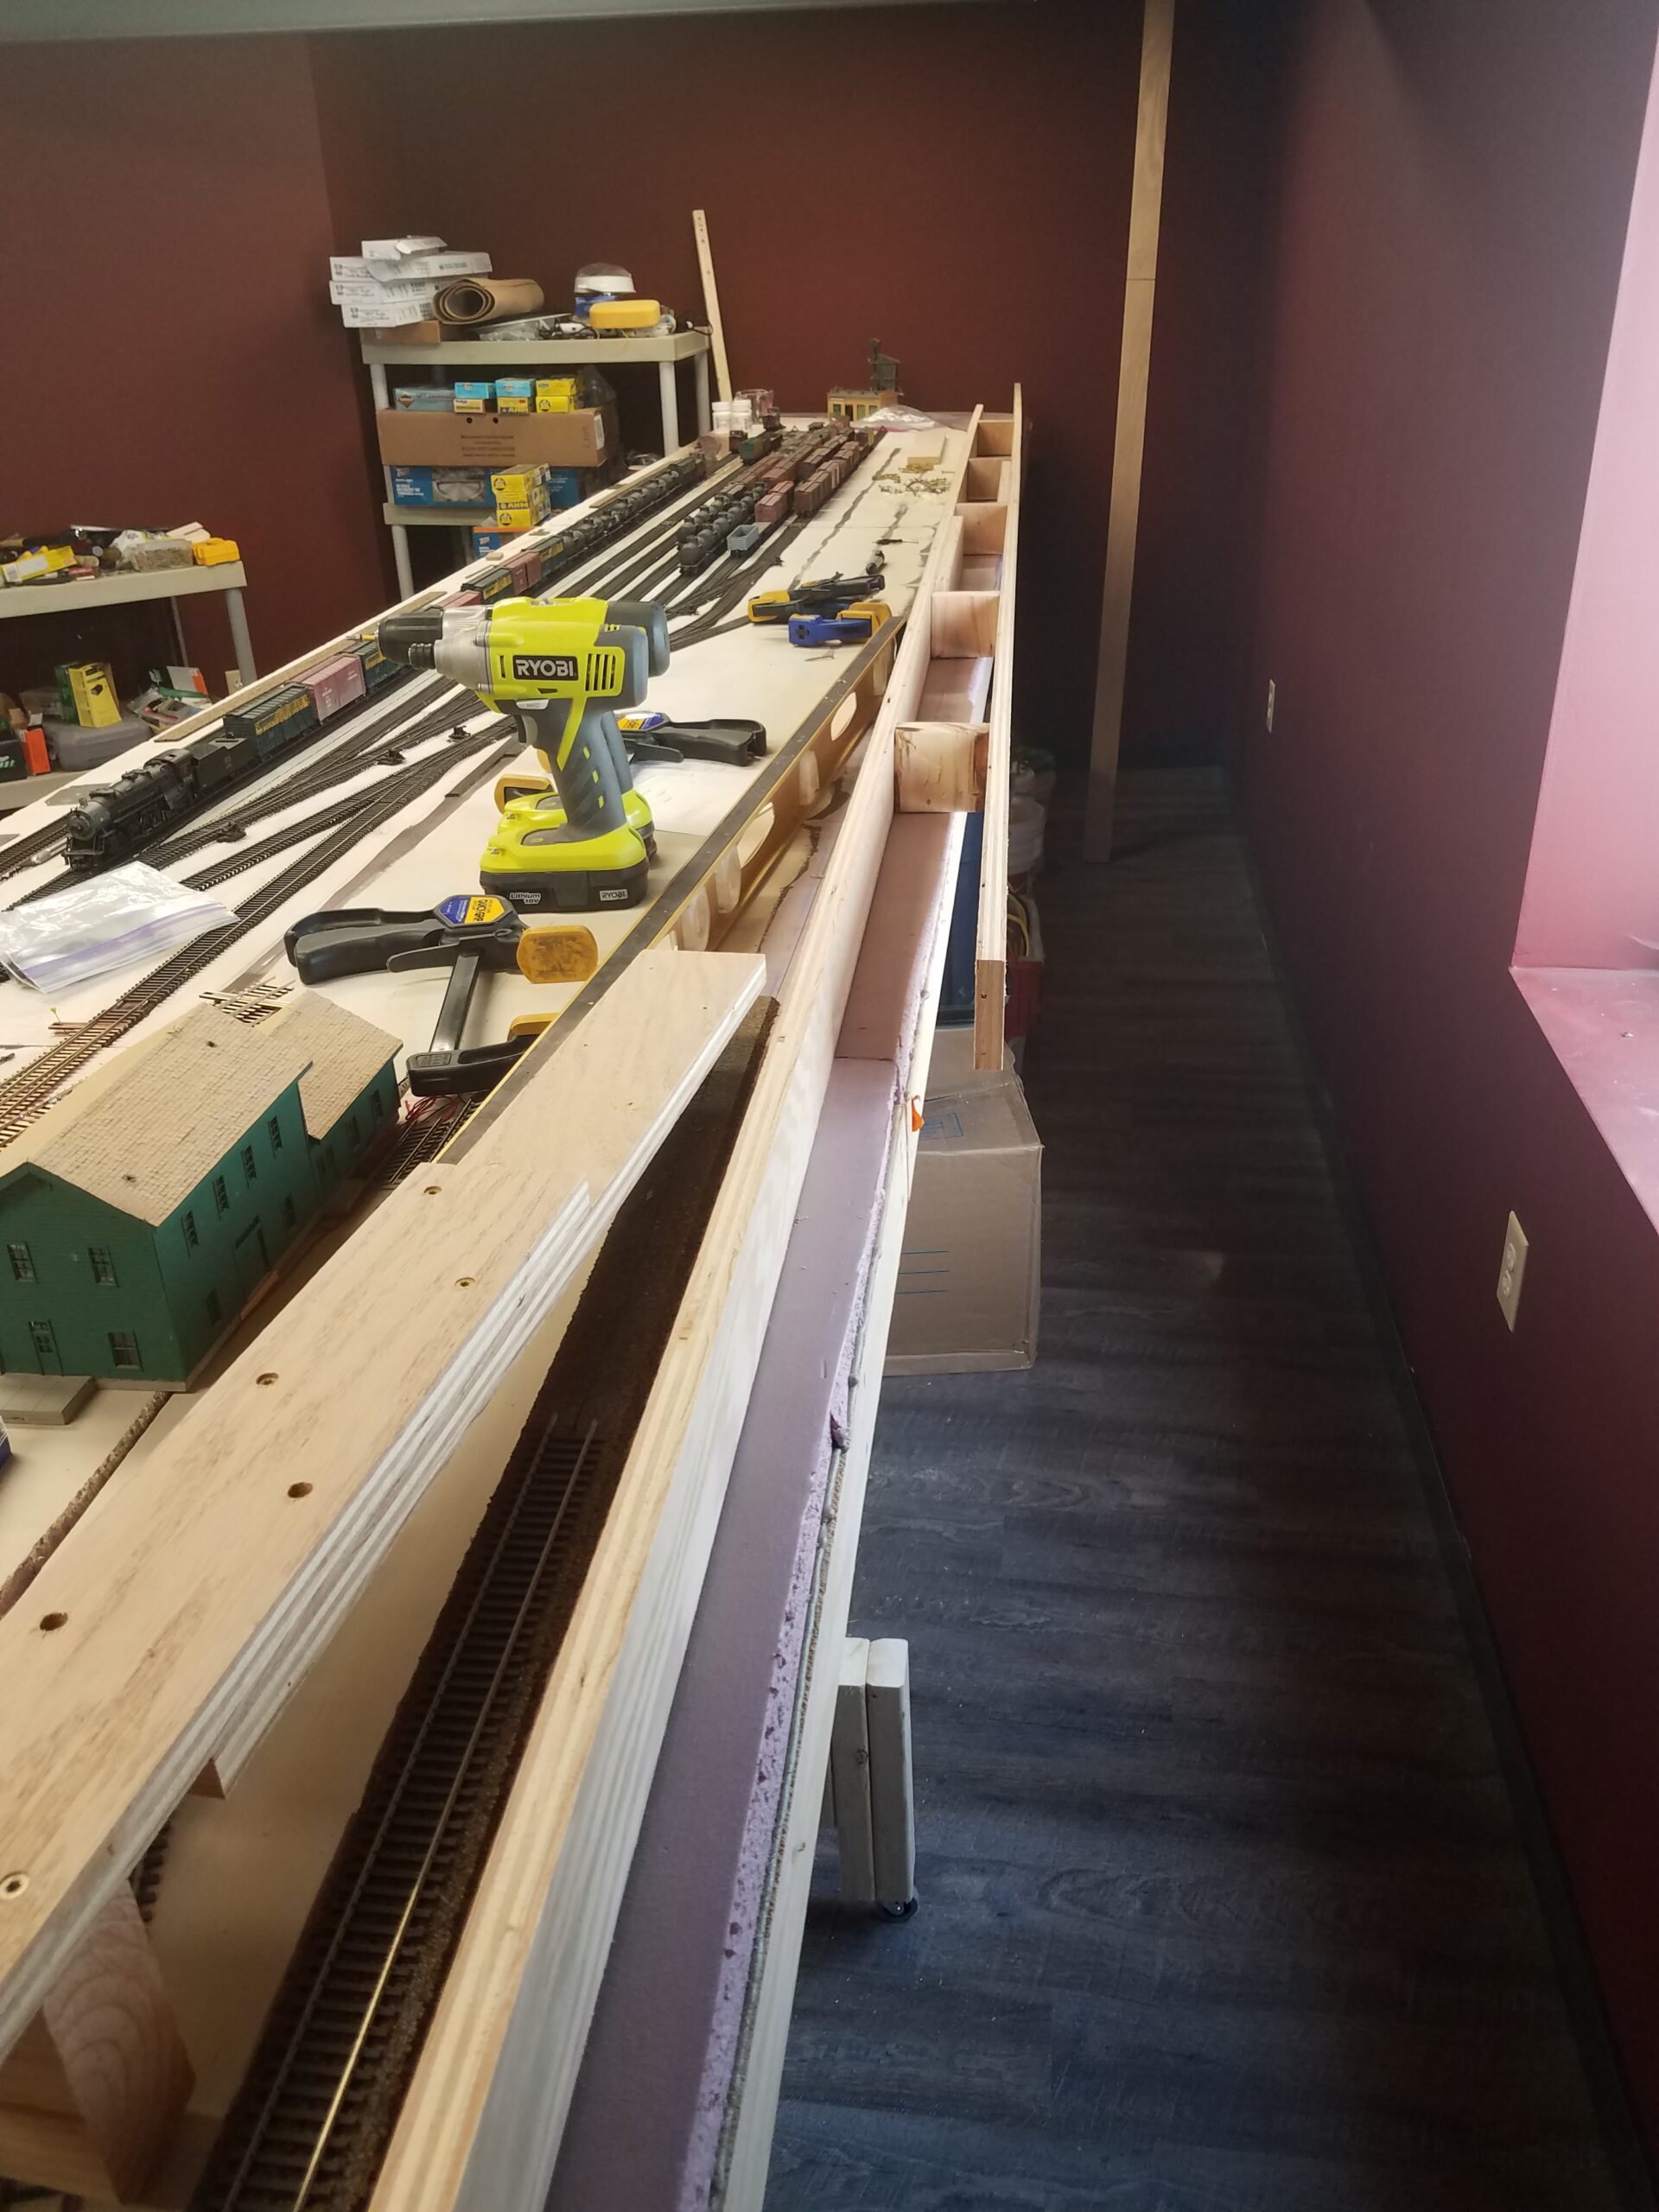
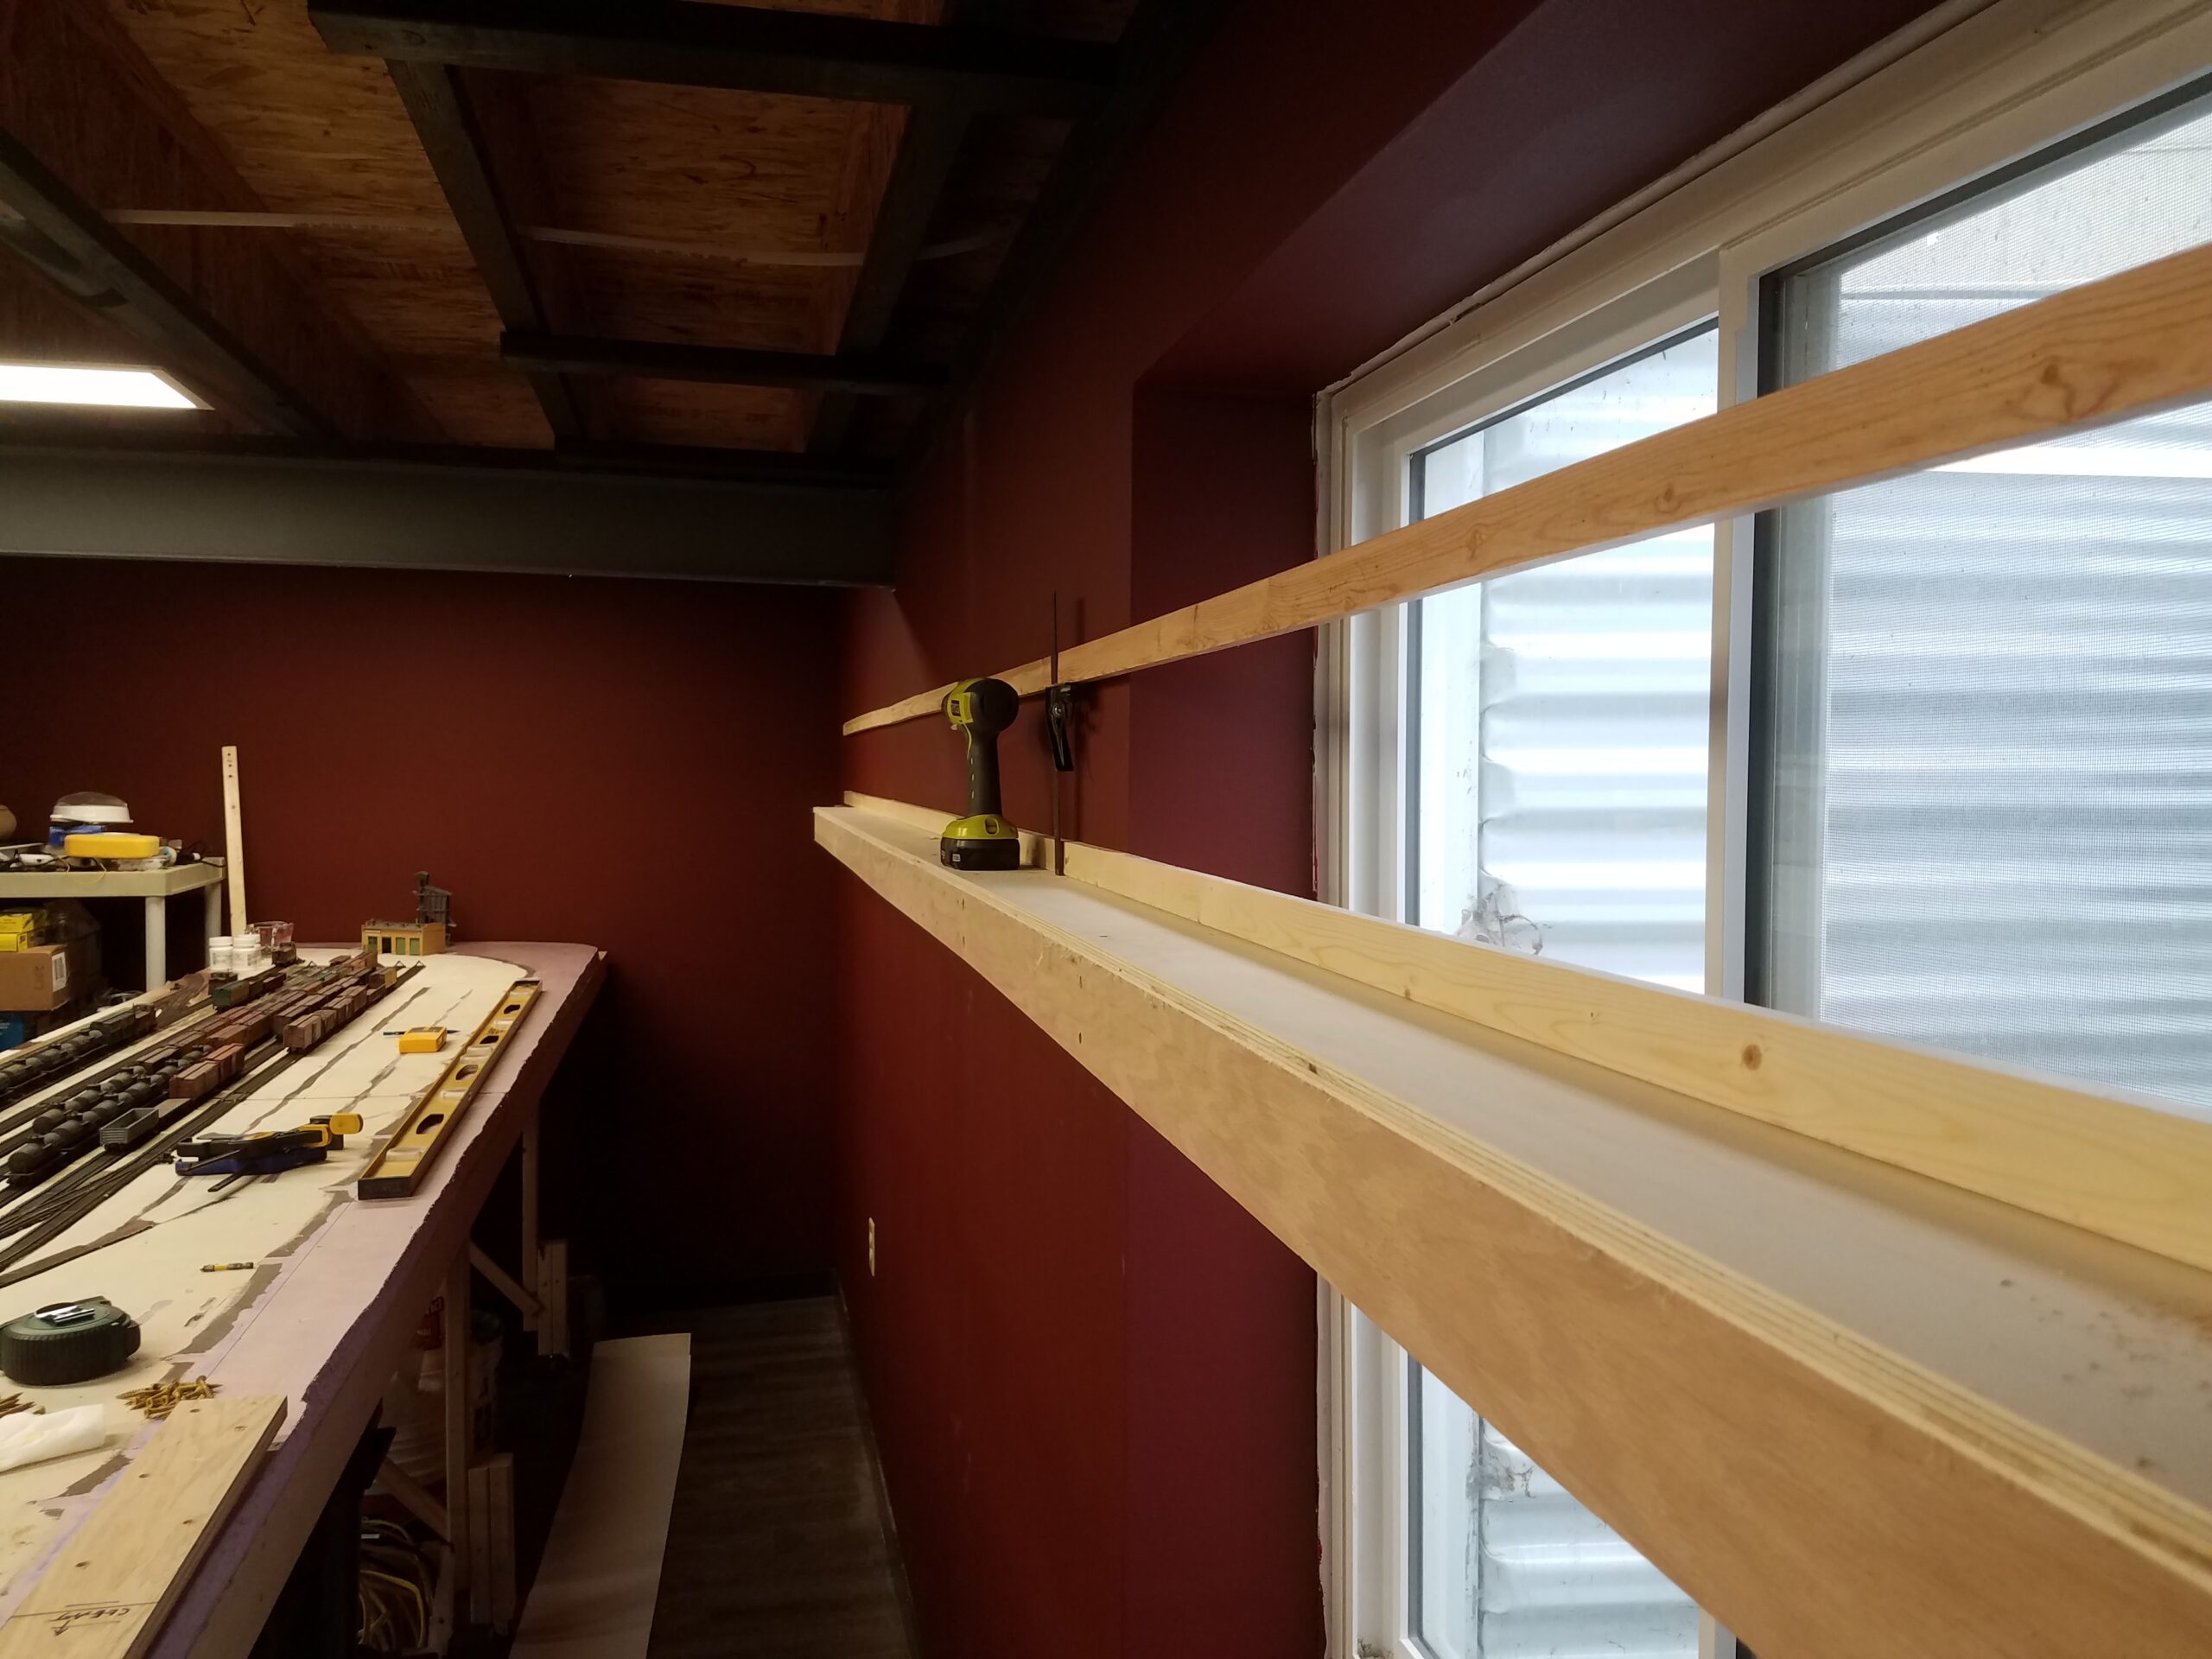
Today I installed the second section of the CNW line over Casper. Here it is in the middle of installation:

And a couple hours later this section is finished. About a foot before the end of the stringer away from the wall (back into the picture), the shelf will taper out to about 20" wide for the town of Riverton. That benchwork will run all the way to the wall behind me. The Forward edge will need supported someway. I'm thinking of using a threaded rod to suspend it from the ceiling.

Here's a view looking almost all the way down the Casper wall.

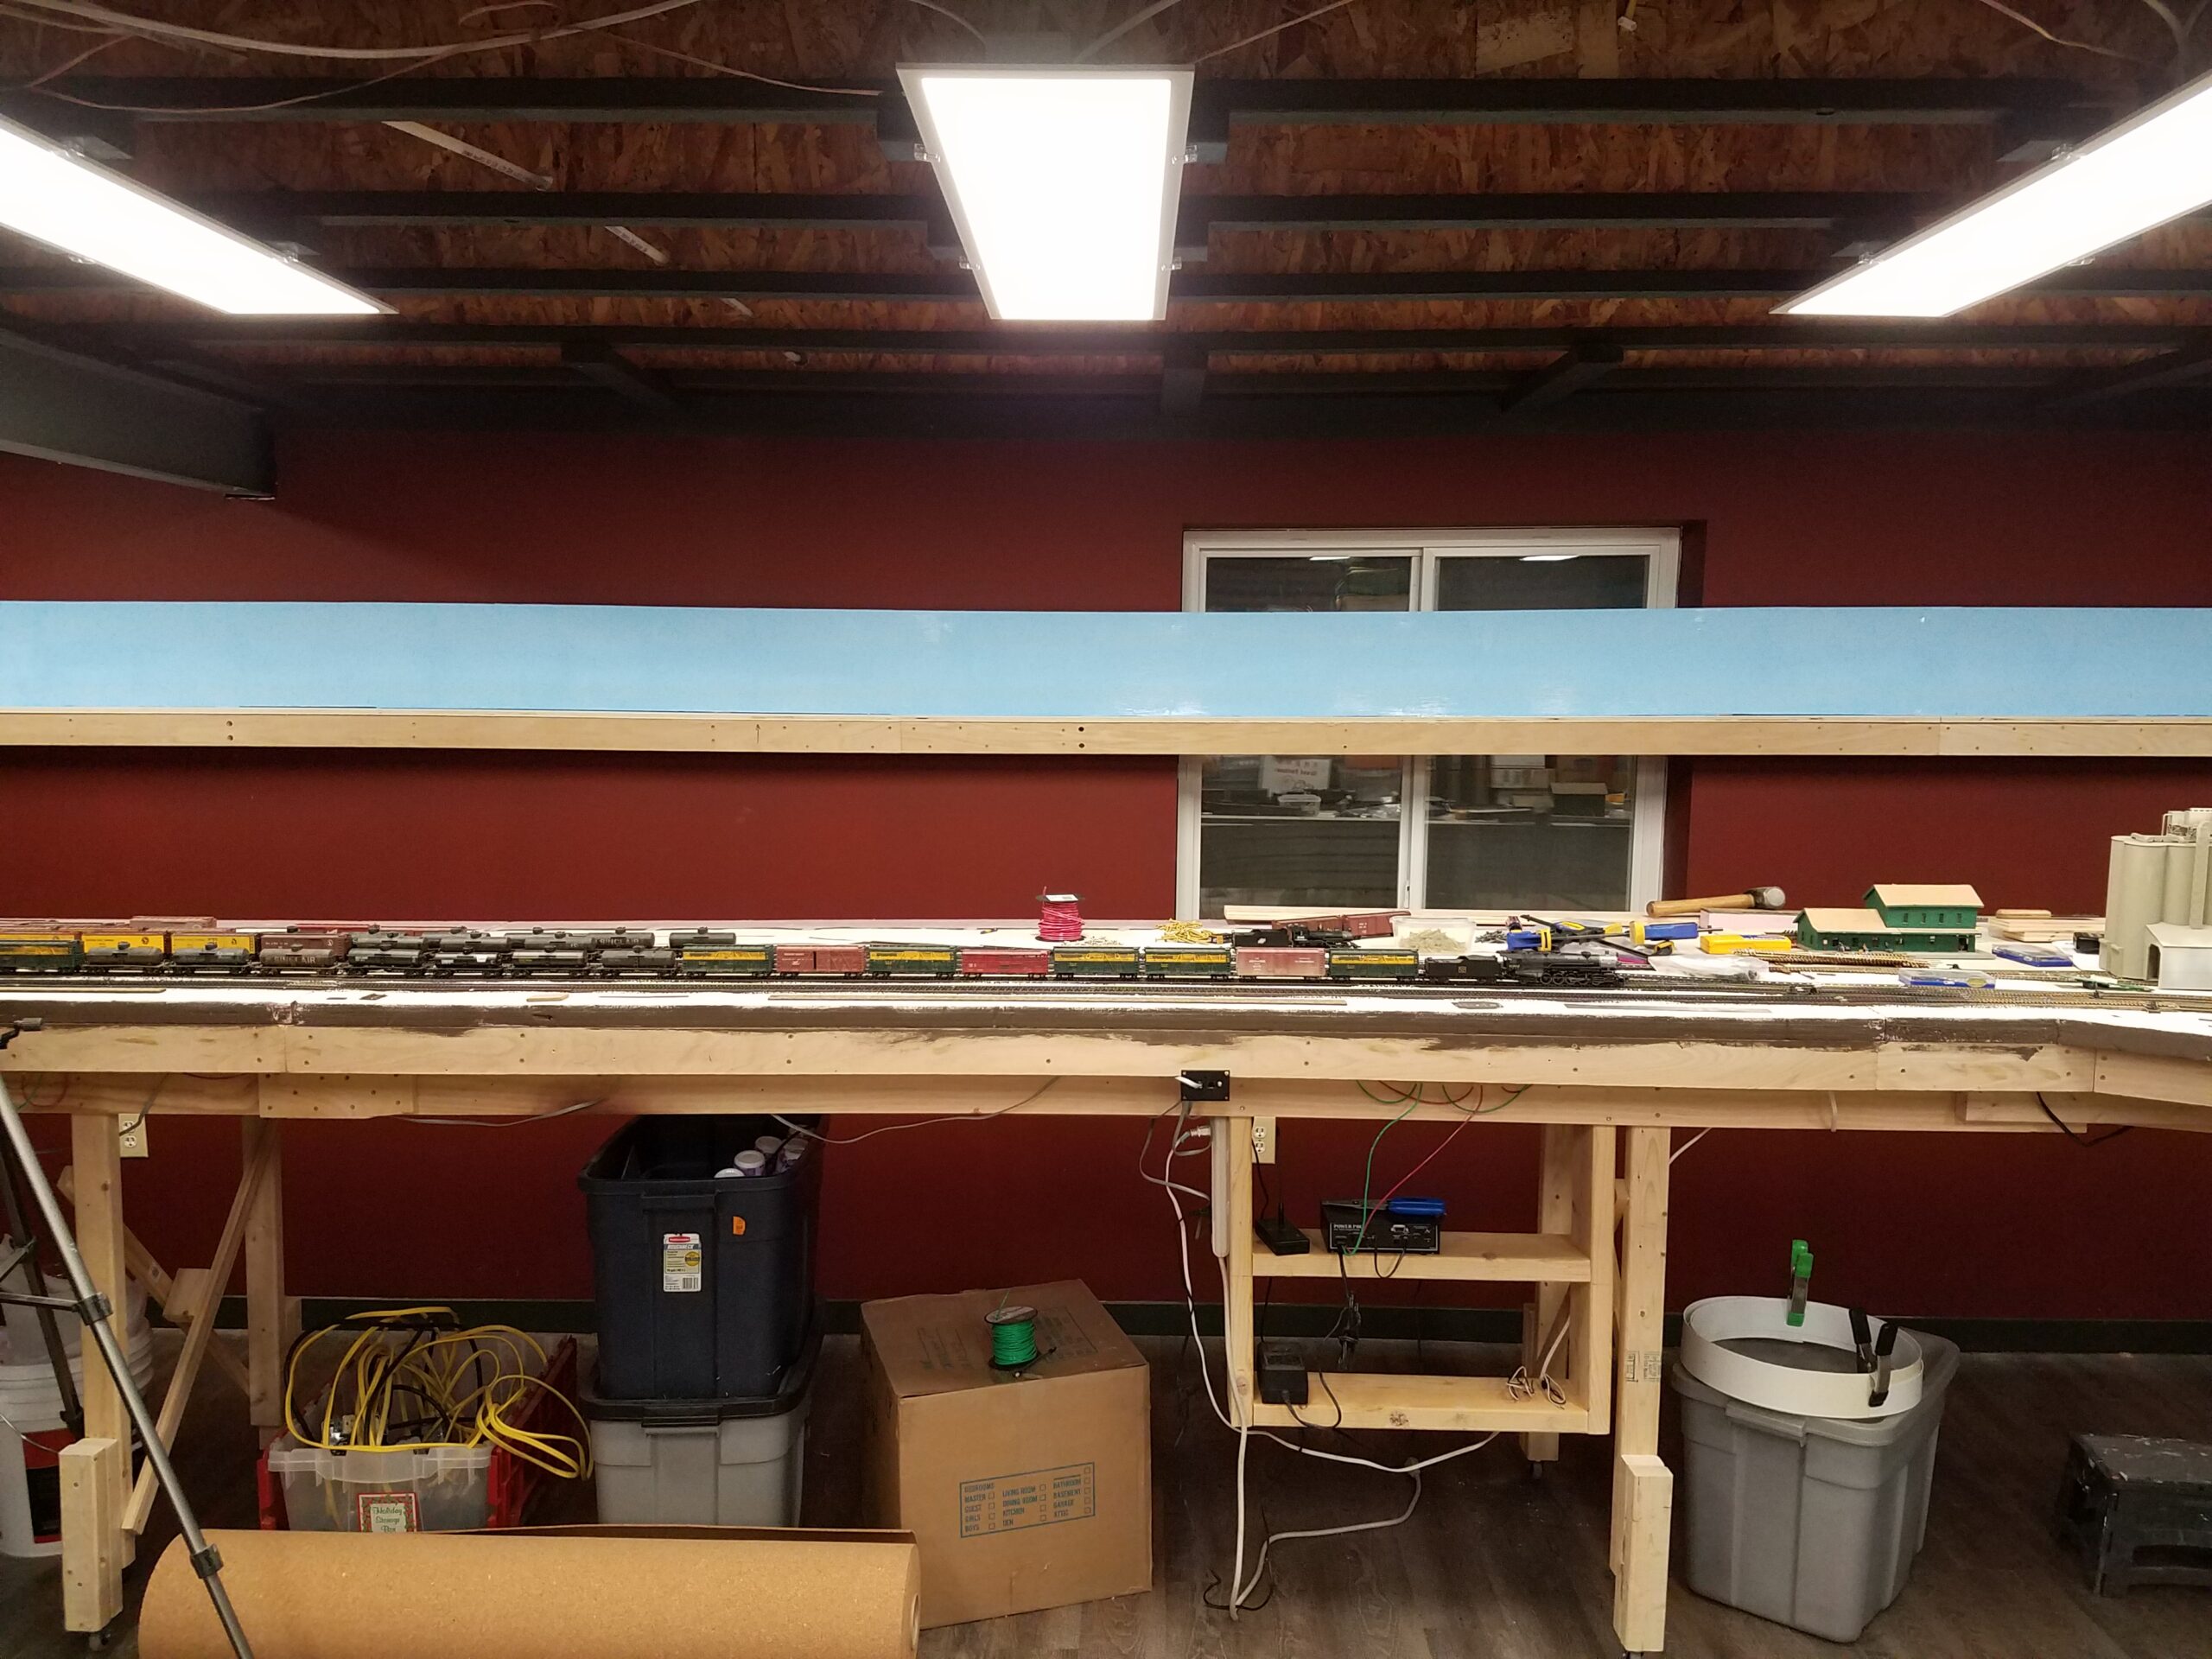
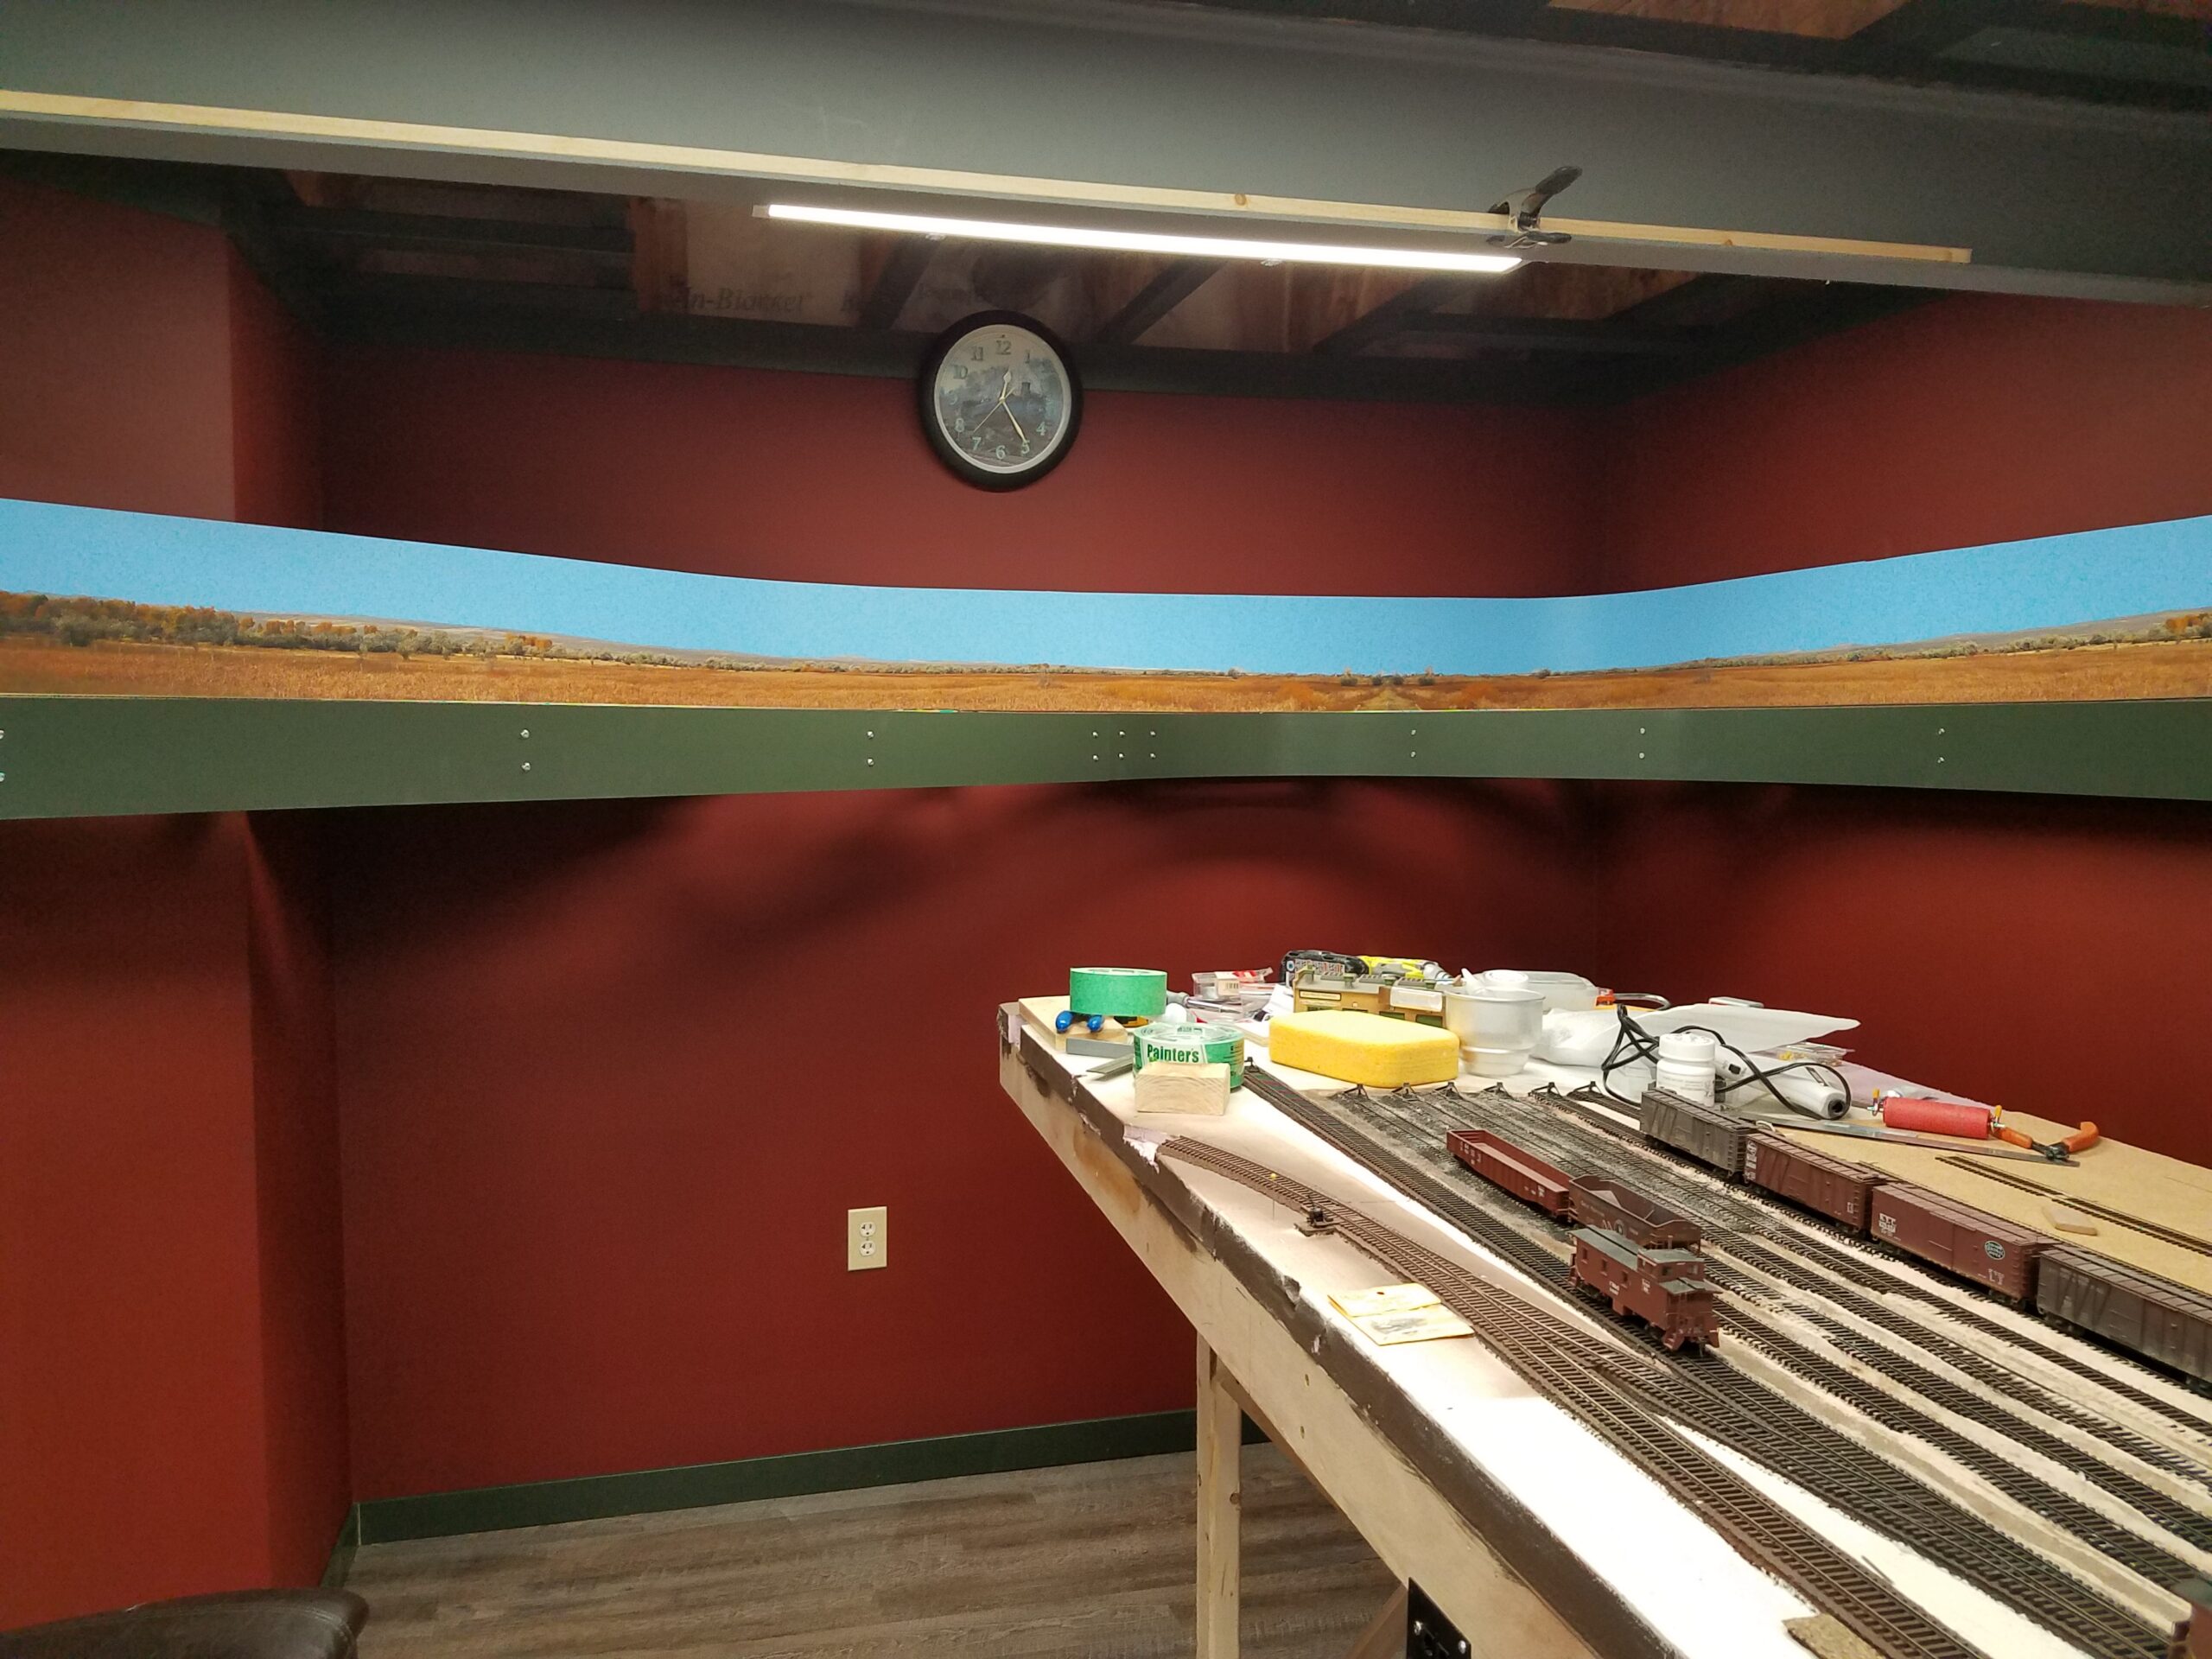
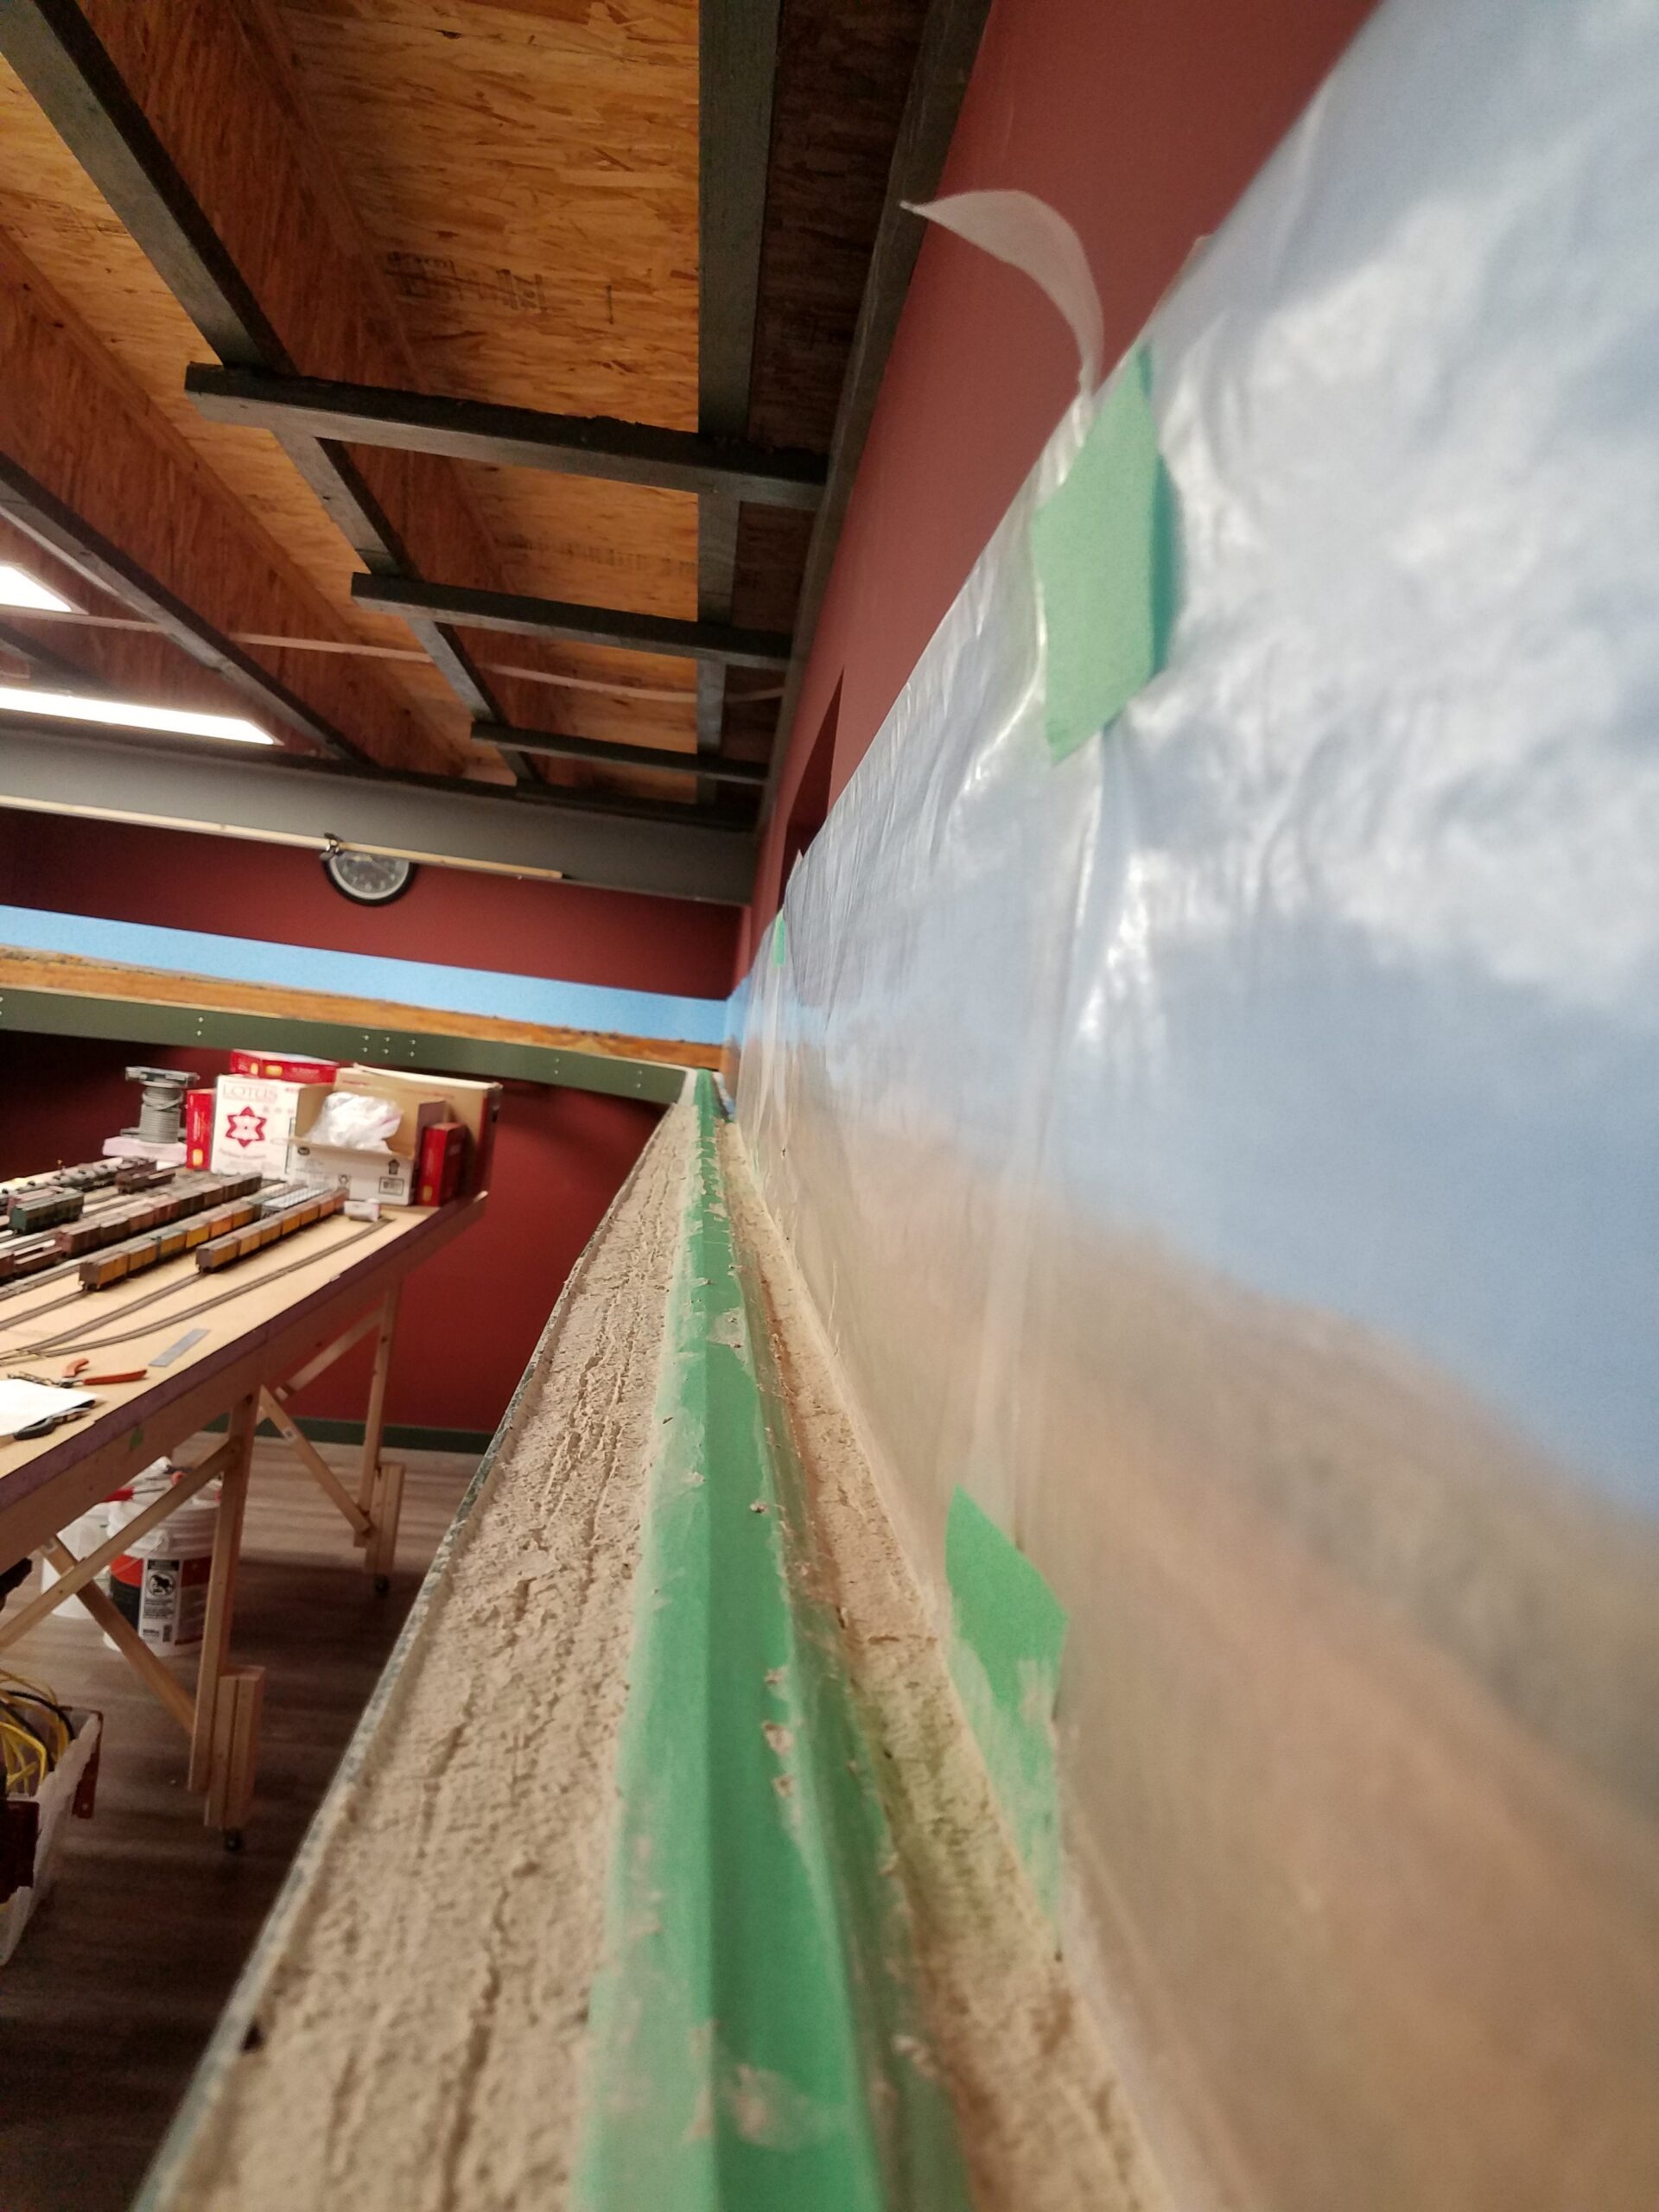
Still working on the CNW over Casper. Doing backdrop height tests. These two pictures are a 10" backdrop (unpainted as of yet):

Slightly closer view:
And here's a 6" high backdrop:

A little bit closer:

With the input of some folks over on the Model Railroader forums (trains.com), I decided on the 10" backdrop. Here's a few shots of the installation to this point. In this one the first supports - garbage-quality 1X2's - have been installed:

And the next sections:
The first two sections of backdrop in place. The seam will be filled with plastic putty and sanded down for a seamless skyboard.

This has been a really busy month on the layout!
A few days ago I spliced in the third section of backdrop. Here I'm adding the splice plate to the end of the second section. I use Testors plastic cement - the viscous kind from a tube - to glue the sections of backdrop together.

After splicing the new section in, I attached it to the supports (I use panel nails spaced along the top and bottom). Then I went back and, using Squadron White Putty, filled the seams at the two completed splices. After that I sanded the entire backdrop, wiped it down with a very damp rag, then painted it.
I had a couple of narrow strips of backdrop - .080 styrene - left over after trimming the sheets to the correct height. What to do with those?

Hey I know! I'll use them to add the height variations in the rail line that's seen so often on the real thing. Height variations like this on on the BNSF line west of Casper (look just beyond the bridge):

.080 inches in HO is about 7 scale inches. That should be about right for a subtle and not operationally disruptive effect. But I needed some thinner styrene "steps" to climb onto and off of the .080 strips. So I found some sheets of Evergreen styrene in .060 and .030 thicknesses in my workbench drawer and busied myself cutting them to size. I needed six of each thickness in all.
I attached the .080 strips using a construction adhesive since I didn't have any caulk, then this morning I picked up some Dap 230 caulk and attached the steps. Here's one all buttered up and ready to install:

The end result is this set of steps leading up on to (and down off of) the .080 strips:

After the styrene had a couple hours to start setting, I began installing cork roadbed. I could have just used caulk, I suppose, but I always use wood glue to attach the cork to the plywood (I'm nothing if not dogmatic), so I used caulk where the roadbed would be on styrene, and glue where it would be on plywood. Here's one of the first pieces ready to install:
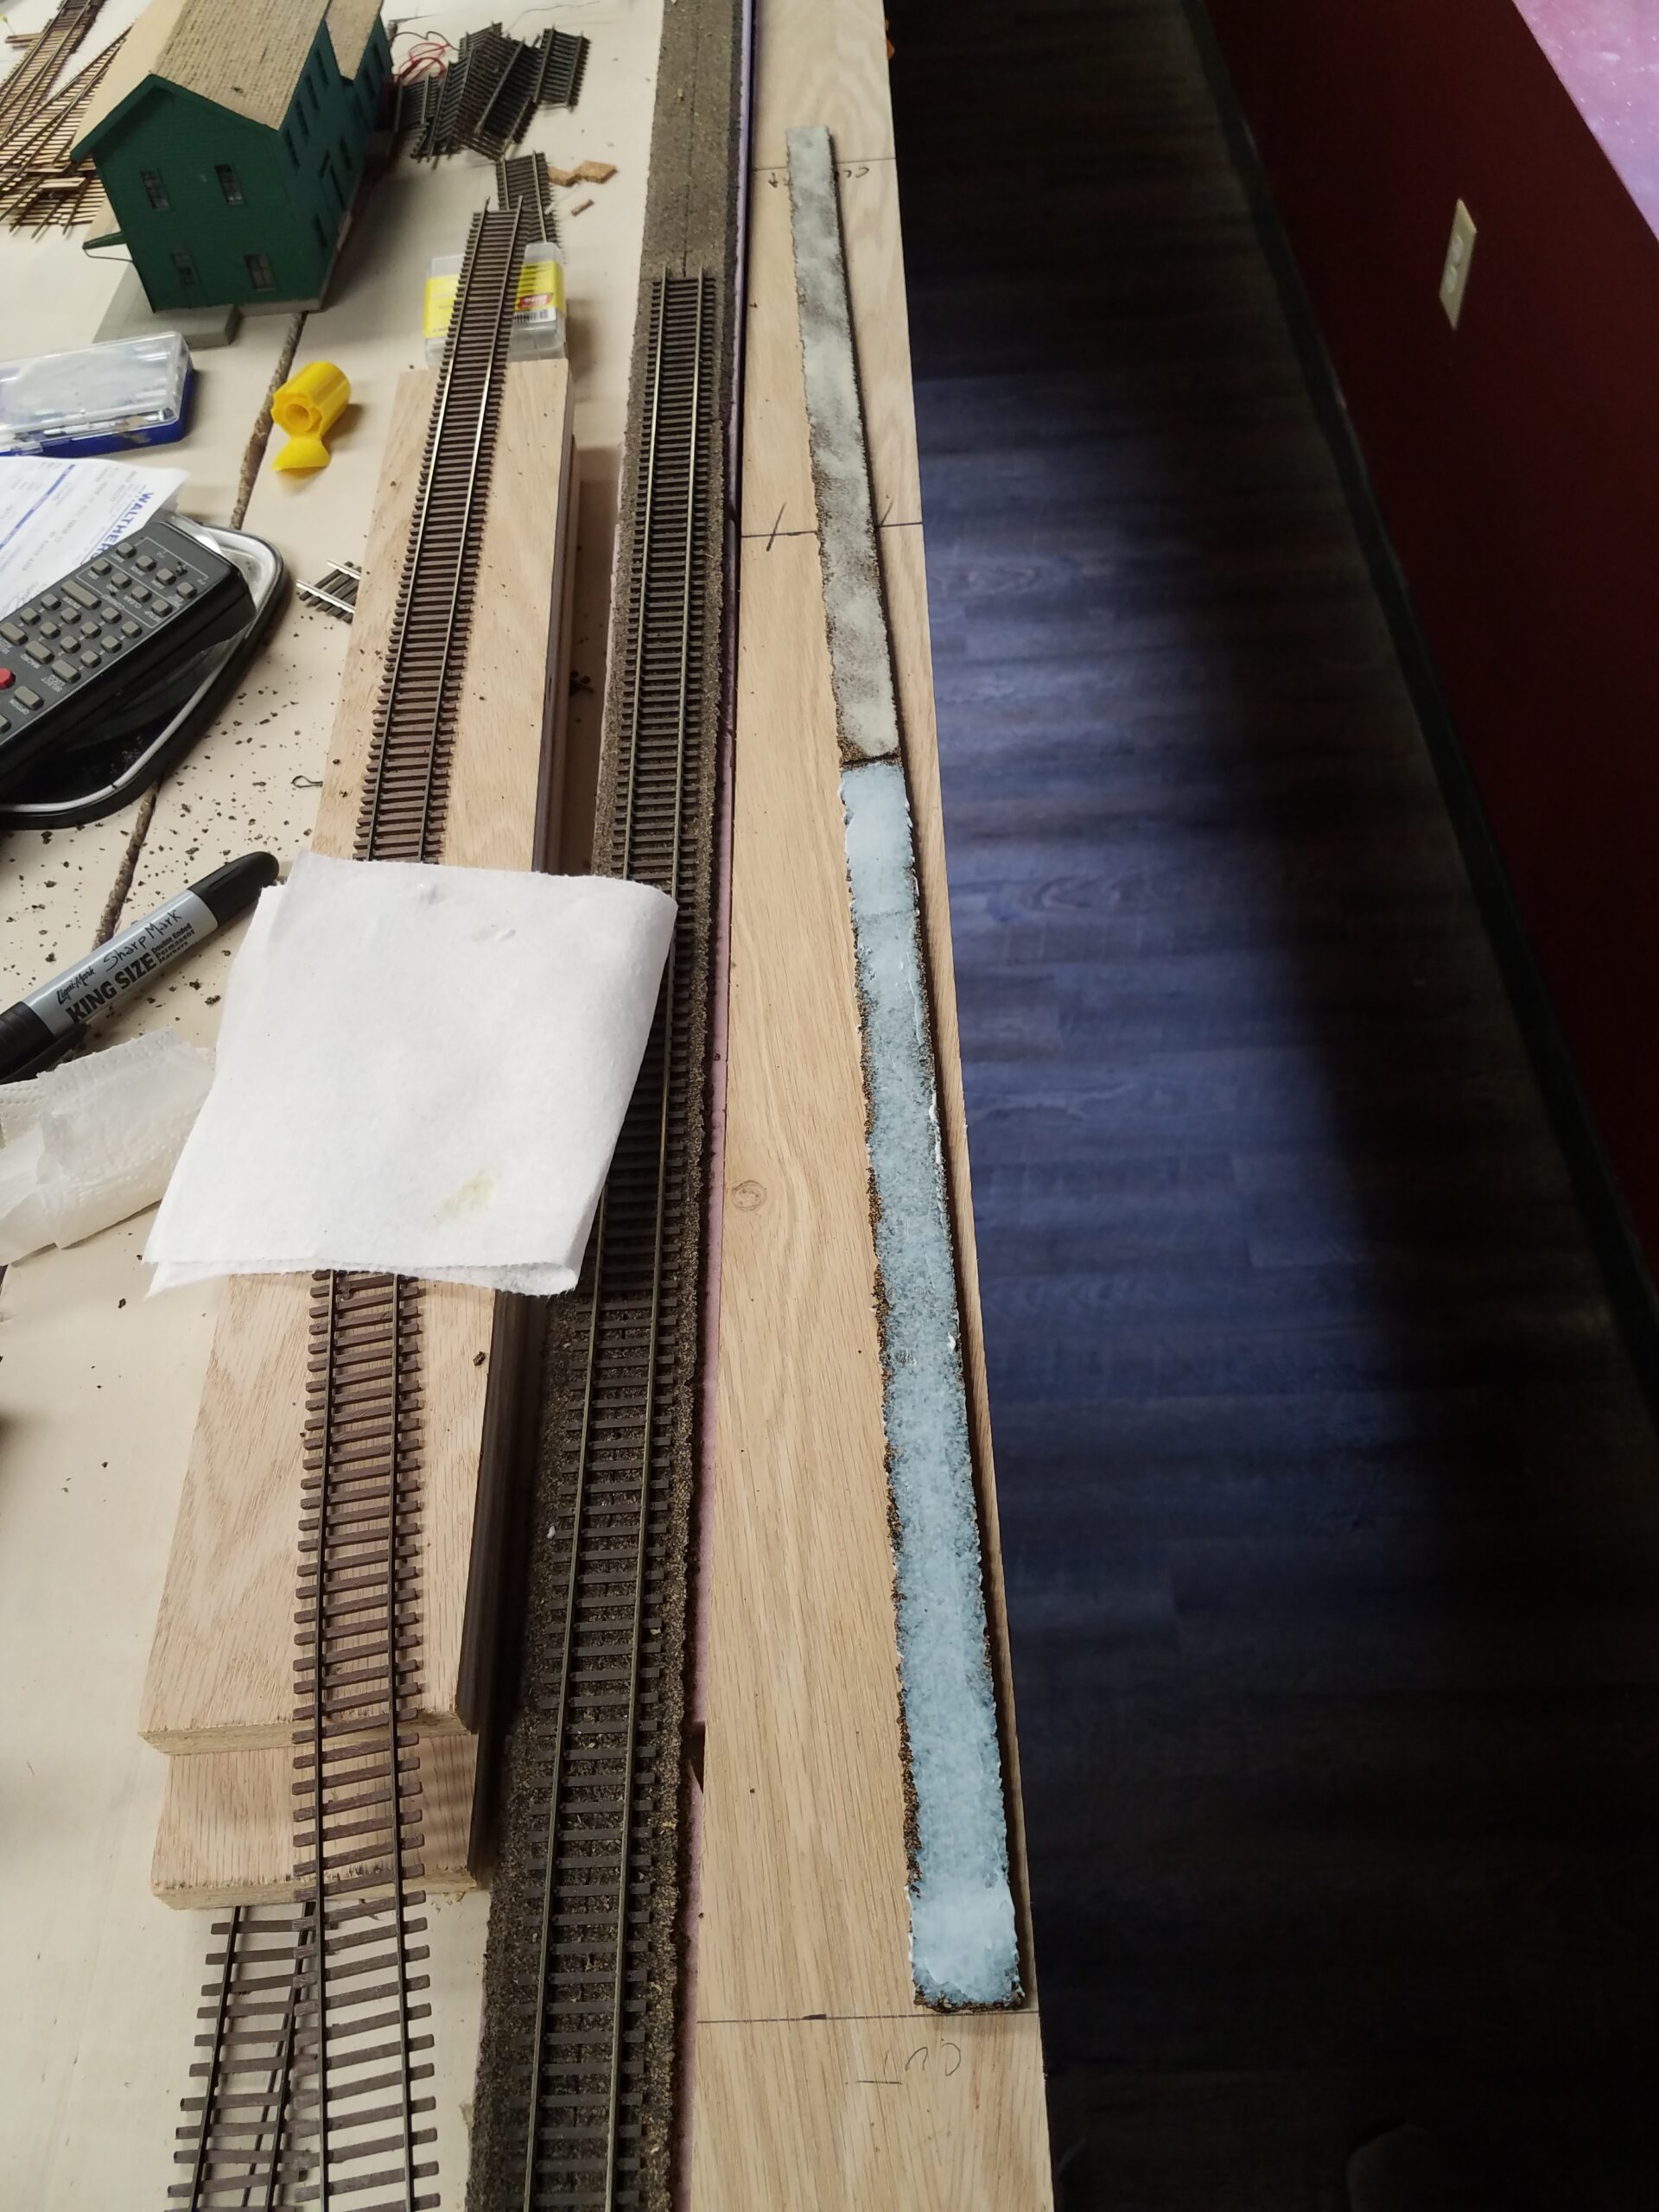
After the first few pieces of roadbed were down, it looked like this:

So I continued with roadbed installation down the entire length of the benchwork. When I was finished it looked like this:
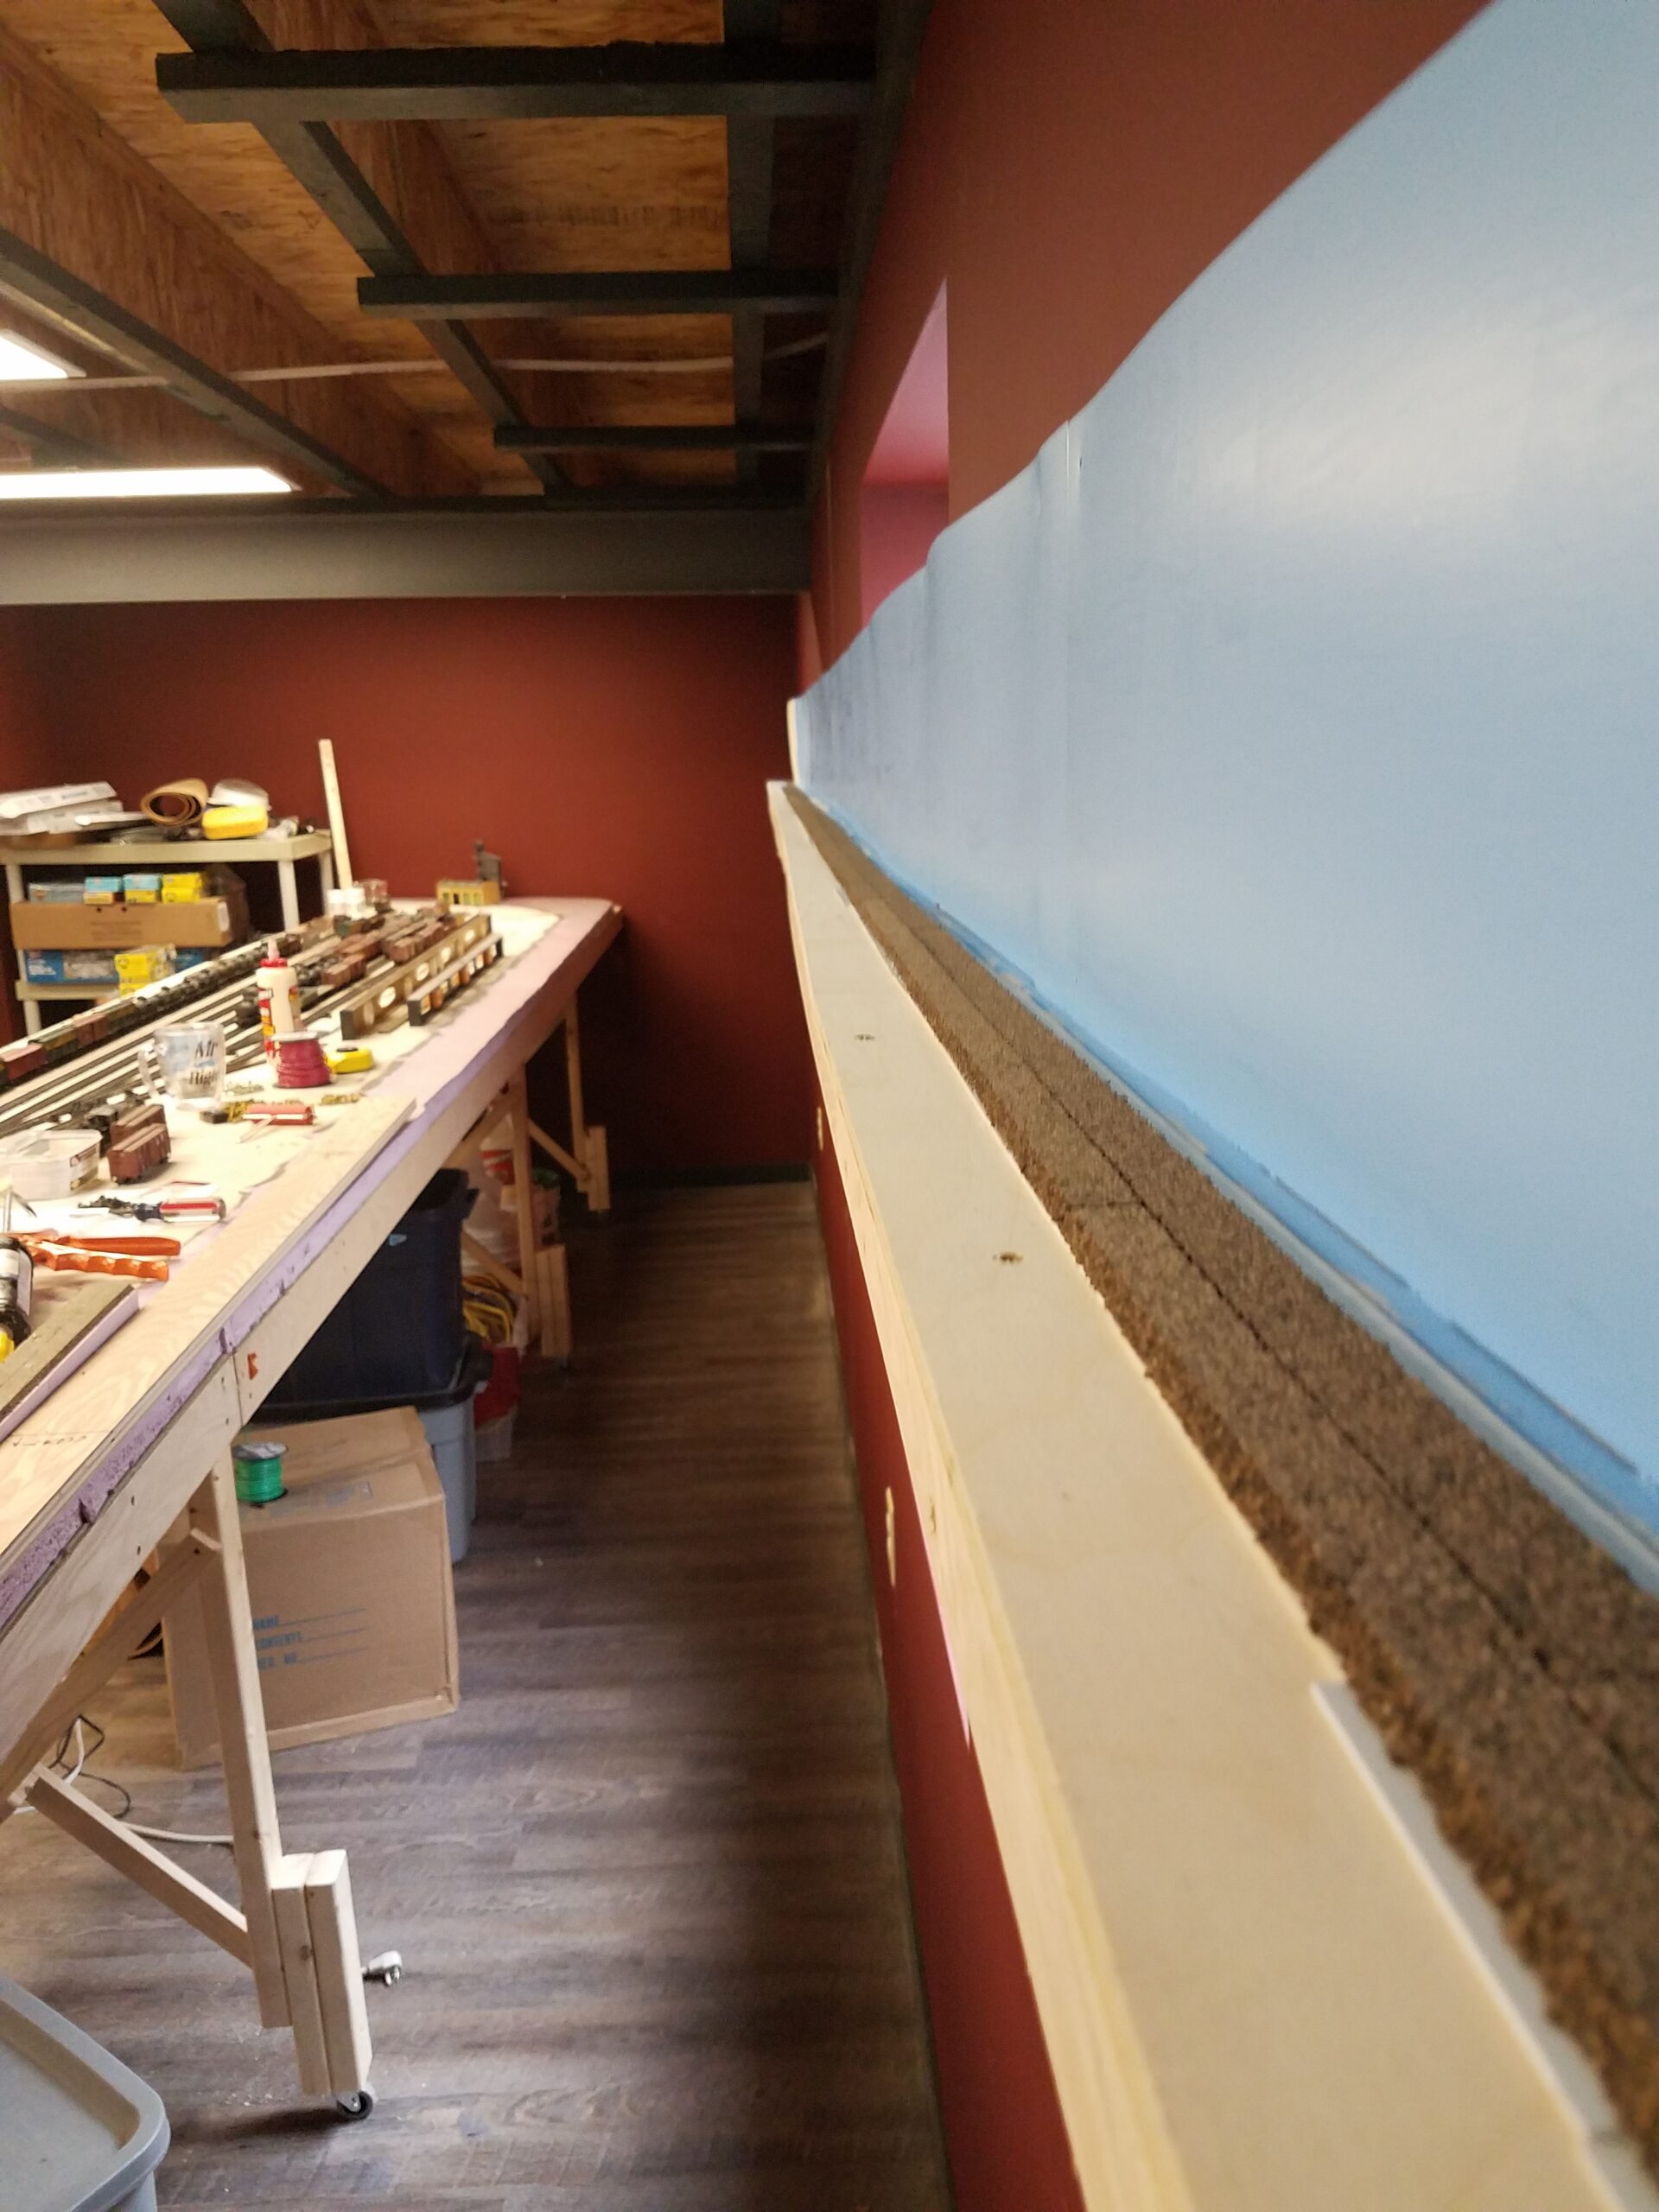
It looked like this from a "down the track" perspective:

Hard to tell where the roadbed bumps up and down, isn't it? I said it would be subtle. Maybe it will be a bit more apparent when the track is in place. At any rate, this is probably the only place I'll take the time to add the vertical "waviness" into the track.
And here it is from across the Casper benchwork. Almost can't see the variations at all, can you?

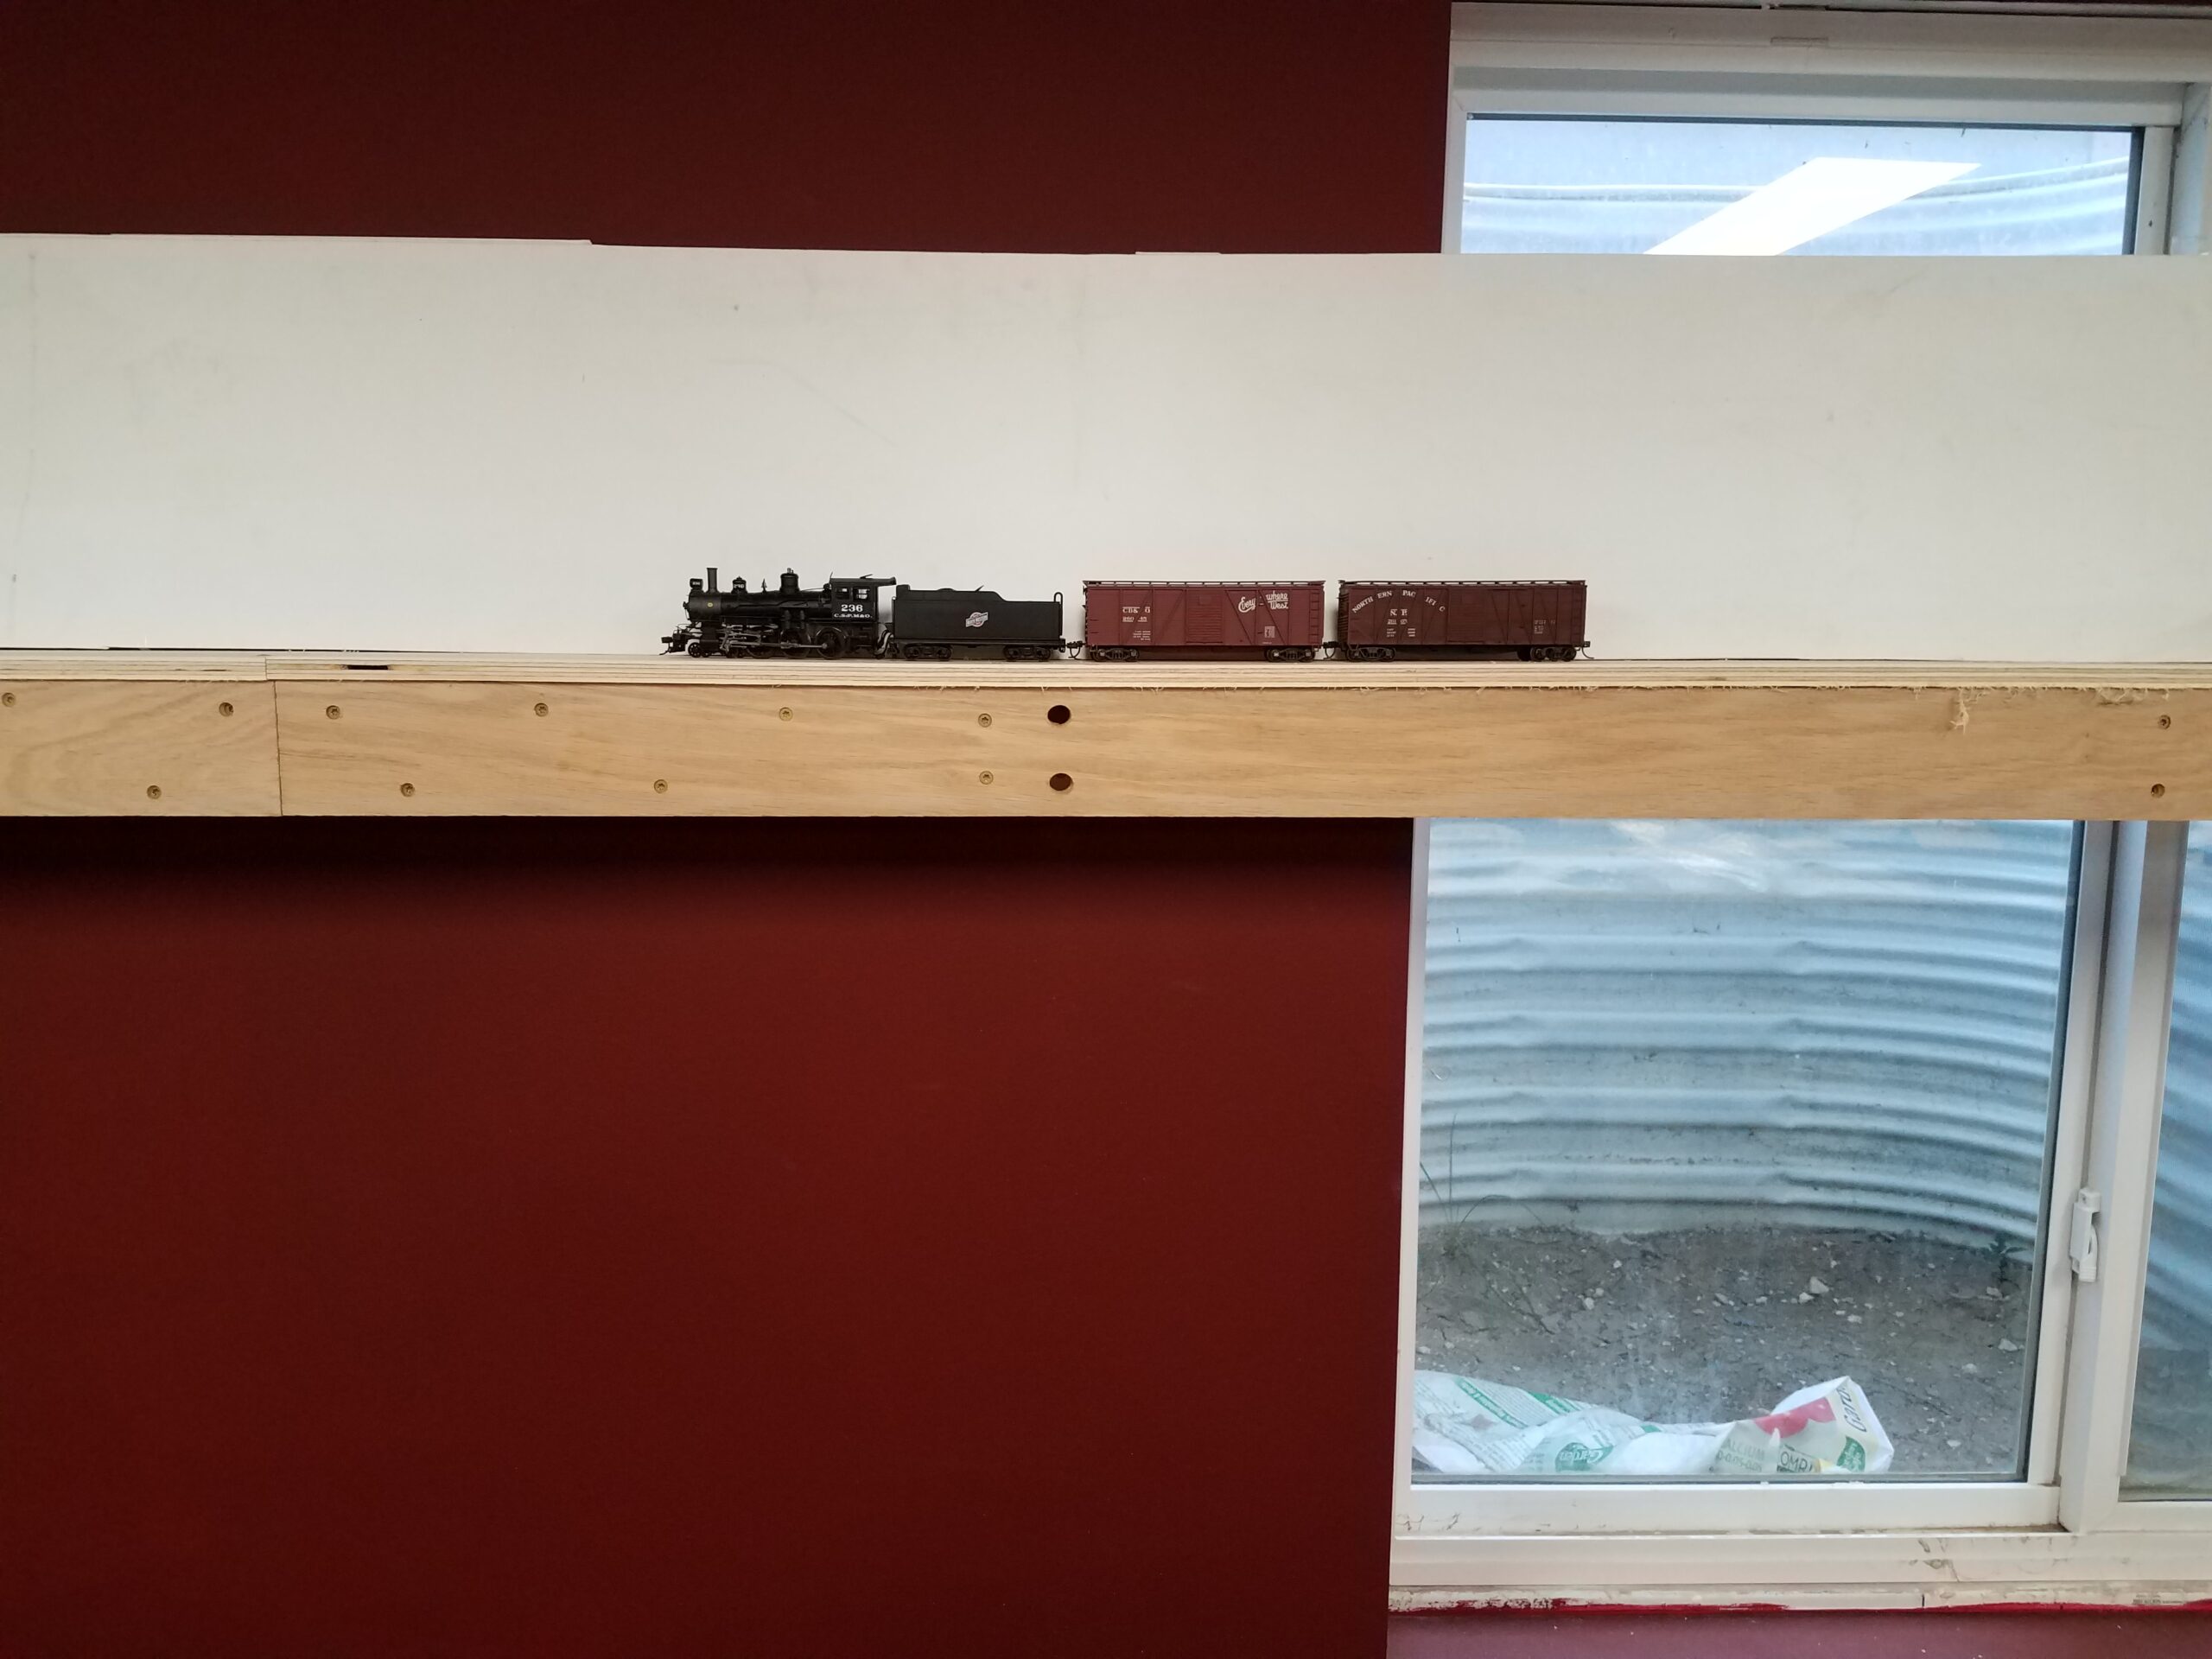
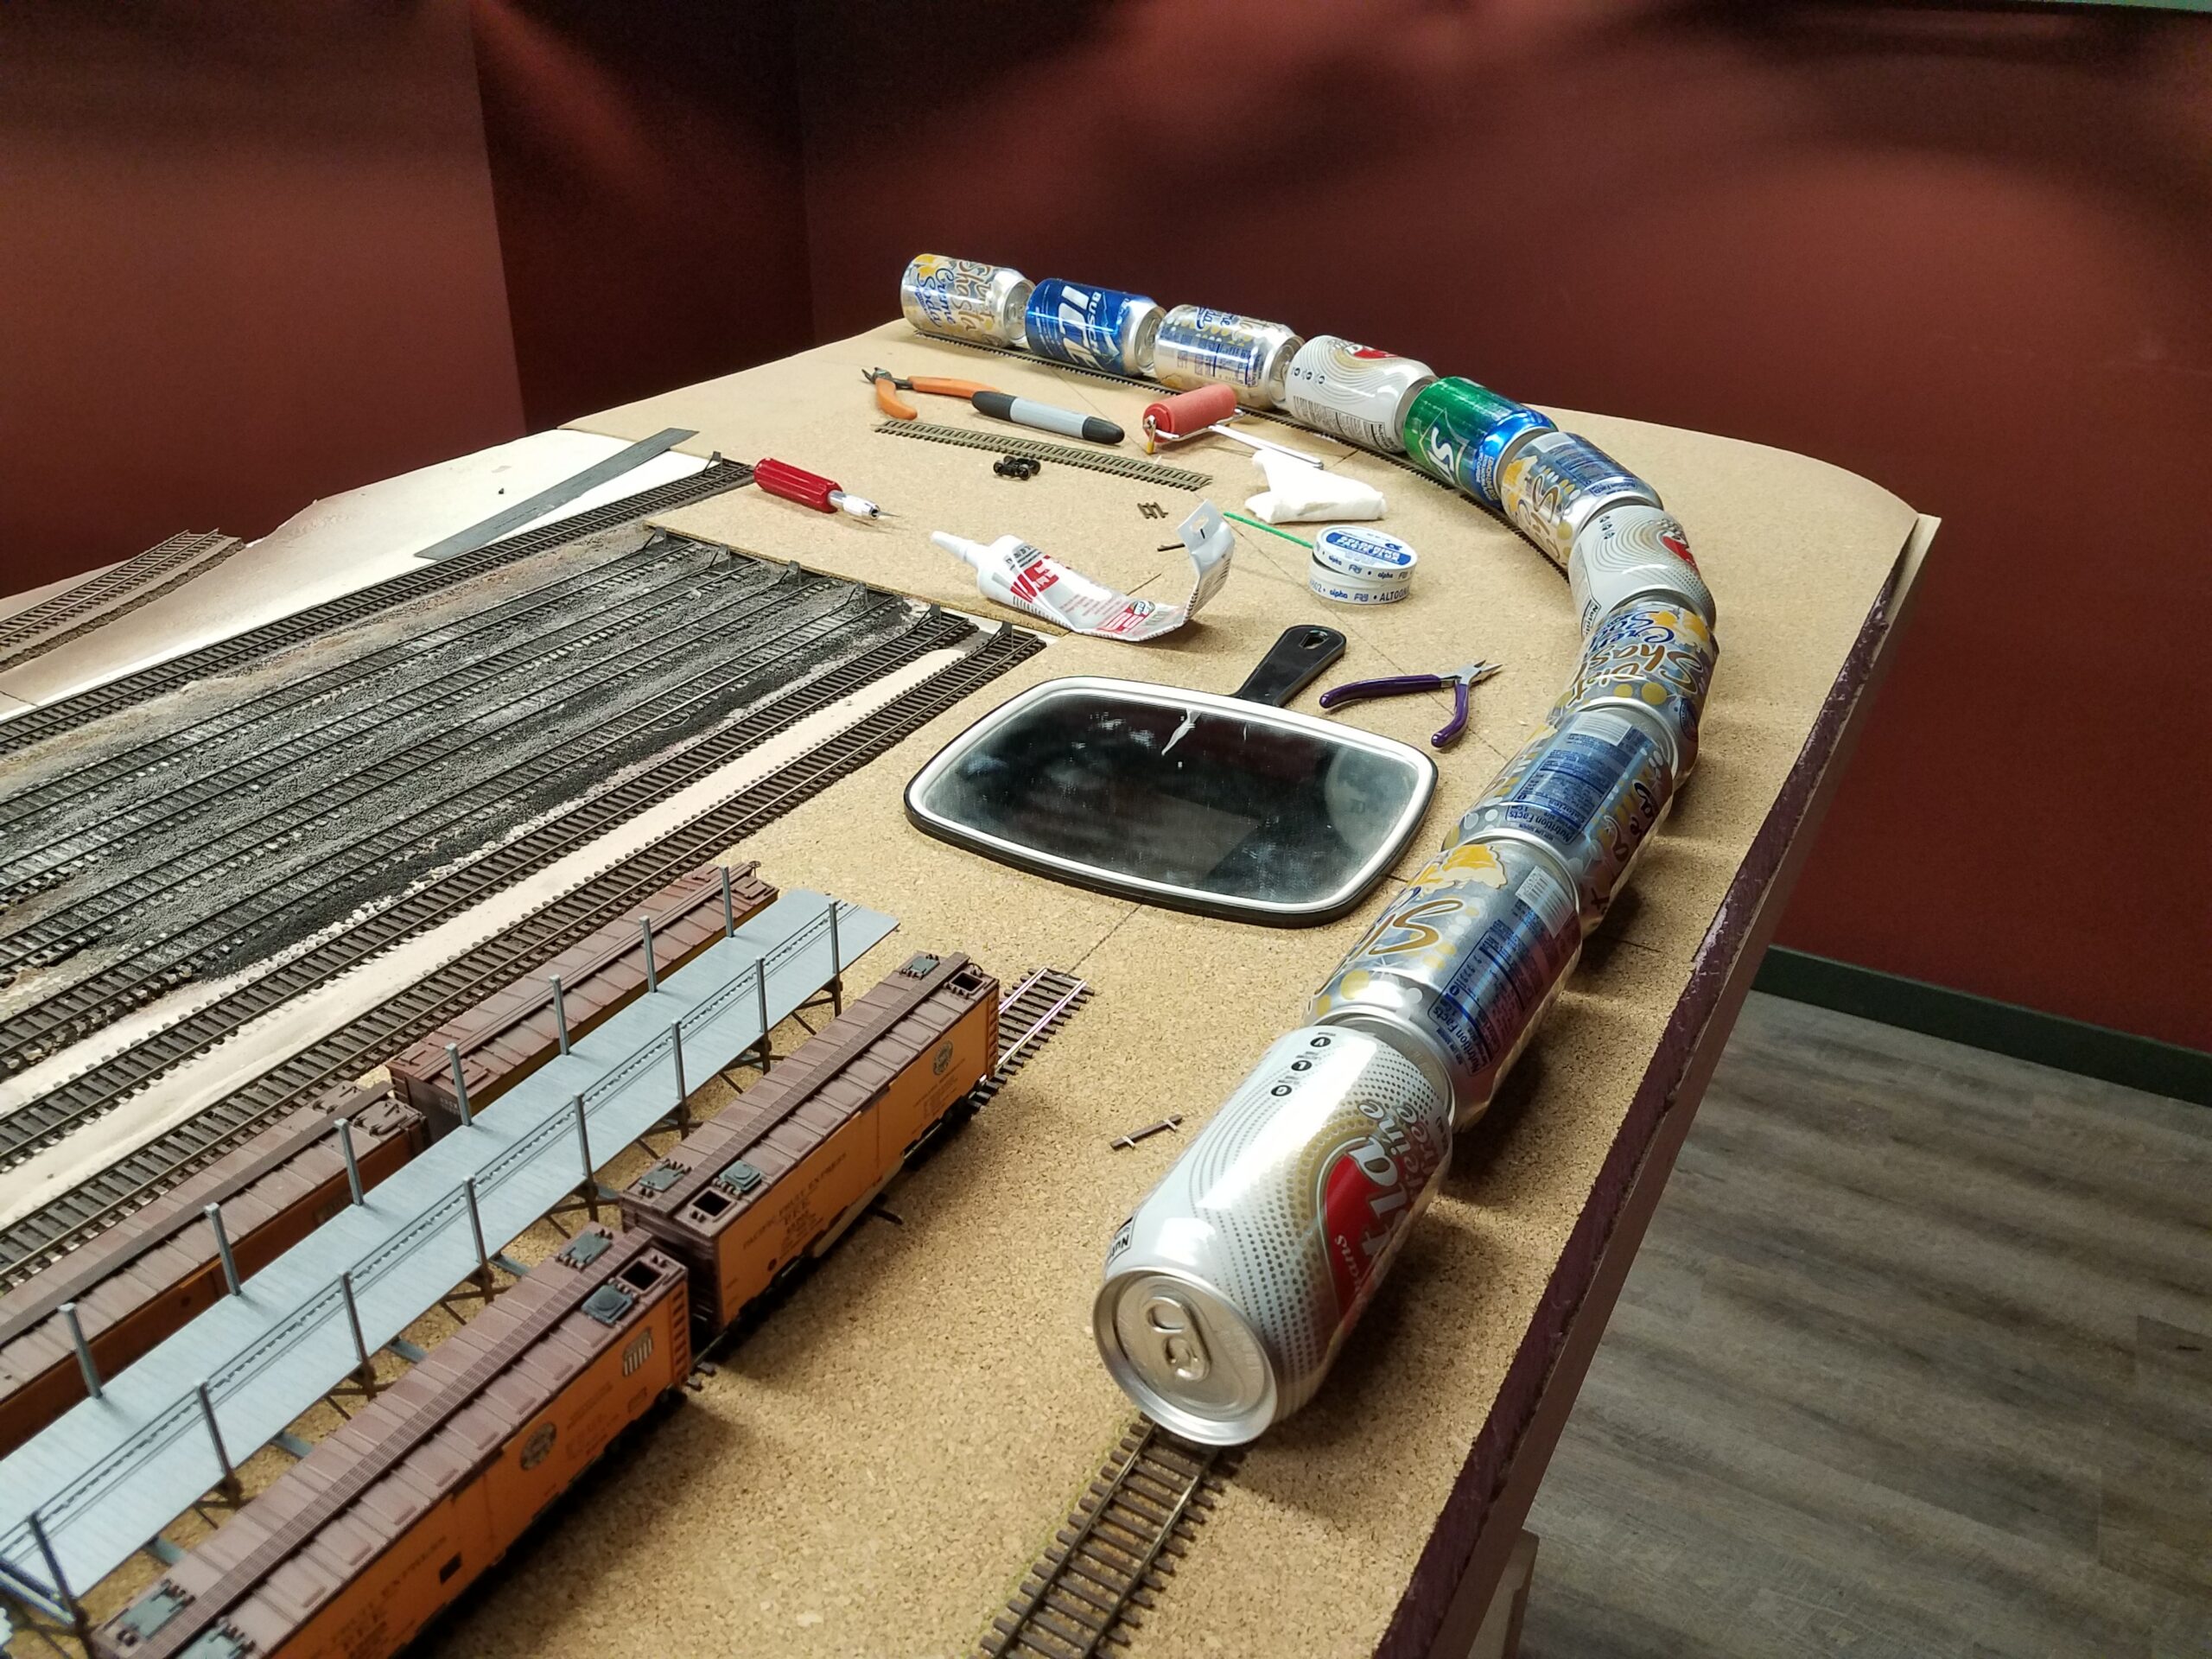
I got the first nine feet of track laid on the CNW above Casper. The soda can train will stay in place overnight, until the caulk dries thoroughly.
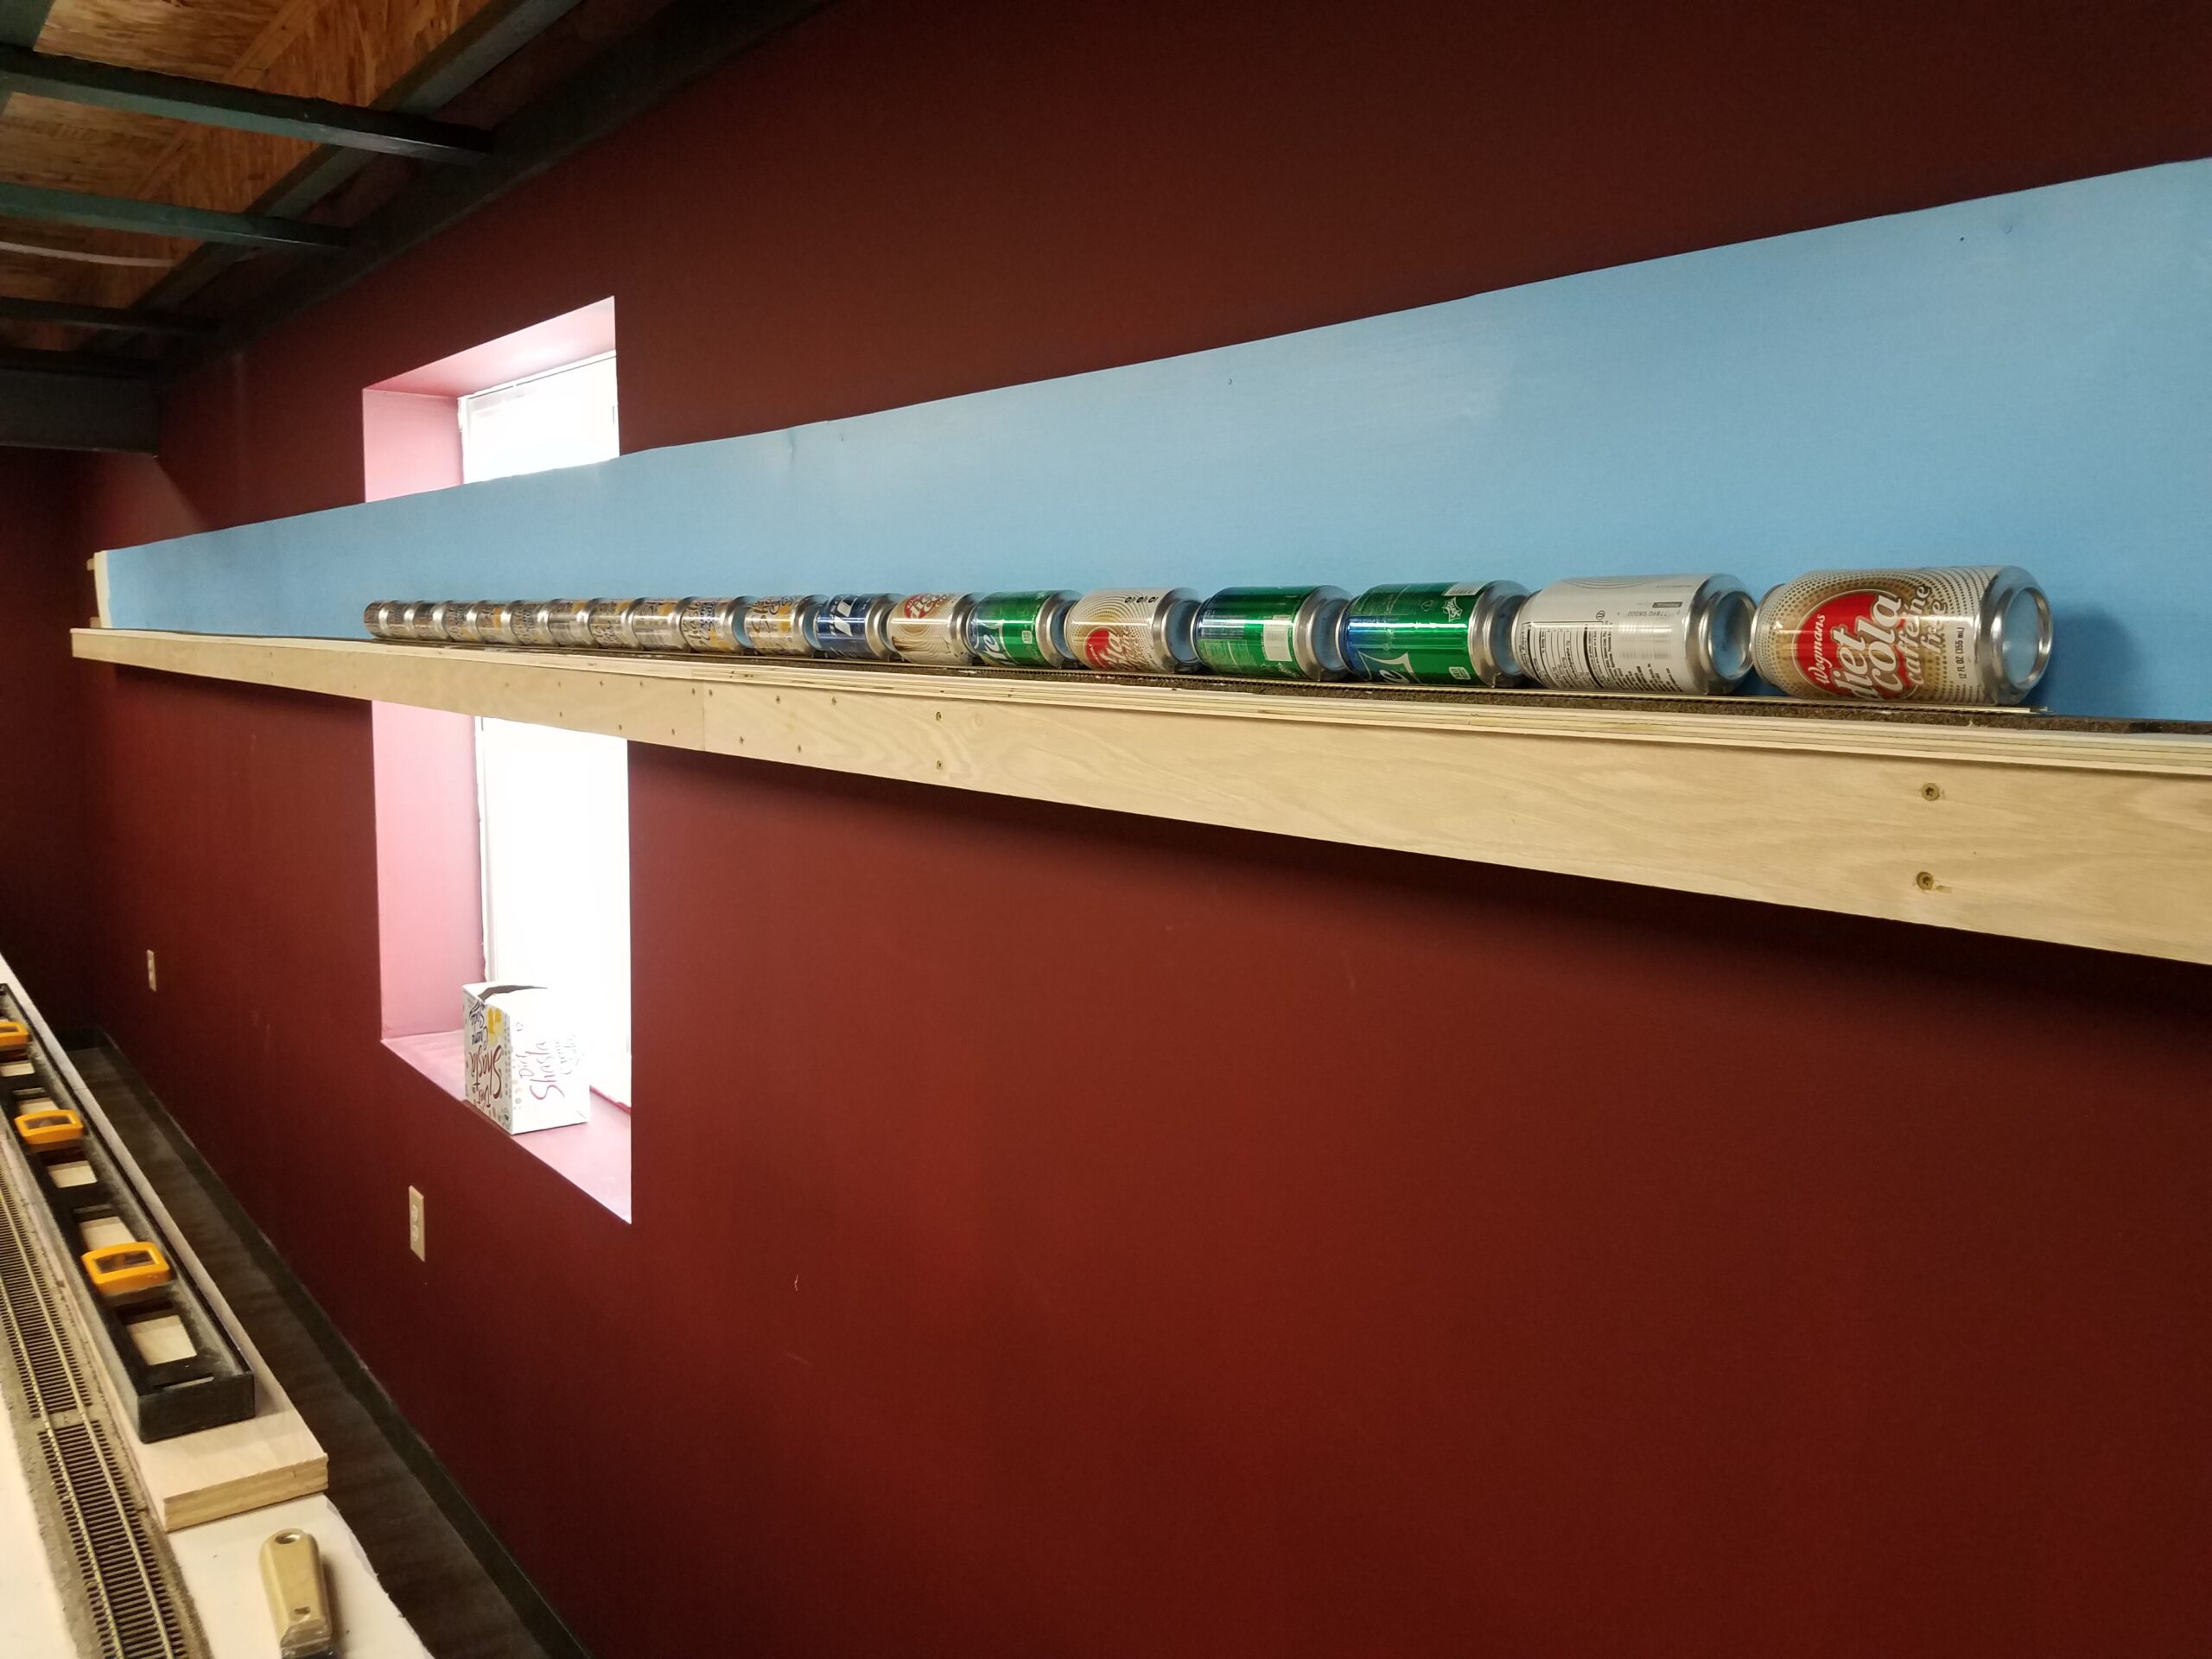
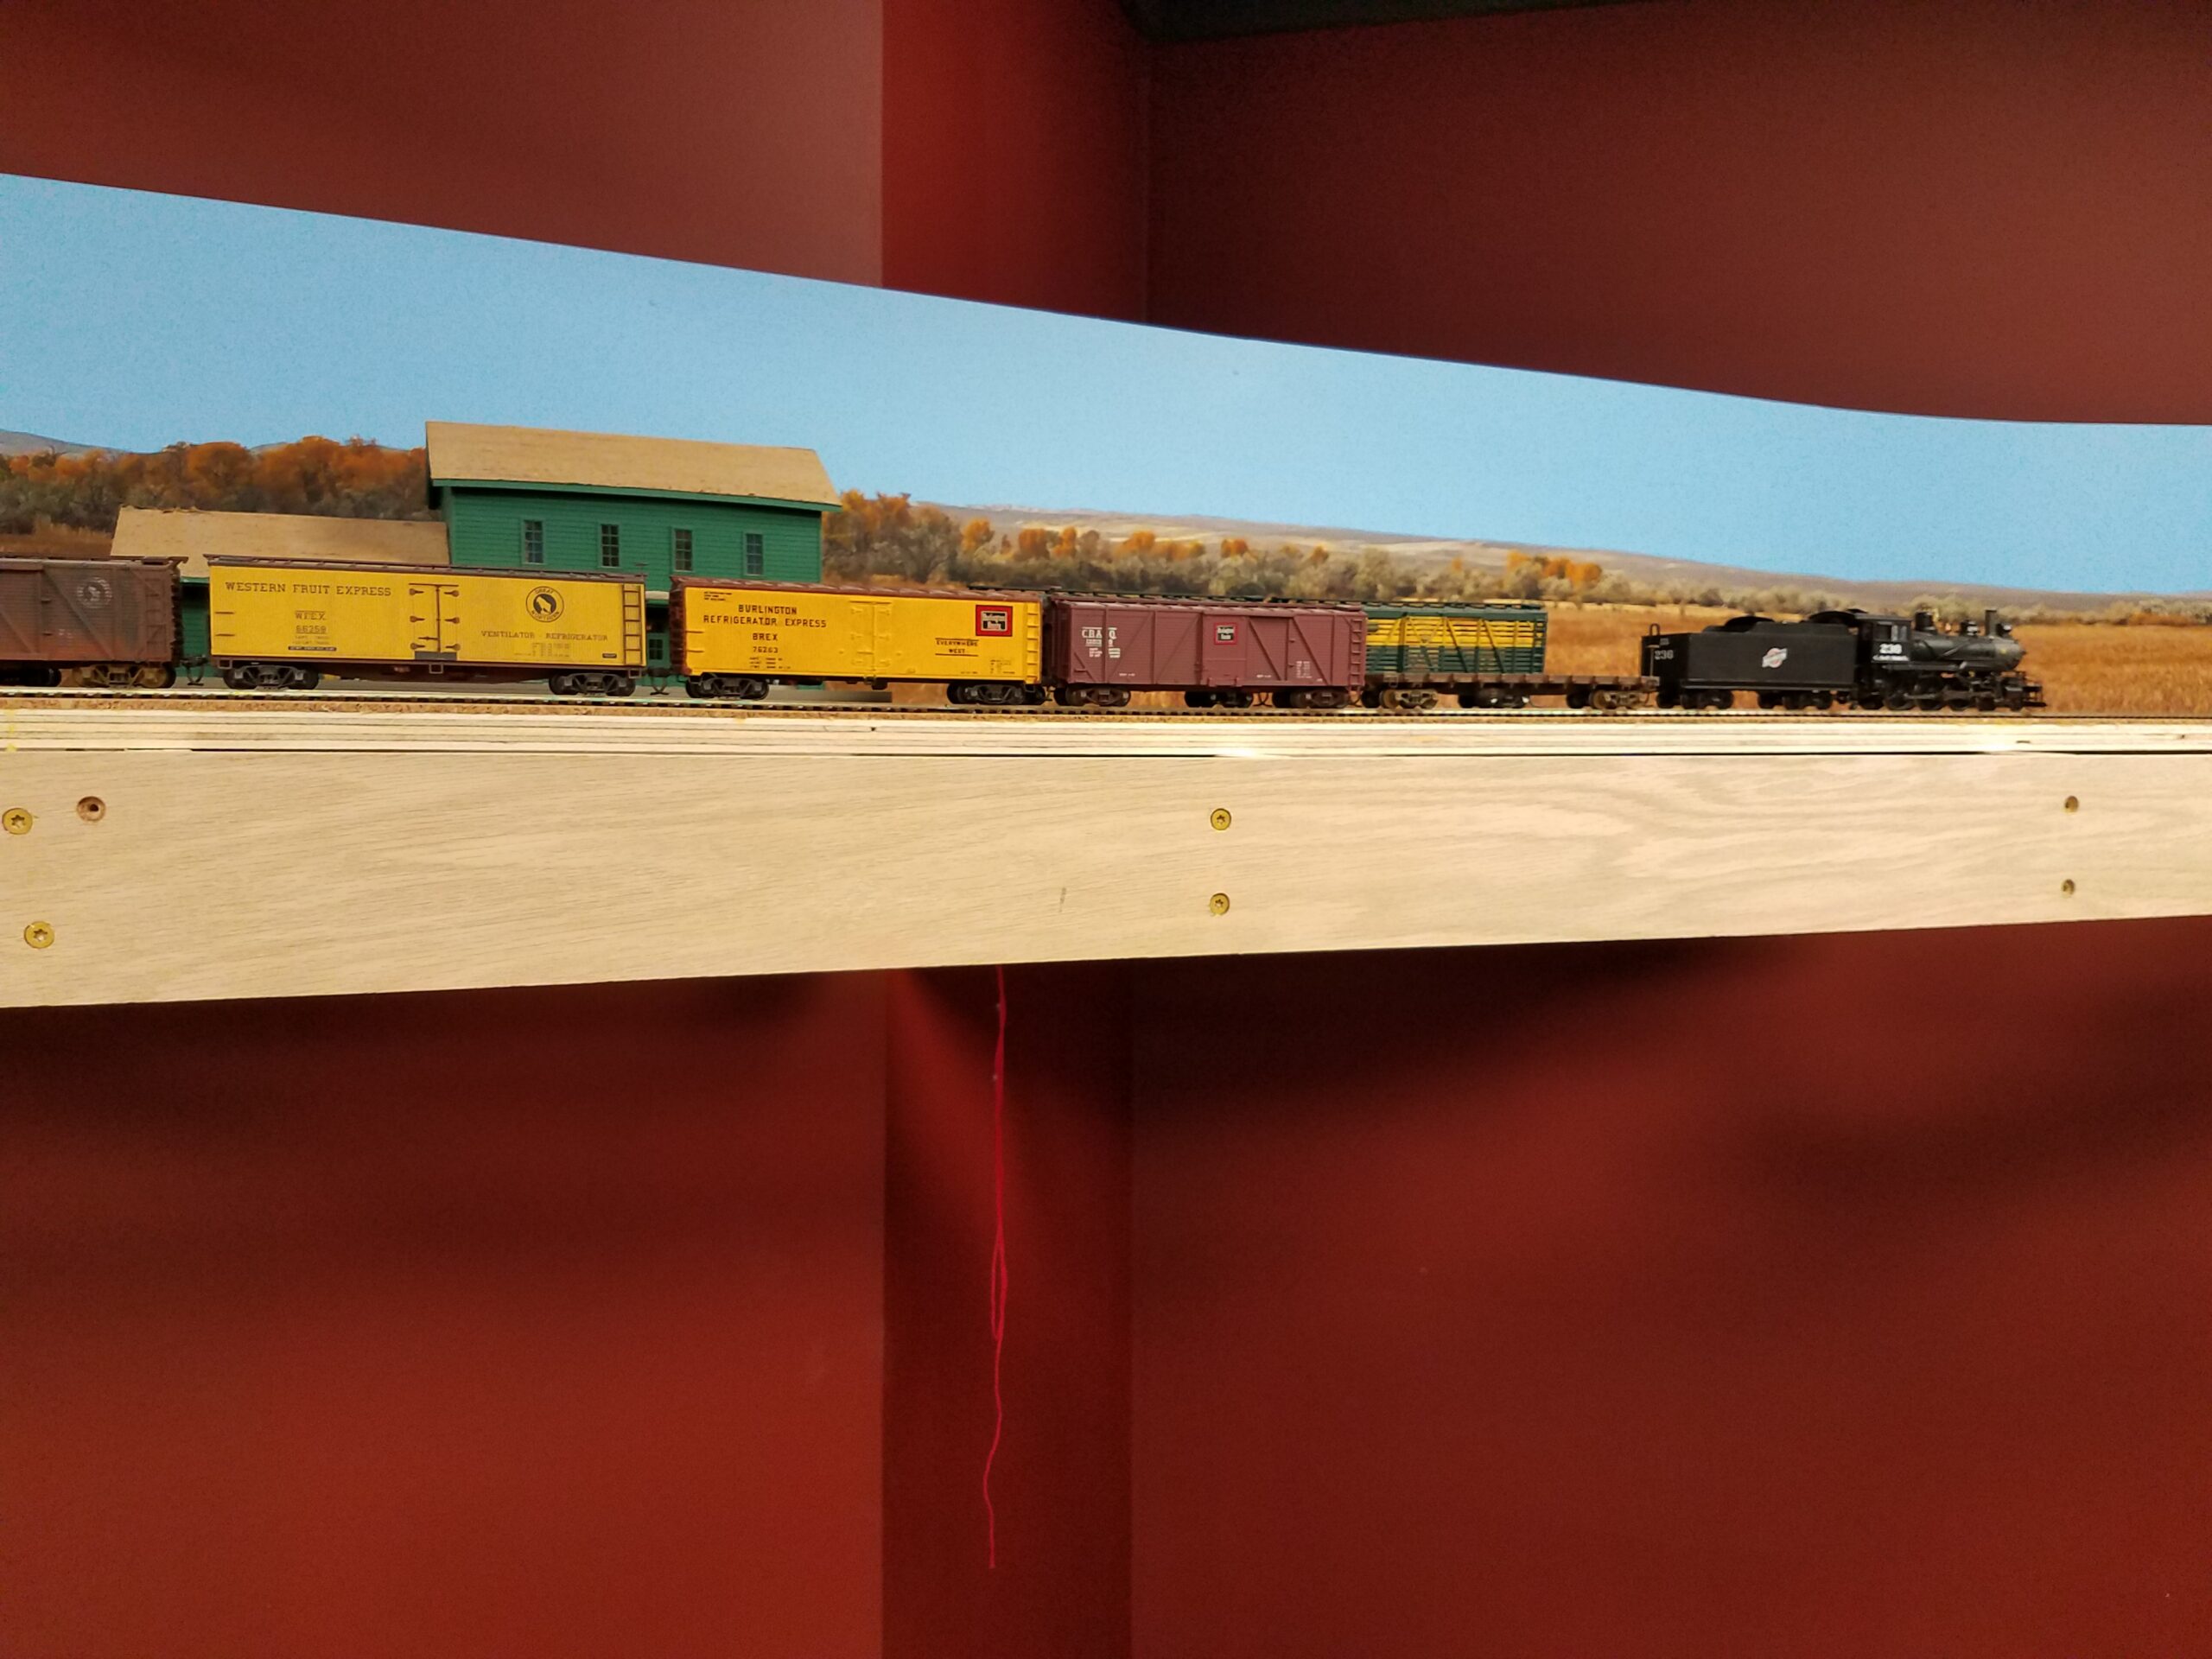
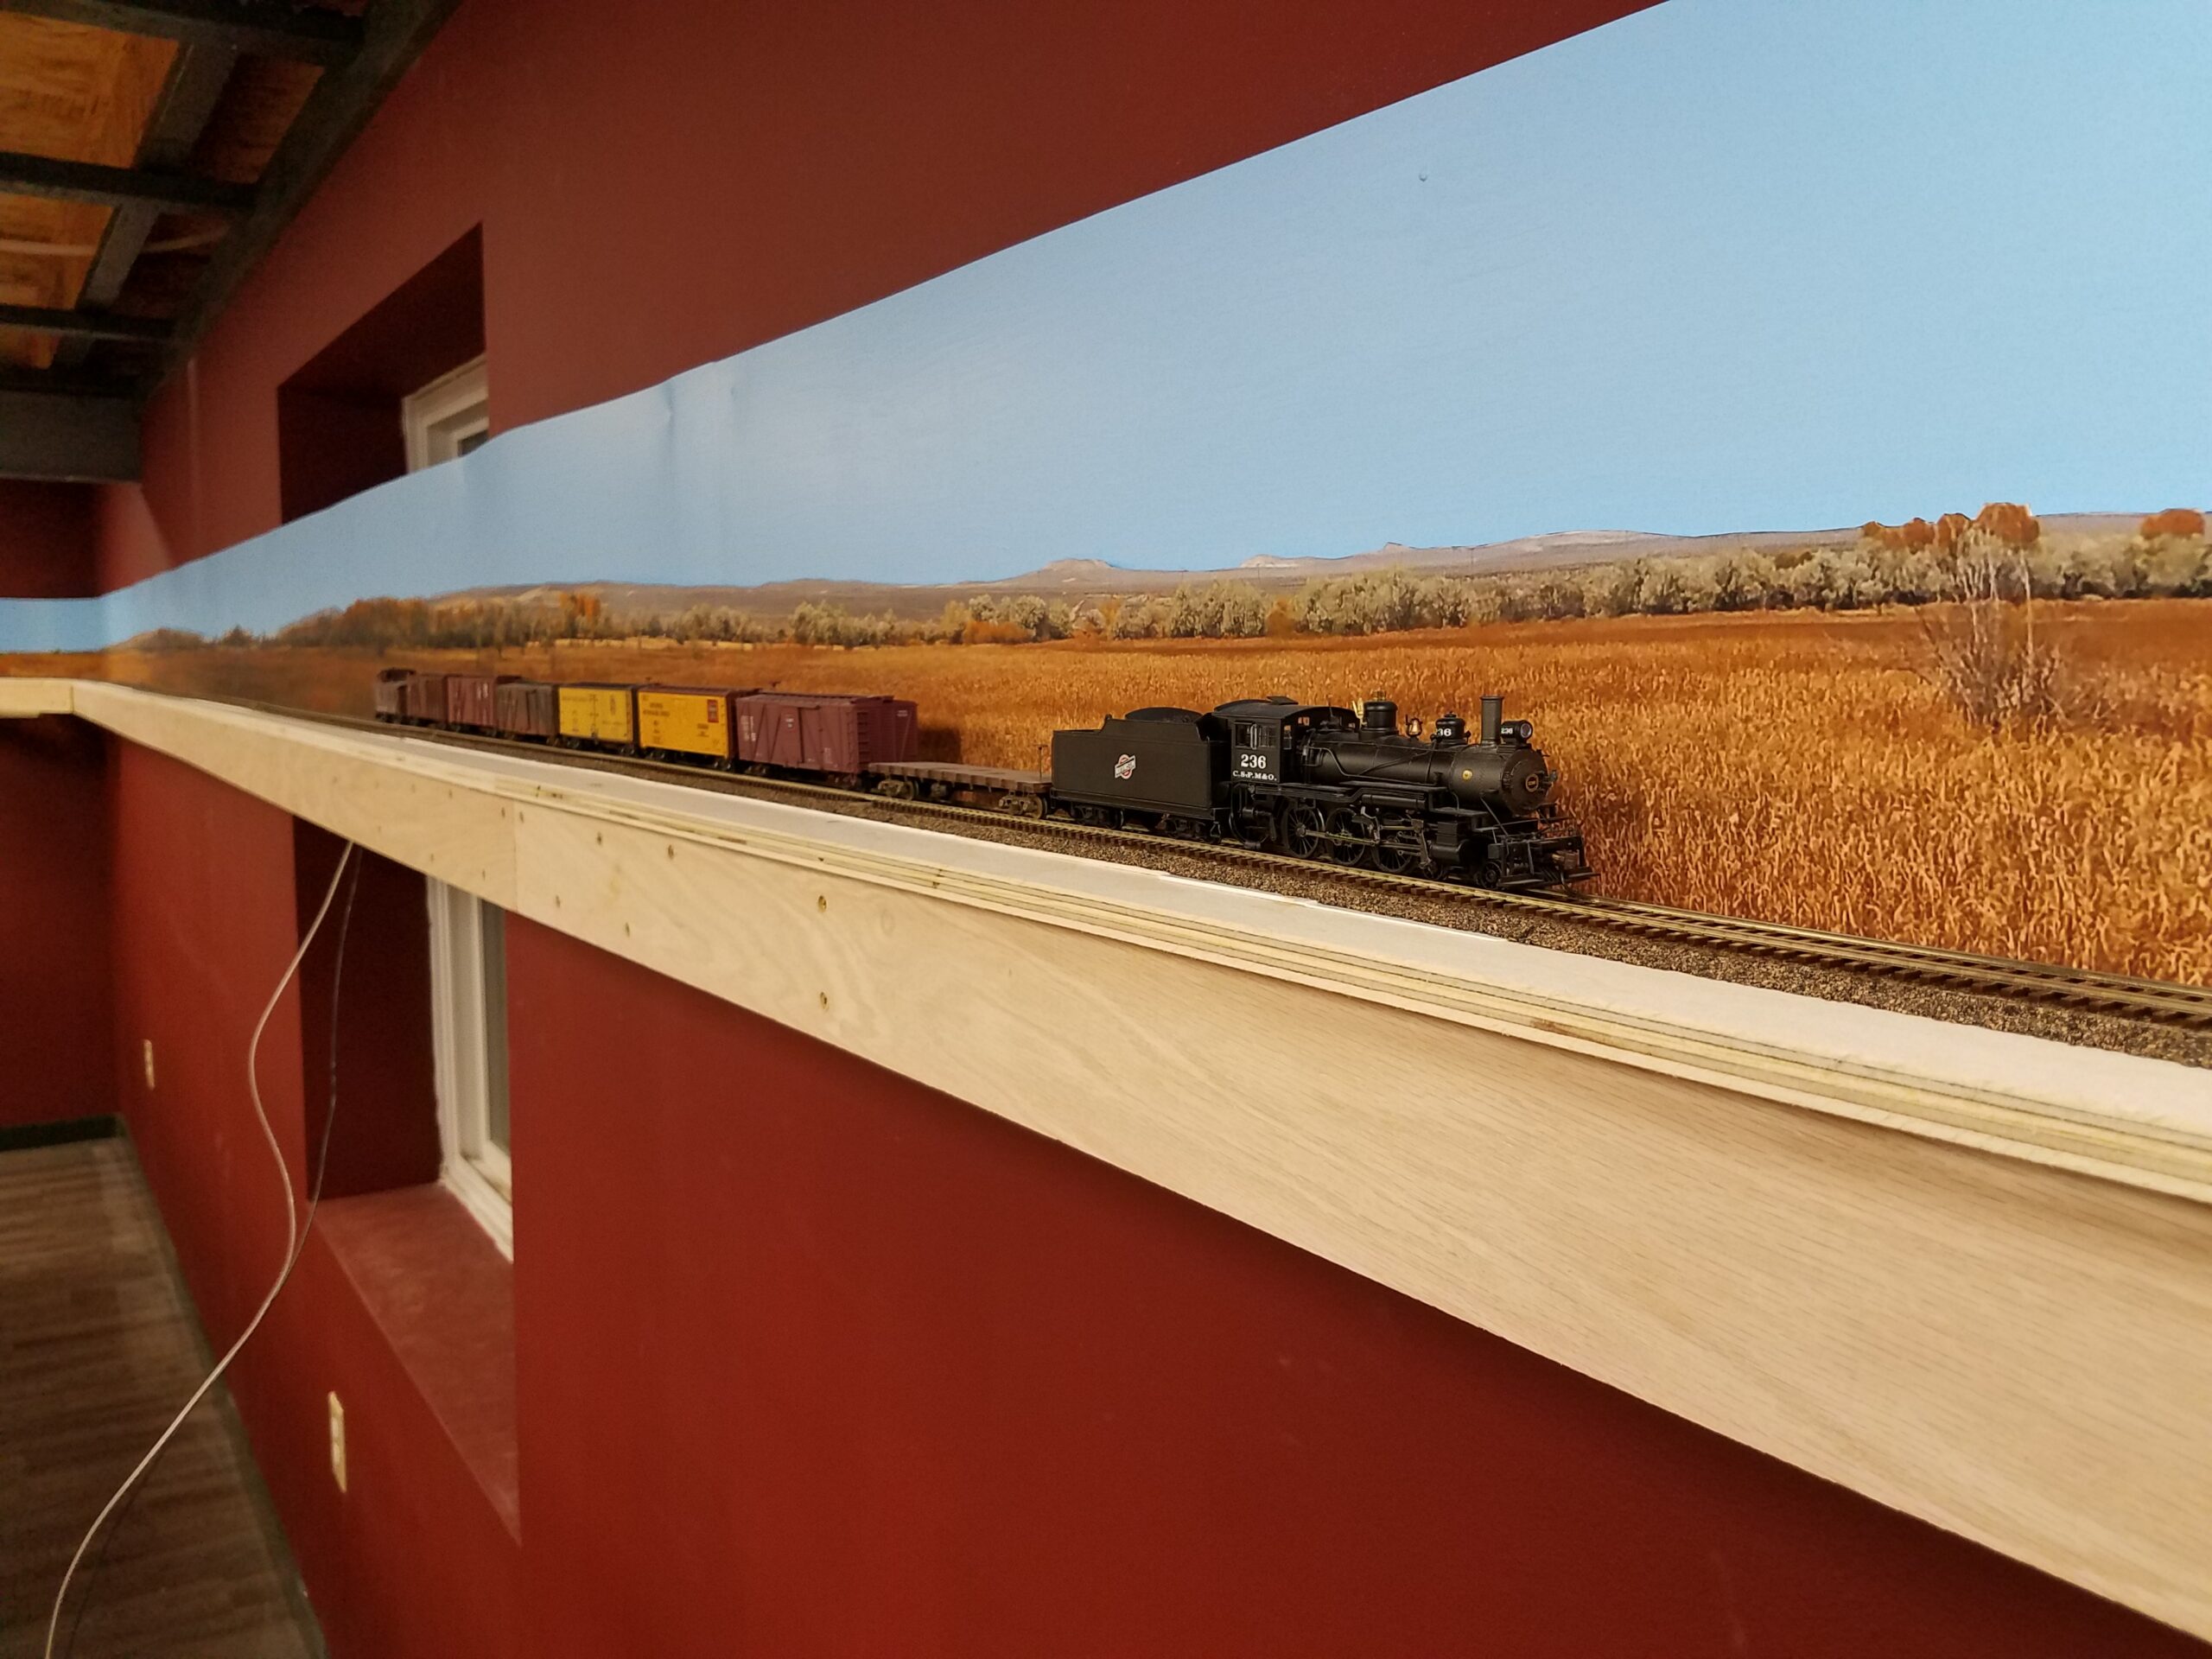
Yesterday I added another six feet of track, for a total of fifteen. I can't add anymore until I get either the Hudson or Riverton ends benchwork and subroadbed installed. I set a short train on the line over Casper just to see how it looked:

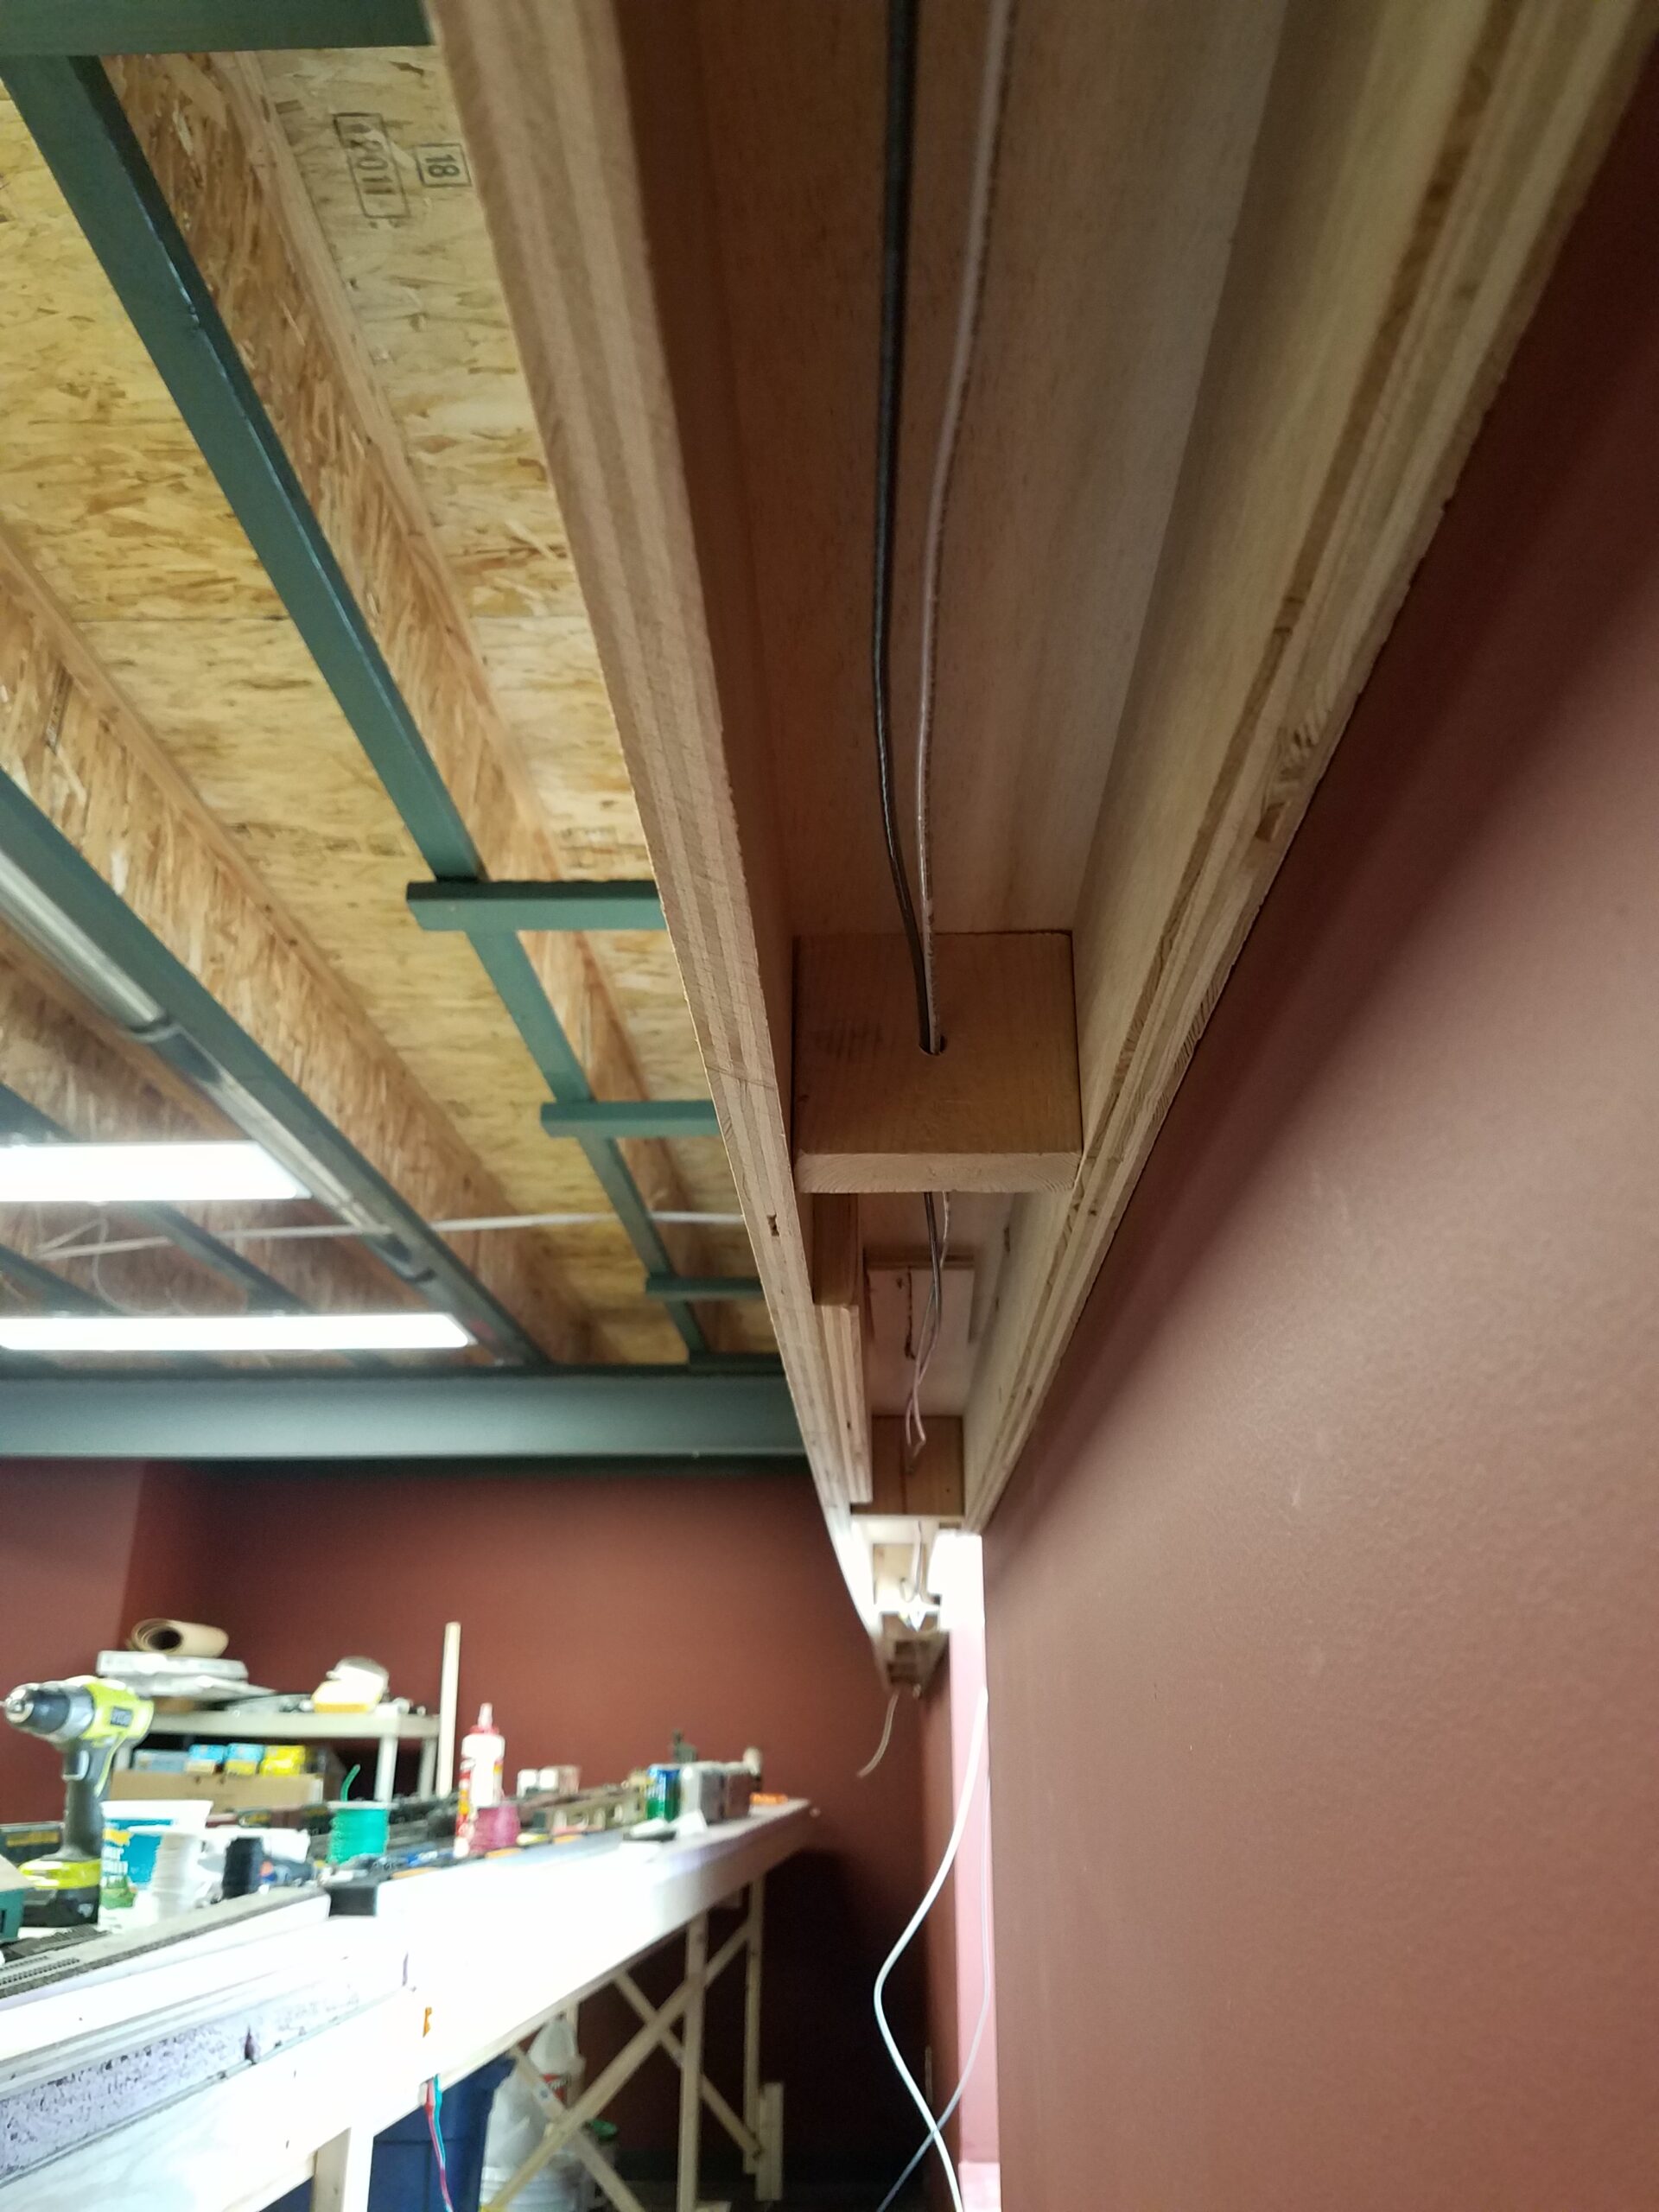
Today I installed the wiring for the new line, including separate buss wires so I can power the CNW from a booster in the future. I ran the buss wires so that they would be hidden.
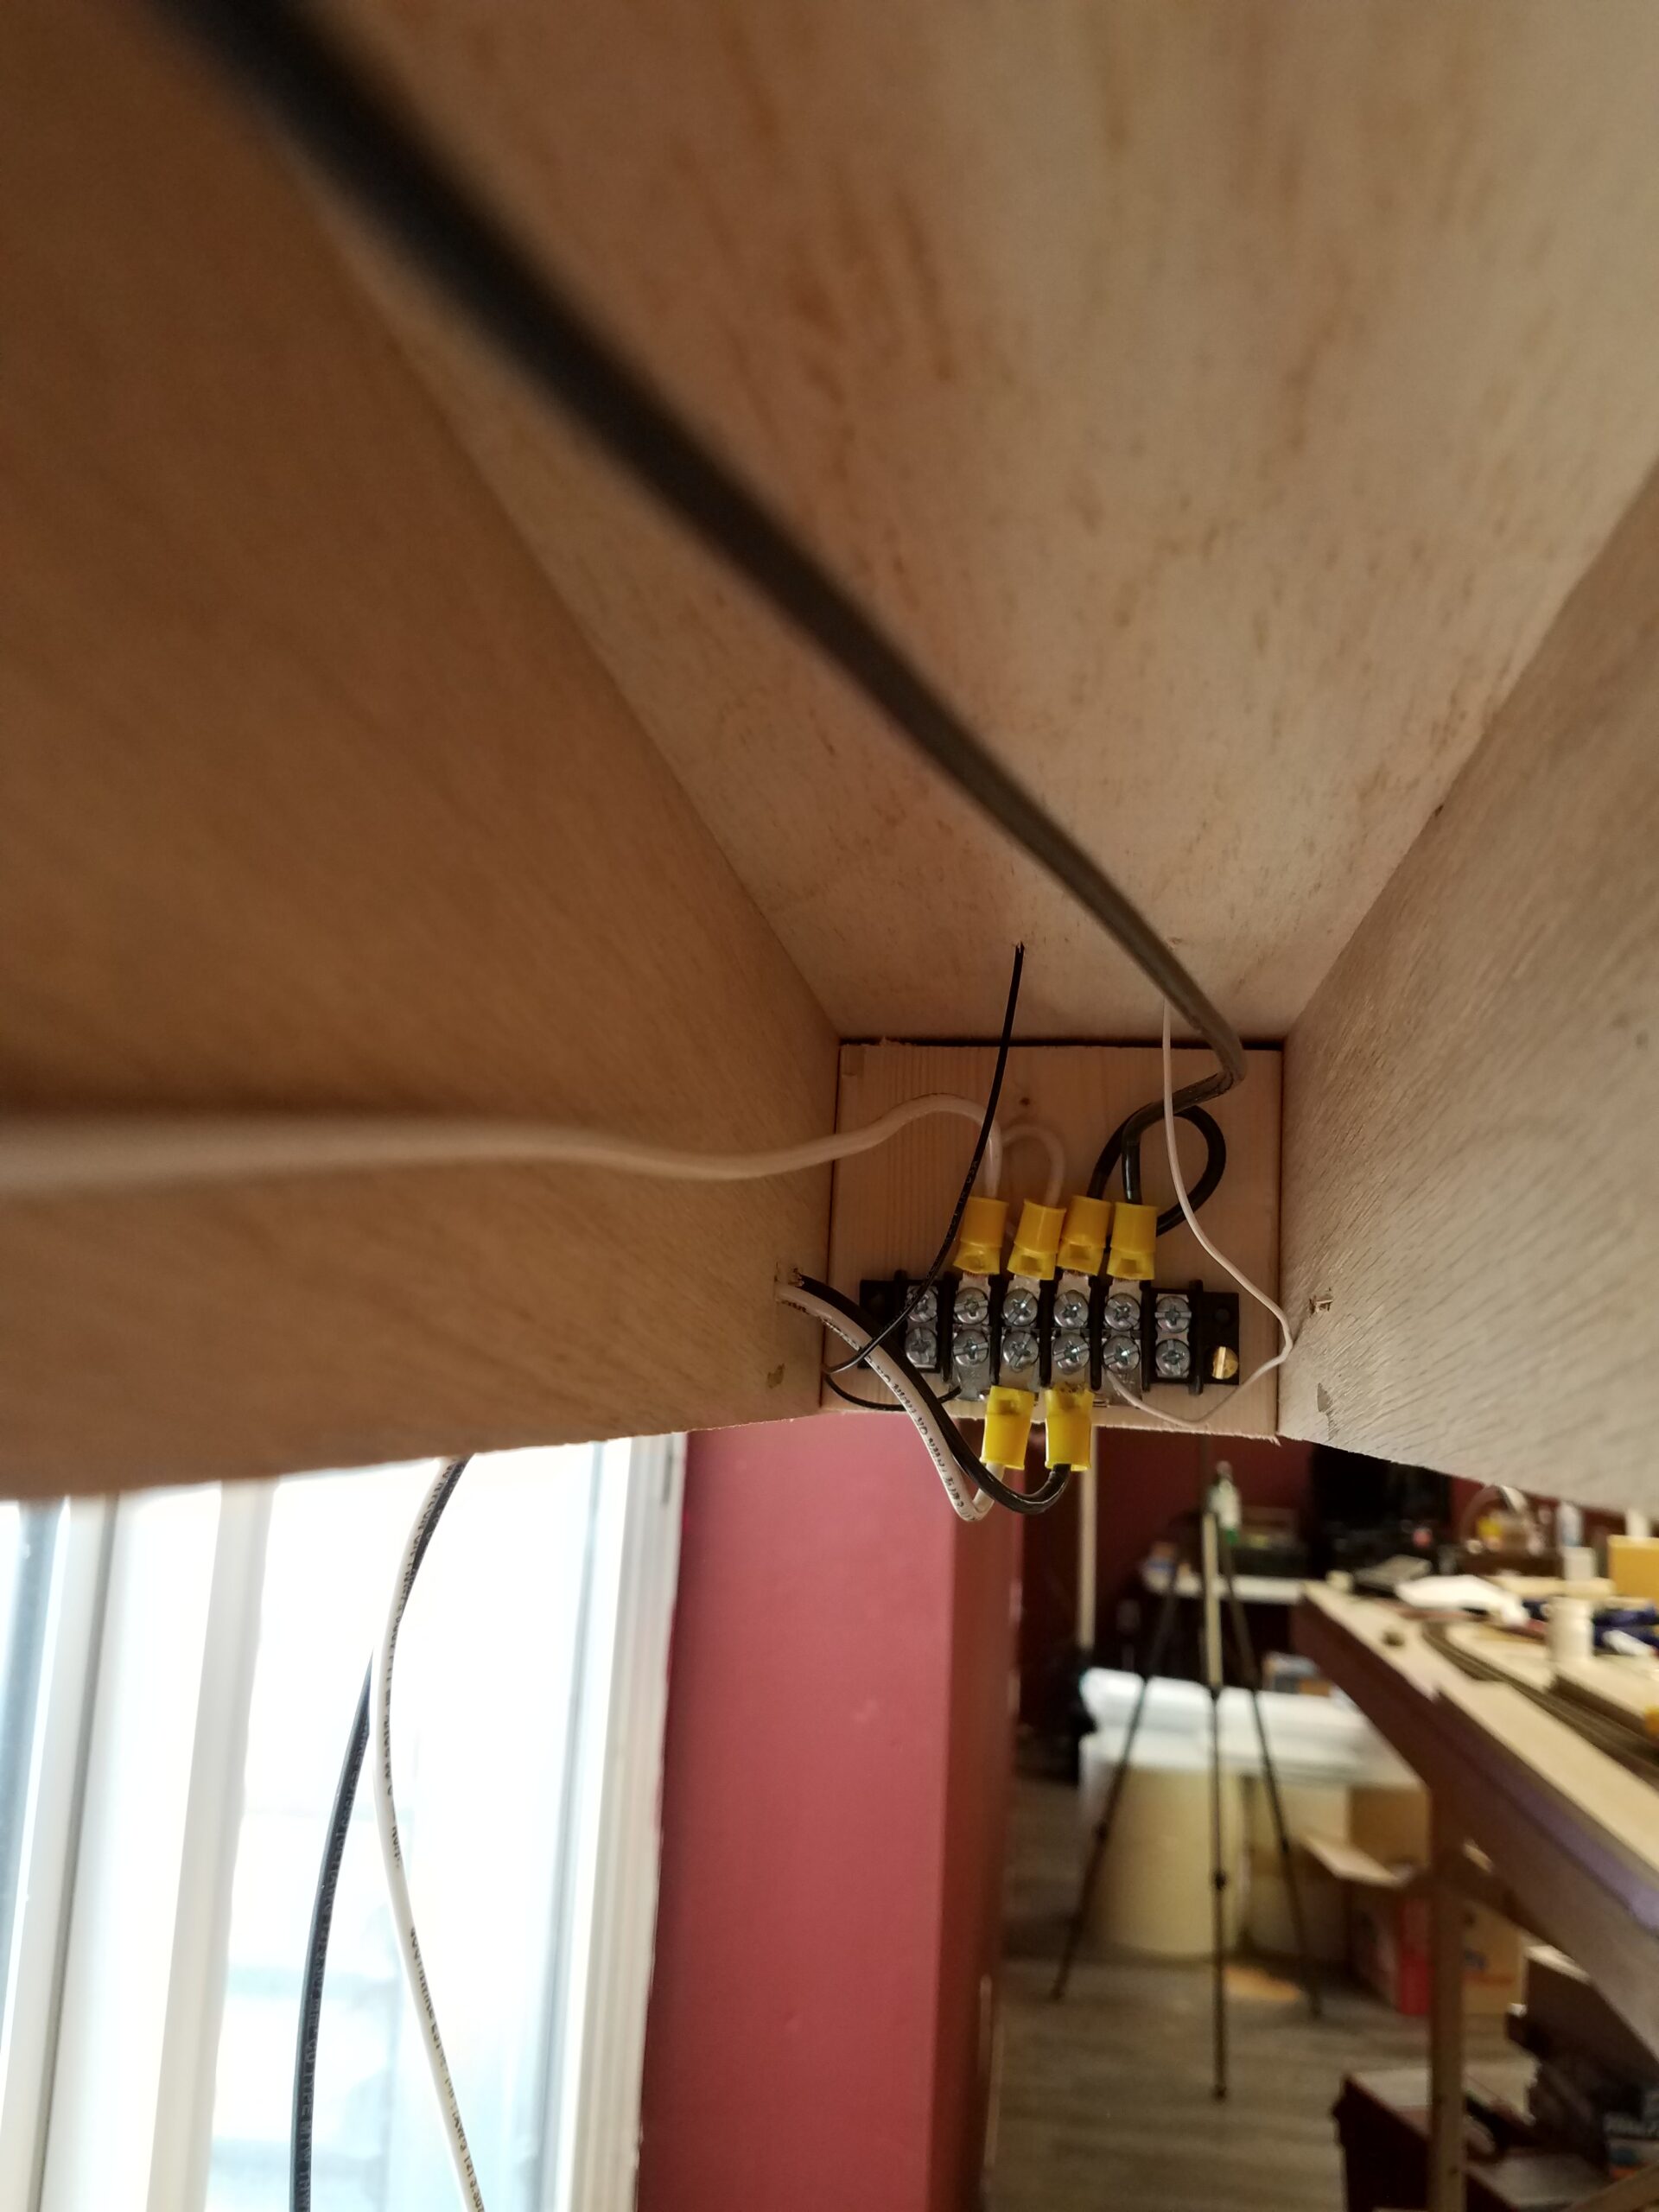
It was kind of tight quarters installing the terminal strip in the center of the line, but I managed it.
The first thing I needed to do was design the benchwork leading from the trackage over the back of Casper to the Hudson area. Here's what I came up with:

It looks more complicated than it really is. I had to design this in detail because the outside edges of the gridwork is attached to the wall studs, so I won't have access to install the joist mounting blocks once the edges are attached to the wall. I should be able to get this up over the next several days.
Physical work has resumed on the layout. I continued the CNW benchwork around the left end of the layout and on into Hudson. The stringer along the left end wall was populated with joist cleats and installed:

Next I populated and attached the wall stringer on the angled wall. This is where the town of Hudson, with just a passing siding, will be located.

This is the benchwork detail for the curve from the wall behind Casper to the left wall.

And here is the finished benchwork for Hudson, around to the wall behind Casper. I will likely have to put a support mid way down the long span. At nearly eleven feet long, the span is a bit too long to be supported just at the ends. I'll most likely add a suspension rod before starting to lay track through Hudson.

I mounted the backdrop frames all the way to the Hudson benchwork:
And then cut the backdrop to the right height and mounted it.

Yesterday I painted the new section of backdrop.

Work is progressing towards Hudson on the Chicago & Northwestern. October 4th I got the subroadbed in place into Hudson.

Later that evening the roadbed was in place. The pins hold the curves until the glue dries.

By the 7th I had new track down leading into the curve just east of Hudson.

Yesterday I laid the roadbed in Hudson and then marked the track centerlines. Hudson is a very small town - just the mainline and a siding. The siding here will be my first use of code 55 rail. if it works, I'll use all code 55 track for sidings along this line.

Last evening I built the ramp from the mainline roadbed down to the Hudson roadbed. From here on west to Lander all the track will be laid on the thinner cork. I also curved, but didn't yet install, the track leading to the switch that will be installed on the ramp (I've never had a problem with derailments on turnouts on these ramps). Here's a picture of the ramp under construction:

I got the CNW branchline past the turnout into Hudson yesterday.

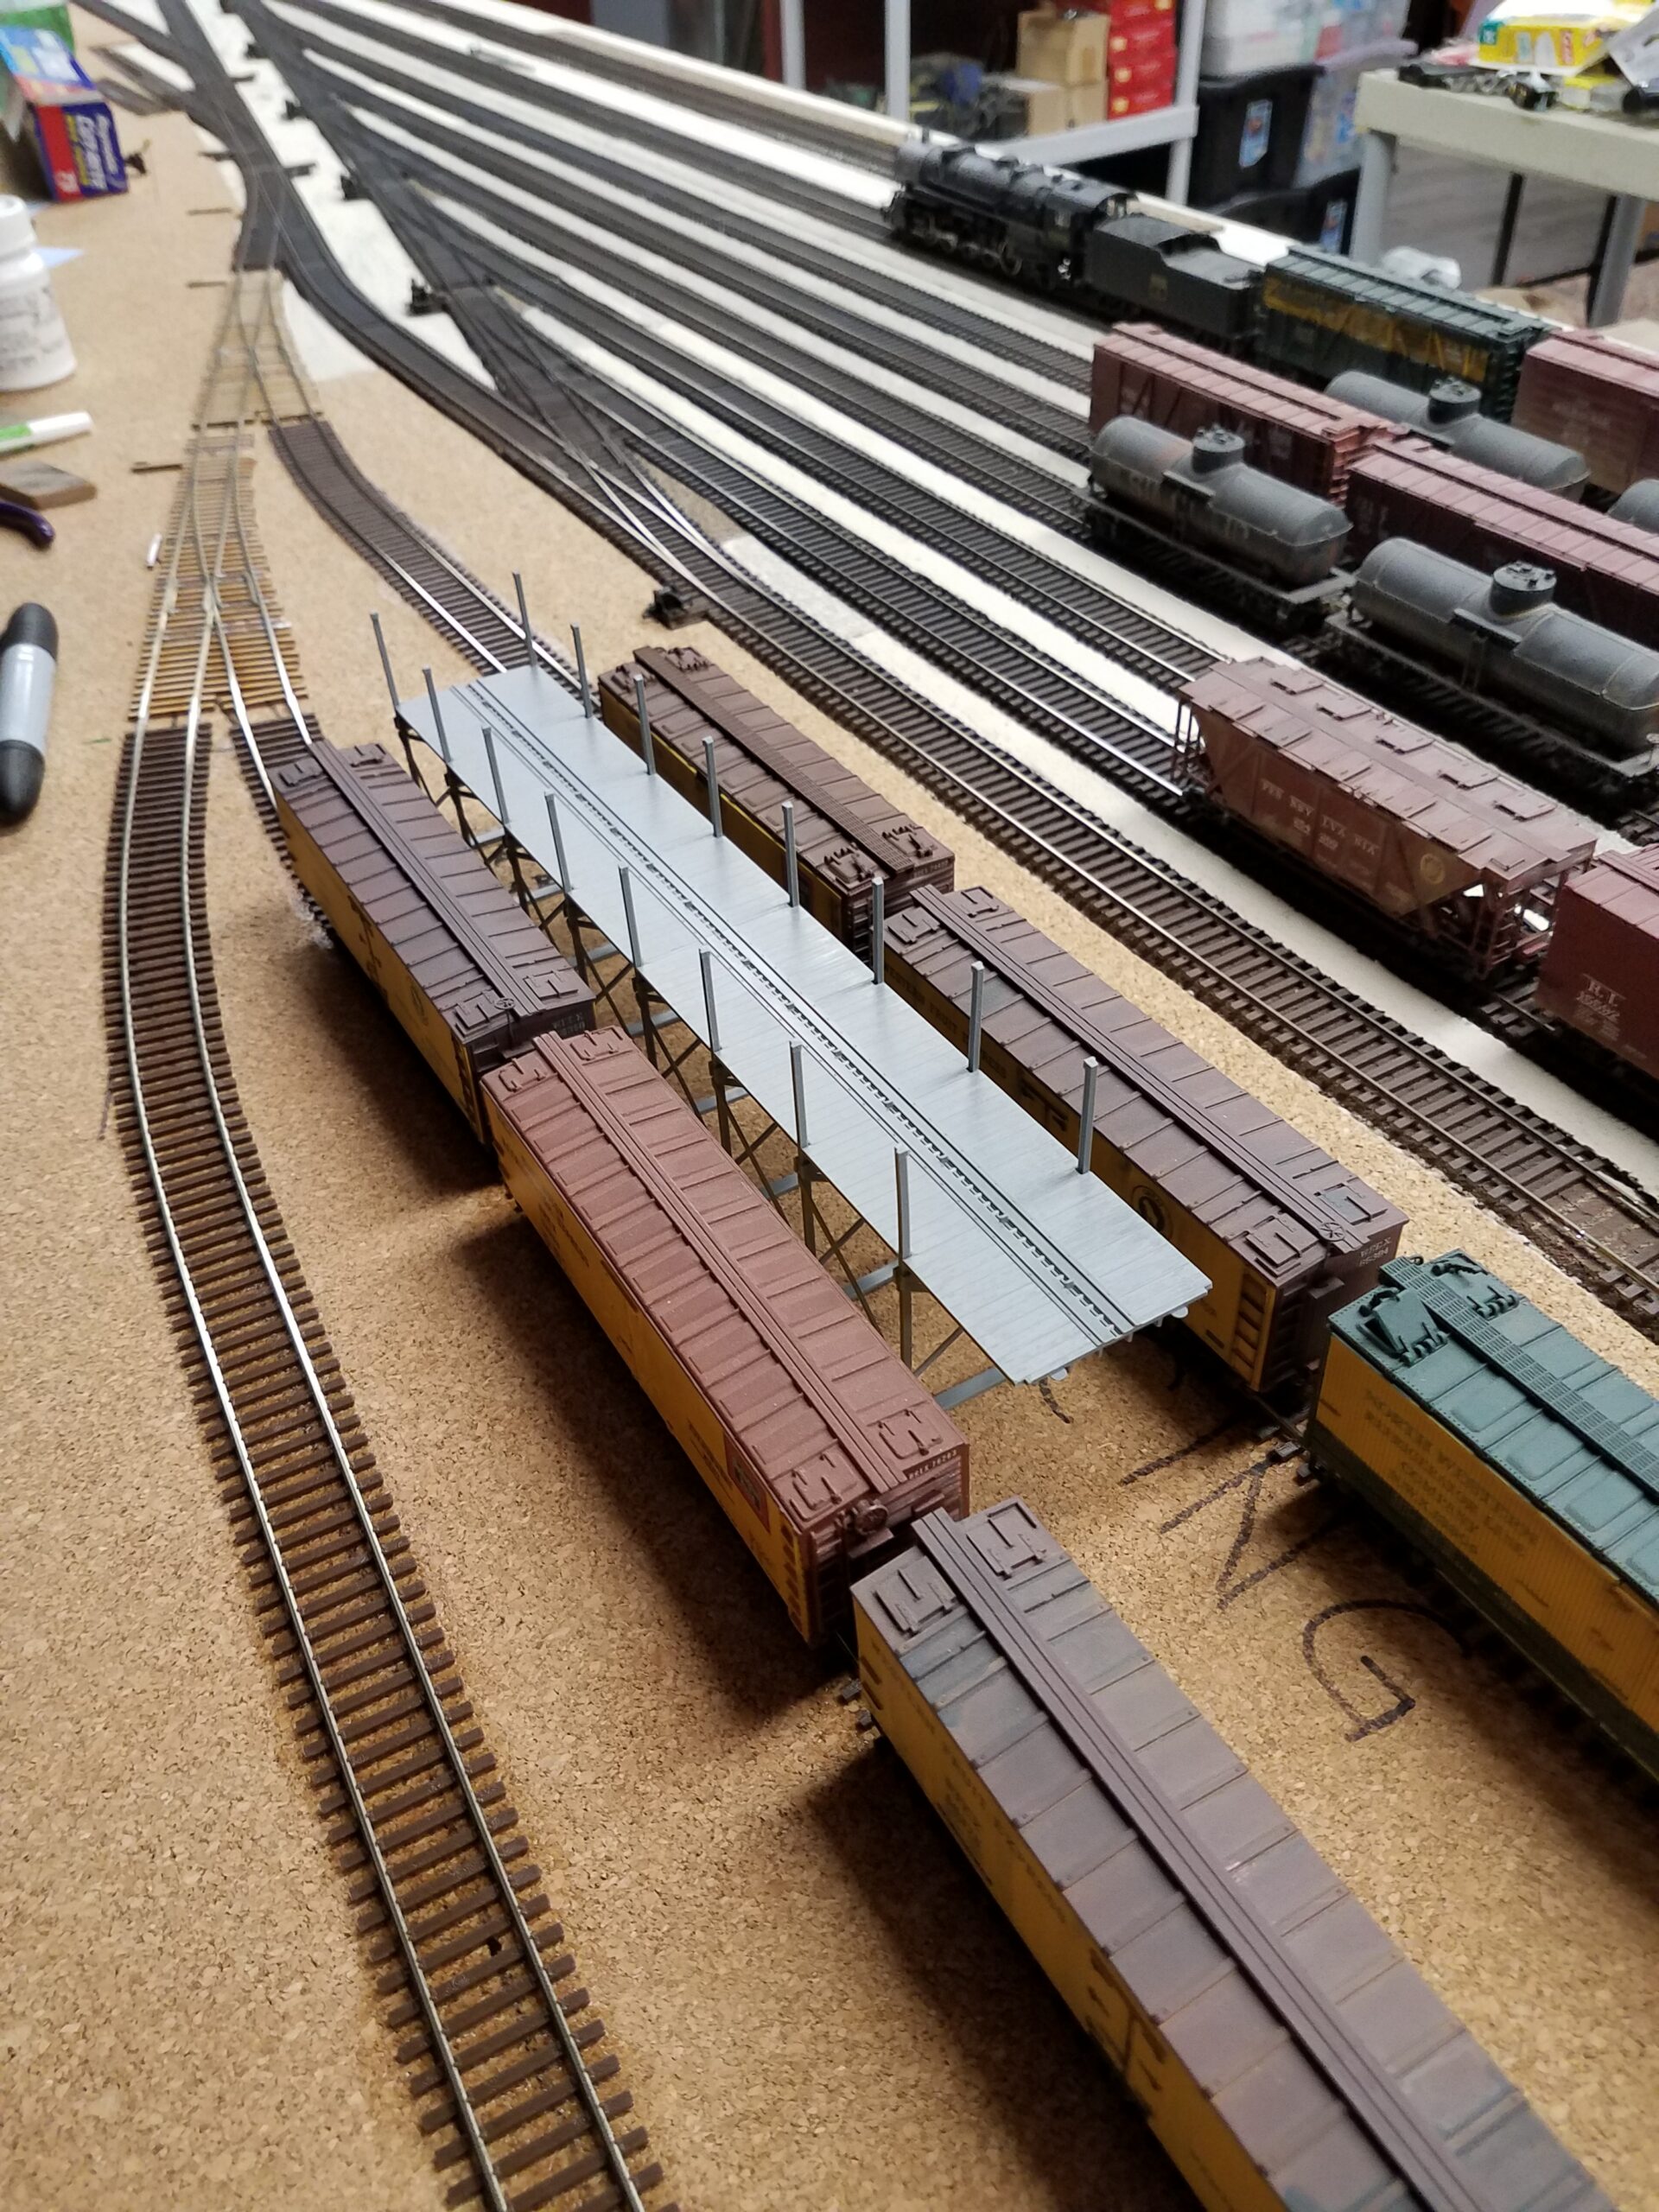
Today I test ran a train onto the new track. The track past the frog in the switch (under the flatcar) isn't powered yet - I still have to do the wiring. But I ran the train backwards into Hudson and the track seemed just fine.

In a few days I should have the code 55 track from Walthers, and I'll start laying the siding. I'm really looking forward to trying that small rail!
Here's a medium-resolution photo of the real depot at Hudson from around 1915. As you can see, there are at least three tracks here, but on the layout I'll only have two.

Later this evening I printed out a draft of some pictures I took near Hudson a few days ago, and taped them to the backdrop to get an idea of how it might look. Let me know what you think of the backdrop in these photos:


I got the code 55 track I ordered, and on the 18th set a piece in Hudson for the station siding, to the left of the mainline in this photo.
I took the panoramic photo to a printer and had them print a few copies on their large-format printer. I had them reverse one left-to-right so three copies would match end-to-end. I got it back on the 18th. Here's what the final copy looks like unrolled on a work table. Total length of each section is about 12 1/2 feet.

This is a view of a section of the backdrops all on the same sheet of paper.

On the 19th I cut one of the backdrops from the other two, and am about to start trimming it.

Here's a comparison of the backdrop I printed at home, just below the one I had done at the printer. The ones I paid to have printed look a lot better!

I set the trimmed out backdrop behind Hudson to see how it would look.

Today I temporarily mounted two backdrops end-to-end on the section above Casper and posed a train in front of it to get a good look before permanently installing the backdrop. Here's a couple of shots:


I took 1 1/2 inches off the bottom of the backdrops to eliminate the very-out-of-scale elements near the bottom (closest to the camera), then blackened the top edge (white jumps right out at you more than any other color) and temporary mounted all three sections. Here's a few shots of how it looks now.
Train sitting in Hudson:
Just east of Hudson heading towards Riverton (behind the camera on the right):

Train progressing towards Riverton:

Approaching Riverton:
 I also took a few short movies of the train leaving Hudson and progressing towards Riverton. After I edit them together and post them to YouTube, I'll add them here.
Much to my surprise, I'm having a few issues caused by benchwork contraction! A few switches have bowed upwards in the middle. Here's one:
 It only took a couple hours to correct the three that were bowed, by trimming a hundredth of an inch or so off the rail ends at the point end of the turnouts.
I've also begun switching all my turnouts from Caboose throws to over-center springs, where you push the points to the desired route with your finger. Here's a couple of turnouts in Casper before I started making the change:
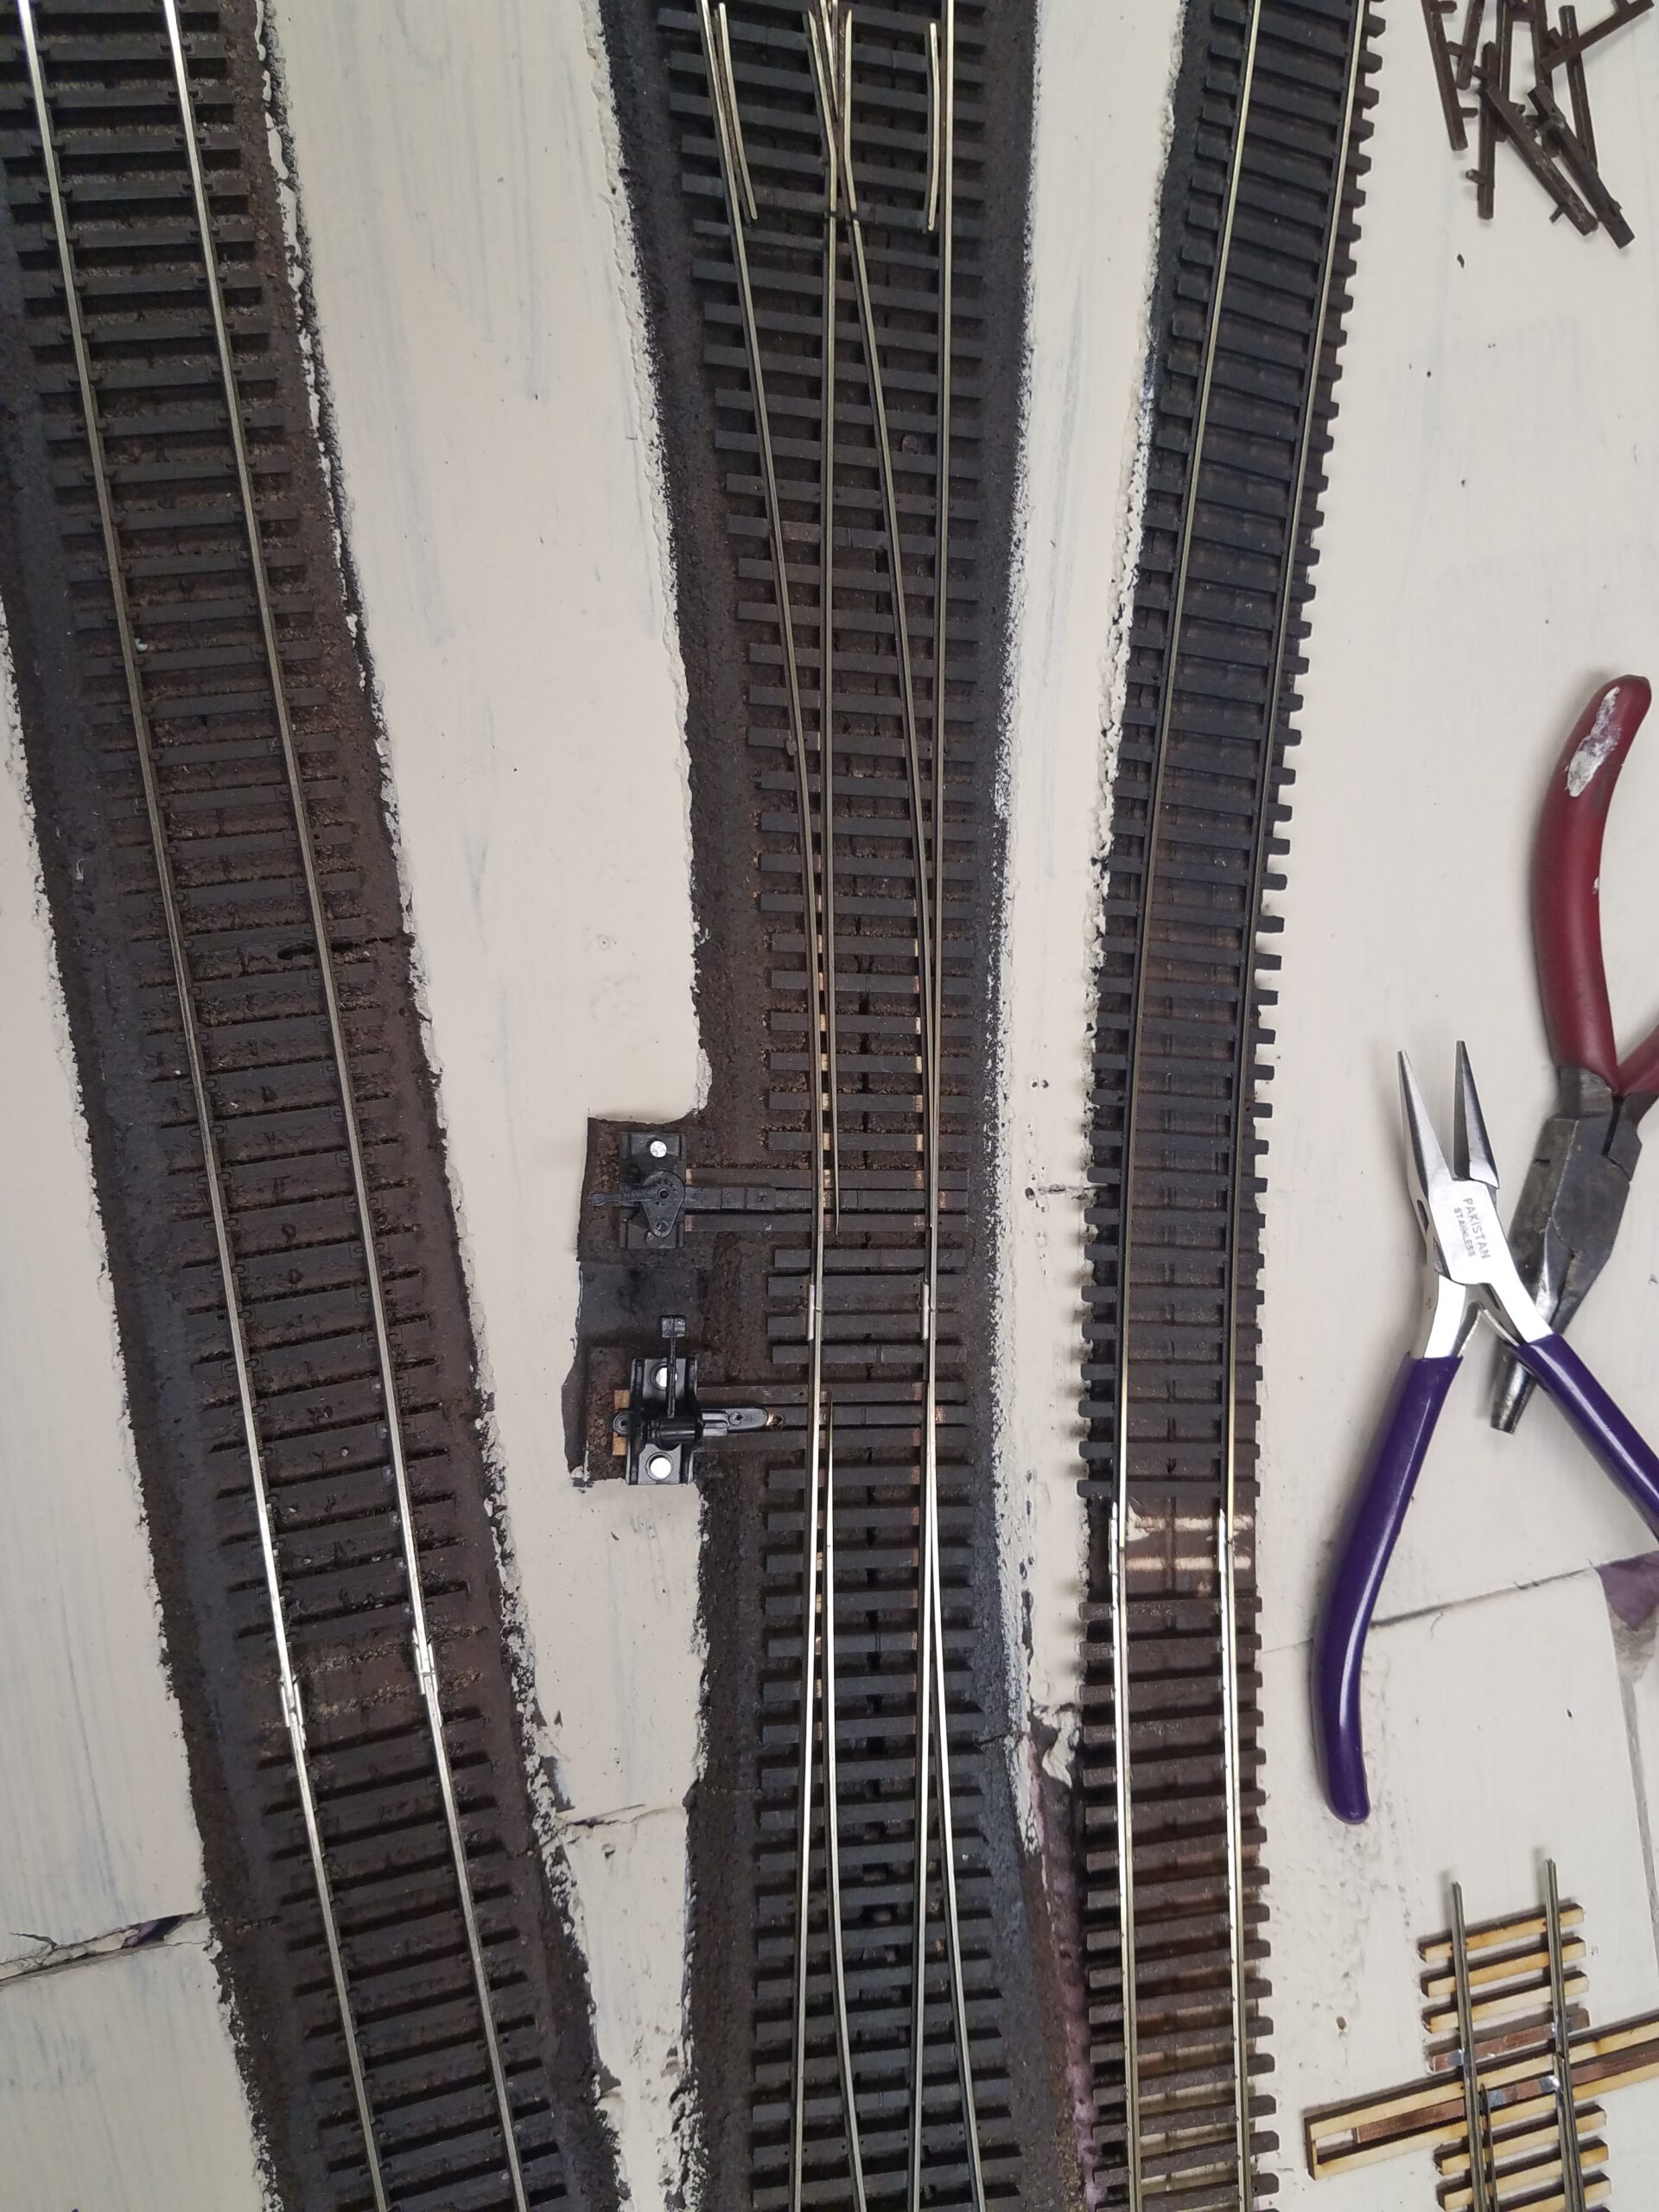
And here they are after:
 I'll either color the newly exposed part of the headblock ties and the throwrods, or remove them.
I was pleasantly surprised at how easy this is to do. It takes about 15 minutes per turnout, and most of that is spent drilling the holes. The spring is not at all difficult to bend, and close precision is not required. I'll be doing these on or two at a time as the mood strikes. All new turnouts will be done at or before installation.
A couple days ago I added fascia to the CNW from Hudson back towards Riverton - 32 feet worth. I'll remove them one section at a time in a few days to paint them.

And today I installed tracks for the icing platform in Casper. Here it's laid out:

Here the tracks are in:
 They'll be extended slightly, and the ends will be even. The final platform length will be six feet, which will service about 24 cars at a time.
And here's every reefer on the railroad on the icing tracks. I need to get more reefers on the layout!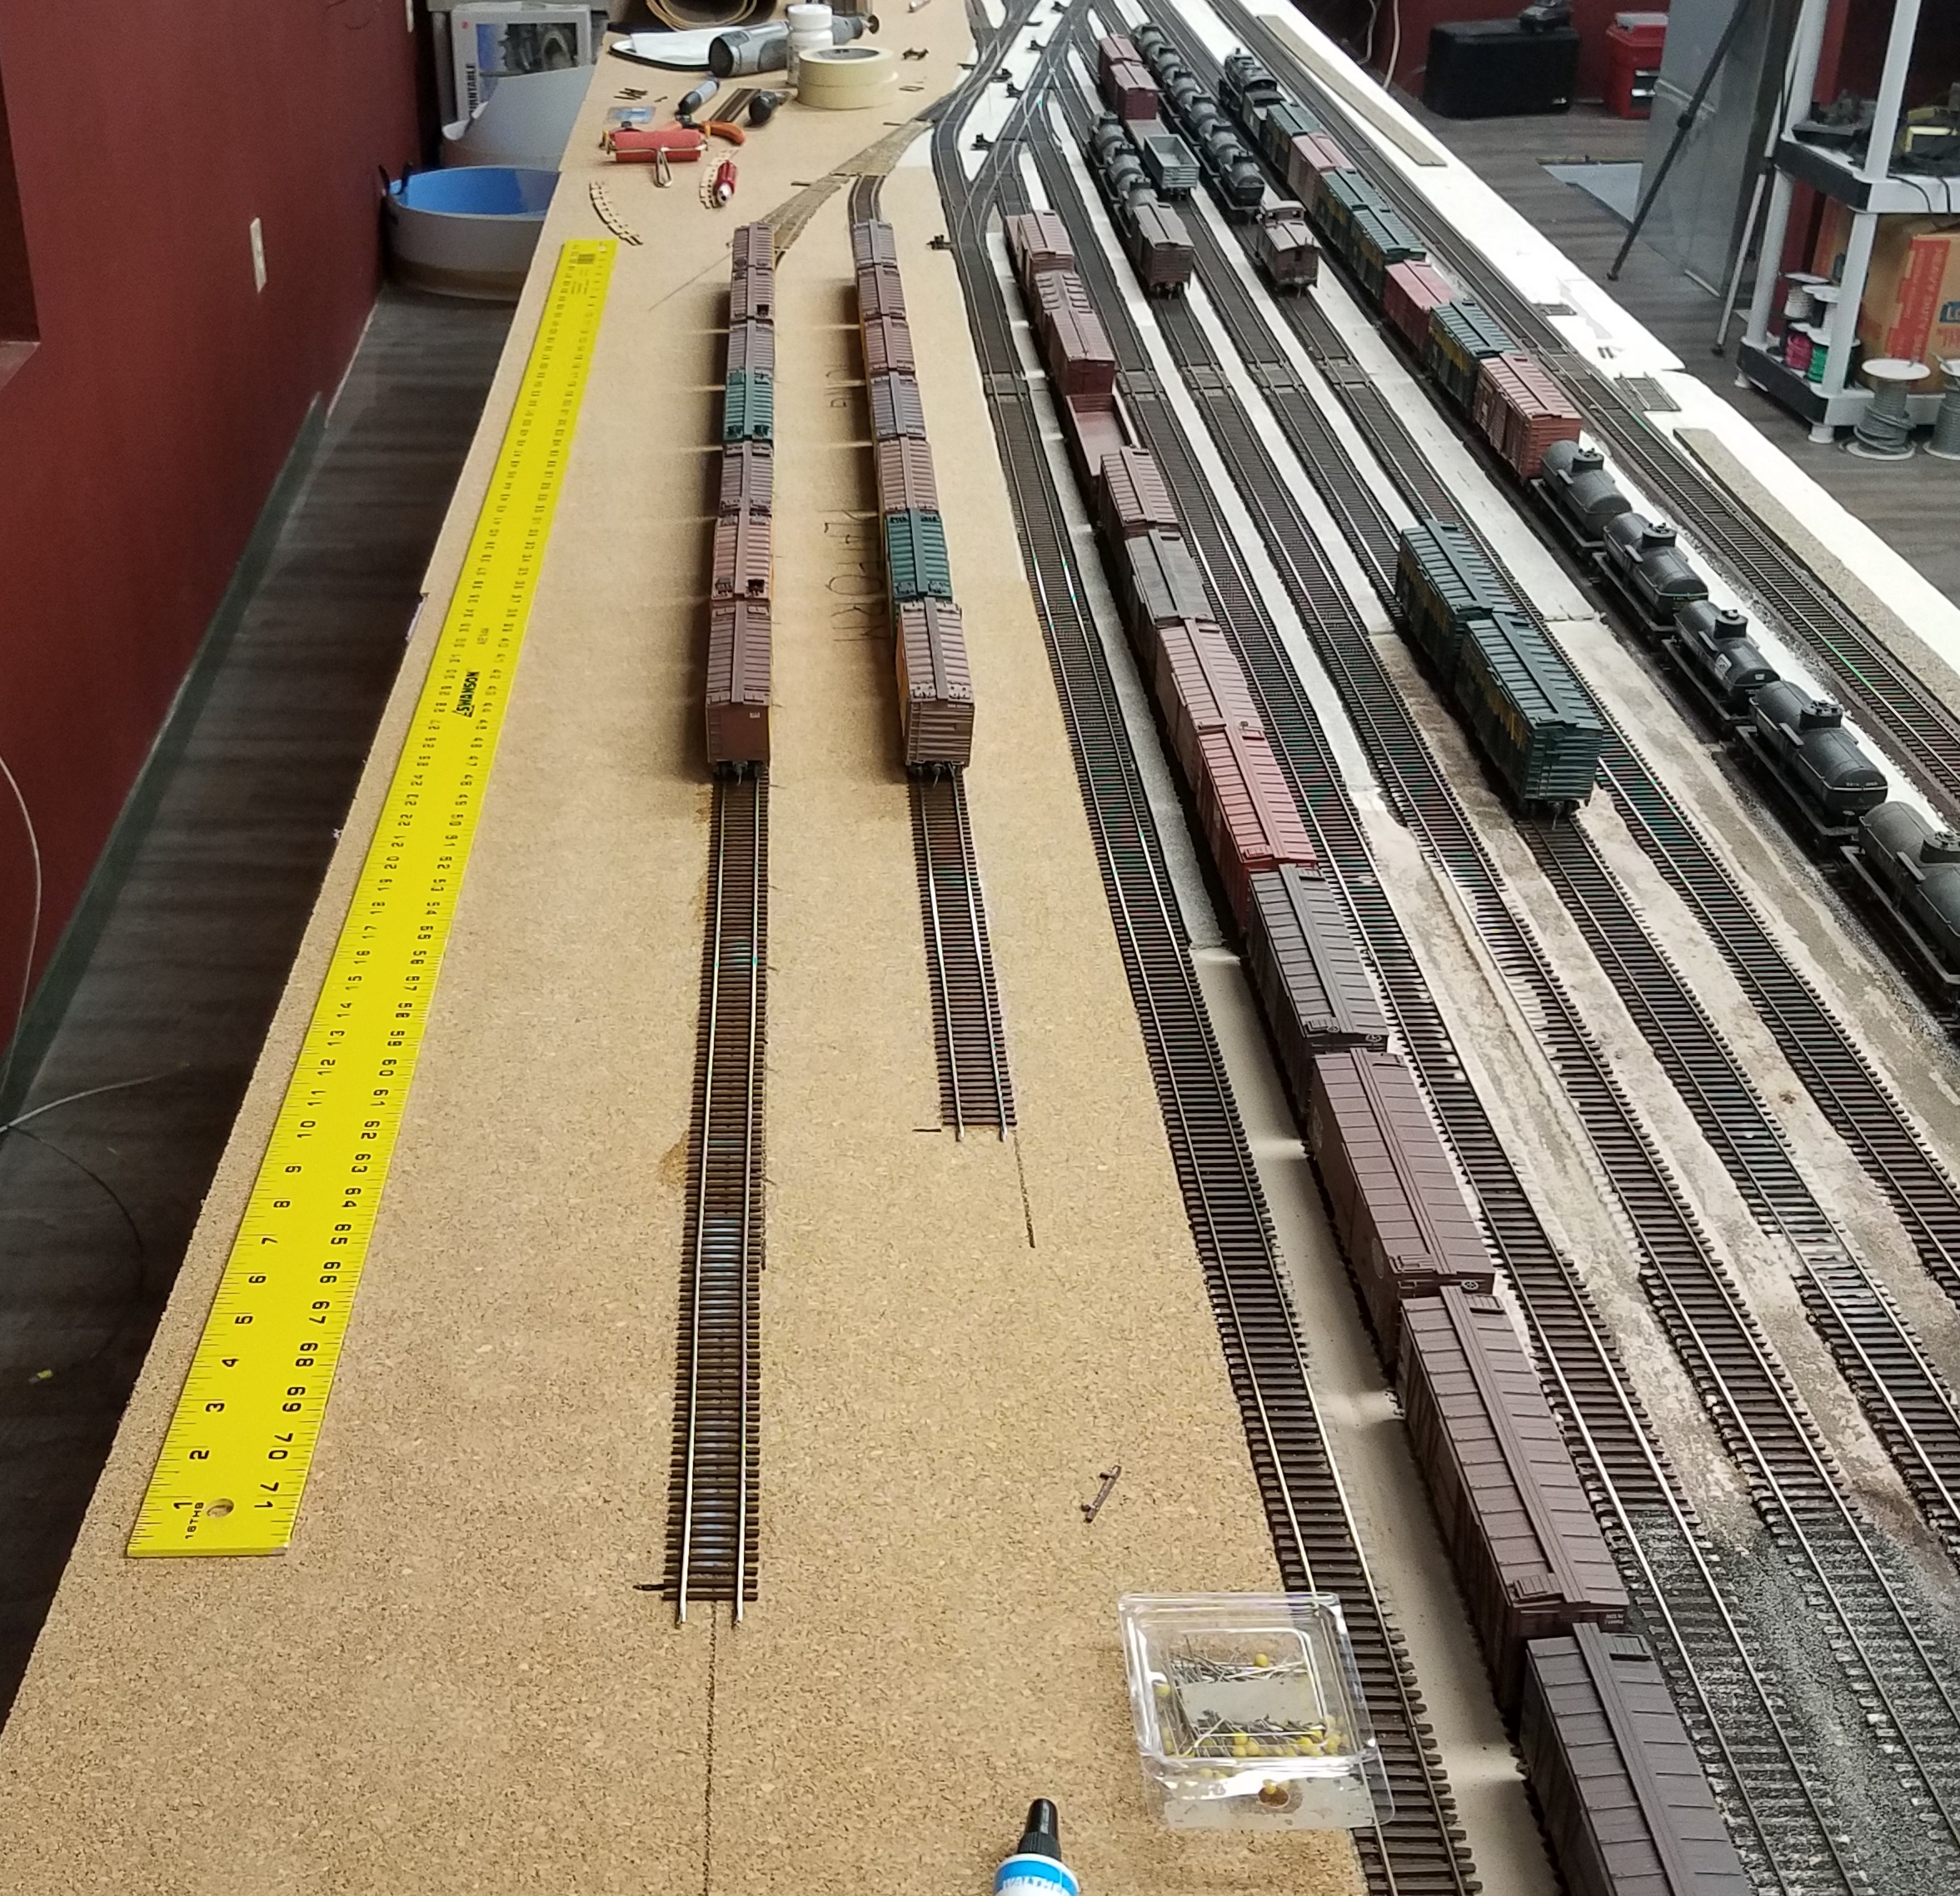
Can you believe it? November already!
I've started painting the fascia. Here's part of it:
The color is Bronze Green, same as the train room trim color.
Today I started with real scenery on the Lander line! First I prepped the area by putting painter's tape over the track and wax paper over the backdrop.
Then I mixed up a batch of Celluclay and colored it to about what the ground looks like in the area. Yeah, I know this is a bit too yellow, but I had nothing on hand to gray it out.
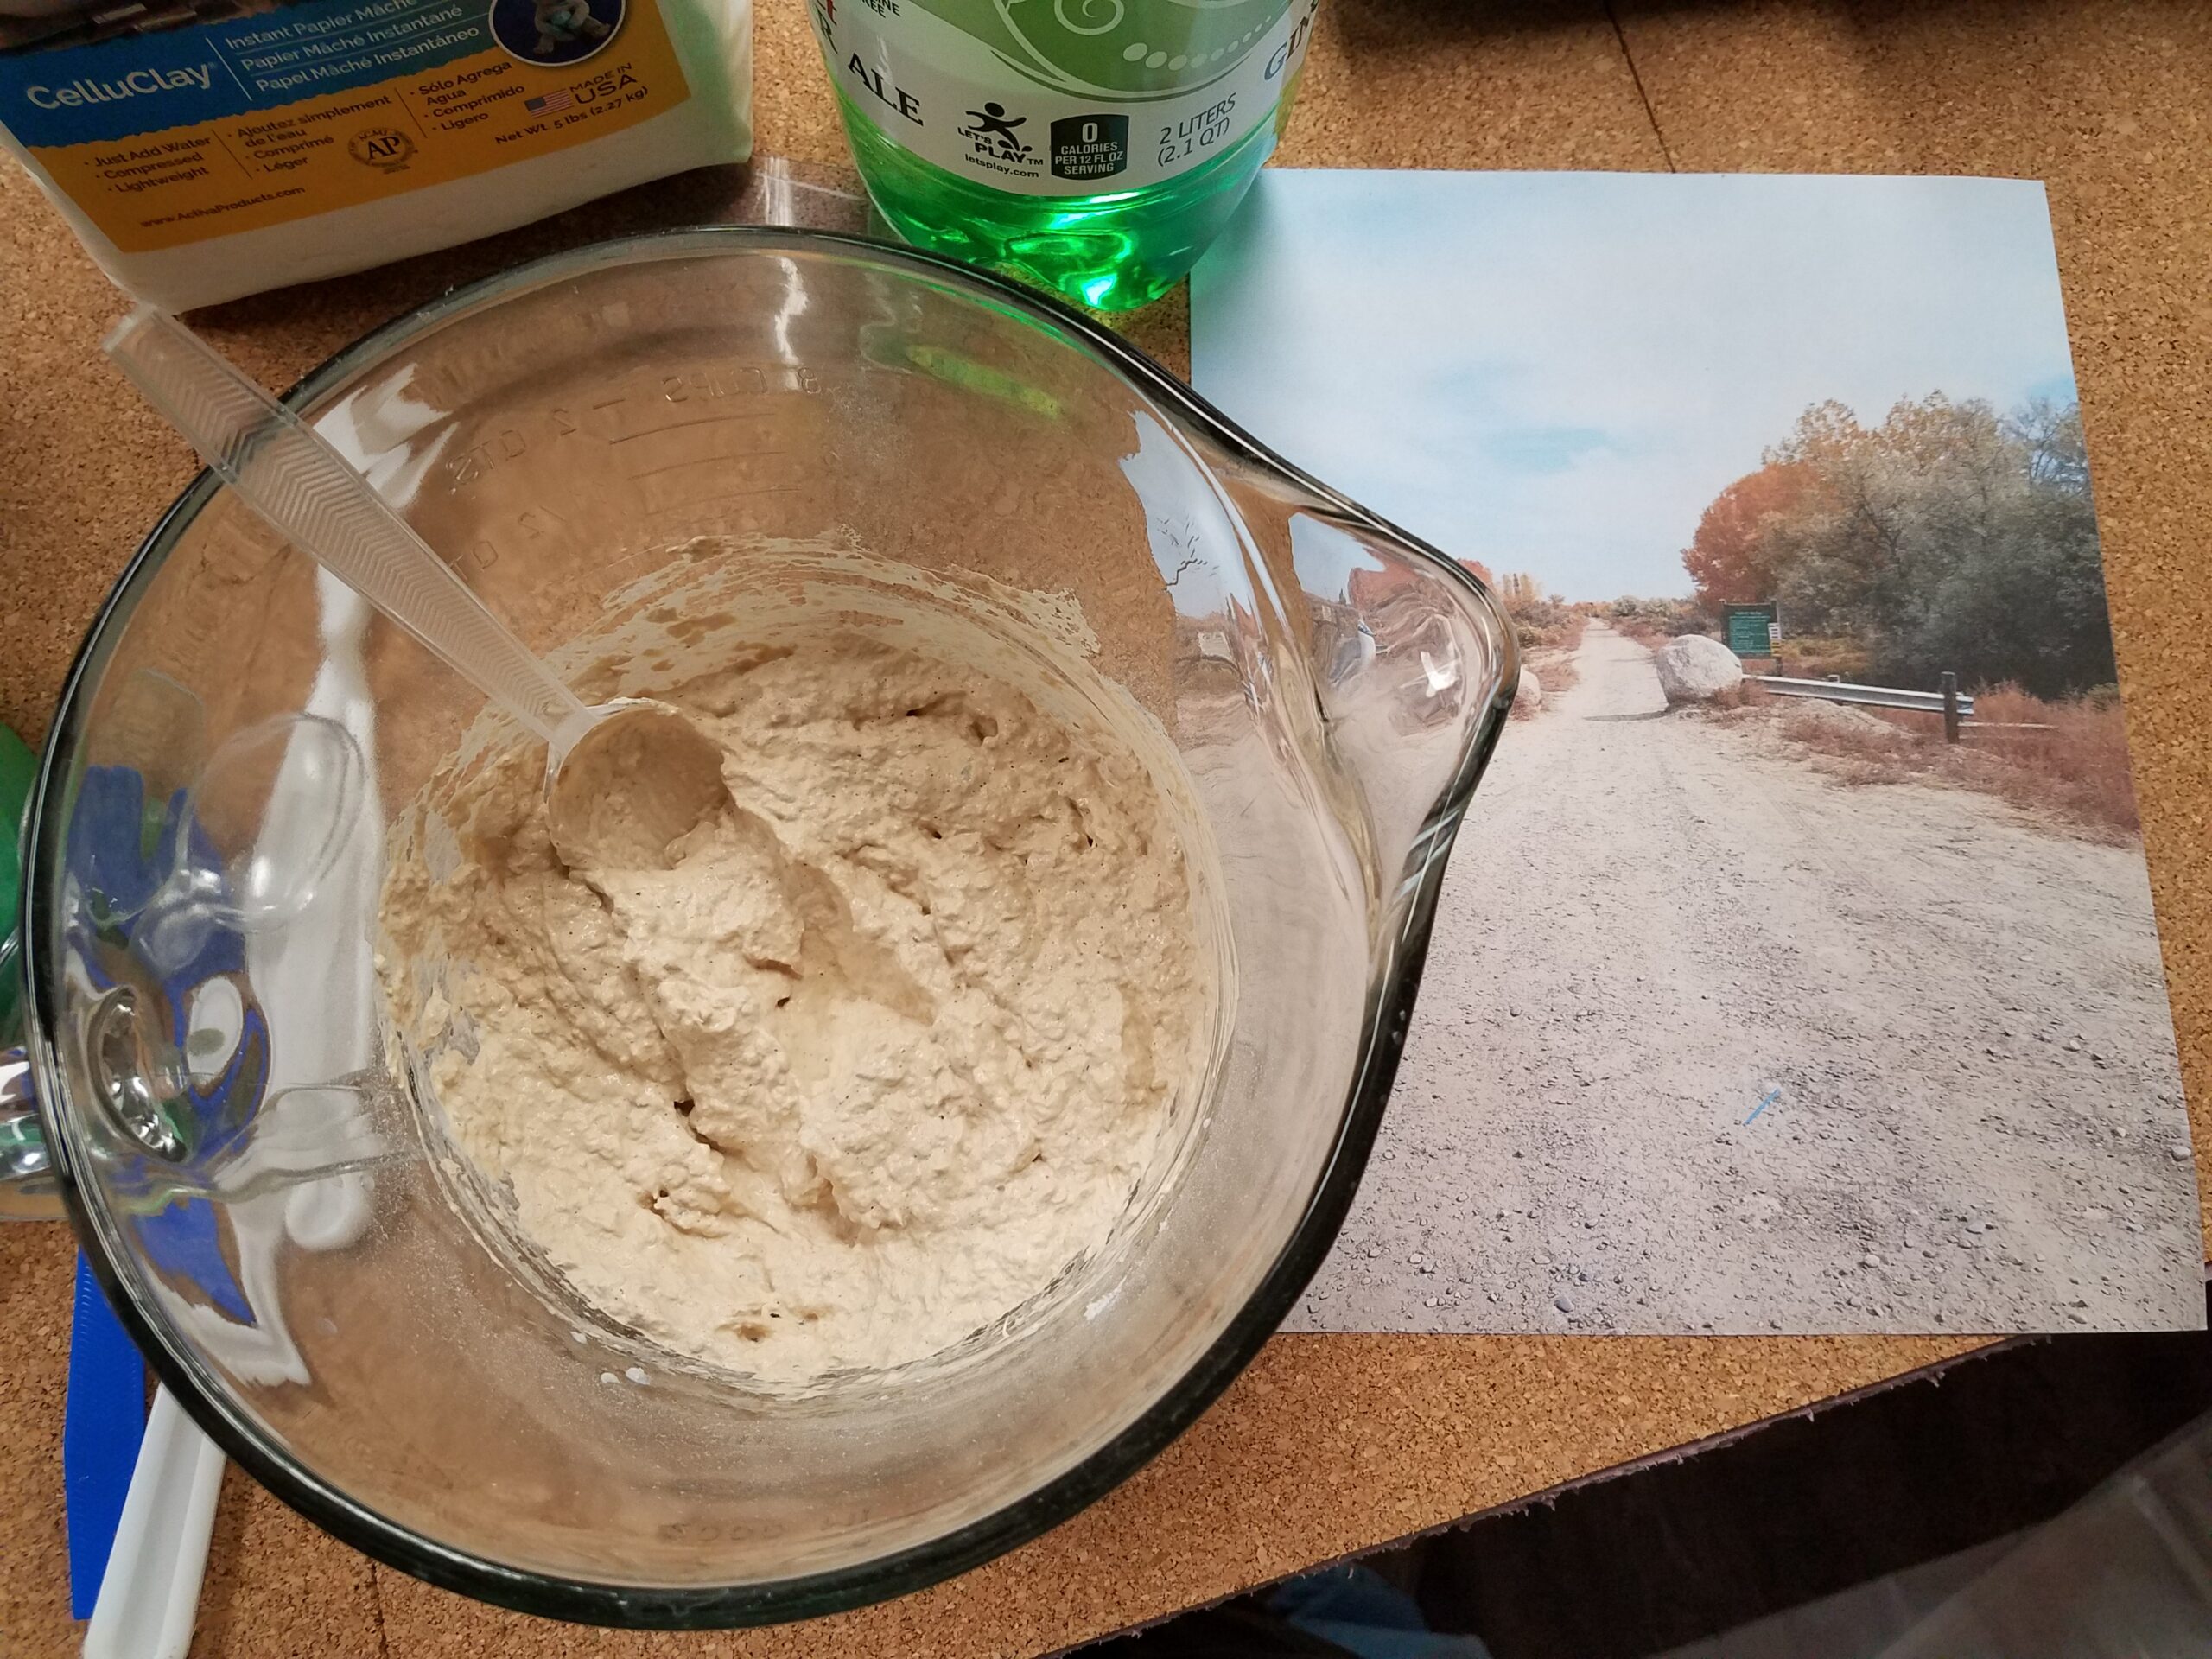
This is the first glob of "ground" I've done on a layout of my own in about 35 years!

After about half an hour I finished with that first batch of Celluclay. Here are the results. Note the ruts I tried to cut into the ground to the left of the track. This should represent the dried-in ruts left by a truck running over the muddy ground adjacent to the tracks when all is said and done. We'll see how this looks when its dry.

After a few days of not much work on the trains (we're in the middle of refinishing the rest of the basement), I got back to them a bit today. I started work on the icing platform. This kit used to be produced by CMA, but now it's made by Tichy Train Group.

There are 56 identical part sprues, each of which has half a platform support structure on it. All combined, they'll build 28 supports.

Here's a shot of a prototype Burlington icing platform. They didn't have roofs...

...so I'm altering the kit to leave off the roof by removing the upper roof support frame.

One support down, 27 to go! I left the vertical supports and the very end of the truss on the supports to act as lightposts like you saw on the prototype photo.

After completing four supports, I test fitted them into a platform section to see how they look.


Things have been progressing slowly the last few days, but they are progressing.
I finished the structural assembly for the first two icing platform sections and set it on the layout:
A couple days ago I almost placed an order with Tichy for the second platform kit I'll need to finish the whole thing, but I held off since I'd already placed a sizeable order from Walthers about a week ago. Have to space those purchases out a bit, you know.
I'm glad I did hold off, because last night I was looking for some rope lights and opened the box where I thought they were. Instead I found some more structures kits, and inside was a second Tichy icing platform kit! I bought it at a train show some years ago and forgot all about it! Here's the two boxes right next to each other. Identical except for package graphics and manufacturer.

I've also been working on the scenery between Riverton and Hudson on and off. Here's the basic Celluclay ground as it is today - a bit over halfway along the wall behind Casper.
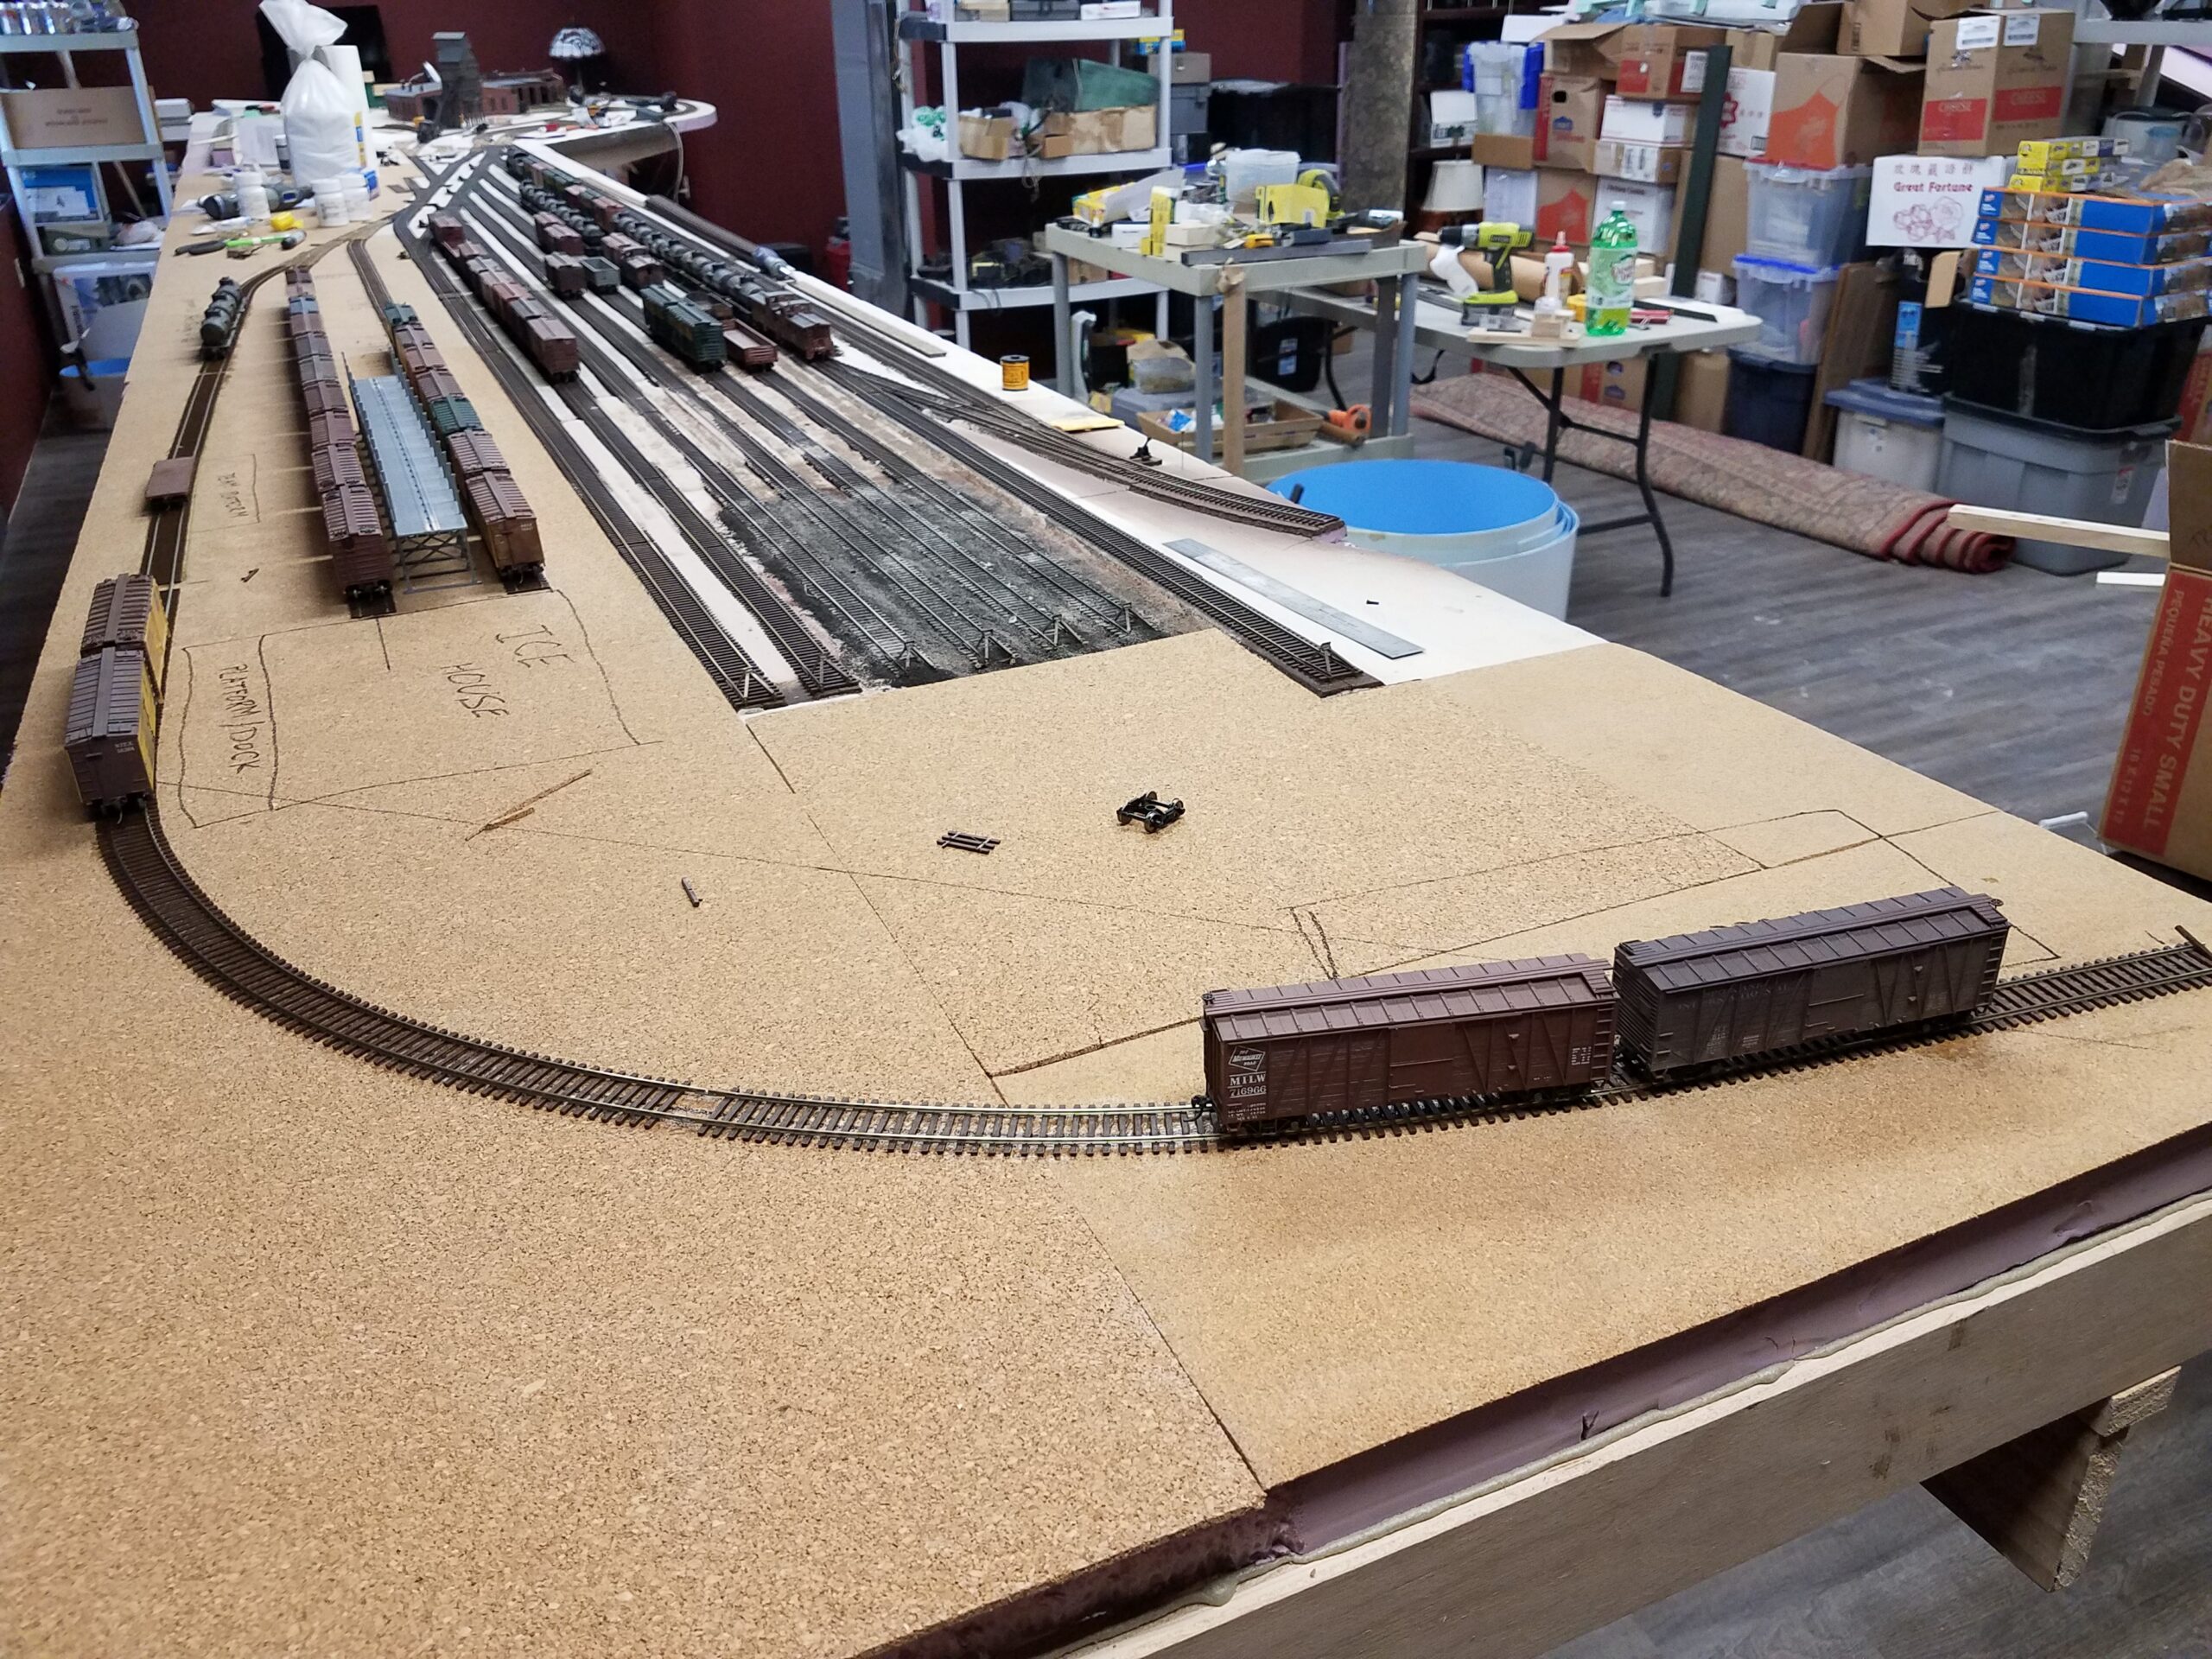
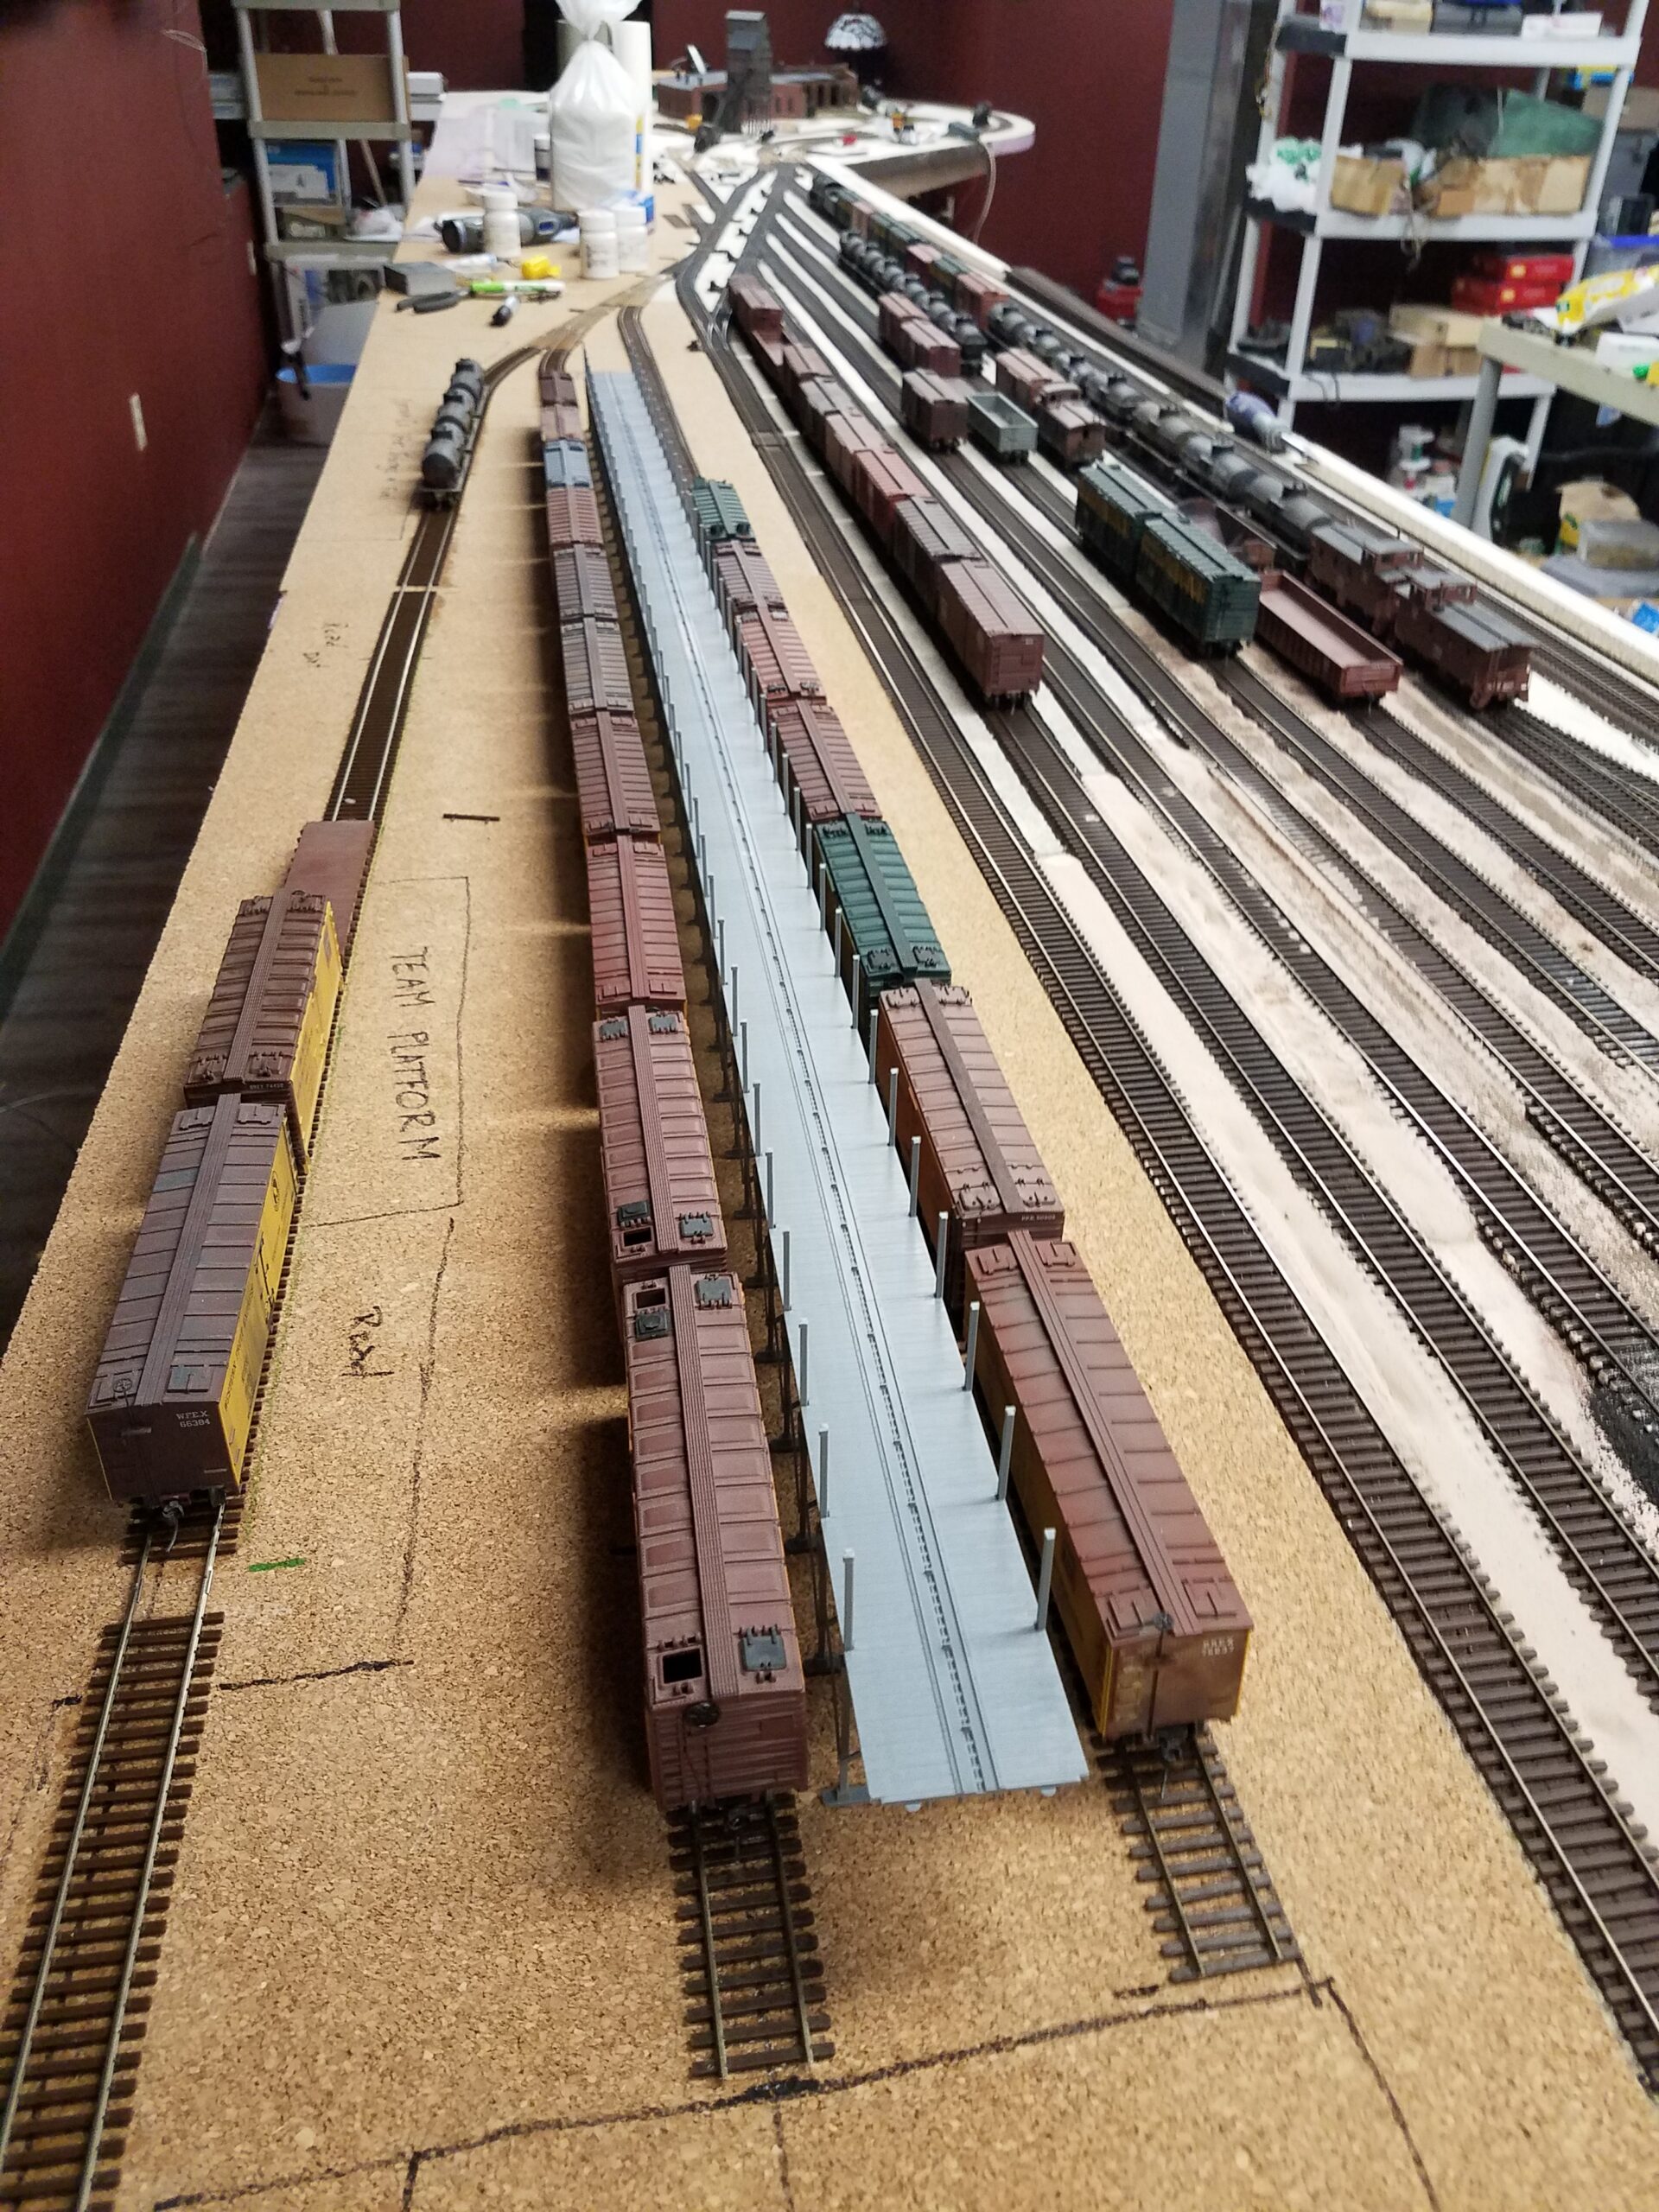
I got the multi-use spur that goes past the icing platform installed in Casper yard. It serves the team track, Schultz Walter Grocery wholesalers, maybe Natrona Transfer, Storage and Fuel, and also has an ice drop for the platform.
When I mentioned on the Model Railroader forums a few weeks ago that I needed more reefers for the icing track, one of the members sent me four reefers he had no use for! They arrived today.

And here's three of the four, with new sprung trucks, in place on the layout. The fourth one, the REA expresser reefer, needs the couplers reinstalled. I'll do that in a day or two.

I completed the first ice platform kit structure assembly:

And set it in place on the layout to see how it looked.


I also finished installing the last spur on this end of the yard (except for wiring, which will be done in a day or two).
All the industries on this spur were real businesses in Casper in the late 1930's. They include, working from the switch outwards to the end, Natrona Transfer, Storage and Fuel (interesting combination, isn't it?),
![]()
A "team track" loading / unloading platform,

A delivery sport for ice for the ice house (there was a second ice house in the yard where ice was stored, then apparently delivered here as needed for reefer loading),

and finally, Shultz Walker Company Grocers.
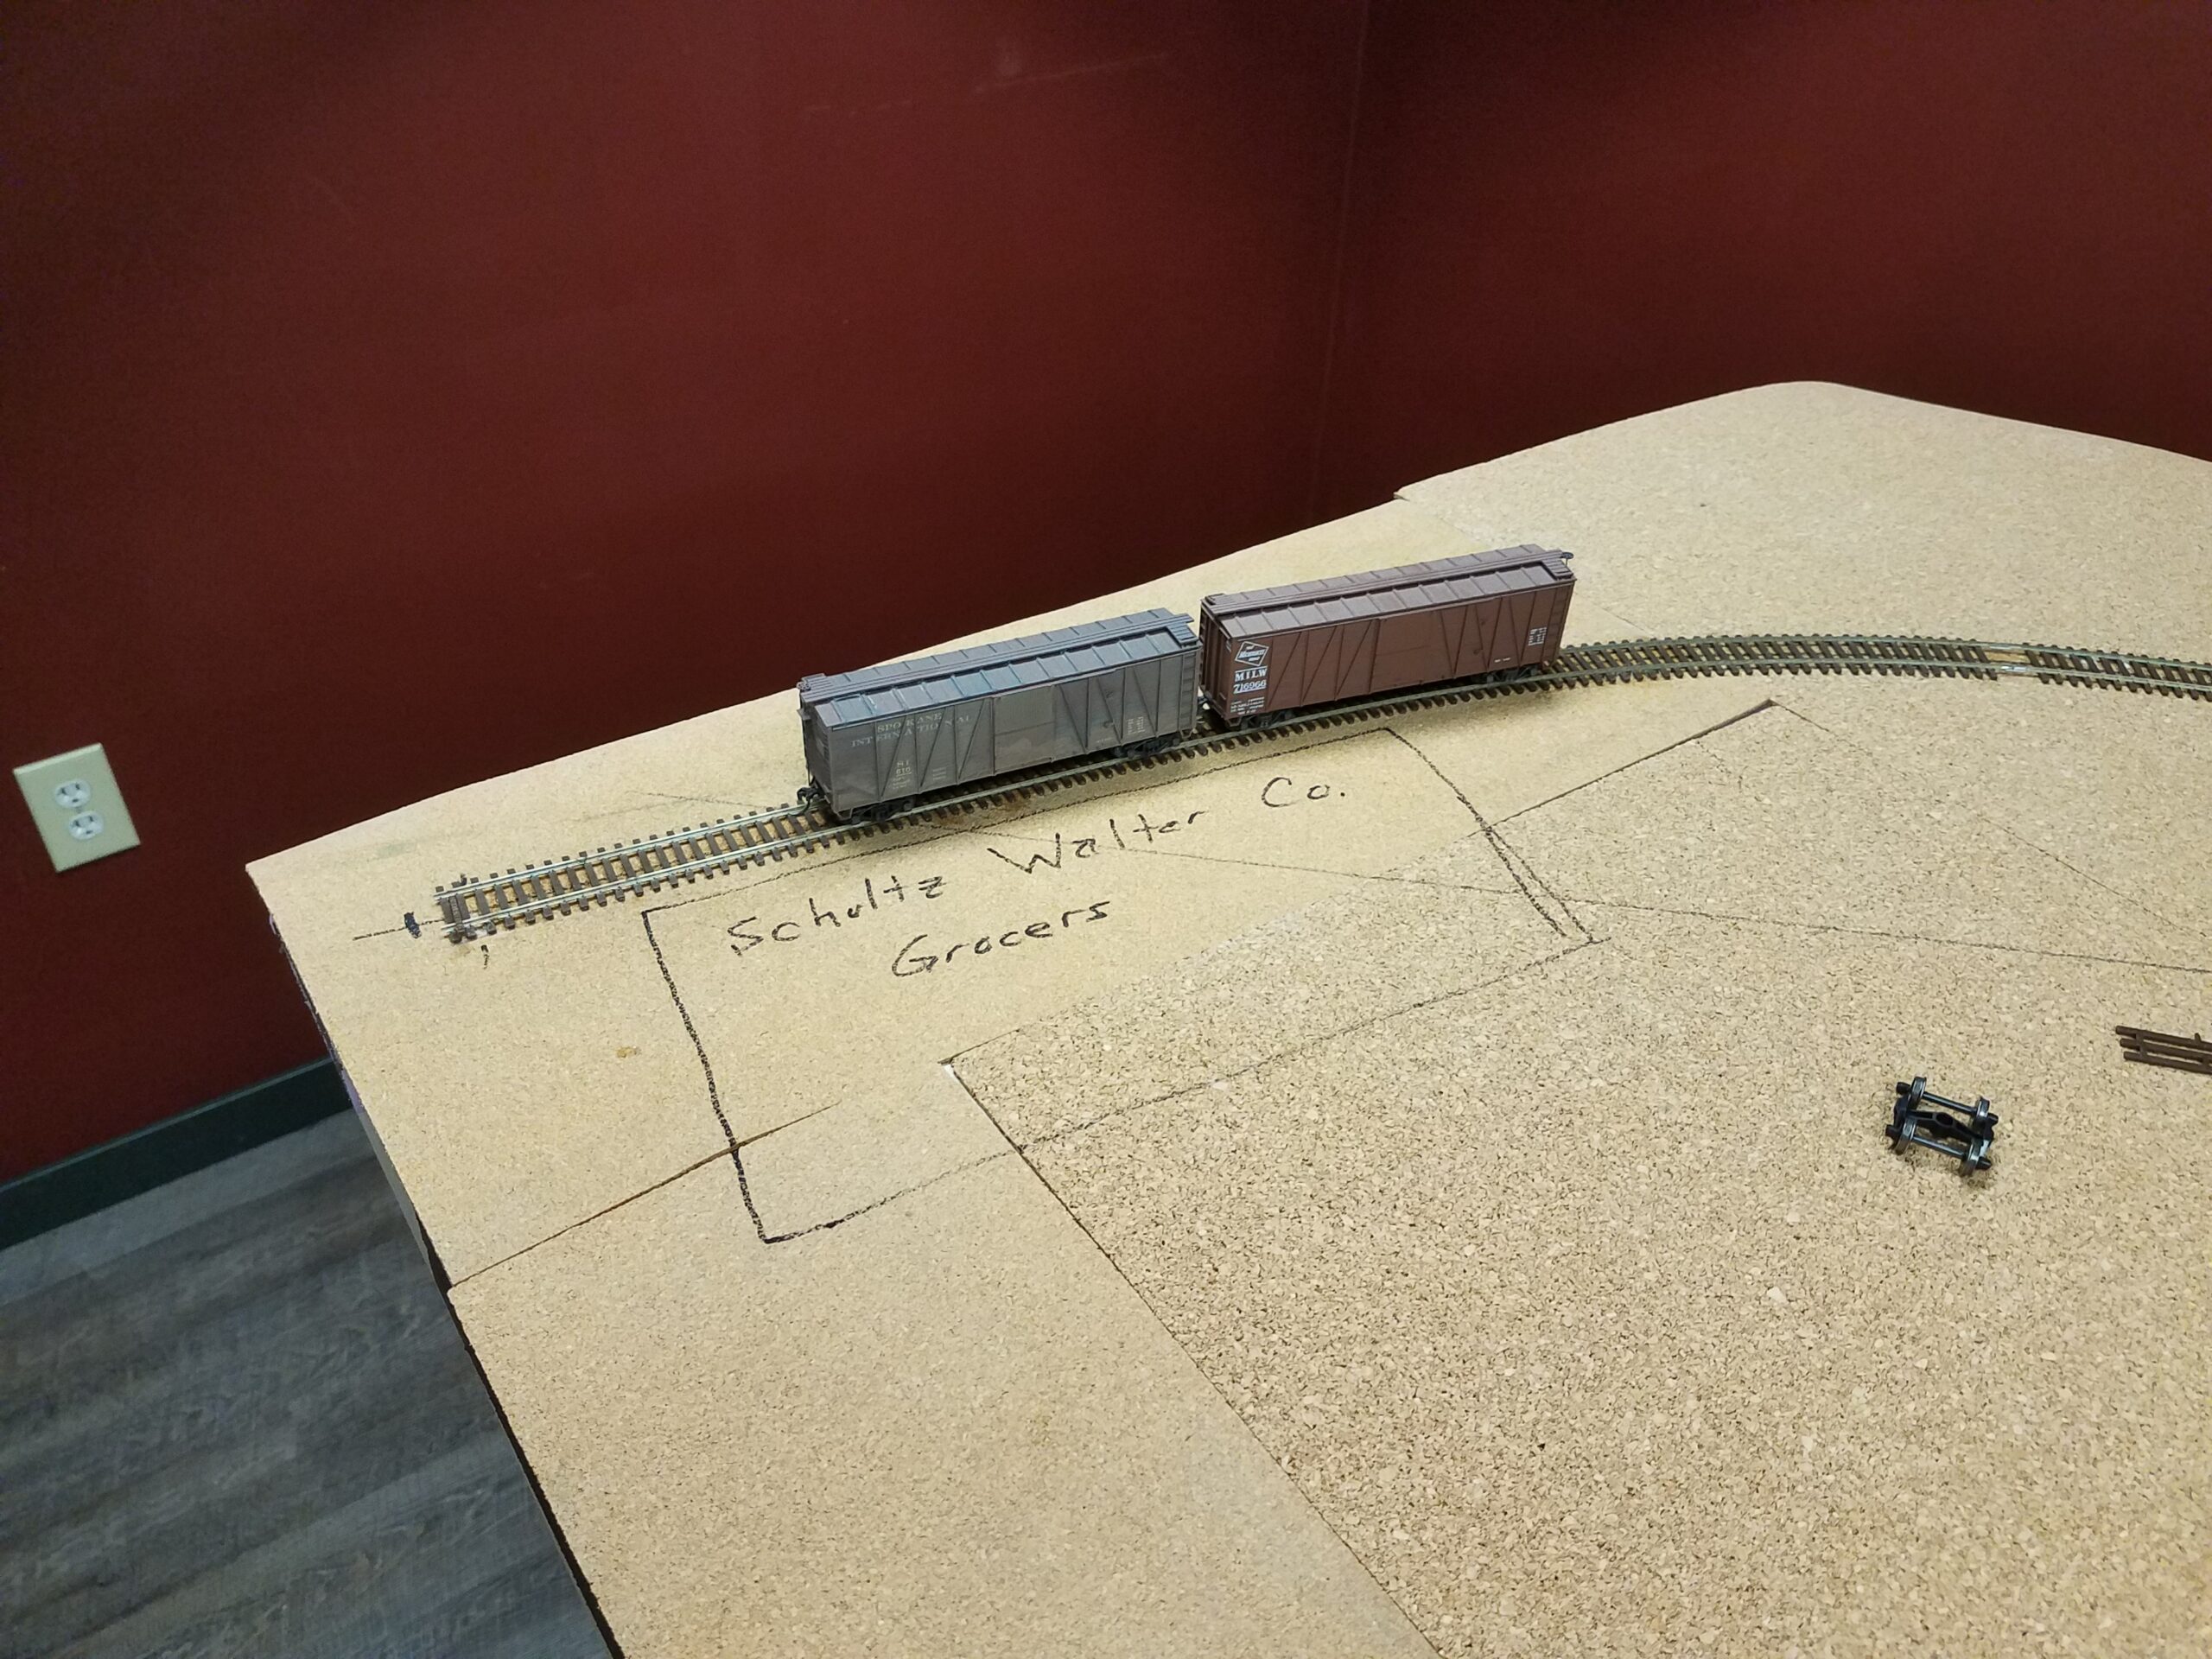
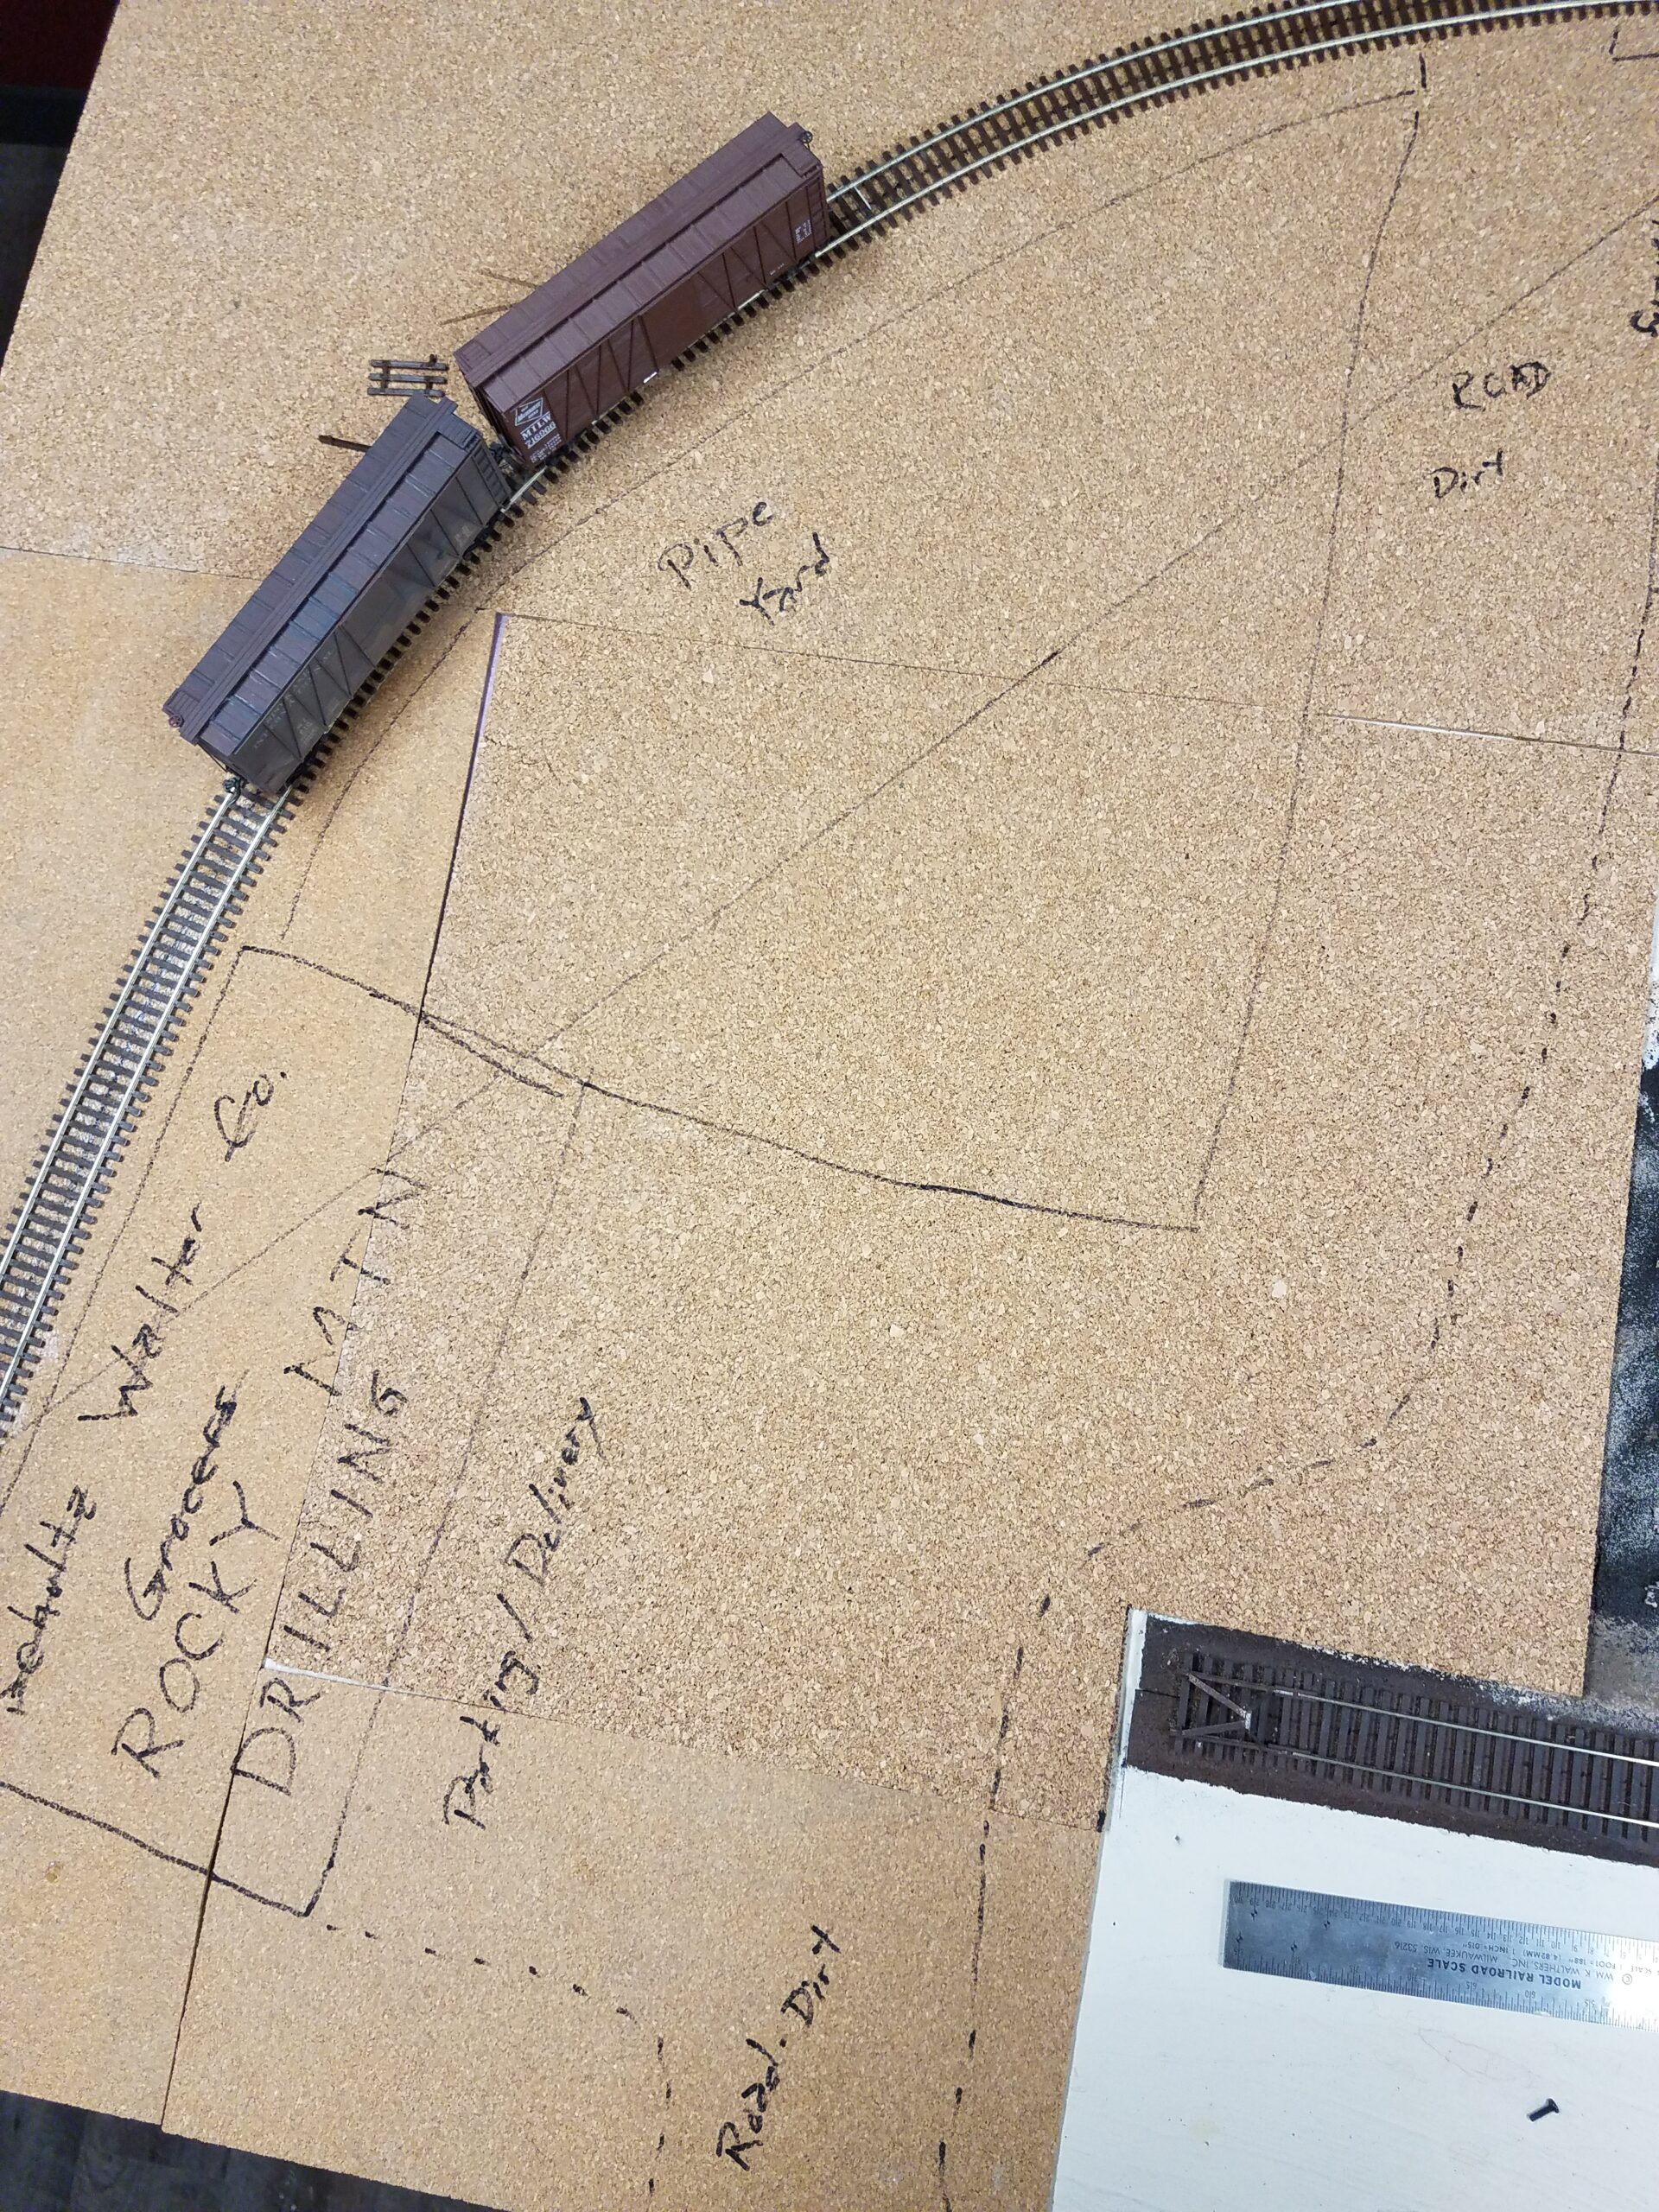
After I did this, I realized the big empty space between the Grocers and the ice house would make a perfect spot for outdoor pipe storage for Rocky Mountain Drilling Company, so I've relocated the Grocer to another spur and reassigned this to spot to the drilling company.
Work continues on the icing platform. Ten of the 12 platform subassemblies are completed. This is slow going.
But that's not all I've been doing (just mostly). I also removed trackage from behind Casper that won't be used on this layout.

This clears the way for the future Standard Oil Refinery loading racks behind the roundhouse.

I've also been refining the arrangement of industries at the east end of the yard, and adding roads and what-not to the plan.

Since the last website update (November 29th), I've been working on the CNW scenery, such as it is, and on the West end industries in Casper yard.
Here are the new industry tracks - Schwartz Walter Grocer's warehouse (the building is temporary) and Wyoming Concrete Producers. Beyond, you can just make out the track centerlines for the Standard Oil Refinery's tank car loading racks. I'll need to build three more turnouts to complete all track in Casper.

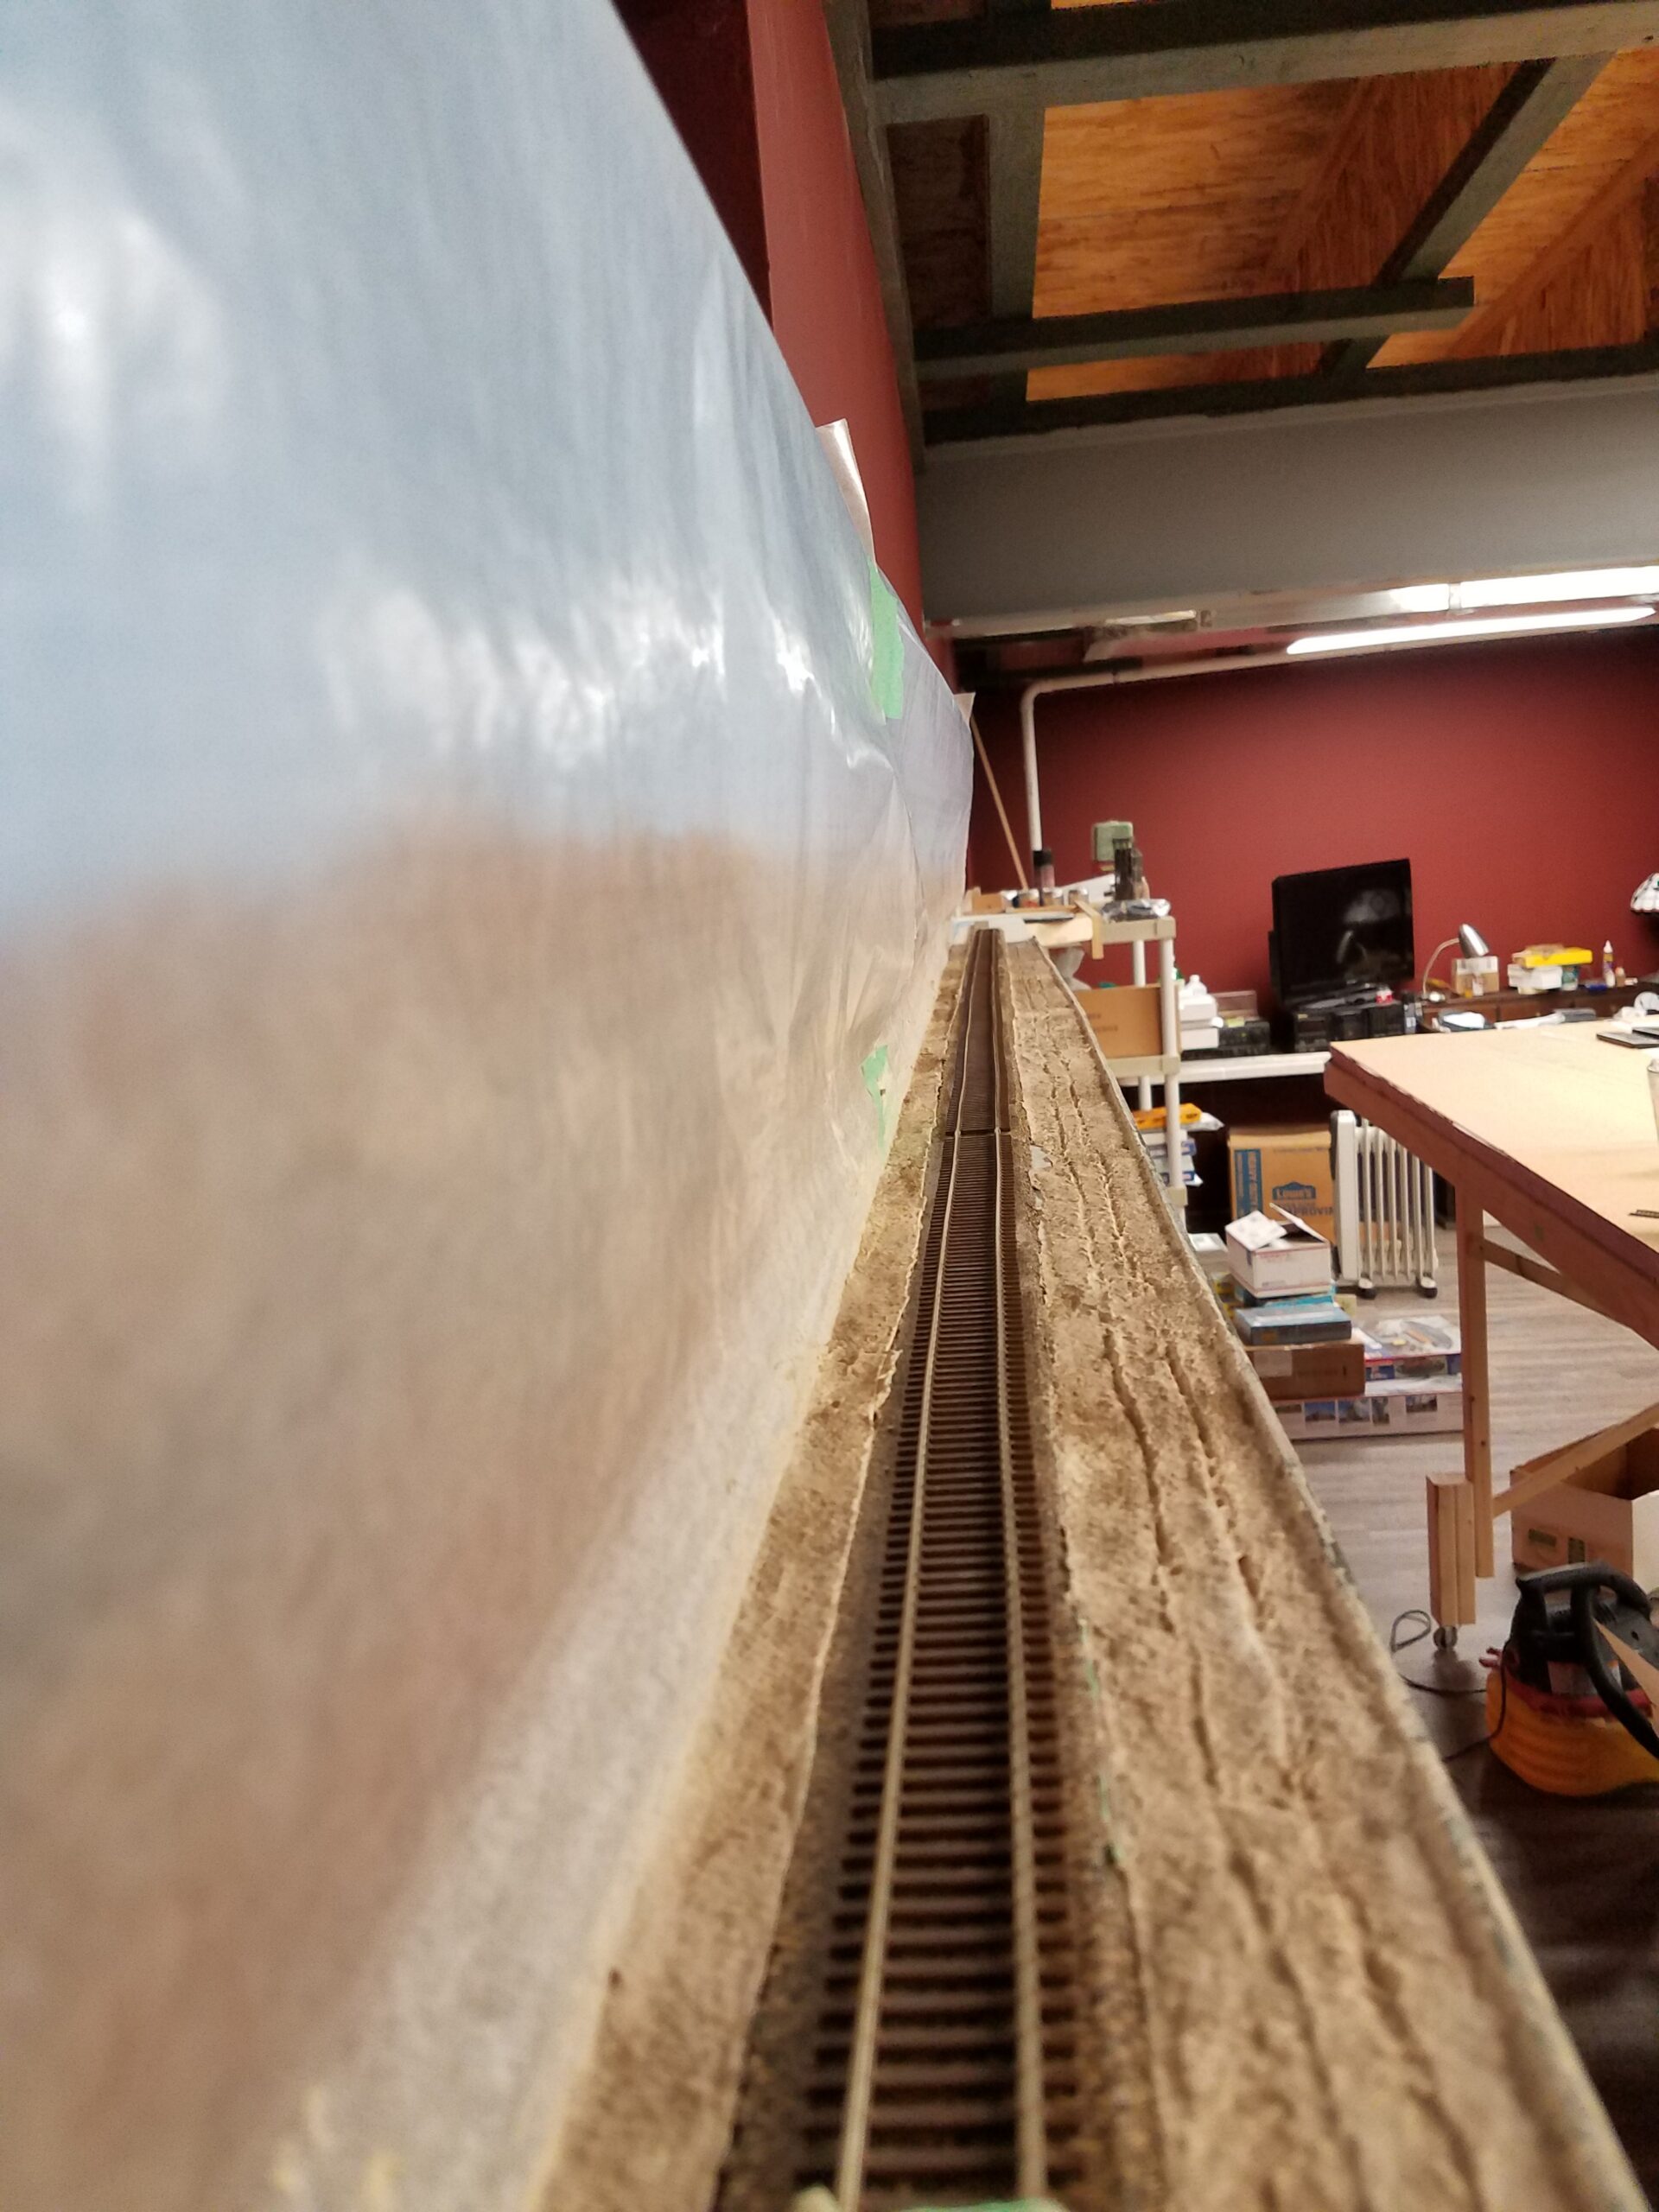
Here's the current state of the CNW scenery on the Lander branch. Dirt is in place on most of the Celluclay that's been laid down. The farthest "dirt" is still wet; that's why it's a bit darker than most of the rest. Next will be removal of the tape over the track for ballasting.

A few days ago I finished putting down the first layer of "dirt" on the CNW and removed the tape off the track in preparation for ballasting. I ordered ballast a few days ago. Now I'm just waiting on it to arrive and I'll begin ballasting the track.
I needed a total of three turnouts to finish Casper, so I started building those a couple days ago. With the first one finished, I installed the Wyoming Concrete Producers' spur today.

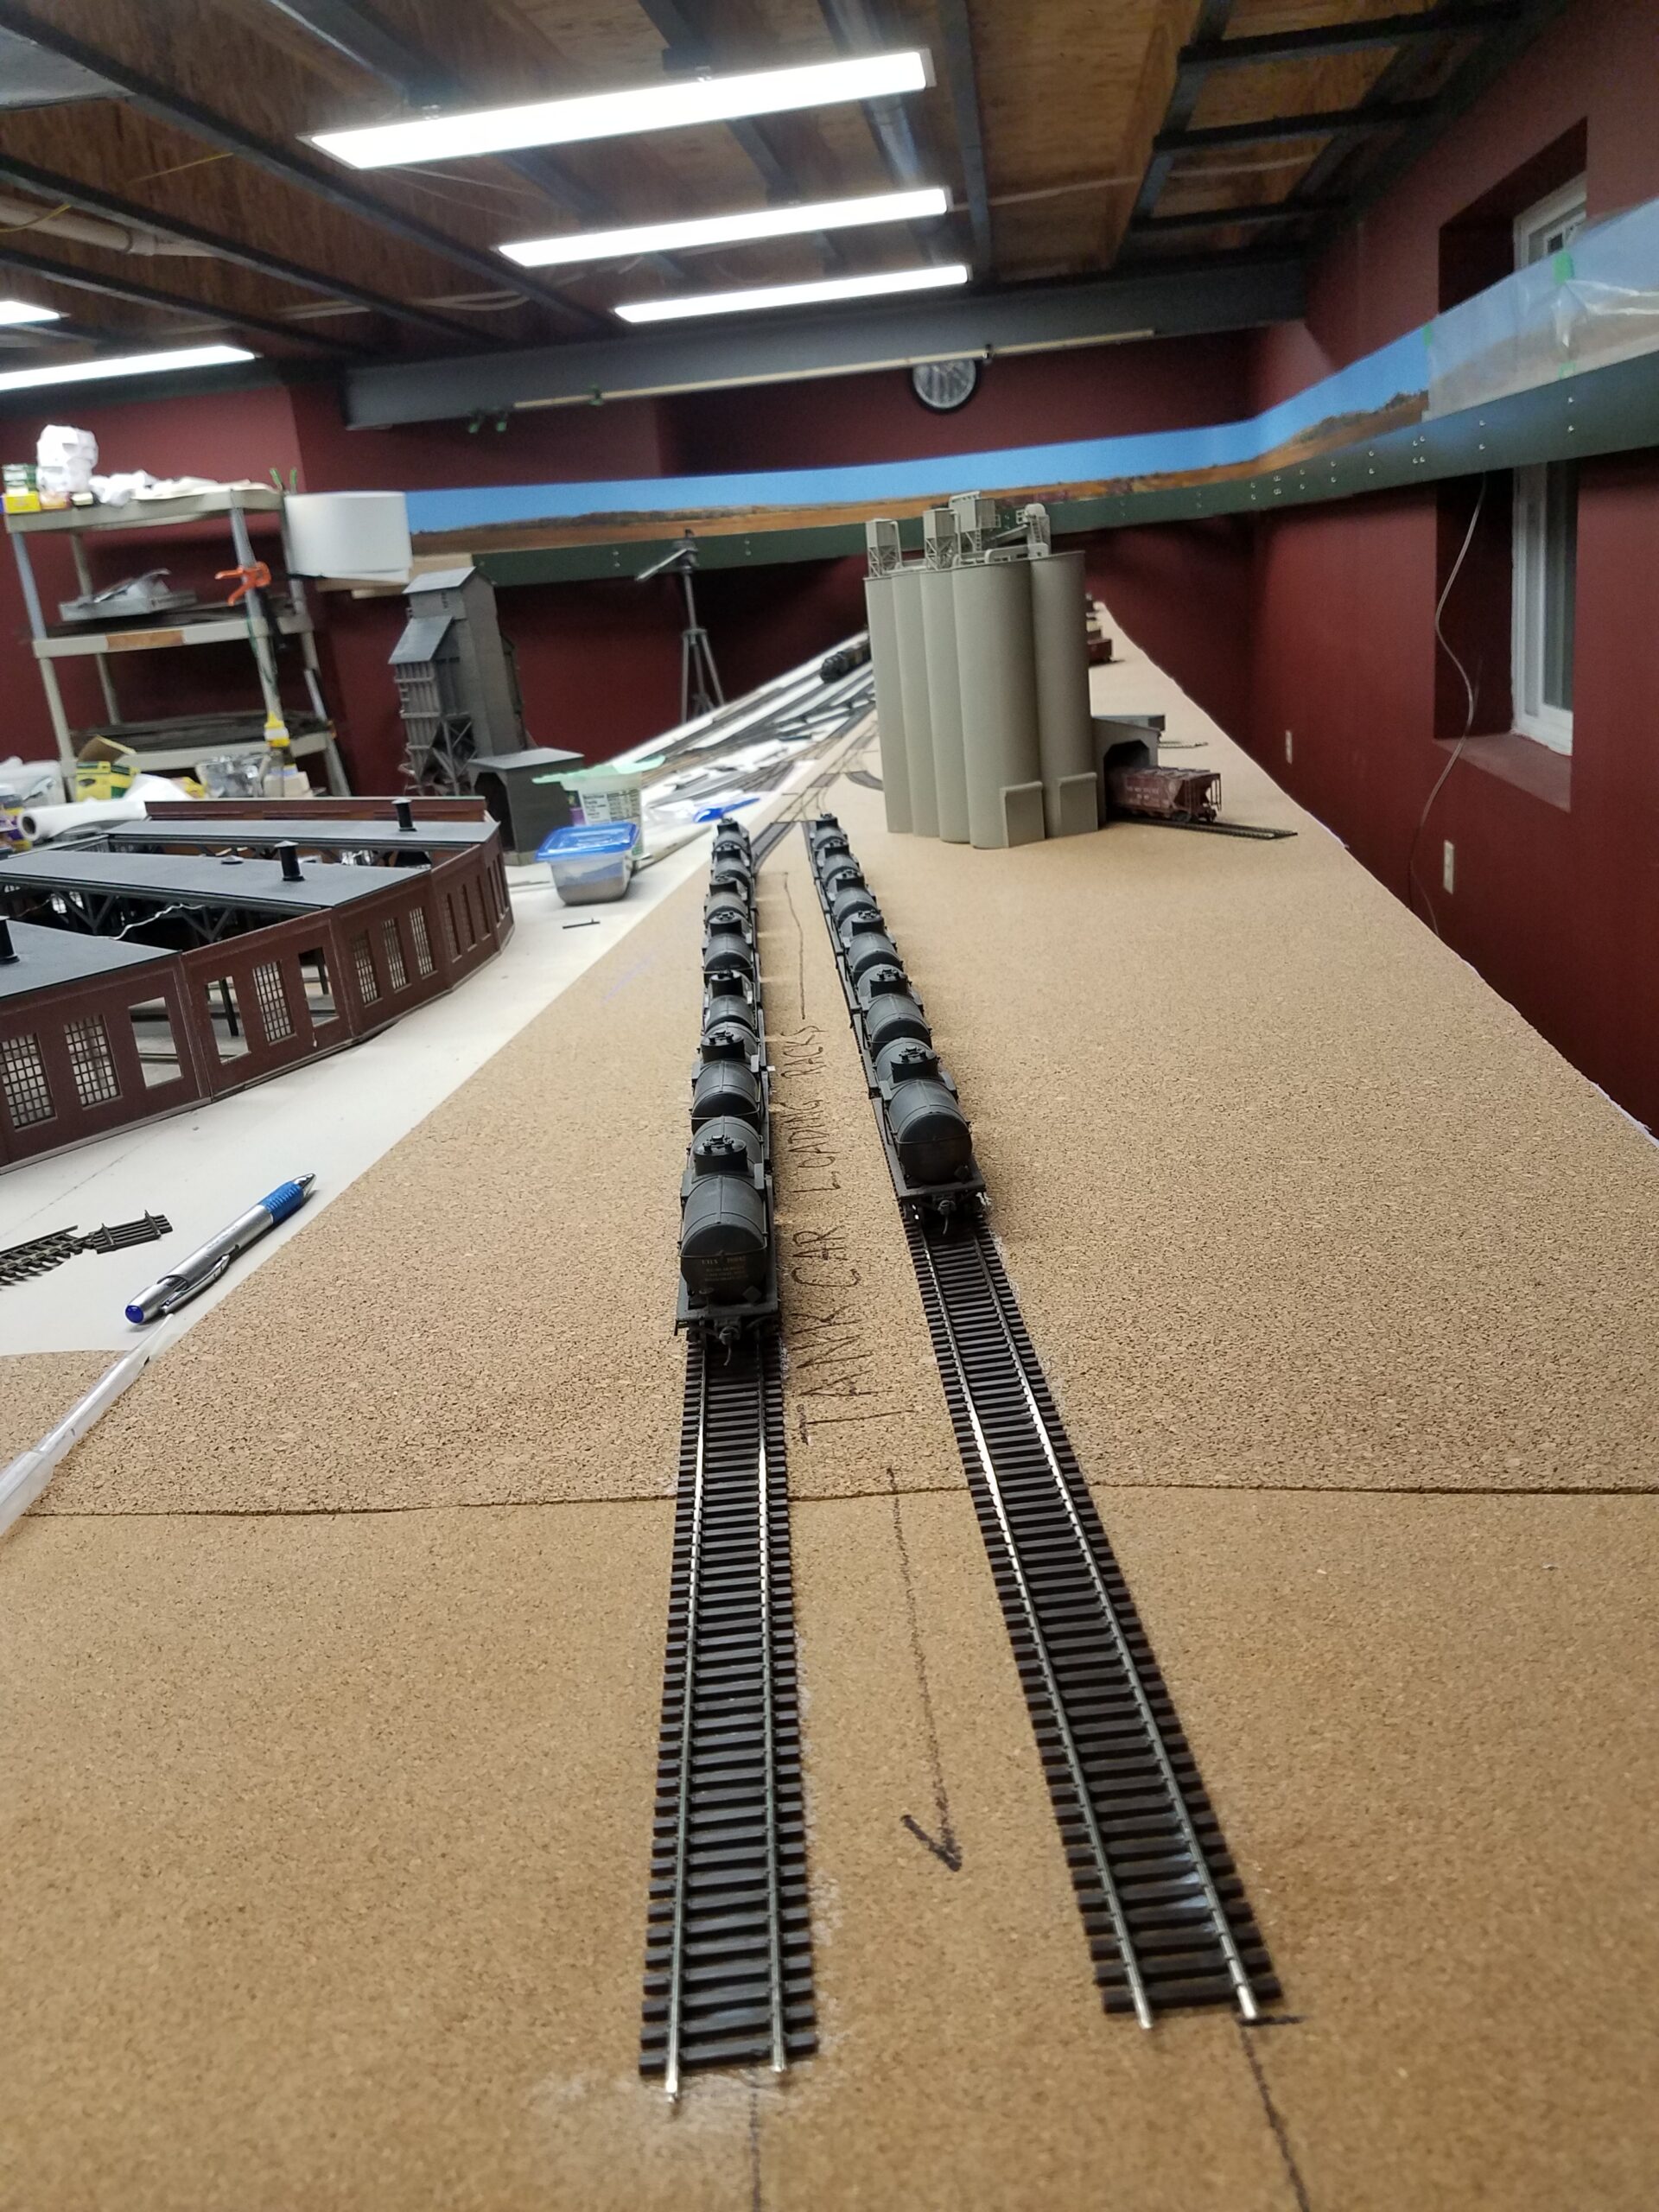
Late this afternoon the caulk was dry, so I sat the concrete silos in place and staged a few cars. This is a general overview of Casper yard minus the engine facilities, as it stands today.

I have 59 cars in Casper, not counting cabooses, and it's looking pretty sparse. I need to build more freight cars!
Yesterday I laid the tank car loading tracks for the Standard Oil Refinery in Casper.
Here's a current overall view of Casper yard.
I got the final turnout built for Casper a couple days ago, wired up the industrial sidings at the west end of Casper yesterday (including the tank car loading racks in the refinery), and then got a bug to do some maintenance on the roundhouse.
During the move to Casper and all the jostling from that and from all the handling while we were finishing the train room, quite a few windows were jarred loose. I reinstalled most of those, and began tackling the light leaks between the roof and the walls.
Fixing the leaks is pretty straightforward so far, involving gluing on some scale 6X12 styrene strips (just because I had that size; any .060 or thicker styrene would work) between the assembly ribs on the roof casting at the rear and front of the roof. You can see them on the right panel in the photo below. After installation I paint them black, as you see on the left panel. The paint isn't particularly neat. I just has to hide the bright white color of the styrene.

Here's a view of the back of the roundhouse with several of the modified panels installed on the left-hand side. The already permanently attached roof sections are going to be a lot more difficult to do, since I'll have to work inside the roundhouse to install those styrene strips.
 I don't have any shots of the back from before for comparison, so you'll just have to take my word that it's a lot better with those strips installed. As a bonus, the strips also the roof securely in place. Without them, the roof sections slowly slide toward the back of the roundhouse.
I continued to work on the roundhouse until I ran out of styrene strips. I'm going to have to order some more to continue. I got all the main roof sections complete except for the one on the far left end. Some light leaks are eliminated, but not all.
I also did some of the smaller front-end roof sections - about a third of them, starting from the right.
Here's the current situation.
 Obviously there's still work to do. Some of the "leaks" are actually light through the clerestory windows reflecting off the underside of the roof overhangs (those are the ones to right and center of the structure). Those will be eliminated by painting the underside of the overhangs flat black.
Here's a comparison shot from early last year in New Jersey. It appears that I'm making some progress in blocking light from escaping around the edges of the panels.
Merry Christmas, everyone!
Last night my roundhouse suffered a RUD (Rapid Unexpected Disassembly). Here's how it looked this morning.
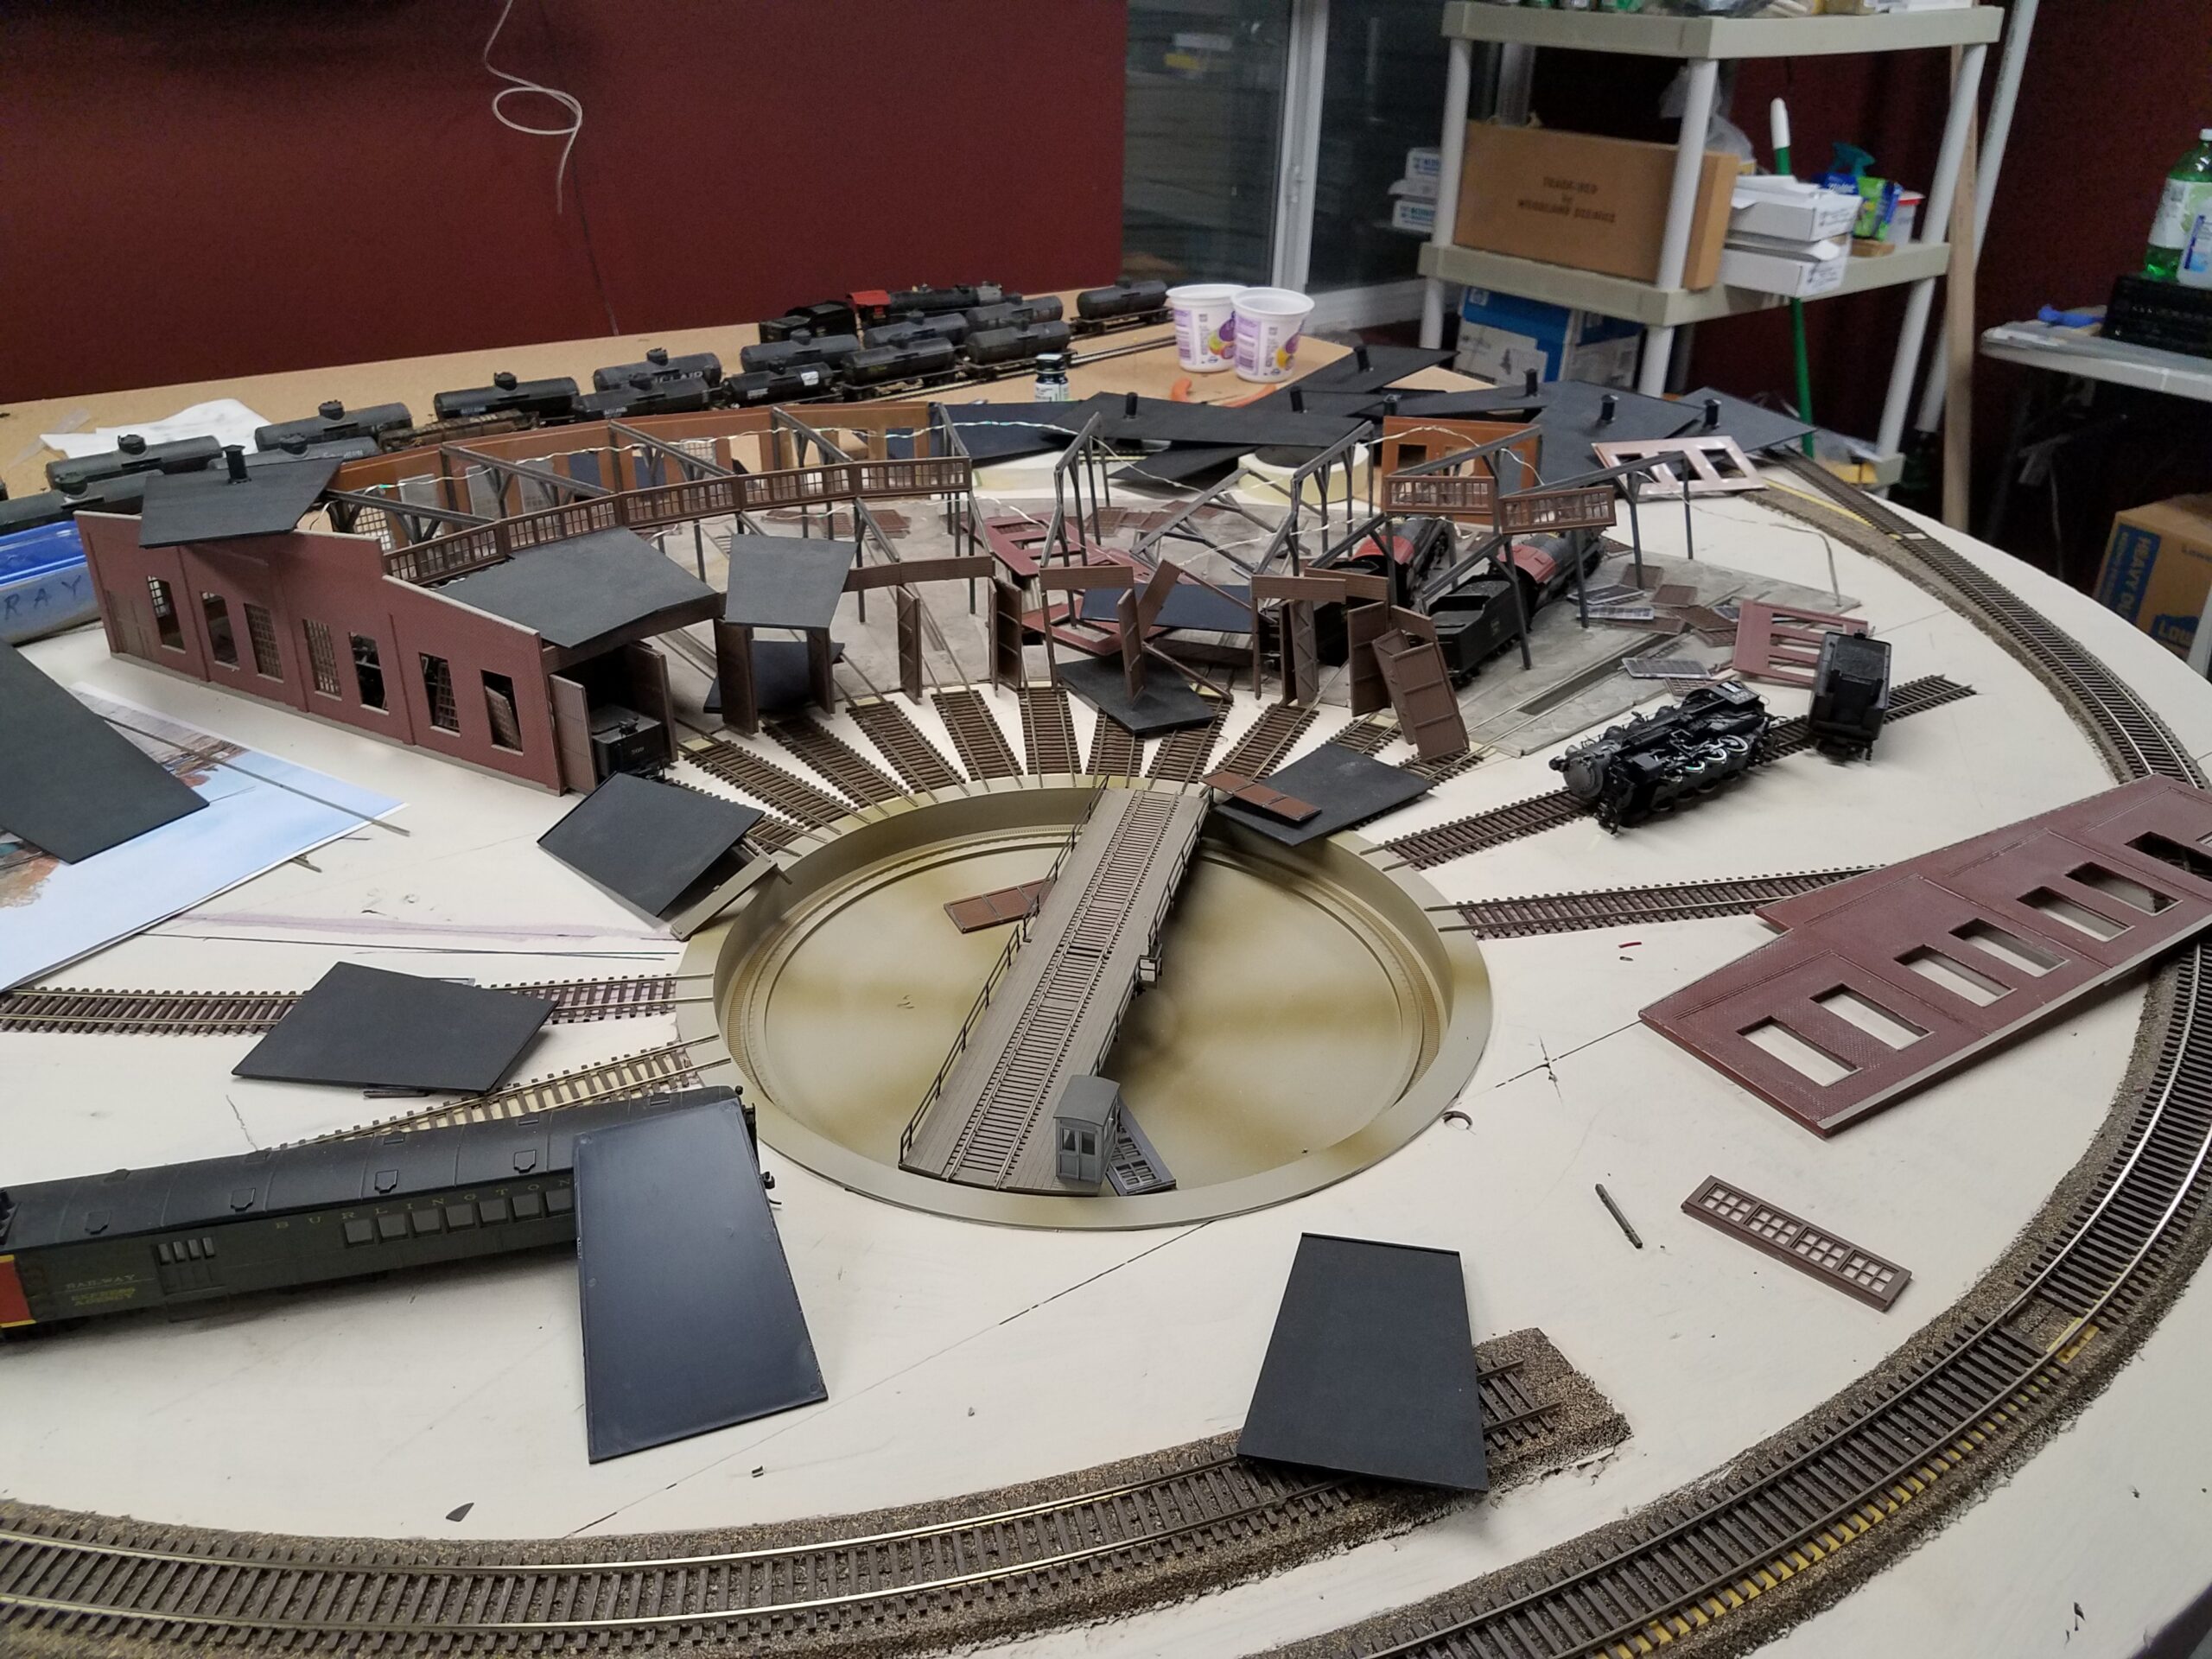

So early this morning I started the process of cleaning up and re-assembling the whole thing. First the clean-up:

Here I've just straightened the loose support posts a bit to see what shape they and the LEDs are in.
 They all seem okay, so now comes reinstalling all the windows in the wall sections again.
I started by cleaning up some of the back wall sections and laid a couple out for the windows.
Then I laid out the windows themselves in preparation for reinstallation. Note the crazed paint on the windows around the mounting flange on both the window and the wall section. This is what the Bondene does. It does NOT penetrate the paint and bond the plastic surfaces.
I sanded the mounting edges of the windows before reinstalling them. I let the glue (Tamiya cement this time, as I'm pretty much out of the Bondene anyway) cure, and tried to pop the windows back out. They are firmly adhered in place this time. It will take hours to reassemble the entire roundhouse, but I'll do that over the next few months as I work on other parts of Casper and the CNW line between Riverton and Hudson.
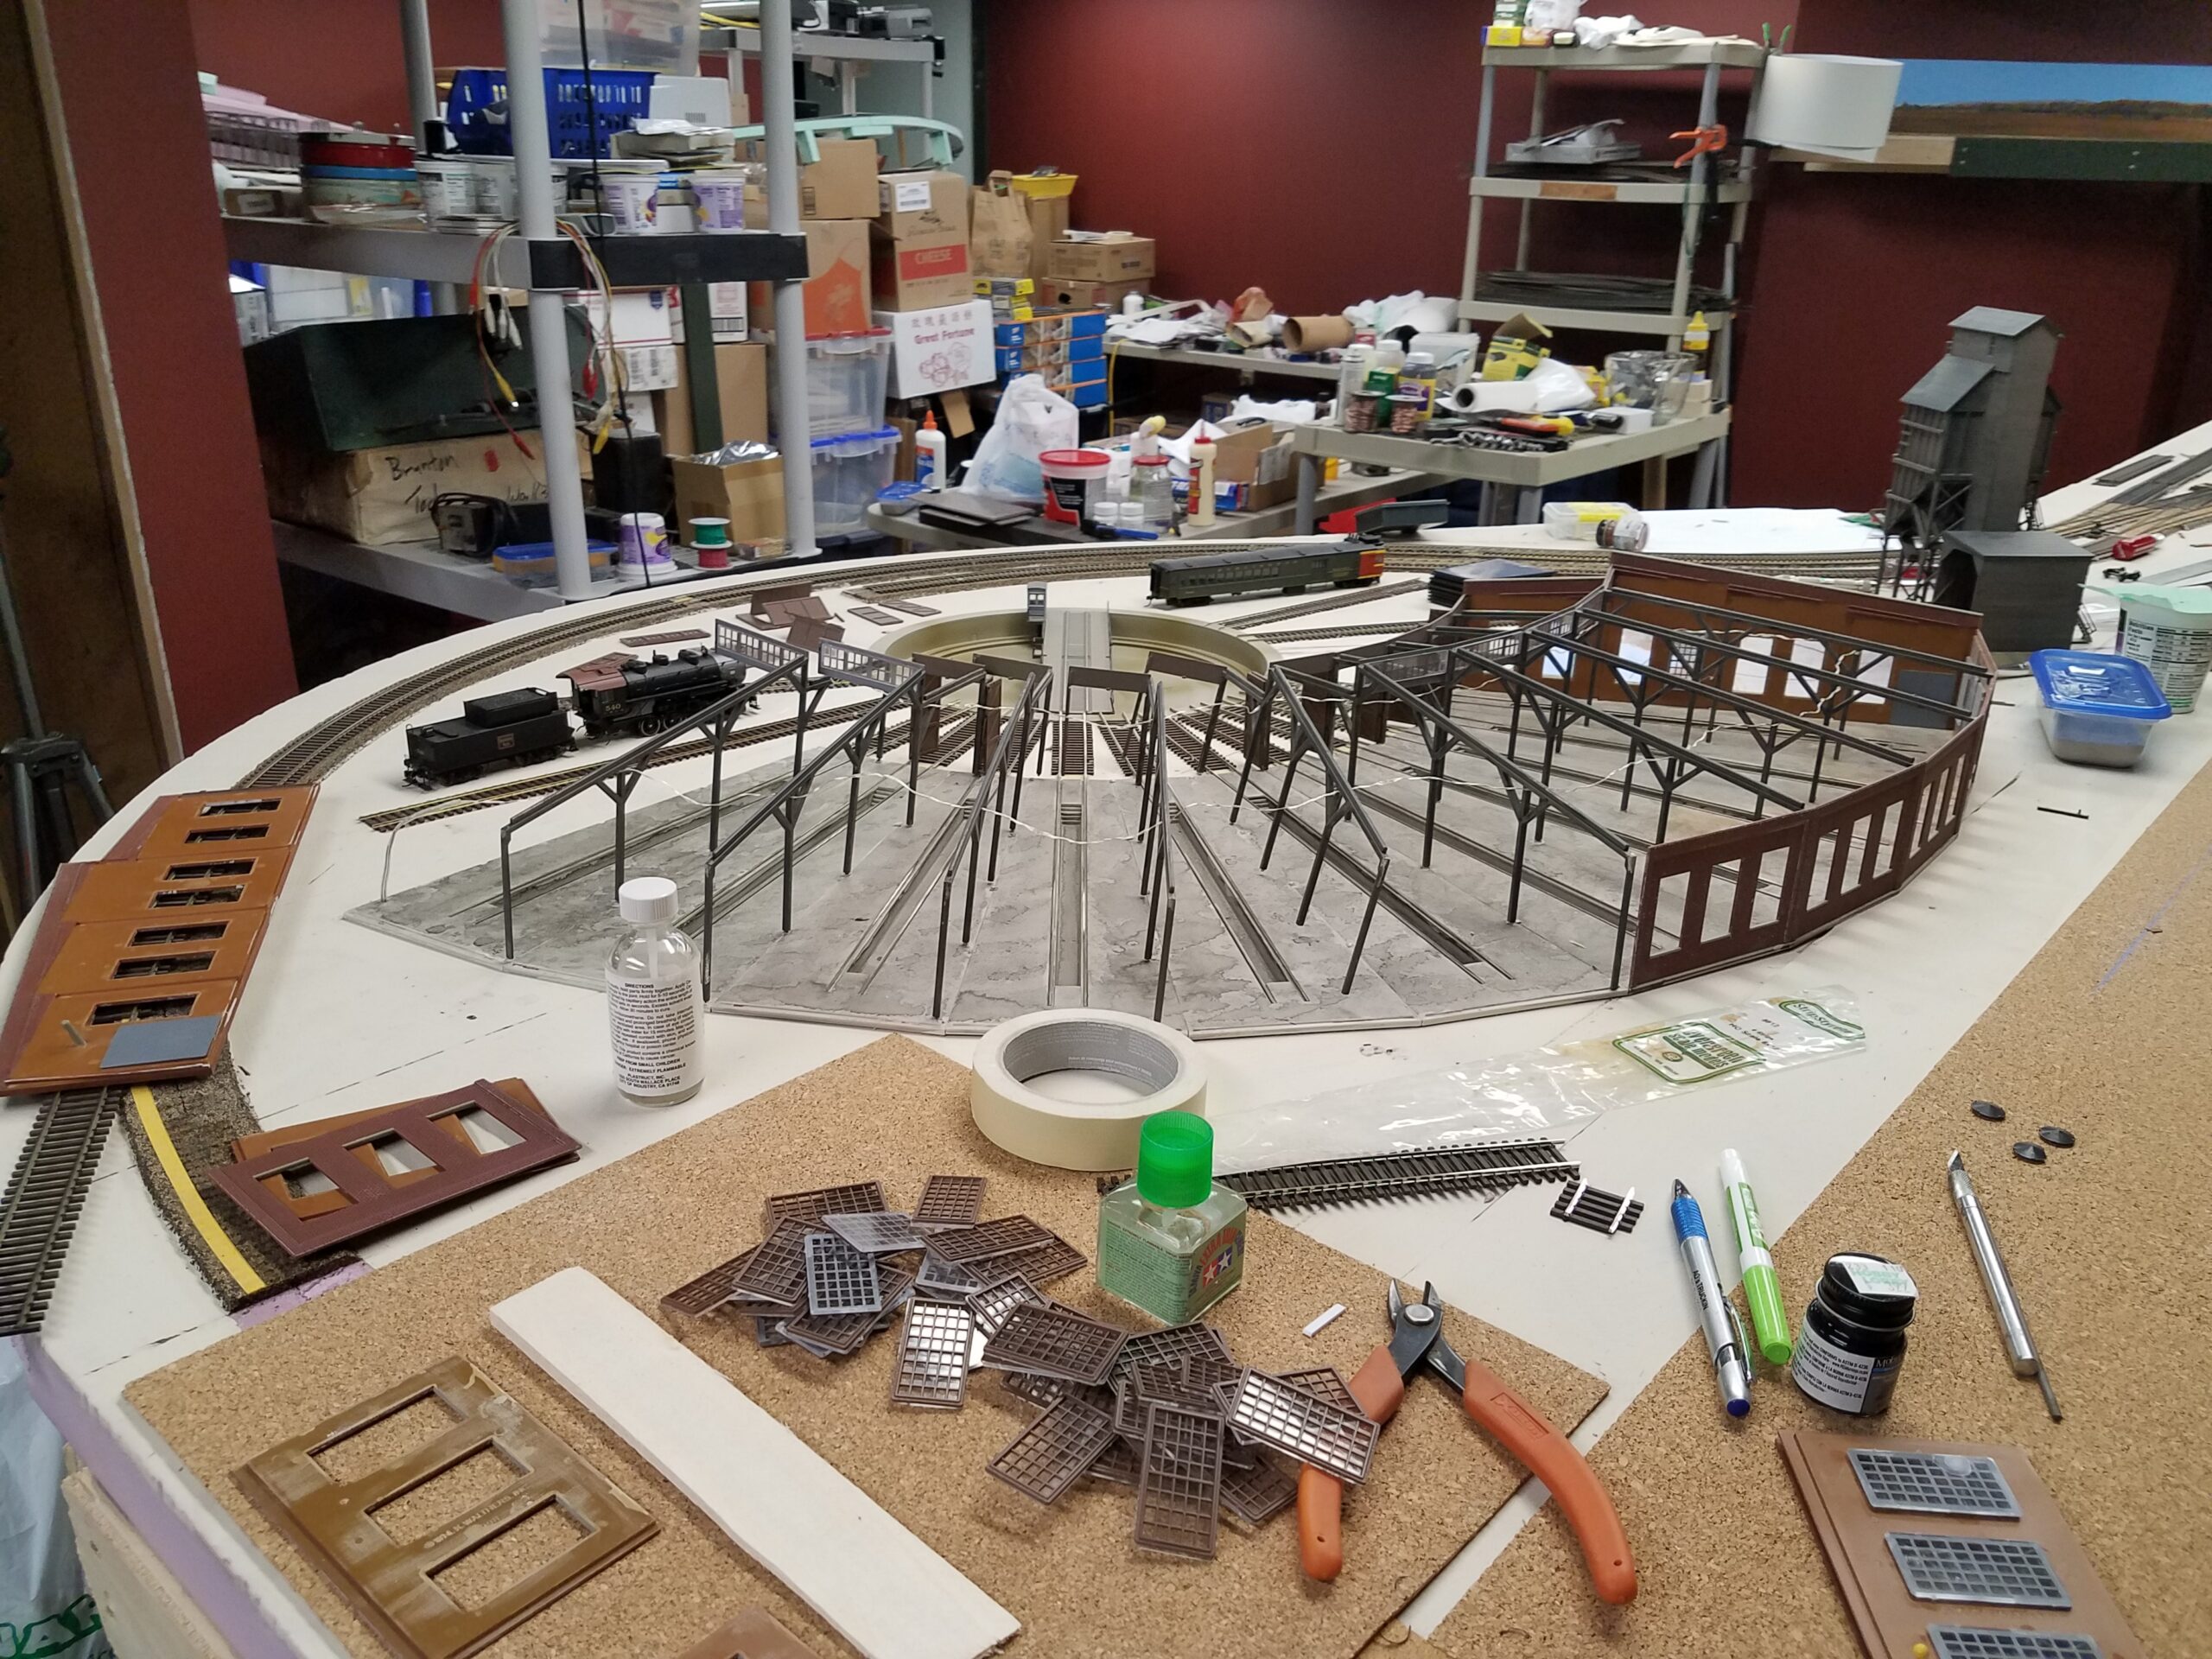
Rebuild of the roundhouse is underway. It's going somewhat easier than I expected. Current state: