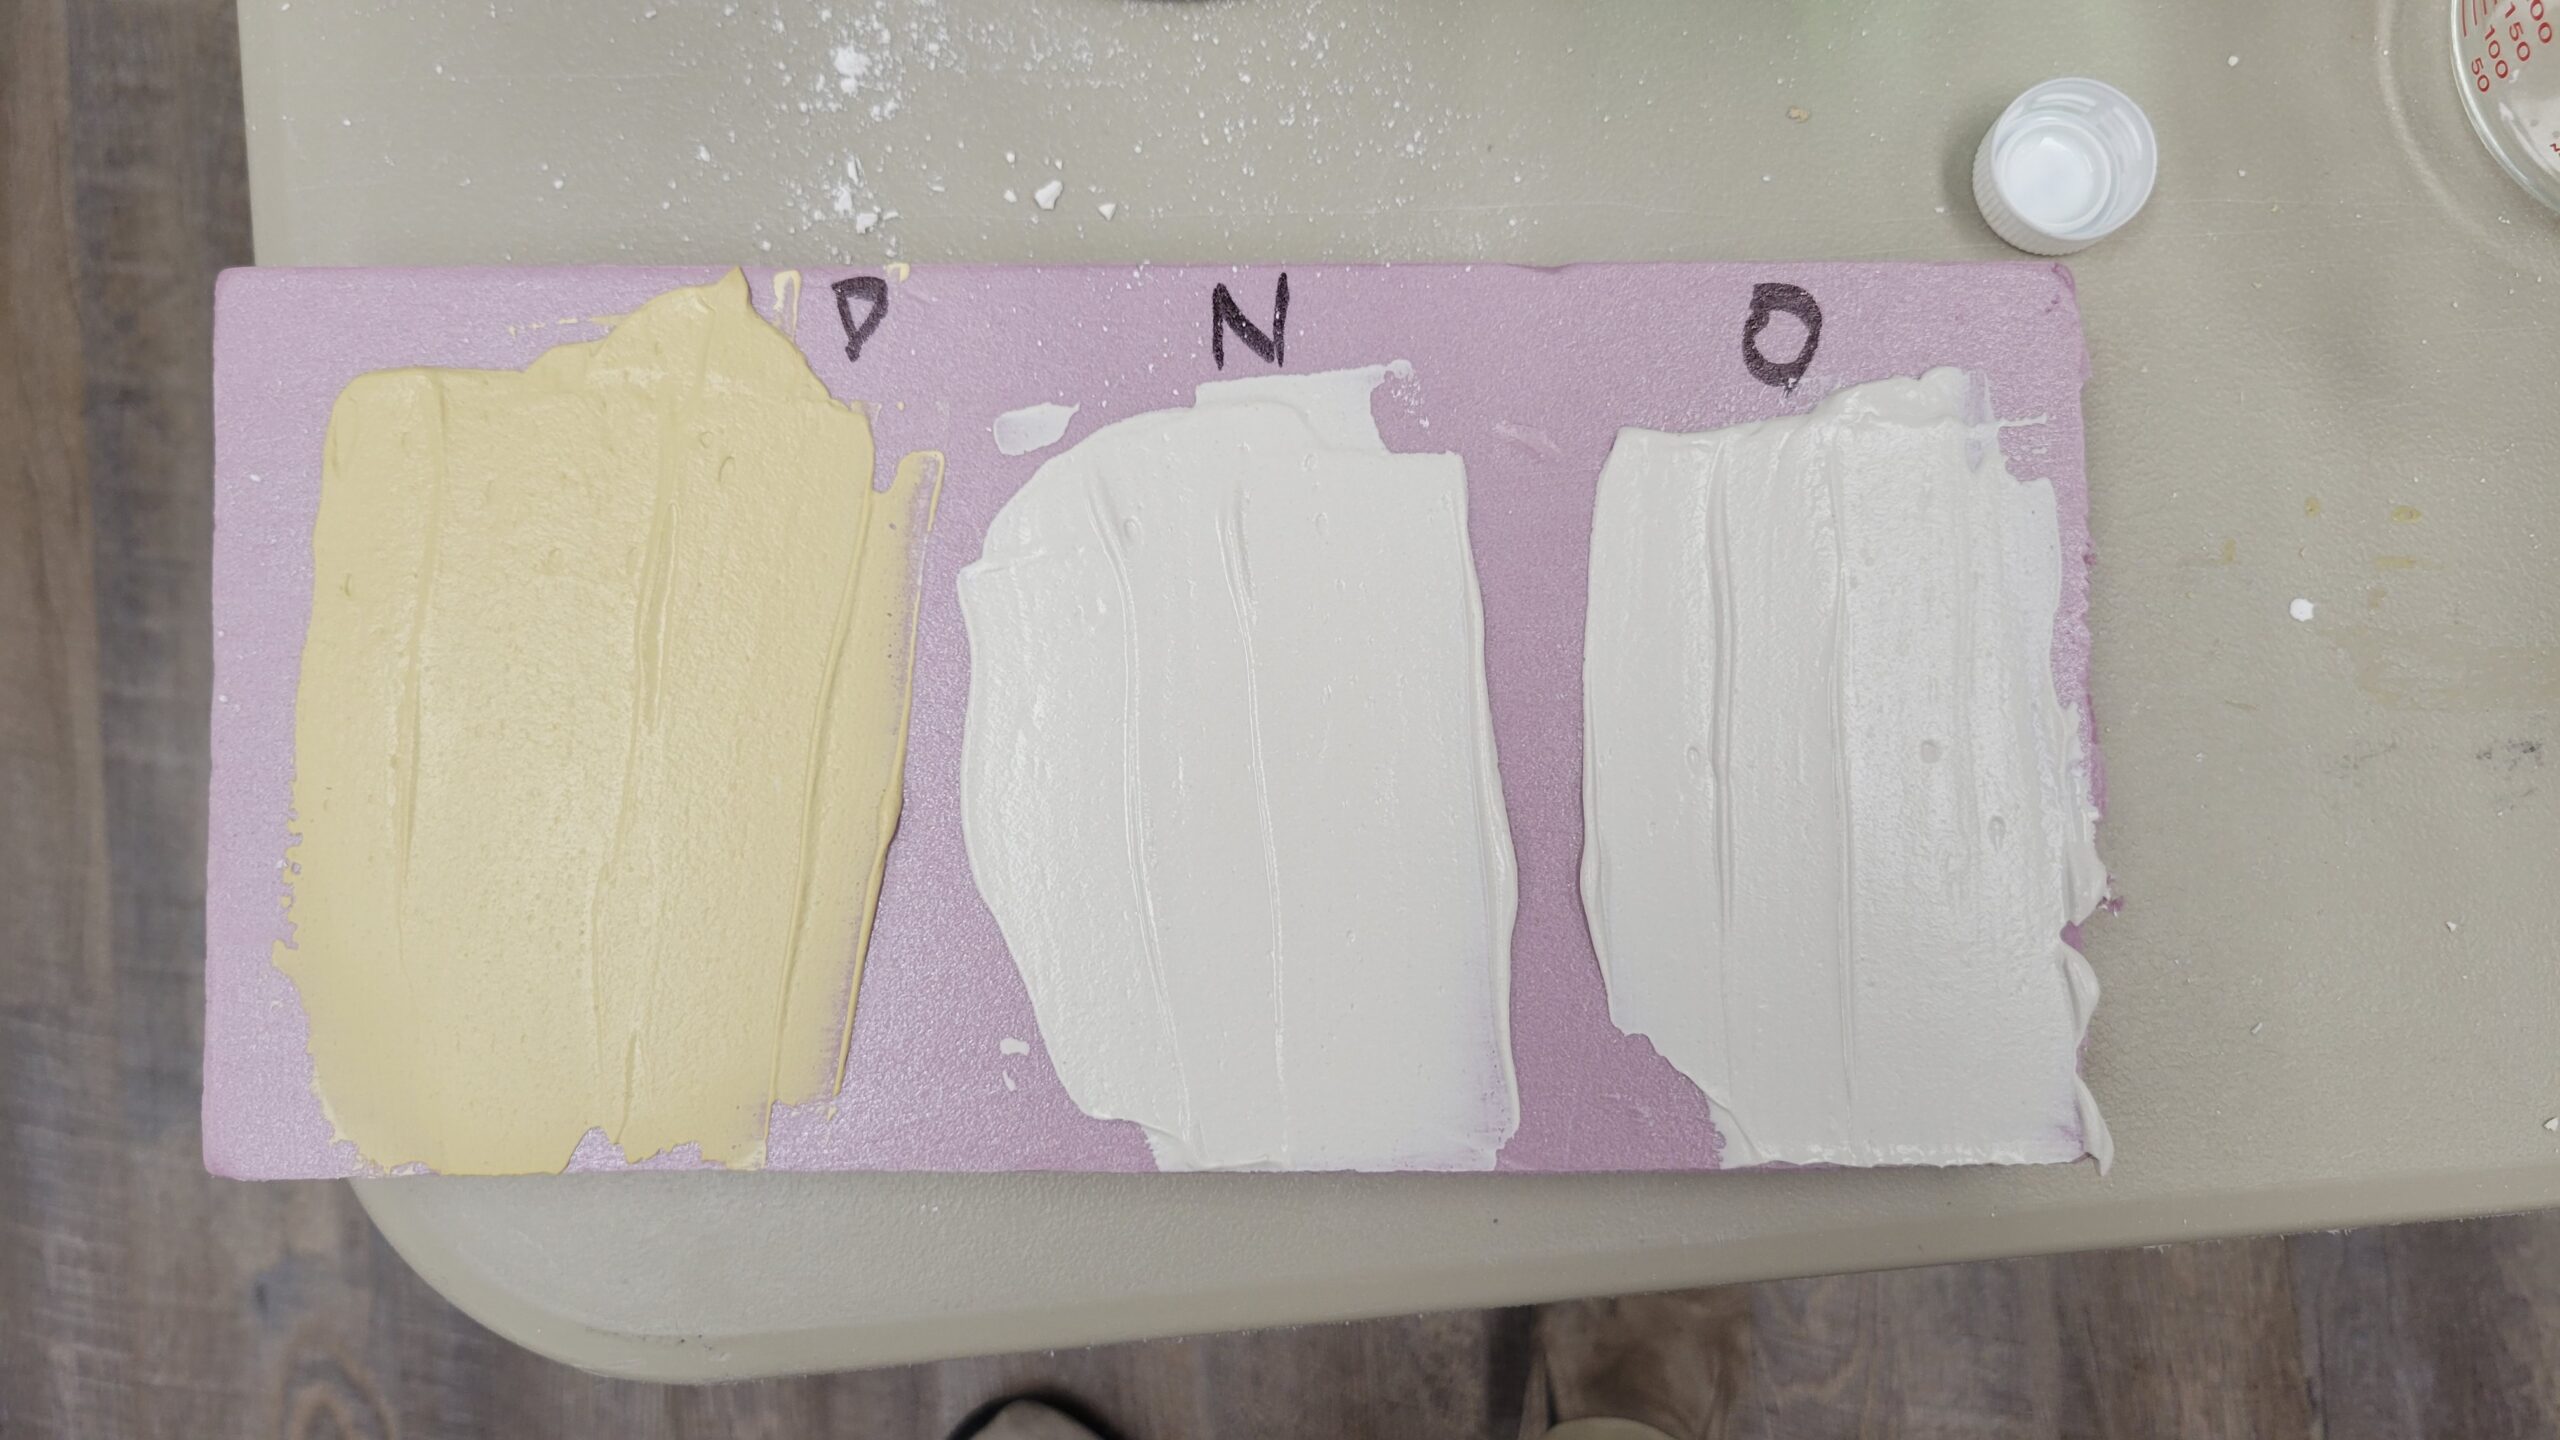
Around mid-day on March 31st I made a new test panel for Durham's Rock Hard Water Putty, a new container of plaster of paris, and the old container of plaster of paris.
This time I applied a roughly 1/8" layer of each directly onto bare pink styrofoam sheet. I'll let it dry for a day or so and see where that takes us.
The frustration continues.
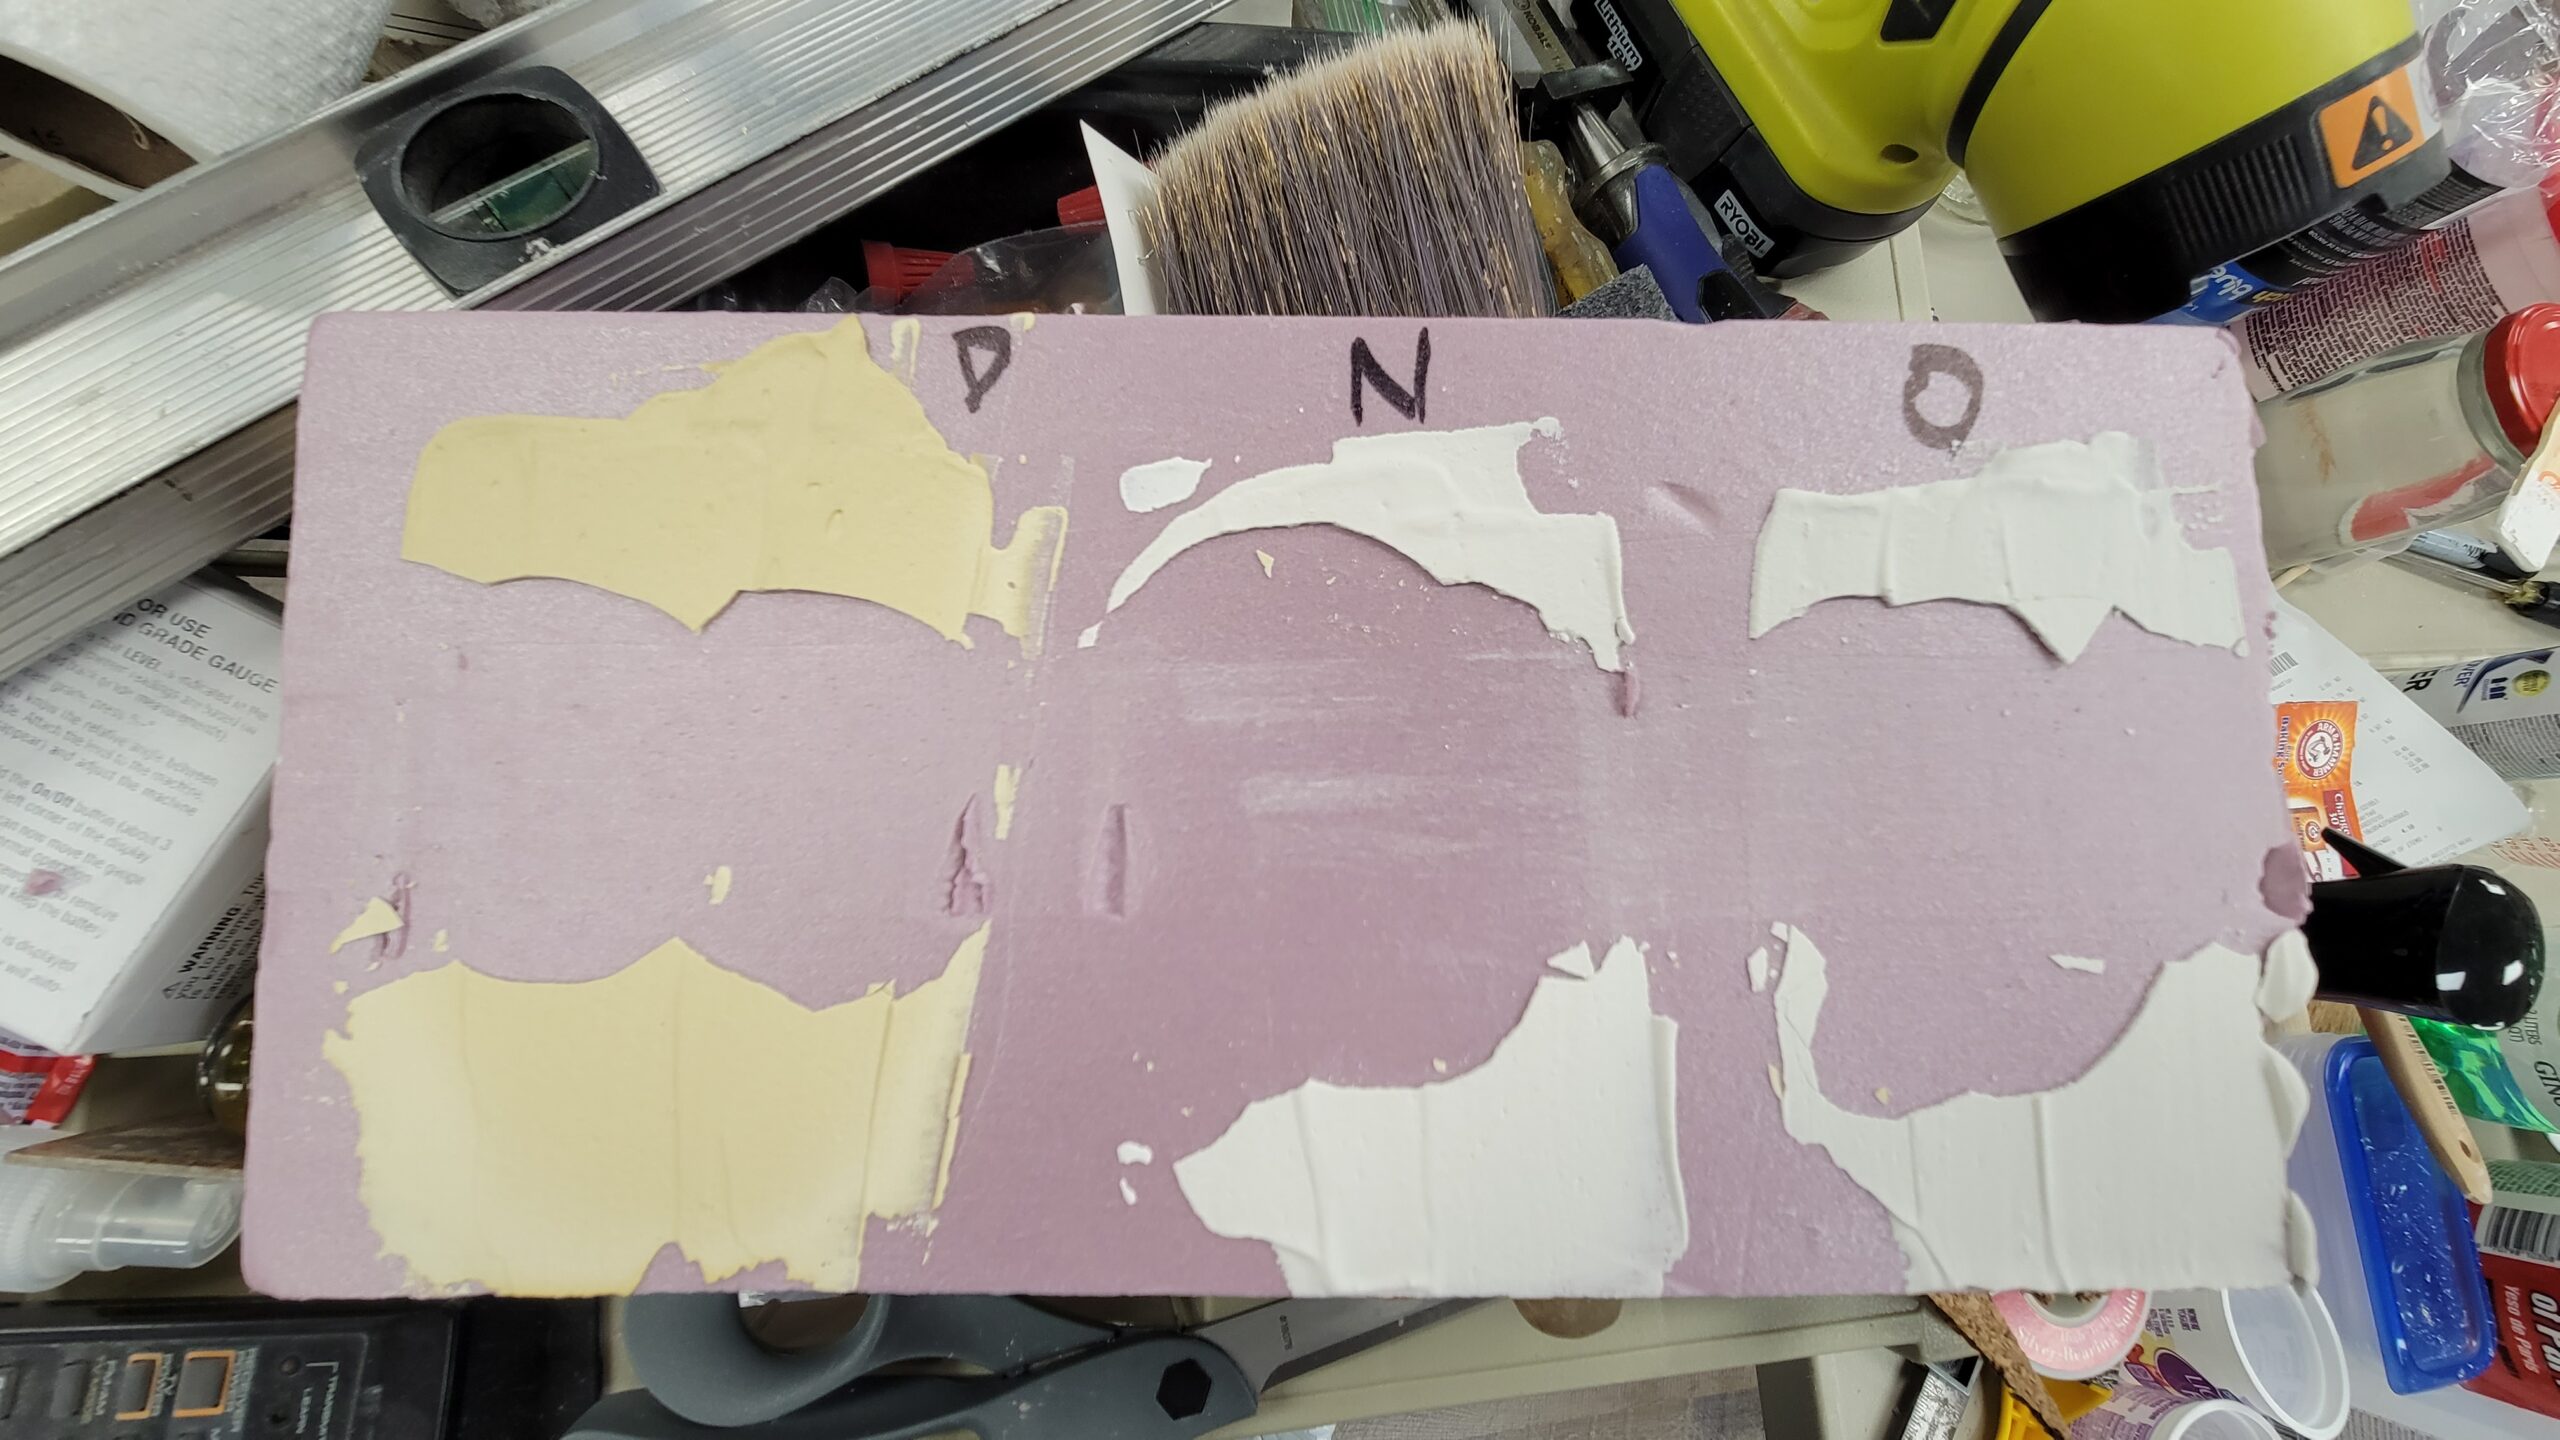
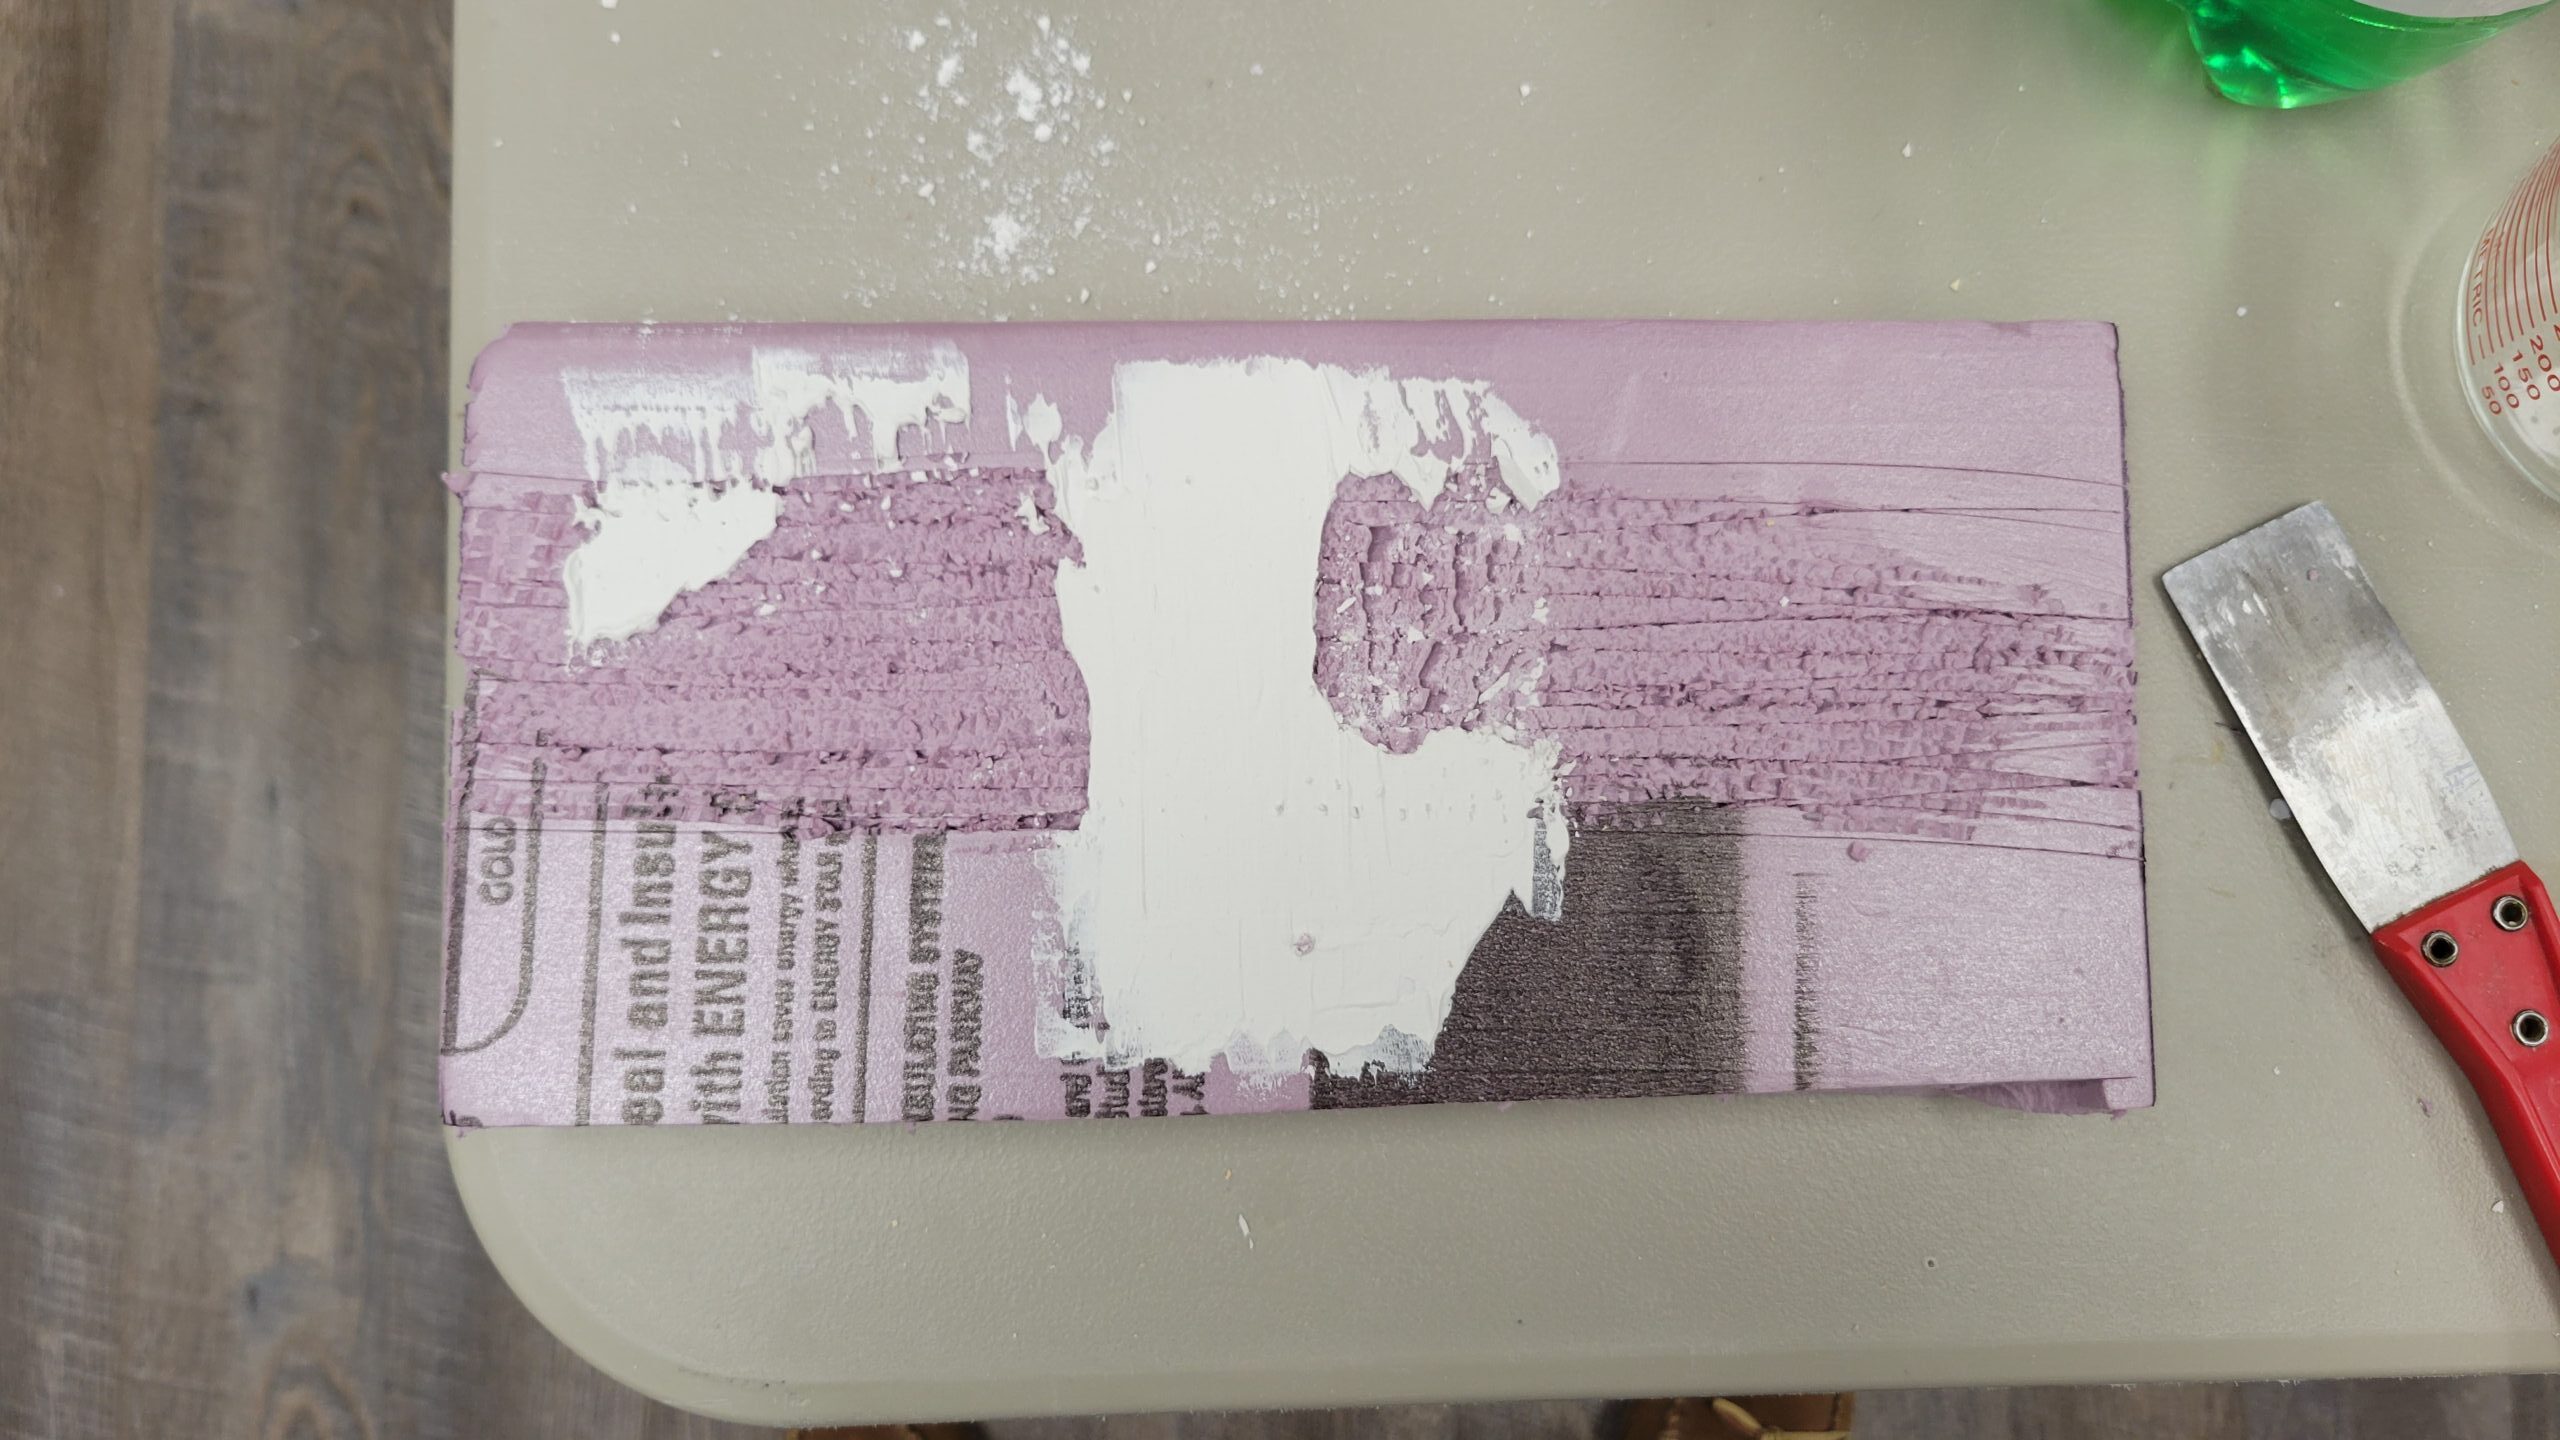
My test panel with the Durham's and the old and new plaster of paris showed that none of them stick to the pink styrofoam surface worth a damn. As you can see, I was able to break them off easily, with little damage to the styrofoam surface. All I did was run a putty knife along the face of the styrofoam. It went right under the plaster sample and cracked them off.
I also could detect no difference between the old and new plaster of paris batches, so I don't think the old batch was faulty in some way.
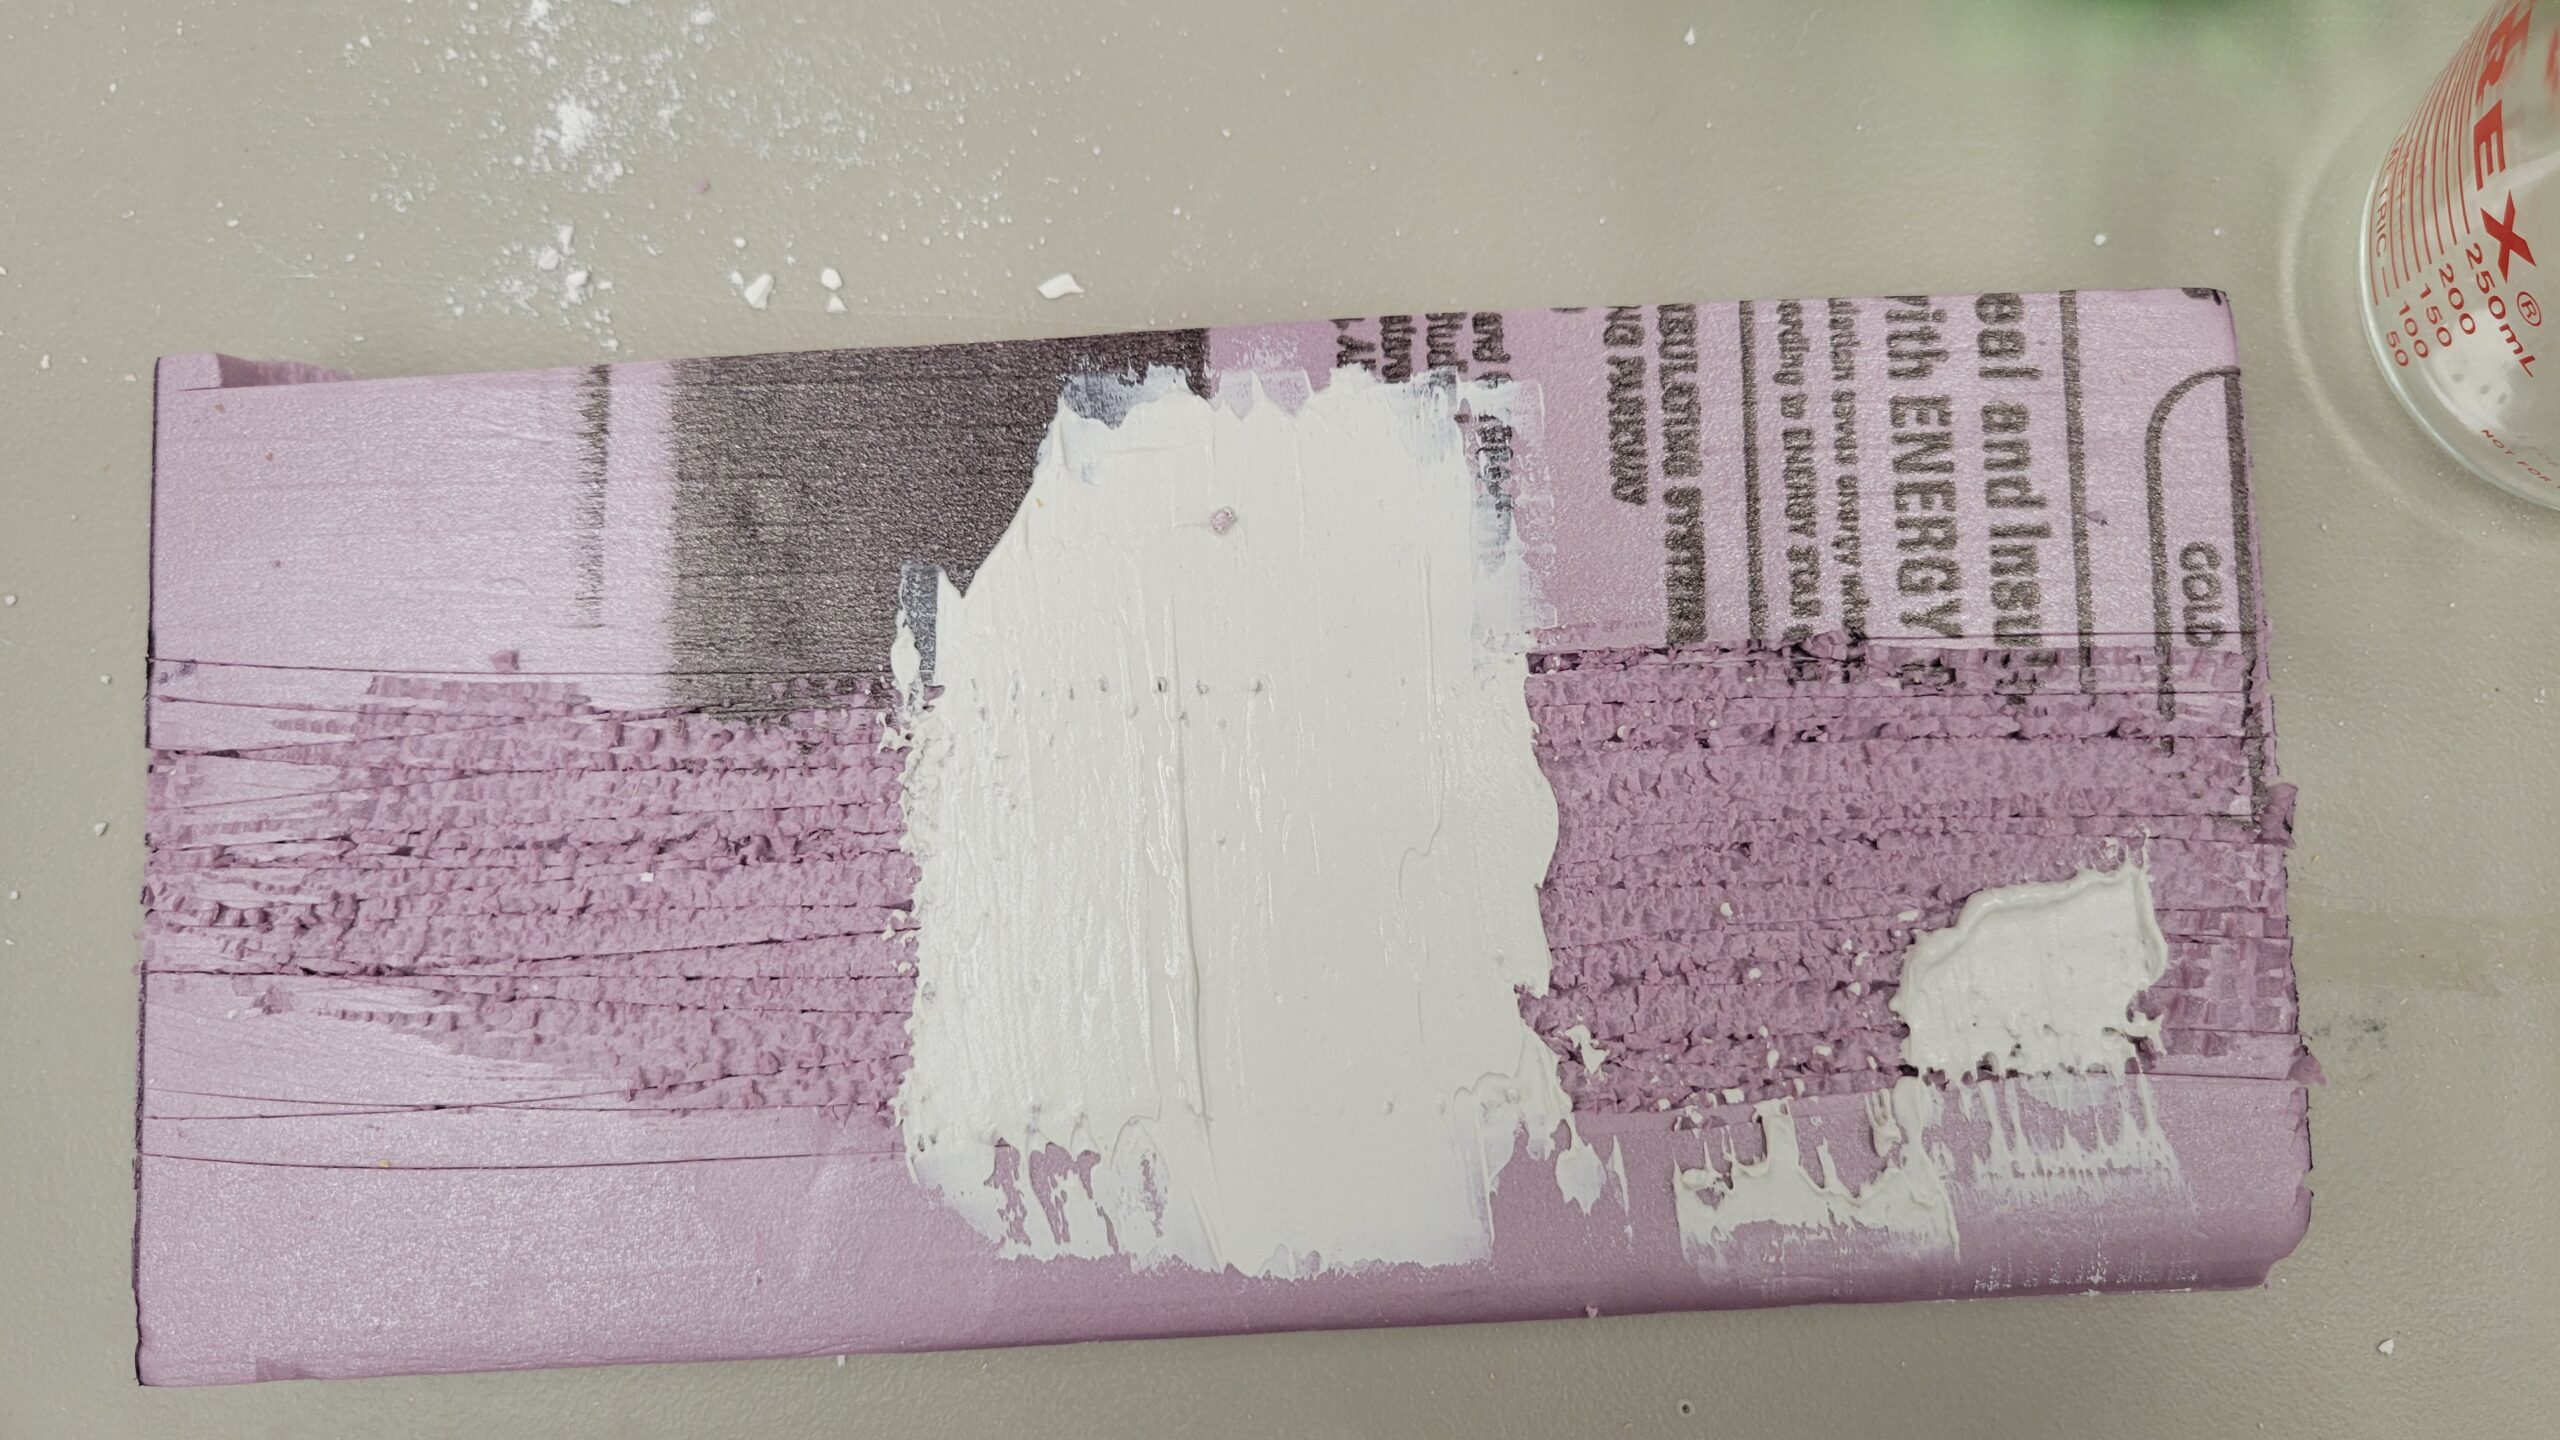
So today I roughed up the surface of a chunk of pink styrofoam and applied plaster of paris over that. Hopefully that will make the plaster stick. I'll check it this evening and see how that works.
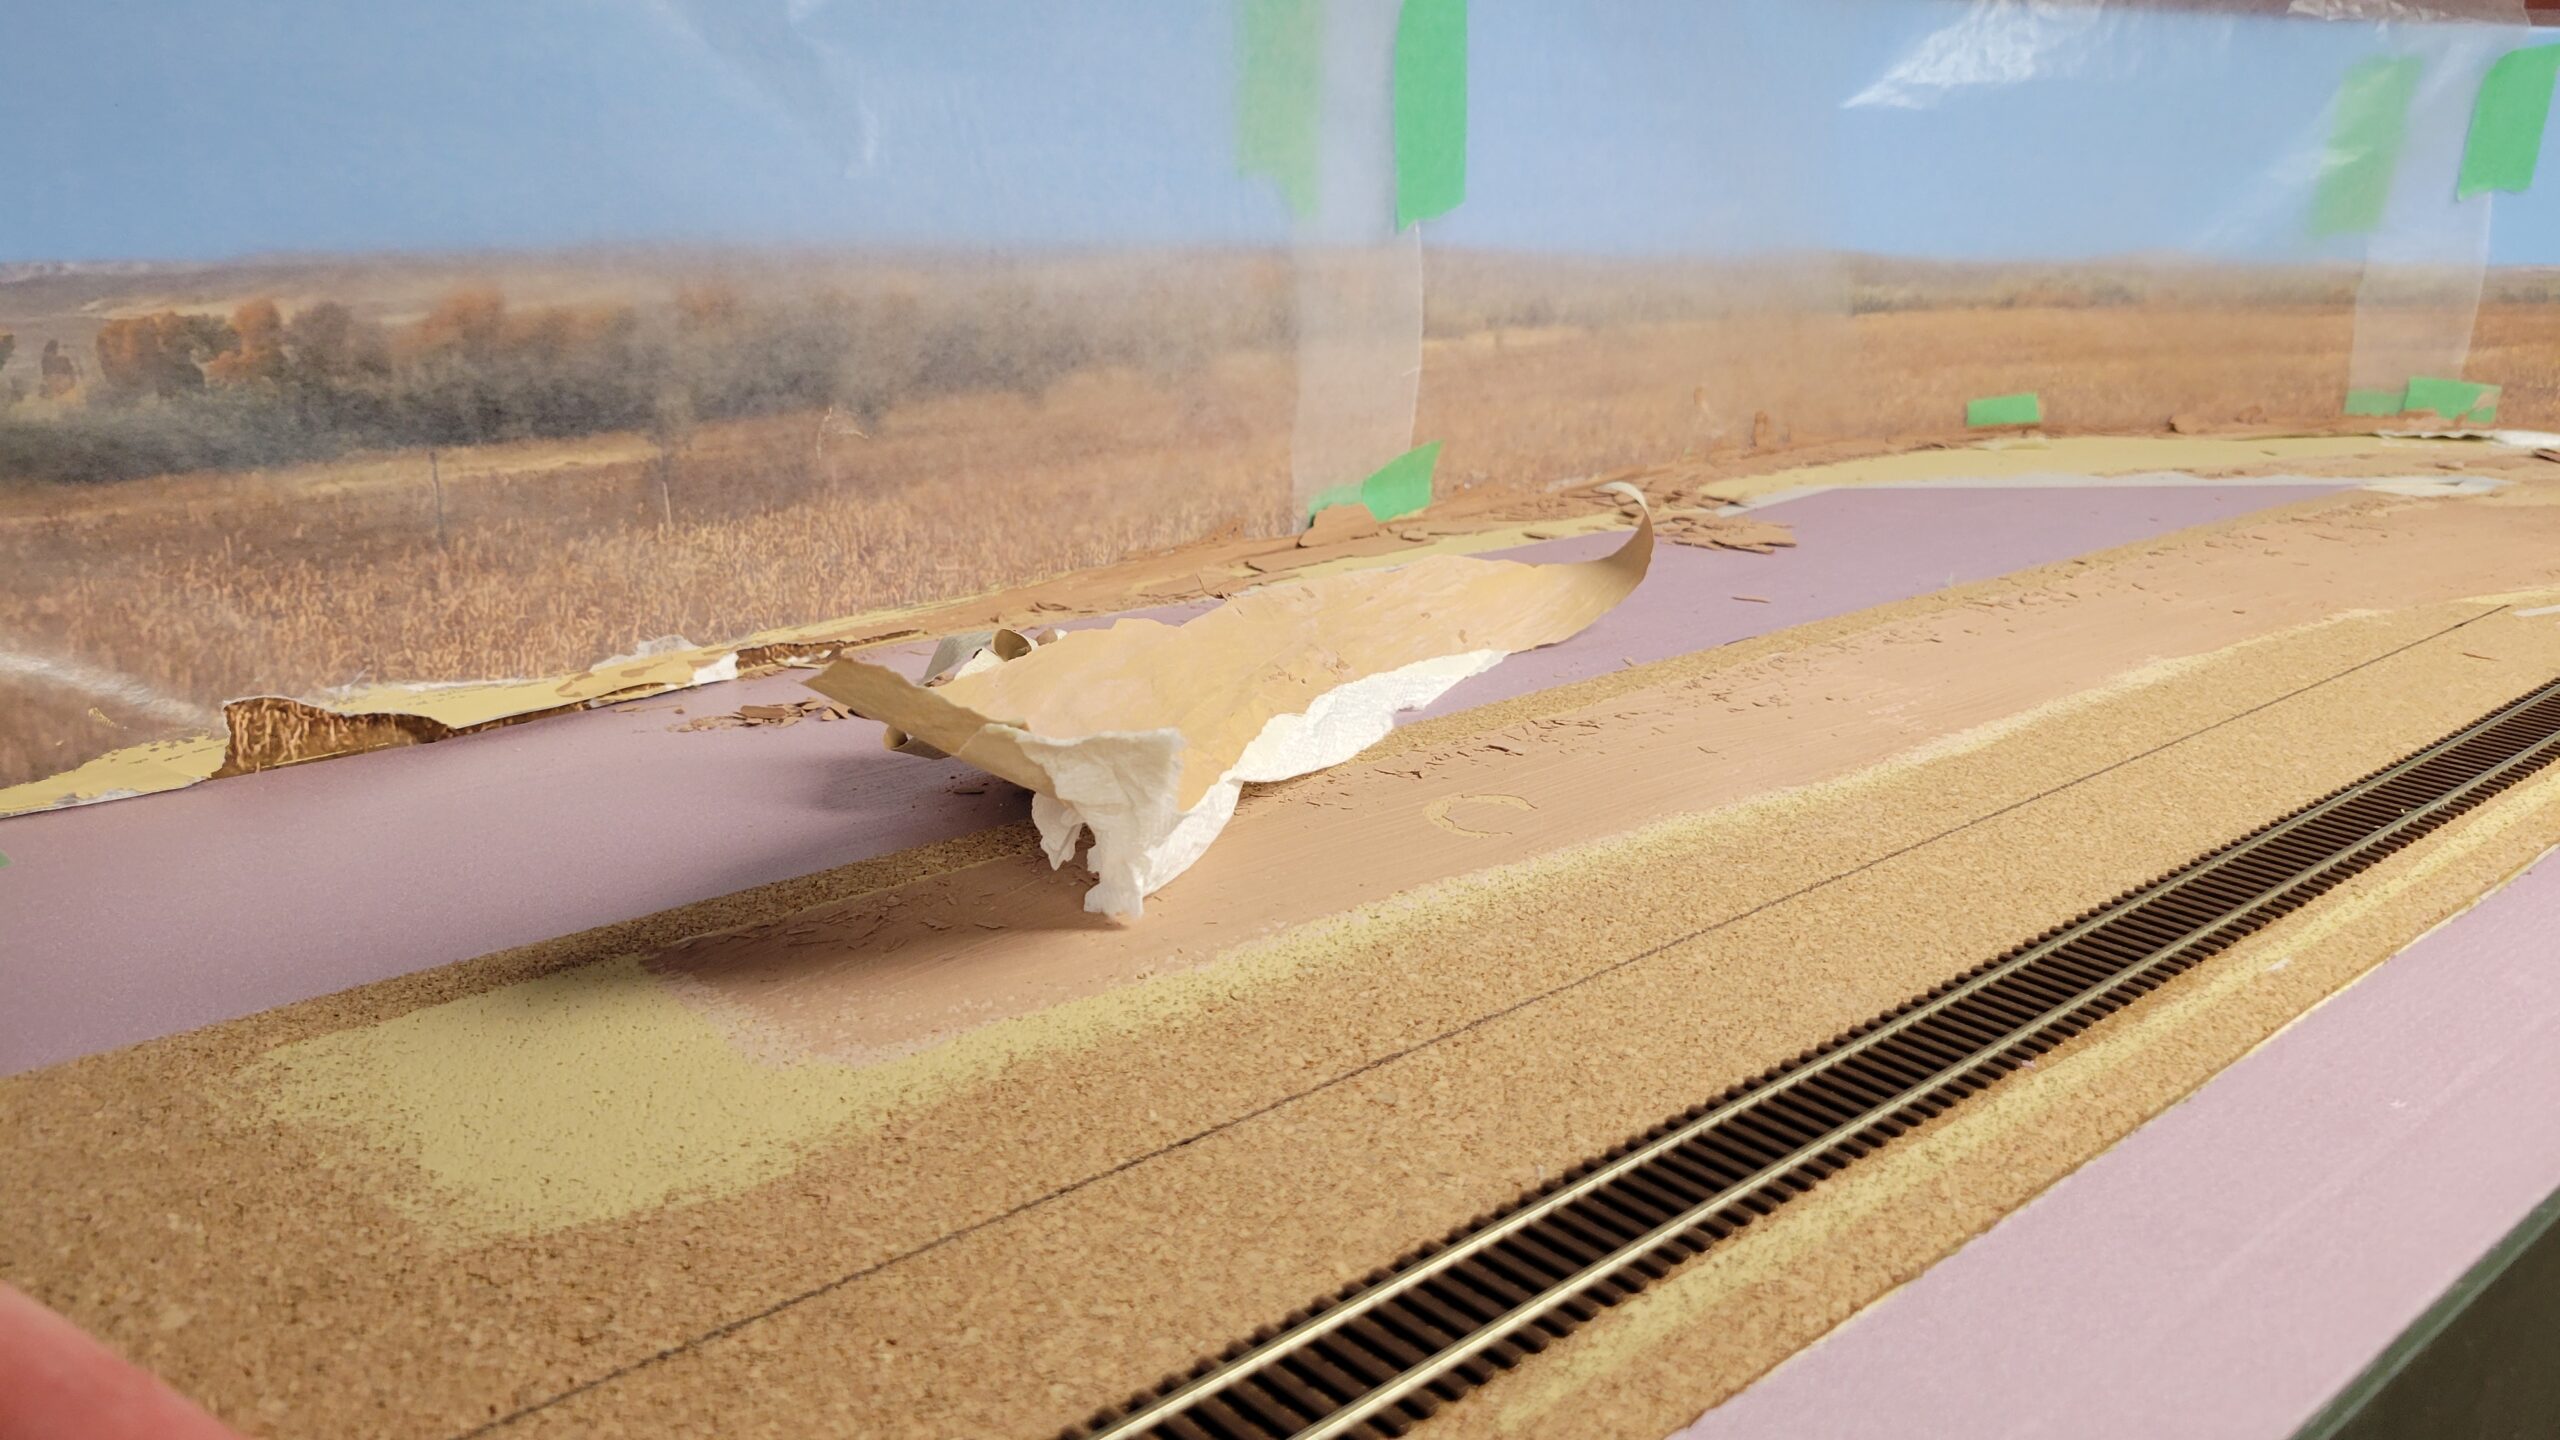
Today I also stripped off all the masking tape from the area near Hudson to begin again. The tape was the only thing that really stuck to the styrofoam. It took about an hour to peel it all off, and I had to remove the wax paper over the backdrop at the same time.
So it's basically almost back to square one in this area.
 If the roughed-up styrofoam works, I'll go with that. If not, I'll pull up the 1/2 sheets of styrofoam and use them as patterns to cut 1/4" foam core or plywood and place those, then use celluclay to build the area back up. I know celluclay on plywood works from the CNW line behind Casper.
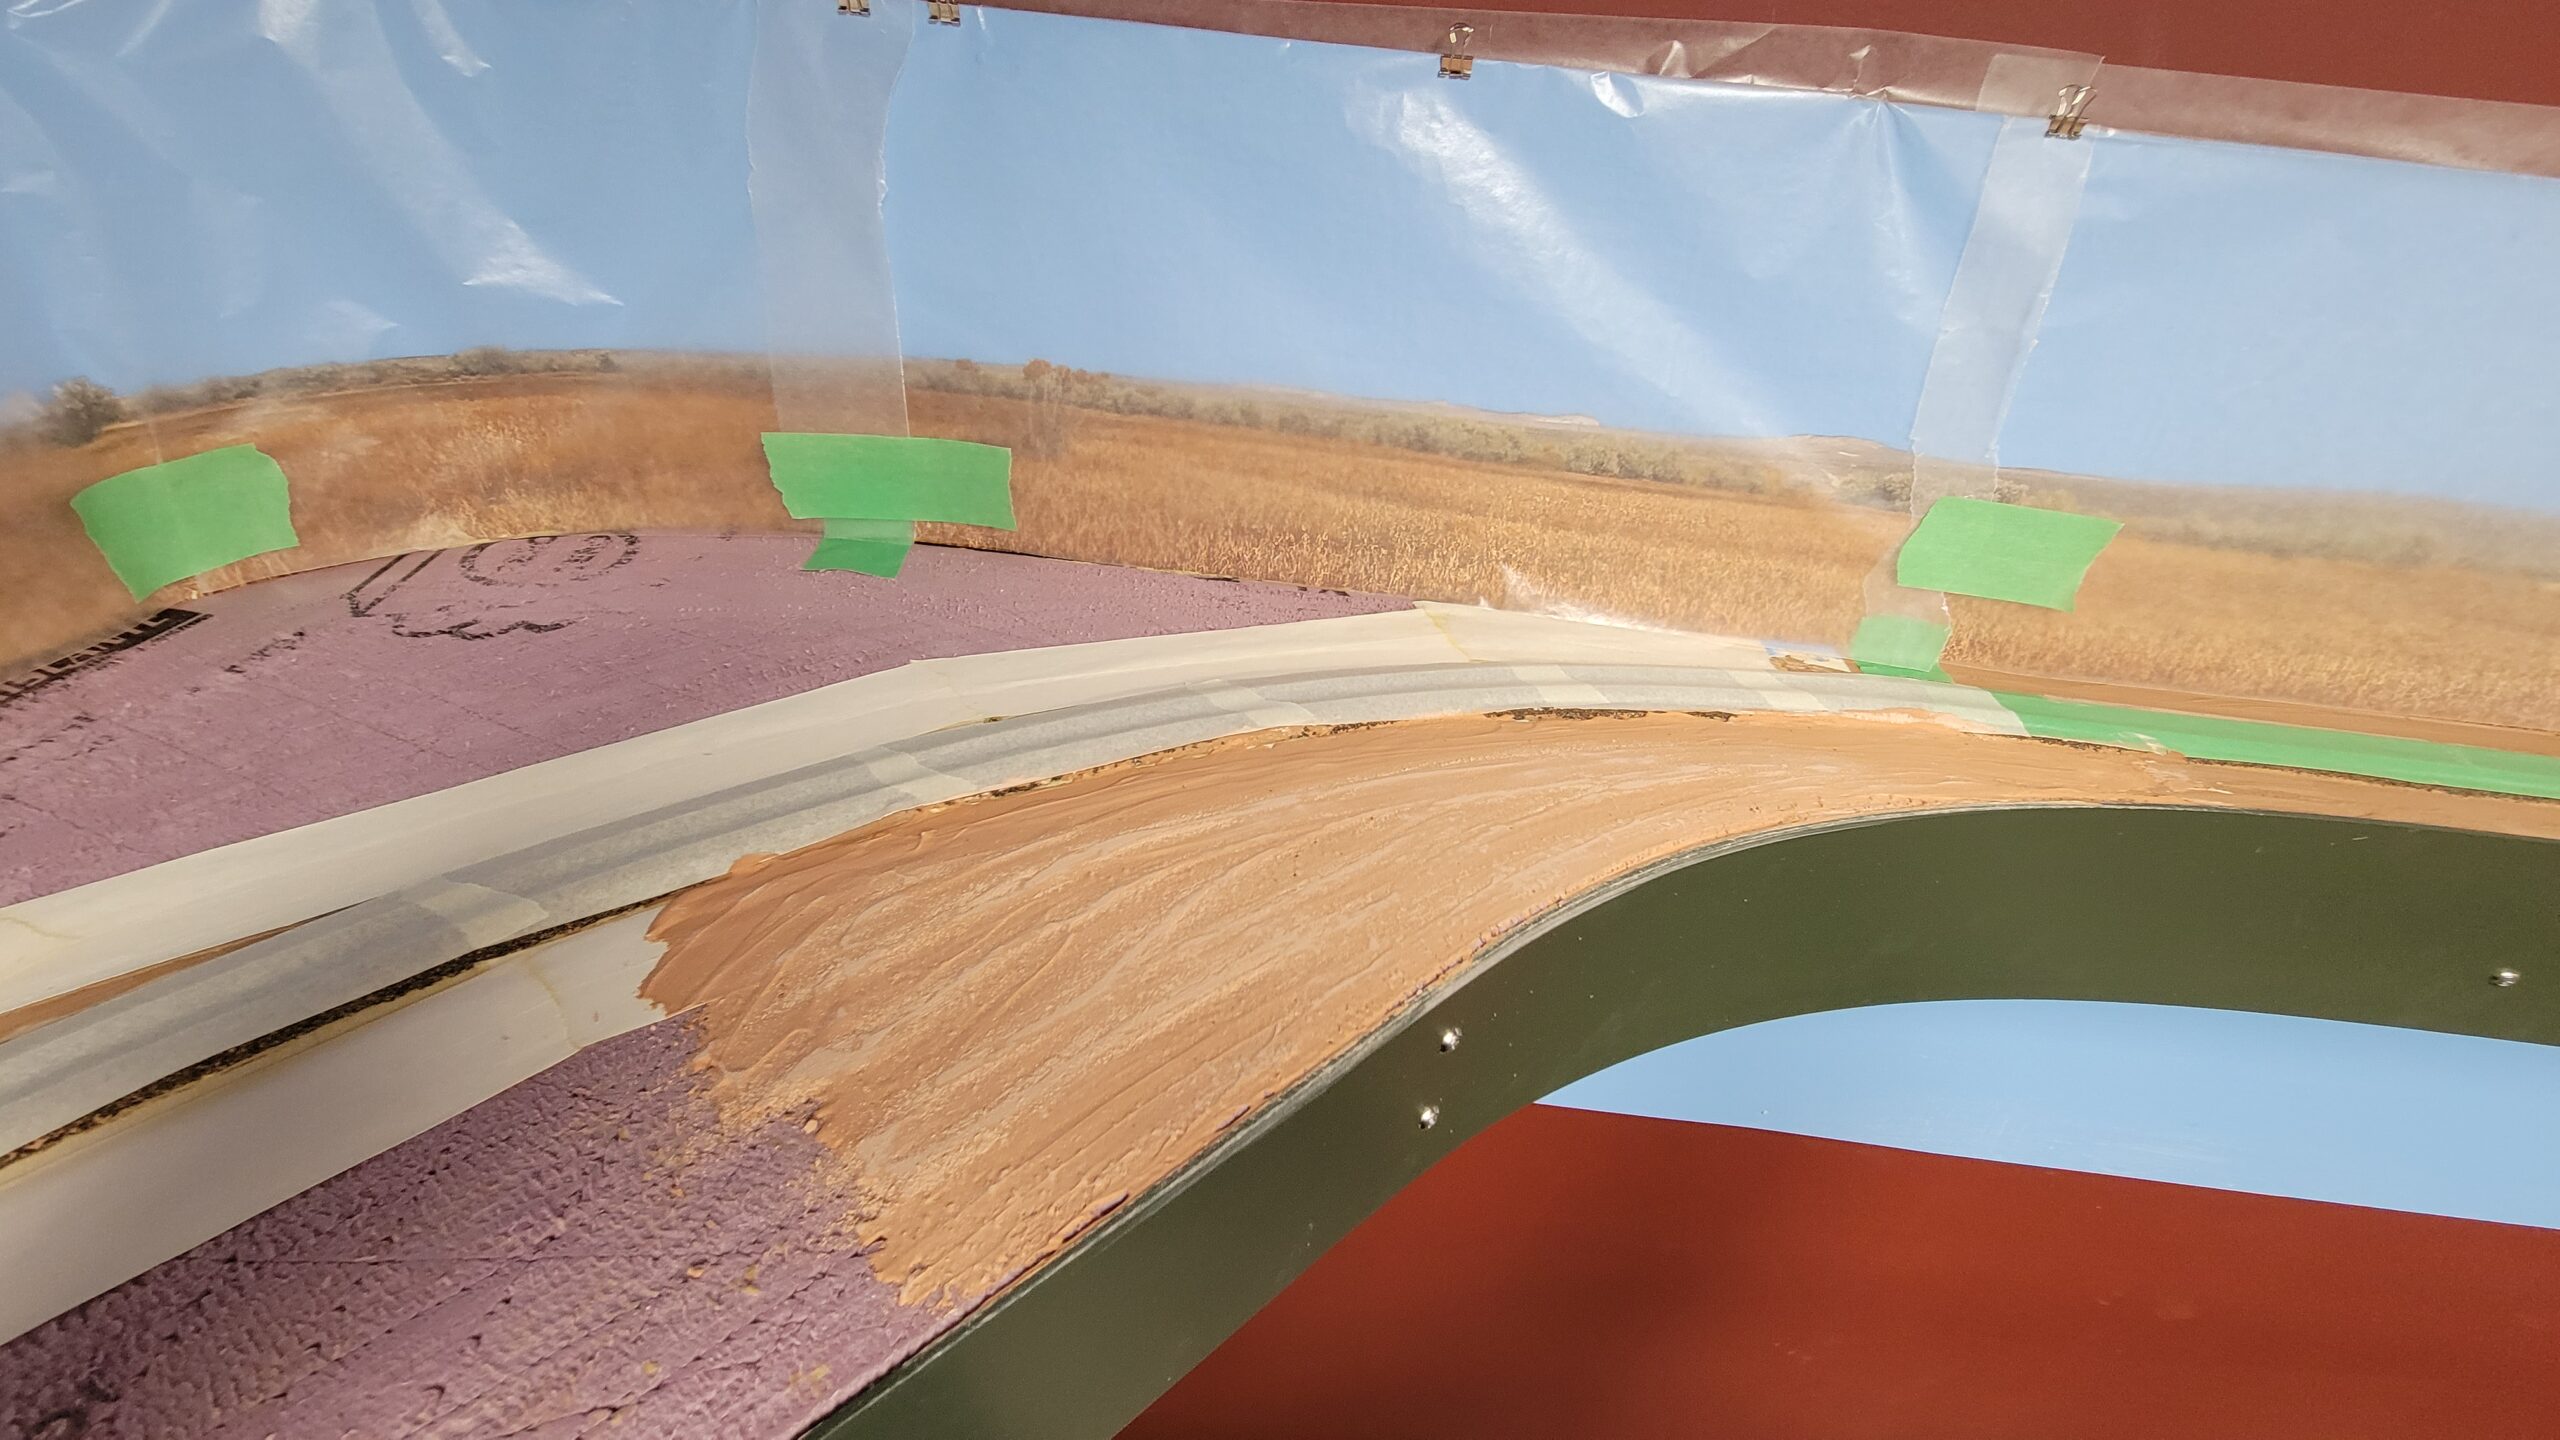
I started with the whole masking tape layer to fill gaps between the styrofoam and subroadbed, like you see here, and between styrofoam pieces, like in the next shot. I just figured the plaster would probably stick better to the tape, so I layered the whole area with tape, like others have done with cardboard webbing.
In anticipation of the roughed-up surface idea working, I started roughing up a bit of the styrofoam right in front of Hudson.
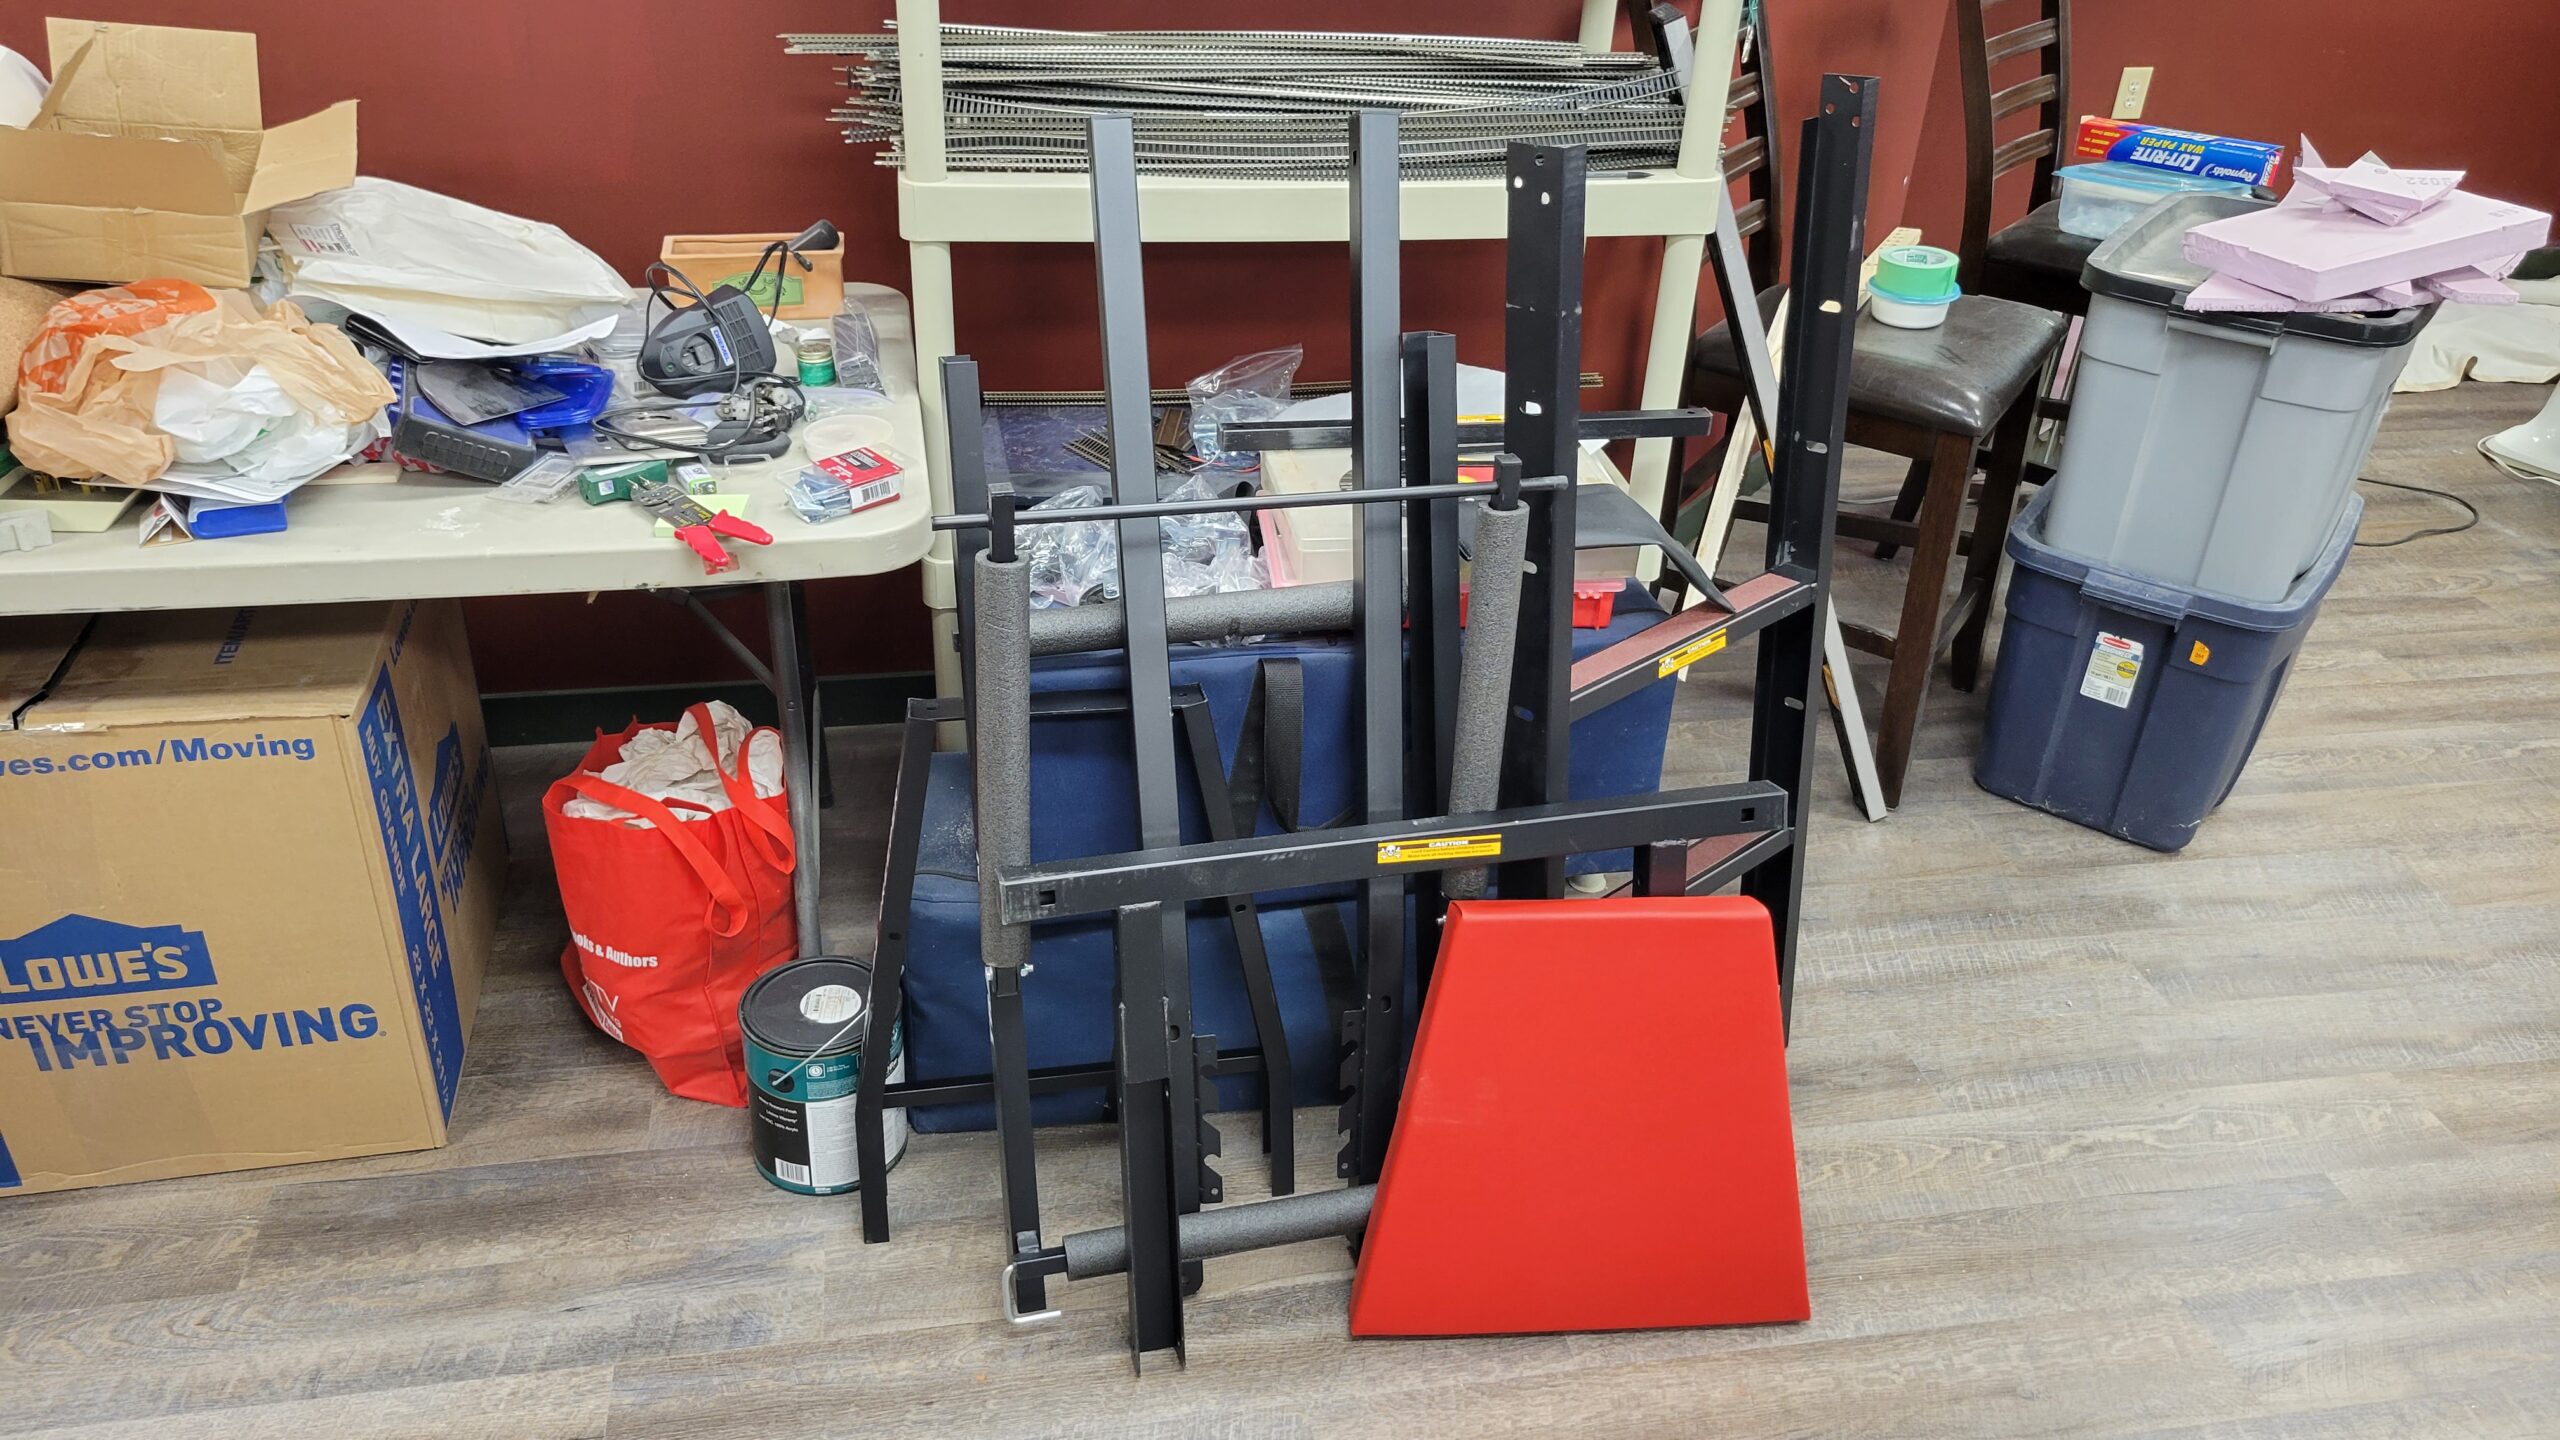
Change of subject - a few days ago I ordered a Topside Creeper from Micro Mark, because parts of the layout (noticeably Casper) are wide enough that it will be difficult to reach all the way to the back when I have to do work on those areas. In fact, I had resigned myself to finishing Casper in its entirety before moving it back into its final position against the corner. That meant it would be quite some time before I could extend the mainline out of Casper.
With the creeper I can move Casper into its final position right after I get the backdrop mounted. That should be by early July, if I'm lucky. Then I can start building from both ends of Casper.
Here's the creeper right after I unpacked it. Assembly has yet to begin.
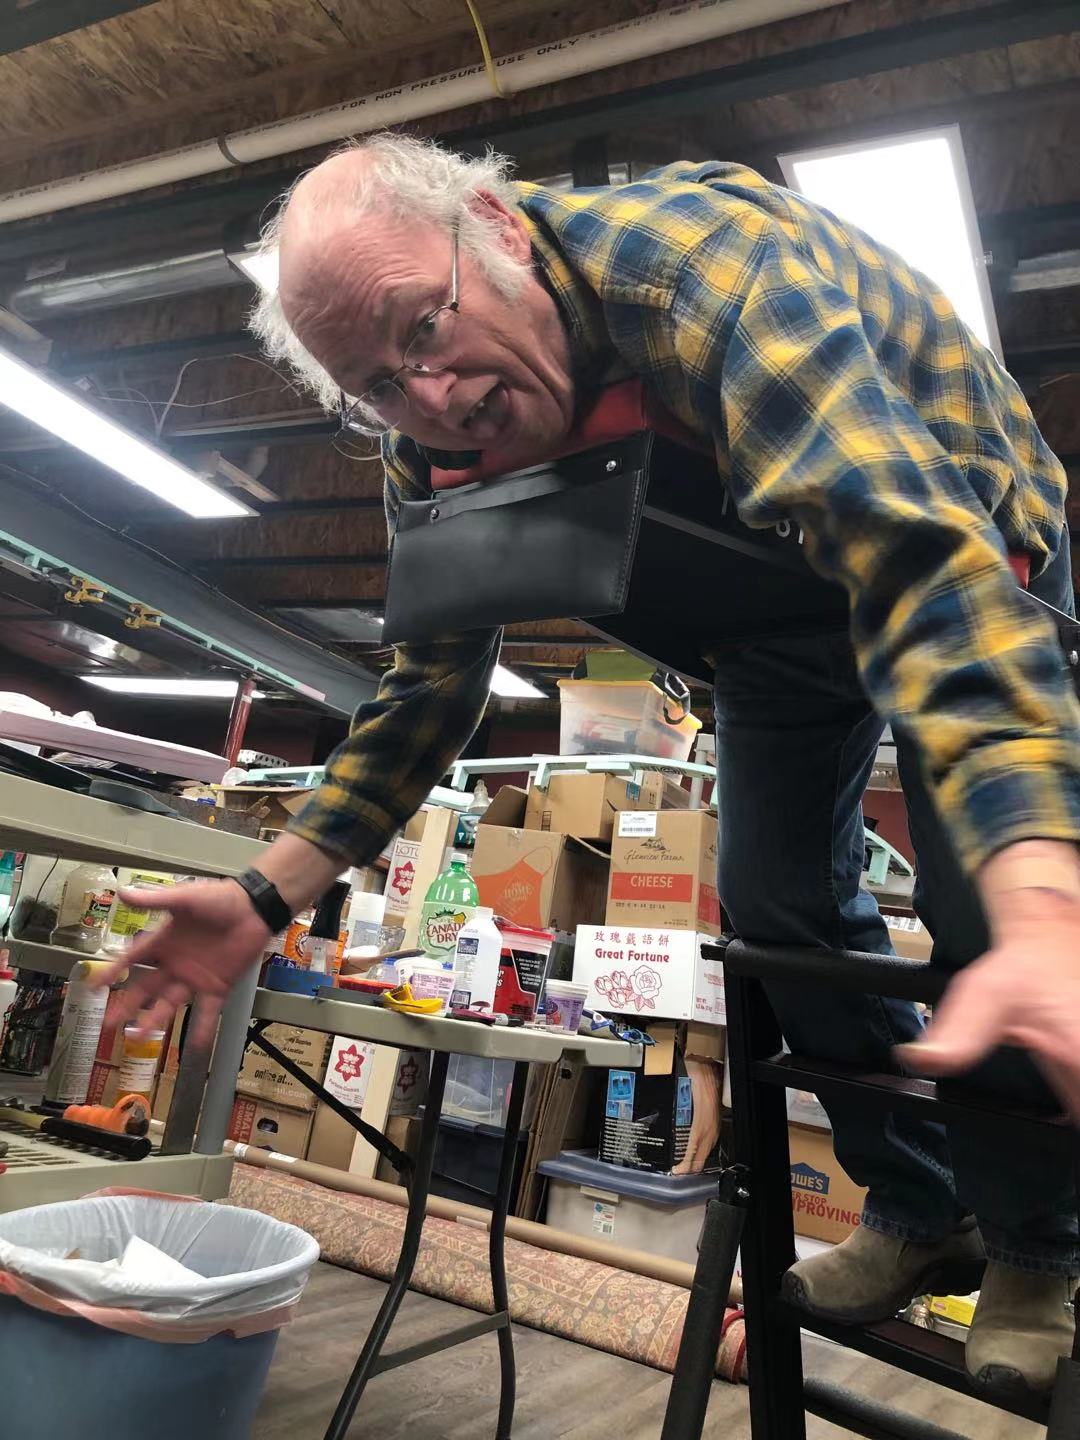
And here's me trying it out for the first time (and hamming it up for my wife. Be kind, folks!). It will take some getting used to, but it will be a very useful tool.
Oh yeah, and the reballasted area of Casper yard came out looking okay. A bit of tempera paint "stain" on the plaster will help tie it all together. This is a great improvement over what was there before.
The situation with the plaster of paris near Hudson has improved dramatically.
After the plaster my latest test panel - the one with the roughed up styrofoam - dried for a couple days, I tried breaking the plaster away from it. It was stuck pretty good, so that I could only break off little chunks with considerable effort.
Now that I had at least a partial path forward, I roughed up the styrofoam surface in Hudson and the approach to Hudson.
I still had to find a way to fill the gaps between the styrofoam sections and the subroadbed. Since the plaster didn't stick to masking tape, I didn't want to try using that to cover the gaps.
After thinking about what to use for a couple days, I realized the answer was staring me right in the face - the paper tape we were using on drywall joints! Plaster would certainly stick to that!
So I dug out what was left over from when we were doing the walls, tore it into appropriate-length strips, and, using wood glue, glued it to the plywood subroadbed and styrofoam. A misting of water convinced the stiff tape to relax and lie flat on the surfaces.
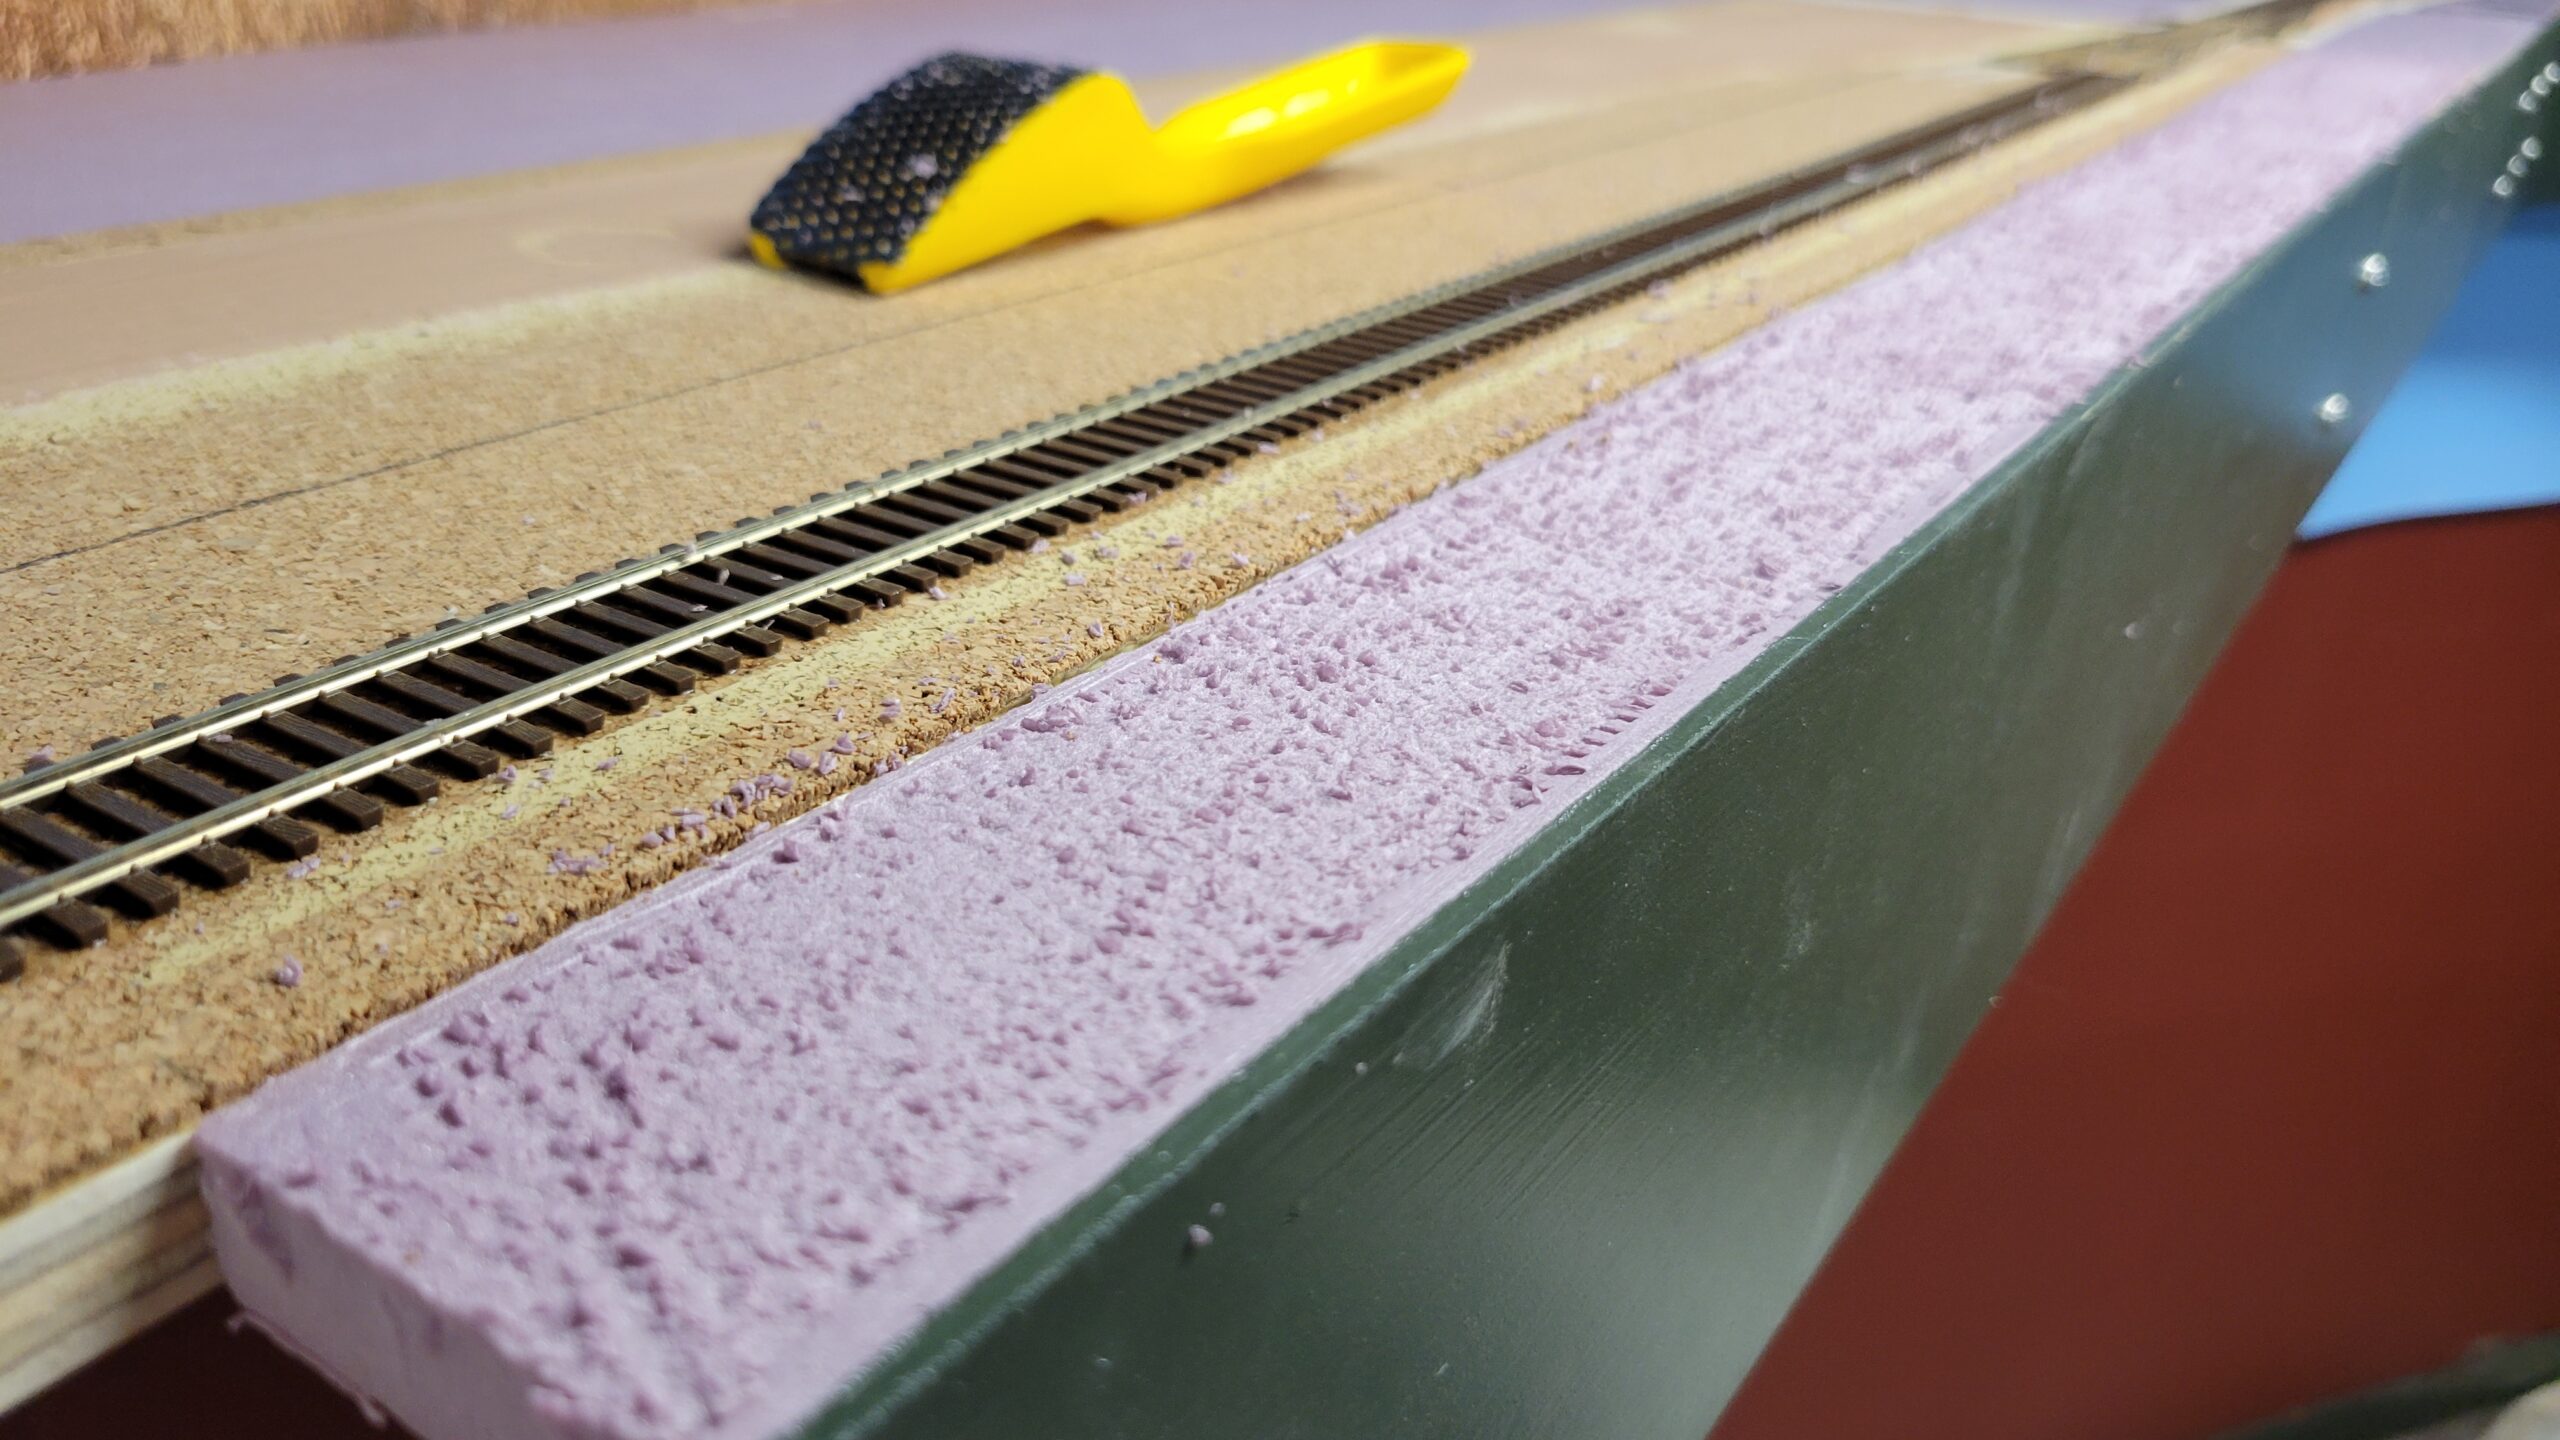
And finally last night I mixed up a batch of plaster of paris and applied it in one area to see if it would work or not.
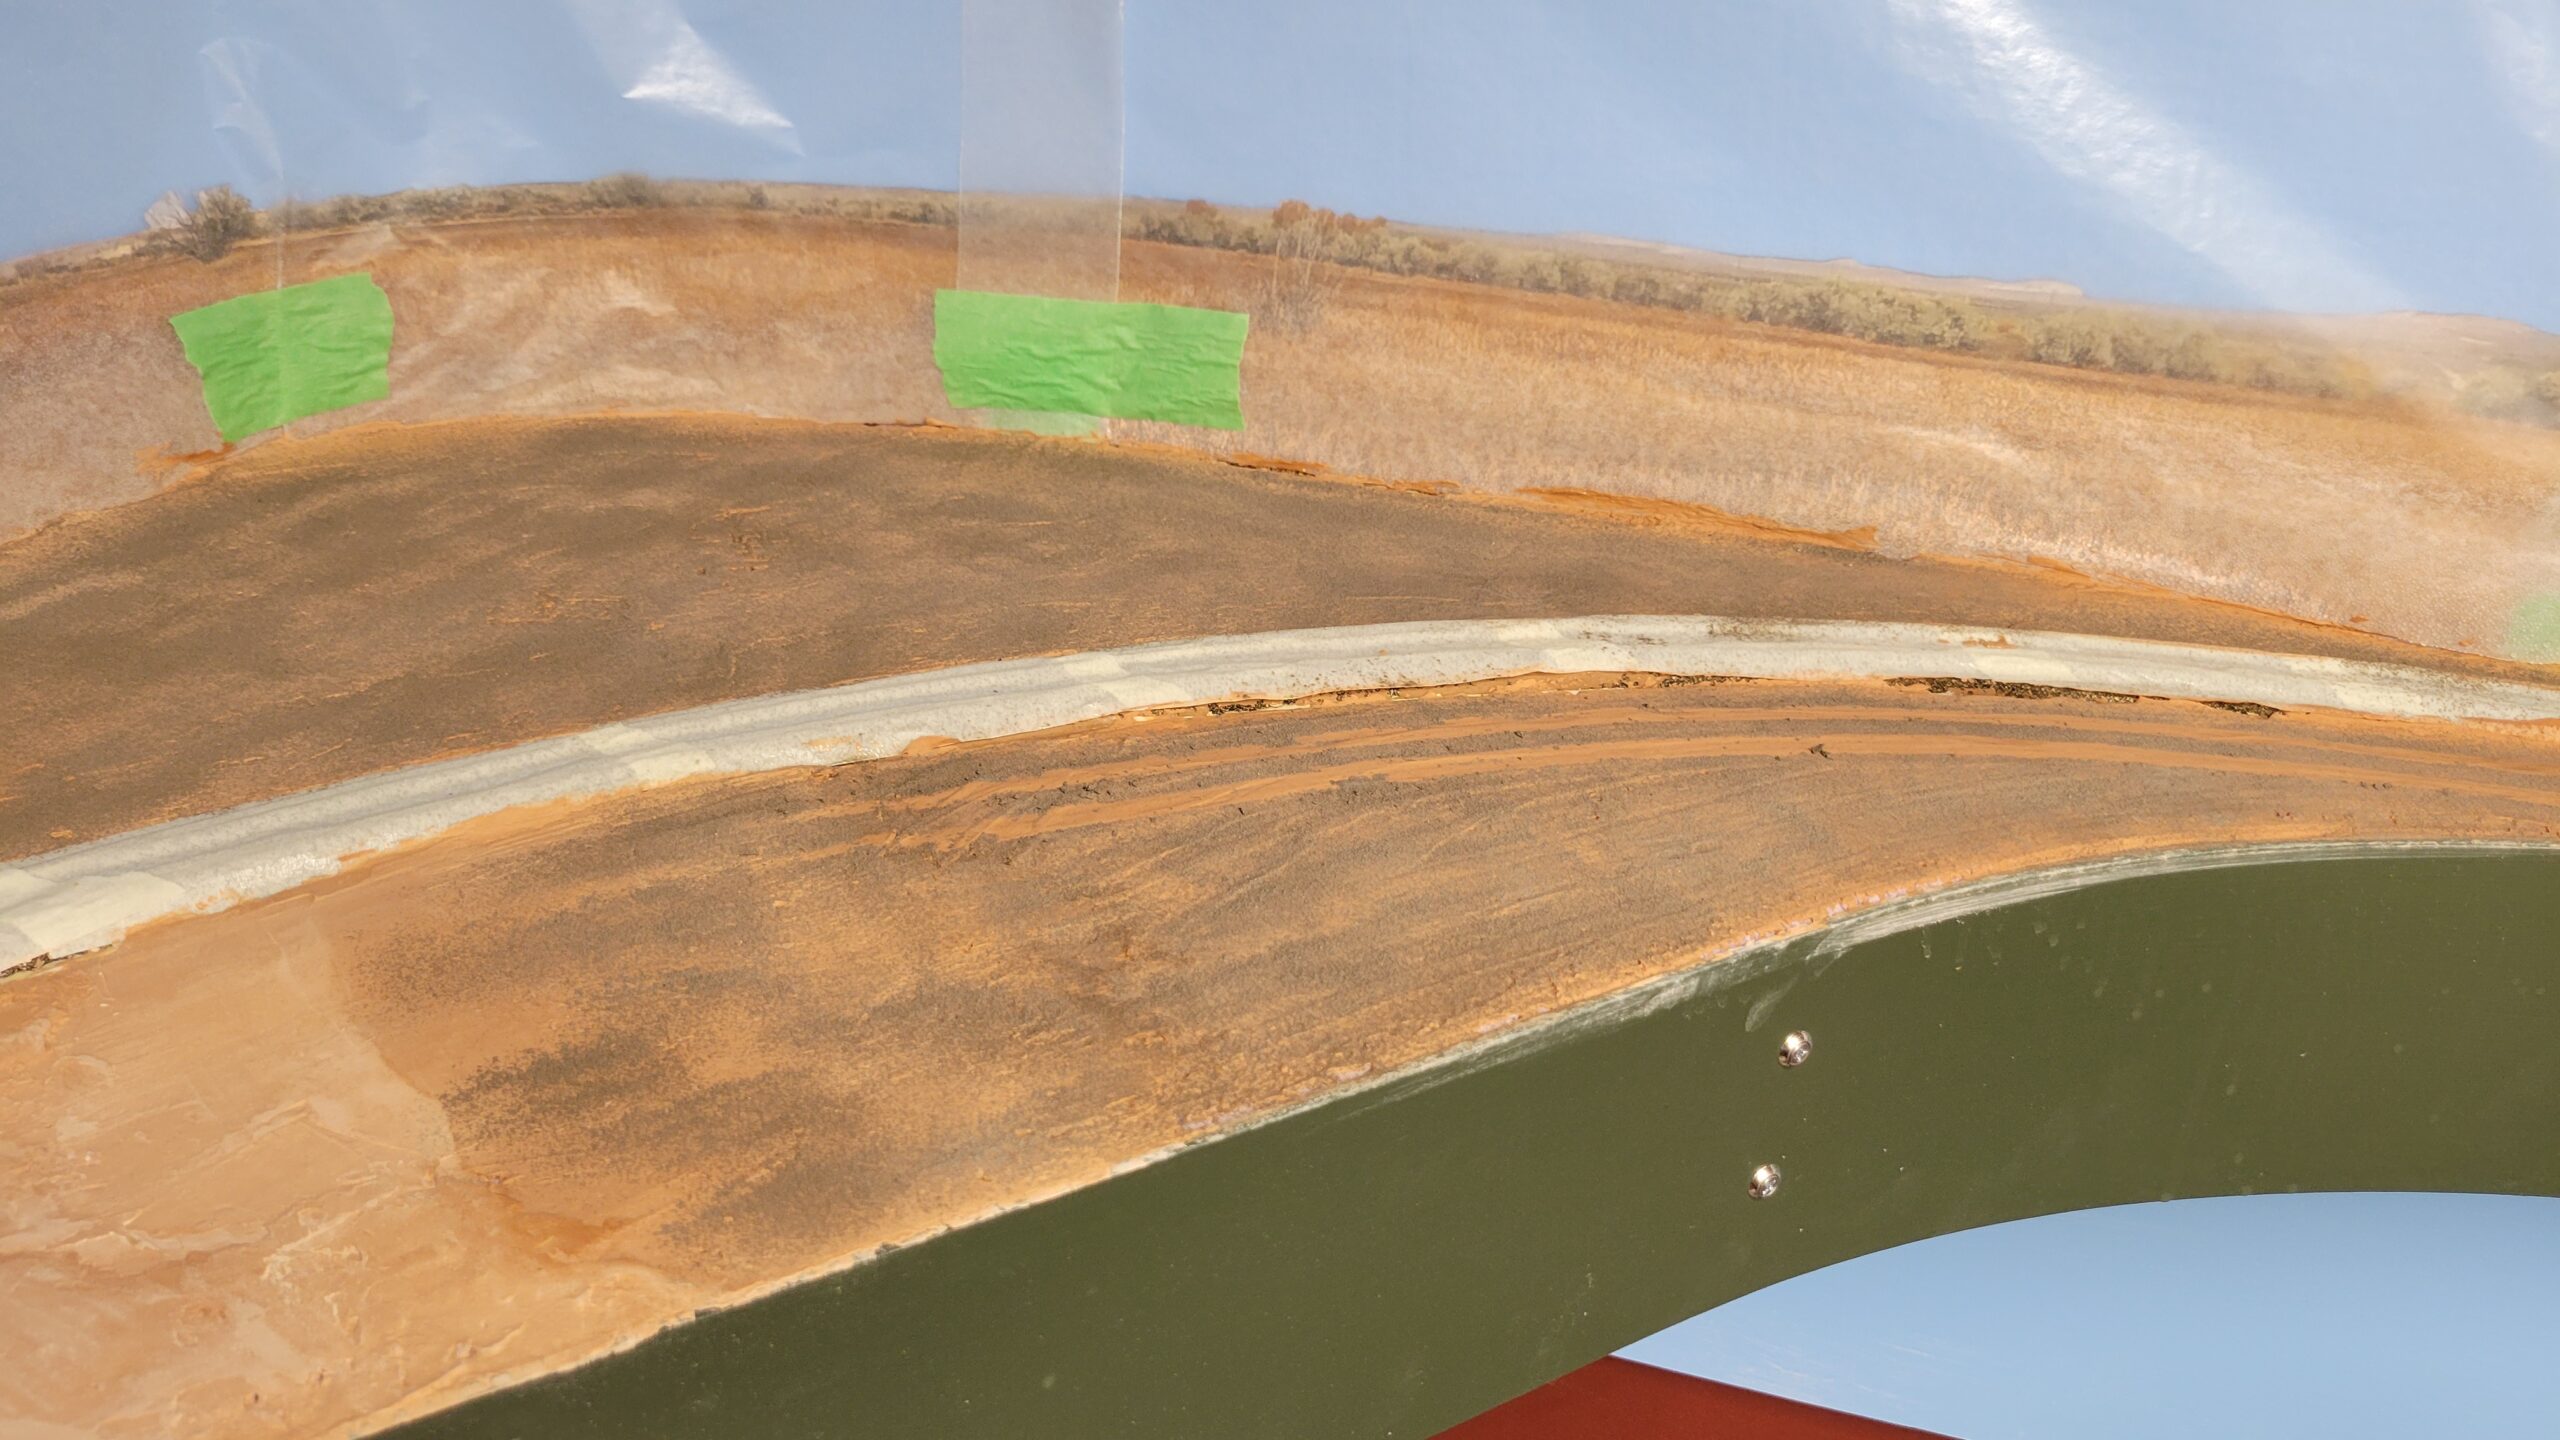
As soon as dawn broke this morning I headed downstairs to check on the now-dried plaster. Success! It dried hard and did not crumble when I touched it. It's stuck firmly to the subroadbed, drywall tape and styrofoam! After I gave it a light sanding to knock down the most egregious high spots, it looks like this:
 I've already started applying additional batches. In a day or two I'll be ready to apply dirt and then ballast the track.
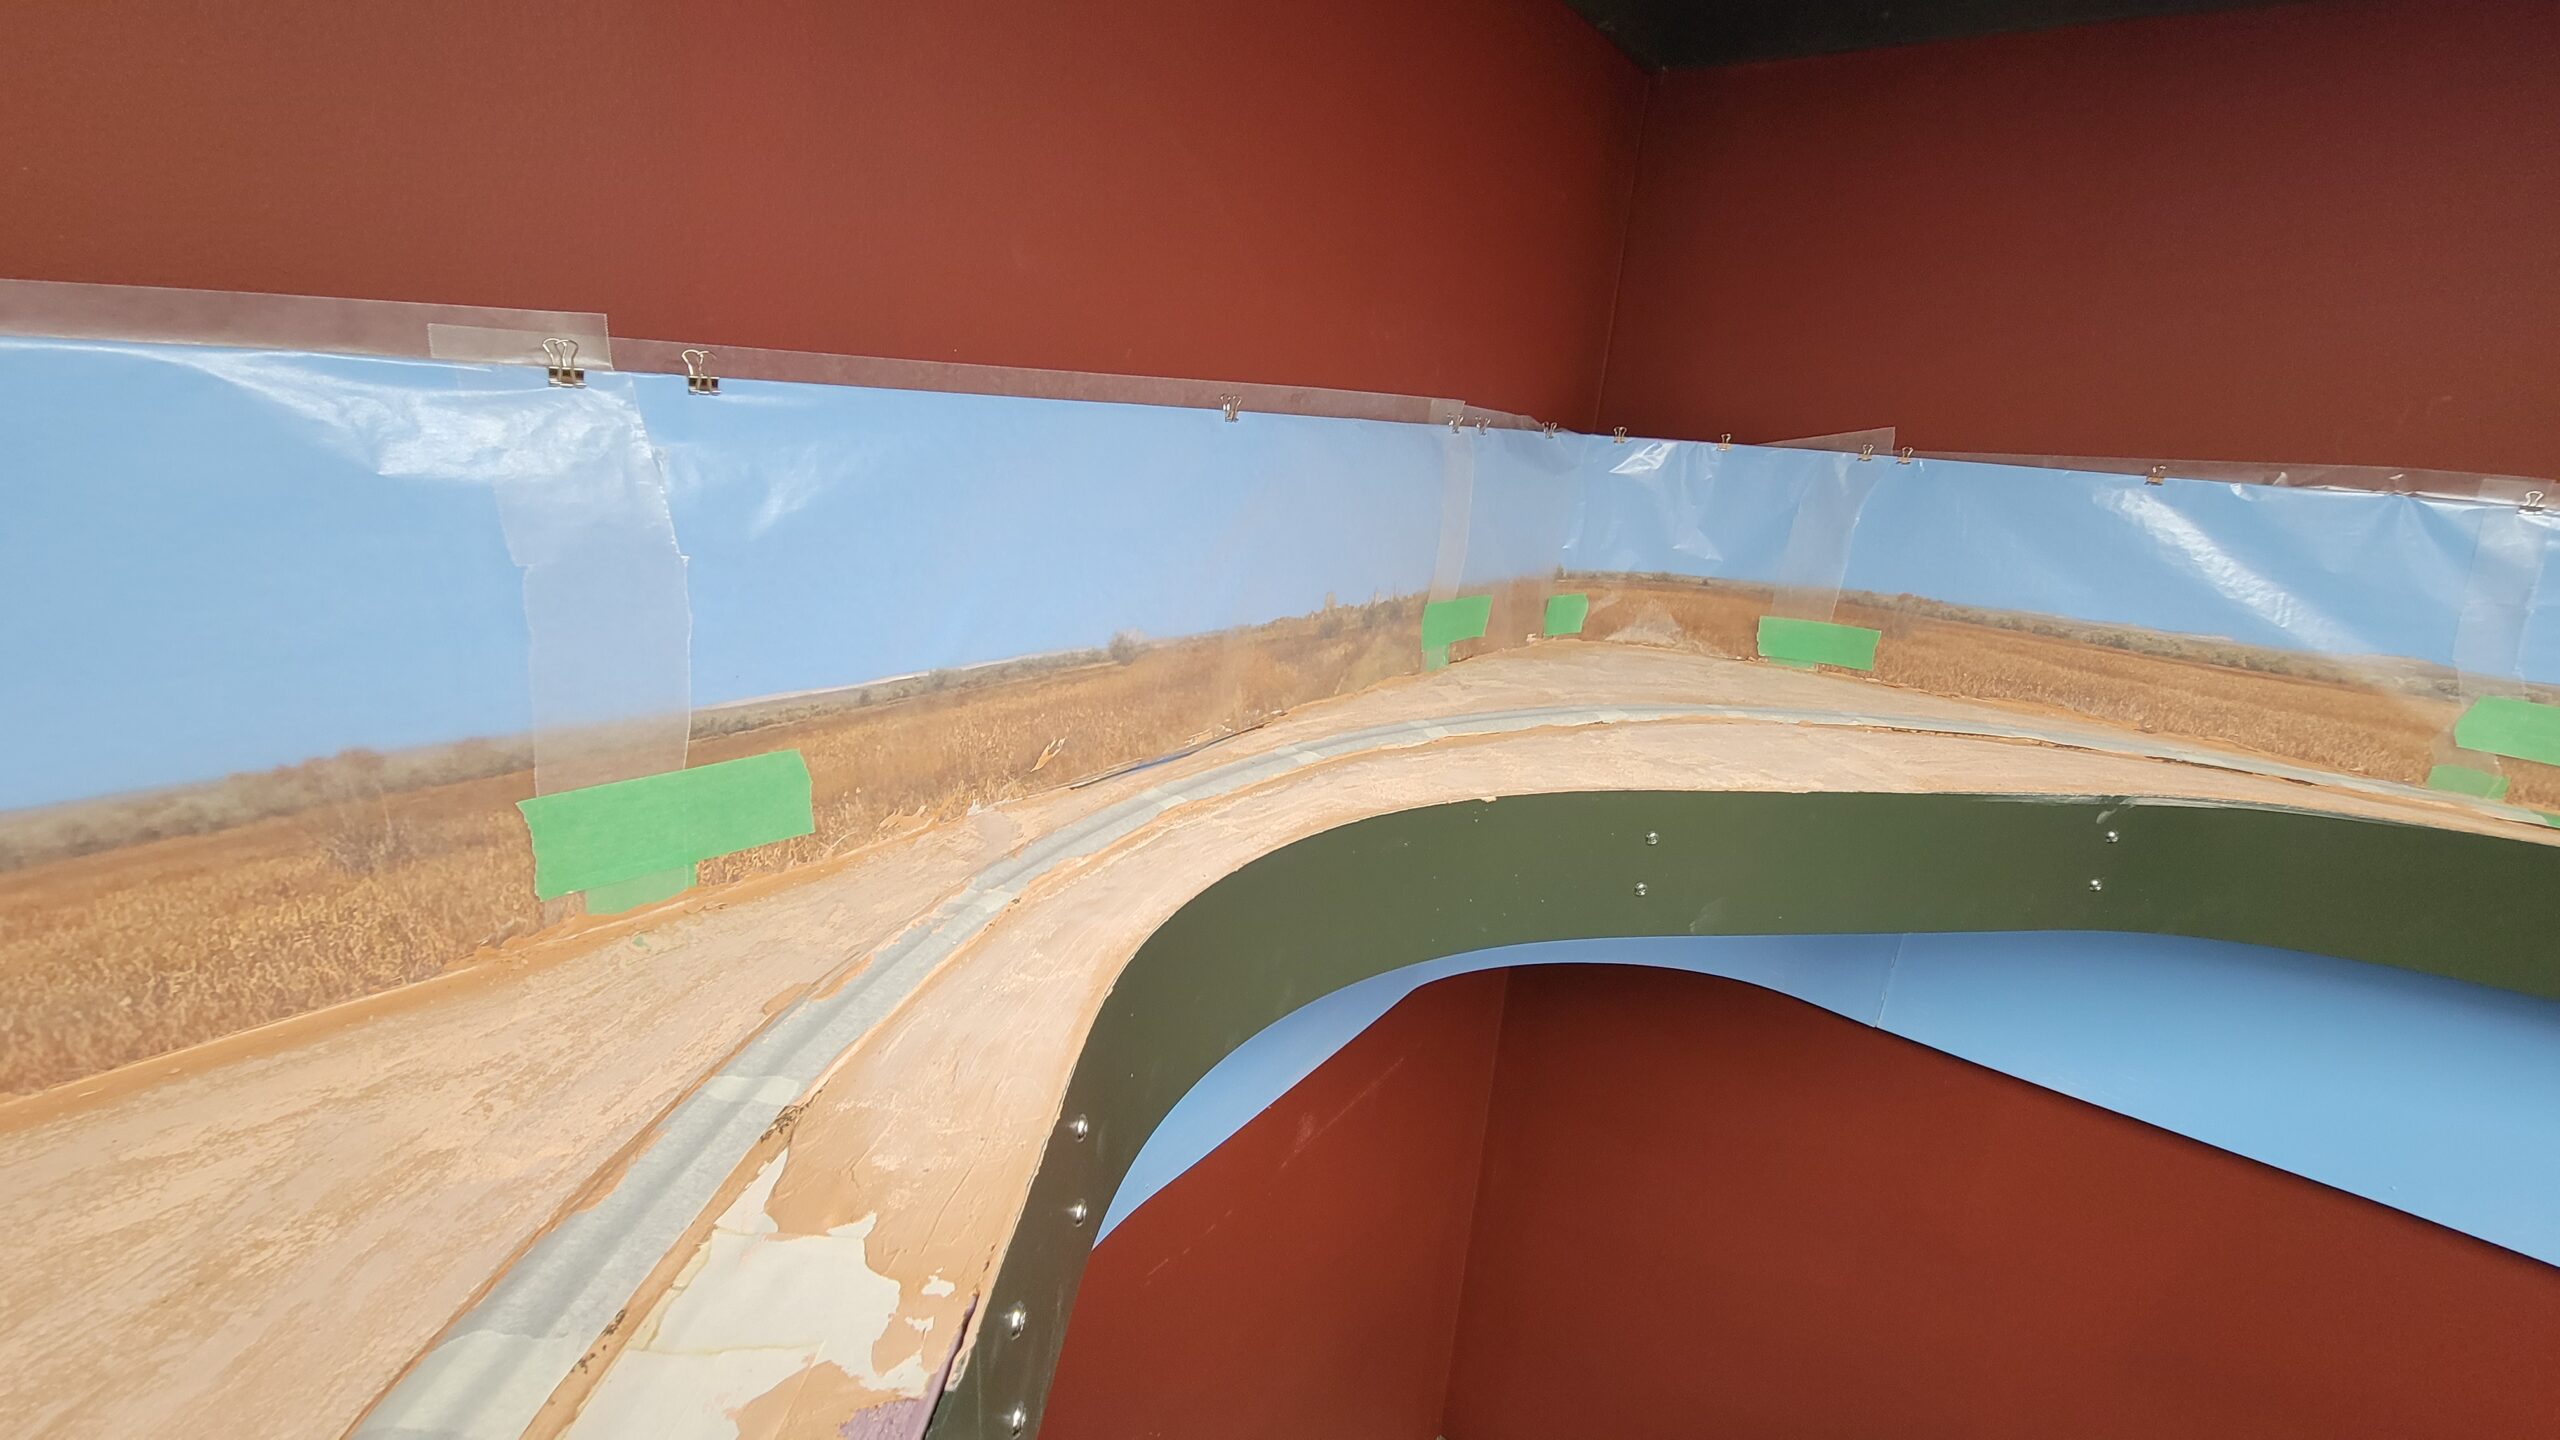
The last few days have seen some progress on various fronts. On the 9th I finished plastering the area east of Hudson, including a light sanding of the surface:
I had one spot next to the backdrop that needed some additional plaster. I added that on the 9th, and cleaned it up on the 10th. I also made more tempera paint "dirt" that day, in preparation for covering the area.
I started laying down the dirt today. Here's what I got done, still wet:
 If necessary, I'll add another layer tomorrow, and extend on westward towards Hudson.
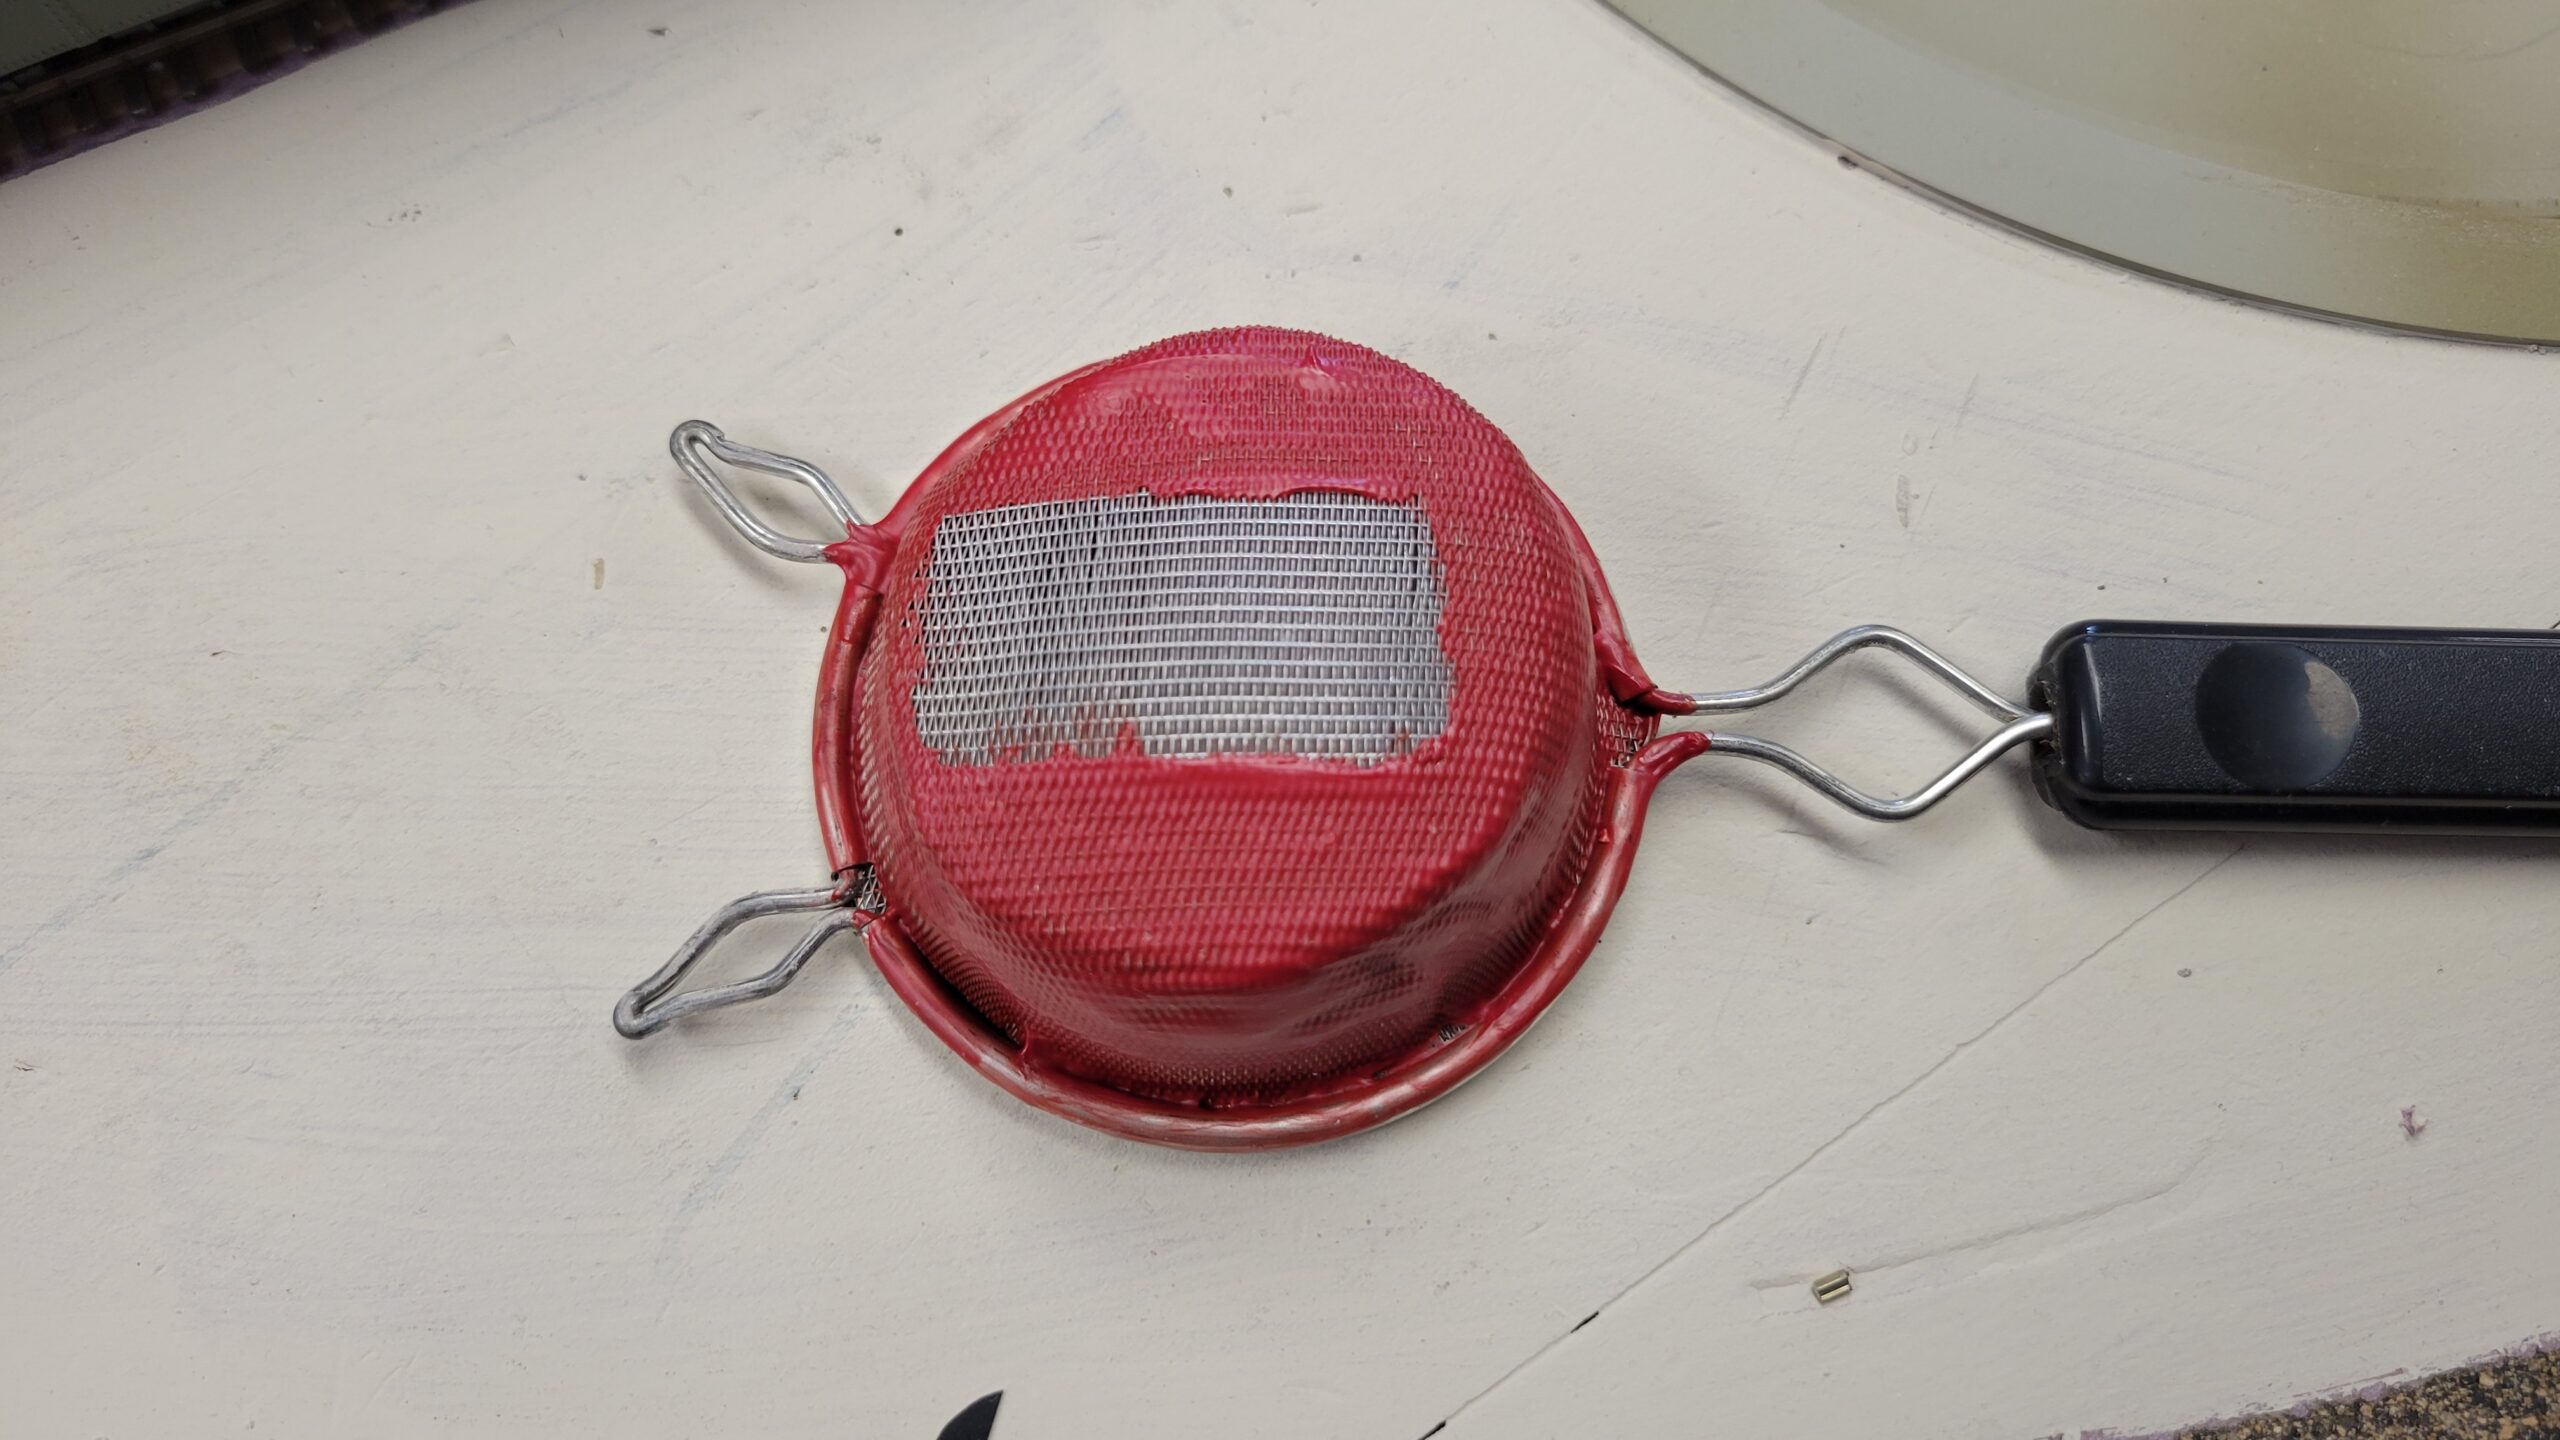
In order to control the dirt placement better, I took some old liquid electrical tape and coated a lot of my sifter to restrict the area the dirt would drop from. That worked pretty well!
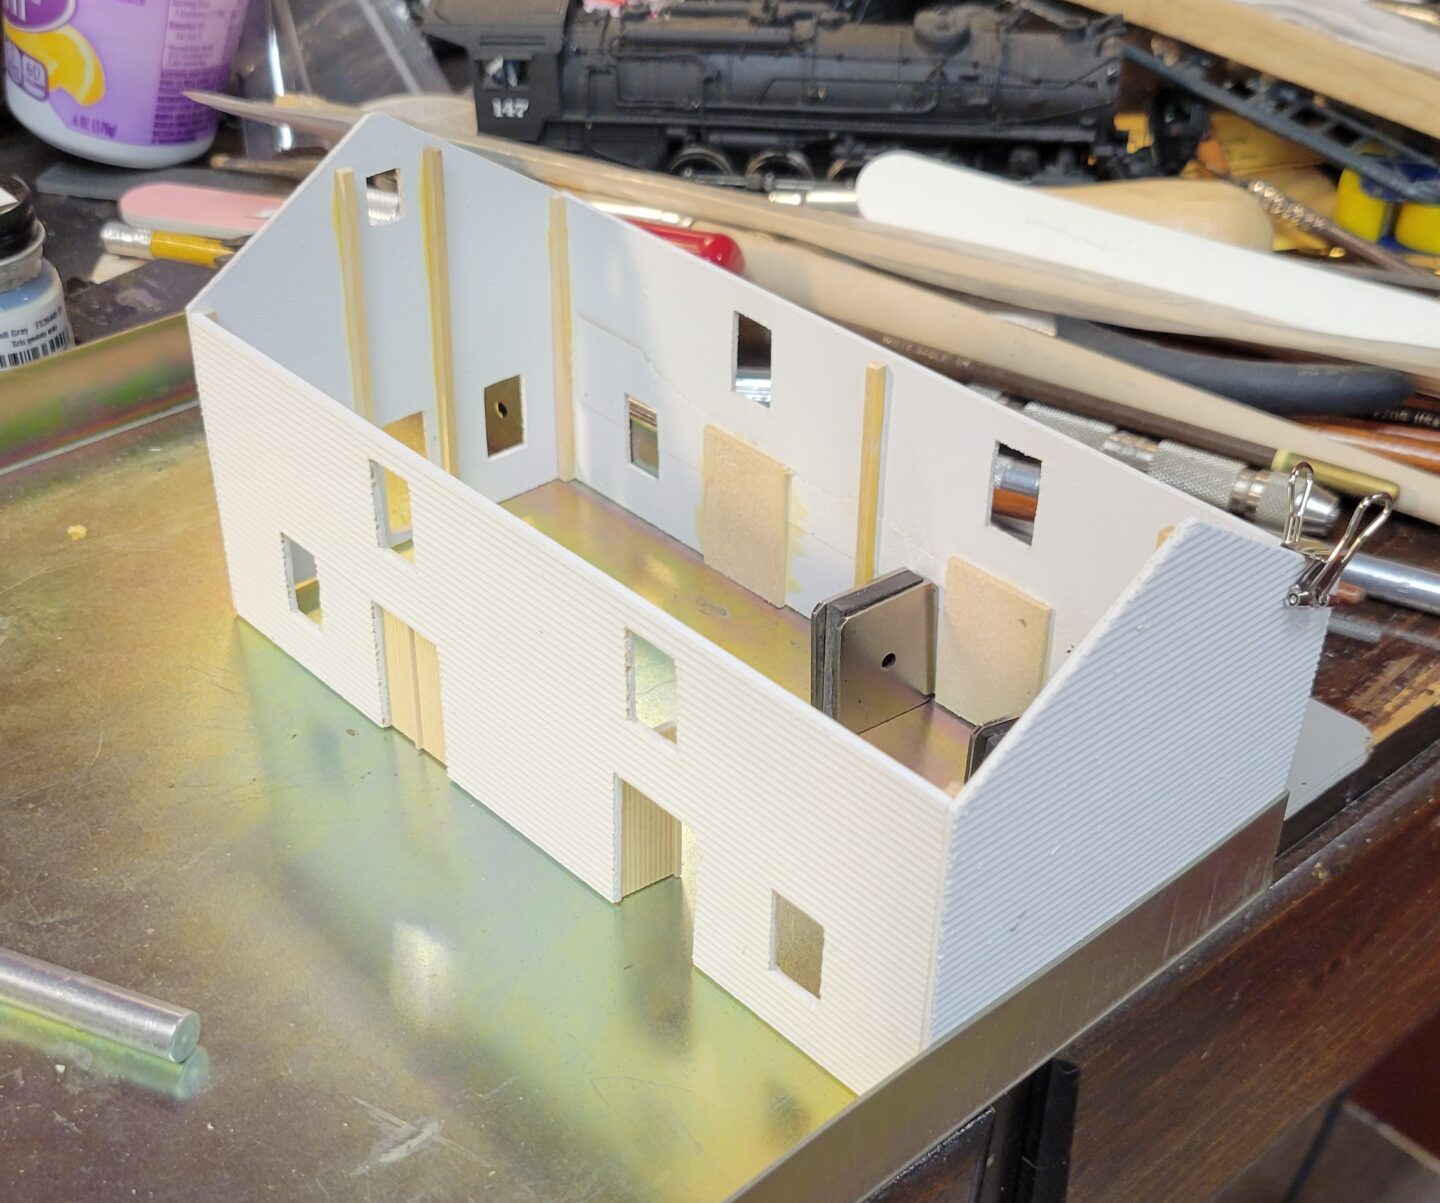
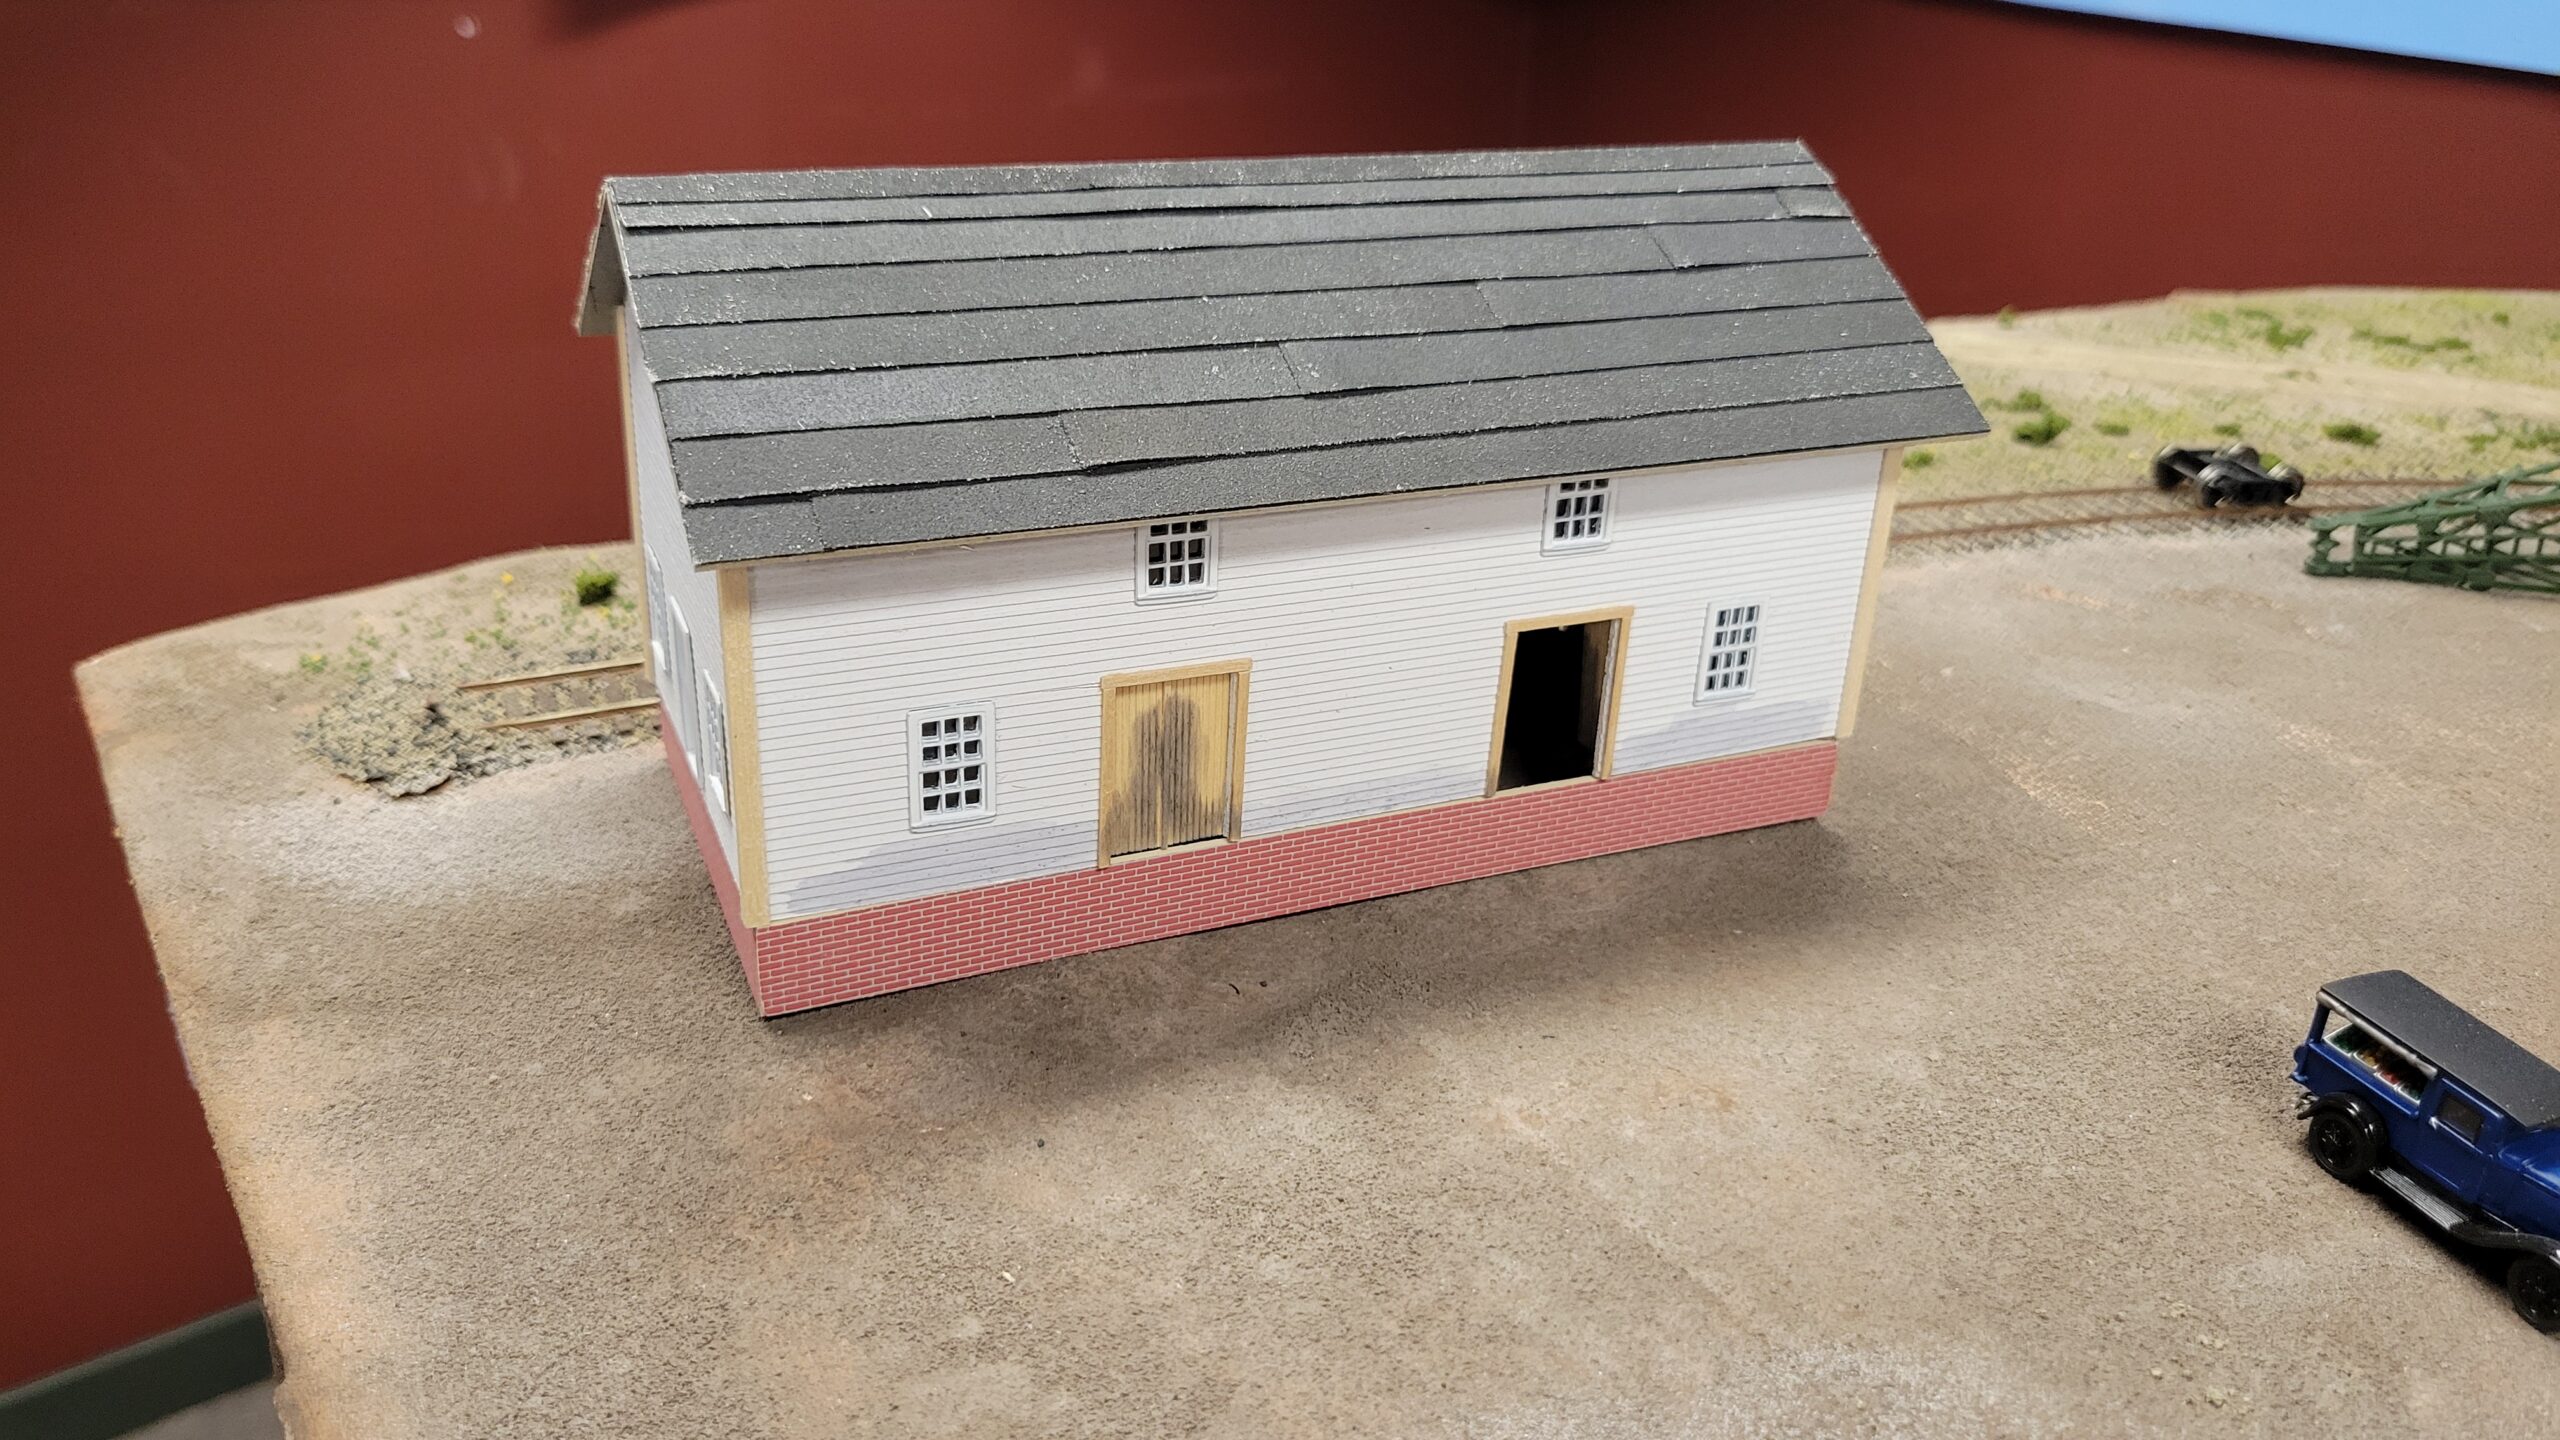
A little over a week ago I started building a very old structure kit (almost as old as me, I think!) that will become Rocky Mountain Drilling in Casper.
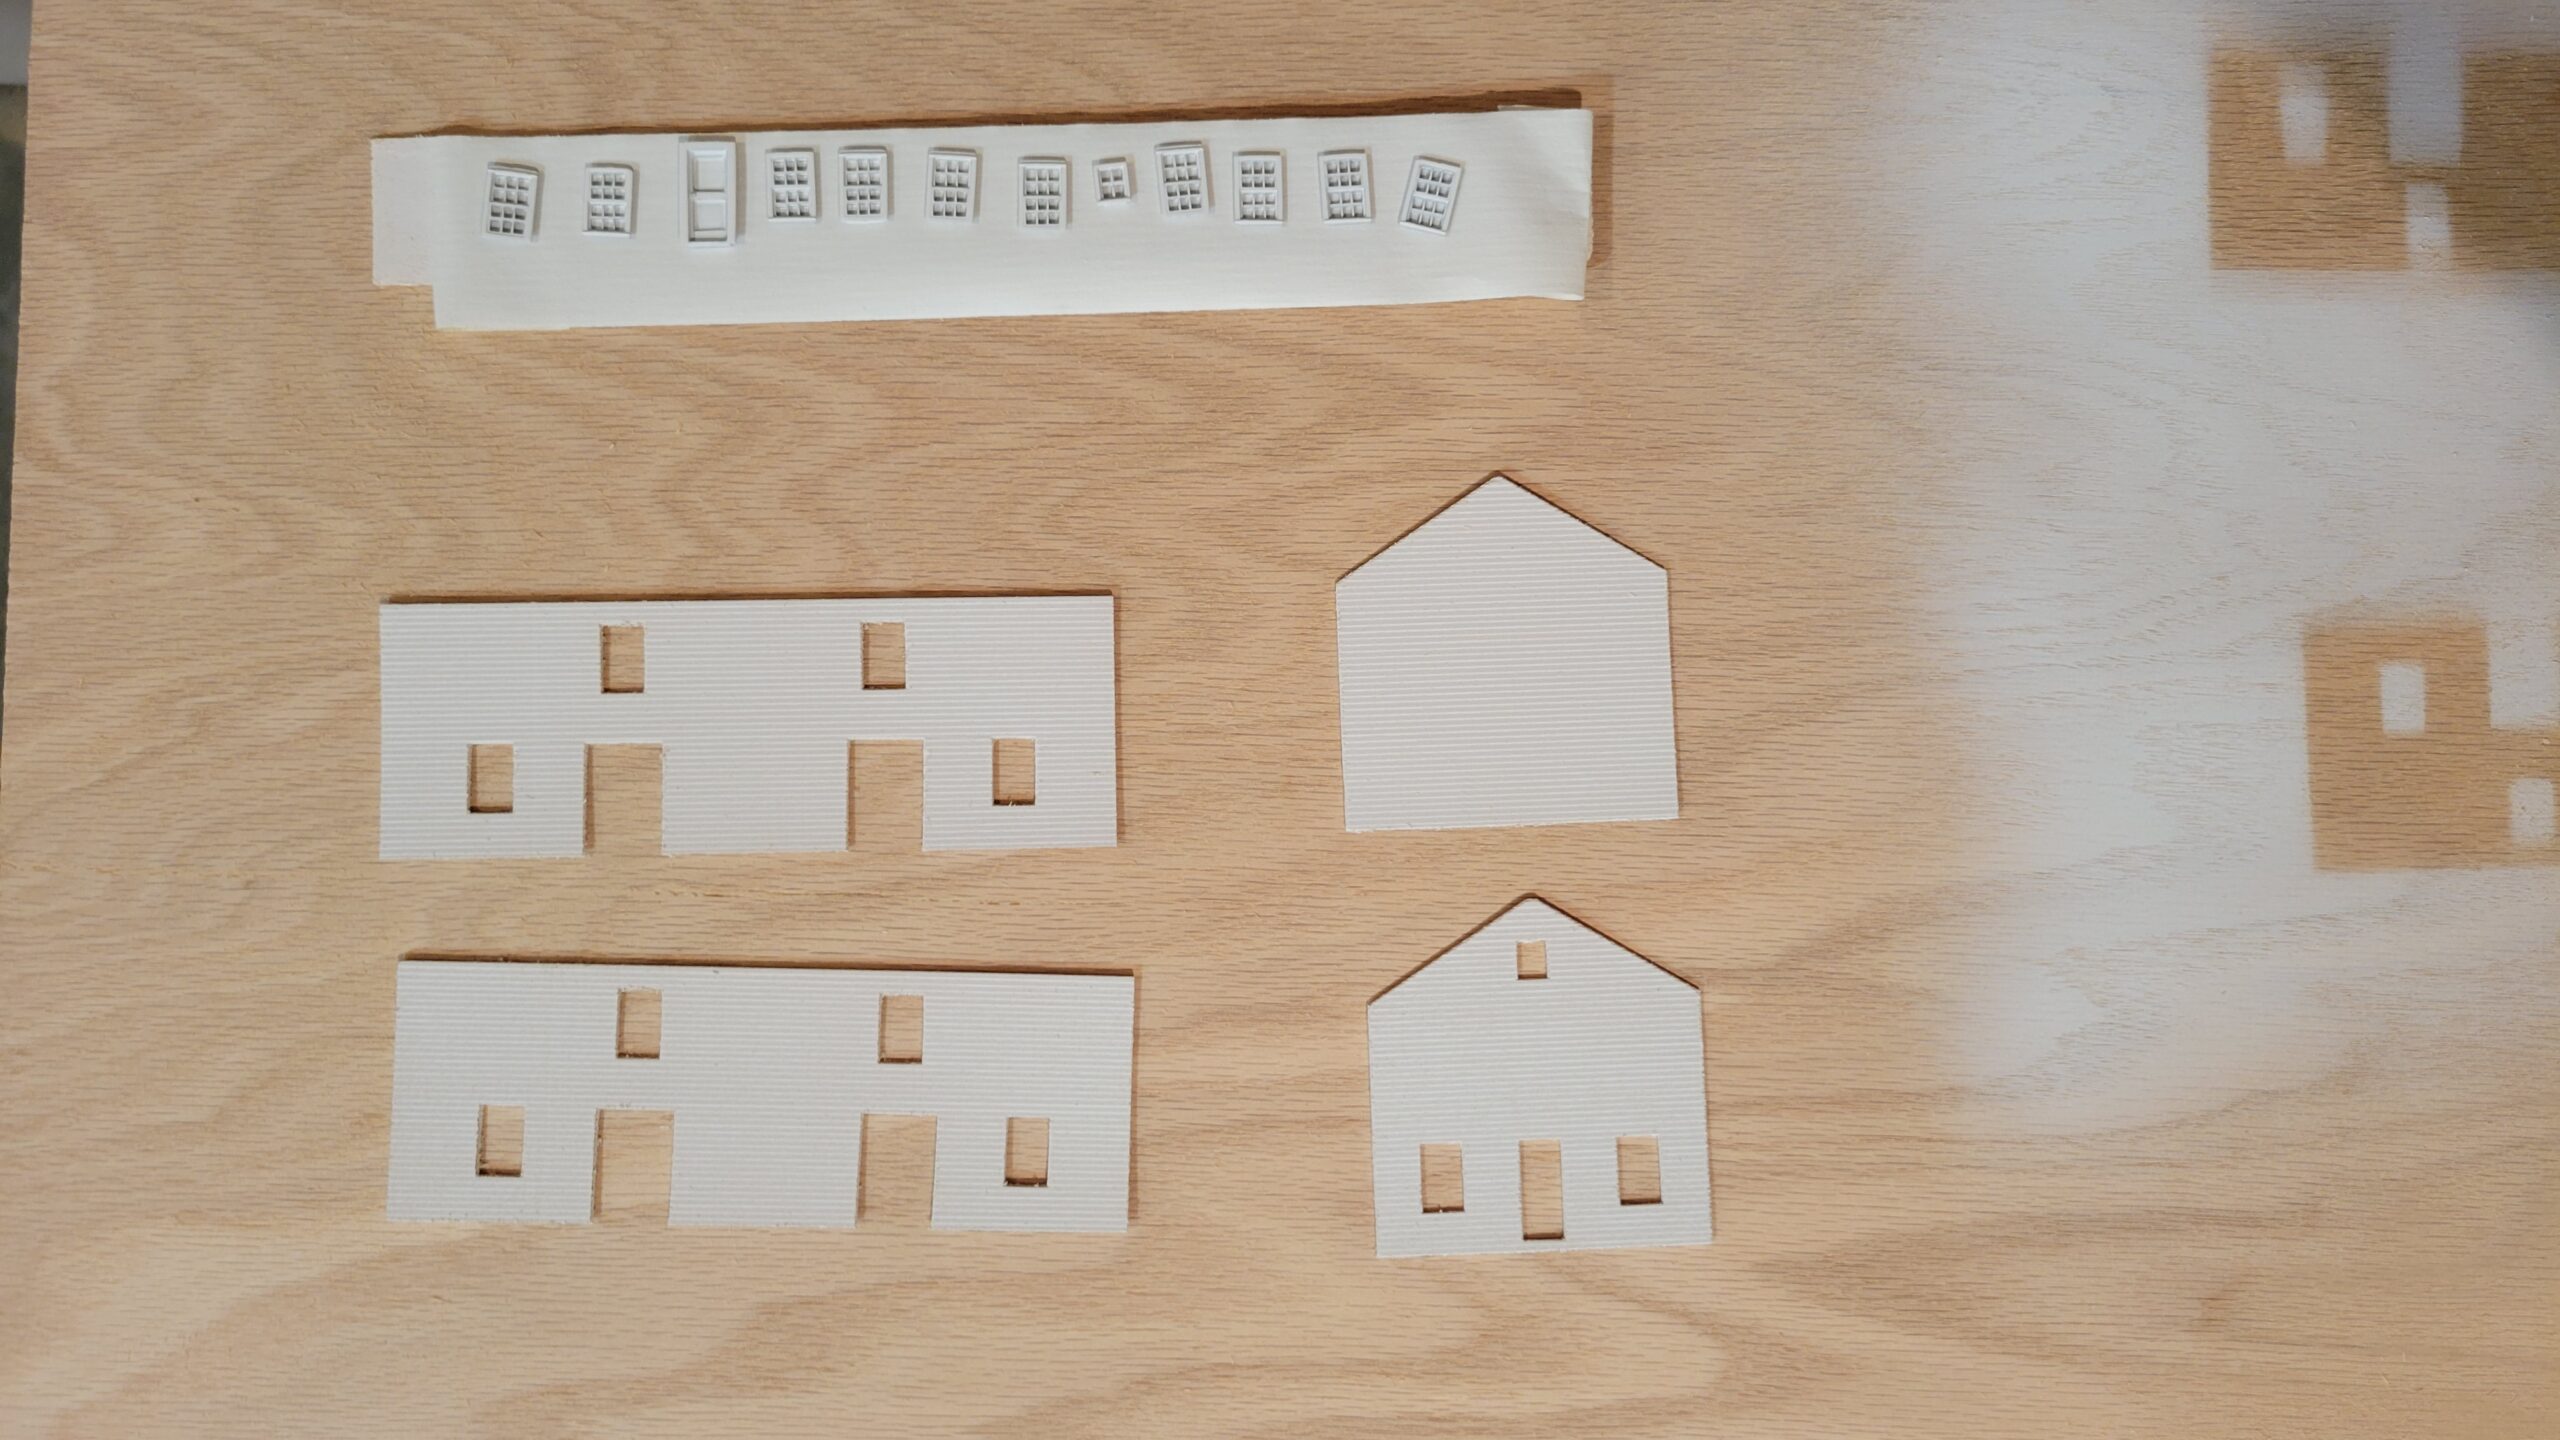
First thing I did was paint it white. Later I'll distress the surface and weather the heck out of it.
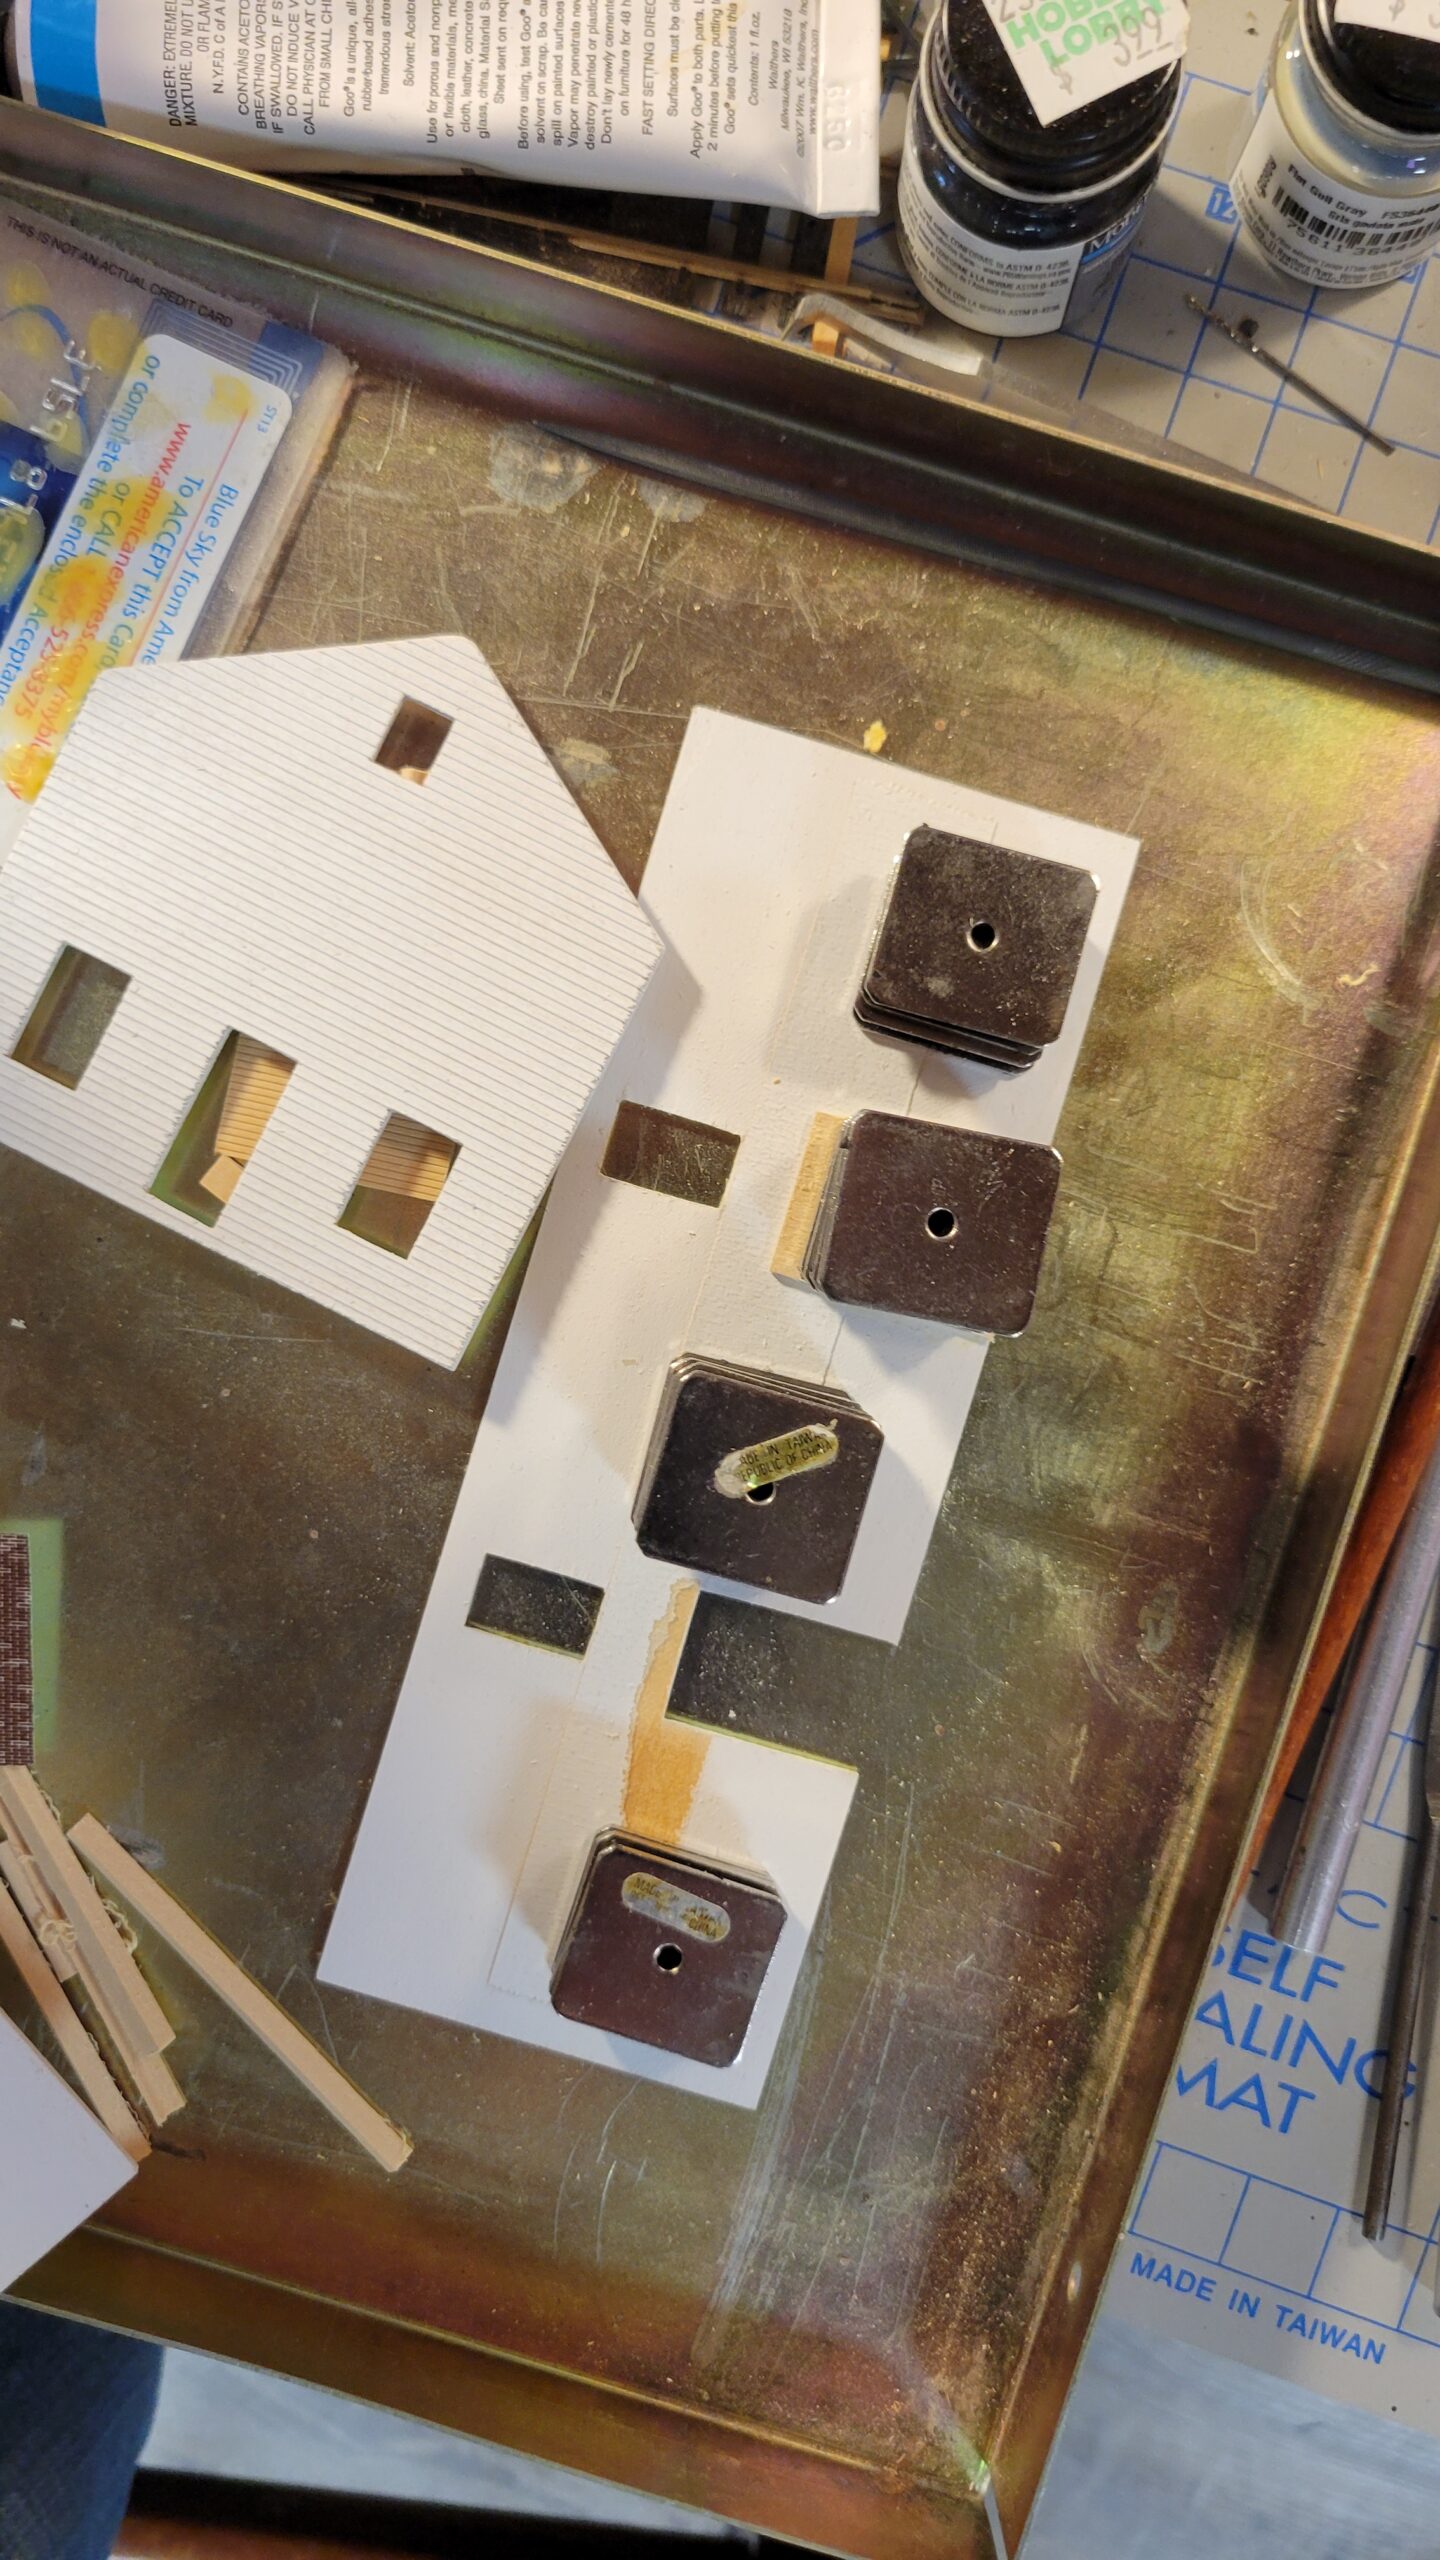
Then I started the actual build process. Here I'm attaching the scribed panels that will represent the cargo doors to the warehouse (under the second-from-the-top set of magnets).
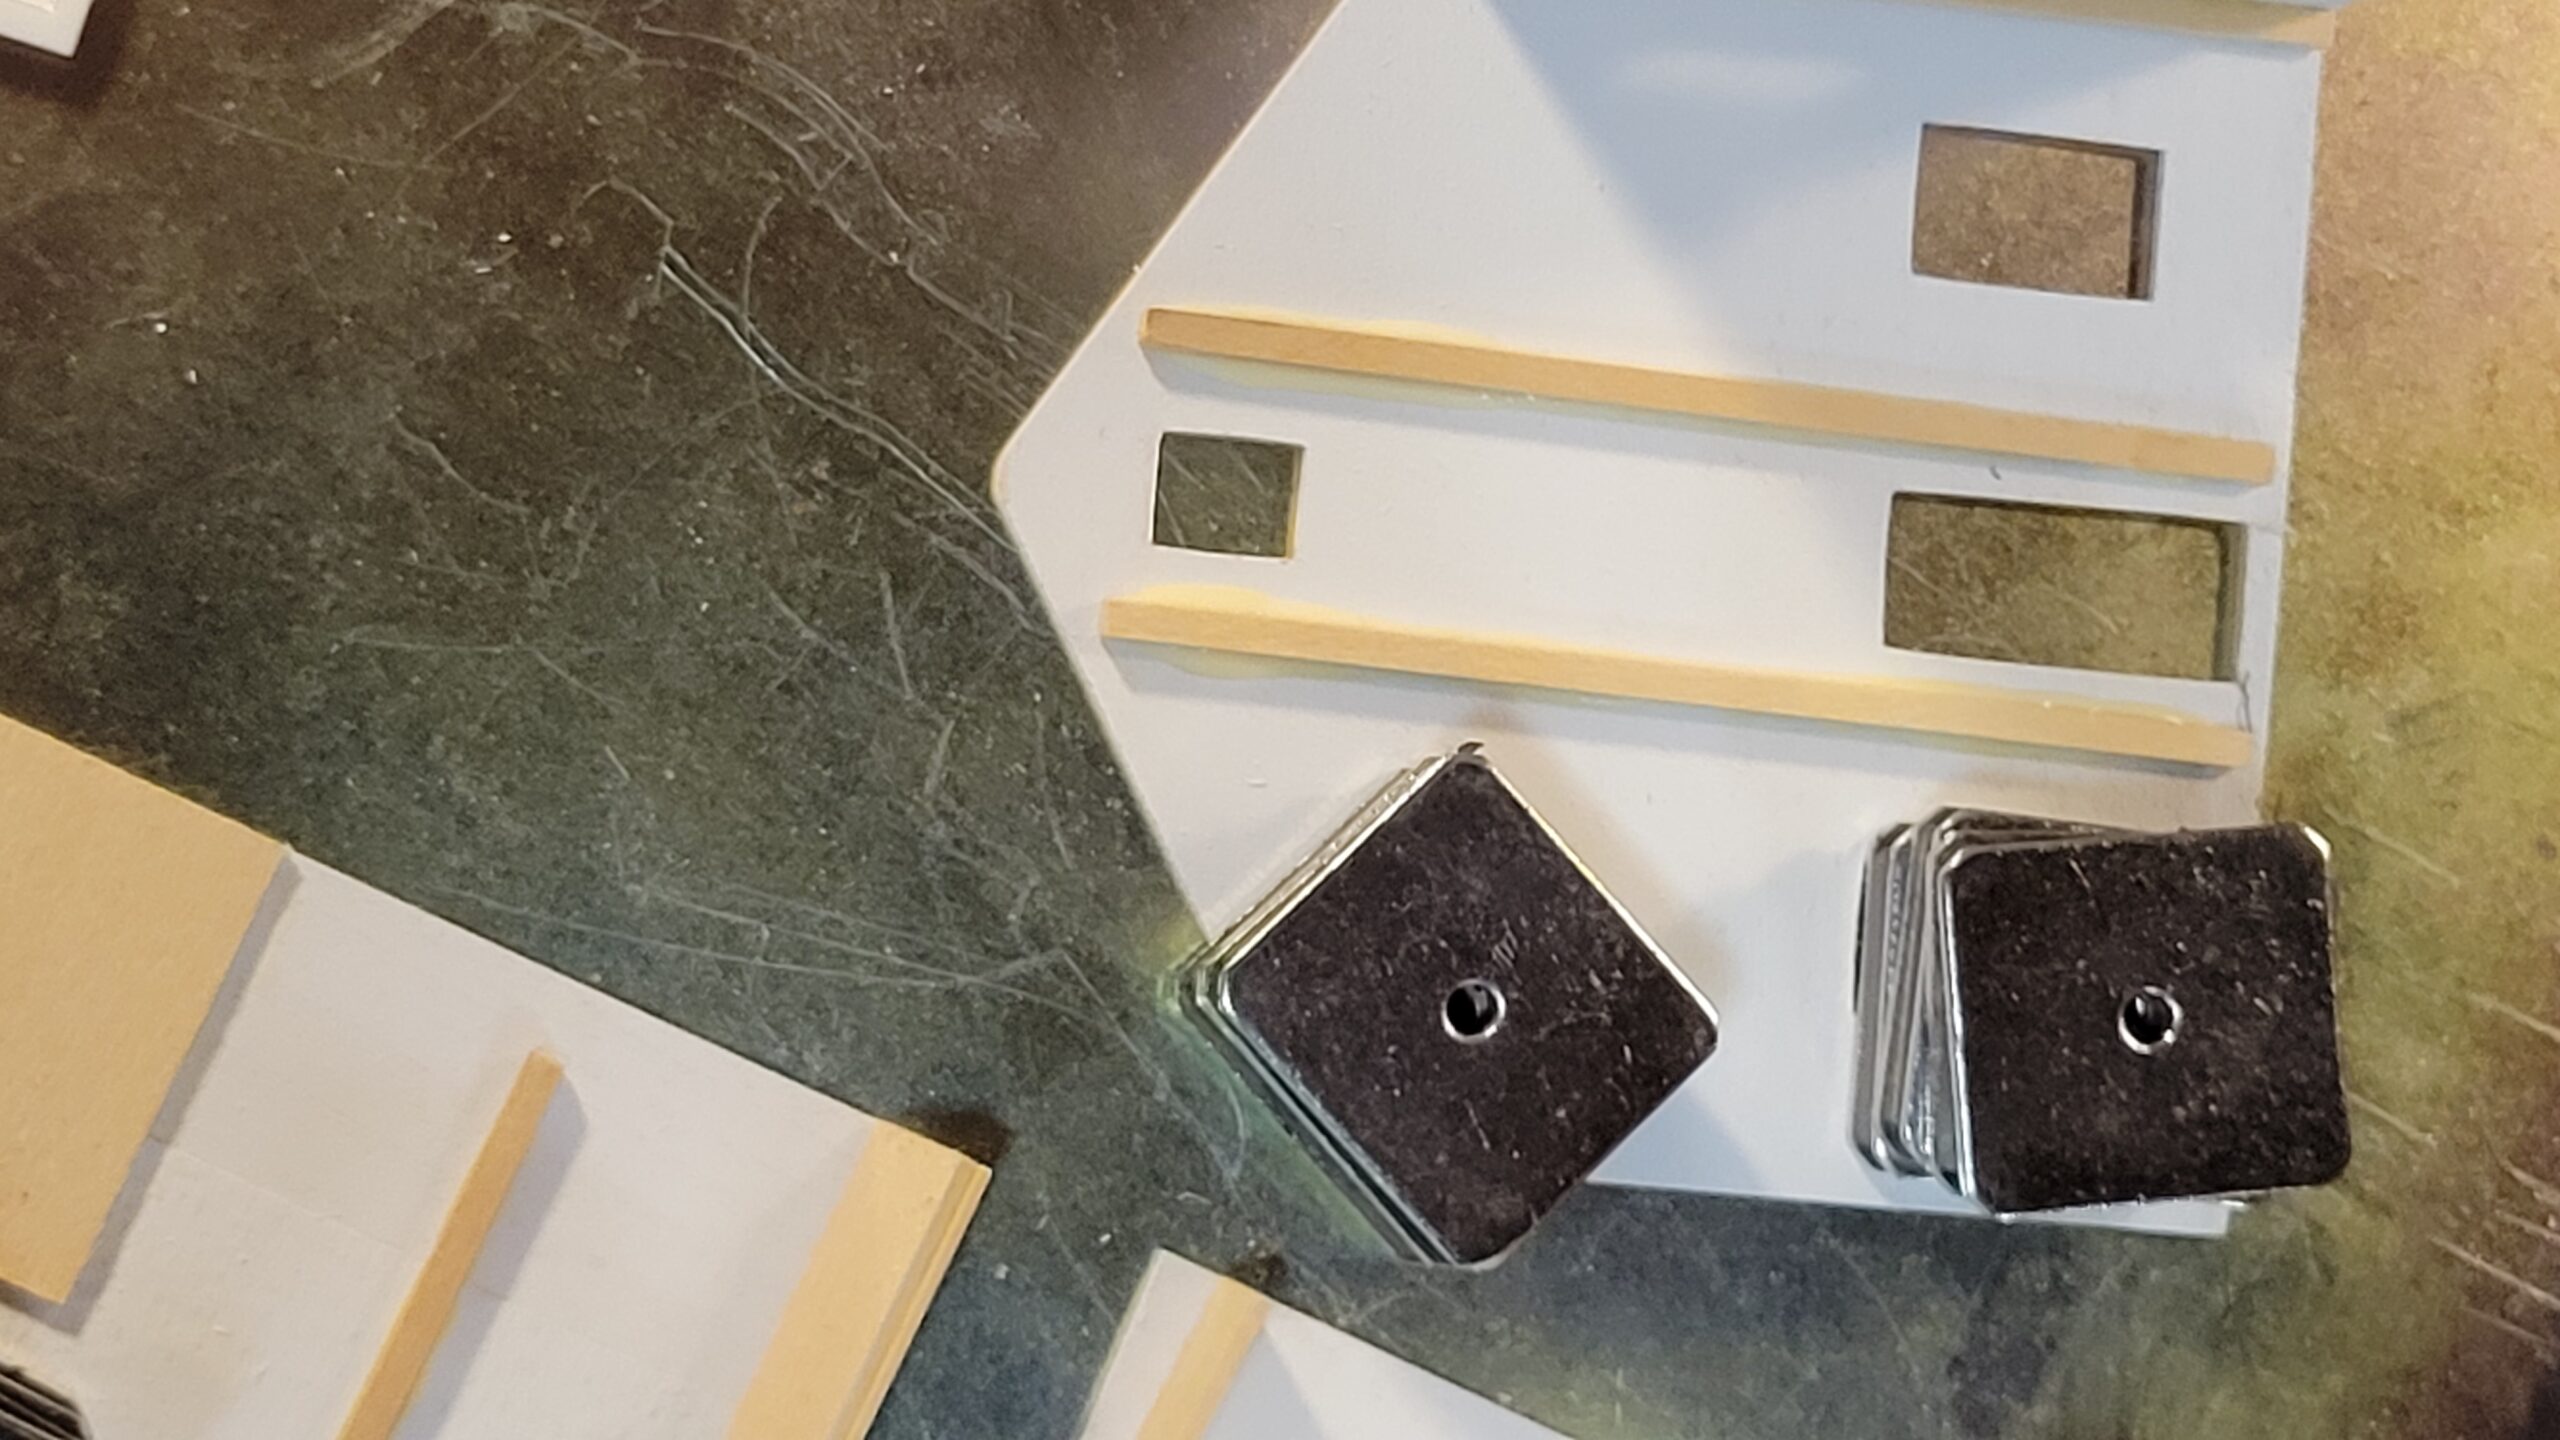
Since the building exterior is thin scribed wood, it will tend to warp over time, even though I painted both sides. So I added some basswood reinforcement columns to help minimize that.
Yesterday I finished attaching the sides together.
And today I installed the corner and warehouse door trim, began installing the man door and window castings, and added a small bit of distressing along the base and on the warehouse doors, using a Hunterline weathering mix. Weathering doesn't look like much yet, but with the addition of paint to the trim and distressed and flaking paint to the doors, it will start to look better, I think.

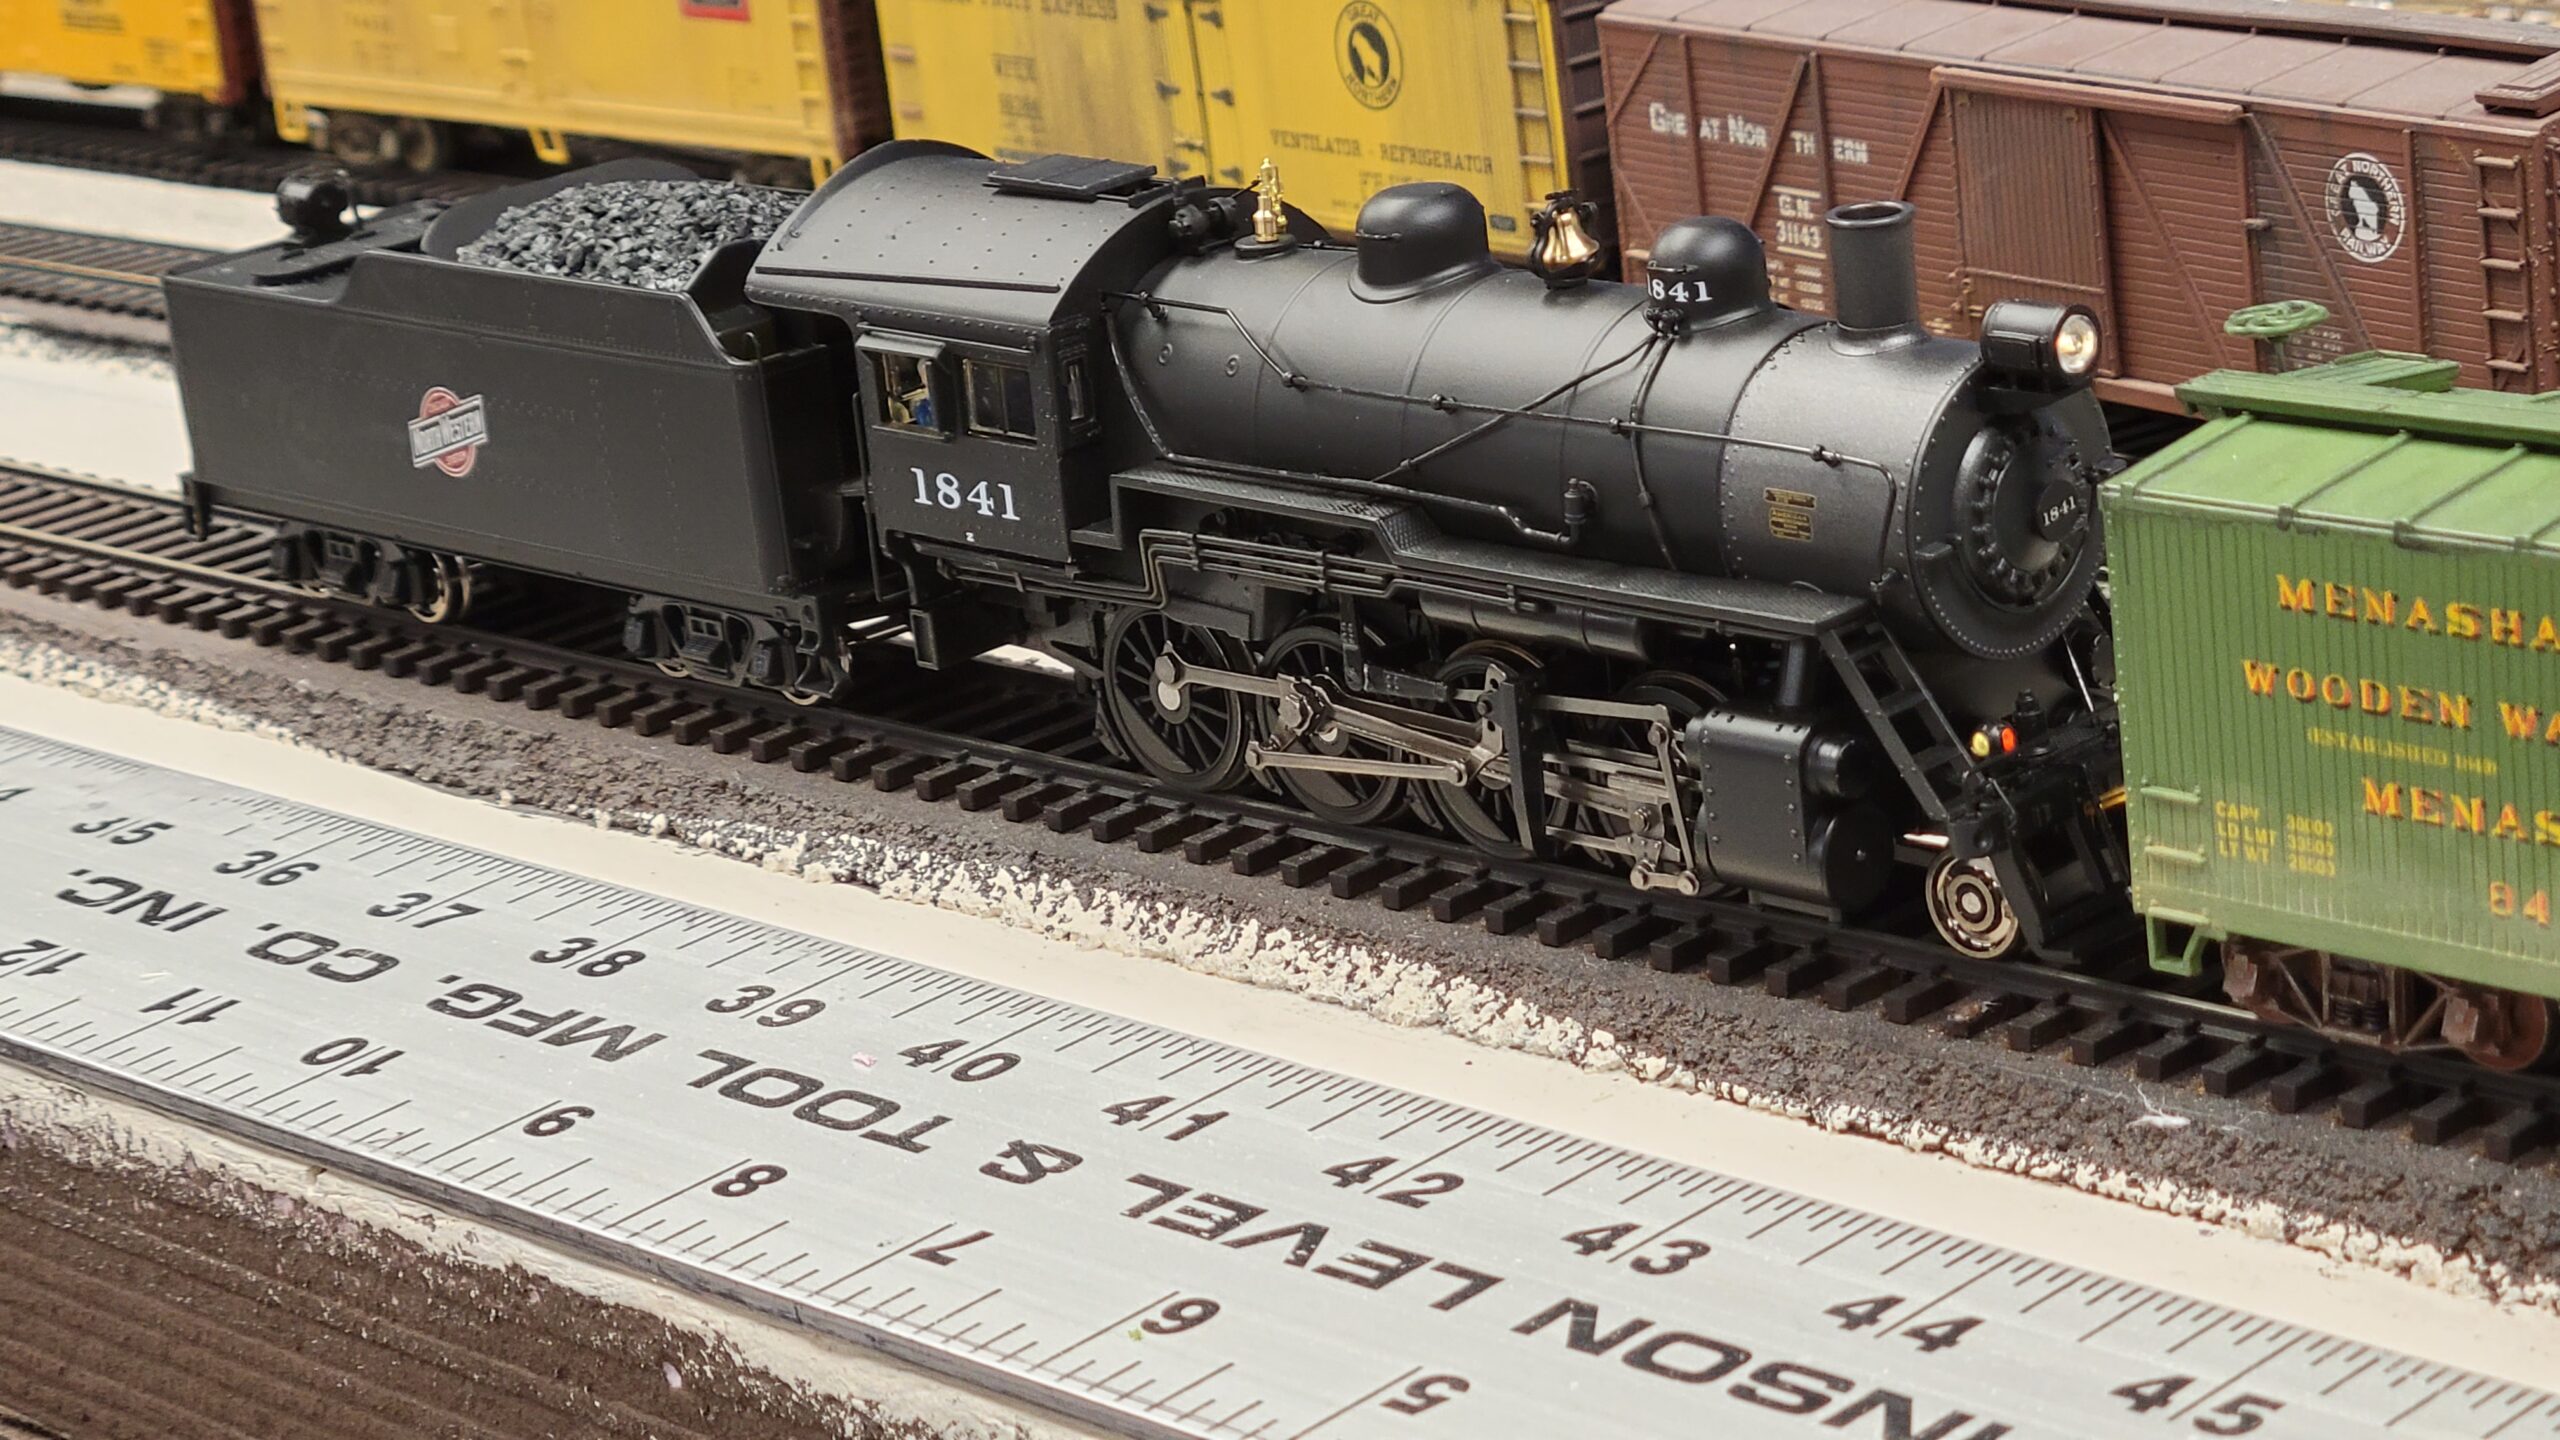
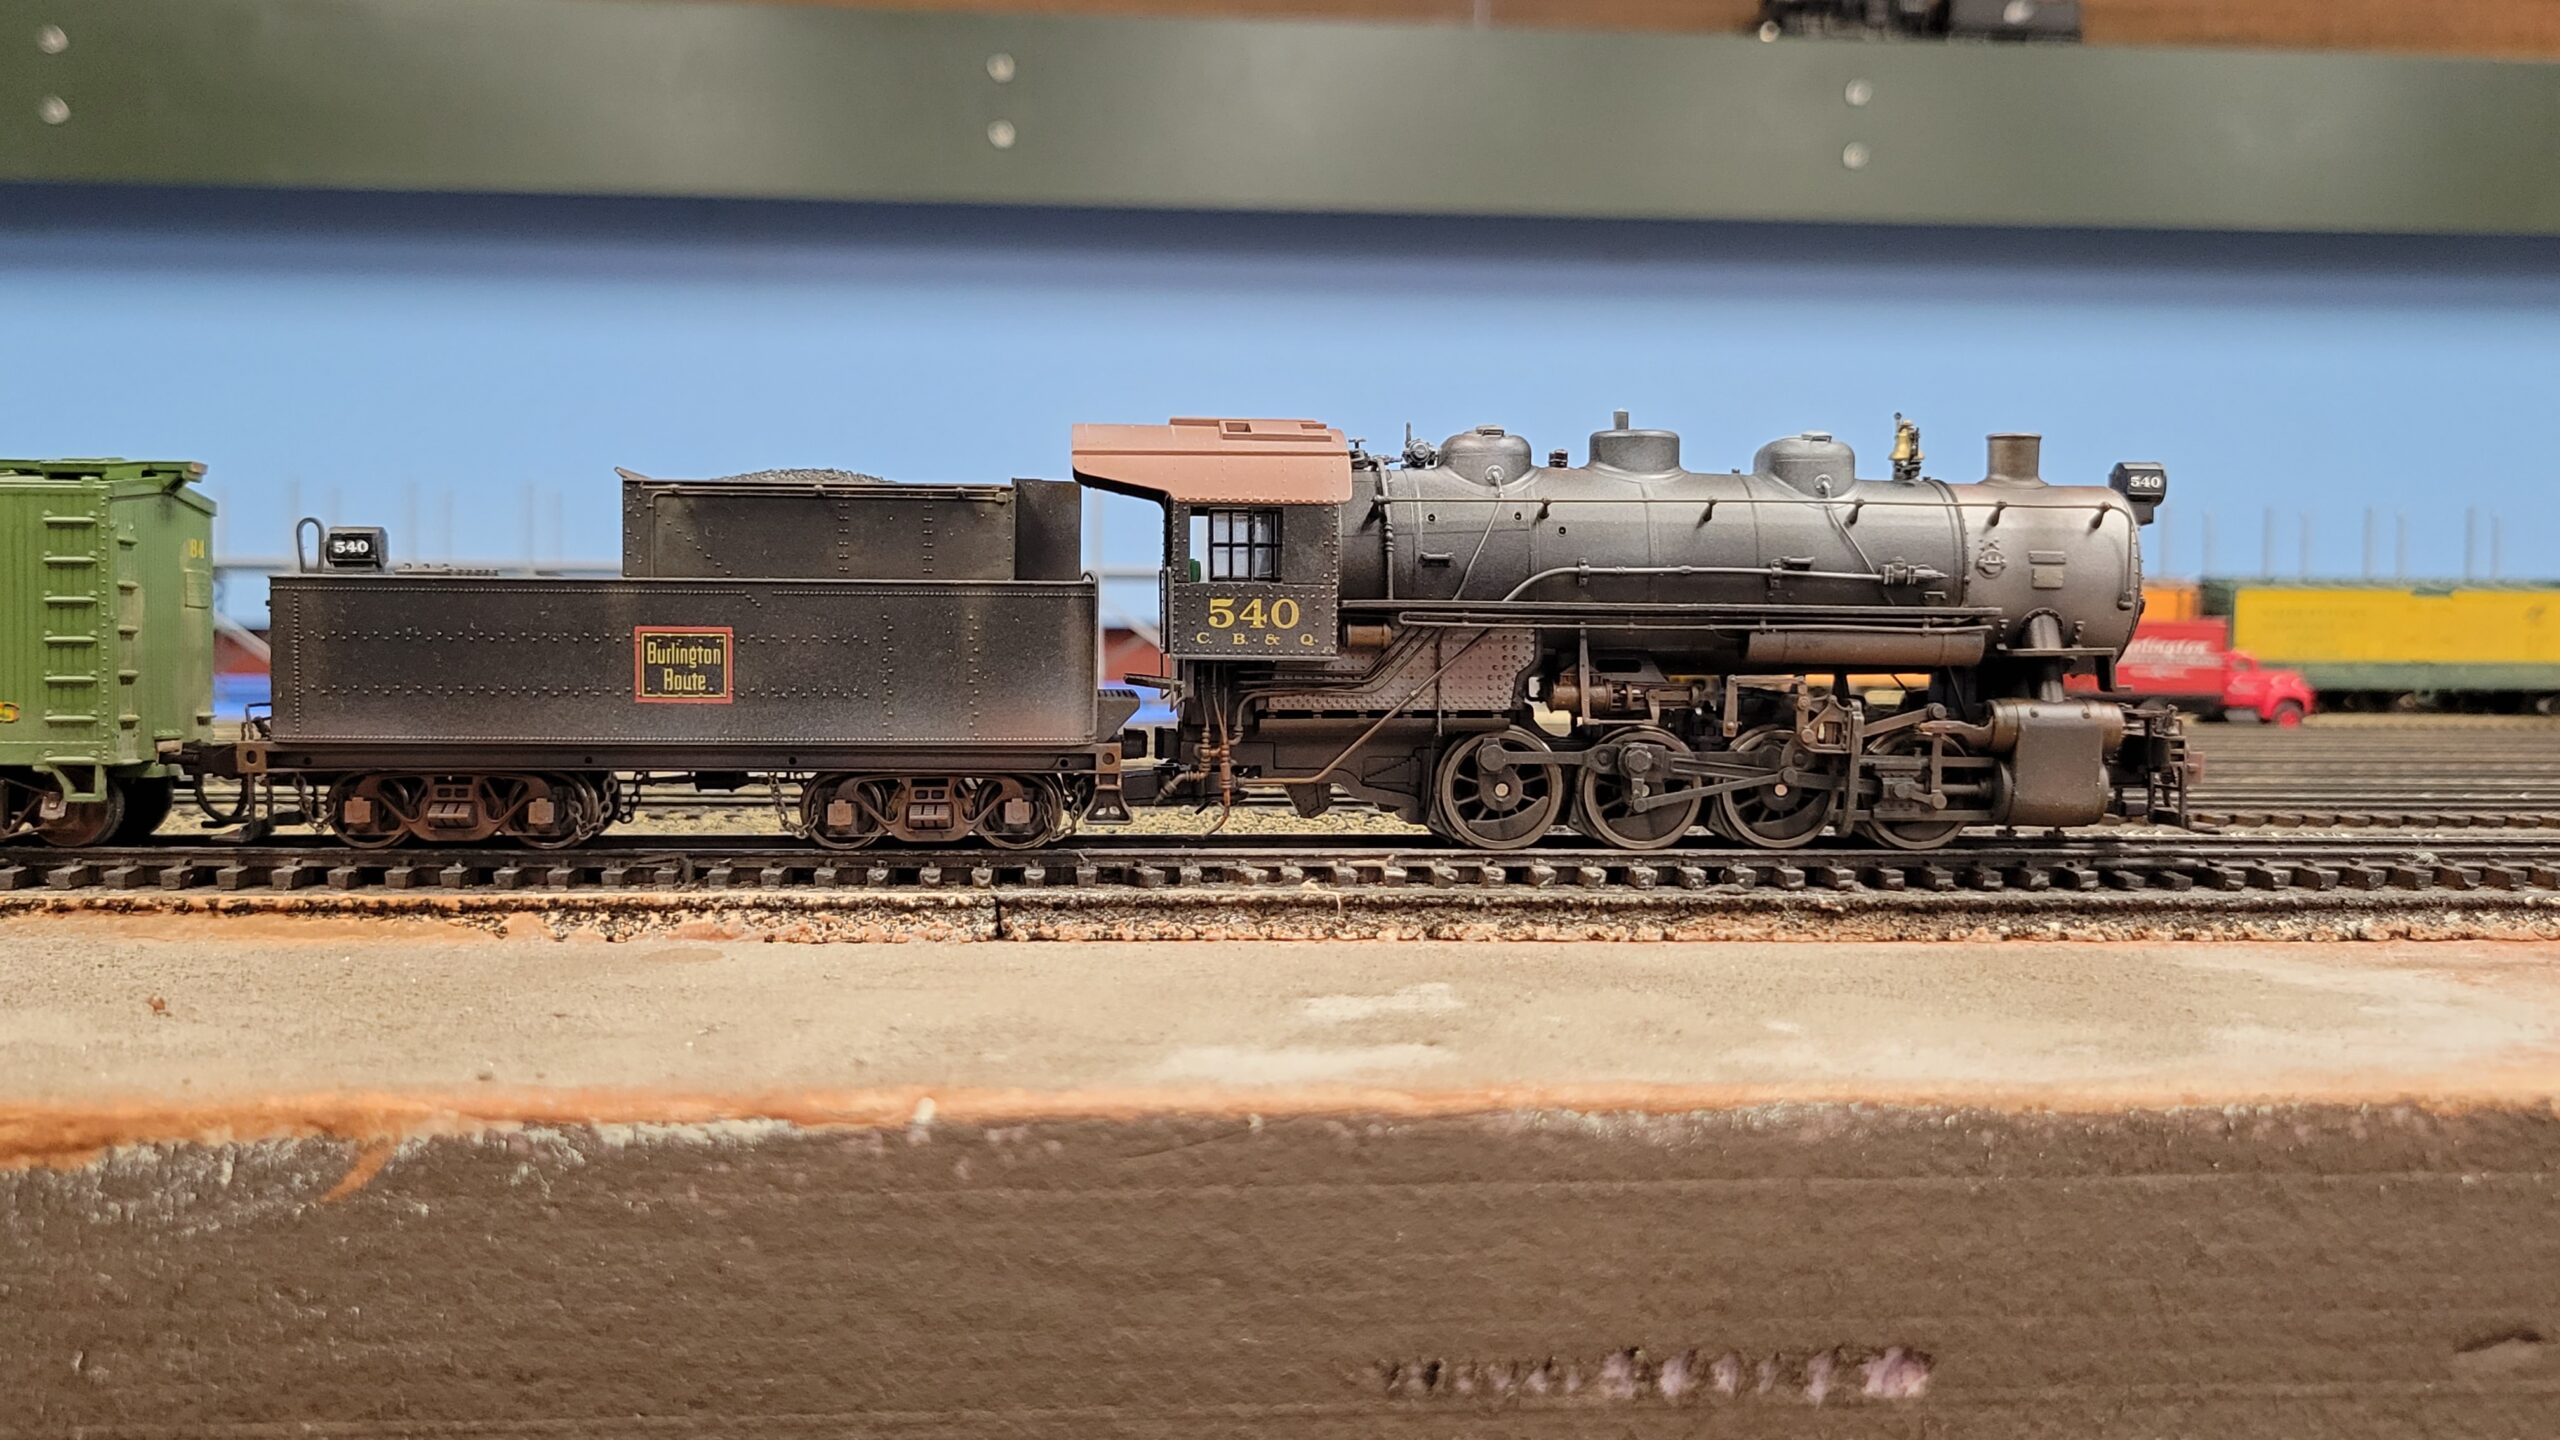
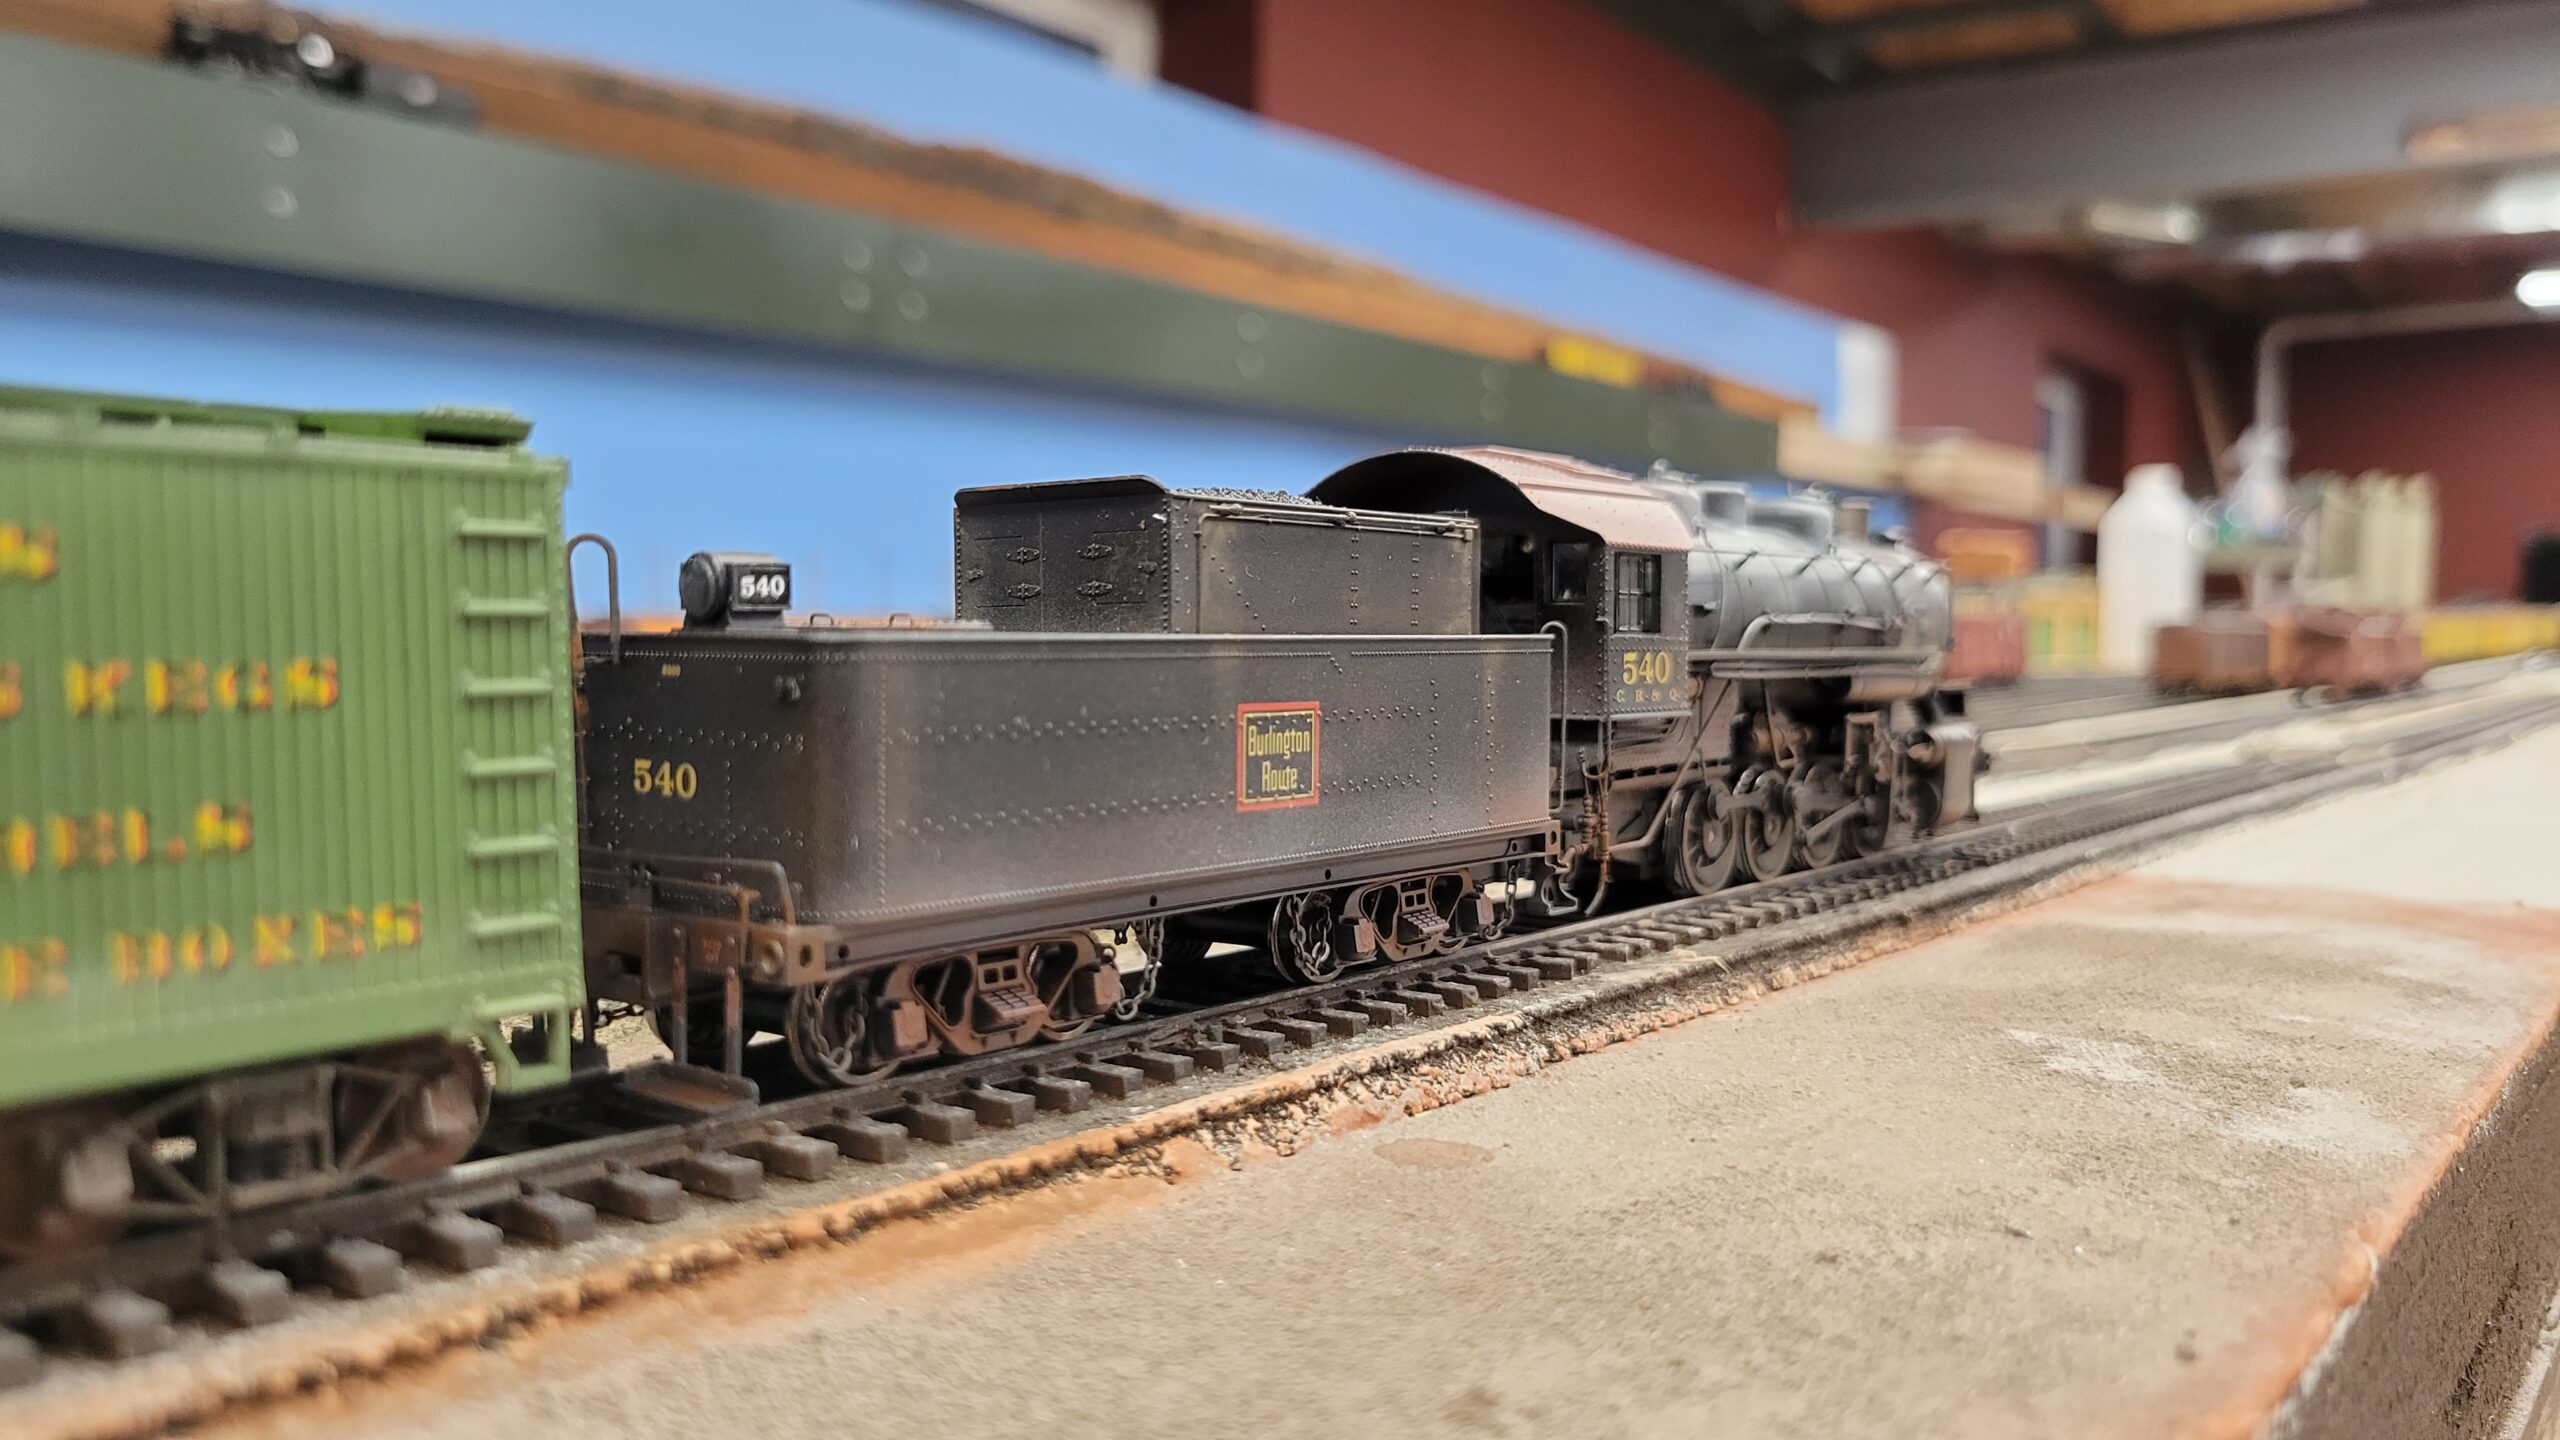
I spent this past weekend at the North Platte Nebraska train show with a few members of the Central Wyoming Model Railroad Association (the Casper Train Club). I made several hundred dollars selling stuff I bought years ago and now won't ever use, then spent most of it on a new locomotive - a BLI Consolidation in Chicago and North Western livery.
I got back home yesterday afternoon, and today picked right back up on the layout, finishing ballasting the second section of Casper yard. It's still wet in this photo.
Before I left for the show, I ballasted the track you can see above that has the turnout. I'm pleased to report that the turnout still functions just fine.
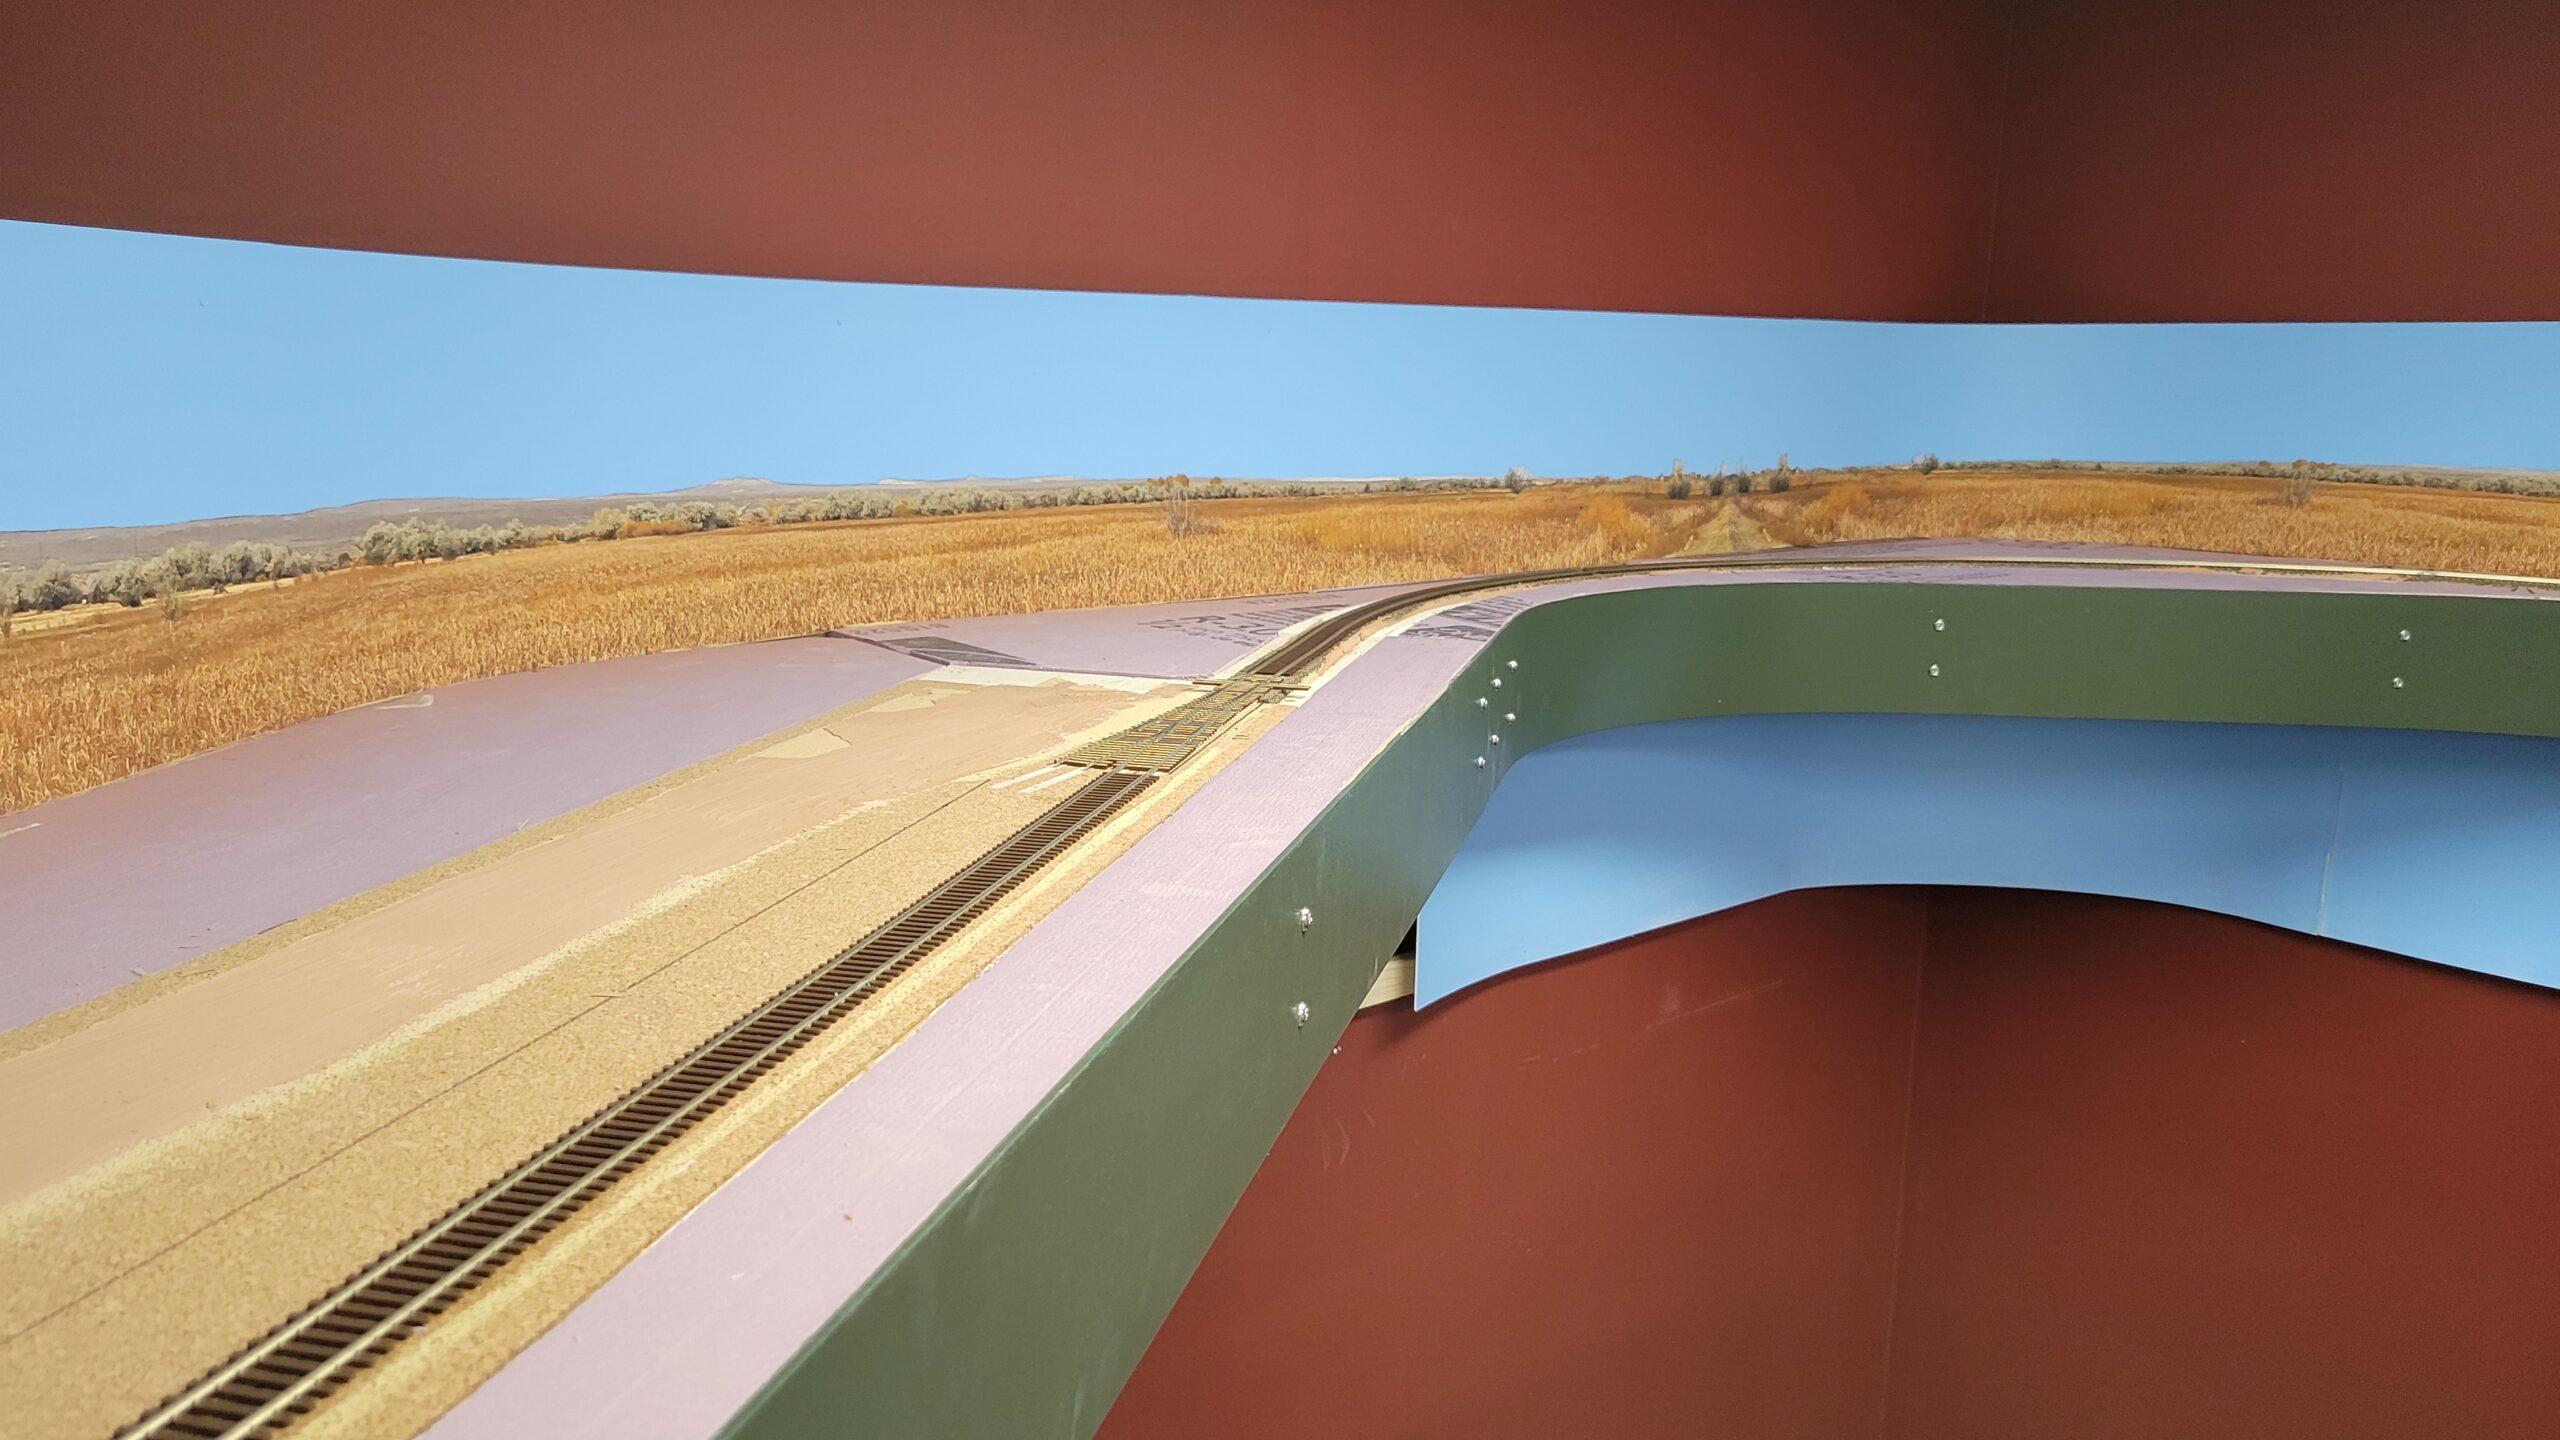
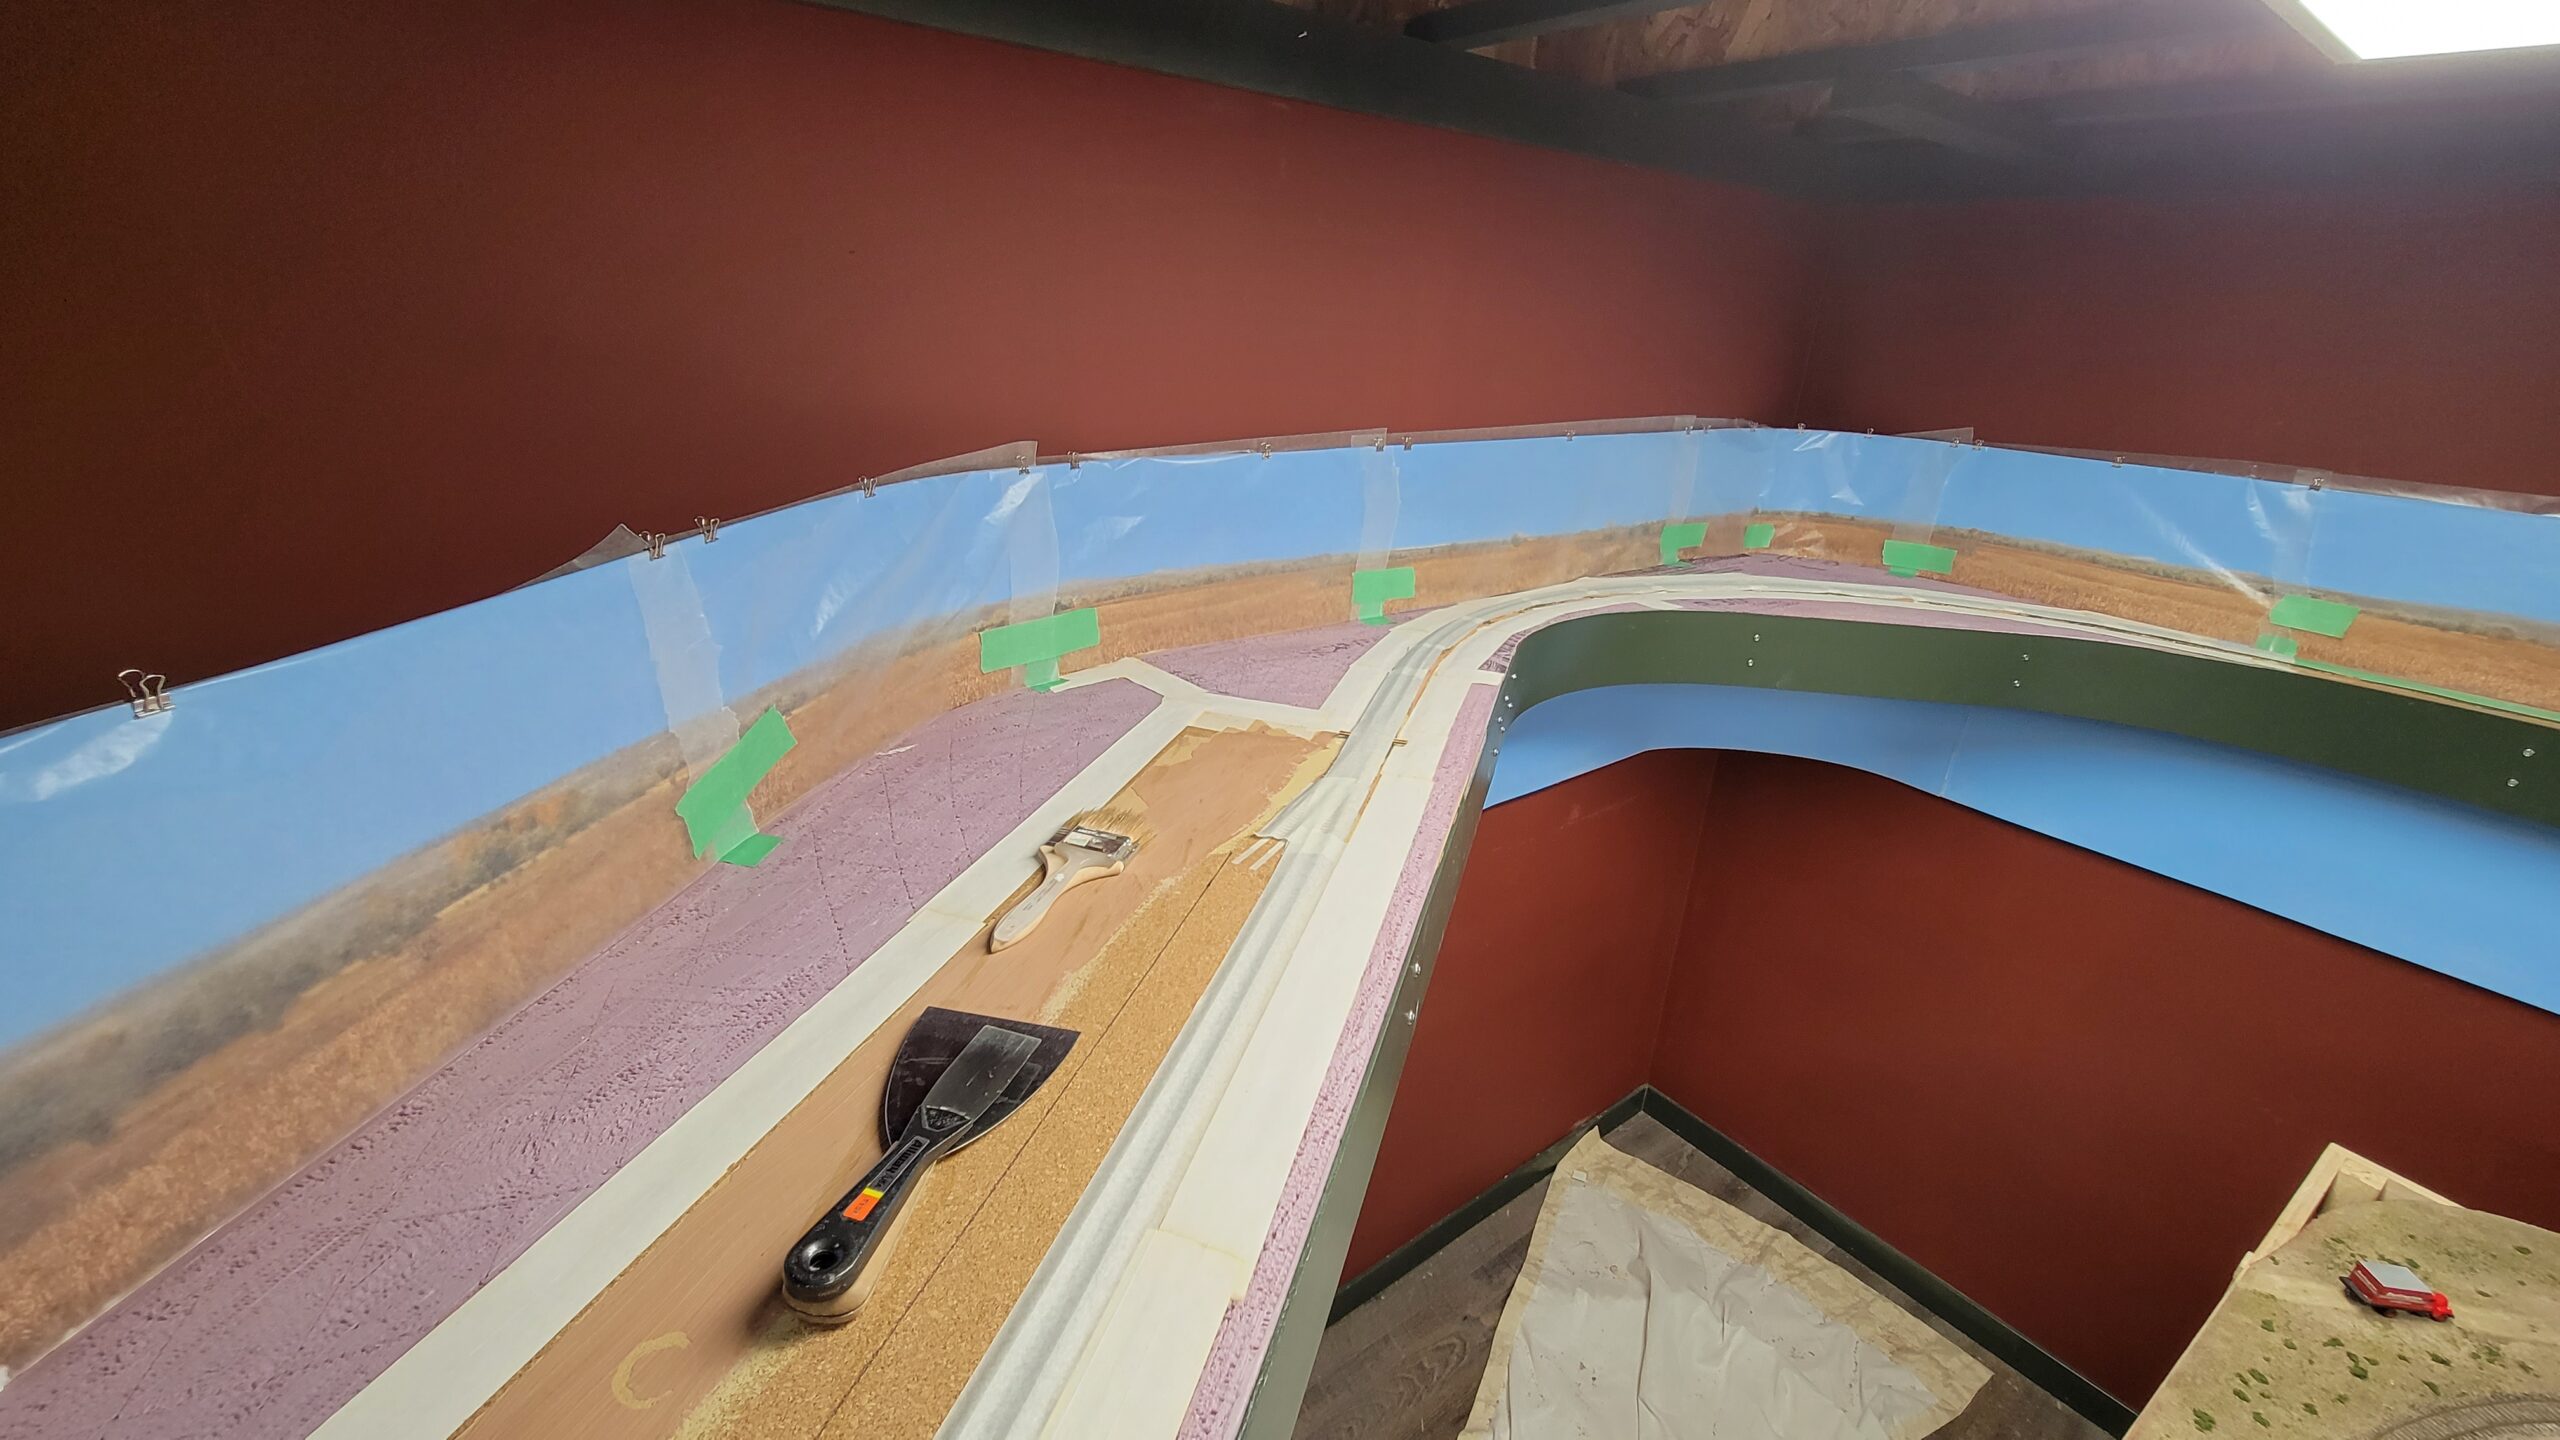
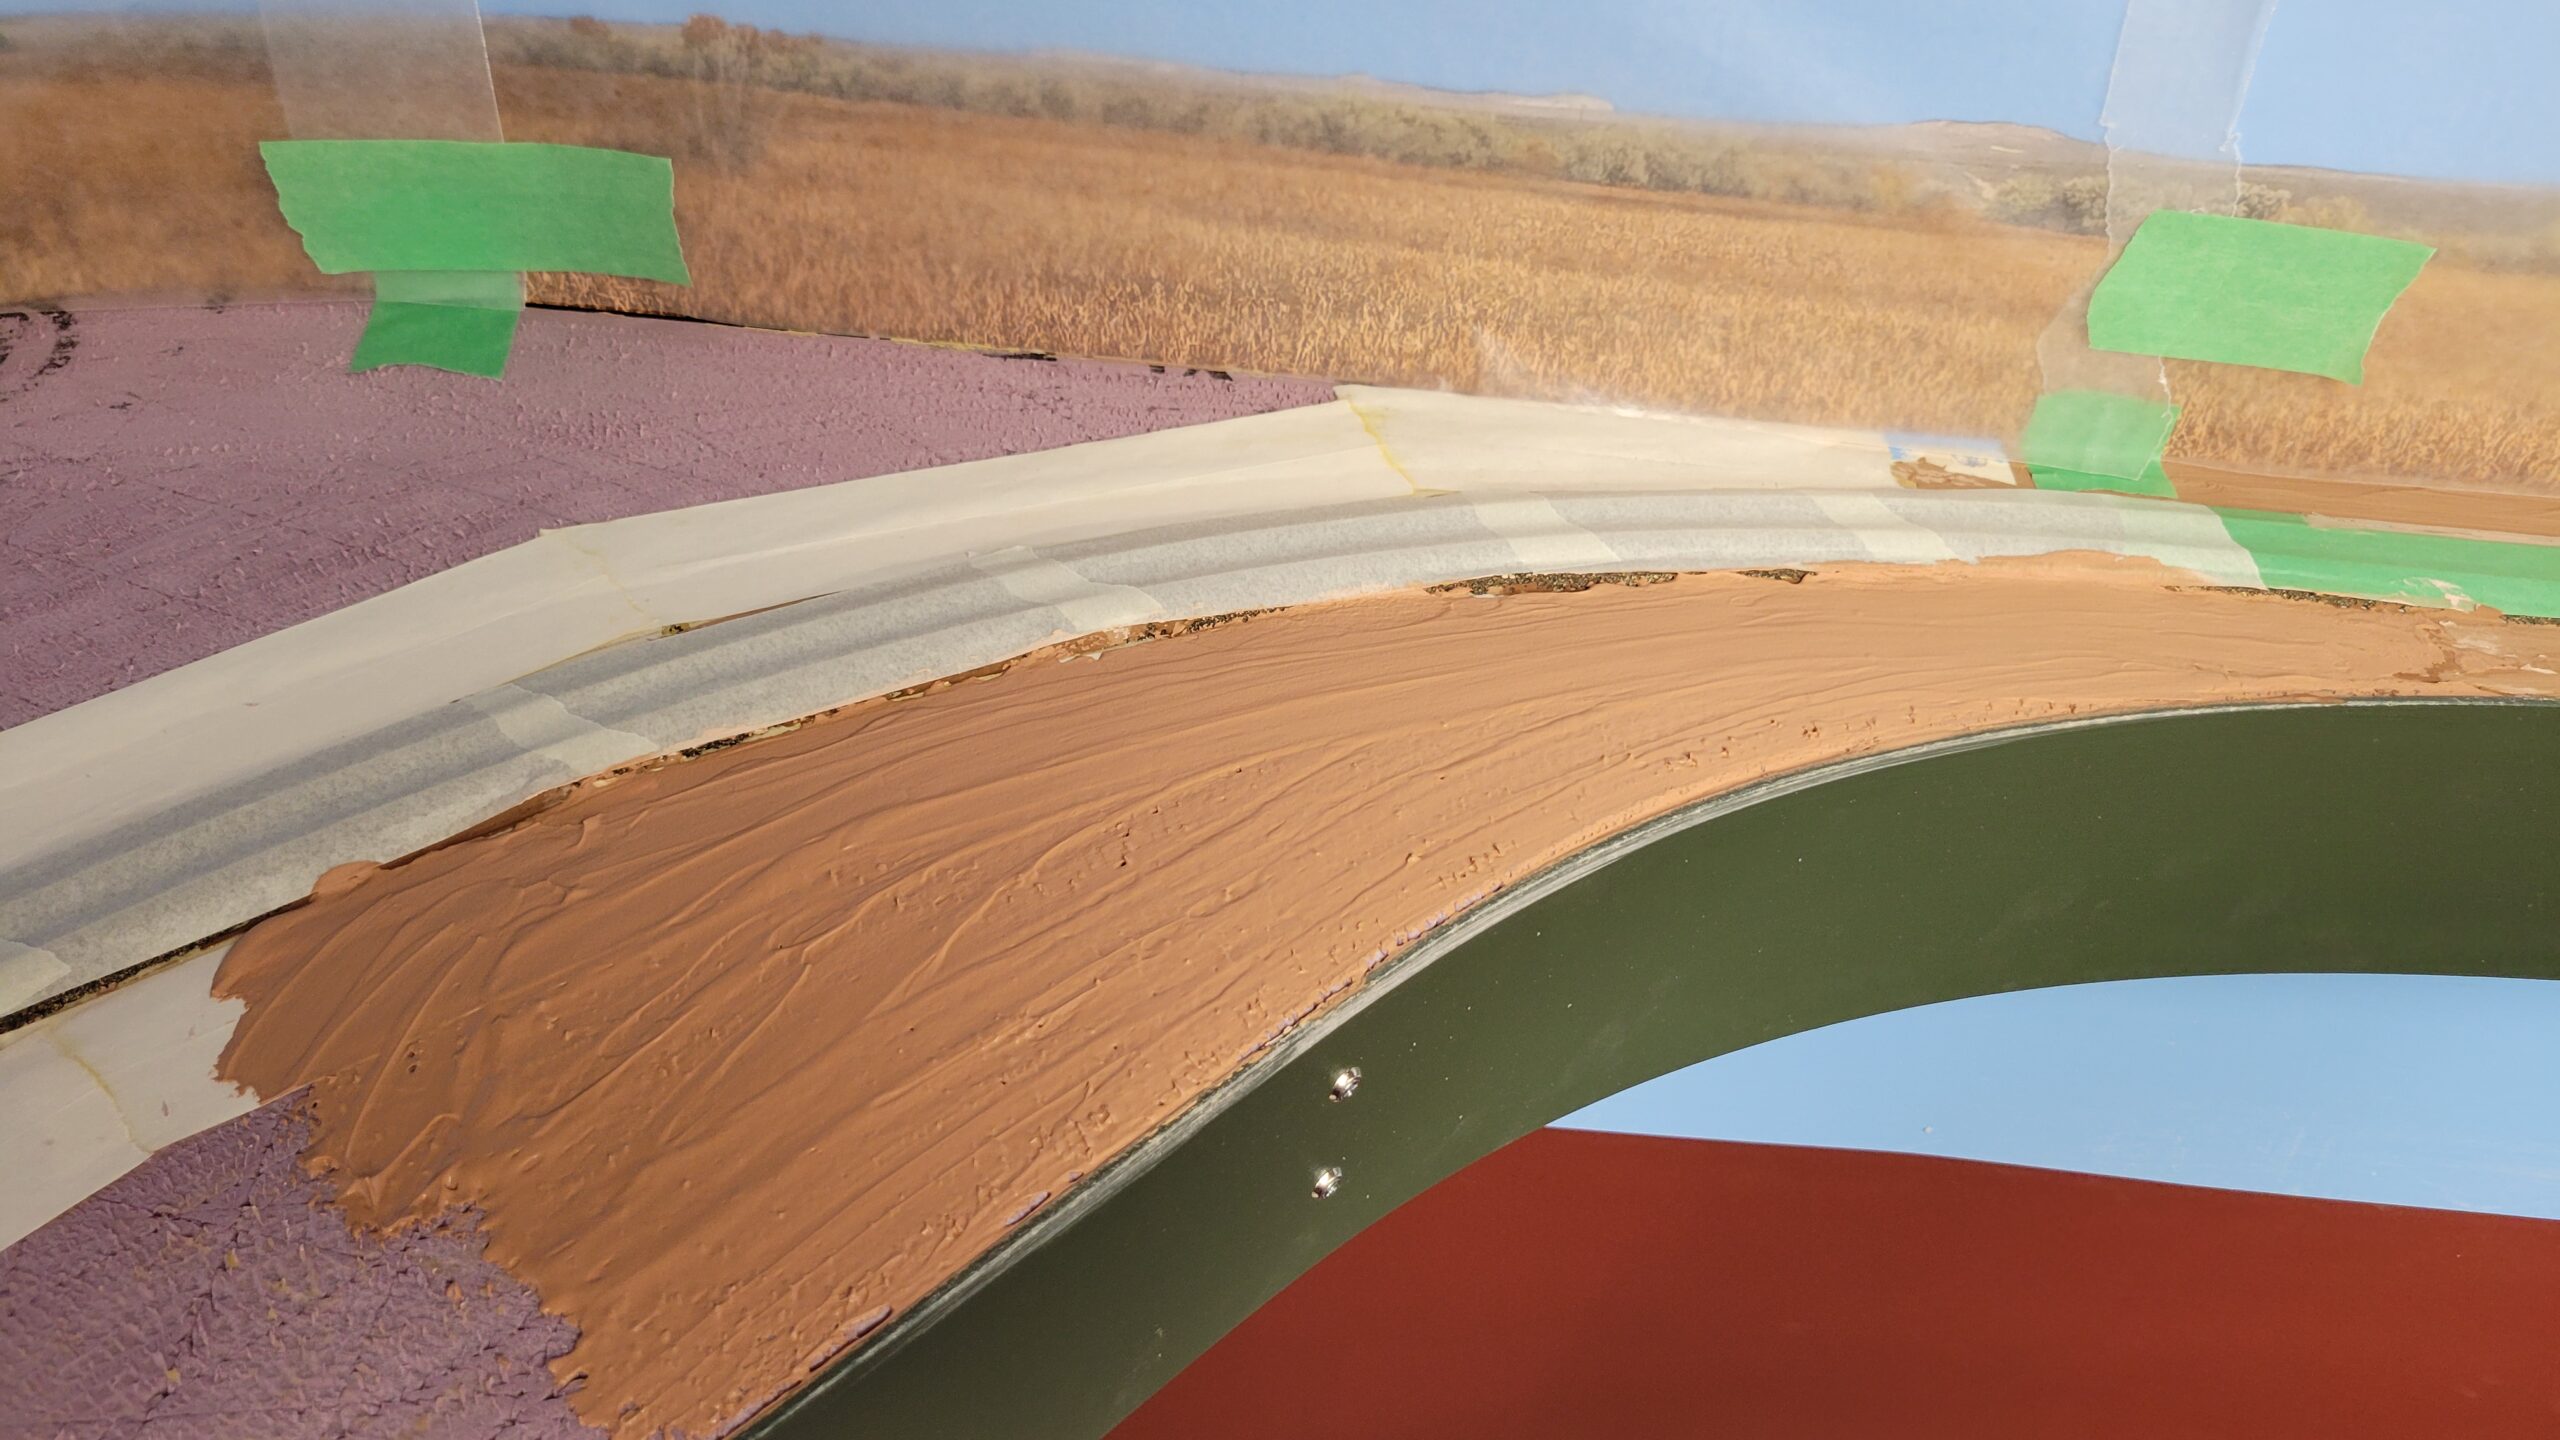
The last week I've spent much of the time Working on the CNW line into the corner over Casper. The last bit of Celluclay was placed where the long tangent leads into the curve, and ballasting was done. A few touched-up spots need to be glued down, but it's almost done.
 Next will come removal of the wax paper over the backdrop and the addition of ground cover and such.
I've also spent some time working on Rocky Mountain Drilling. Here half the tarpaper roof is in place.

Work continues on Rocky Mountain Drilling, with addition of the floor (not in this shot) and temporary placement on the layout. Still to be done is the chimney and the loading platforms.
Nathan, a friend from the local railroad club, weathered one of switchers for me.
Looks pretty good!
I painted the newer track on the east side of Casper, and the splice sections where the yard was split for the move from New Jersey to Casper. I couldn't remember what color I used before - I could only remember that it was Rustoleum. So I bought a Rustoleum brown and it's clearly different than what I used before. Oh, well. I'll just say the redder brown is newer track!
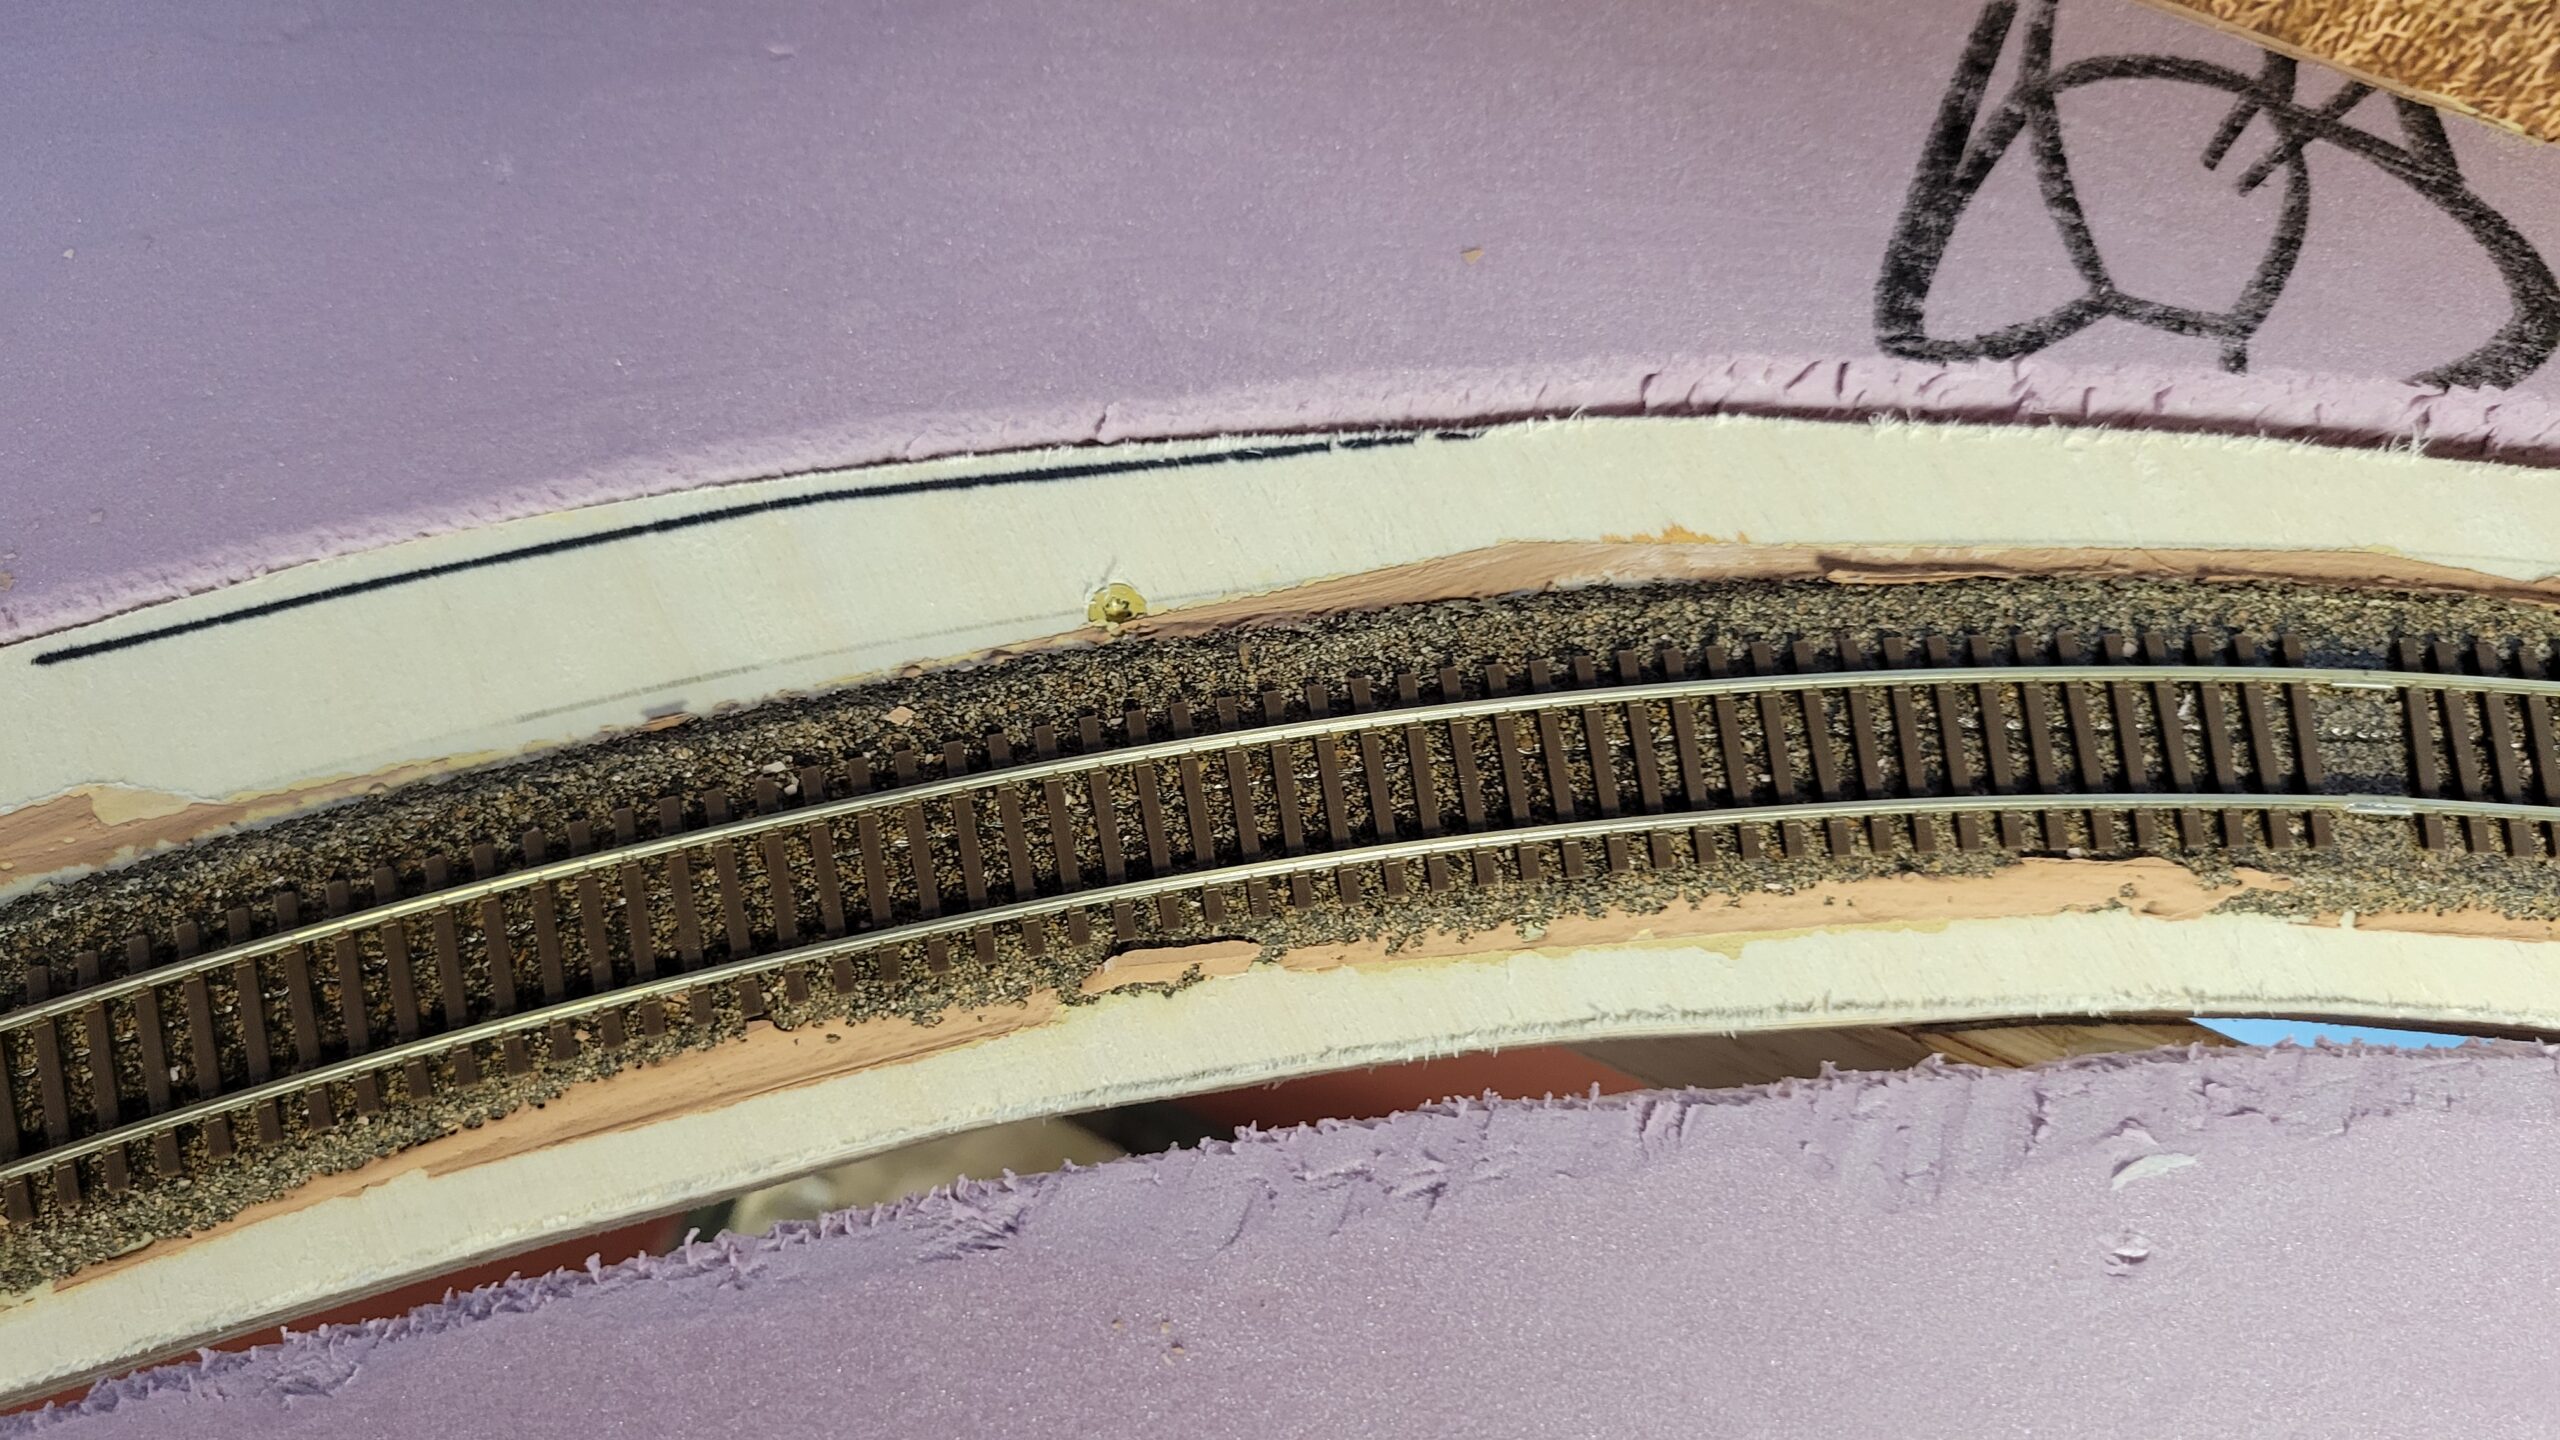
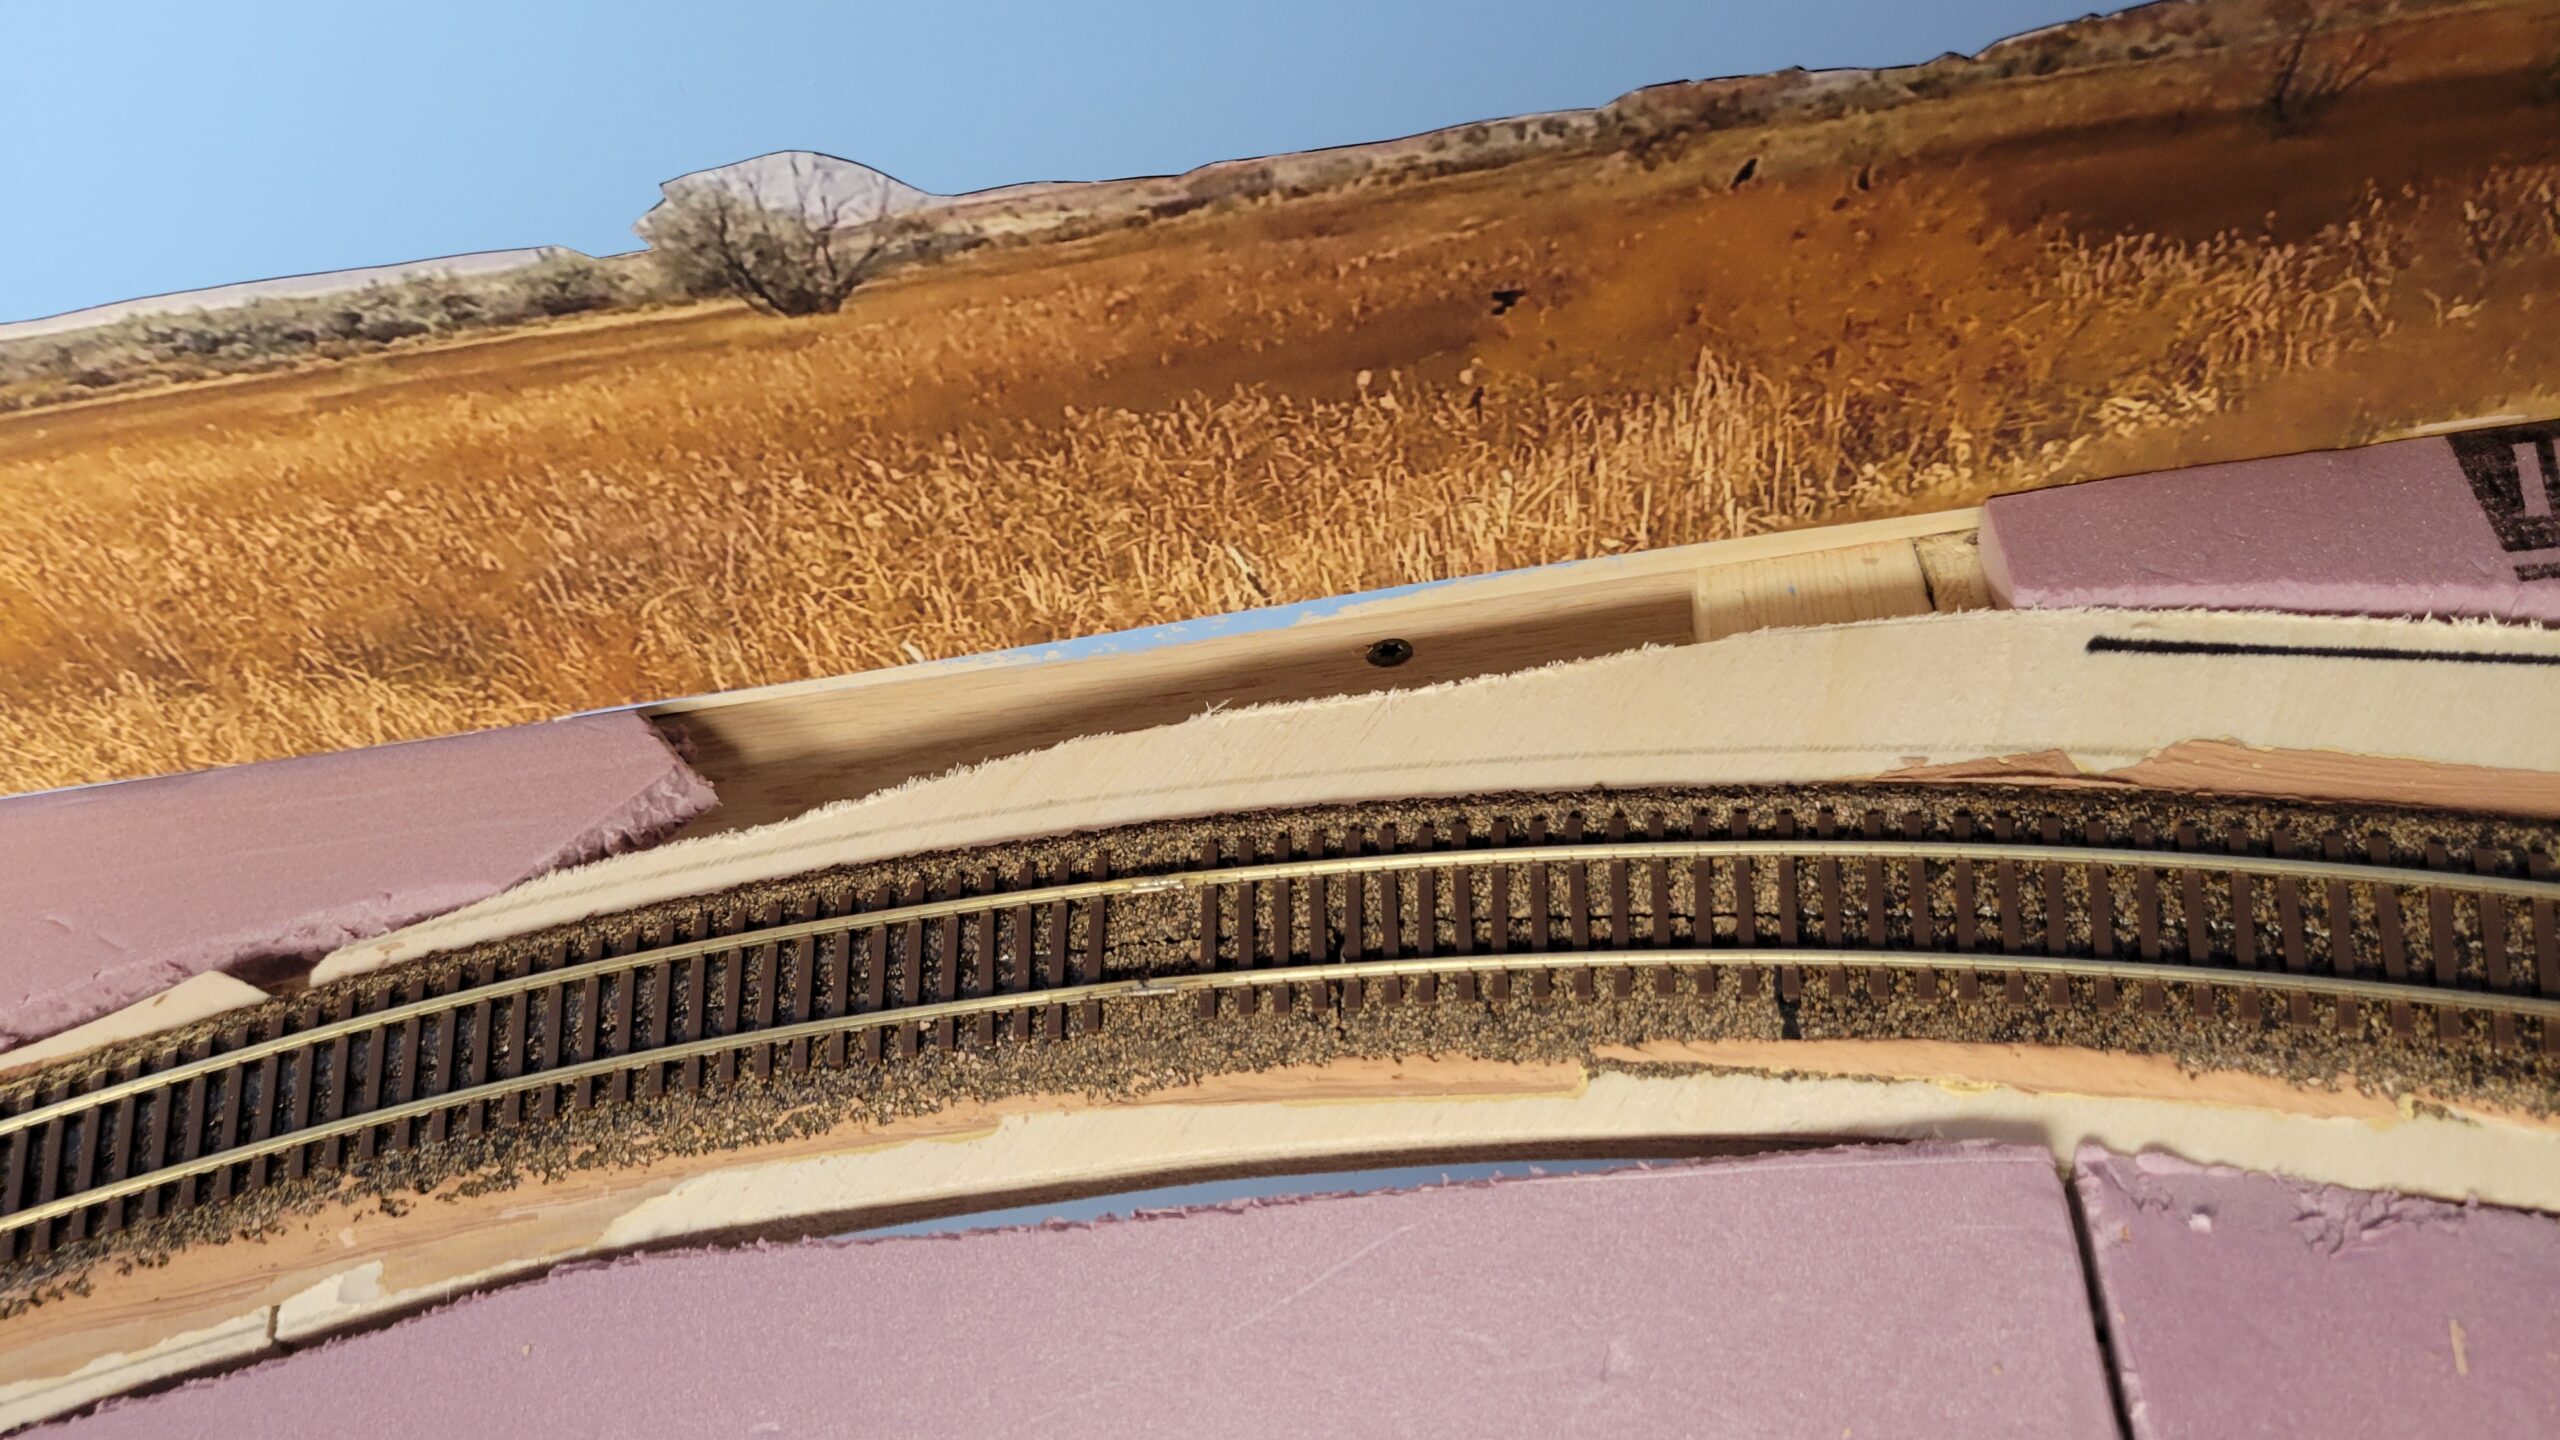
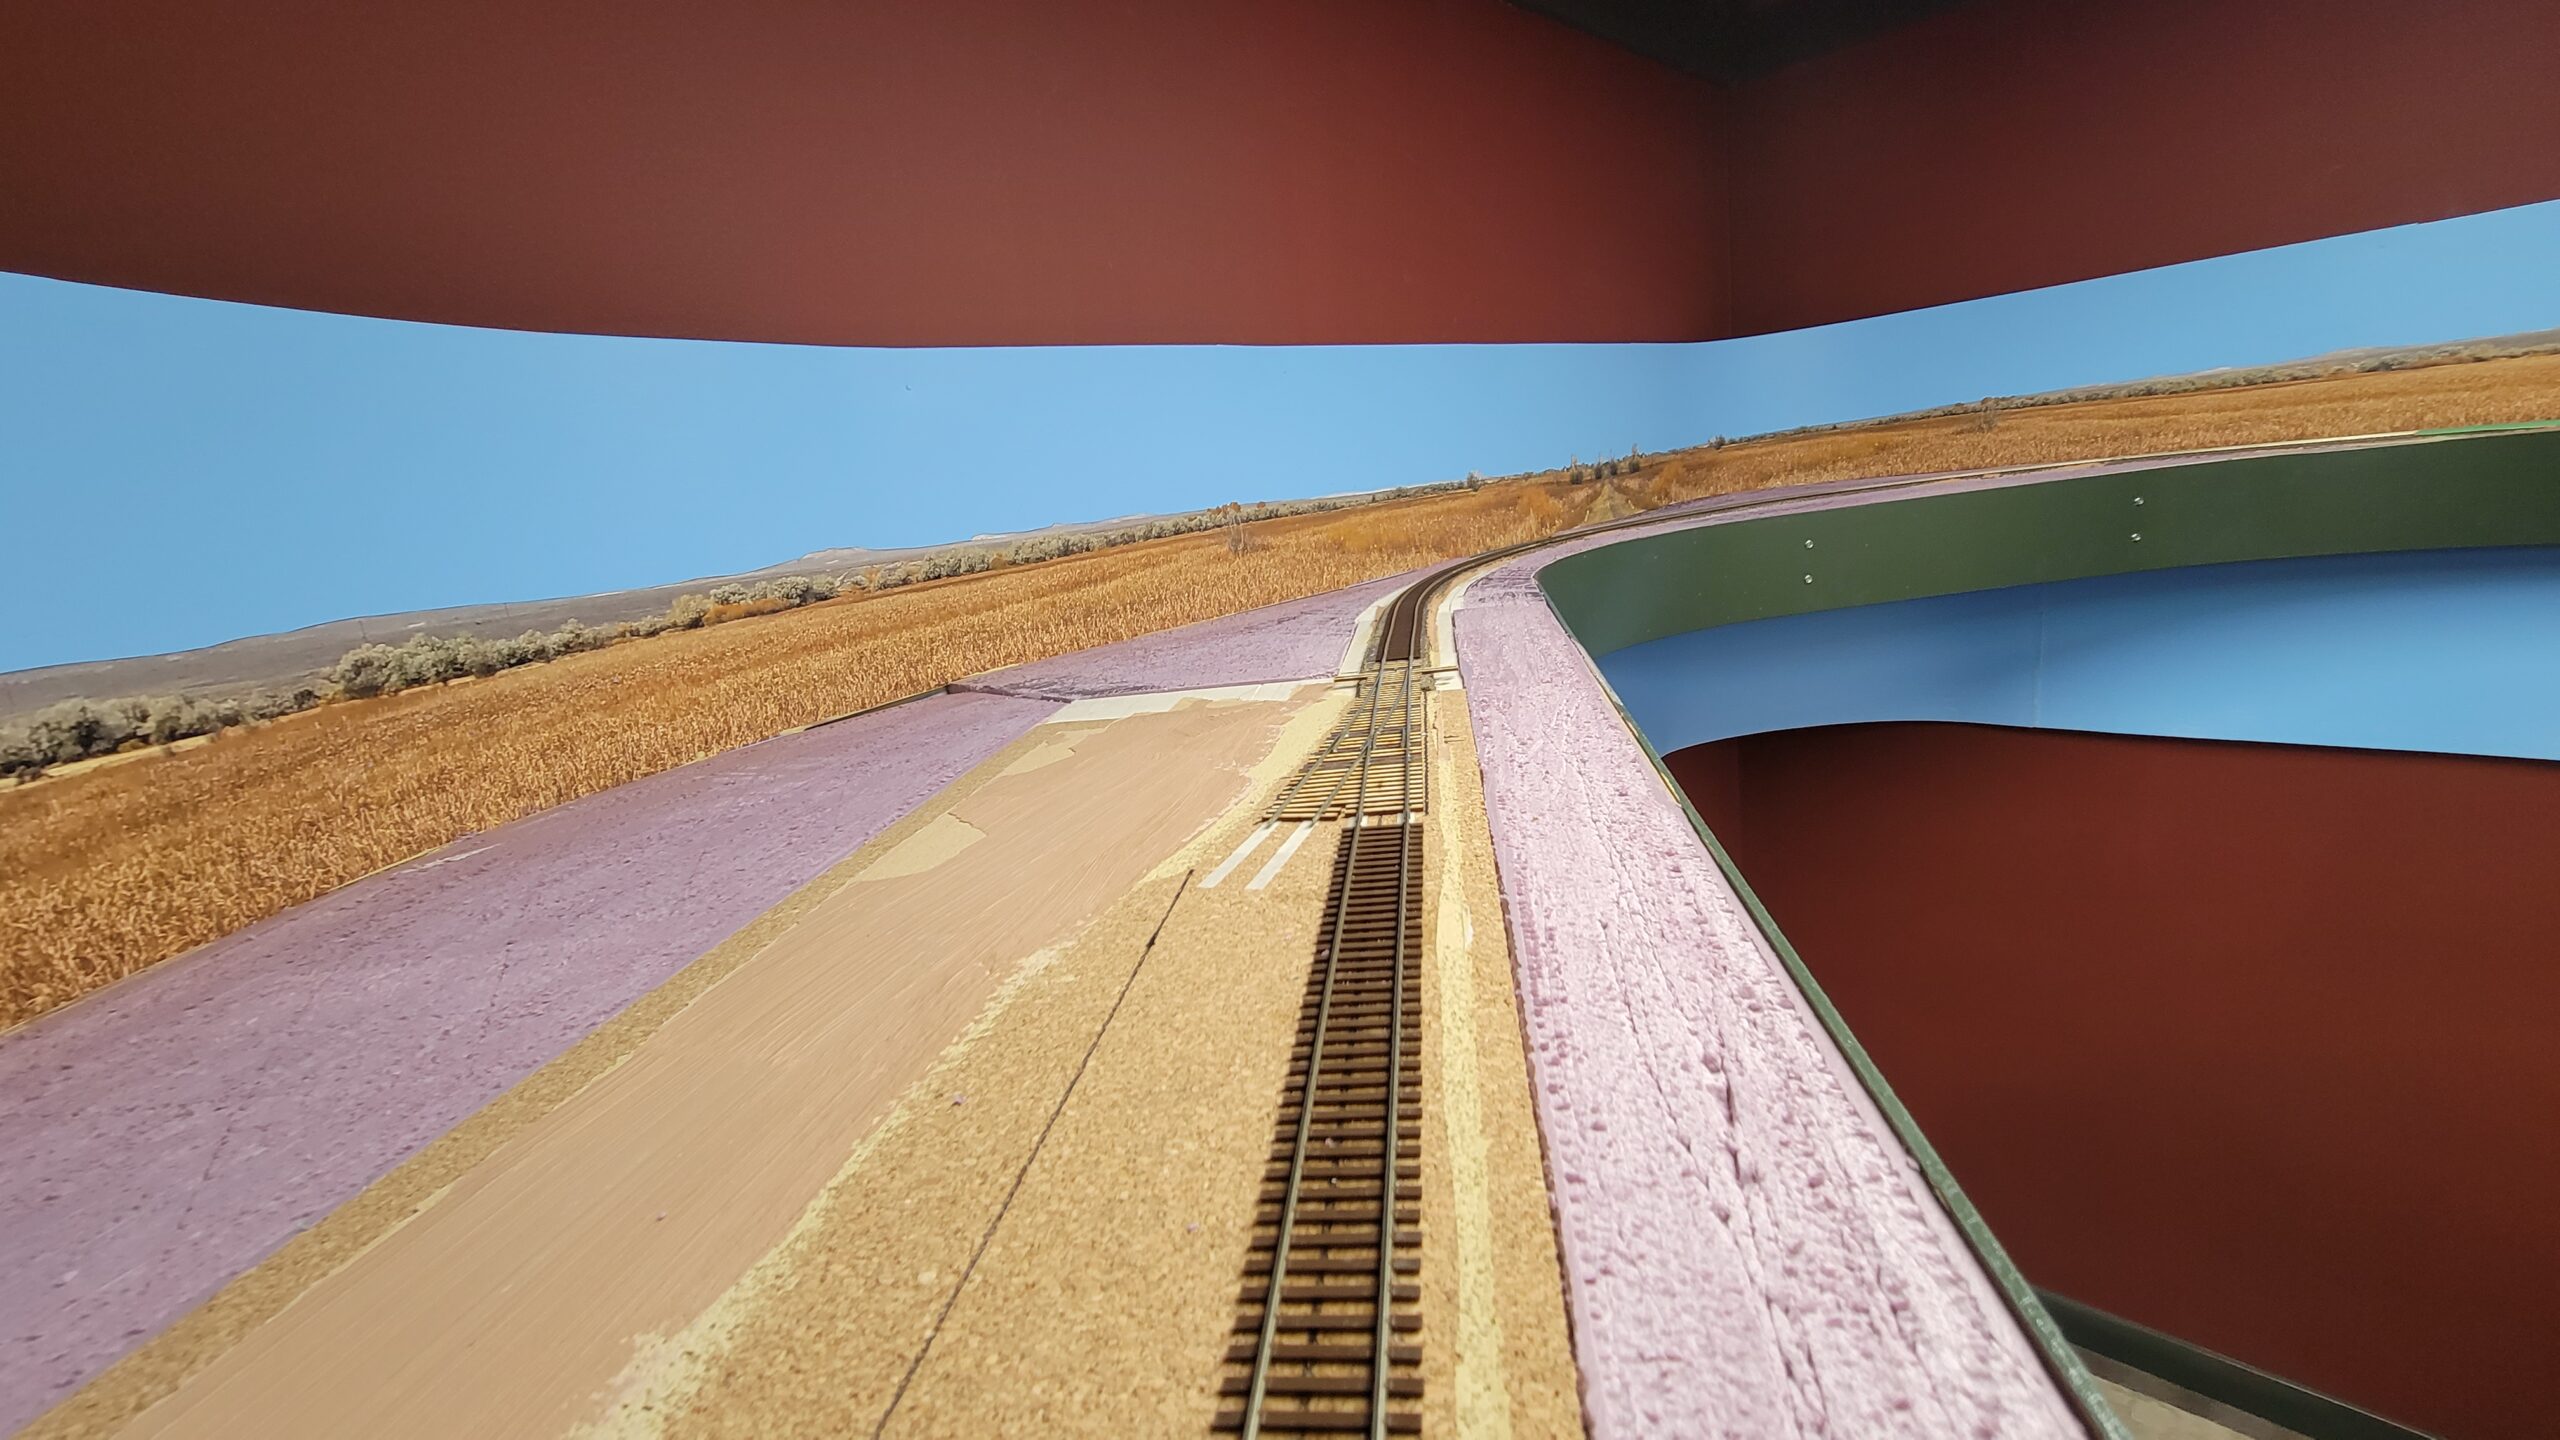
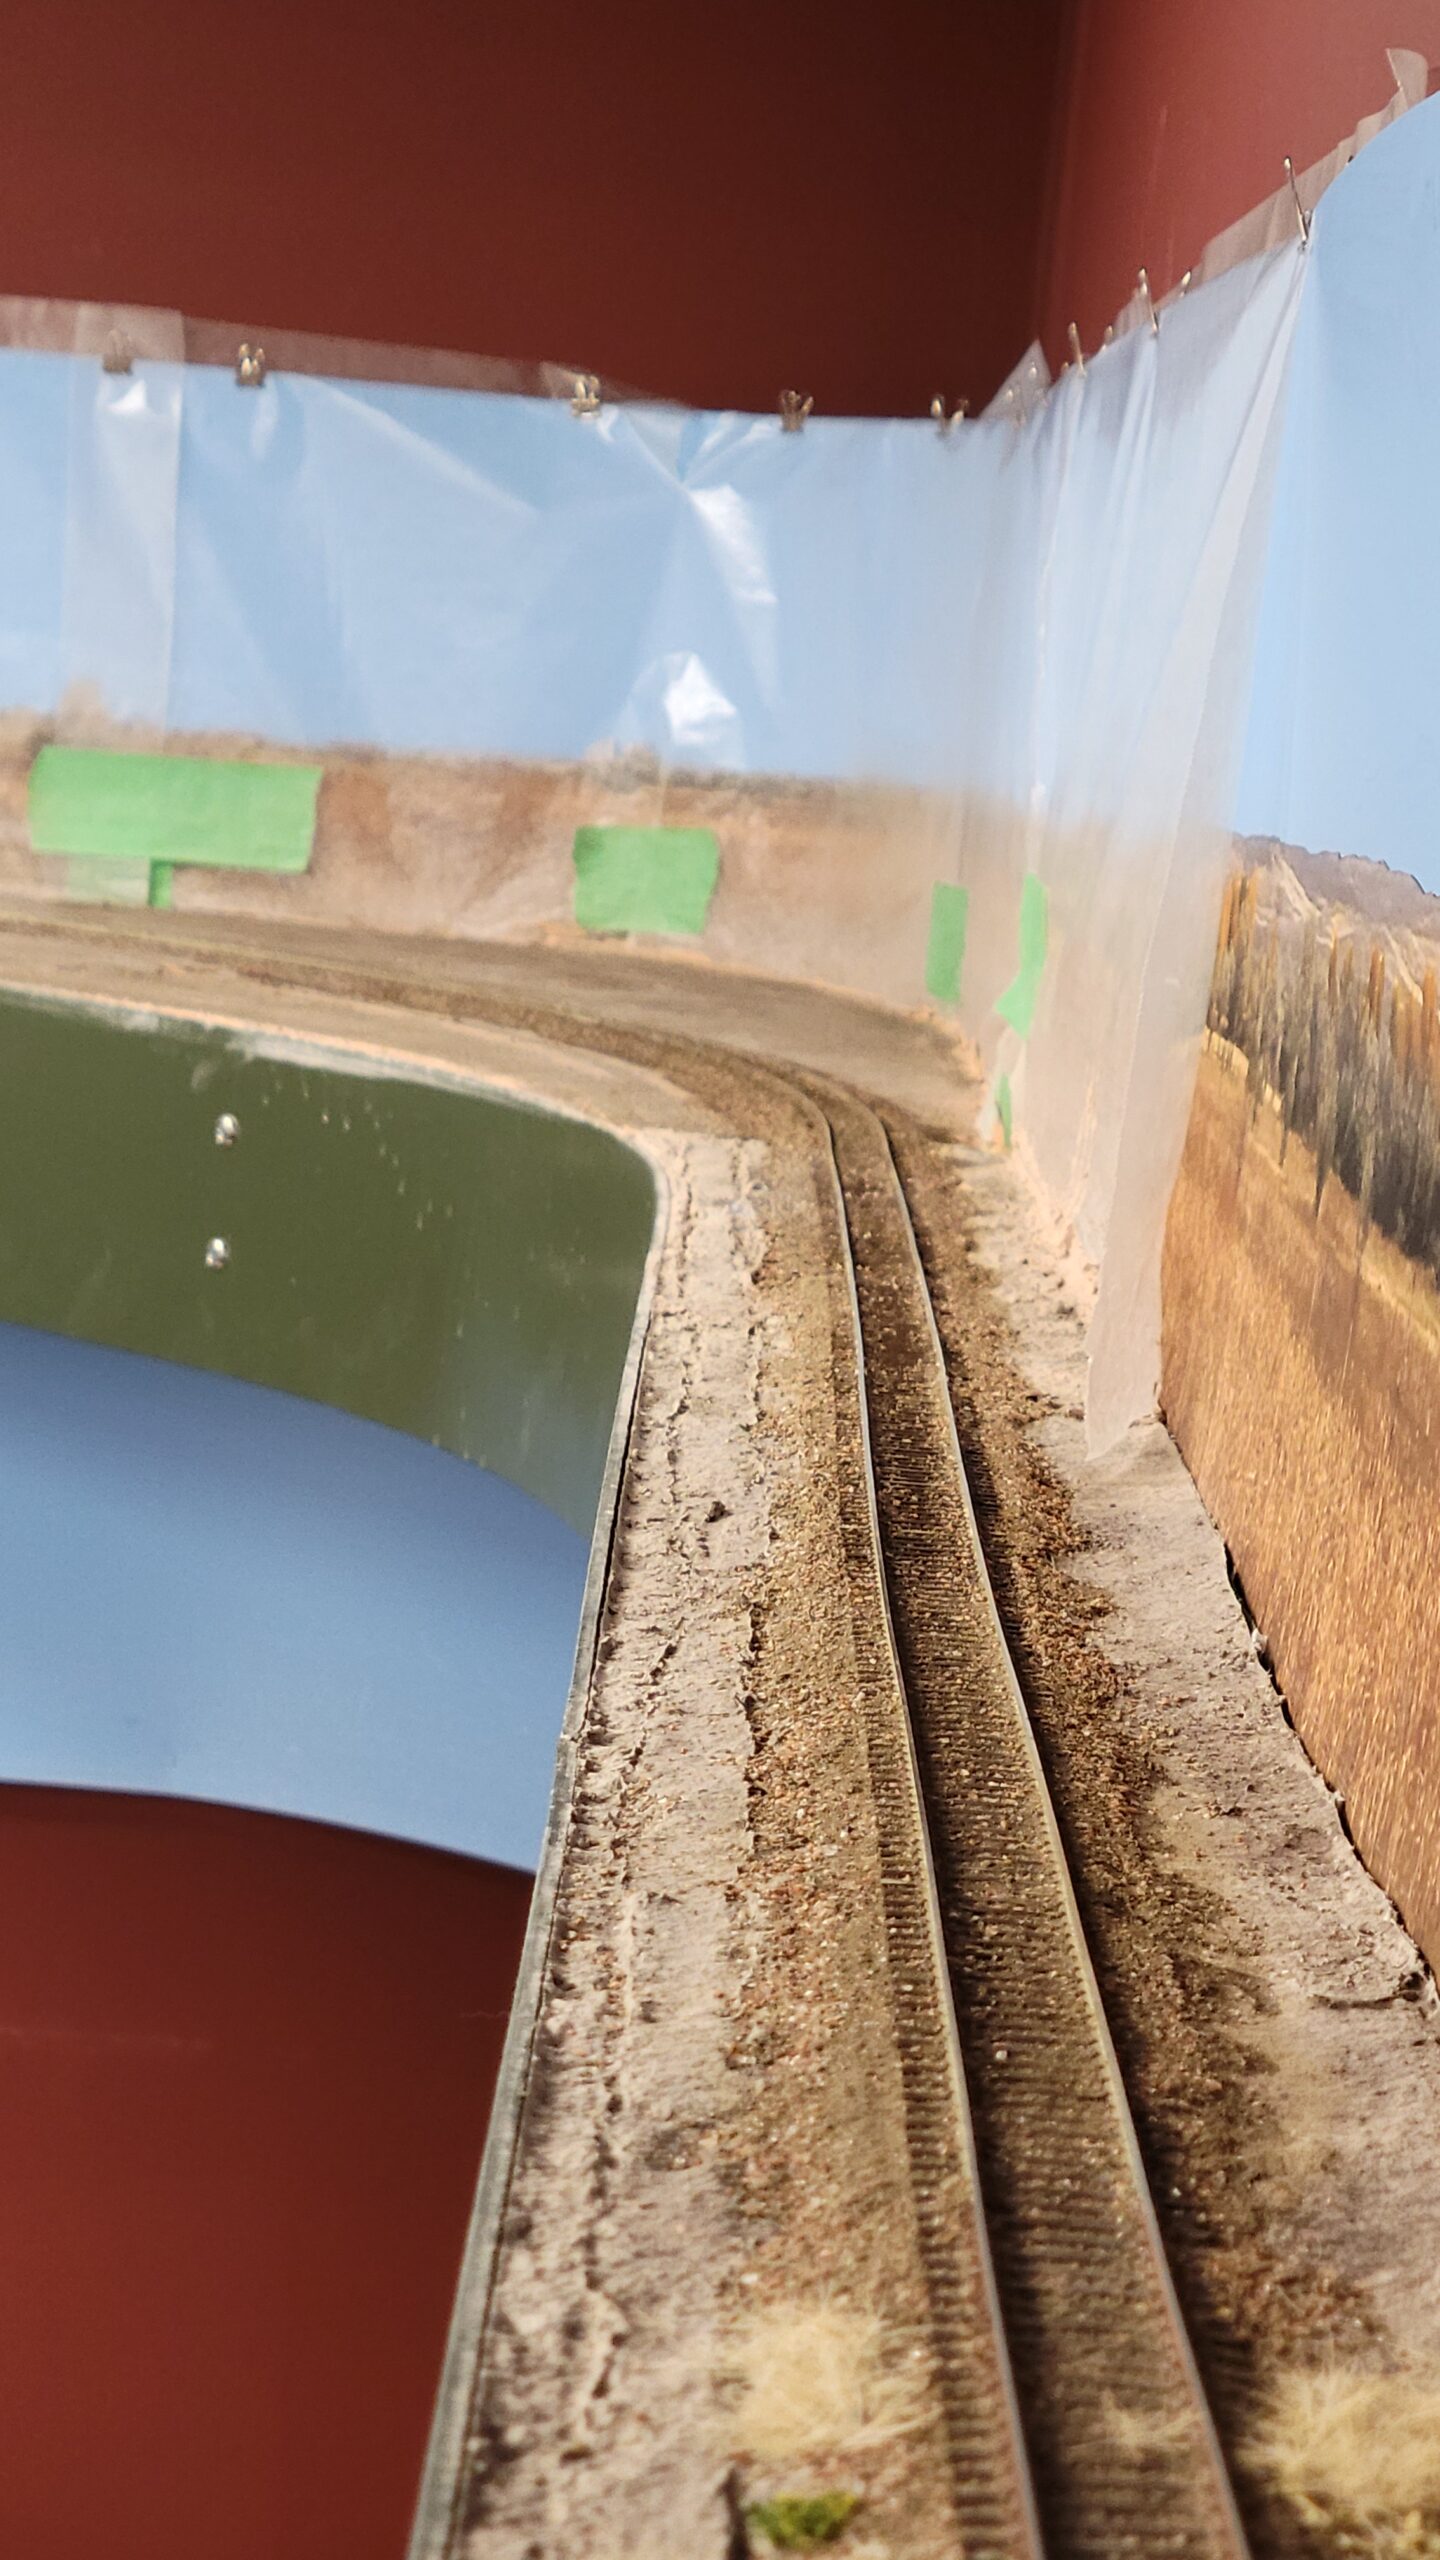
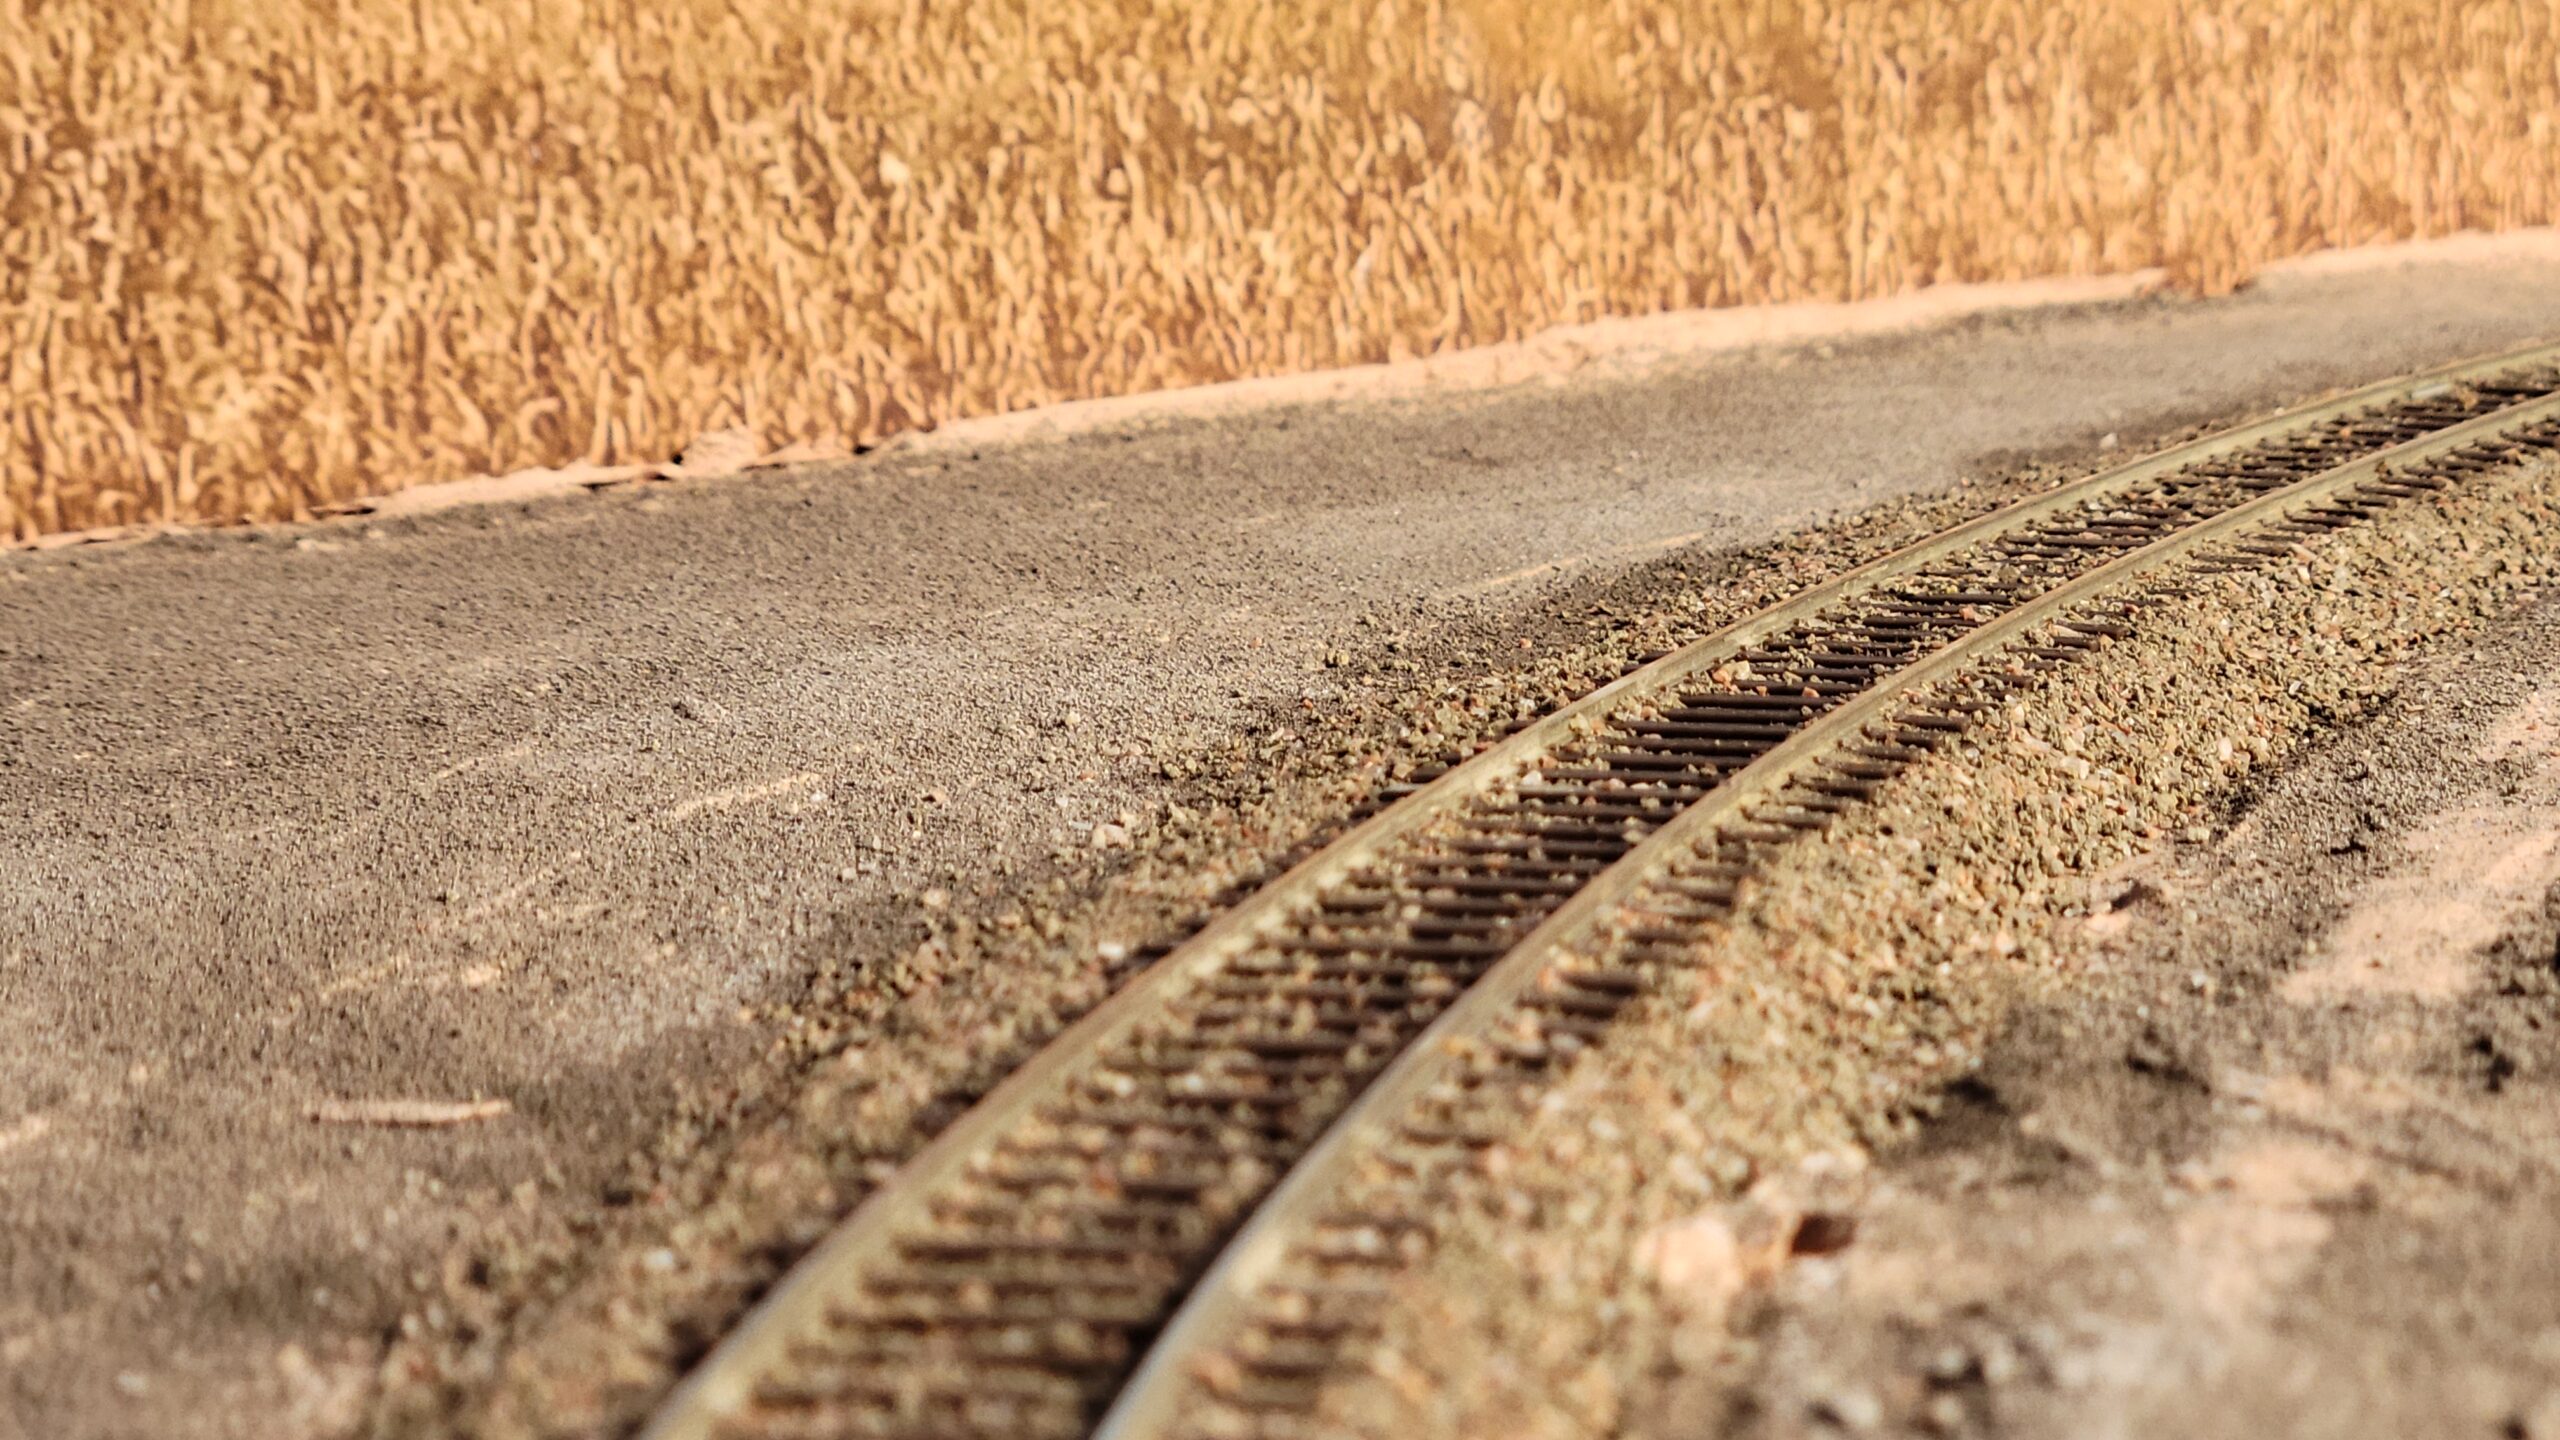
I've also finished ballasting the CNW line into the curve towards Hudson.
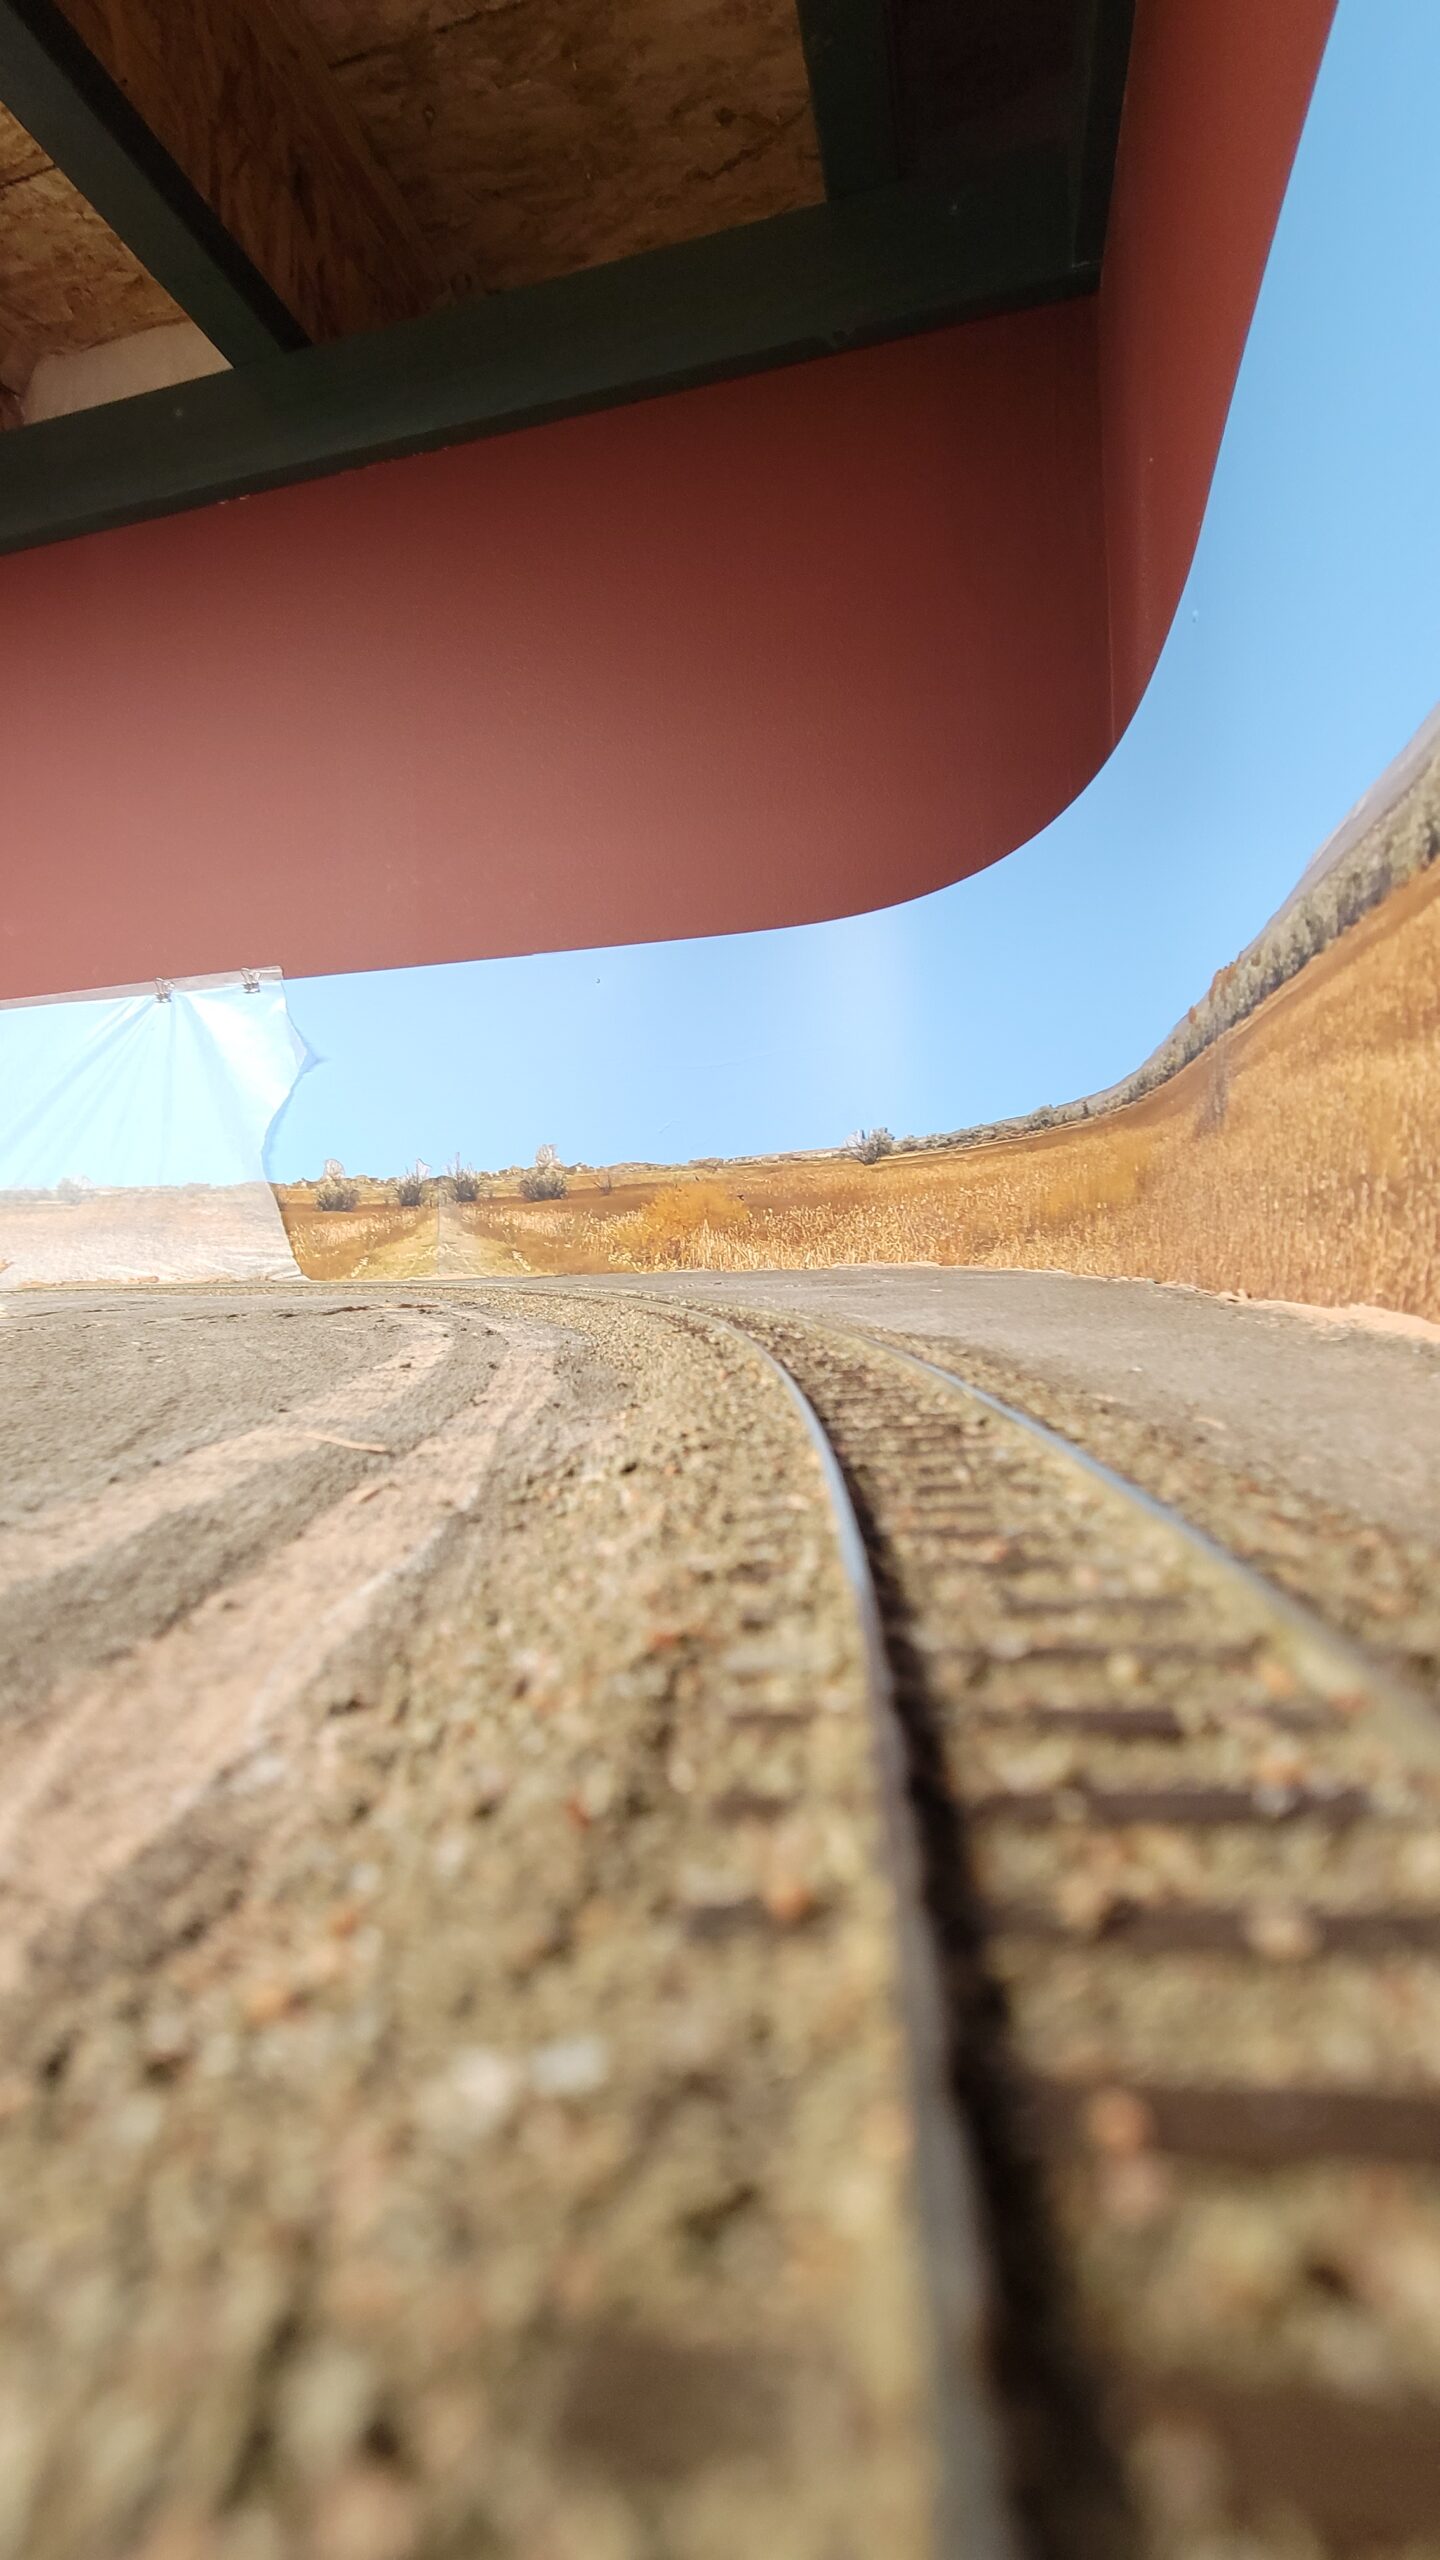
This is looking back the other way. I'm only about 24 inches away from Hudson itself now.
Work on Casper Yard continues. After replacing all the missing ties at the rail joints, I taped over the track in preparation for adding plaster and dirt between tracks.
Next I added plaster between the tracks and painted/stained it with tempera paint.
Then I applied the plaster/tempera dirt mix.

After waiting overnight for the dirt to dry, today I removed the tape from the track. Sure left a lot of debris on the tracks!
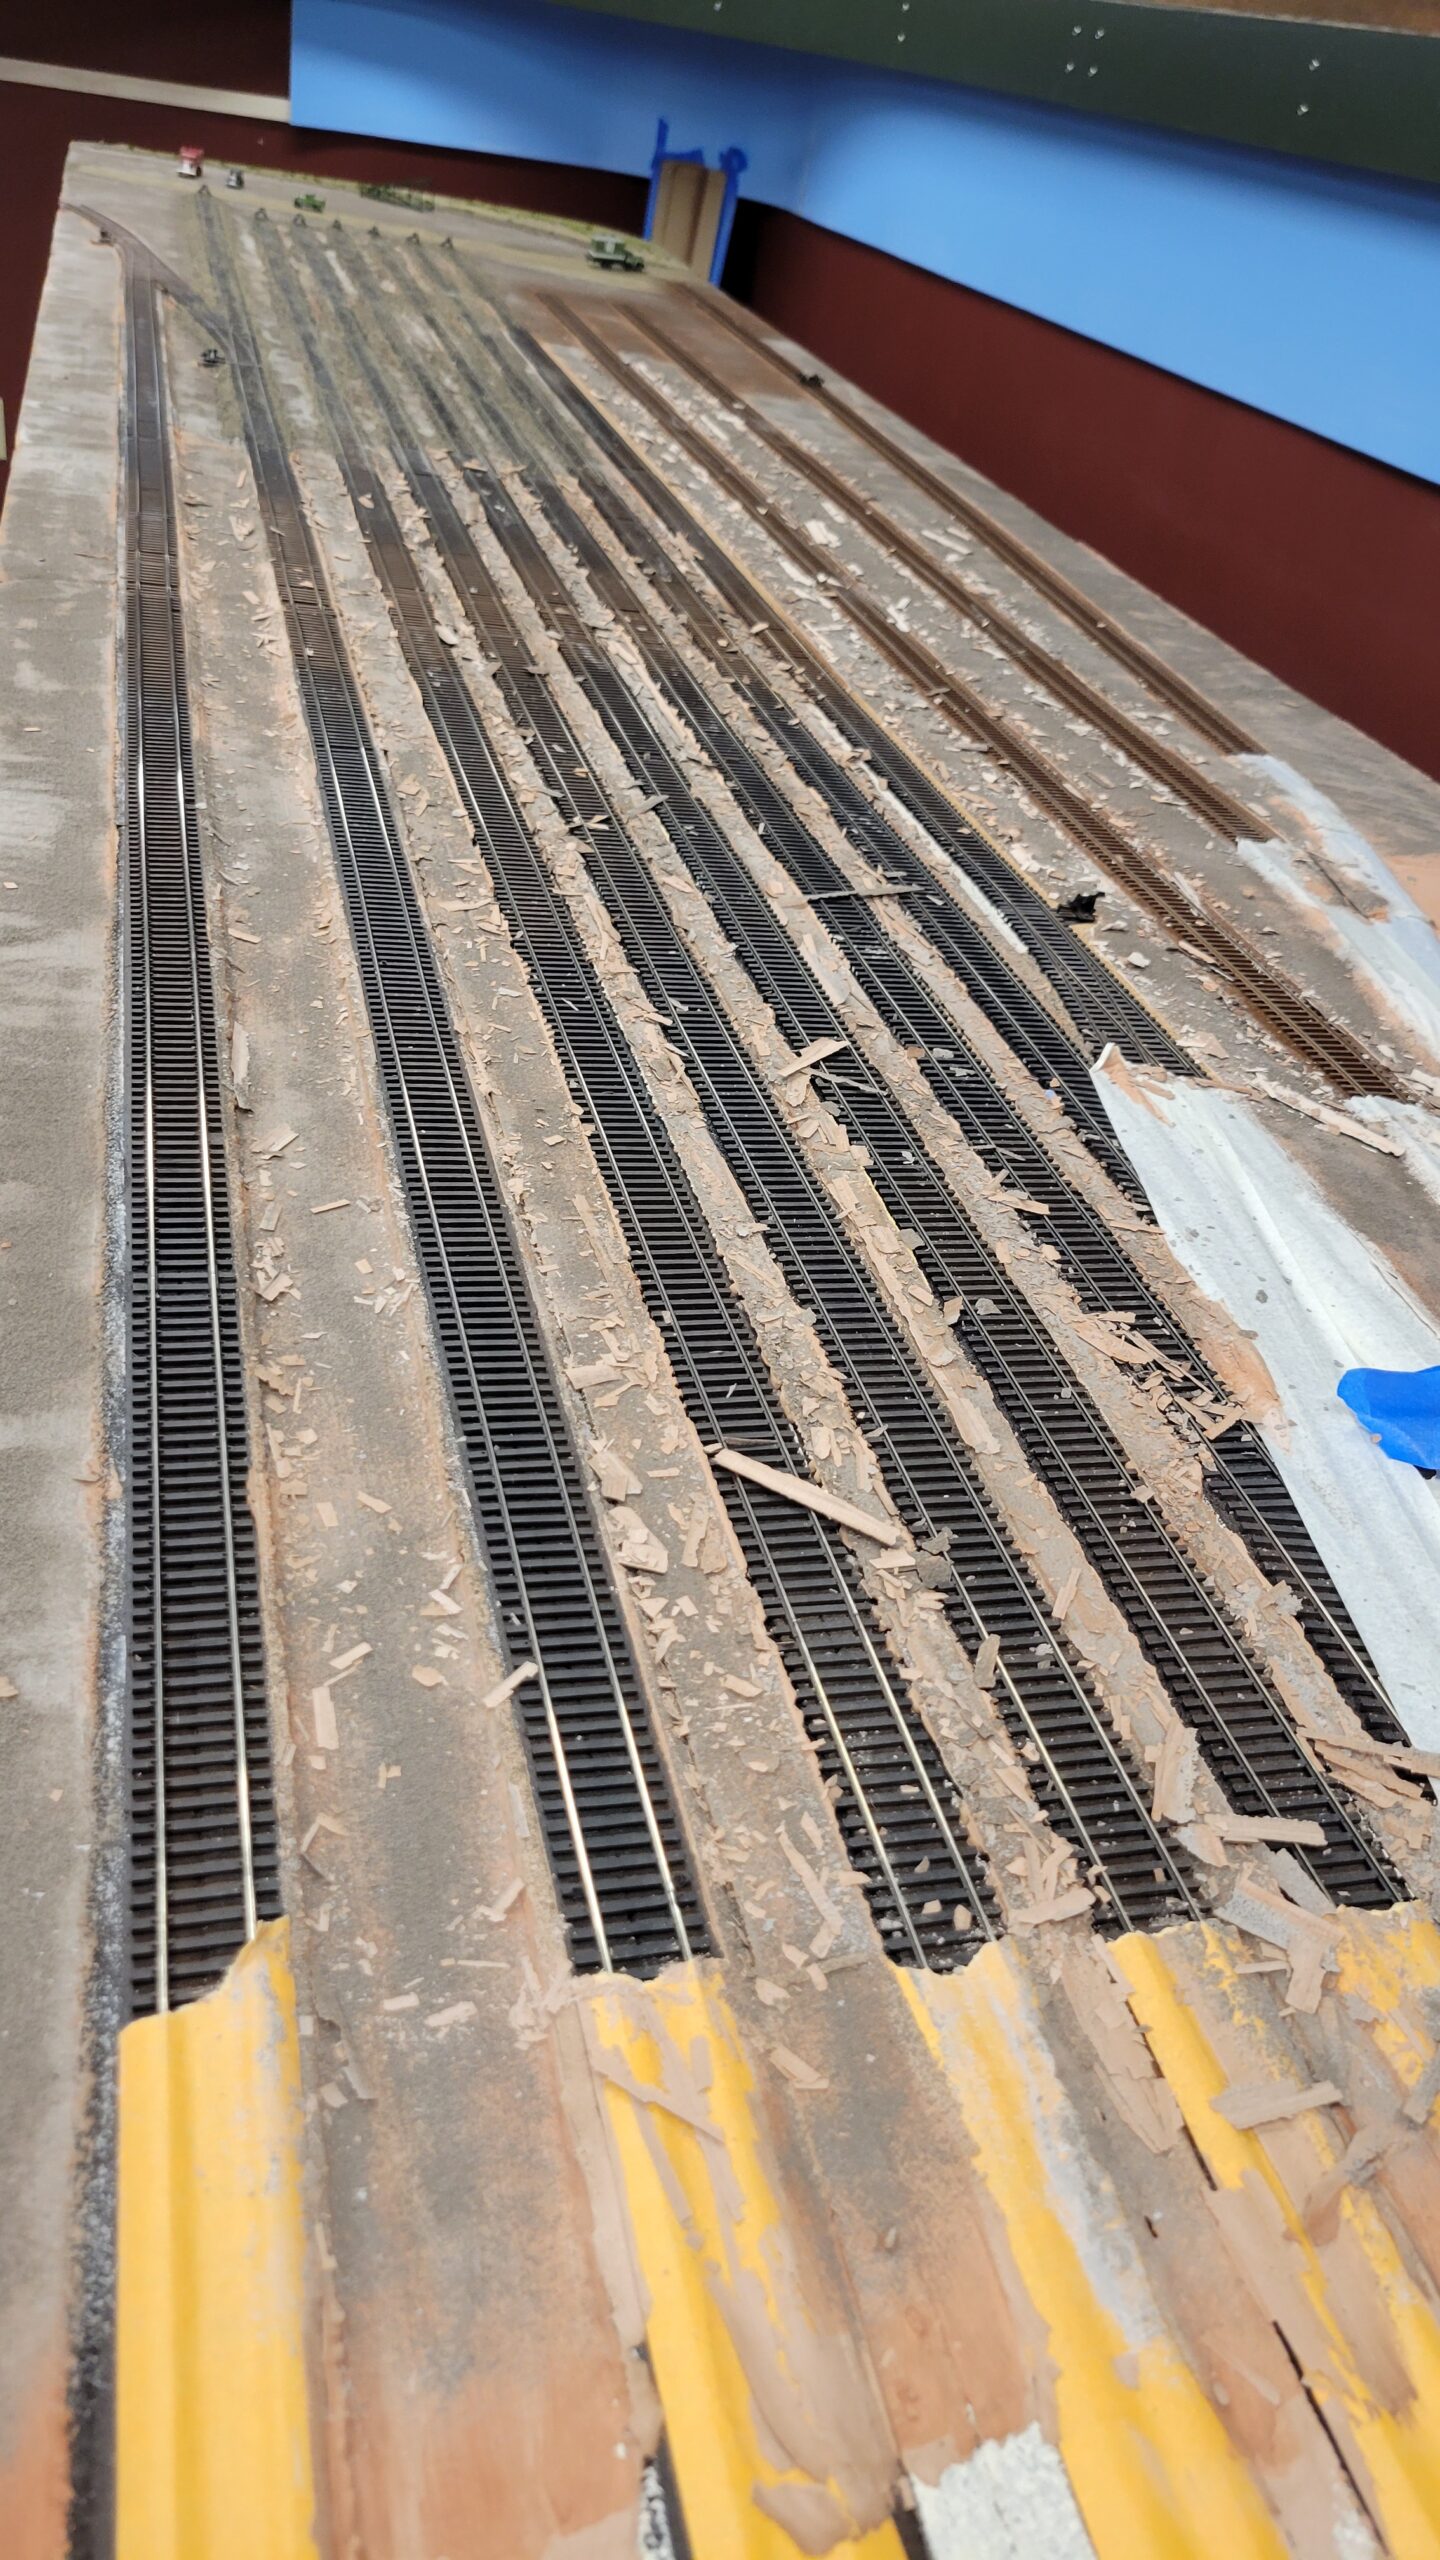
Not a big deal, though - it vacuumed right up.
 I've started ballasting the classification tracks again. First one done in this new section. No photo though.
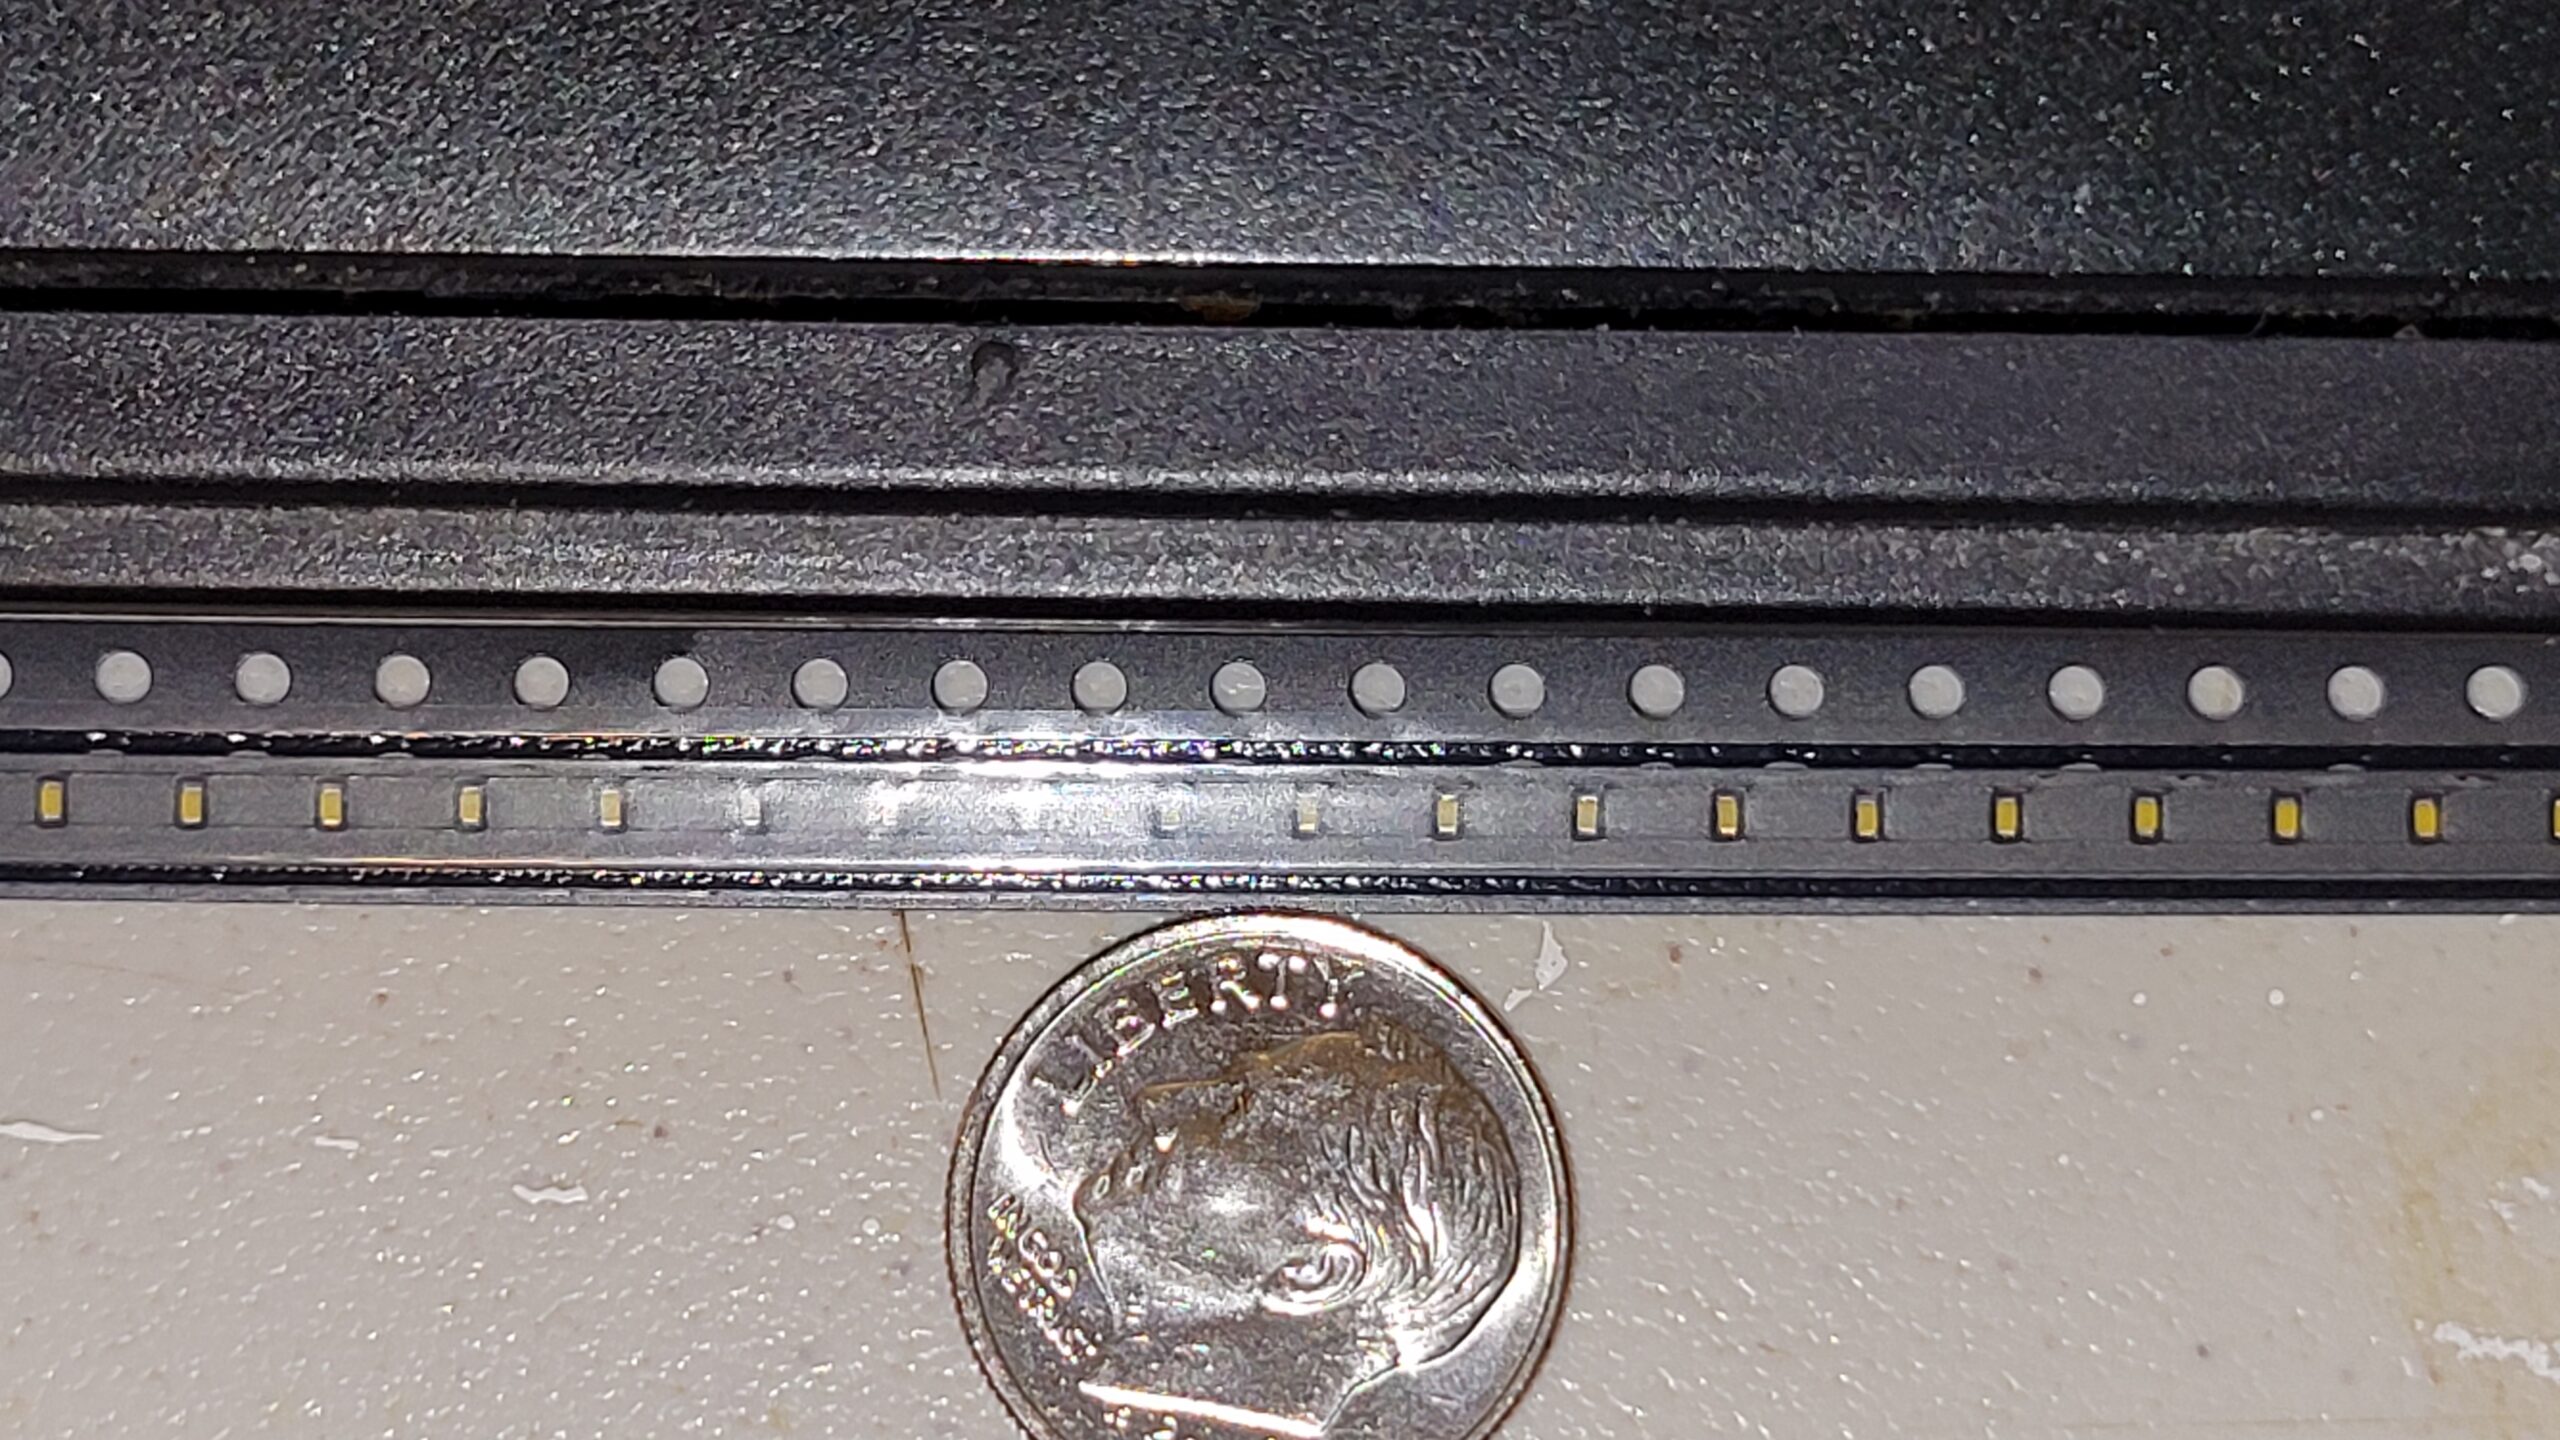
A couple days ago the strip of tiny LEDs I ordered to light up the icing platform arrived. They sure are tiny! I'm going to have to solder two leads onto each one of these!
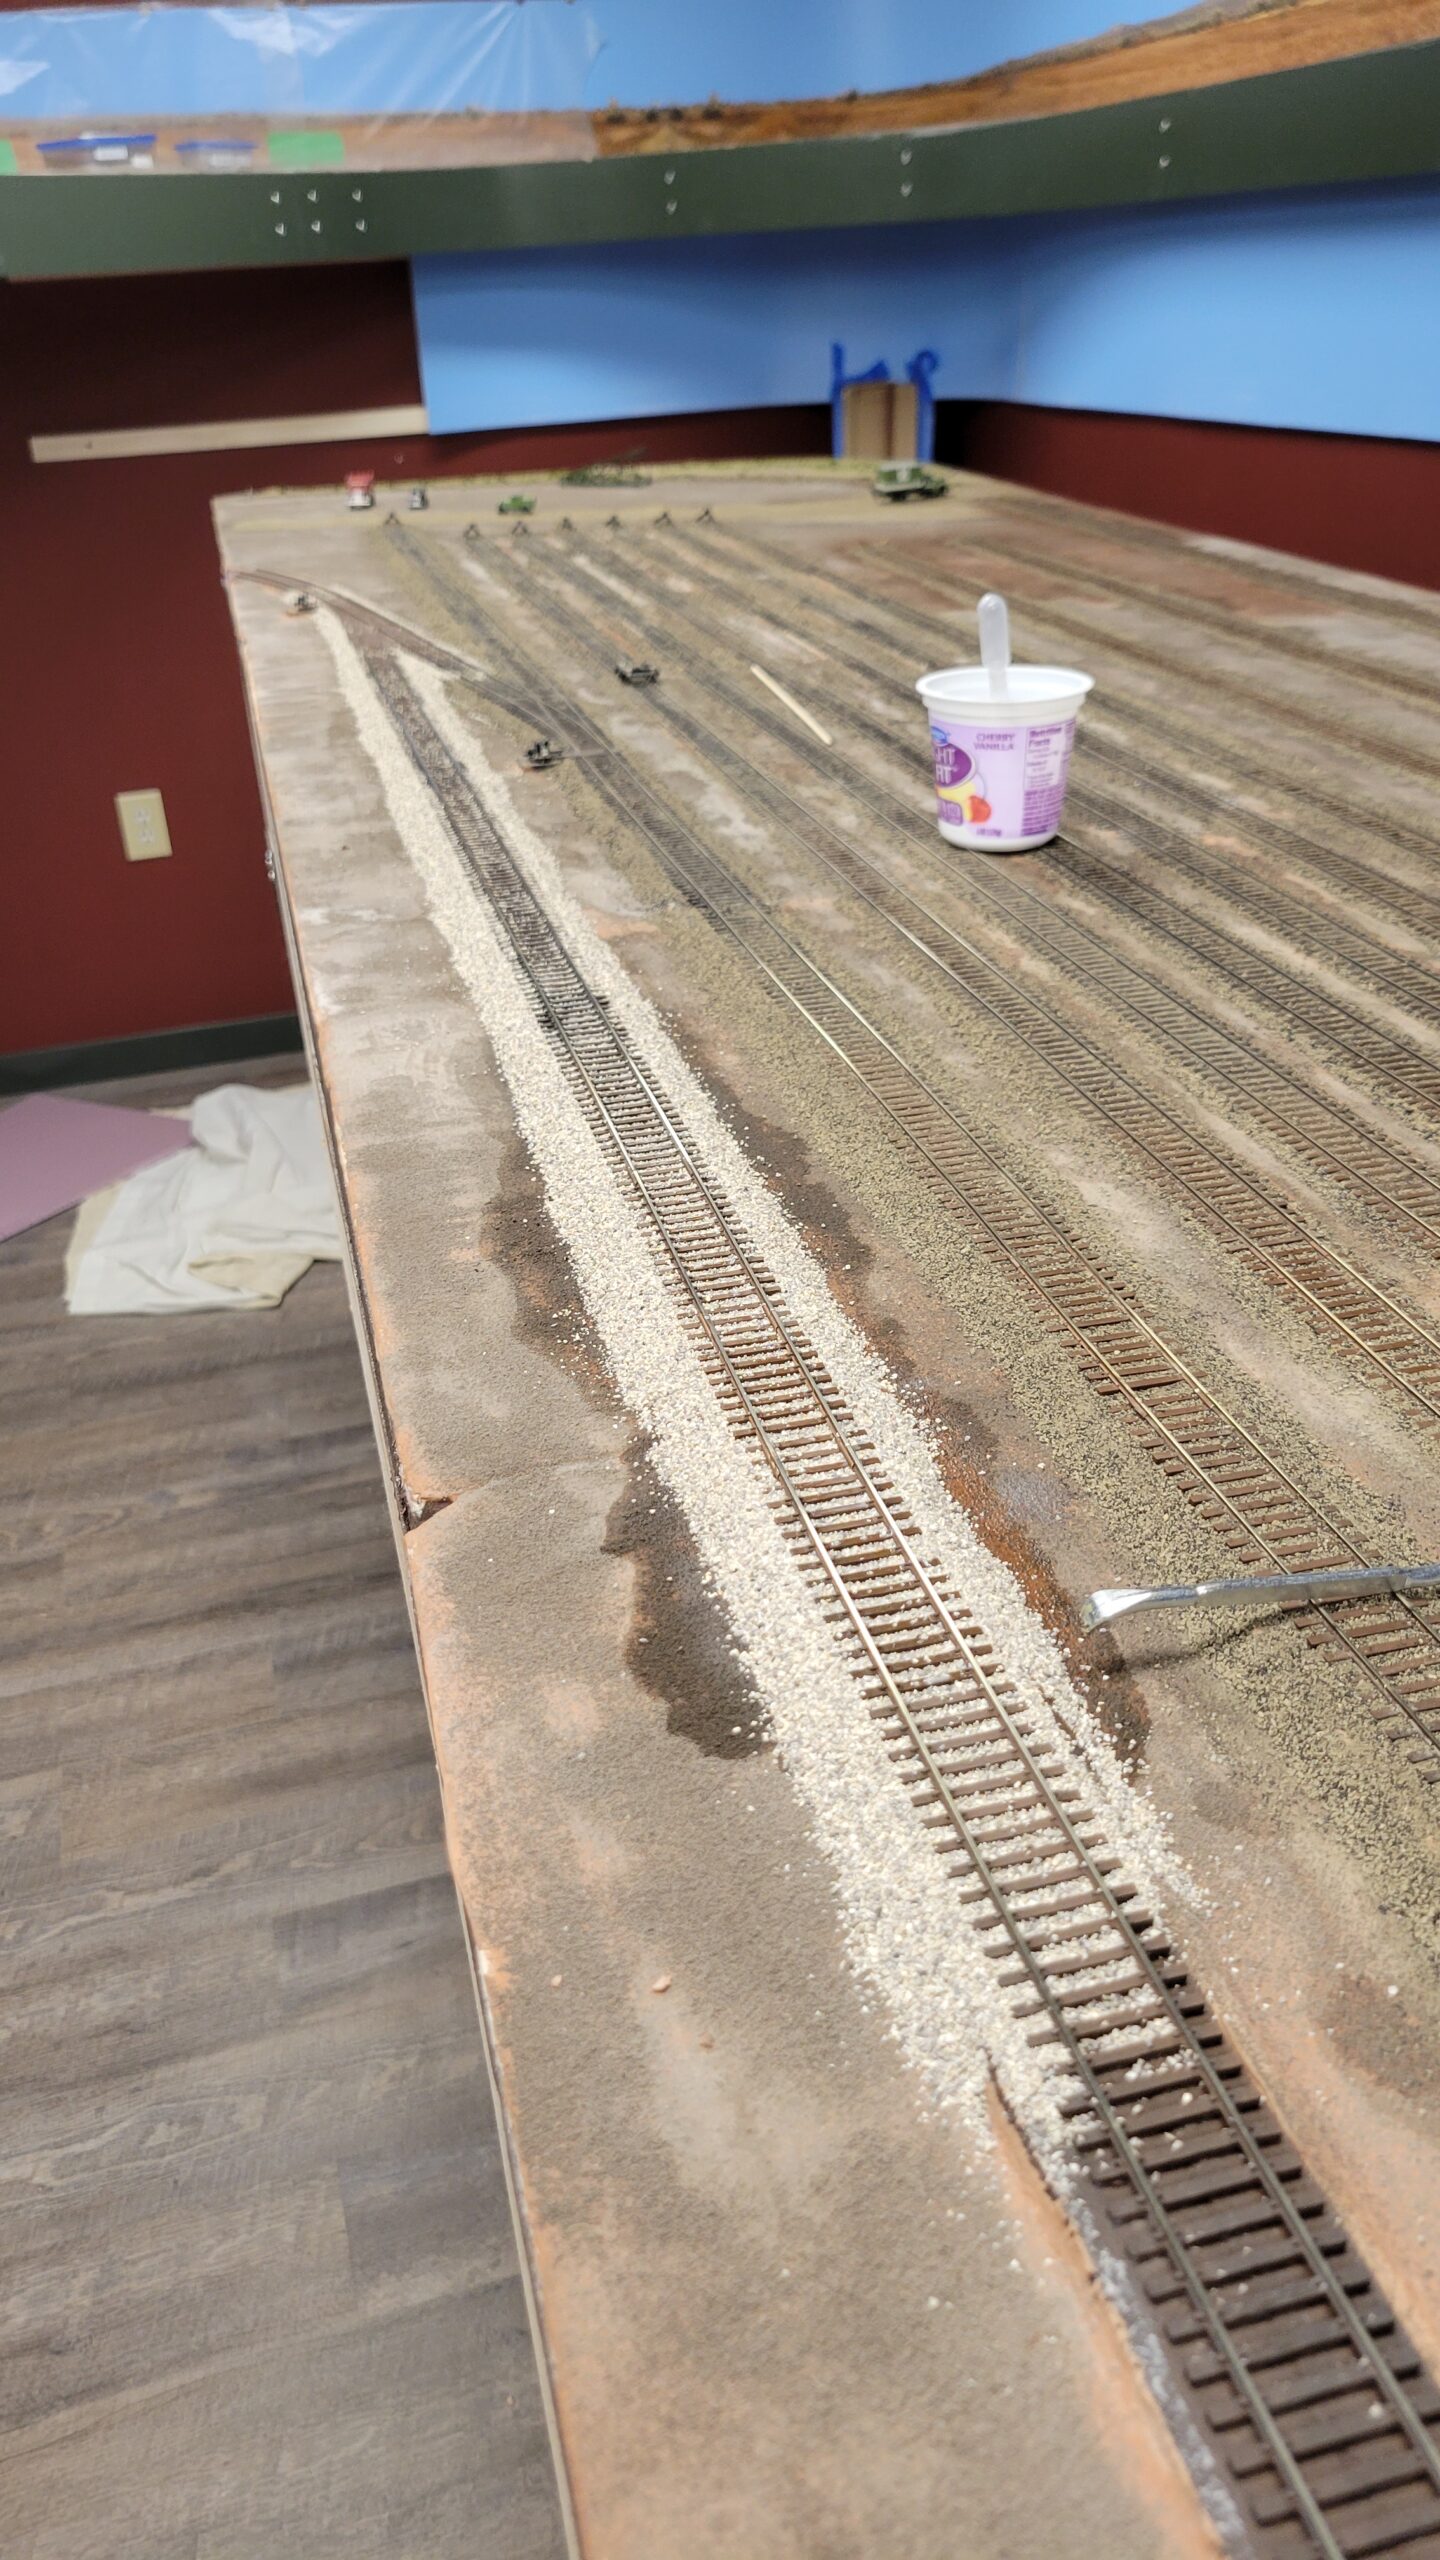
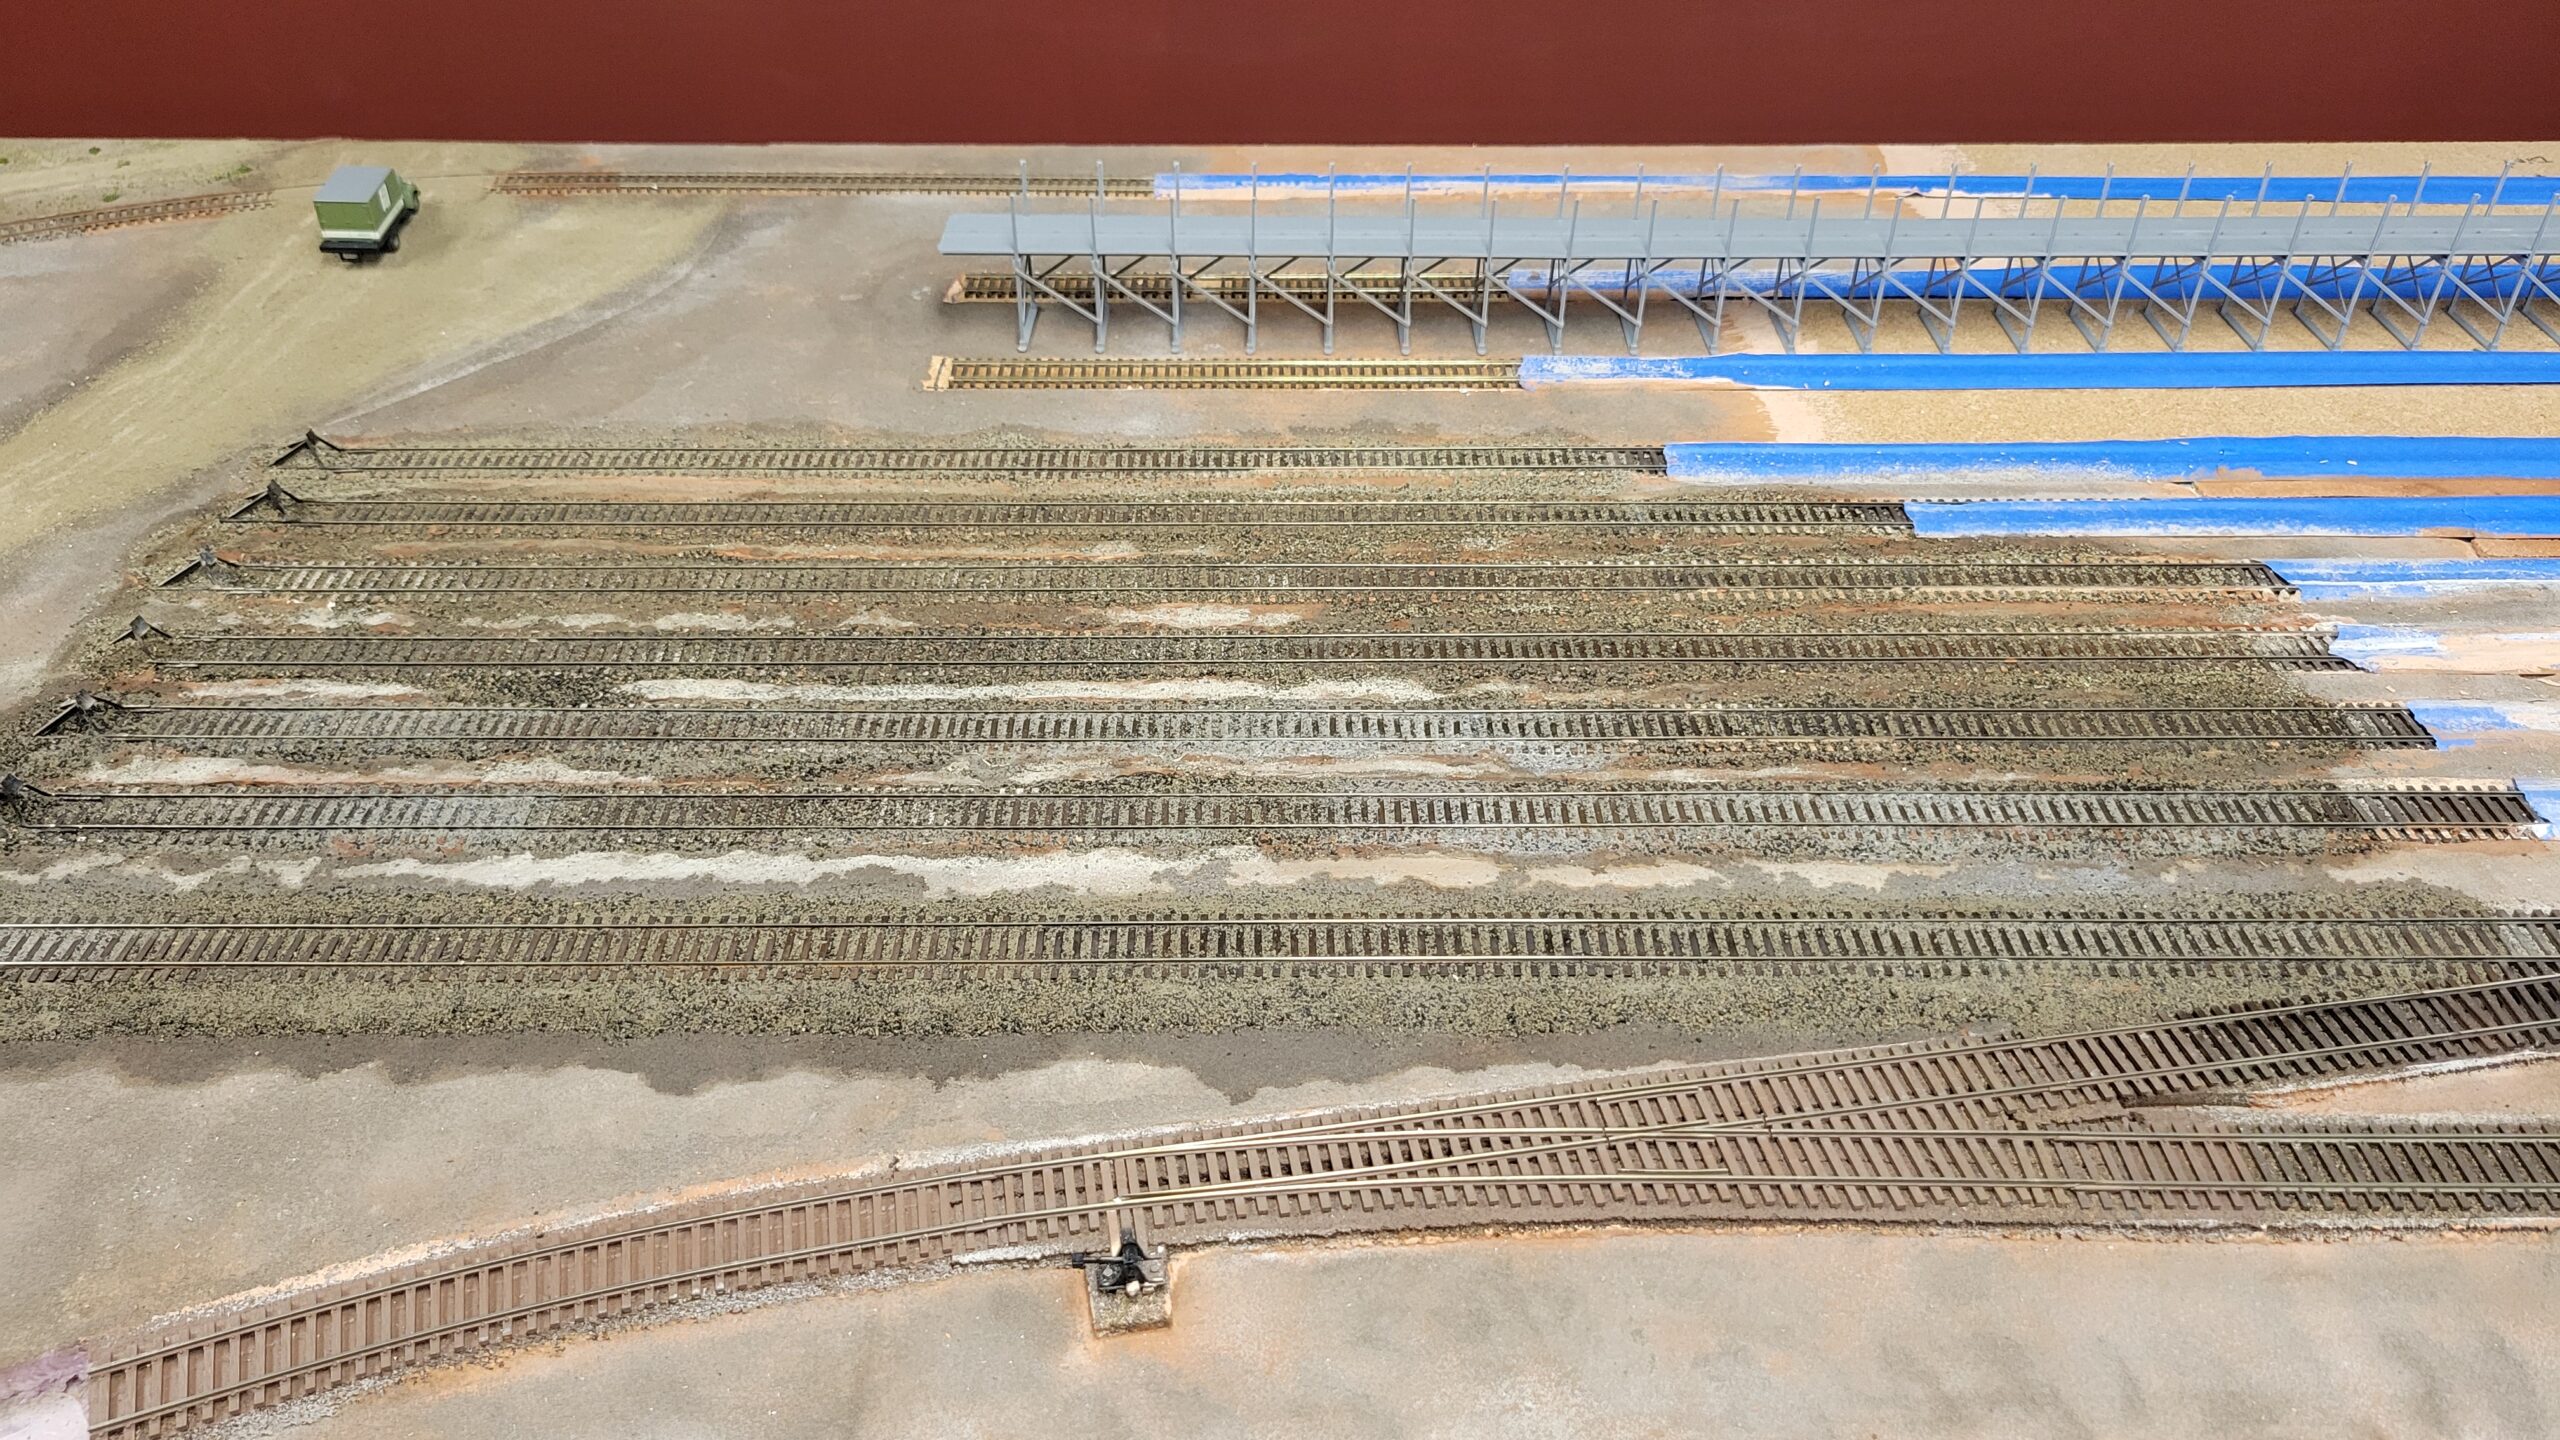
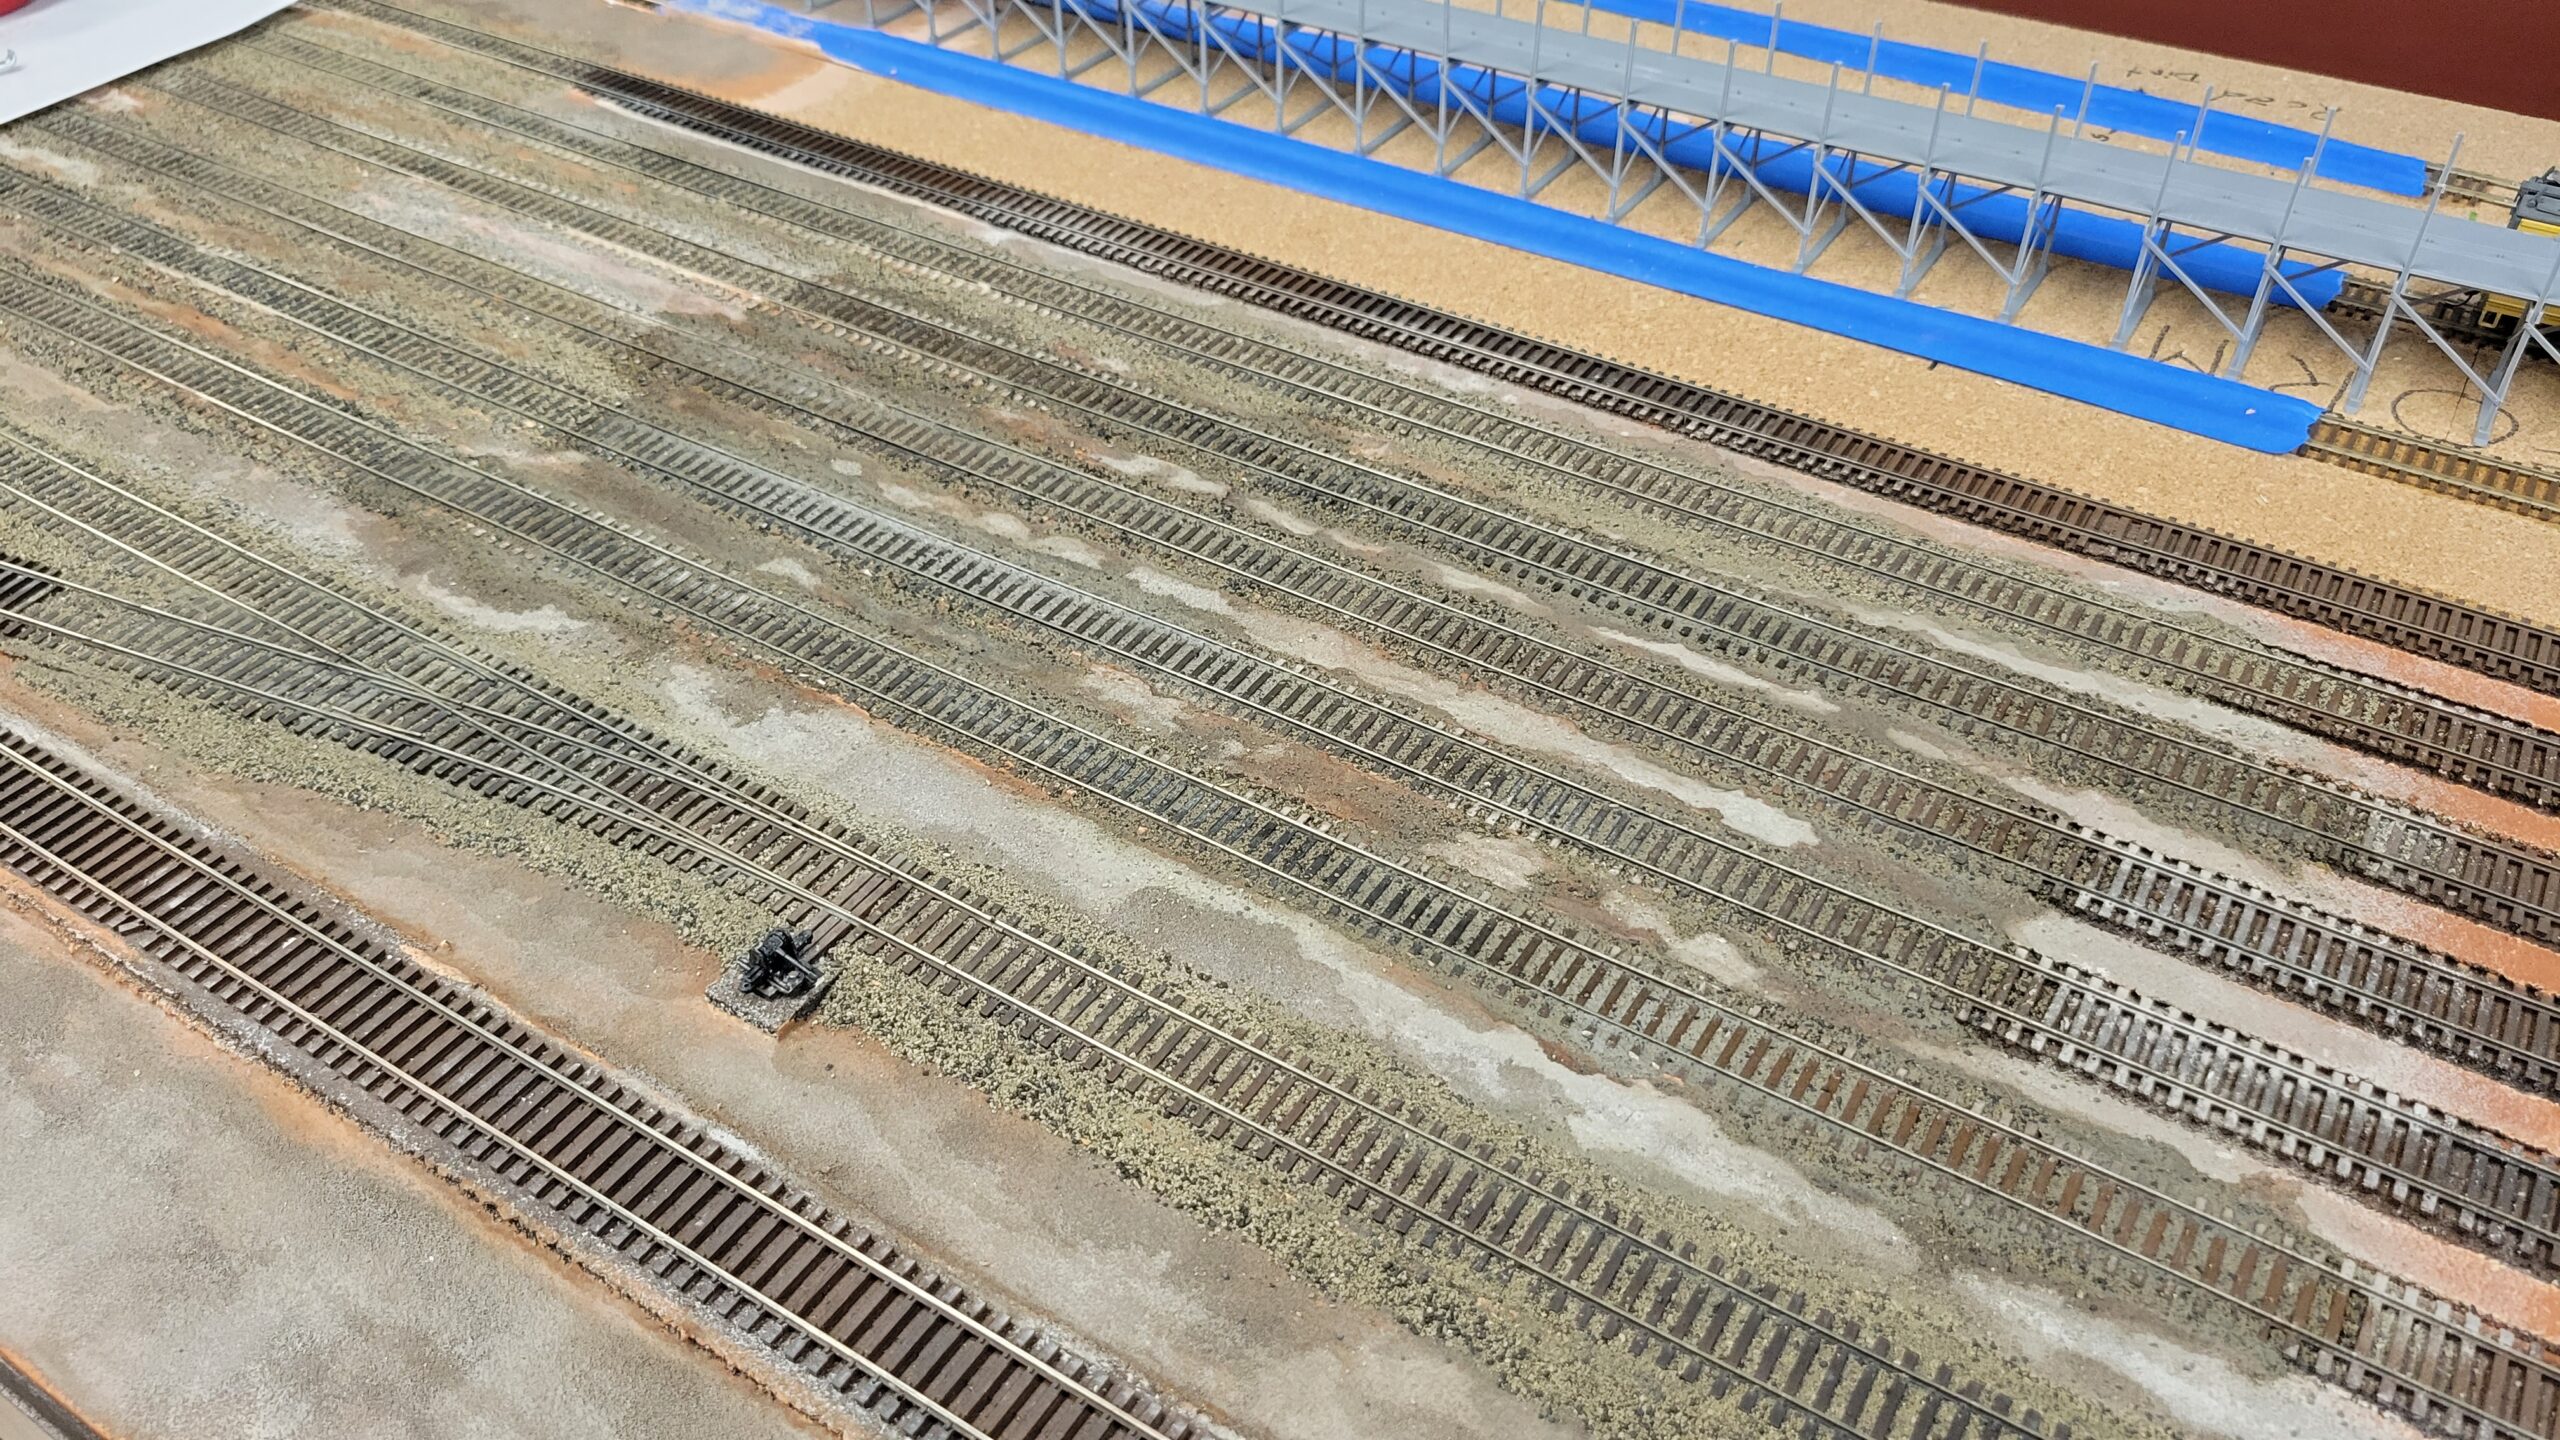
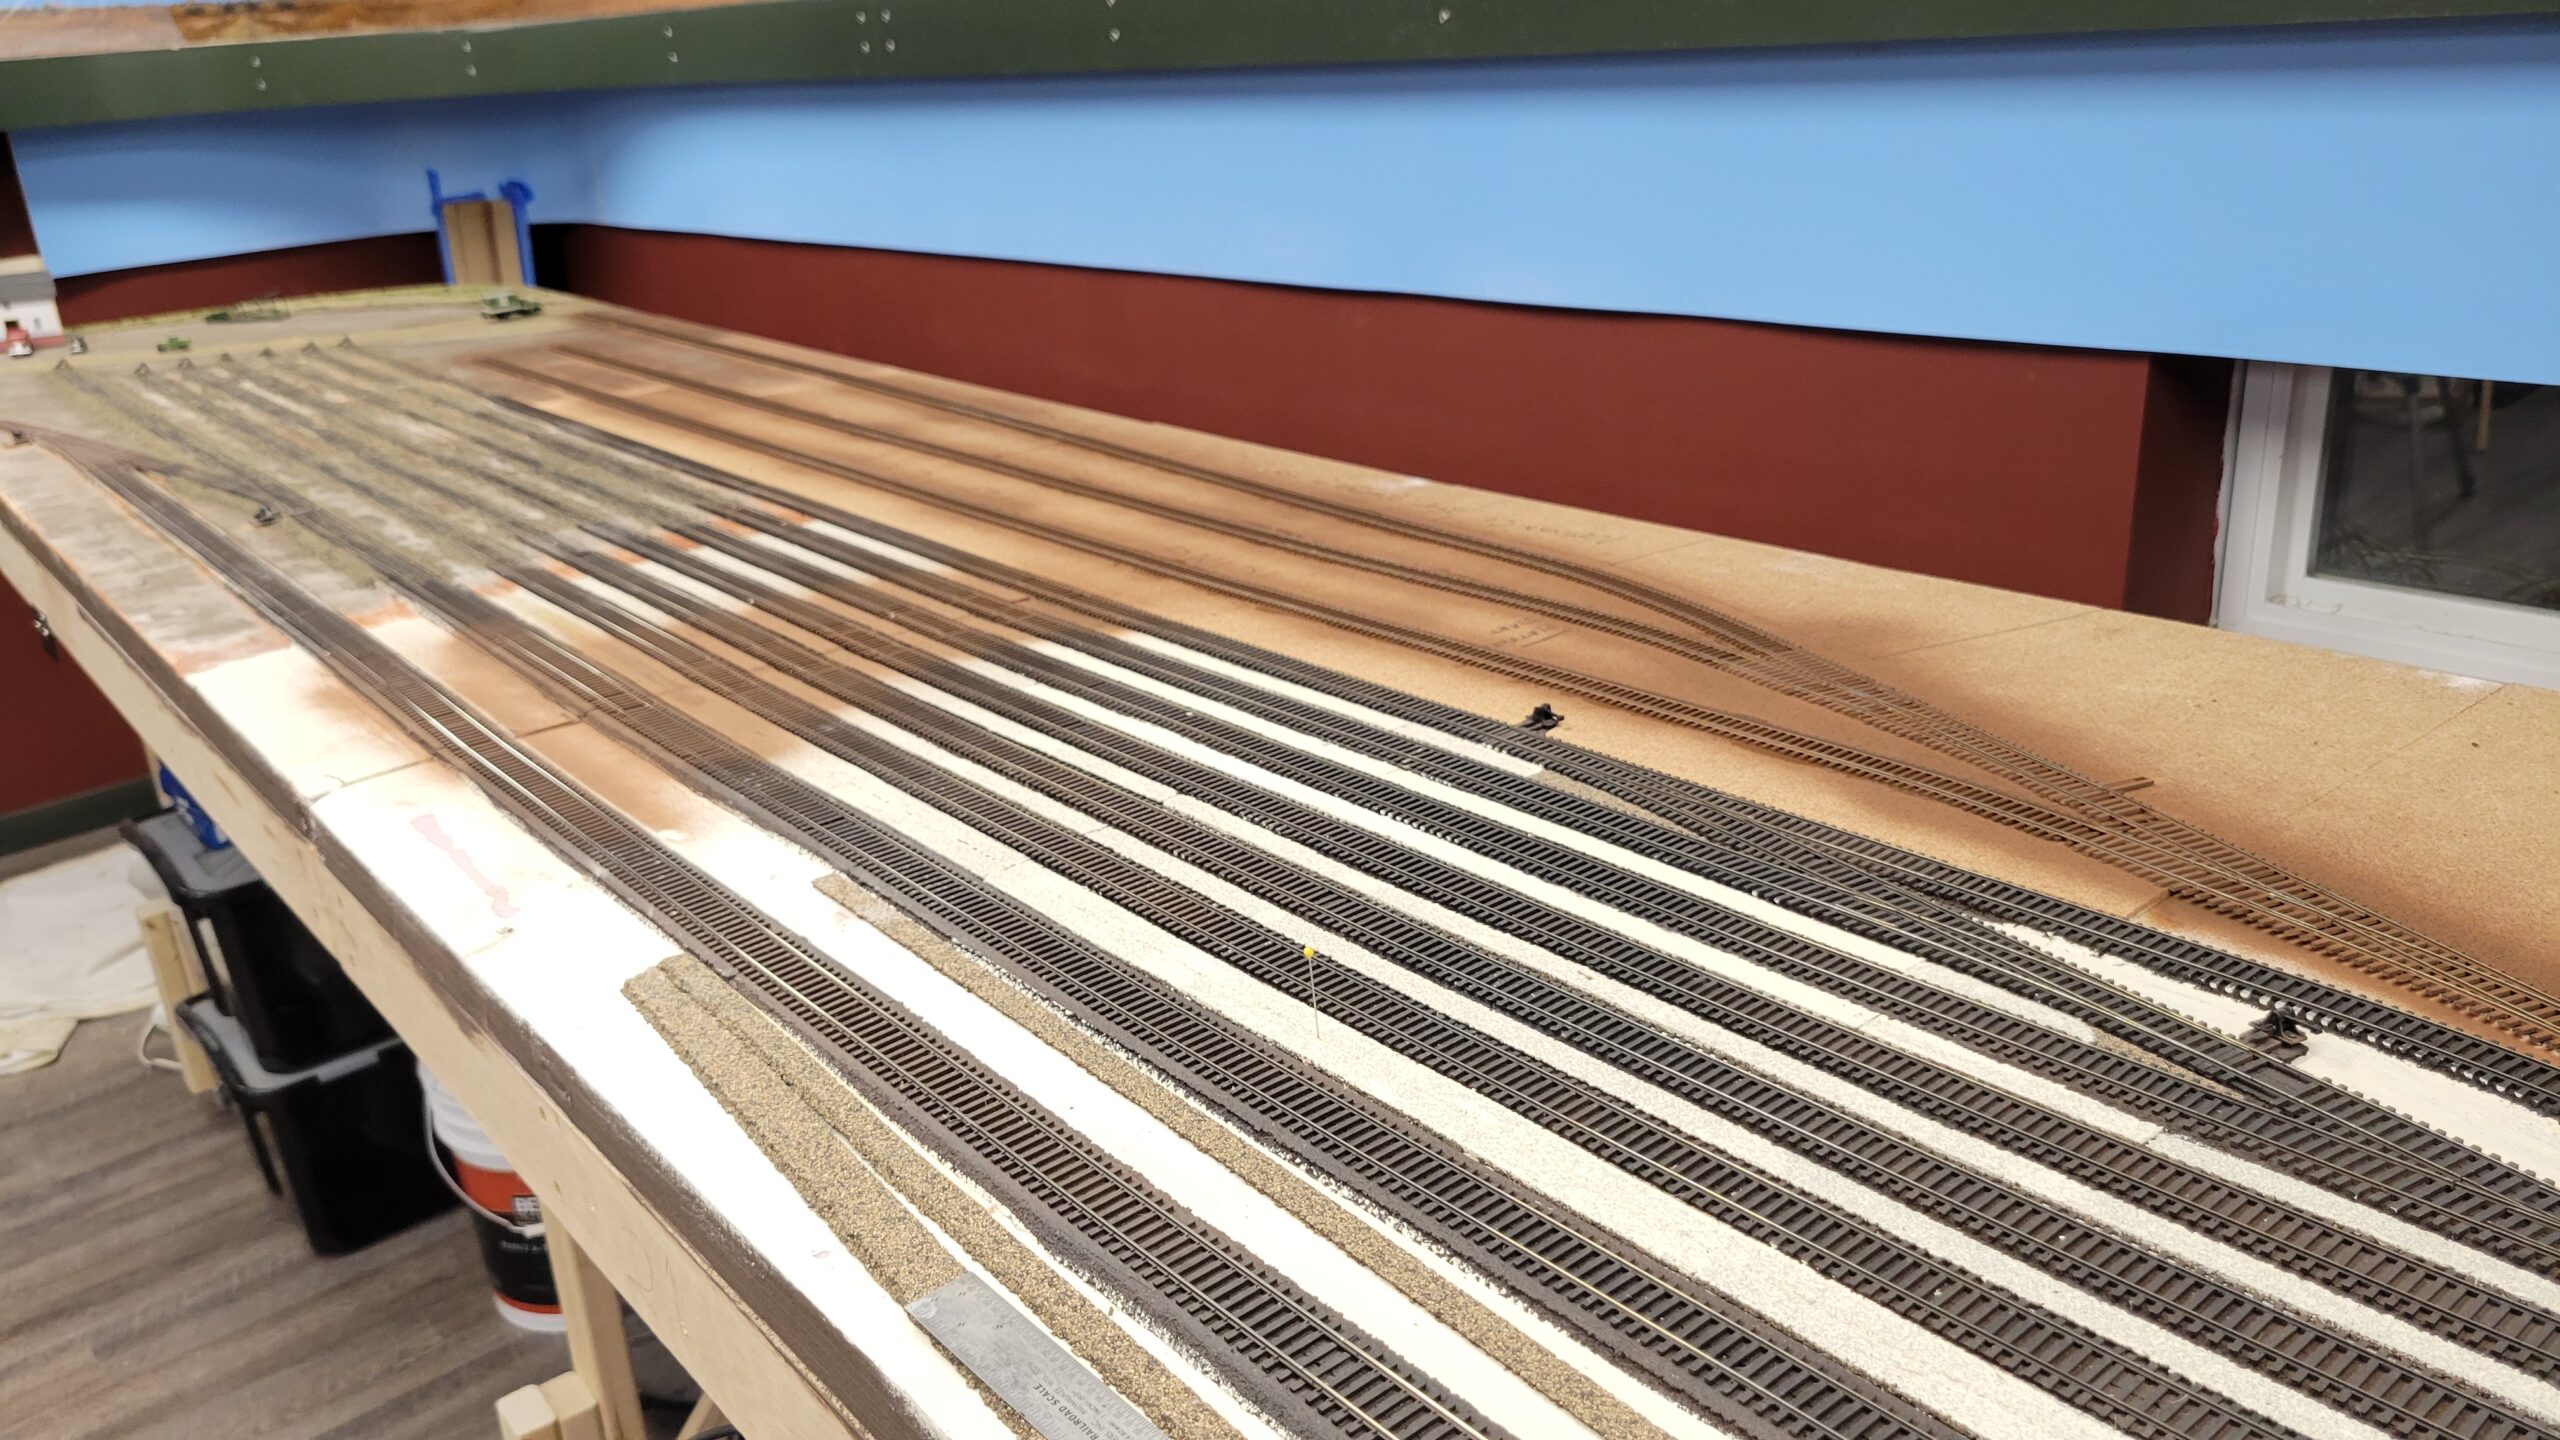
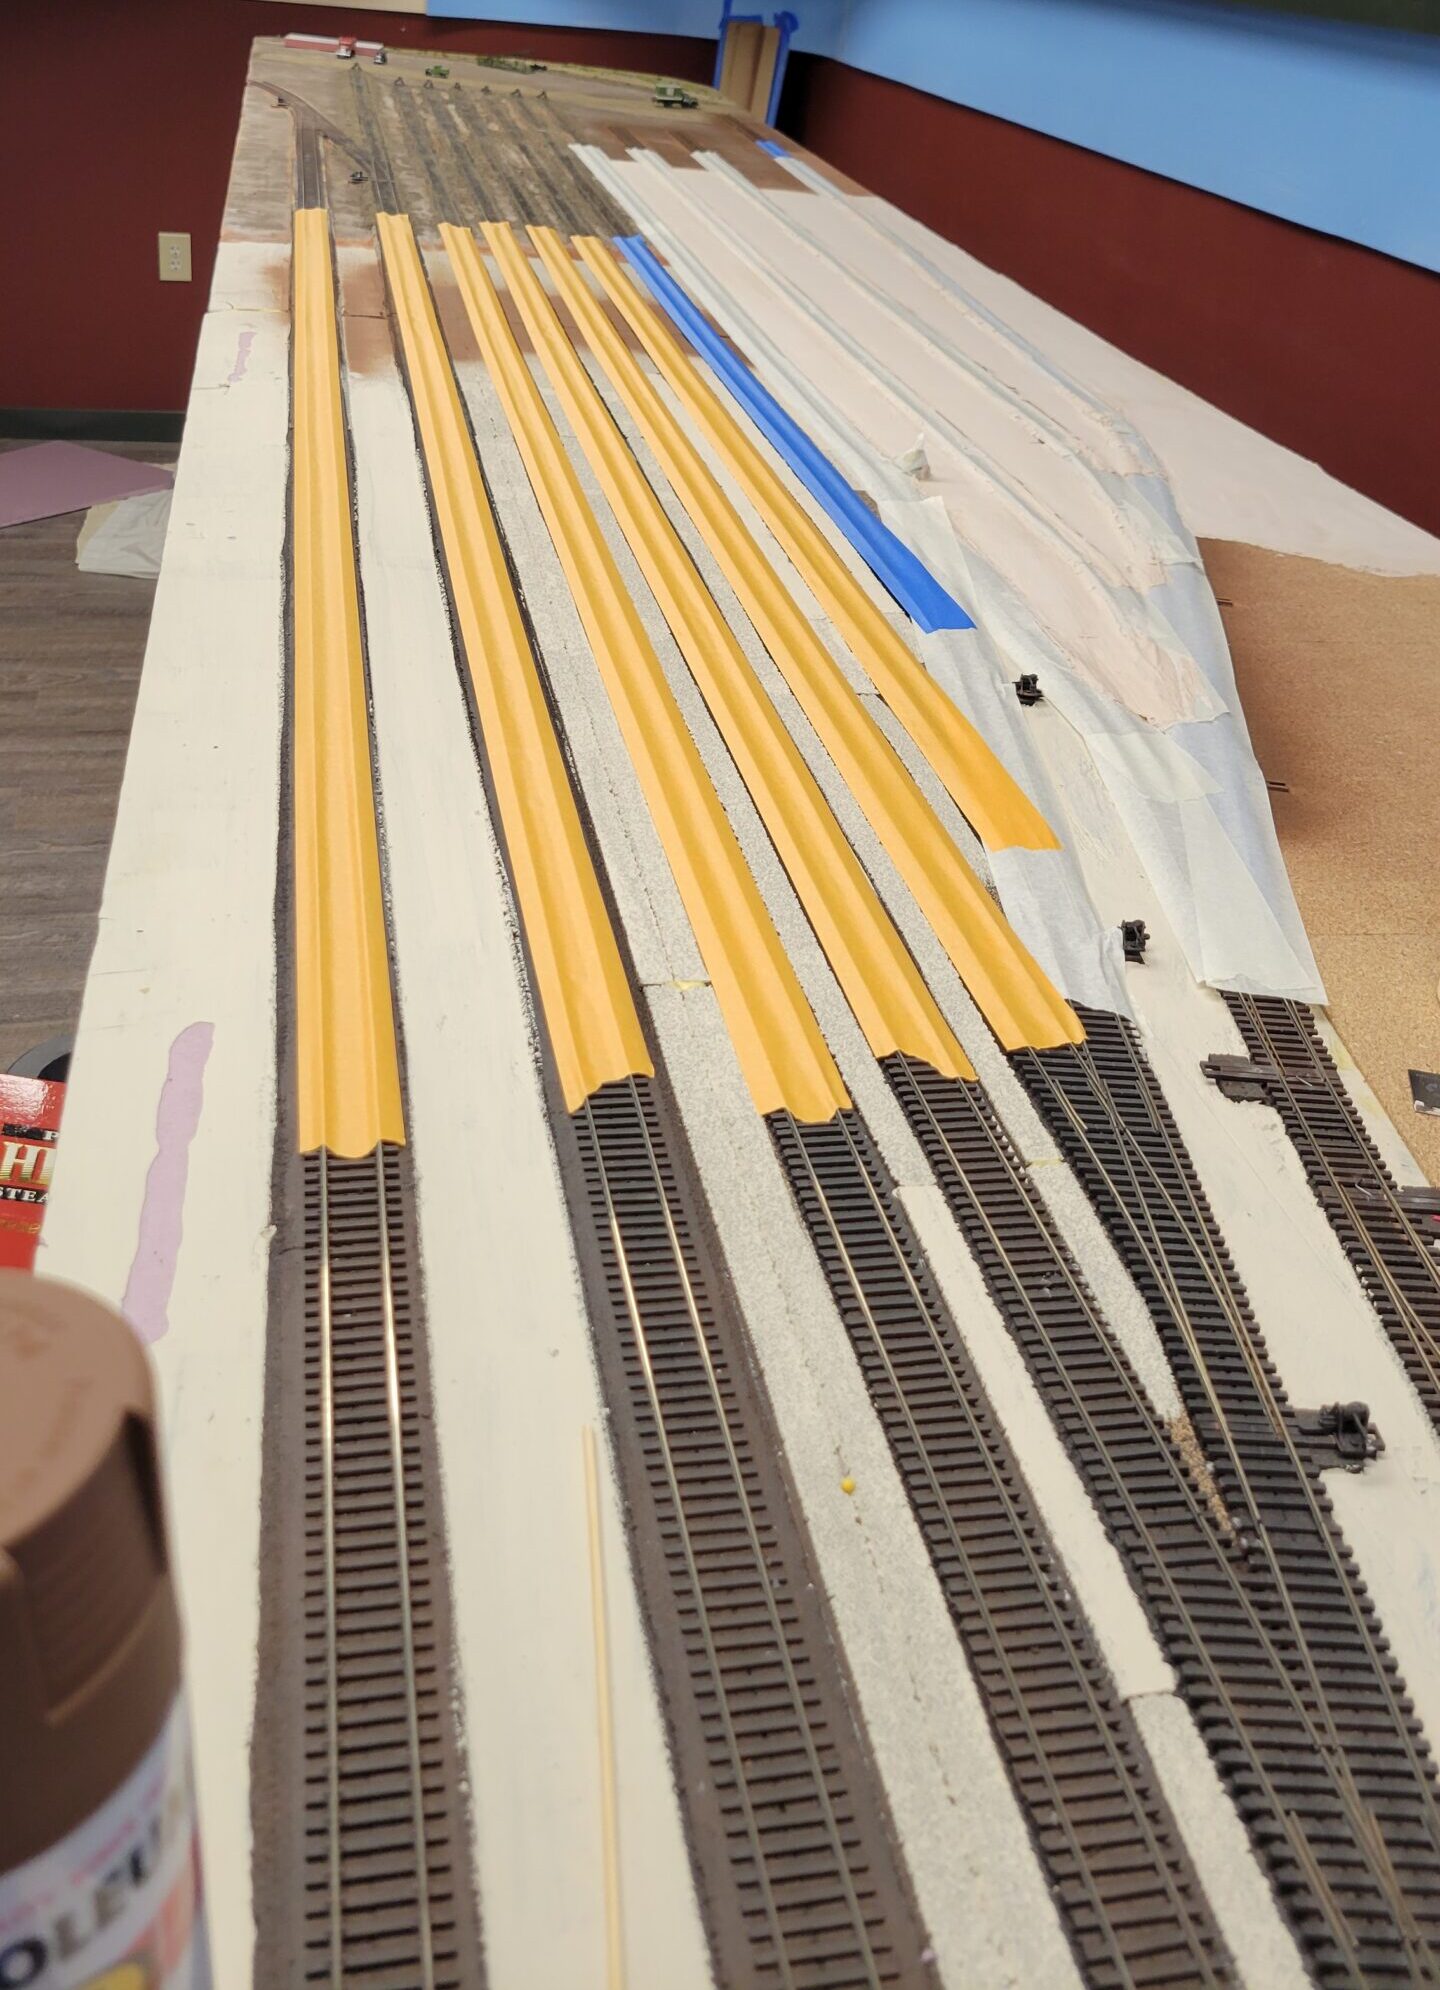
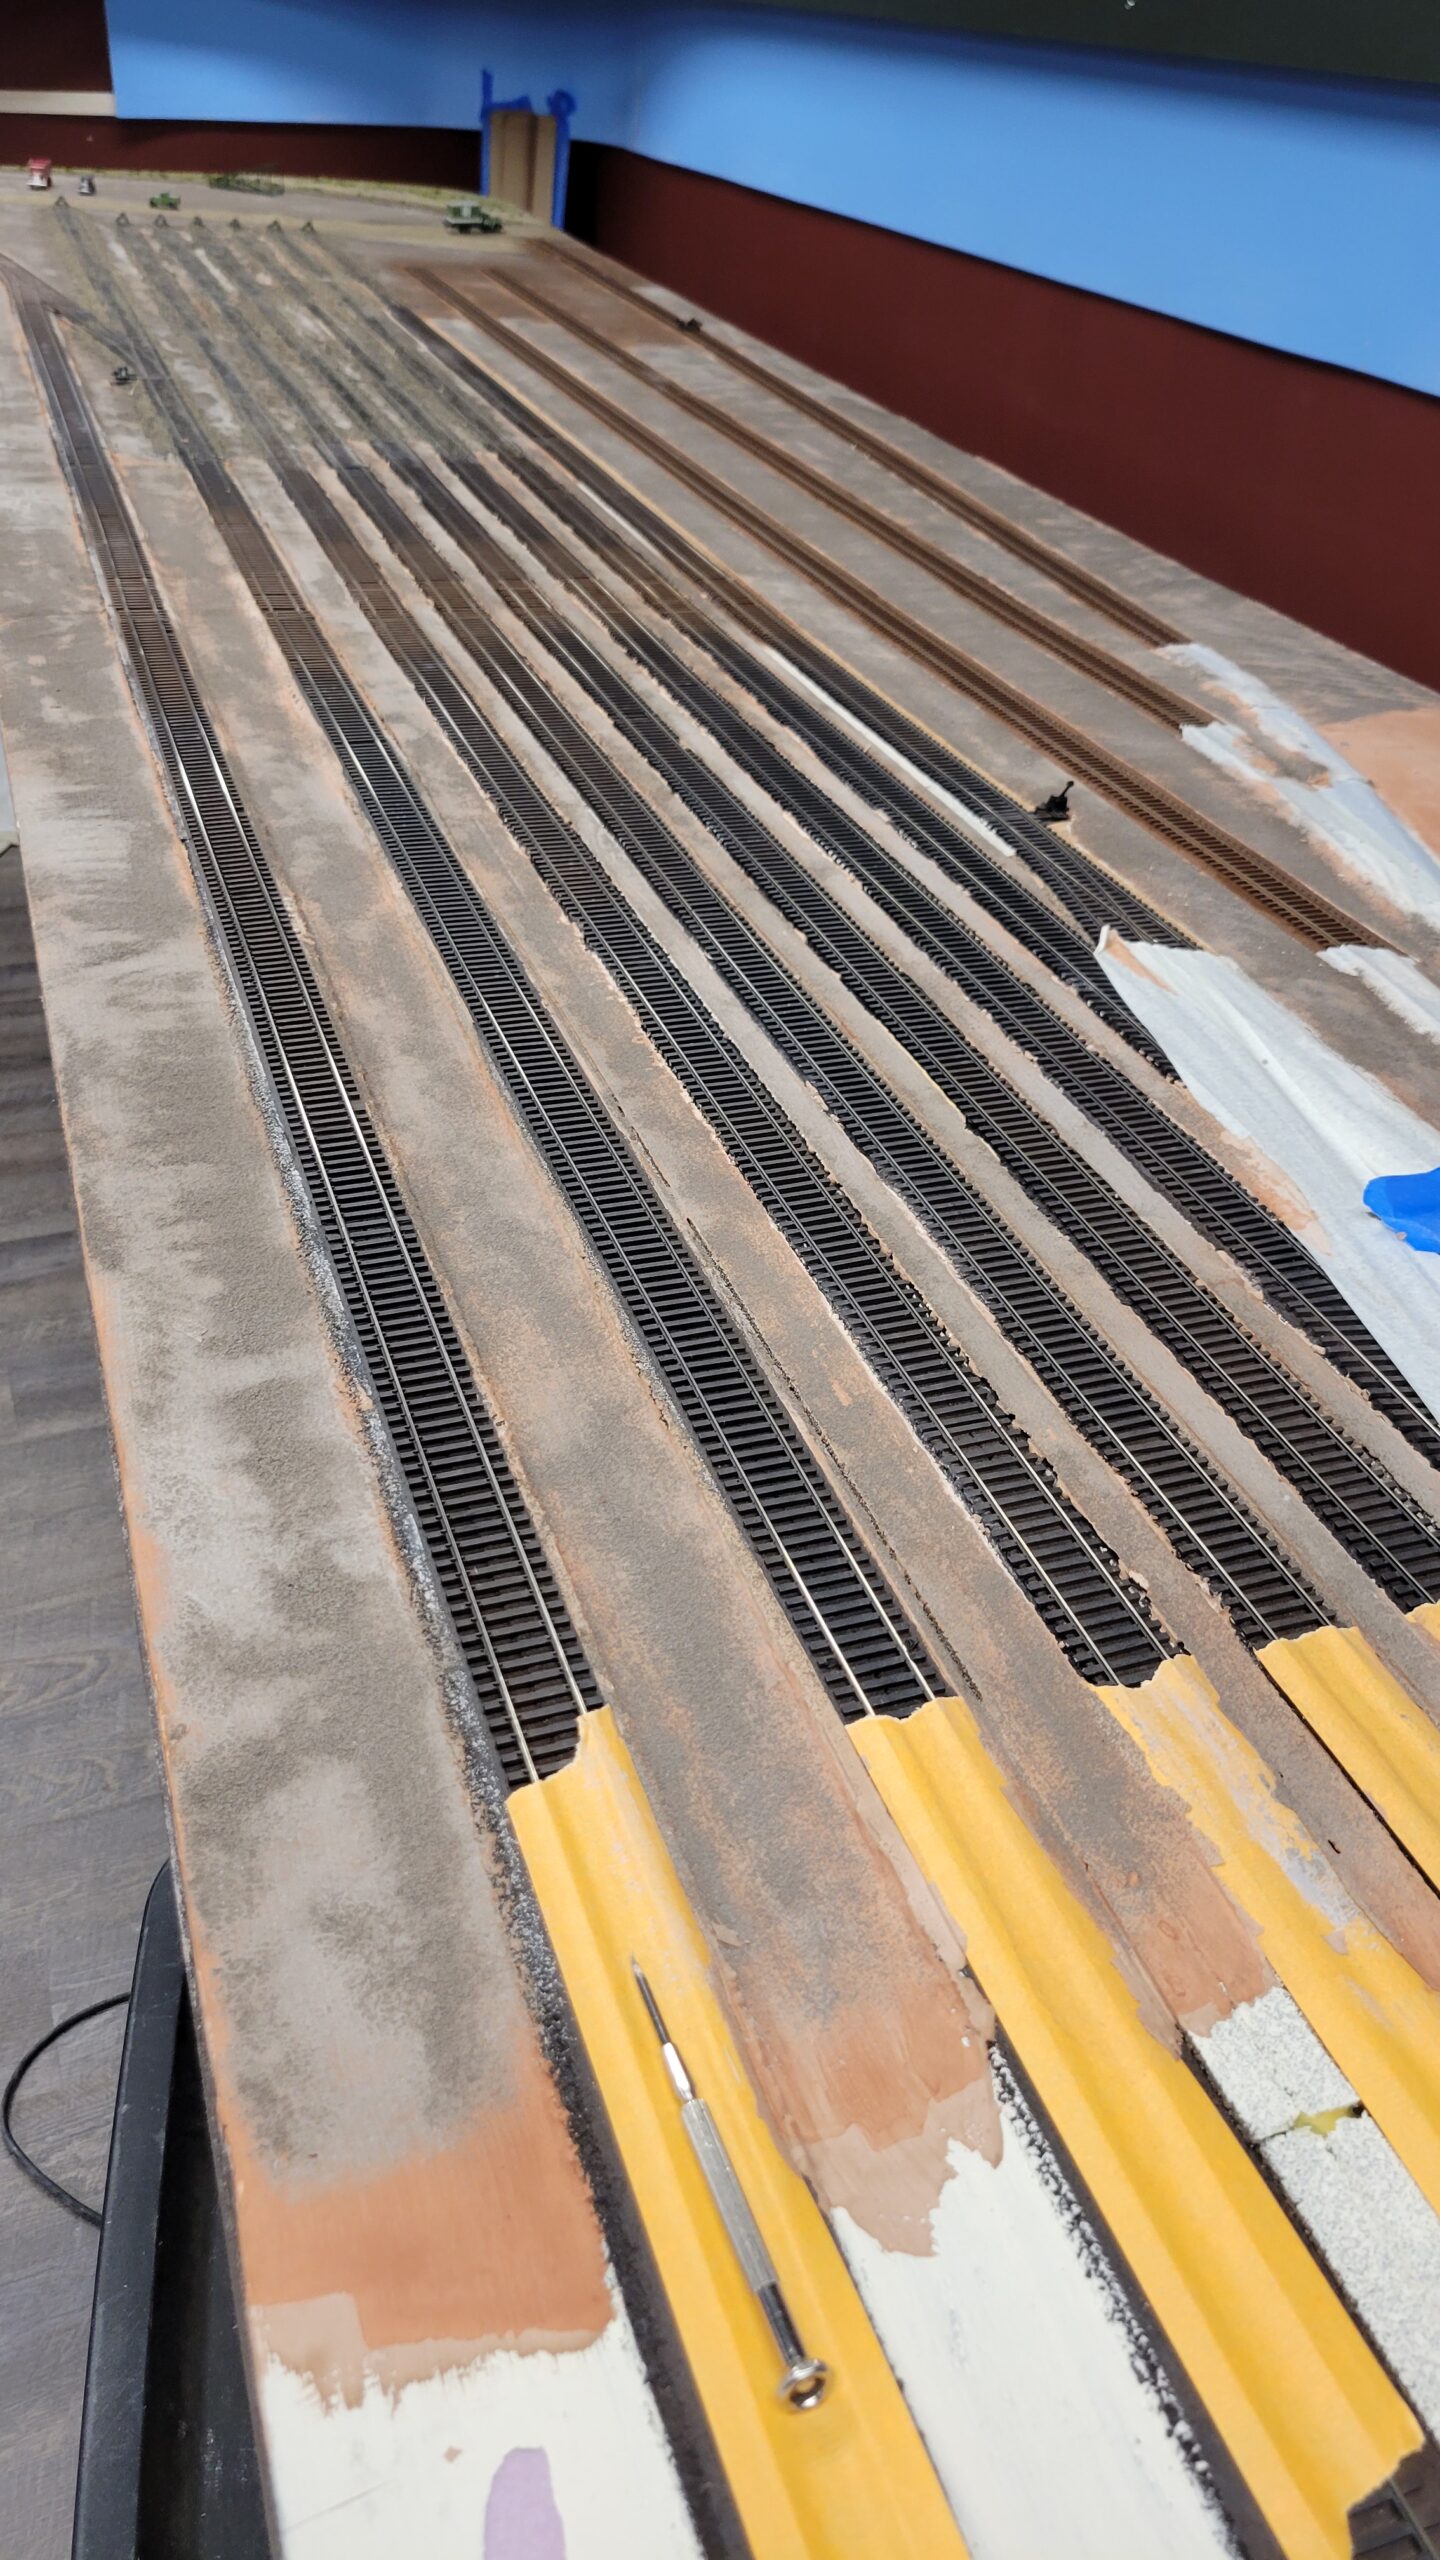
Although I spent most of the month putting together the Planning Casper videos, I also have been ballasting Casper yard during the odd free moments. Here in the second week of May half the classification tracks have the ballast glued down, while the light colored tracks have ballast waiting for glue, and the tracks behind those are yet to be ballasted.
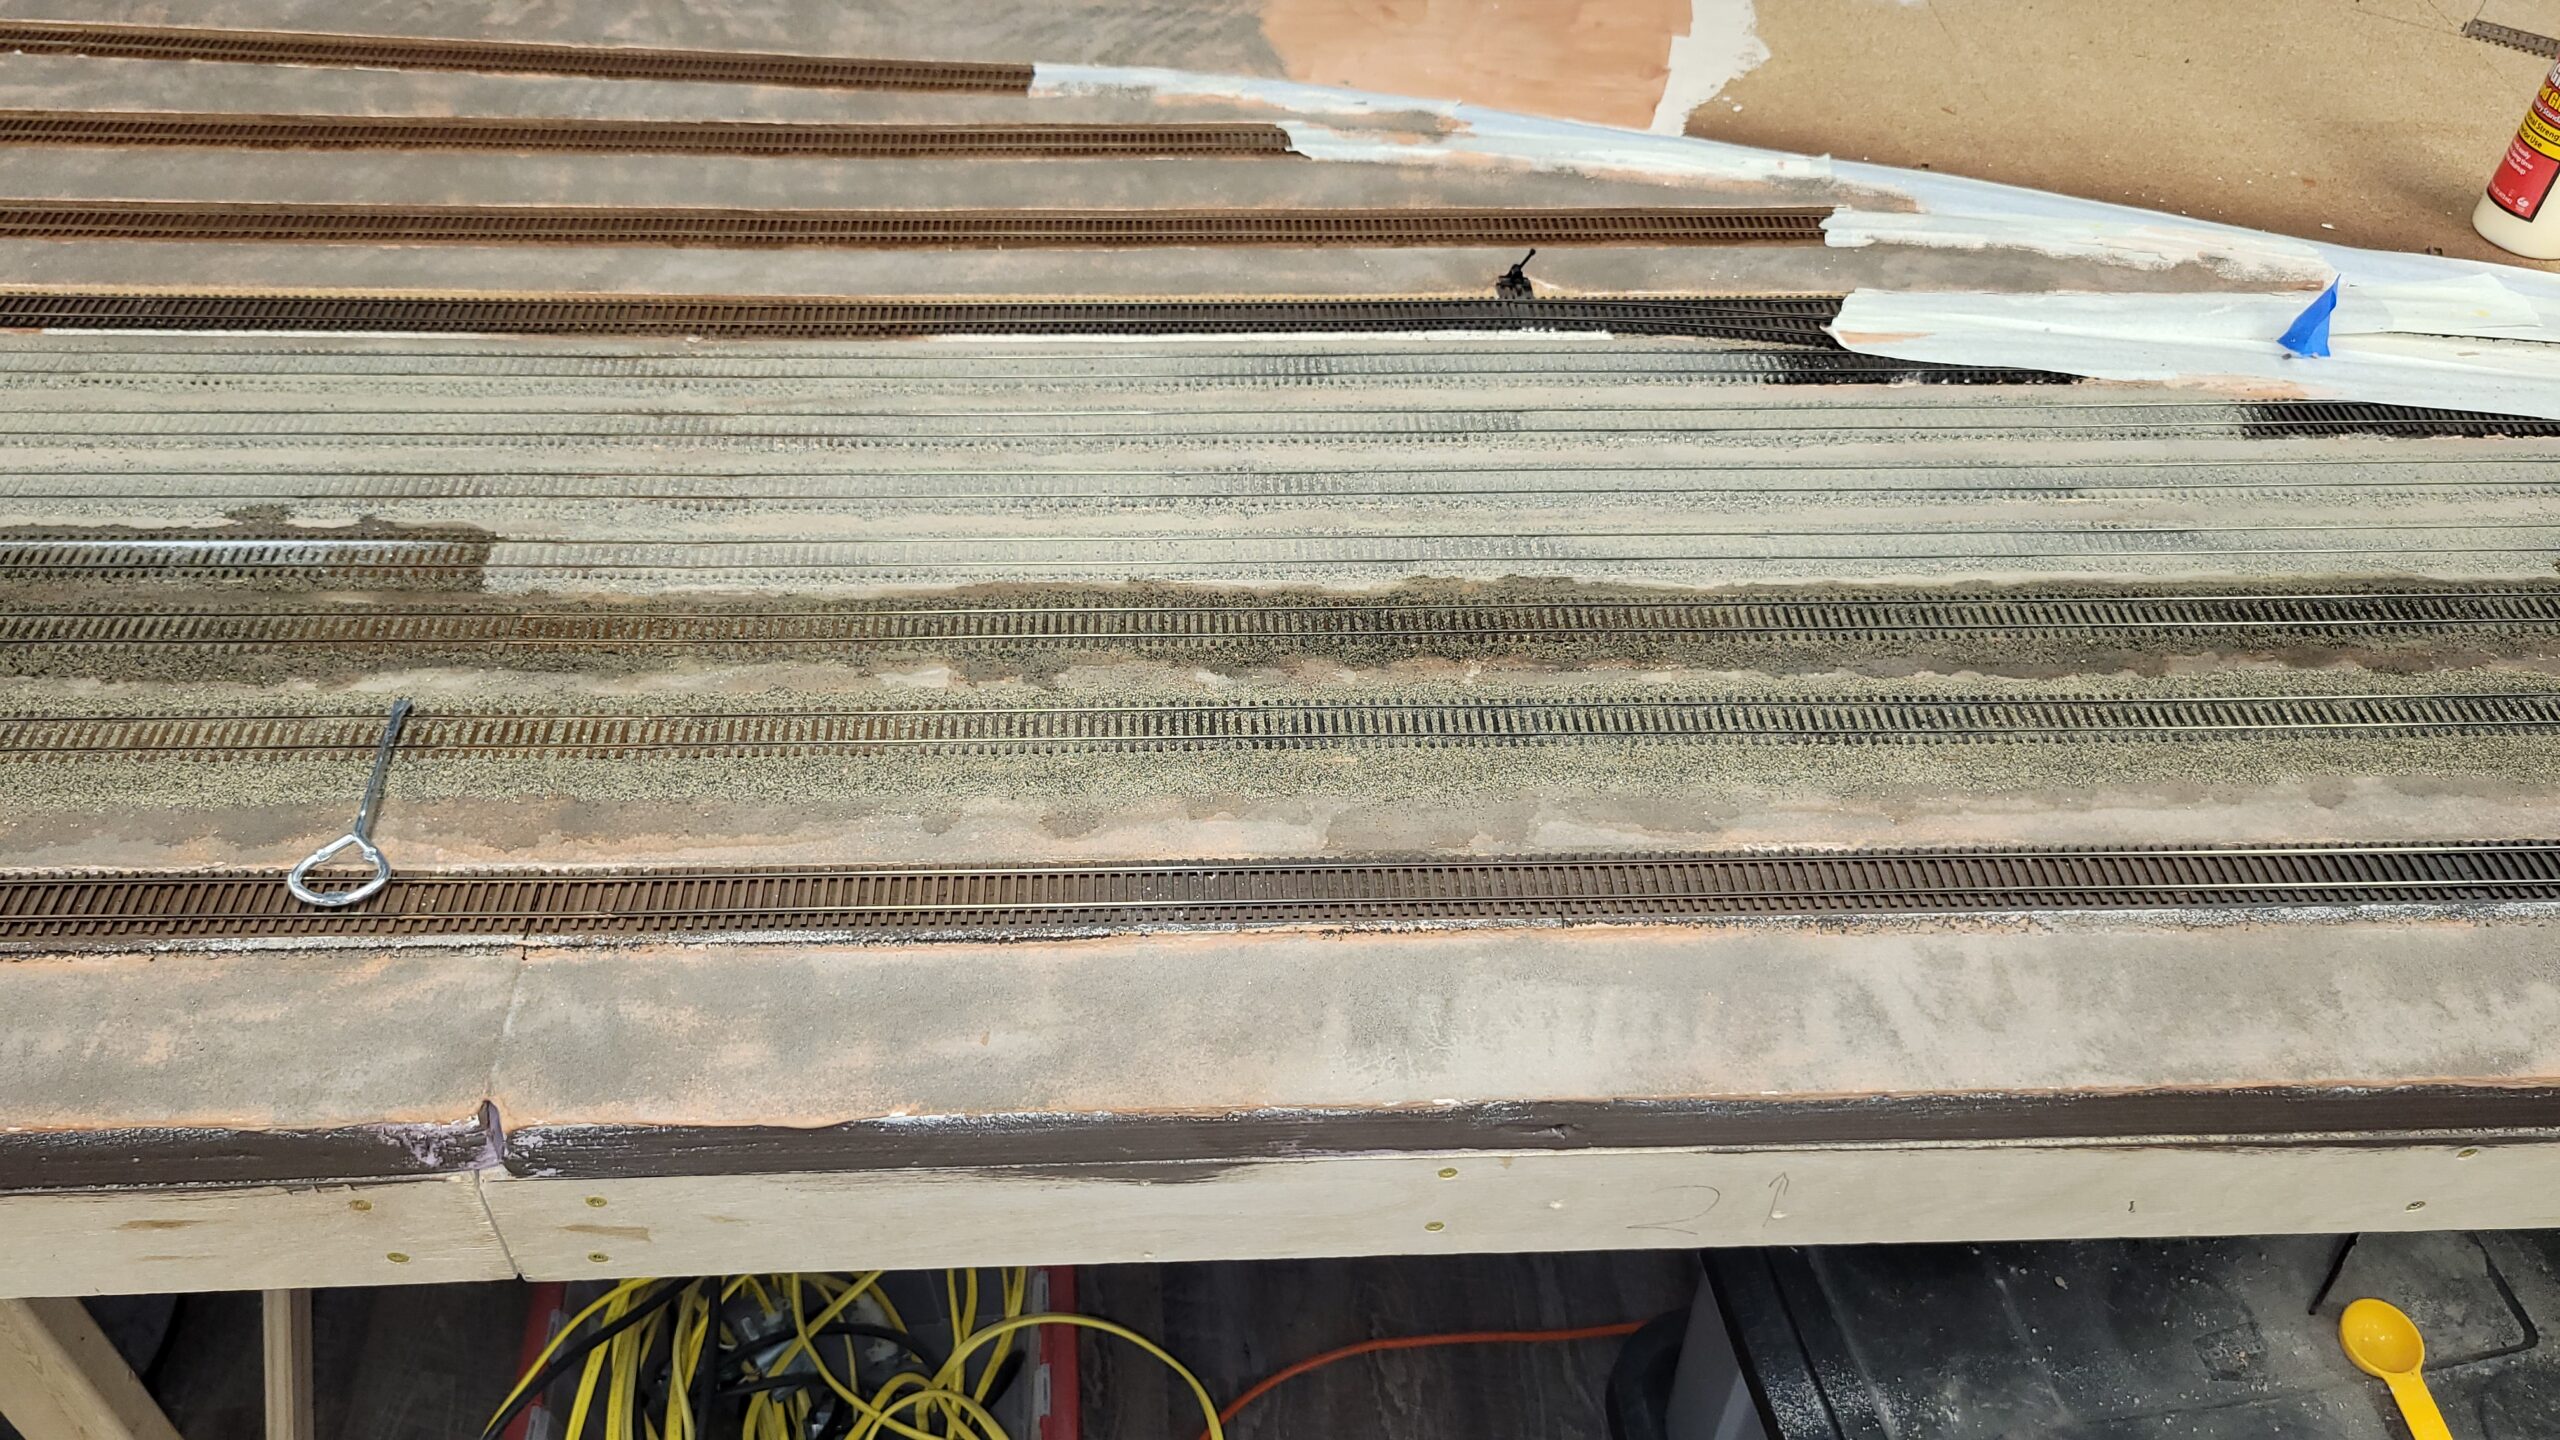
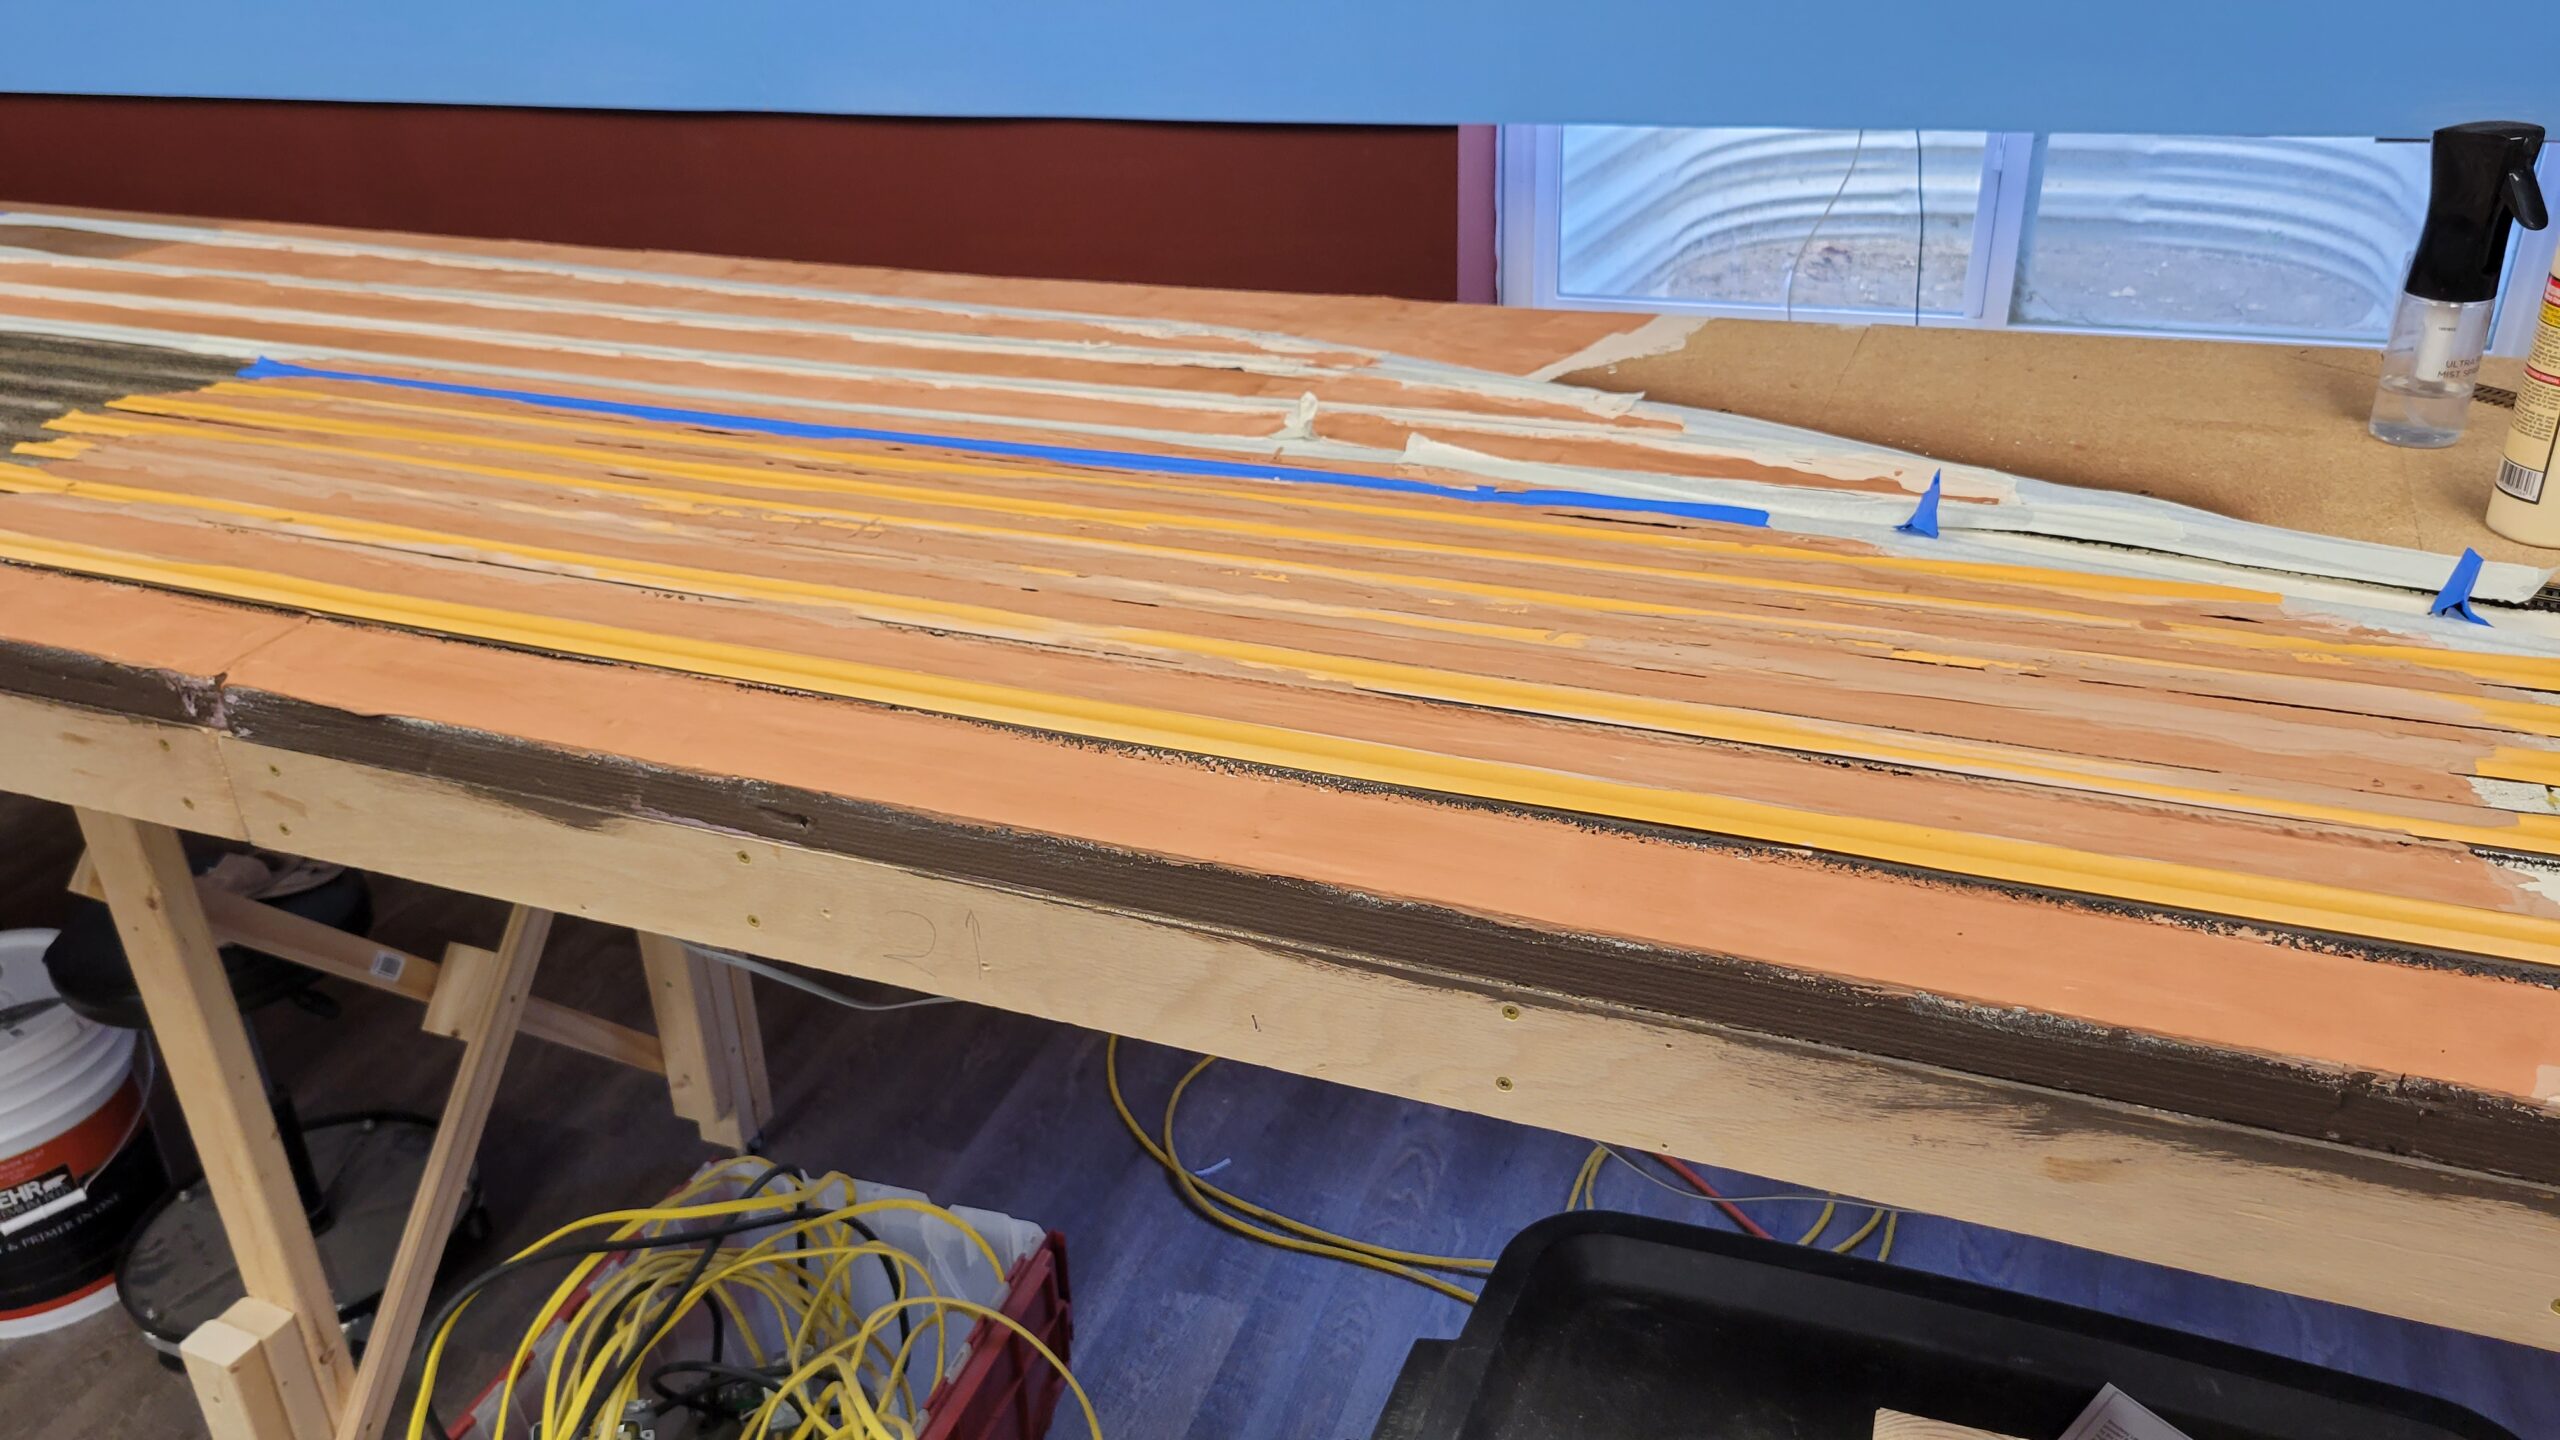
In this shot from 24 May, all yard tracks are ballasted down to the taped over areas, except the mainline on the left. The glue is still wet on the track on the far right.
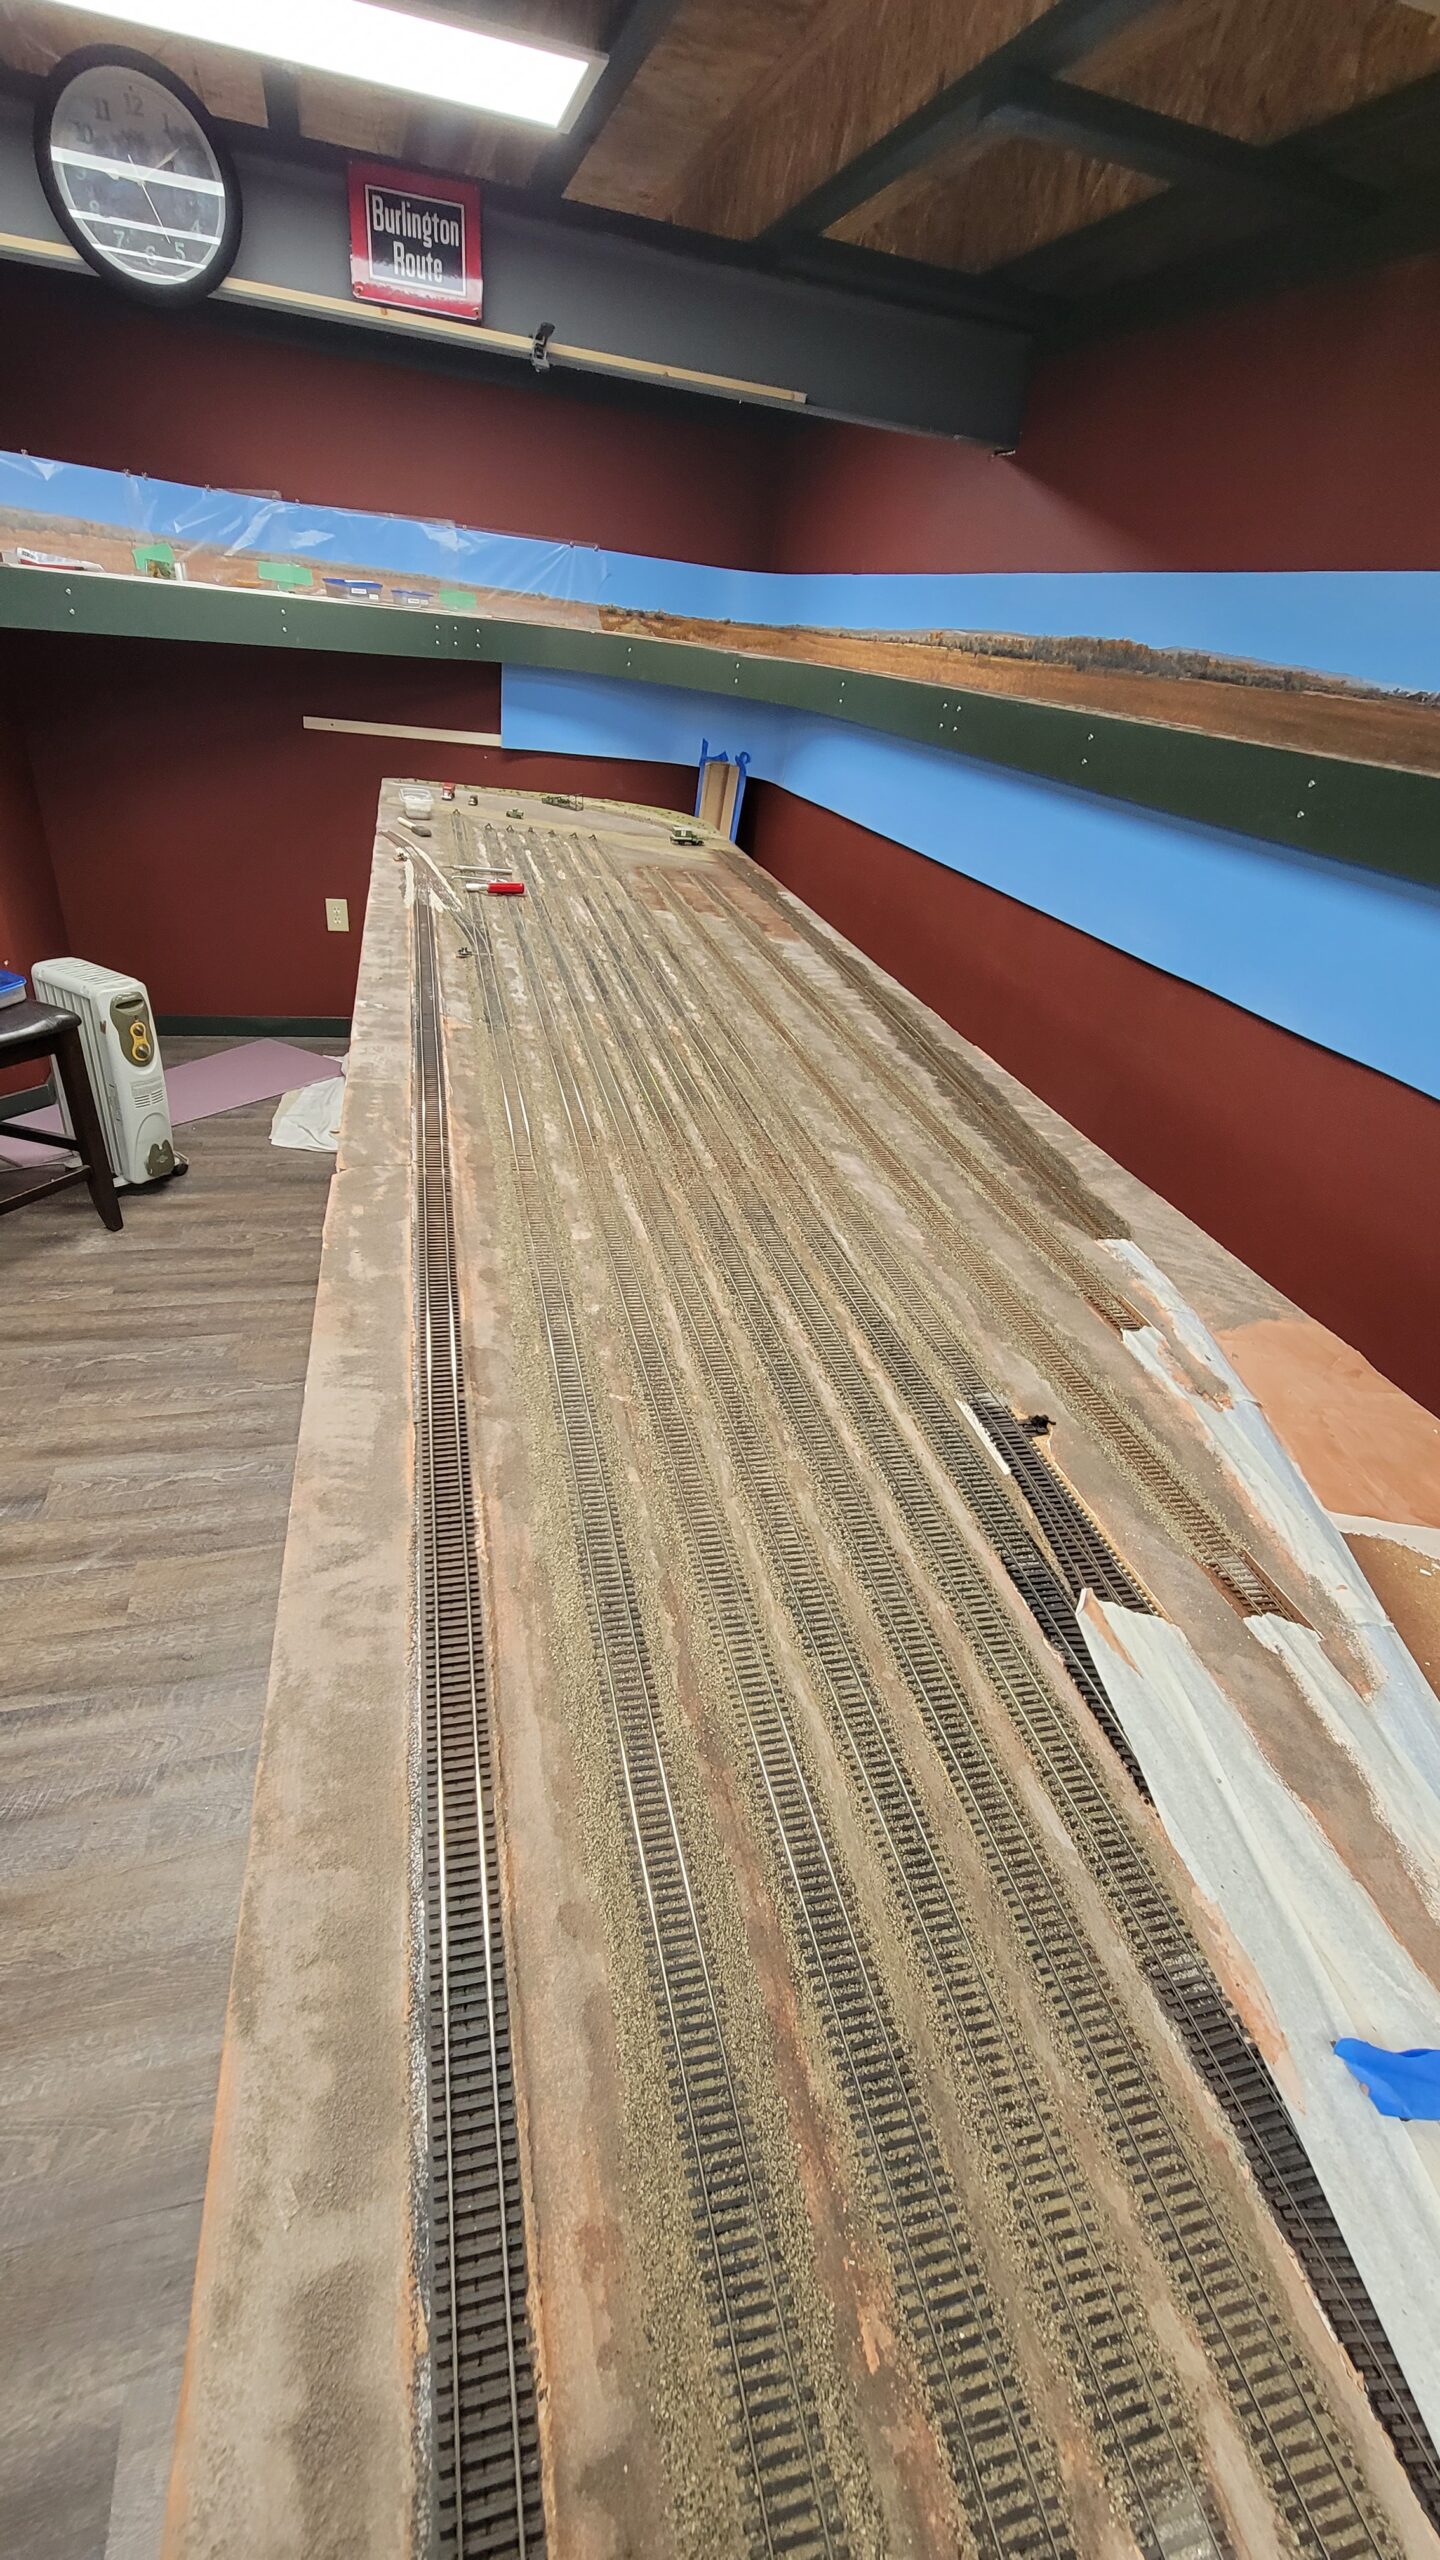
And here I'm in the process of gluing the ballast on the mainline, a couple days ago. Quite a stark difference between the mainline and the yard tracks. The mainline will be toned down some once the ballast has been weathered. The yard tracks won't tone down much, but weathering should kind of tie them all together.