 This is the double-crossover at the west end of Laurel. You can see the ground throw switchstands on three of the four sets of points. Once I start adding scenery, these will be painted and targets added.
 Here's the switchstand installed on the switch at the East end of Laurel. Someday, the backdrop that will hide the helix from view will be positioned just in front of the camera lens.
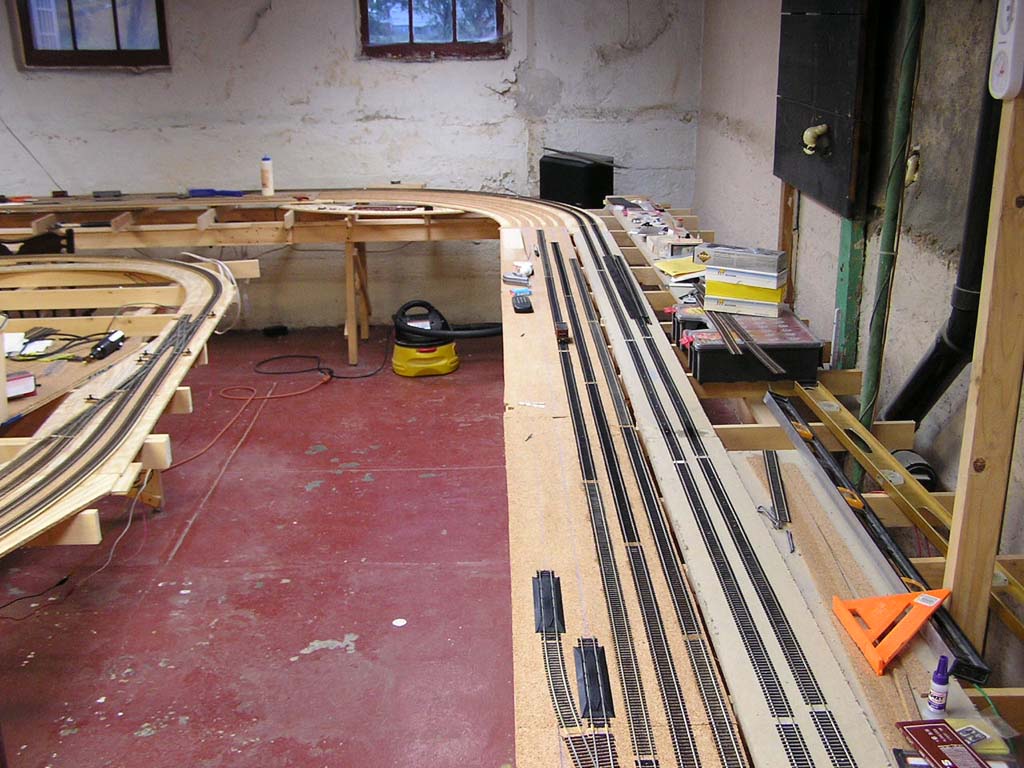
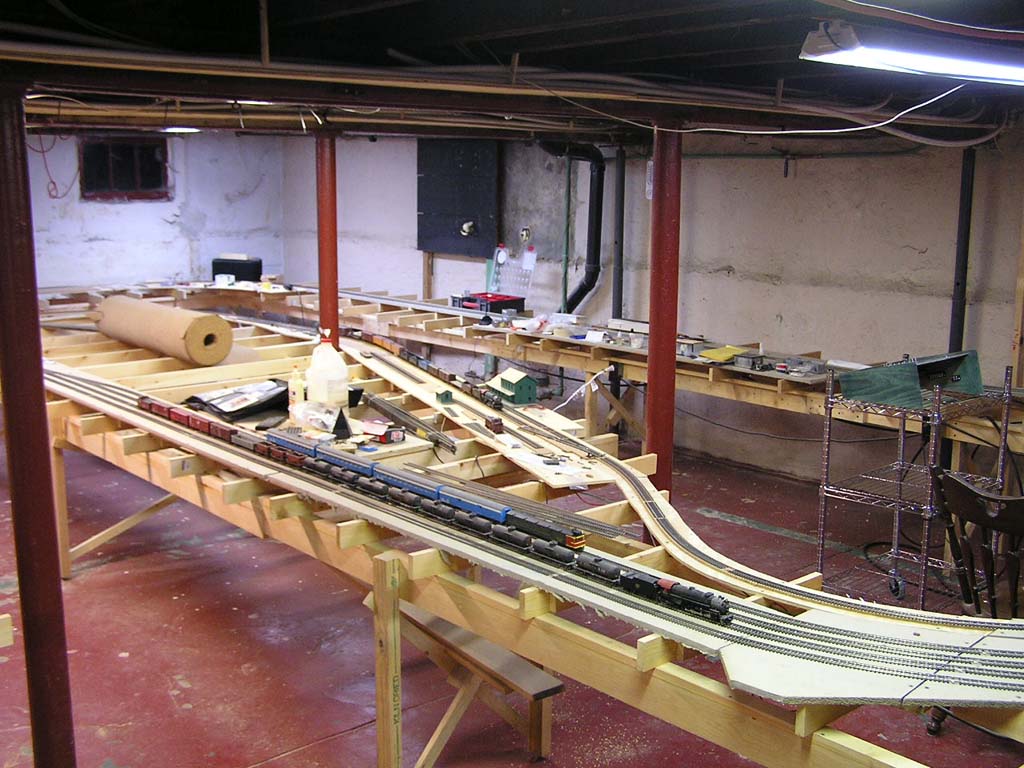 An overall view of most of the layout as of mid-February. Half a dozen or so new cars have been added, the Doodlebug is now DCCd, and the Seattle staging yard switch machines are now in place and partially wired. The GN passenger cars I just stuck on the layout as a whim. They'll be back in their boxes soon.
 This is the NP control panel. The unlabeled switch in the upper left corner is the power switch. All this panel will do for the present is power all the Tortoise switch machines in the Seattle and Minneapolis staging yards. If I power the Laurel turntable, it will also control the motor for that.
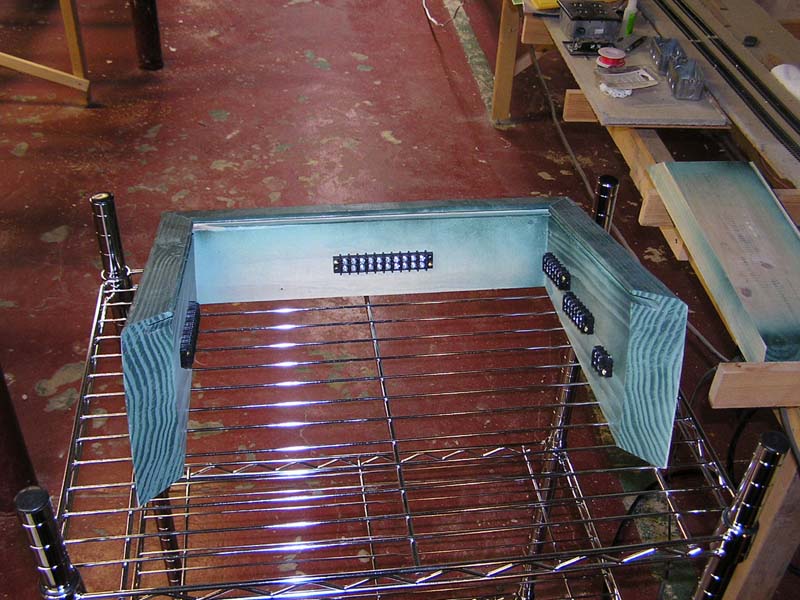 This is the NP Control Panel frame (three of the four sides of it, anyway). The frame was made very simply by cutting old 2X8s I had laying around. The panel face slips into the slot near the top of the frame. The terminal strips seen connect the panel internal wiring to the layout. To control 16 switches requires a total of 34 wire connections to the layout - two for each switch machine and two for power.
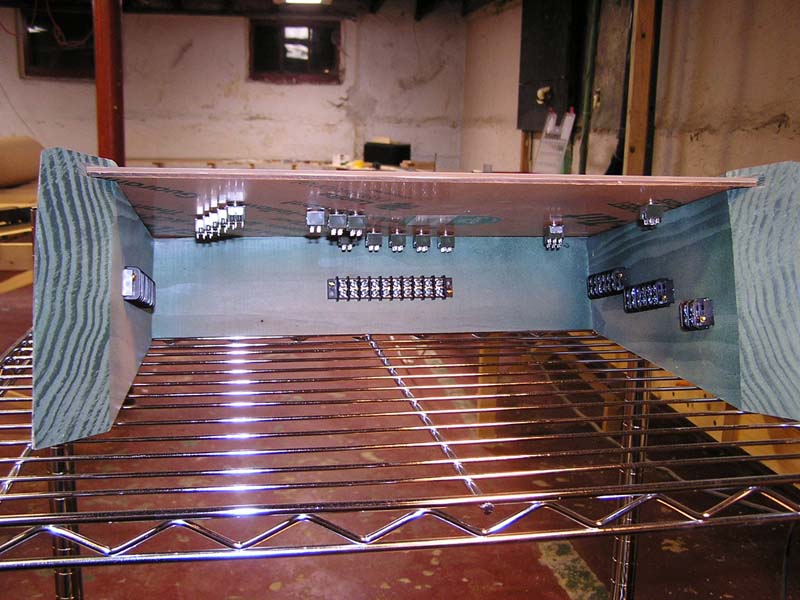 Here the panel face is slid into it's grooves in the housing. The back has a similar housing, and will be screwed to the two sides. The front is screwed and glued together, but I want to be able to remove the panel face, so no glue on the back.

In mid-March I started building the two-track interchange yard at Laurel. Since I use 1/4 inch cork for the mainline and 1/8 inch for everything else (to get that prototypically correct - and so visually pleasing - raised mainline, I have to build ramps to get from the mainline to other tracks. This is the beginning of one of the Laurel ramps. The ramps are similar in approach to the way I superelevate curves - layers of 1/4 inch masking tape stacked up, each subsequent layer shorted than the one below it to provide a taper.
 The same ramp completed. The ramps are about 16 1/2 inches long, and at their thickest 24 layers of tape deep. I don't anticipate a problem with the tape separating, since masking tape tends to fuse together as it ages, and once ballasted the ramp will be constrained by the track and ballast. Laurel yard has no switch leads, so the ramp at each end is built under a switch. I was a little concerned about how well locos would track through a switch on a ramps, but I've had no problems so far, and I've been running trains through the switches to test them for two months now without a single derailment.
Towards the end of March I started laying the subroadbed for the Minneapolis staging yard.
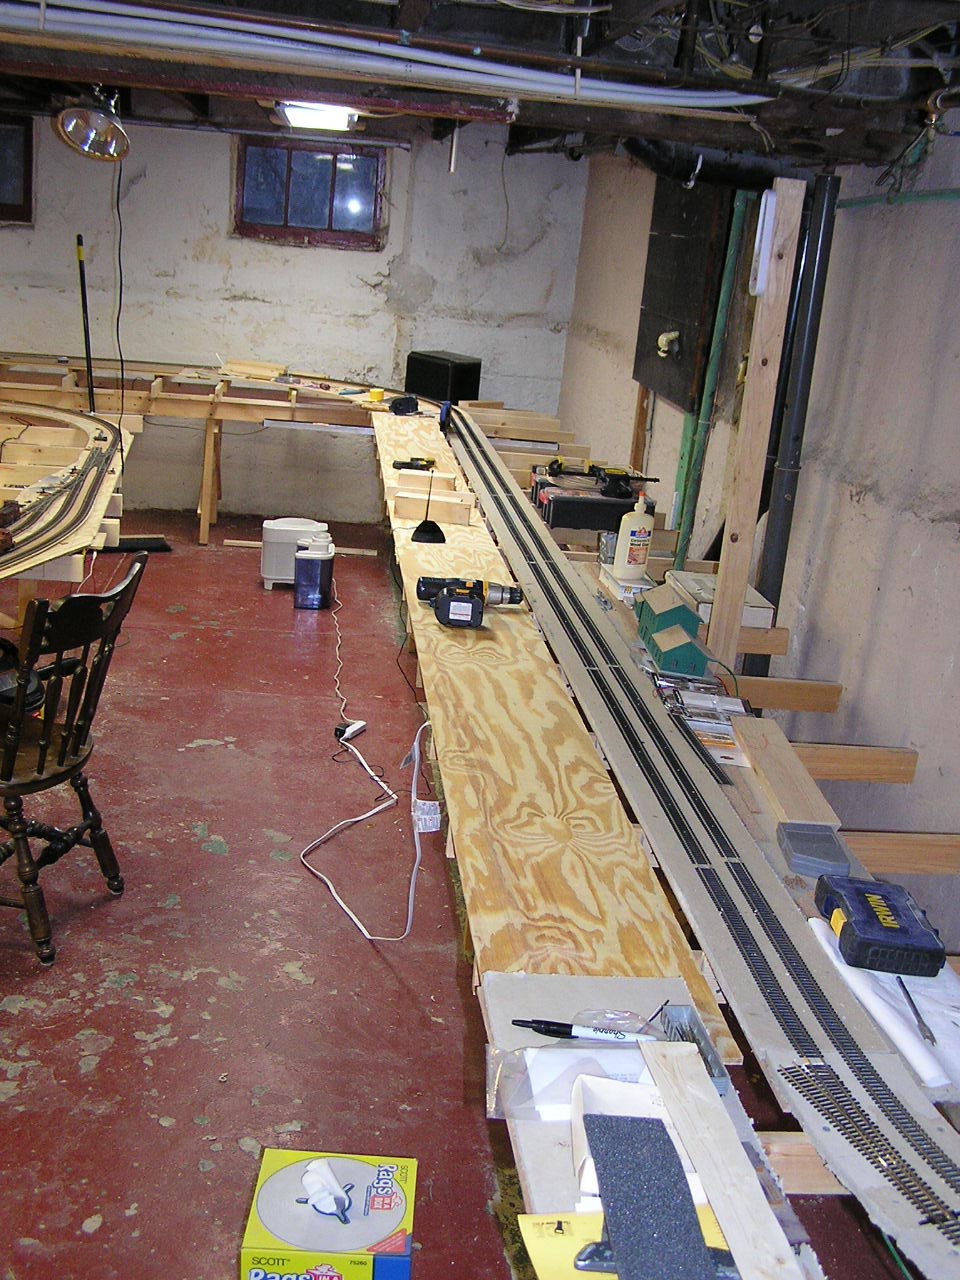
 By mid-May, I had the Laurel interchange yard built and the small engine servicing area laid out. Construction on that area will be in fits and spurts, around other work on the layout.
 The Minneapolis staging yard is finally under construction! We're looking east at the west end throat of the yard. Subroadbed and roadbed construction were completed over the last few months. I've started adding re-railers after each switch in the hidden track areas. In long runs between switches (like on the helix), I'll add a few as well. At about two bucks each, they're a cheap way to avoid a potential derailment disaster. They are NOT a way for me to get more lax in my trackwork!
 Mid June - The last bit of cork has been put in place on the NP mainline, in the curved area of the Minneapolis staging yard.
 Minneapolis staging yard tracks going down. I decided to try gluing the track with caulk rather than nailing hidden track down as I had been doing, and it works great! The track is securely in place. The yard tracks in this picture - 12 three-foot pieces of flex track, went down in about an hour, and that included the prep work, like removing ties from the track ends and what-not. Lots faster than nailing!
 Minneapolis staging yard is now complete, save for some track feeders at the far end. The track was done in early August, but business took me away from home on several occasions, so wiring of the near-end turnout machines waited until late September.
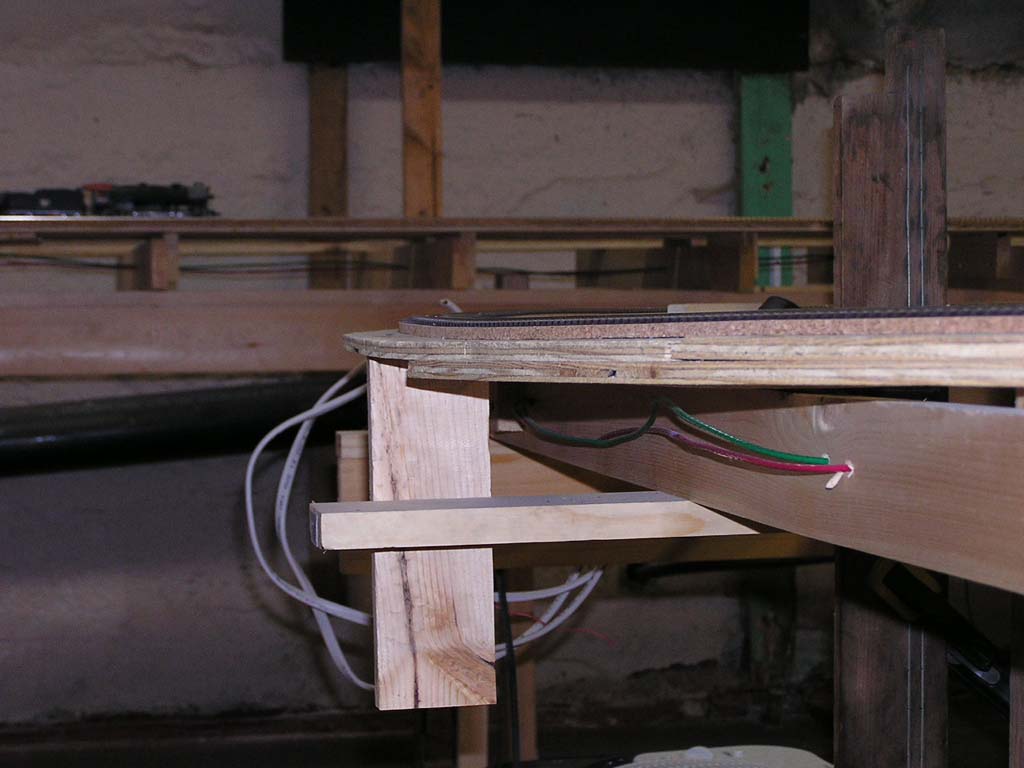
 I had one trouble spot with one of the turnout machines - the darn thing fell right above an L-girder, and there wasn't enough clearance for the machine to fit in place! So I set the machine off to the side and added this linkage arm. I made two little eyelets from .032 wire, then made the loop on the link arm and threaded the arm through the eyelets. I fit the arm to the offset machine, then drilled two small holes for the eyelet posts. The holes were small enough that the eyelets were a press-fit through the cork and into the sub-roadbed. I bent the link end to fit the turnout throwbar, and pressed the eyelets into the roadbed. All done, and it works like a charm. It took about 45 minutes to do this.
 The final touches on the control panel for the NP staging is shown here - the cables which run to the different yard throats for turnout control are all bundled together into one nice, more-or-less neat cable.
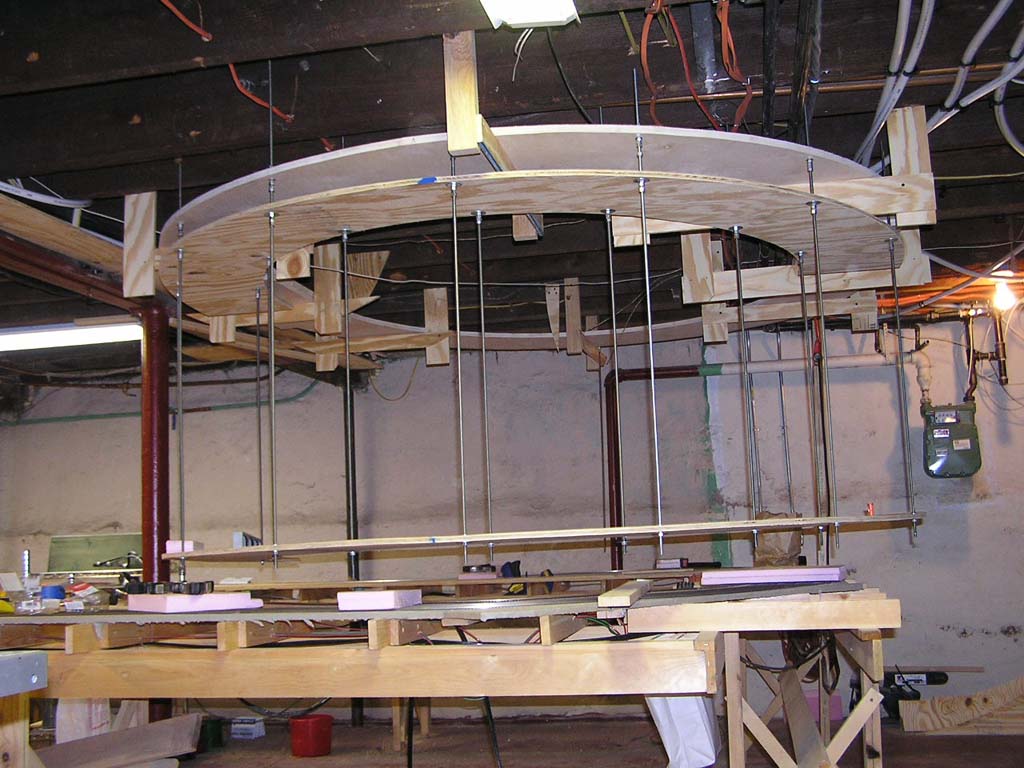 I accomplished a lot on the layout in the last quarter of 2005 - unfortunately it mostly doesn't look like much! I got a great start on the behemoth helix, thanks in large part to my friend Walt and my wife Denise. Here's a progress photo as of December 20th. By the new year I expect to have all the tiers "installed" at the top of the suspension rods, and the lowest tier in its final location.
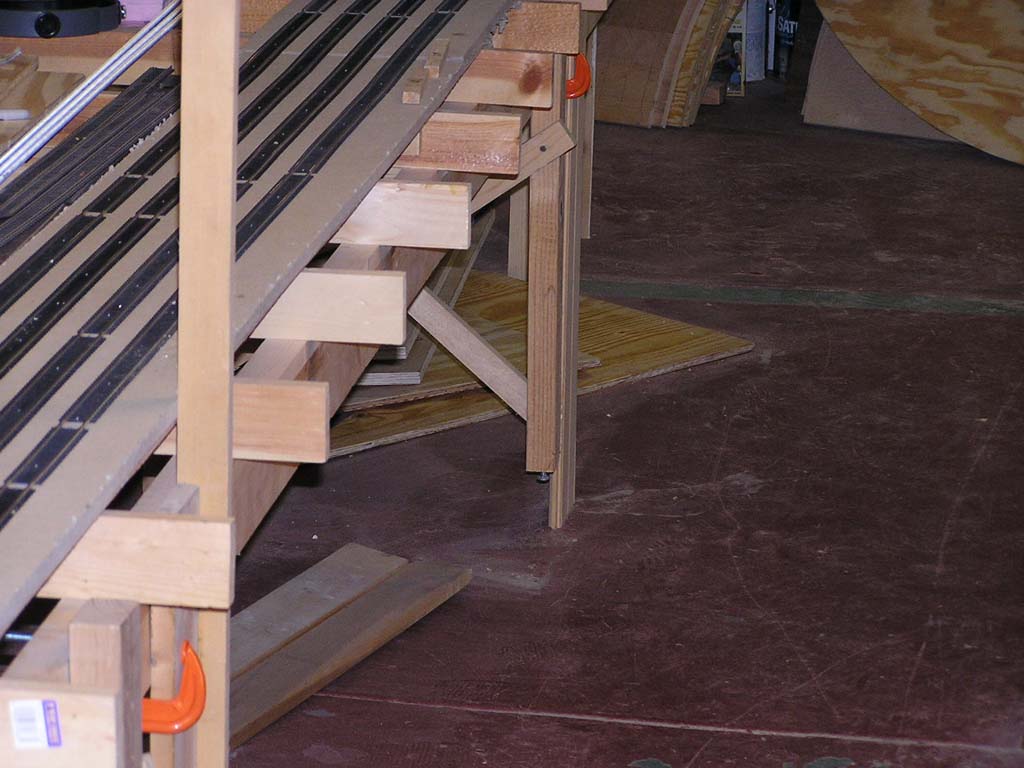 This one is obvious to me since I'm around the layout all the time, but an occasional visitor might not even notice - the entire layout has been lowered by about 5 1/2 inches. As I started installing the helix, it became clear that the top deck would be too close to the basement ceiling for any good scenery. It would be at eye level for me, which would mean most folks would have to stand on their toes or wear stilts to see it! The lowest level of track had been set at a comfortable level for working and viewing. But mostly it will be hidden. The lowest generally visible level of track will be four inches higher! The only part of the lowest level to remain visible will be in Laurel. So to gain clearance and visibility, I clamped temporary legs at each permanent leg, then removed the permanent legs one at a time and cut 5 1/2 inches off the bottom using the rip fence on my bench saw as a guide. Reinstalling the leveling screws (without adjusting them) and reattaching the legs using the exact same screw holes provided a relatively pain-free, accurate reduction in all leg heights. Here you see one of the legs shortened, and the temporary leg behind it.
 Once several leg sets were shortened, I started at the free end of the Laurel peninsula and lowered each set of legs 1/2 inch at a time, until the entire layout was lowered. It took two of the three weeks during the time between Thanksgiving and mid December to get the entire layout done. It makes quite a difference! Track that had been waist-high now is almost at mid-thigh on me. I have to remind myself that most visible track will be higher. In this photo the free end of the Laurel peninsula is about halfway down, while the Minneapolis staging yard, as yet unlowered, is visible in the background. As he often does, Walt helped with this "heavy construction," as did my wife Denise.