I laid the first four sheets of OSB subfloor on the plastic underlayment:
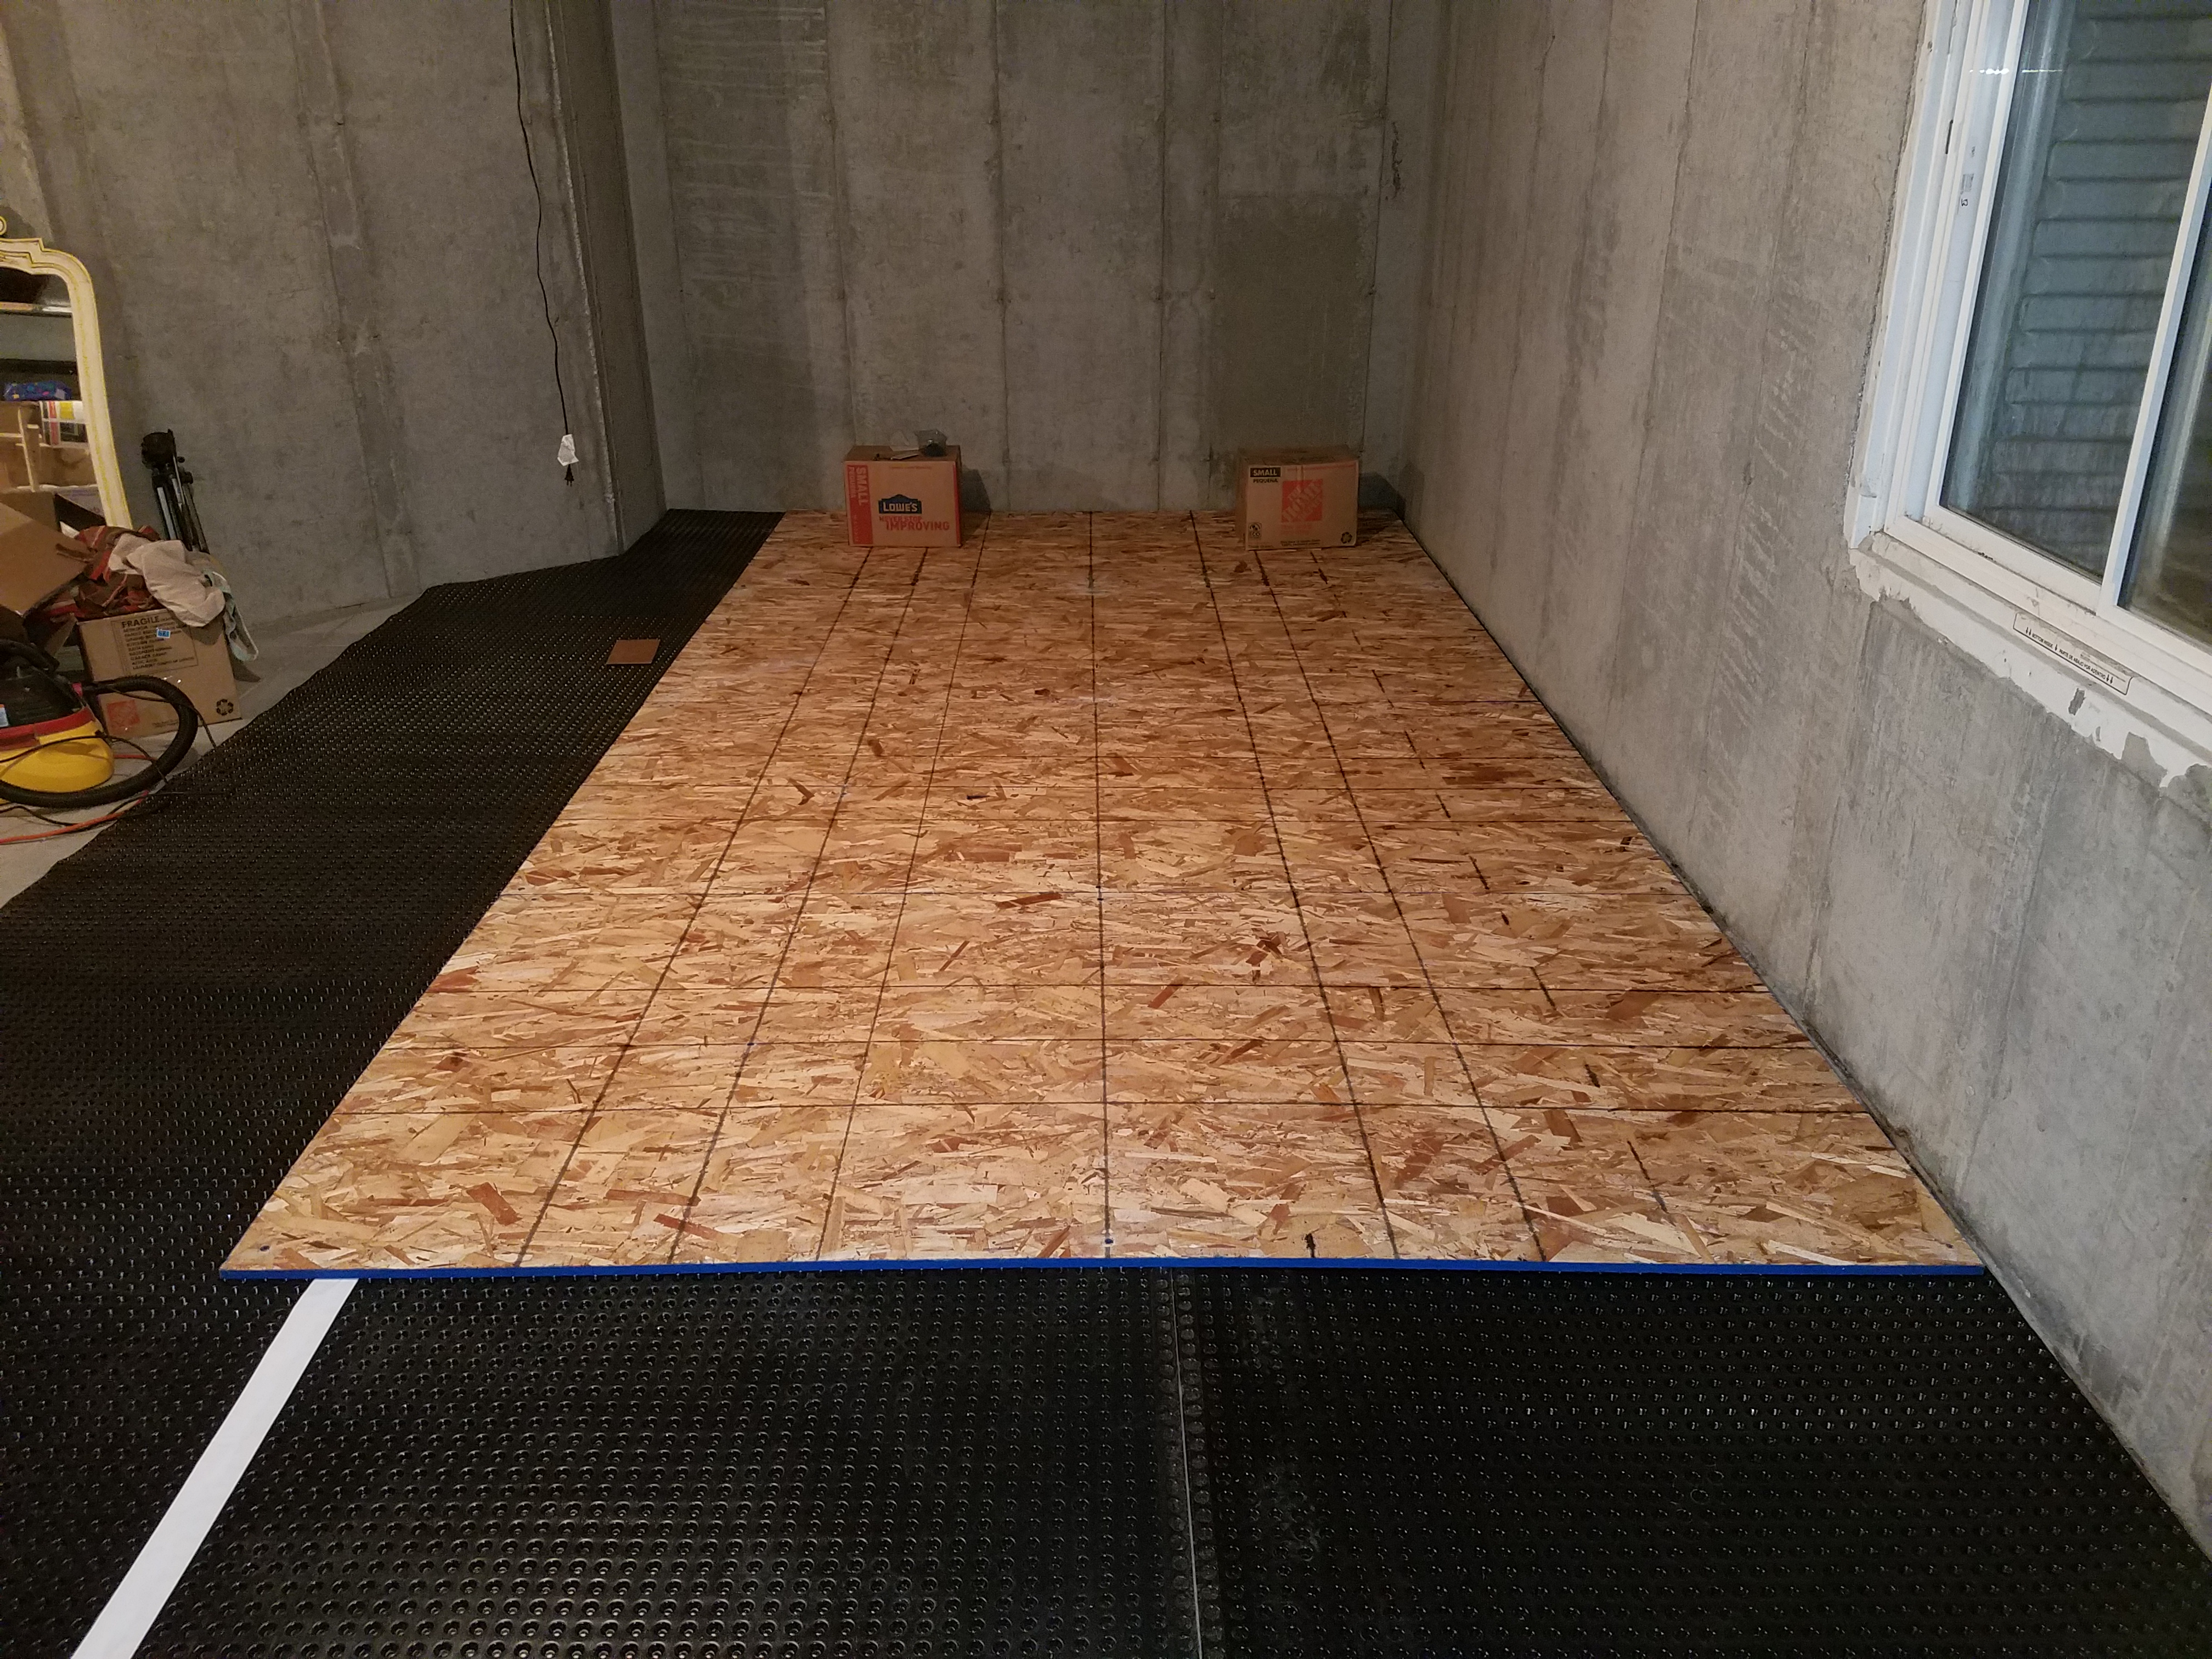 It doesn't look like much, I know, but each sheet is fastened through the dimpled membrane to the concrete using eight Tapcon phillips screws. That involves using a hammer drill to drill into the floor, then using an impact driver to run the screws down. At my age and size, that's not easy! These were installed yesterday and today, and right now the muscles in the back of my upper legs and backside are pretty sore! I'm sure tomorrow will be worse.
I can place one more sheet of OSB, then to proceed on I'll need to roll out some more of the membrane (which I have on hand). Here's a view looking on down the first row of OSB to the far end of the basement:
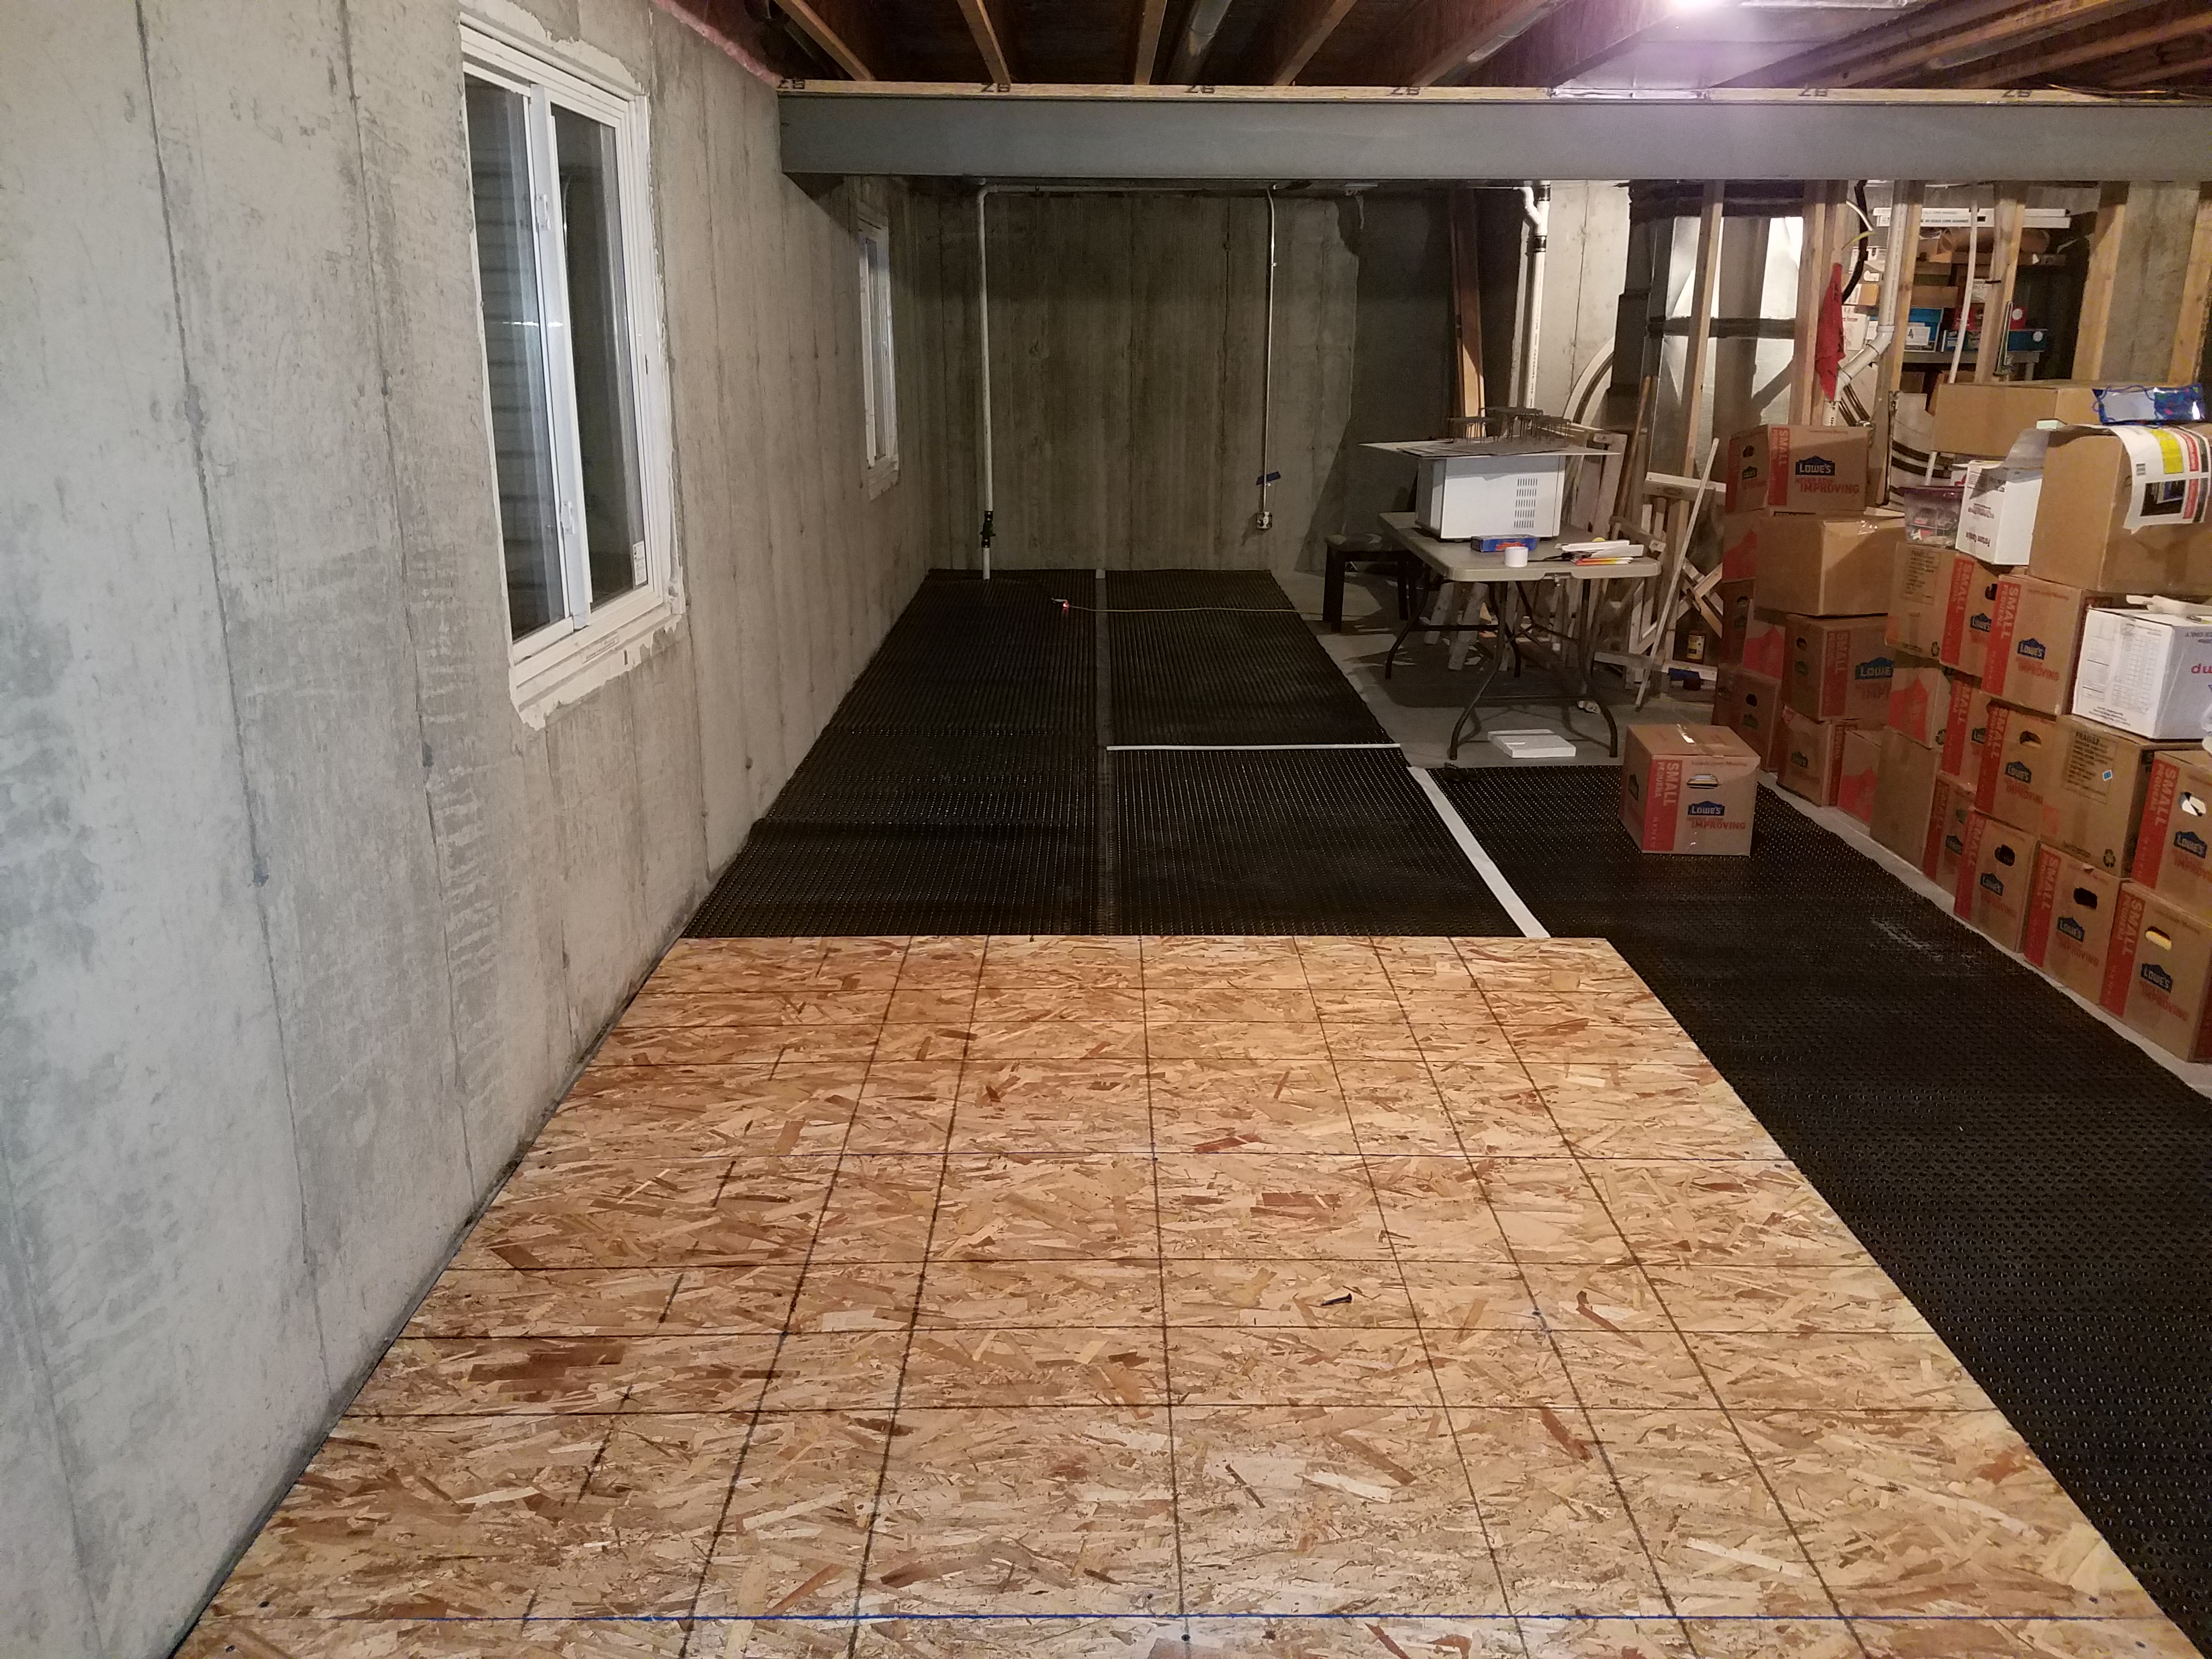 Placing the membrane goes quickly, but after the rest of the row on the right is complete I'll have to move the big pile of boxes over onto the OSB to be able to continue work. That will happen in the next day or two. I've got a feeling I'm going to be moving those boxes a lot - and they're heavy! Mostly books.
Work continues on the basement floor. It's going slowly, but it is going:

Each sheet of OSB is firmly anchored through the underlayment to the concrete by at least eight Tapcon concrete screws.
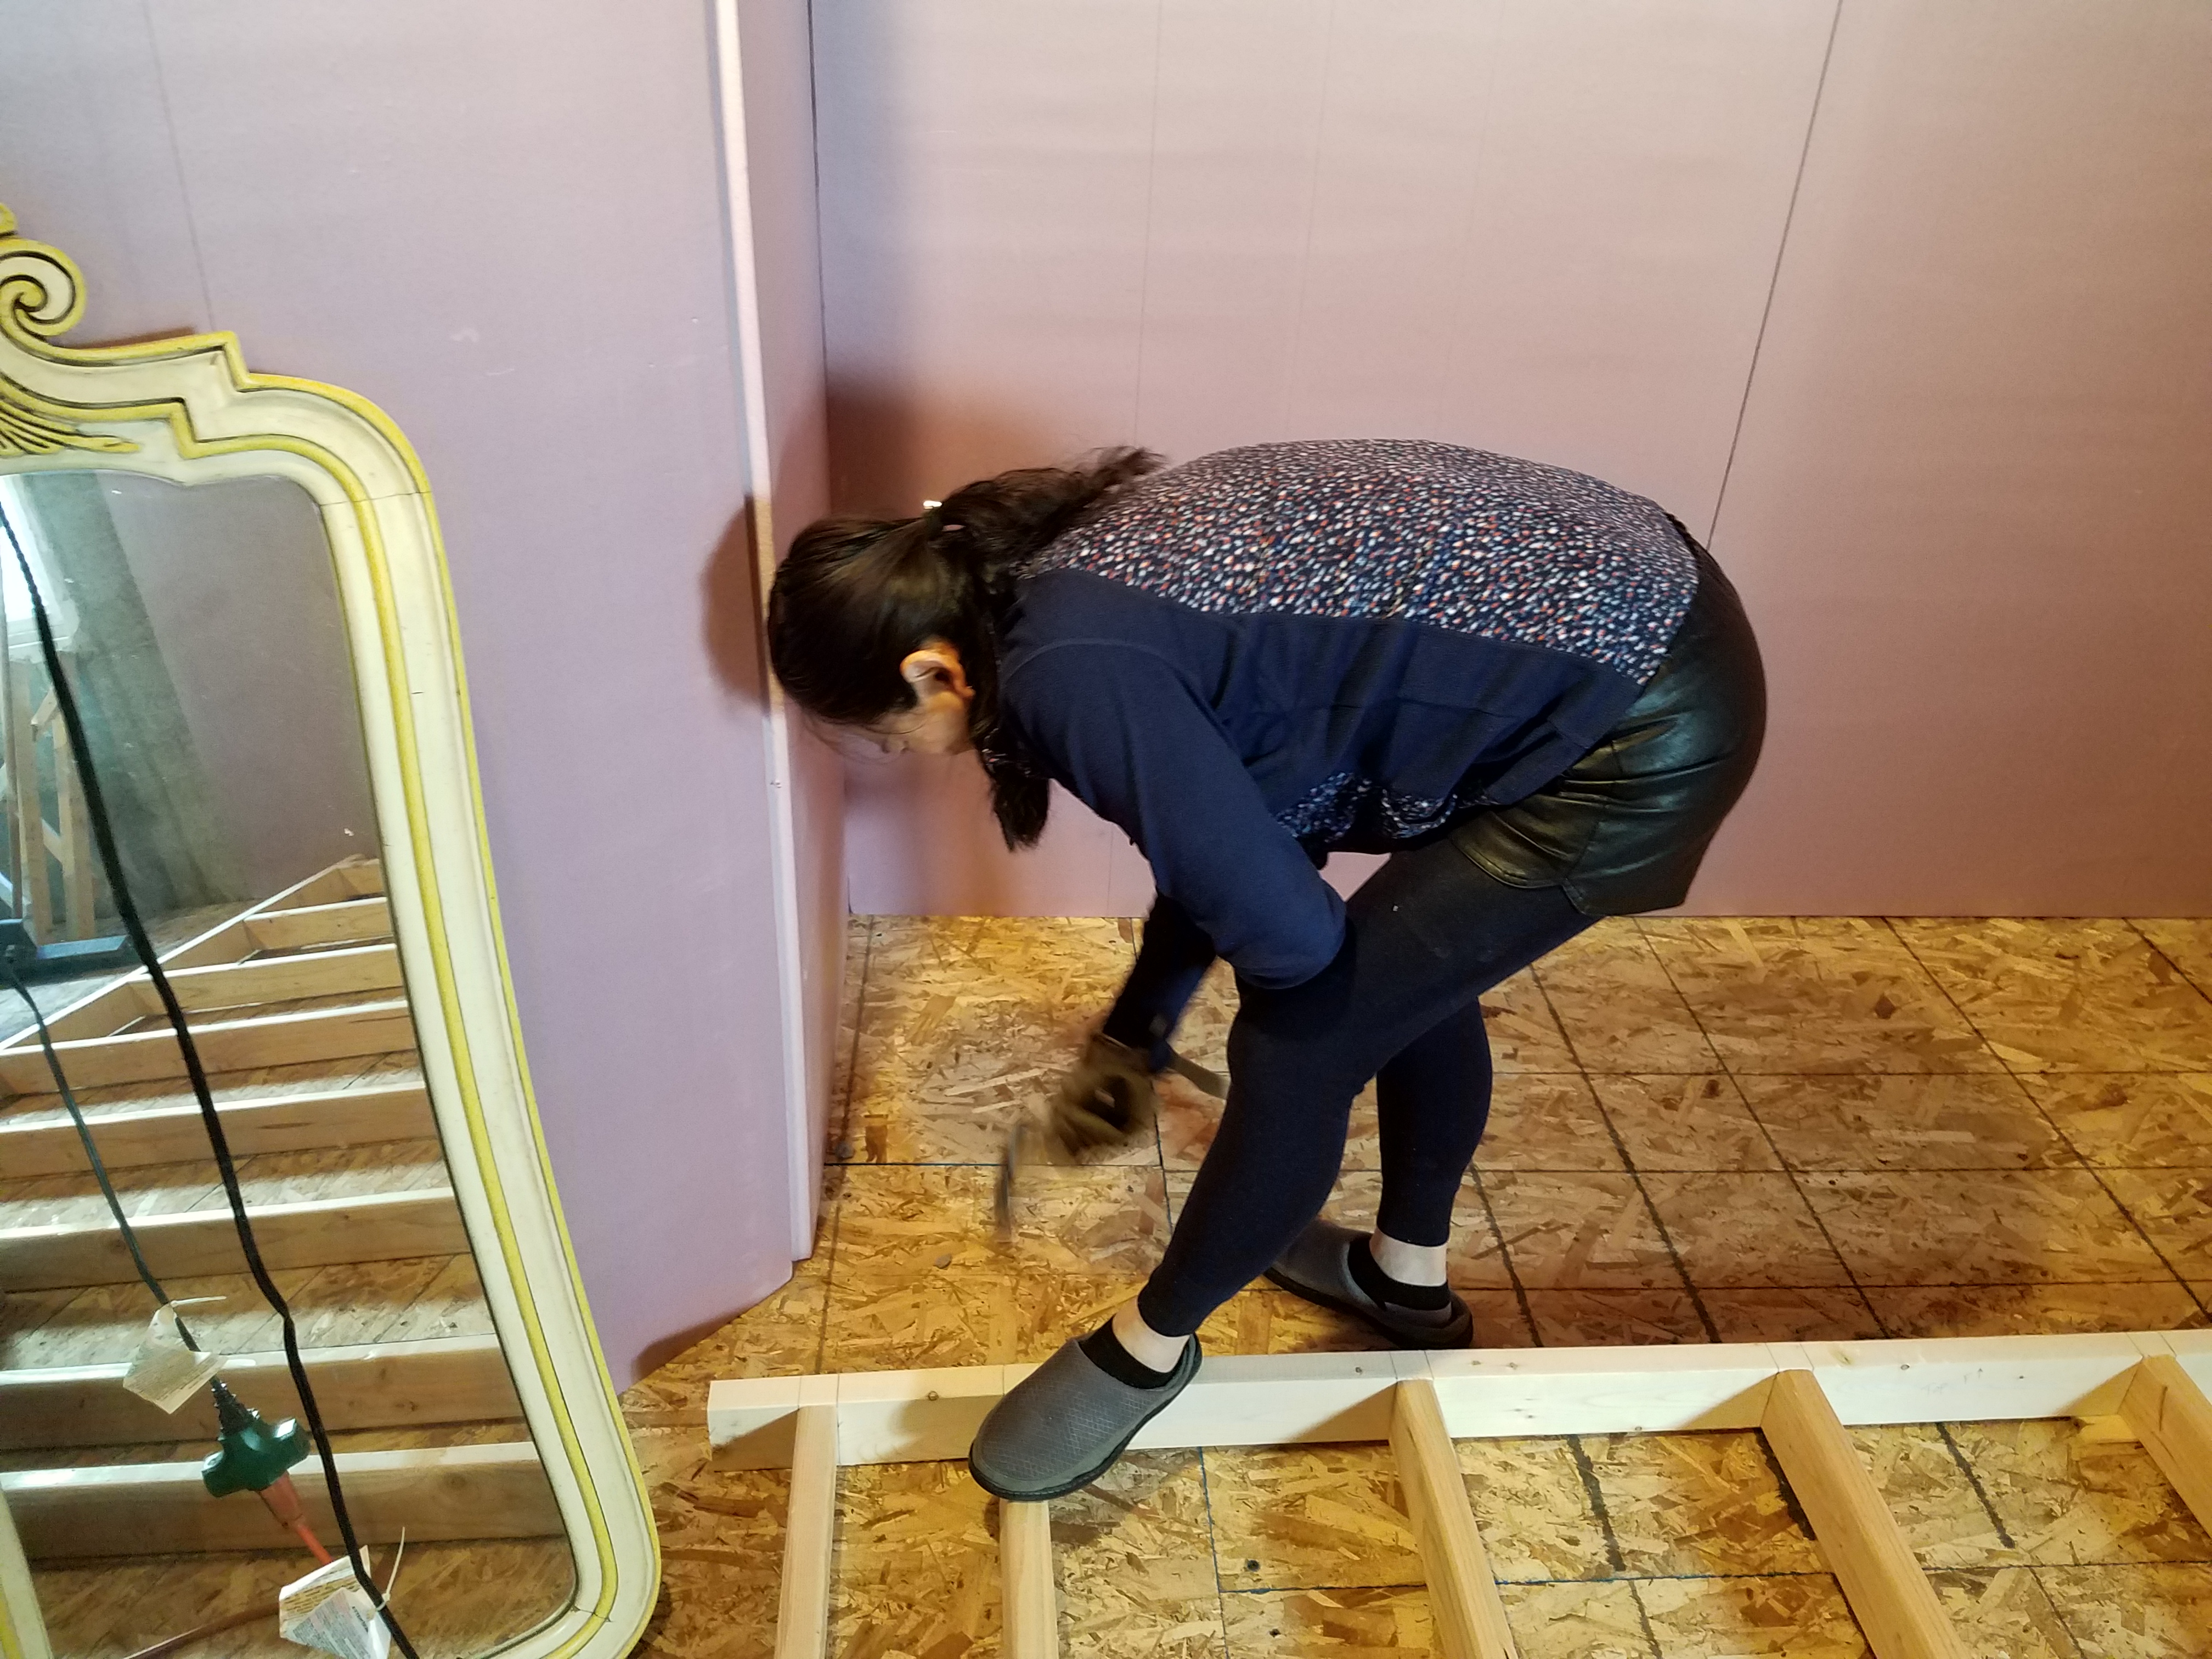
Driving those Tapcon concrete screws in the floor is really difficult. The drill bit is good for 15-20 holes maximum. Even a new bit in my hammer drill isn't easy. I have to put a lot of weight on the back of the drill to make the bit penetrate. Then I have to put a lot of weight on the impact driver too, to keep the phillips bit from jumping out of the head of the screw. Crawling around on my knees doing that at my age is a real challenge! Getting 10-15 screws in a day is what I consider good work.
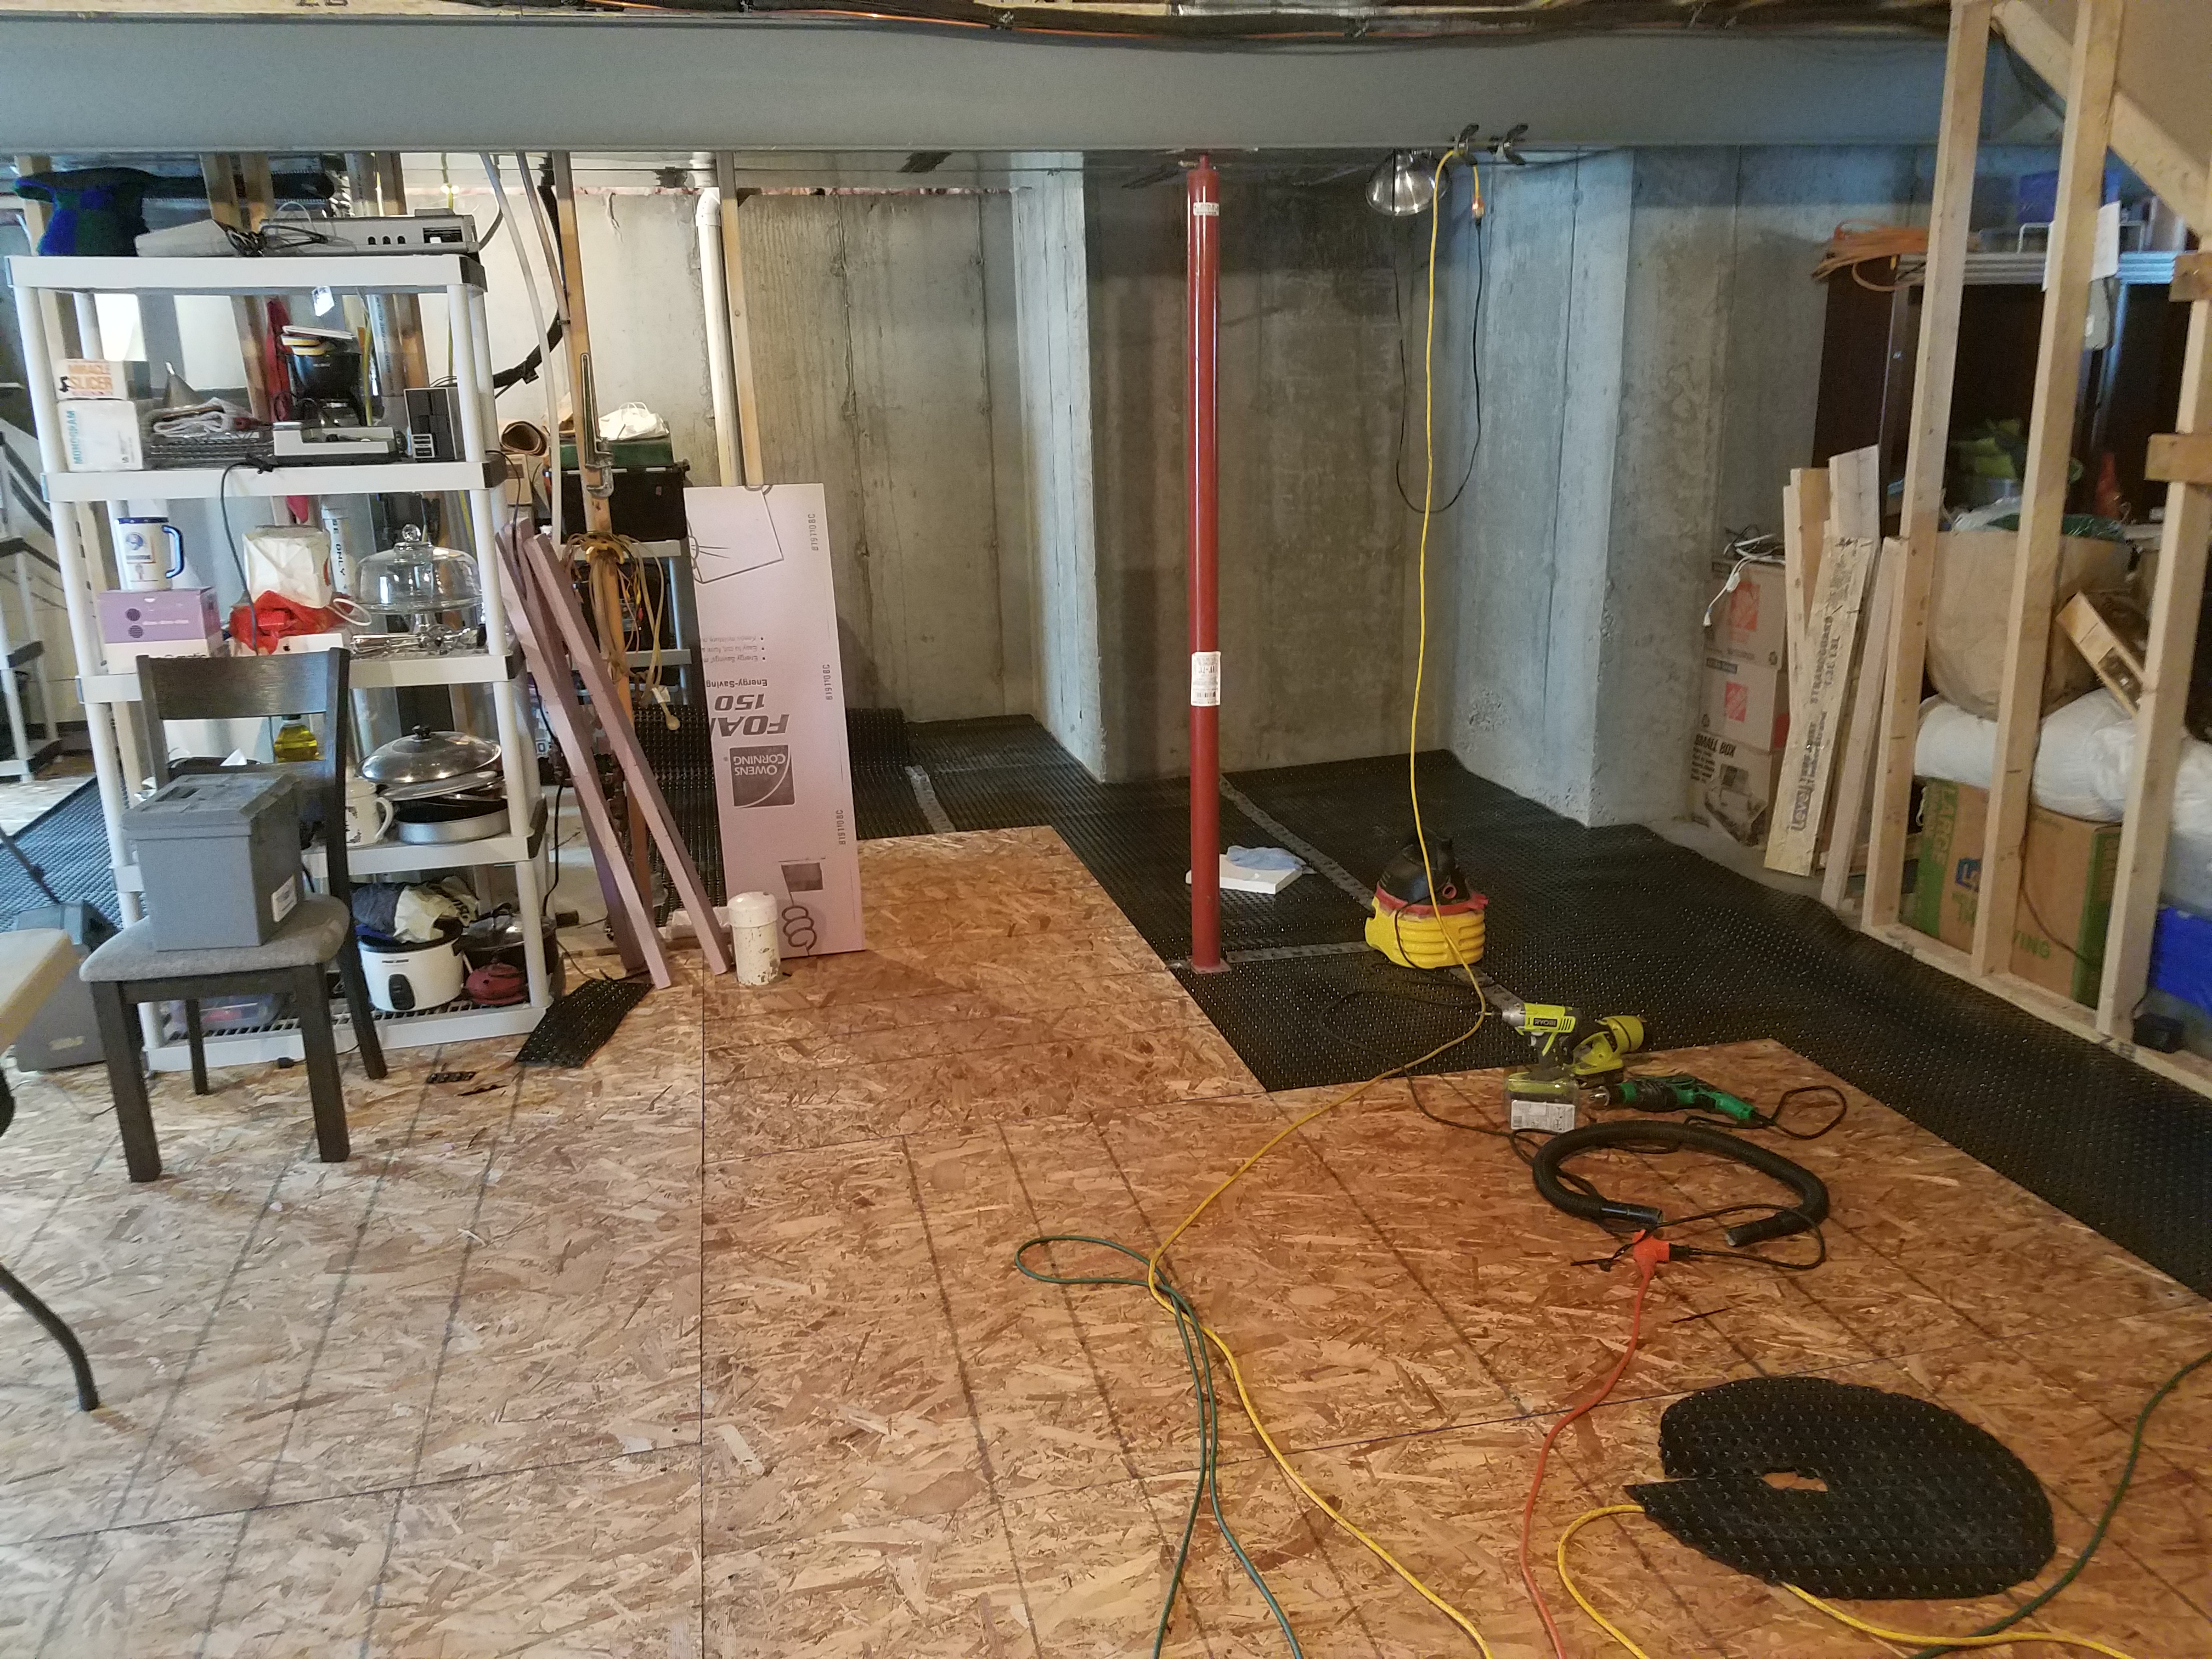
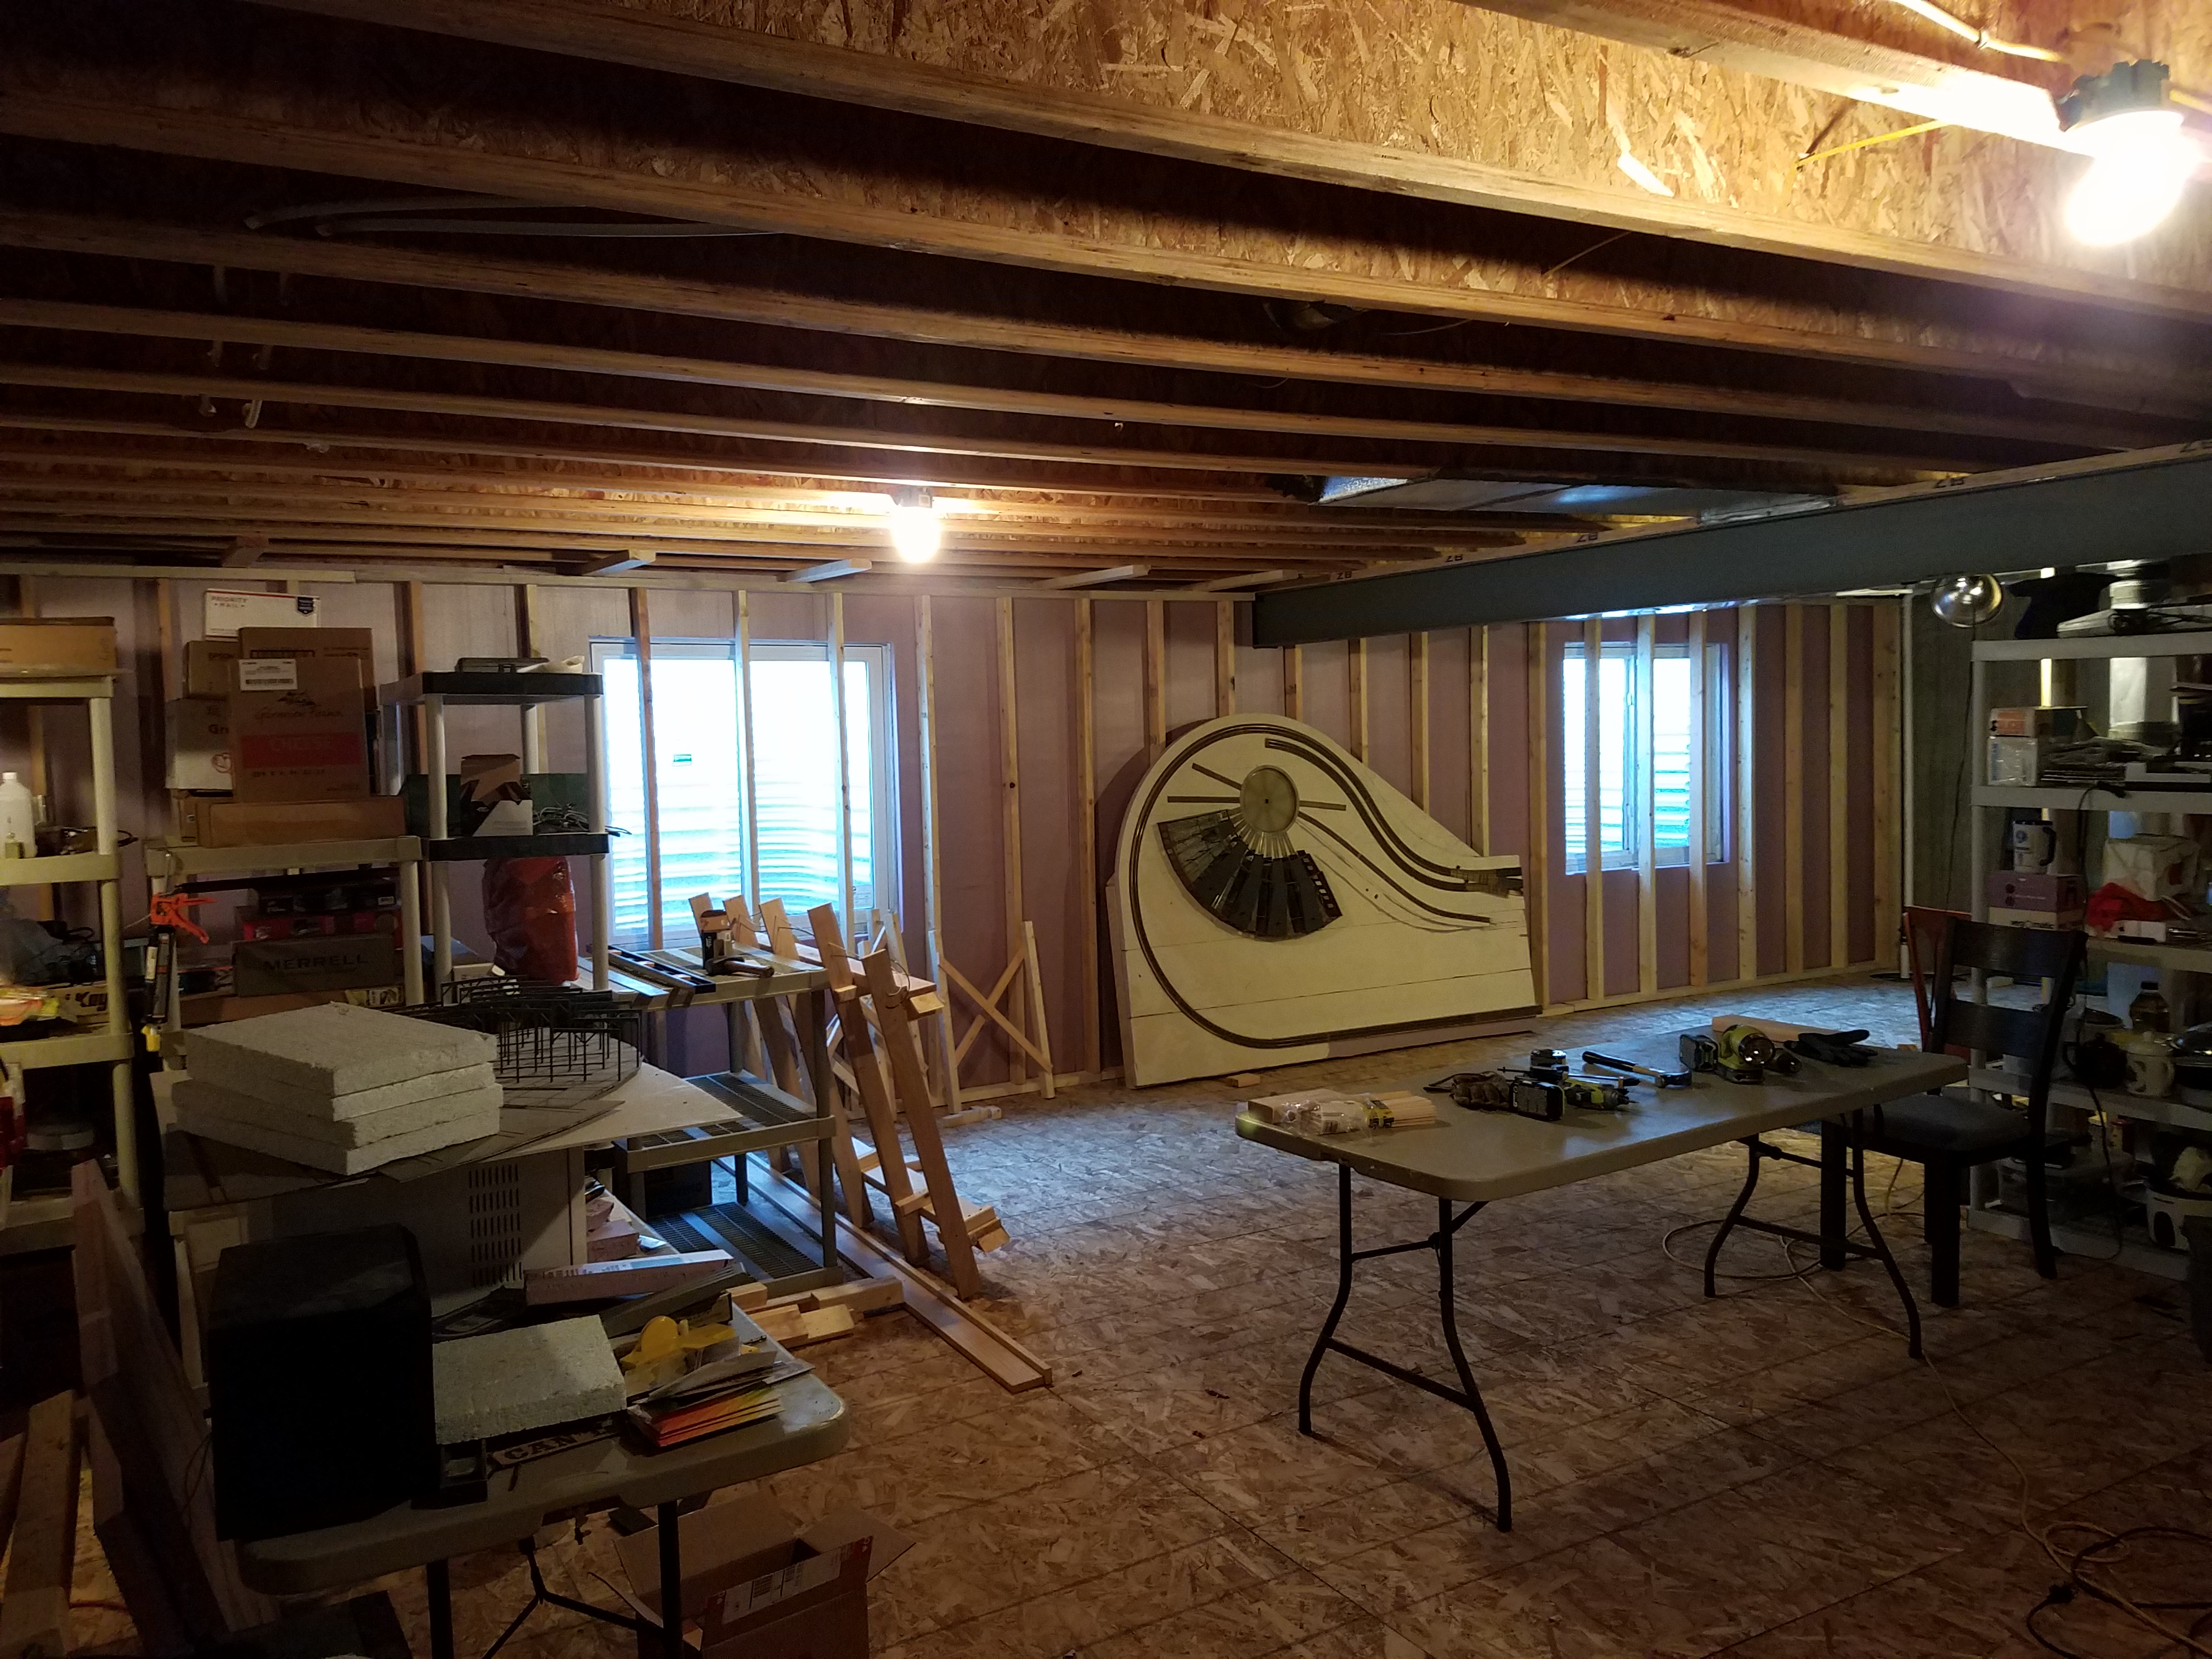
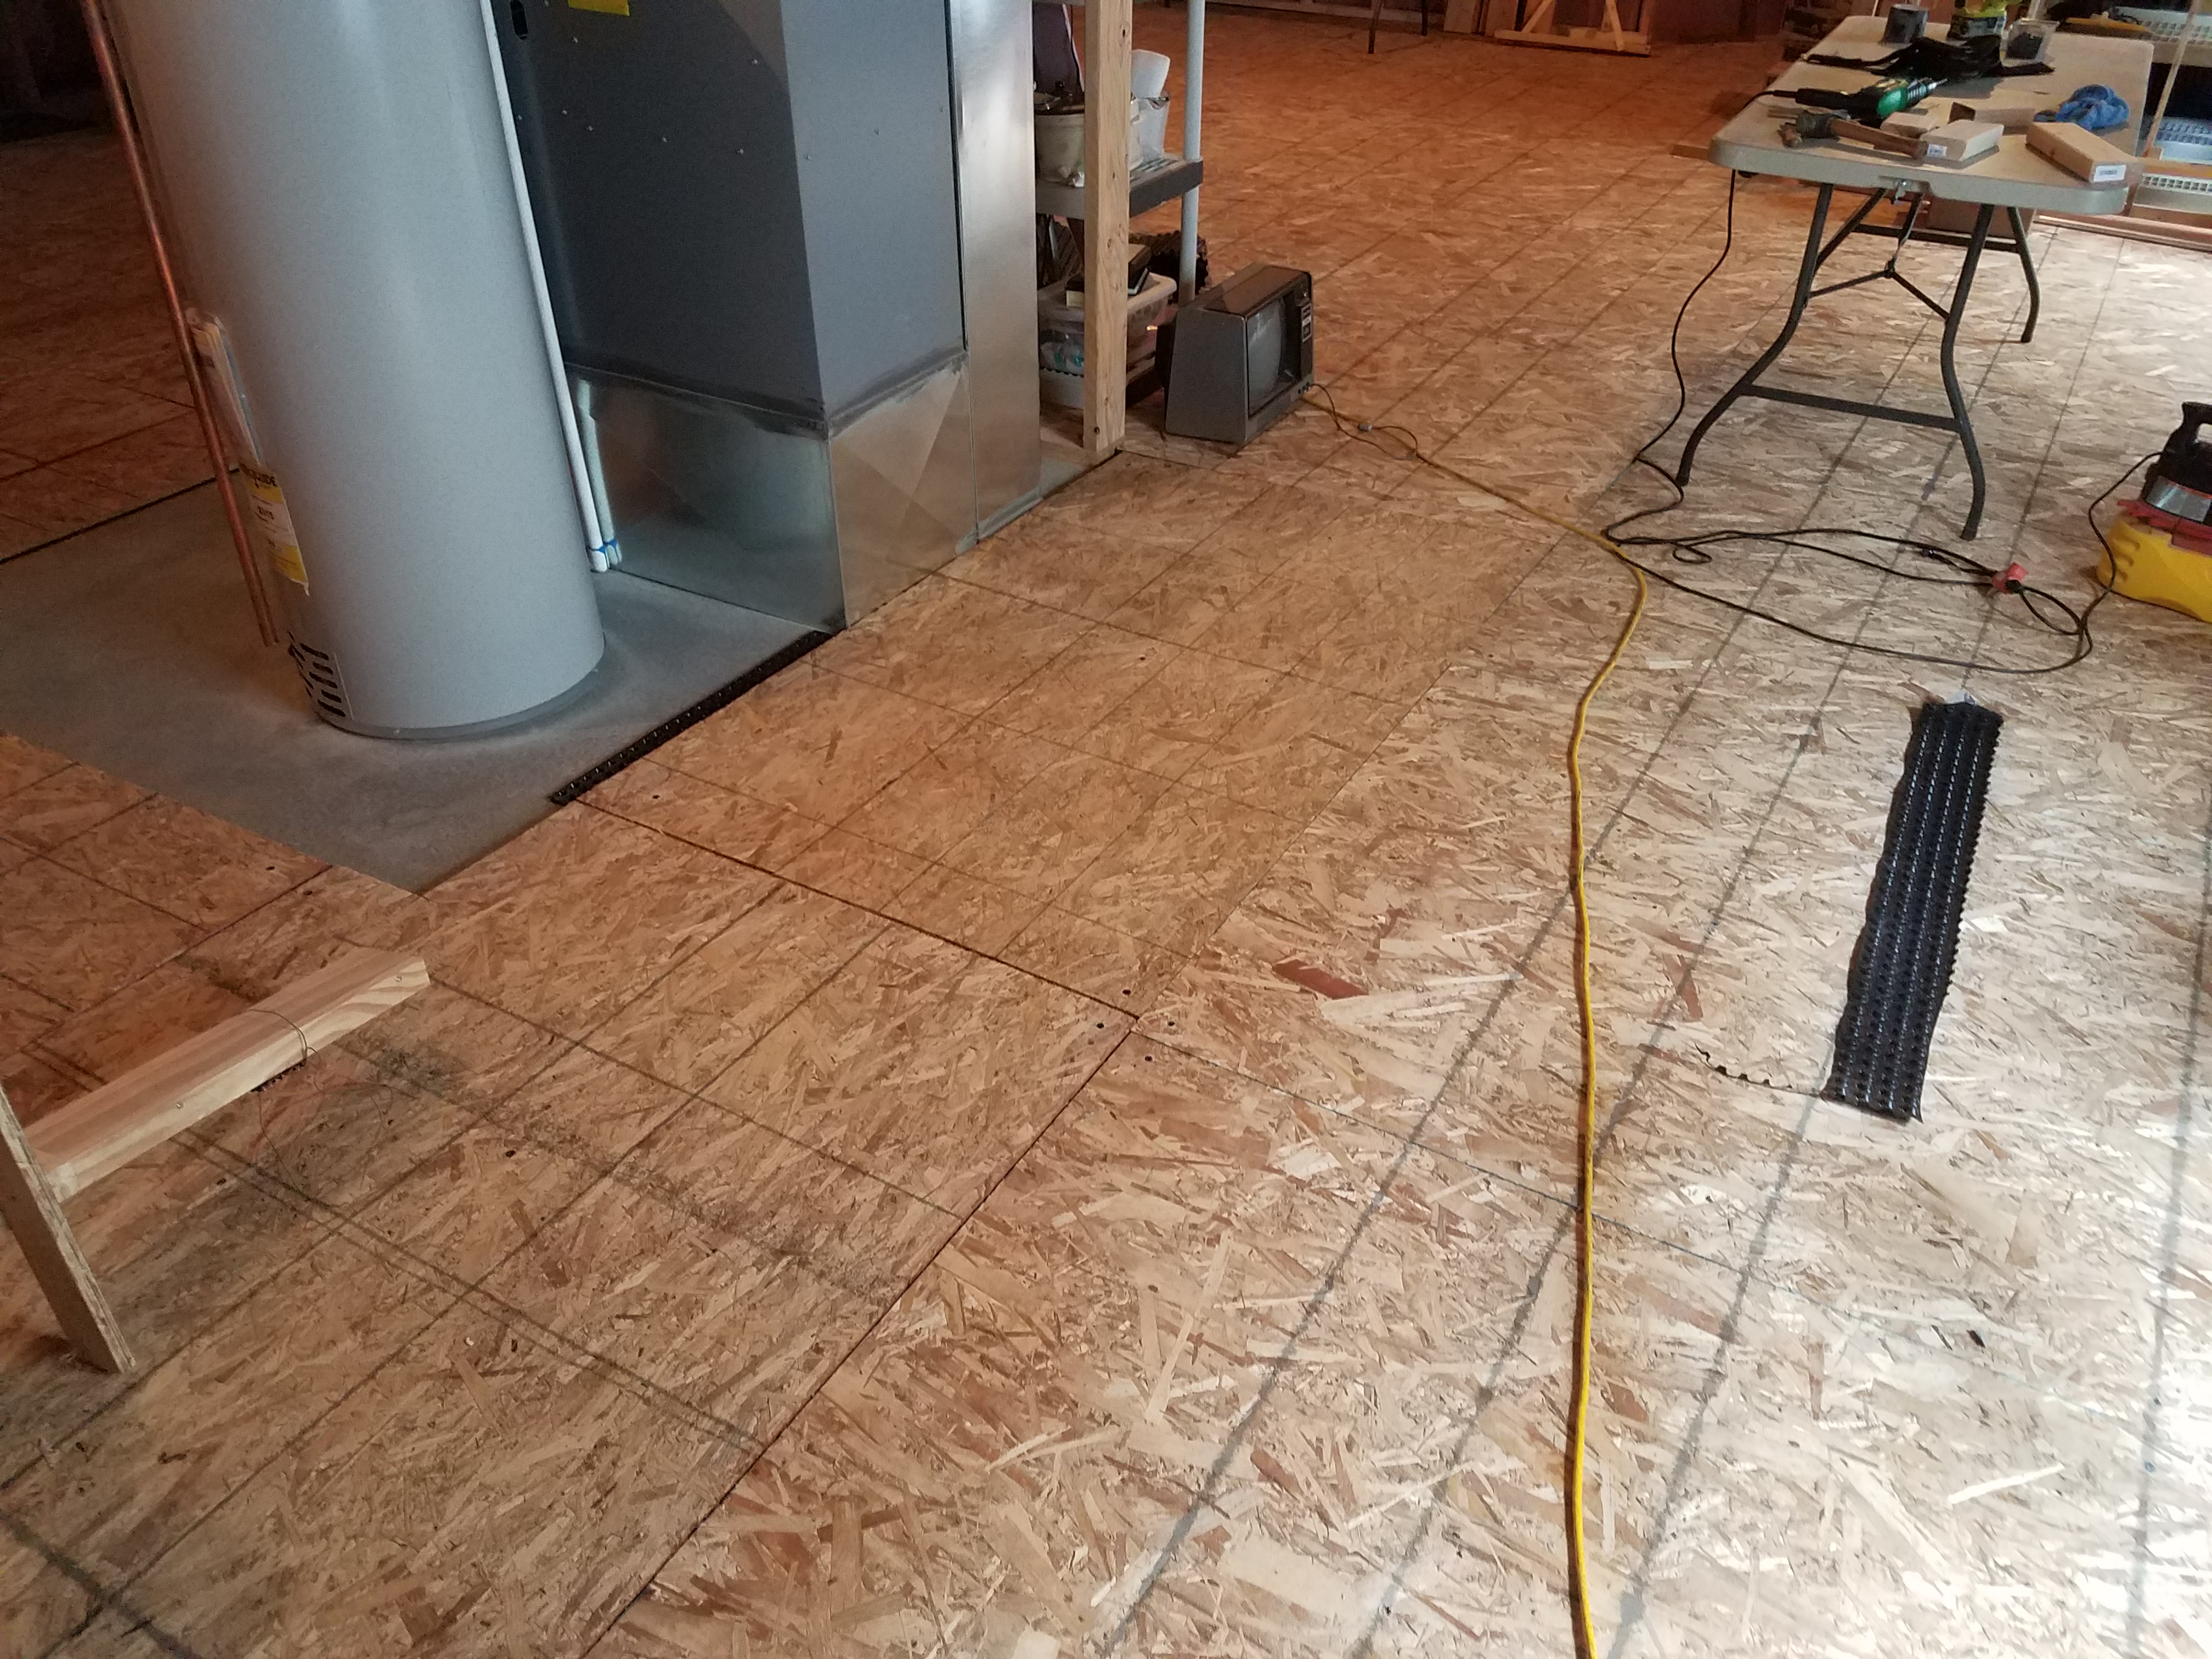
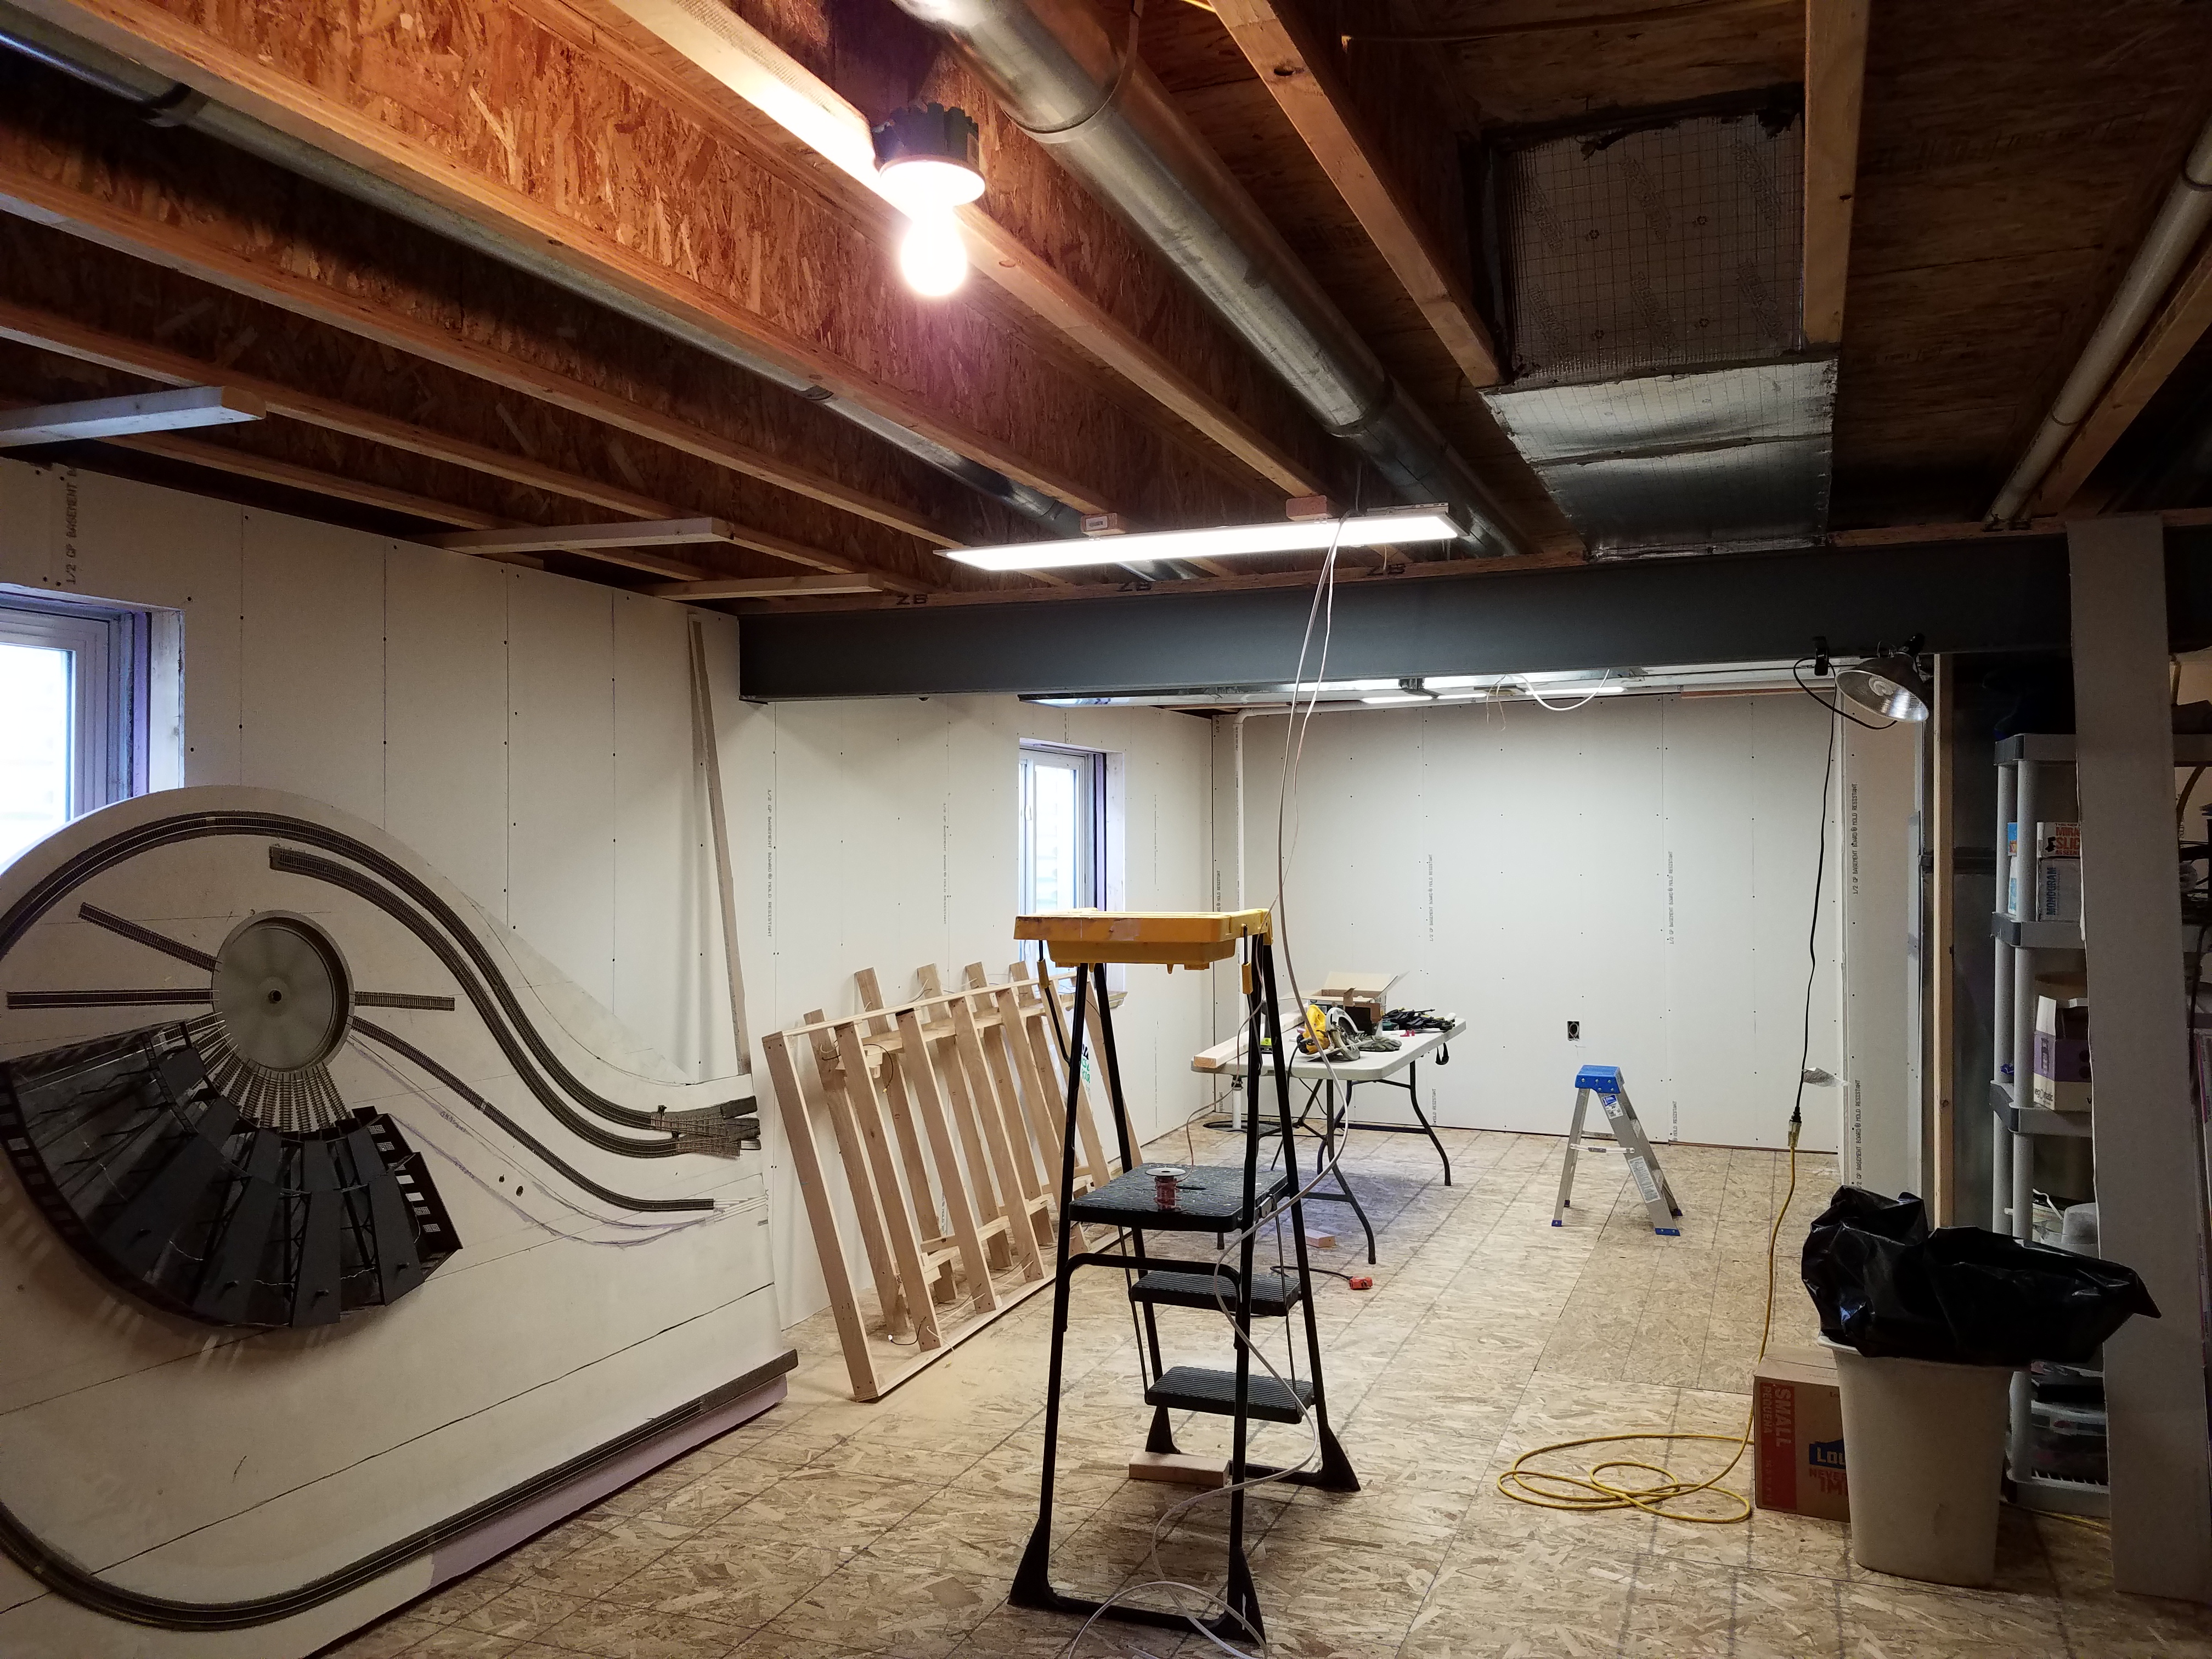
As you can see, I moved all those heavy boxes, the salvaged benchwork, etc. from the middle of the cement floor over onto the first half-dozen anchored sheets of OSB. I'll have to move them again when we install studwalls. Plus I'm still sorting through a lot of boxes of workroom tools and supplies on the other side of the stairway.

To top it all off I'm having a heck of a time with the track plan. I now have several concepts I'm working on...
This is the first one:
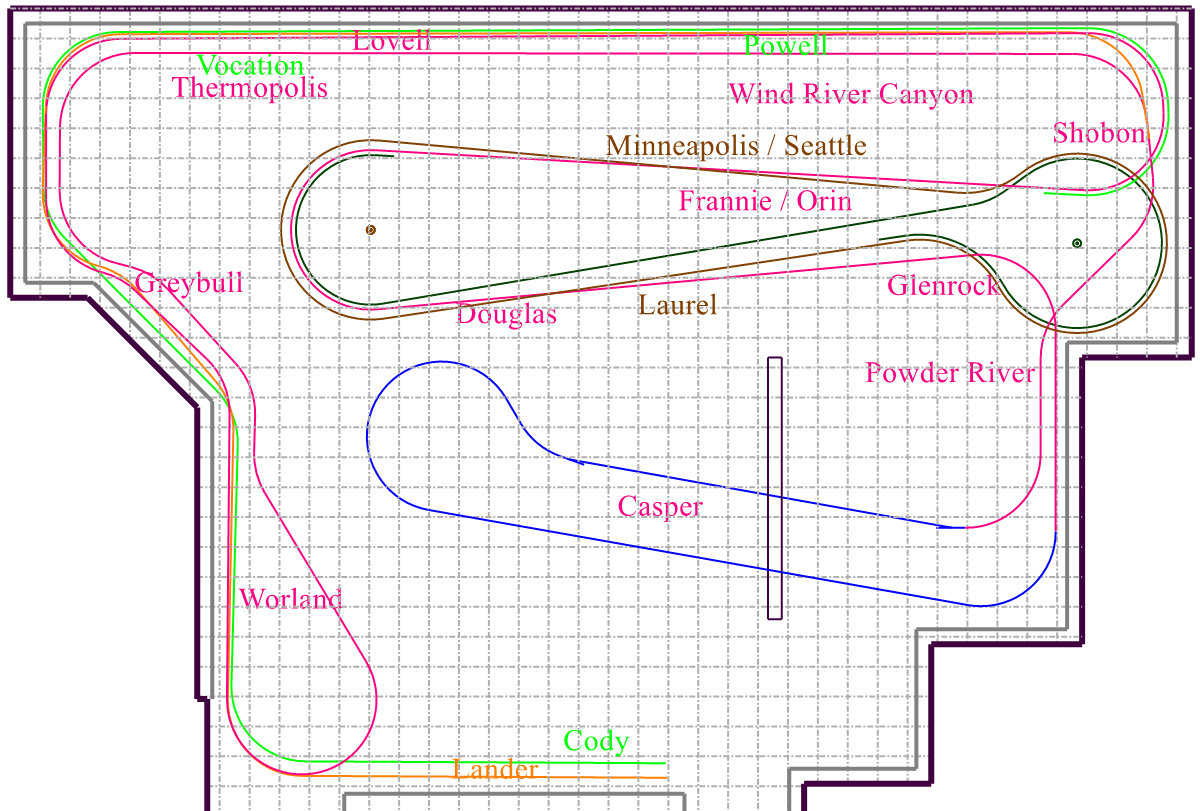
Here's another version with the peninsula next to the long wall reversed. I kinda like this one:
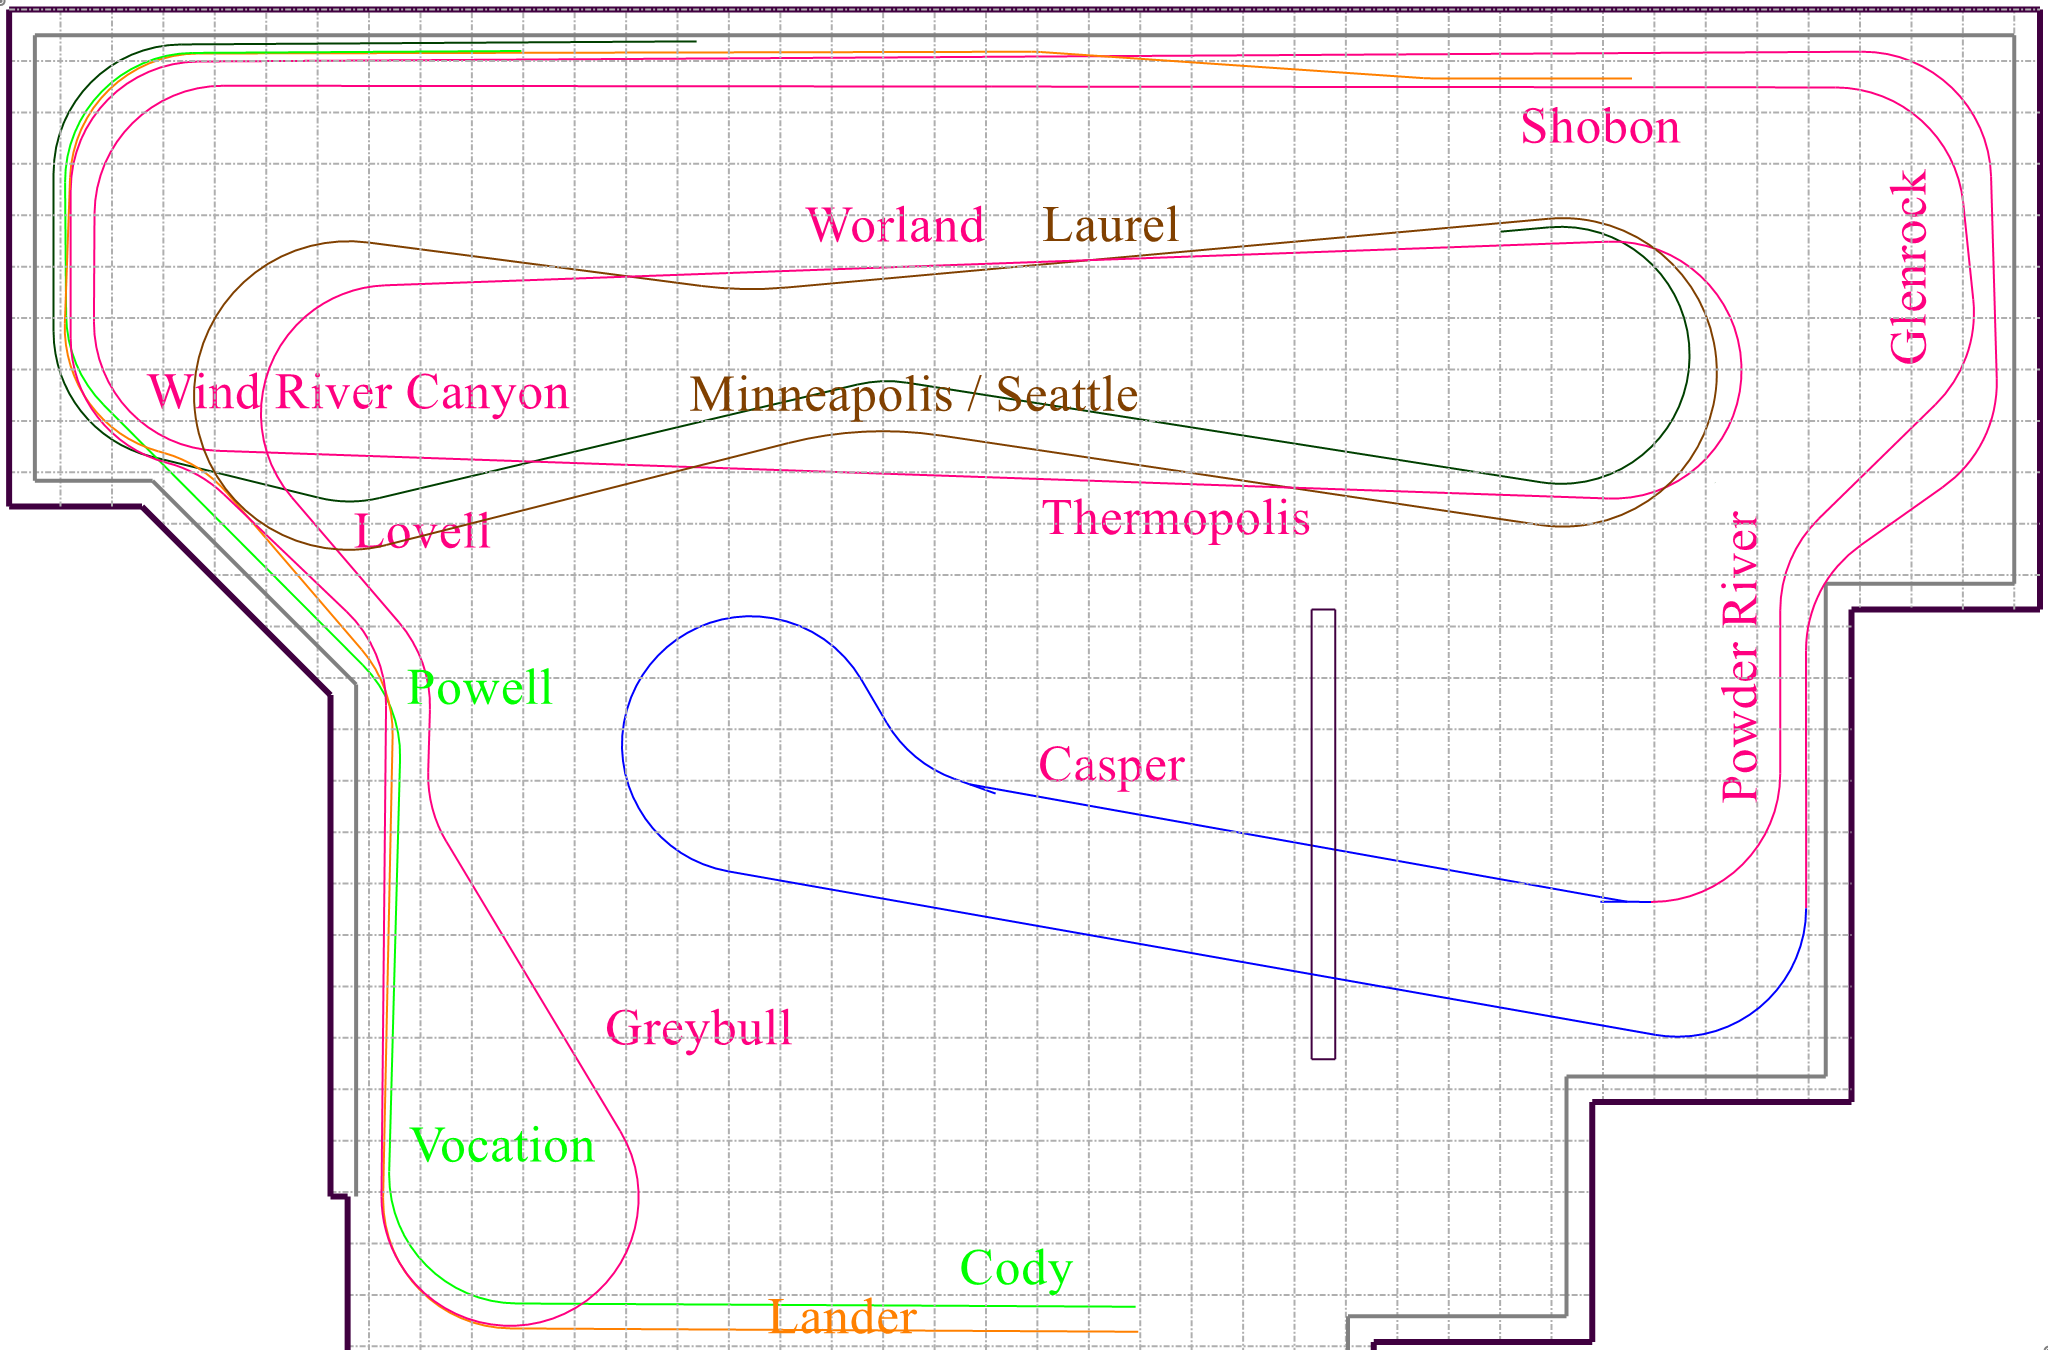
In this sketch, Casper is perpendicular to the long wall. The Burlington mainline is worked out, but the branches and the NP aren't present yet:

Here Casper is located at the right end of the long wall. In this plan I've omitted the NP completely, and the Frannie cutoff is a hidden staging reversing loop at the left end of the long wall. I do like where Lander and Cody are located. Cody would be directly above Lander. I forgot the label for Frannie / Orin - it would be located directly behind Casper, at the top of the diagram. There are some elevation problems with this plan, and it may simply not work at all:
And finally, here's Casper at the opposite end of the long wall. In this one, as in the one above, the Frannie cutoff simply ends in a hidden staging yard, and there is no NP. Cody and Lander runs are still be be developed. This one would include a swing gate or lift-out section at one end or the other of the Frannie / Orin Interchange yard.
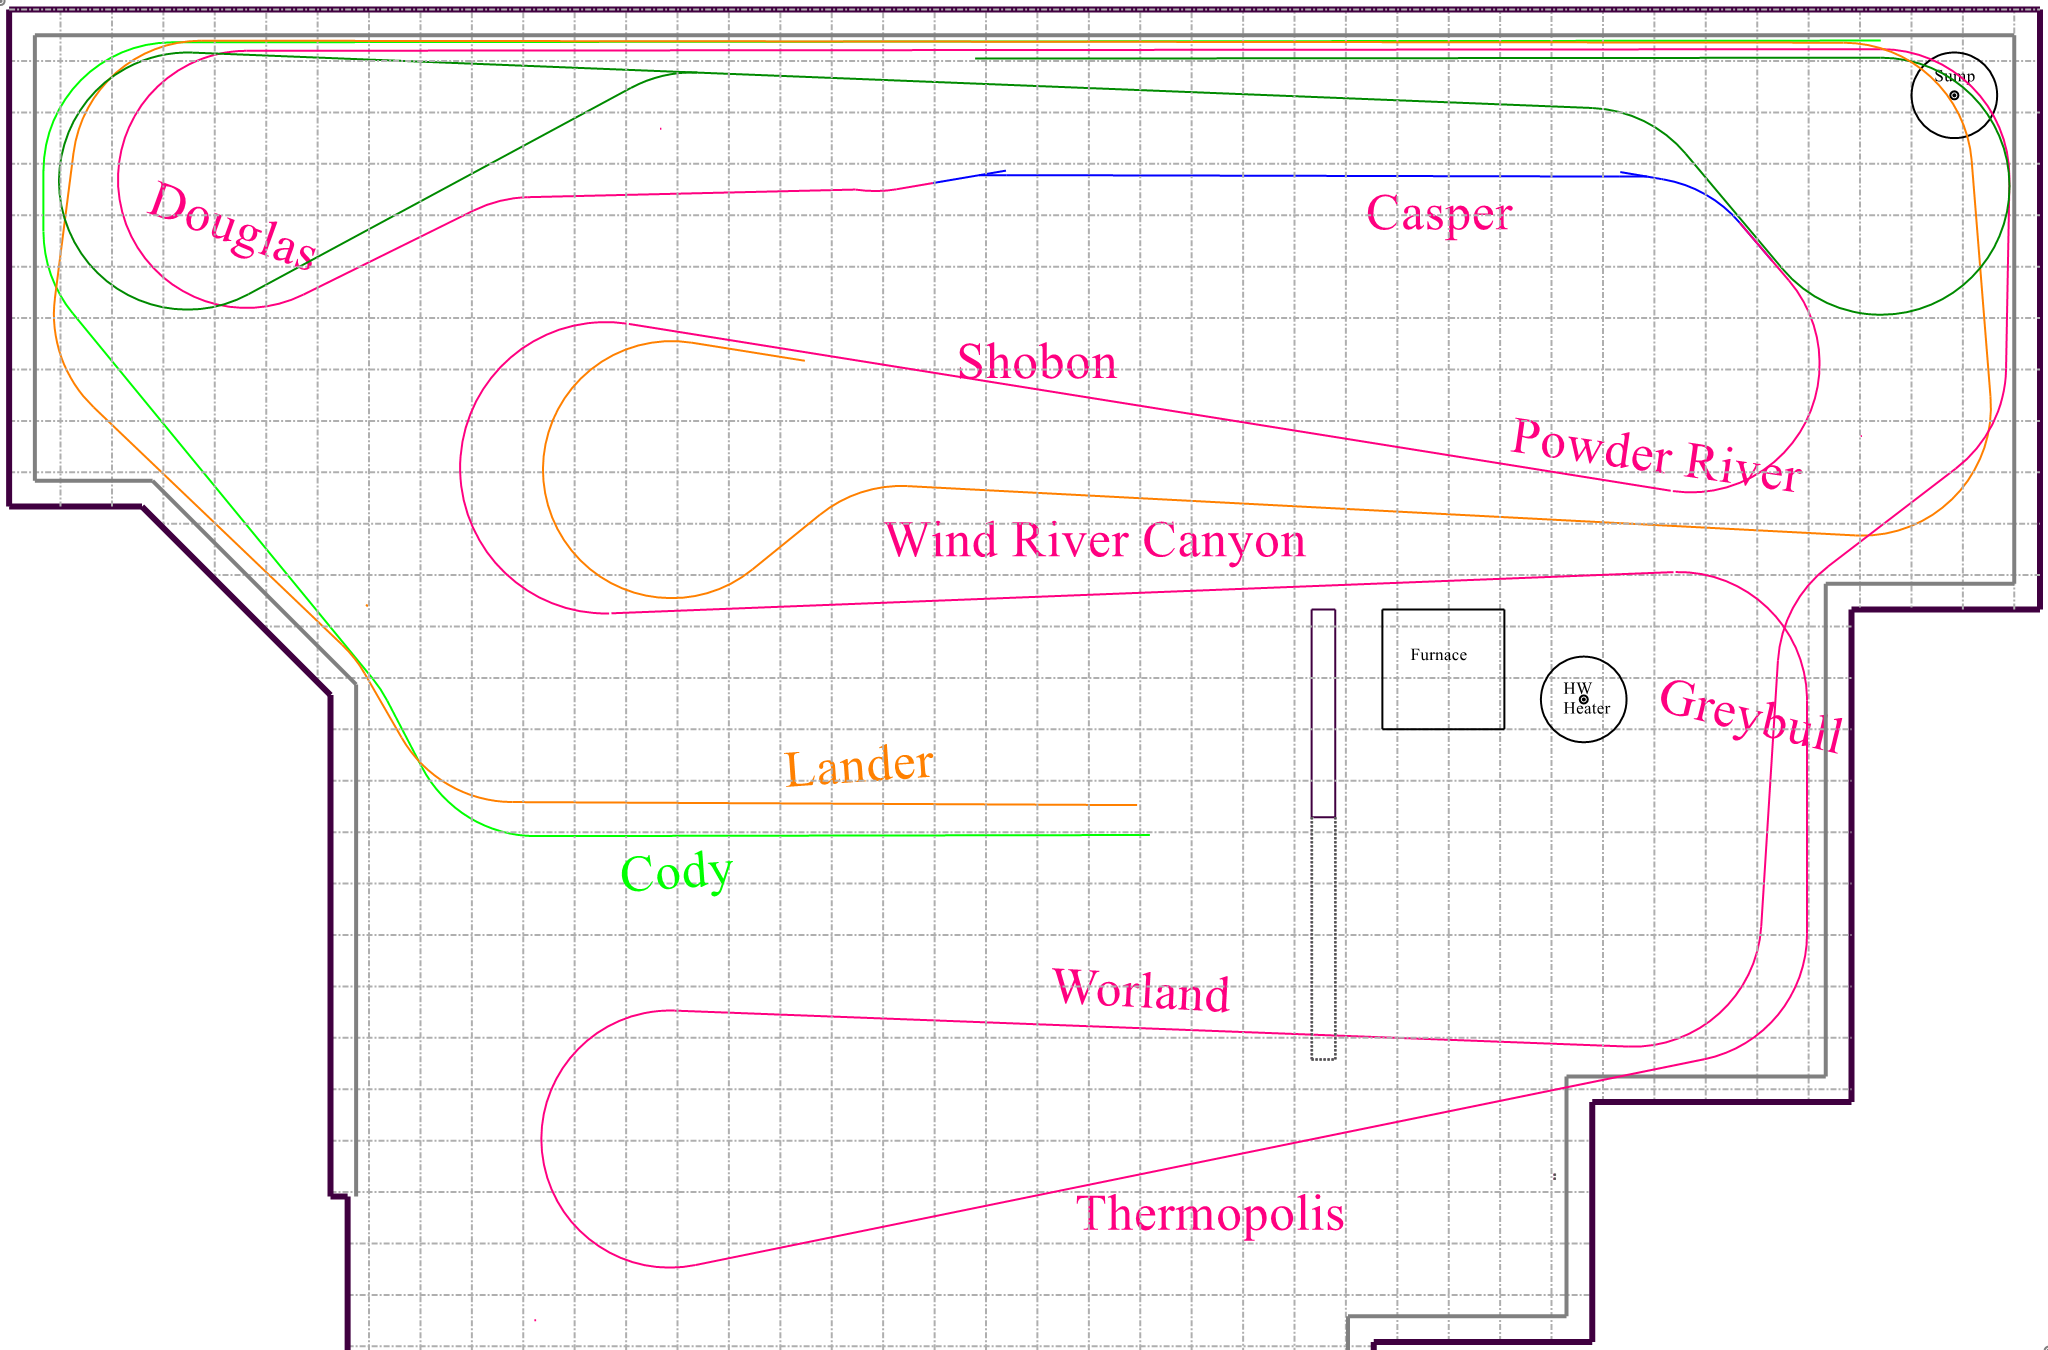
I've spent many hours over the last few days on the track plan. Based on input from members of the Model Railroader forums, I've been fleshing out what I called Option 5, which is the last plan in the 19 January posting. Here it is in it's current form:
 This is turning out to be a multi-deck plan, but the decks are relatively small and located in different areas of the basement. The Wind River Canyon peninsula looks pretty complicated, but I've checked all elevations and they work out. The hidden Frannie Staging is on the lowest level of the layout. Cody is about 4 inches above that, then Thermopolis, on the main deck, is about 15" above Cody. Ten inches higher, and hidden in the peninsula, is the Lander branch, climbing towards Lander on the opposite side of the room.
It looks very complicated, but it isn't that bad. The hard part was working out the elevations.
I'll be adding some elevation markers as I further refine the plan, and maybe posting some cross-section views to clarify track clearances, etc.
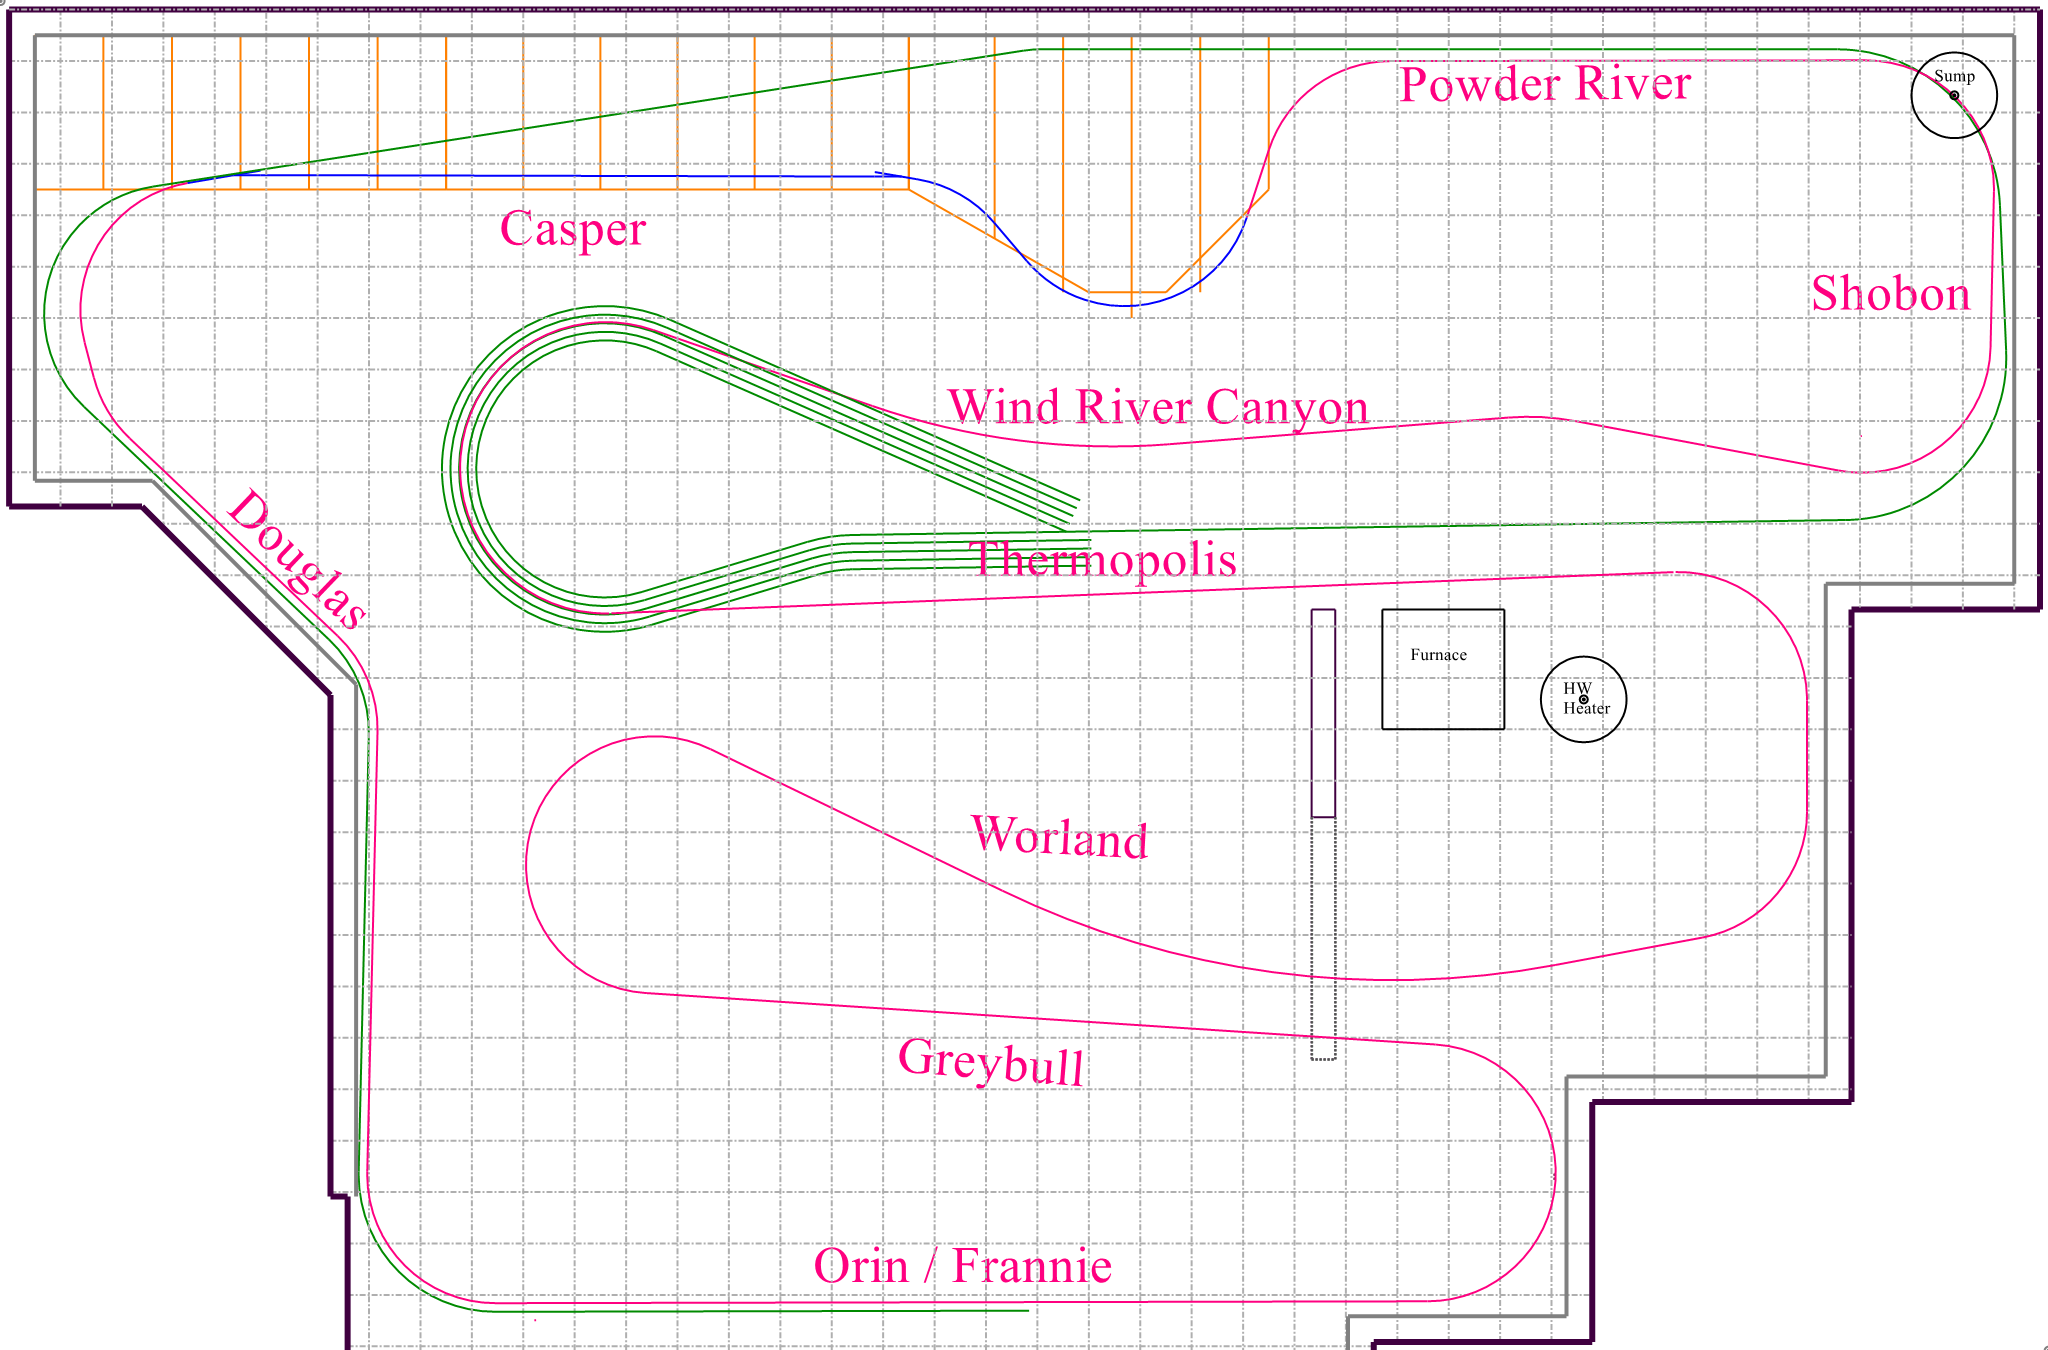
I'm continuing to refine and clarify the track plan. Here I've adjusted the position of the blob ends of the Wind River Canyon and Worland peninsulas to provide a bit more aisle space for Casper operators. I've also added track elevations for all locations, to help provide a bit of elevation information so you can see how tracks are separated vertically.

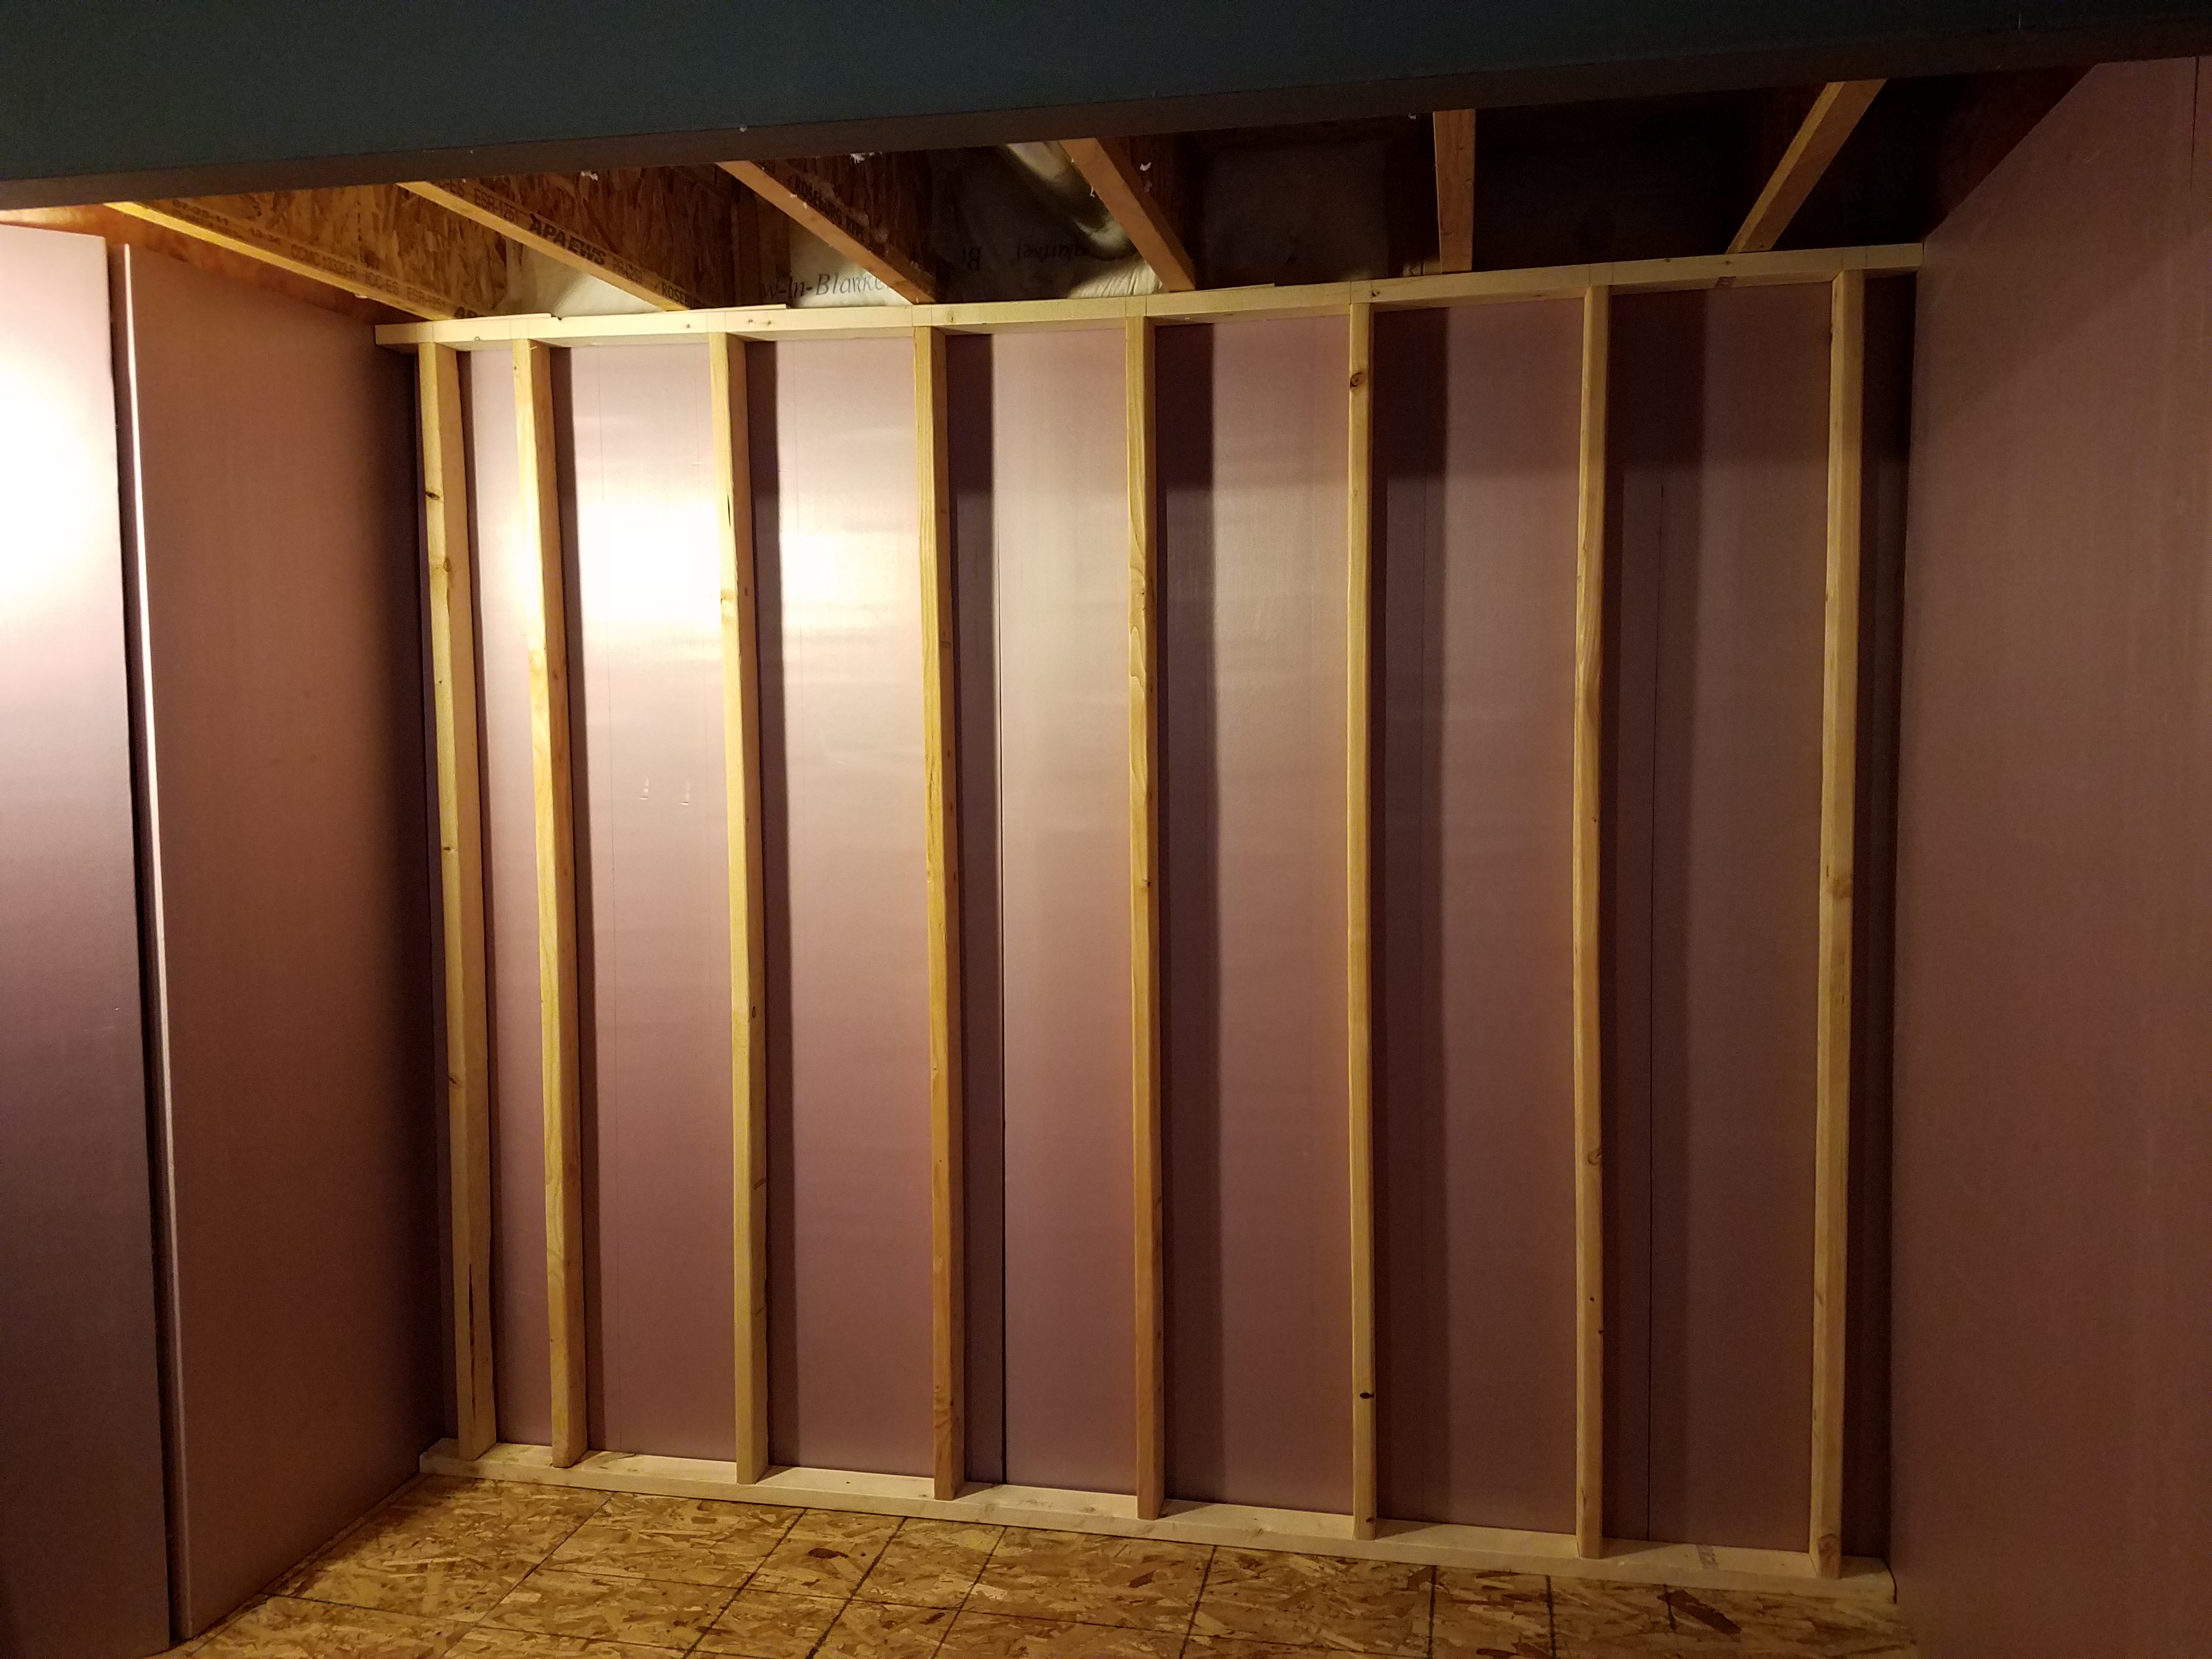
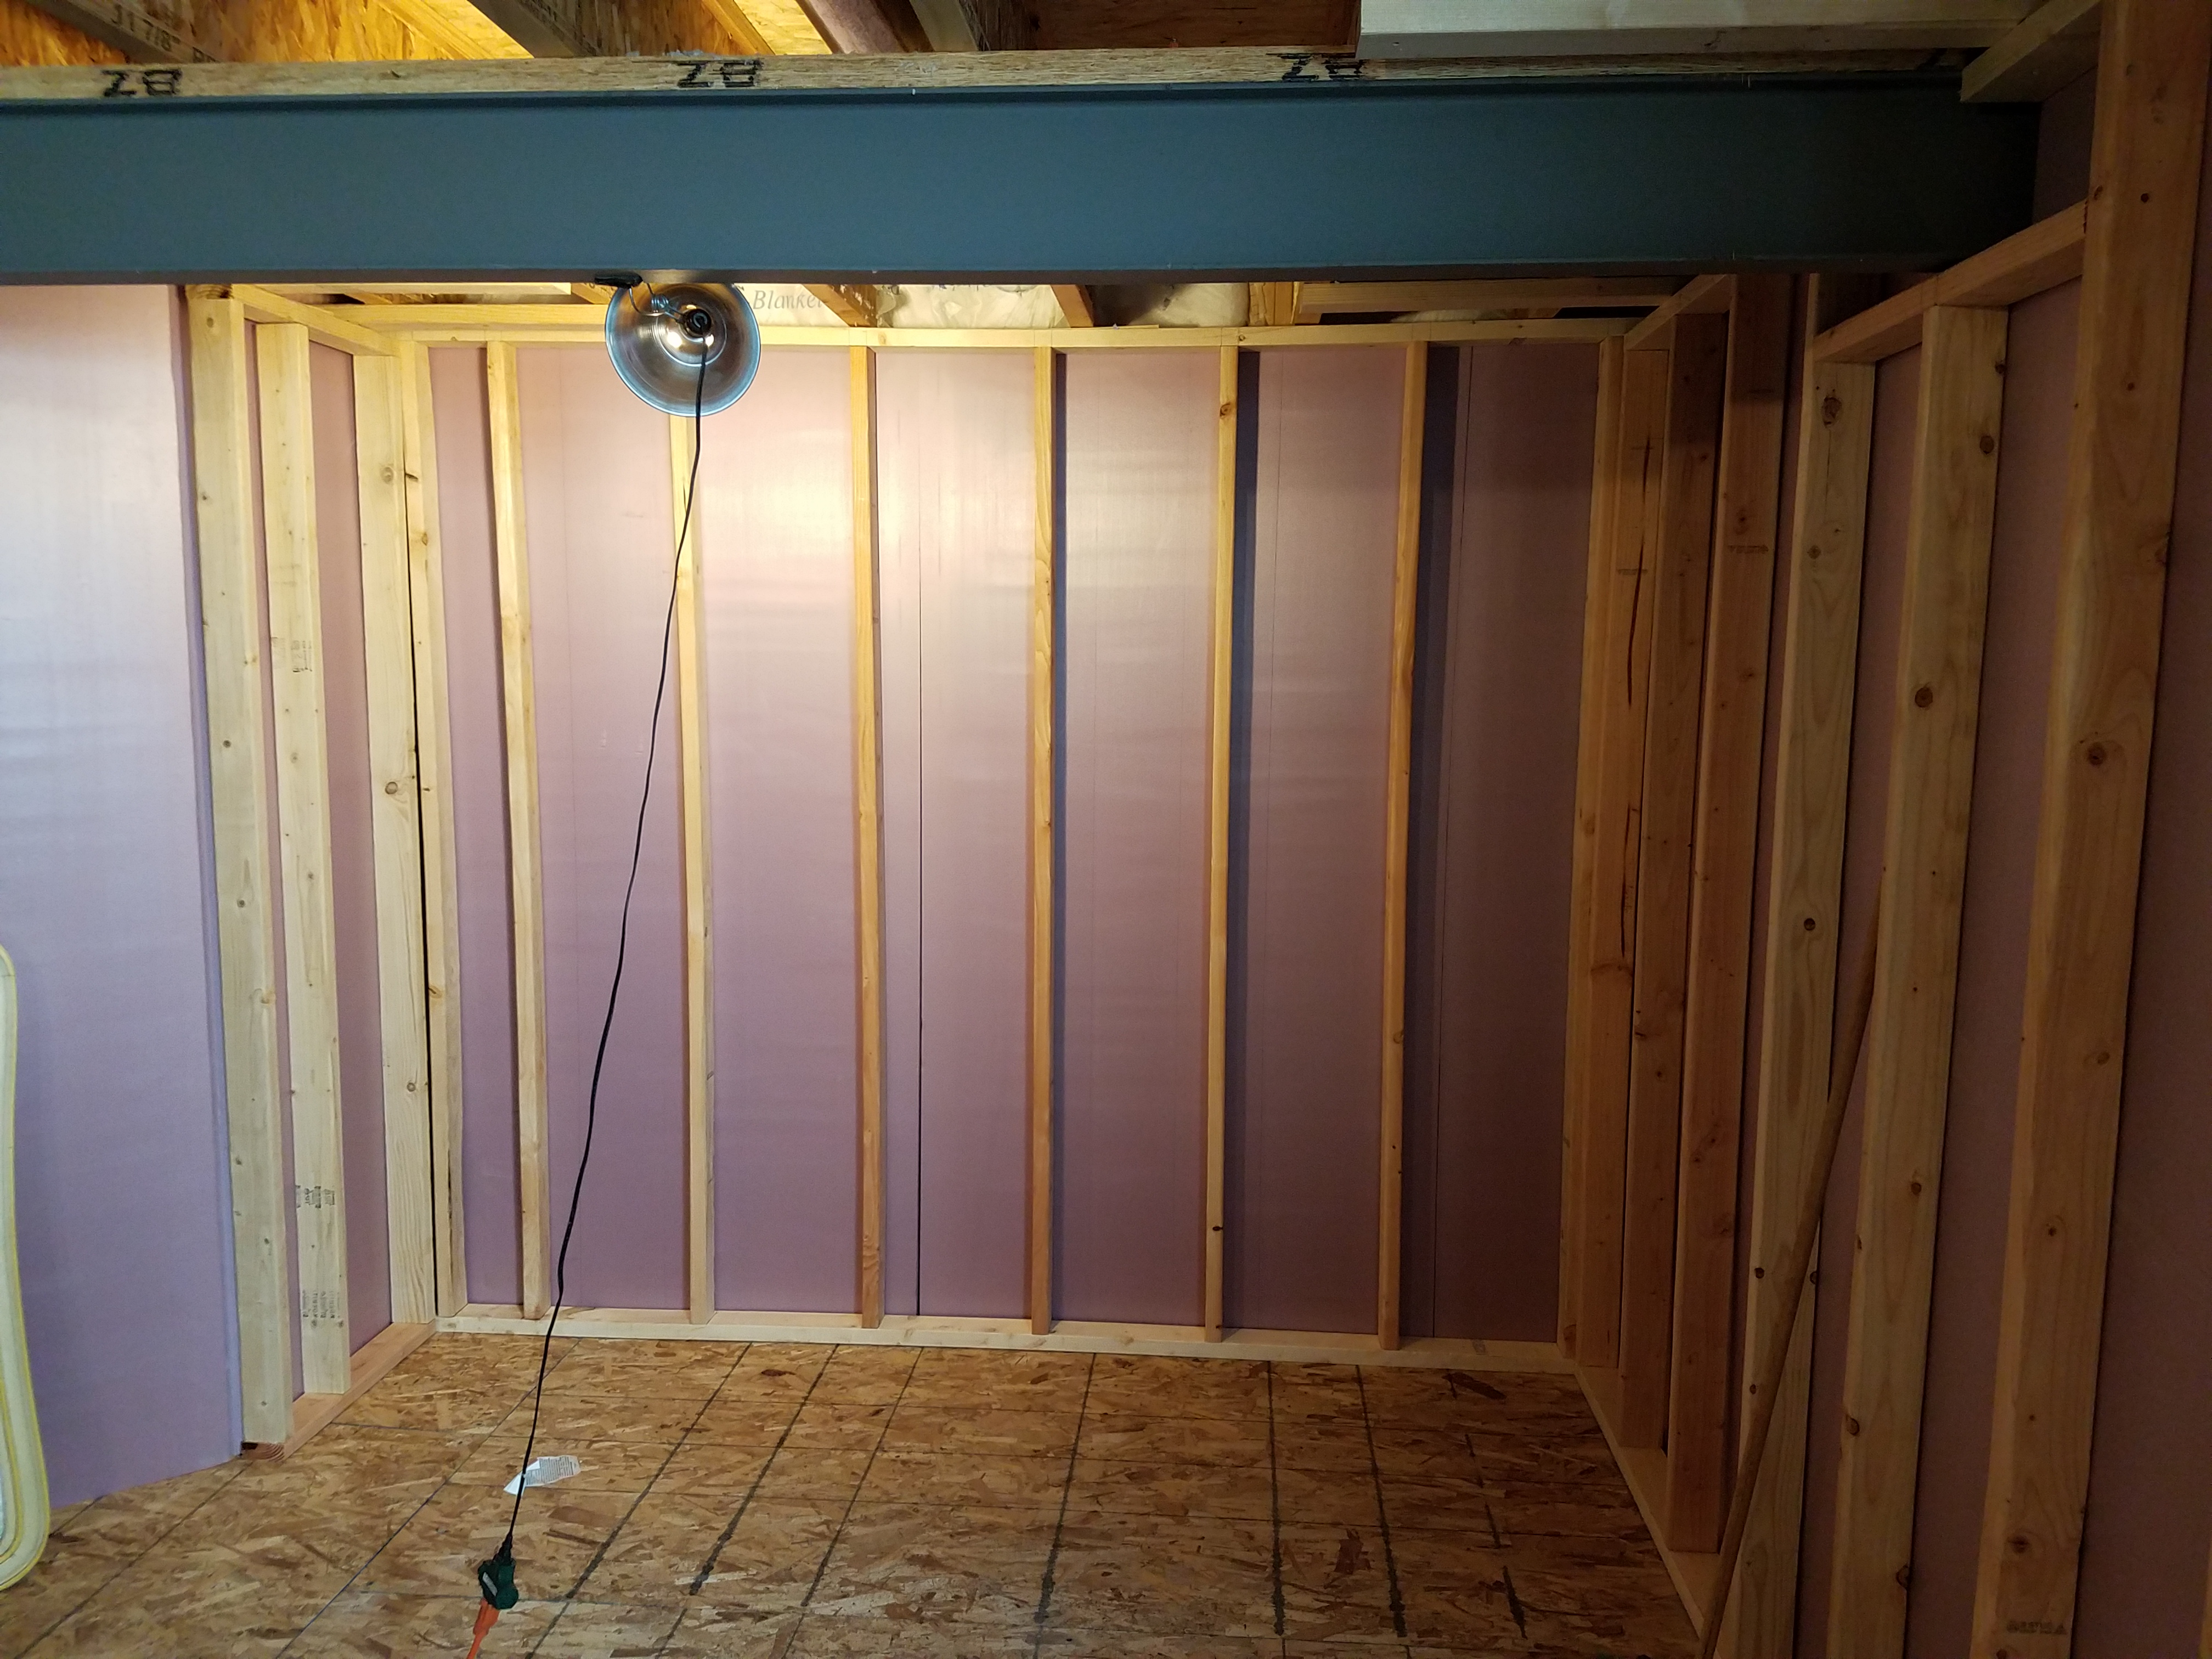
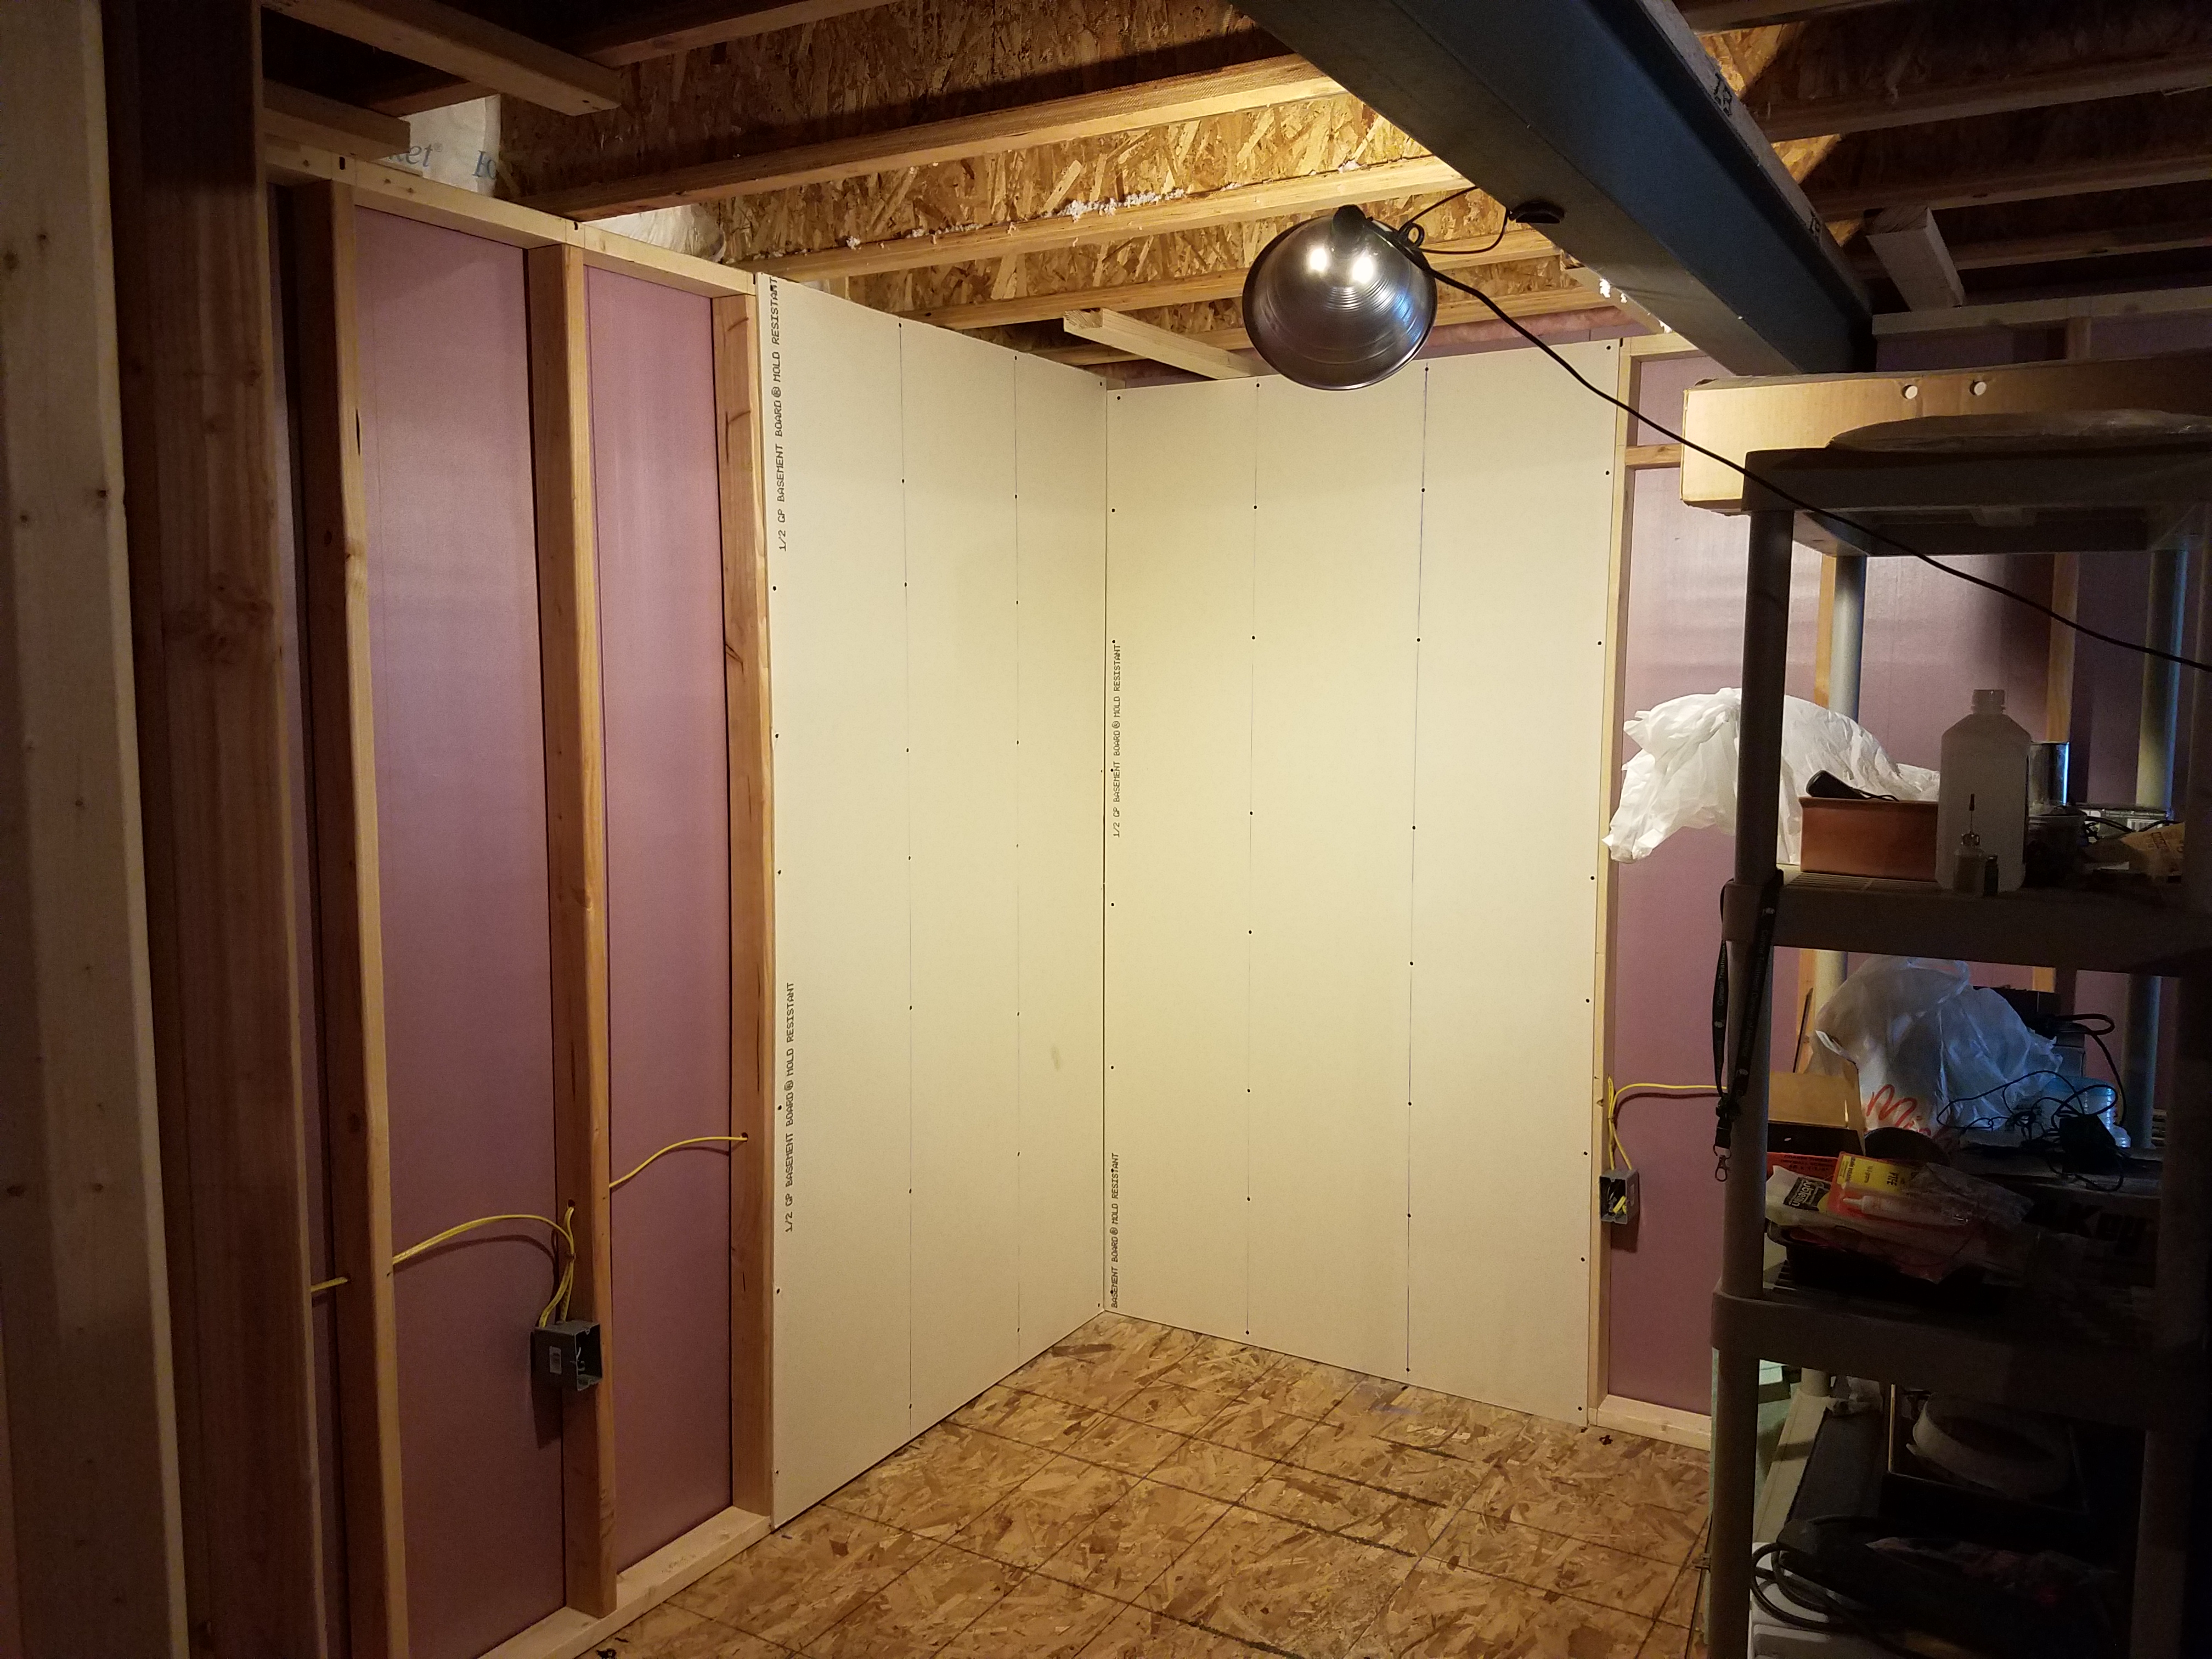
I've begun adding rigid foam insulation to the basement walls in areas where the subfloor is done:
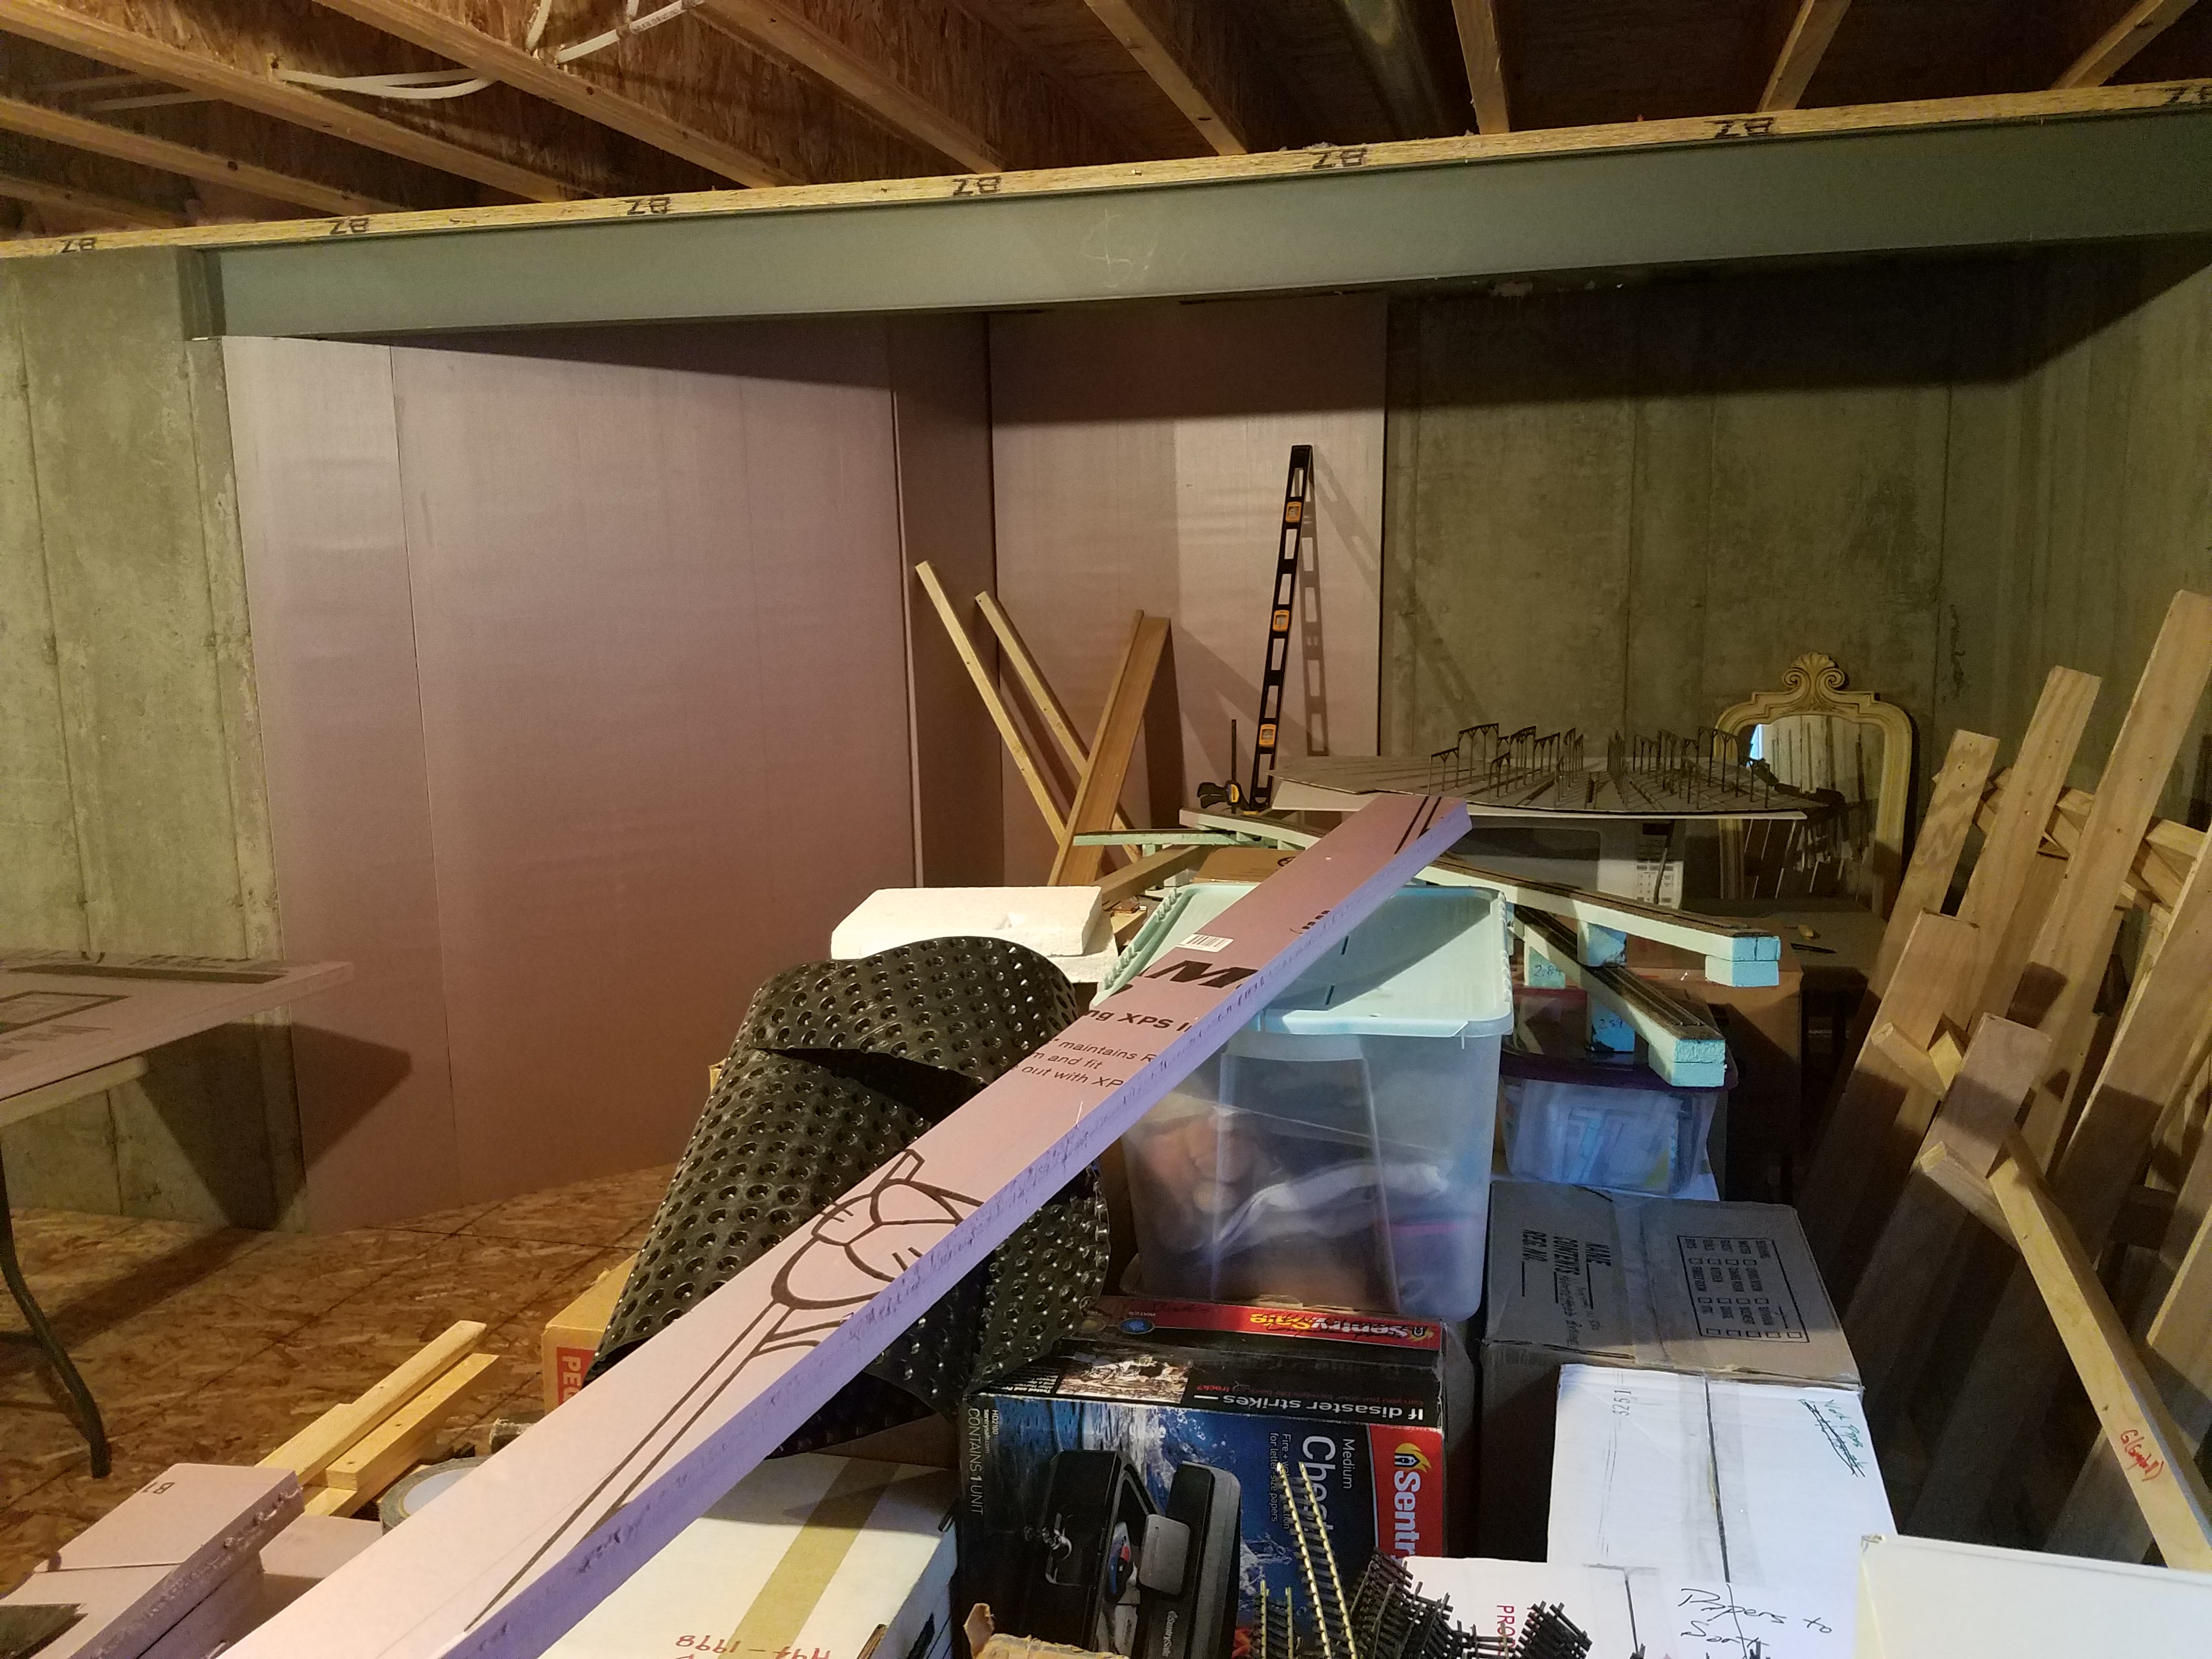 Unfortunately, I'm going to have to move that big pile of heavy boxes again soon.
The floor isn't done yet, but in the train room it's over halfway finished:

I've had a nasty cold for several weeks, and early in the month I fell while cleaning snow off the driveway, so I've been working very slowly until the past couple of days.
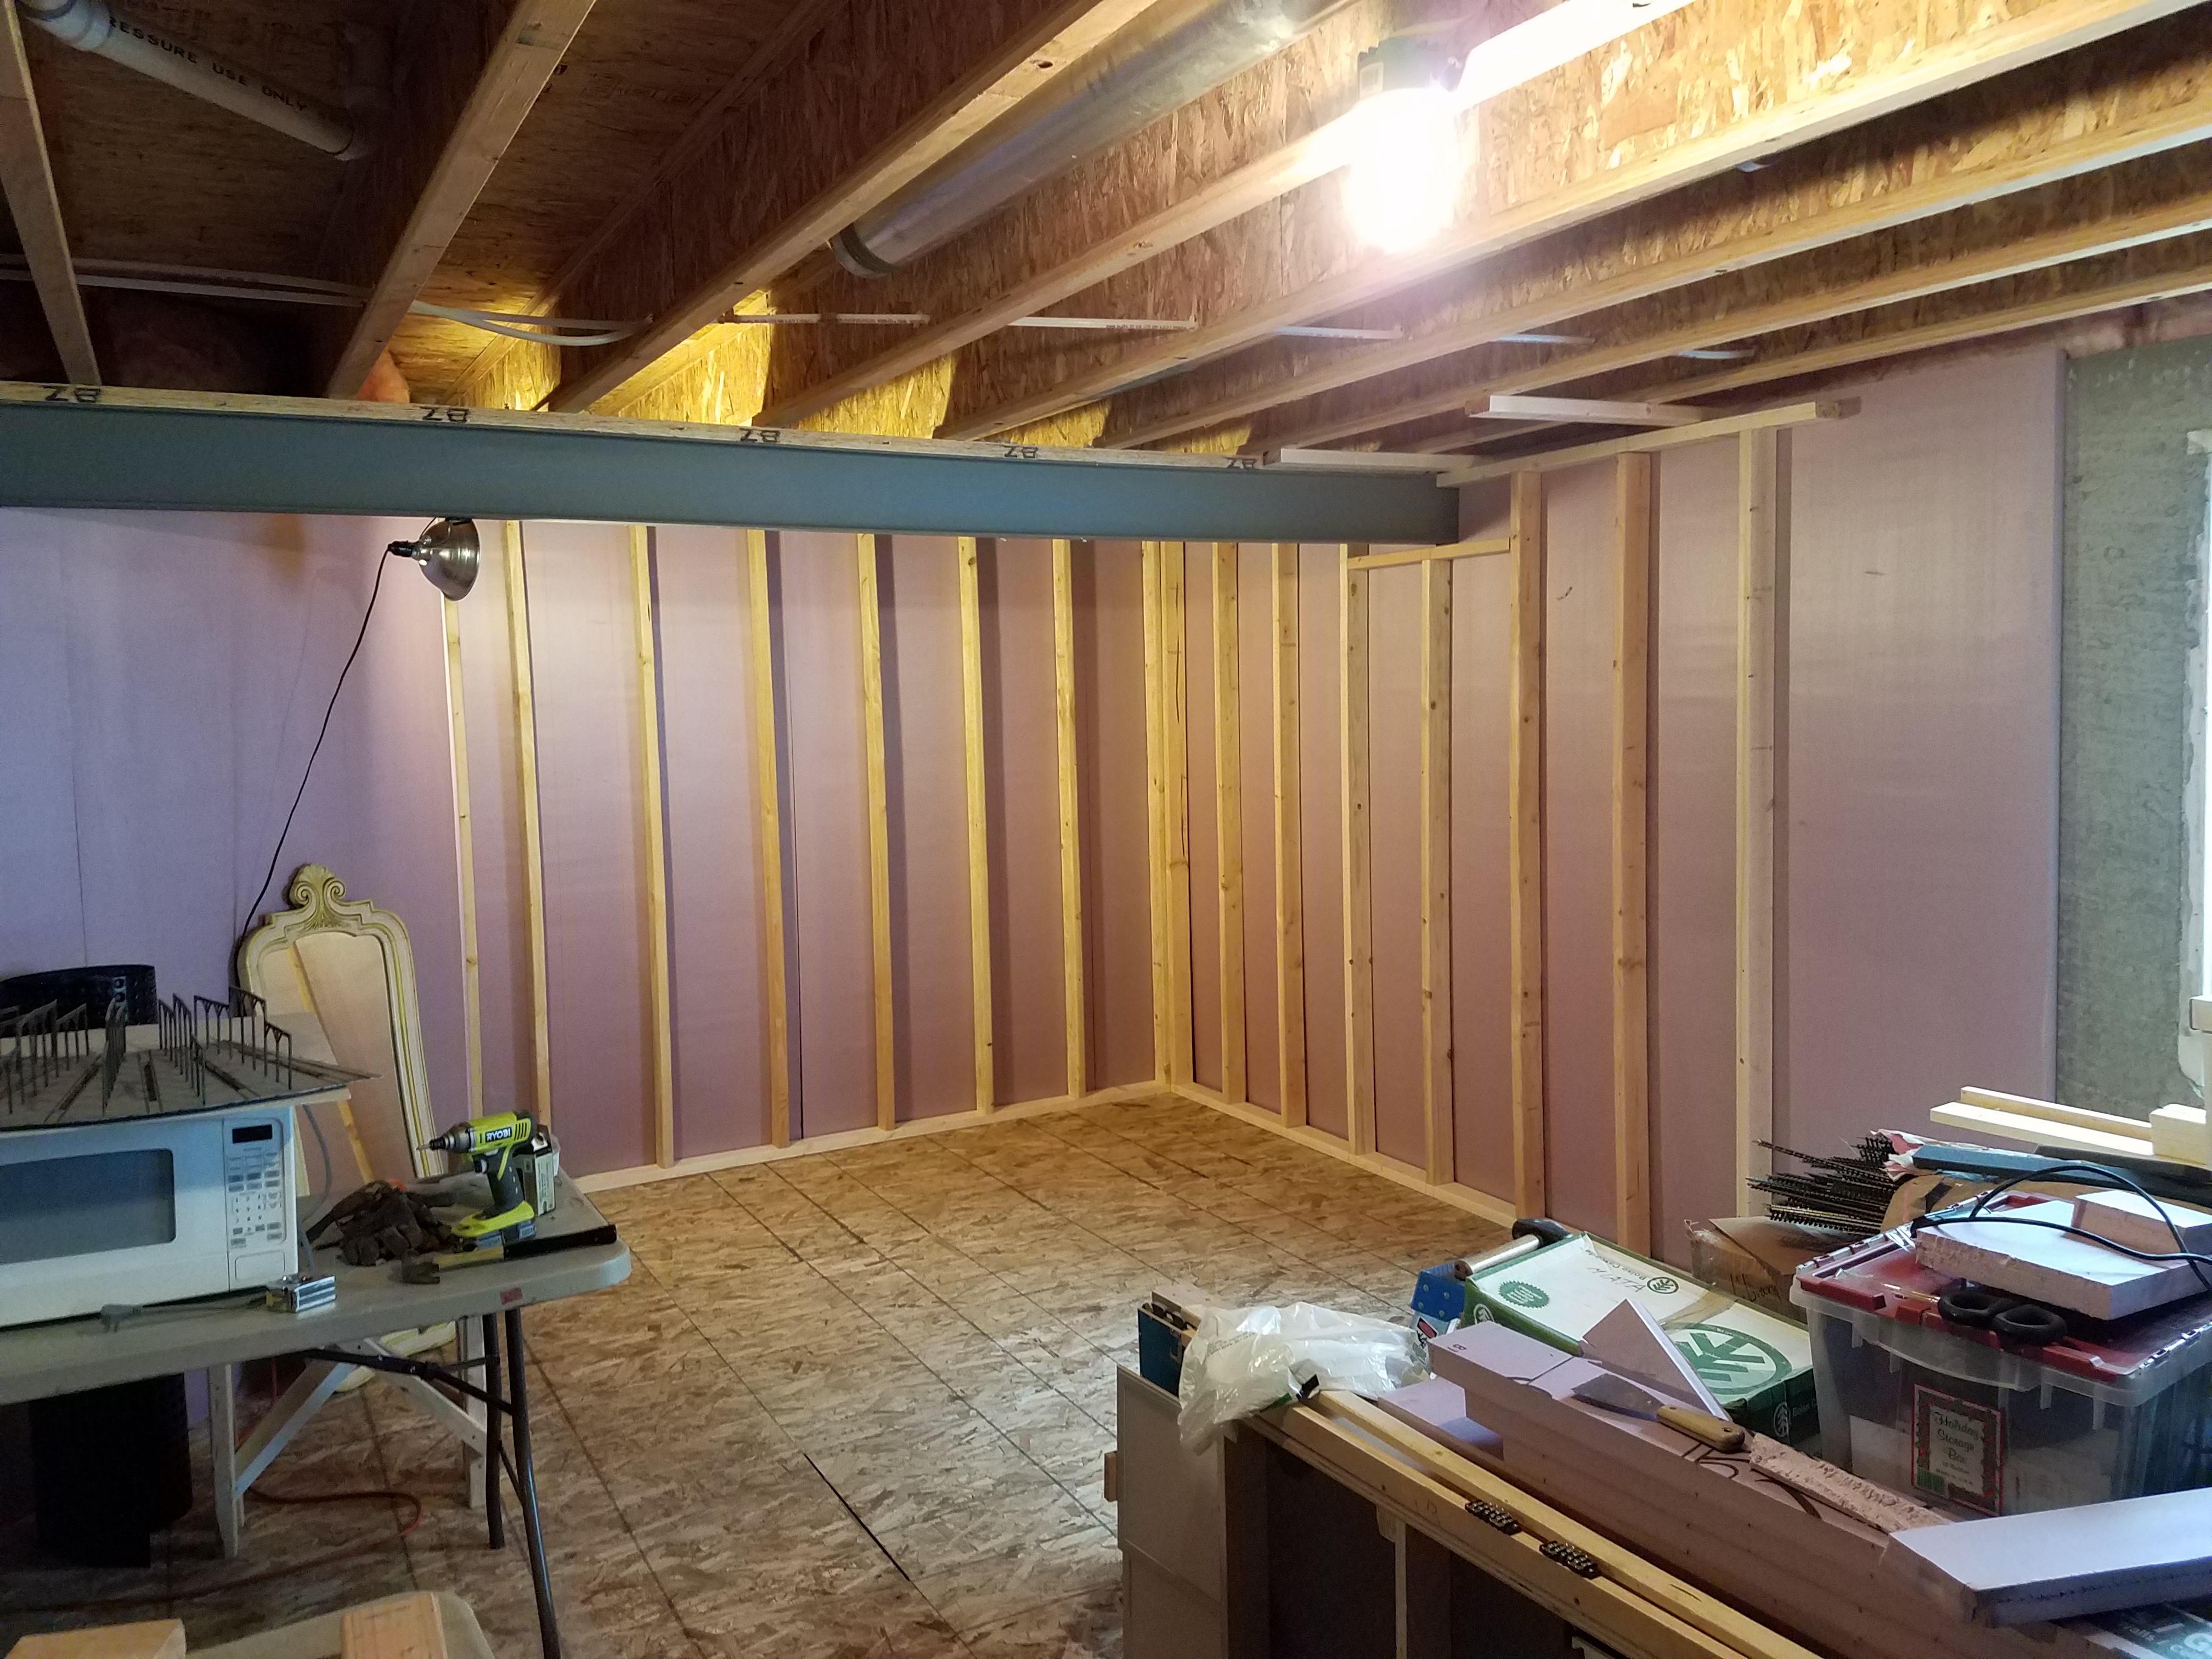
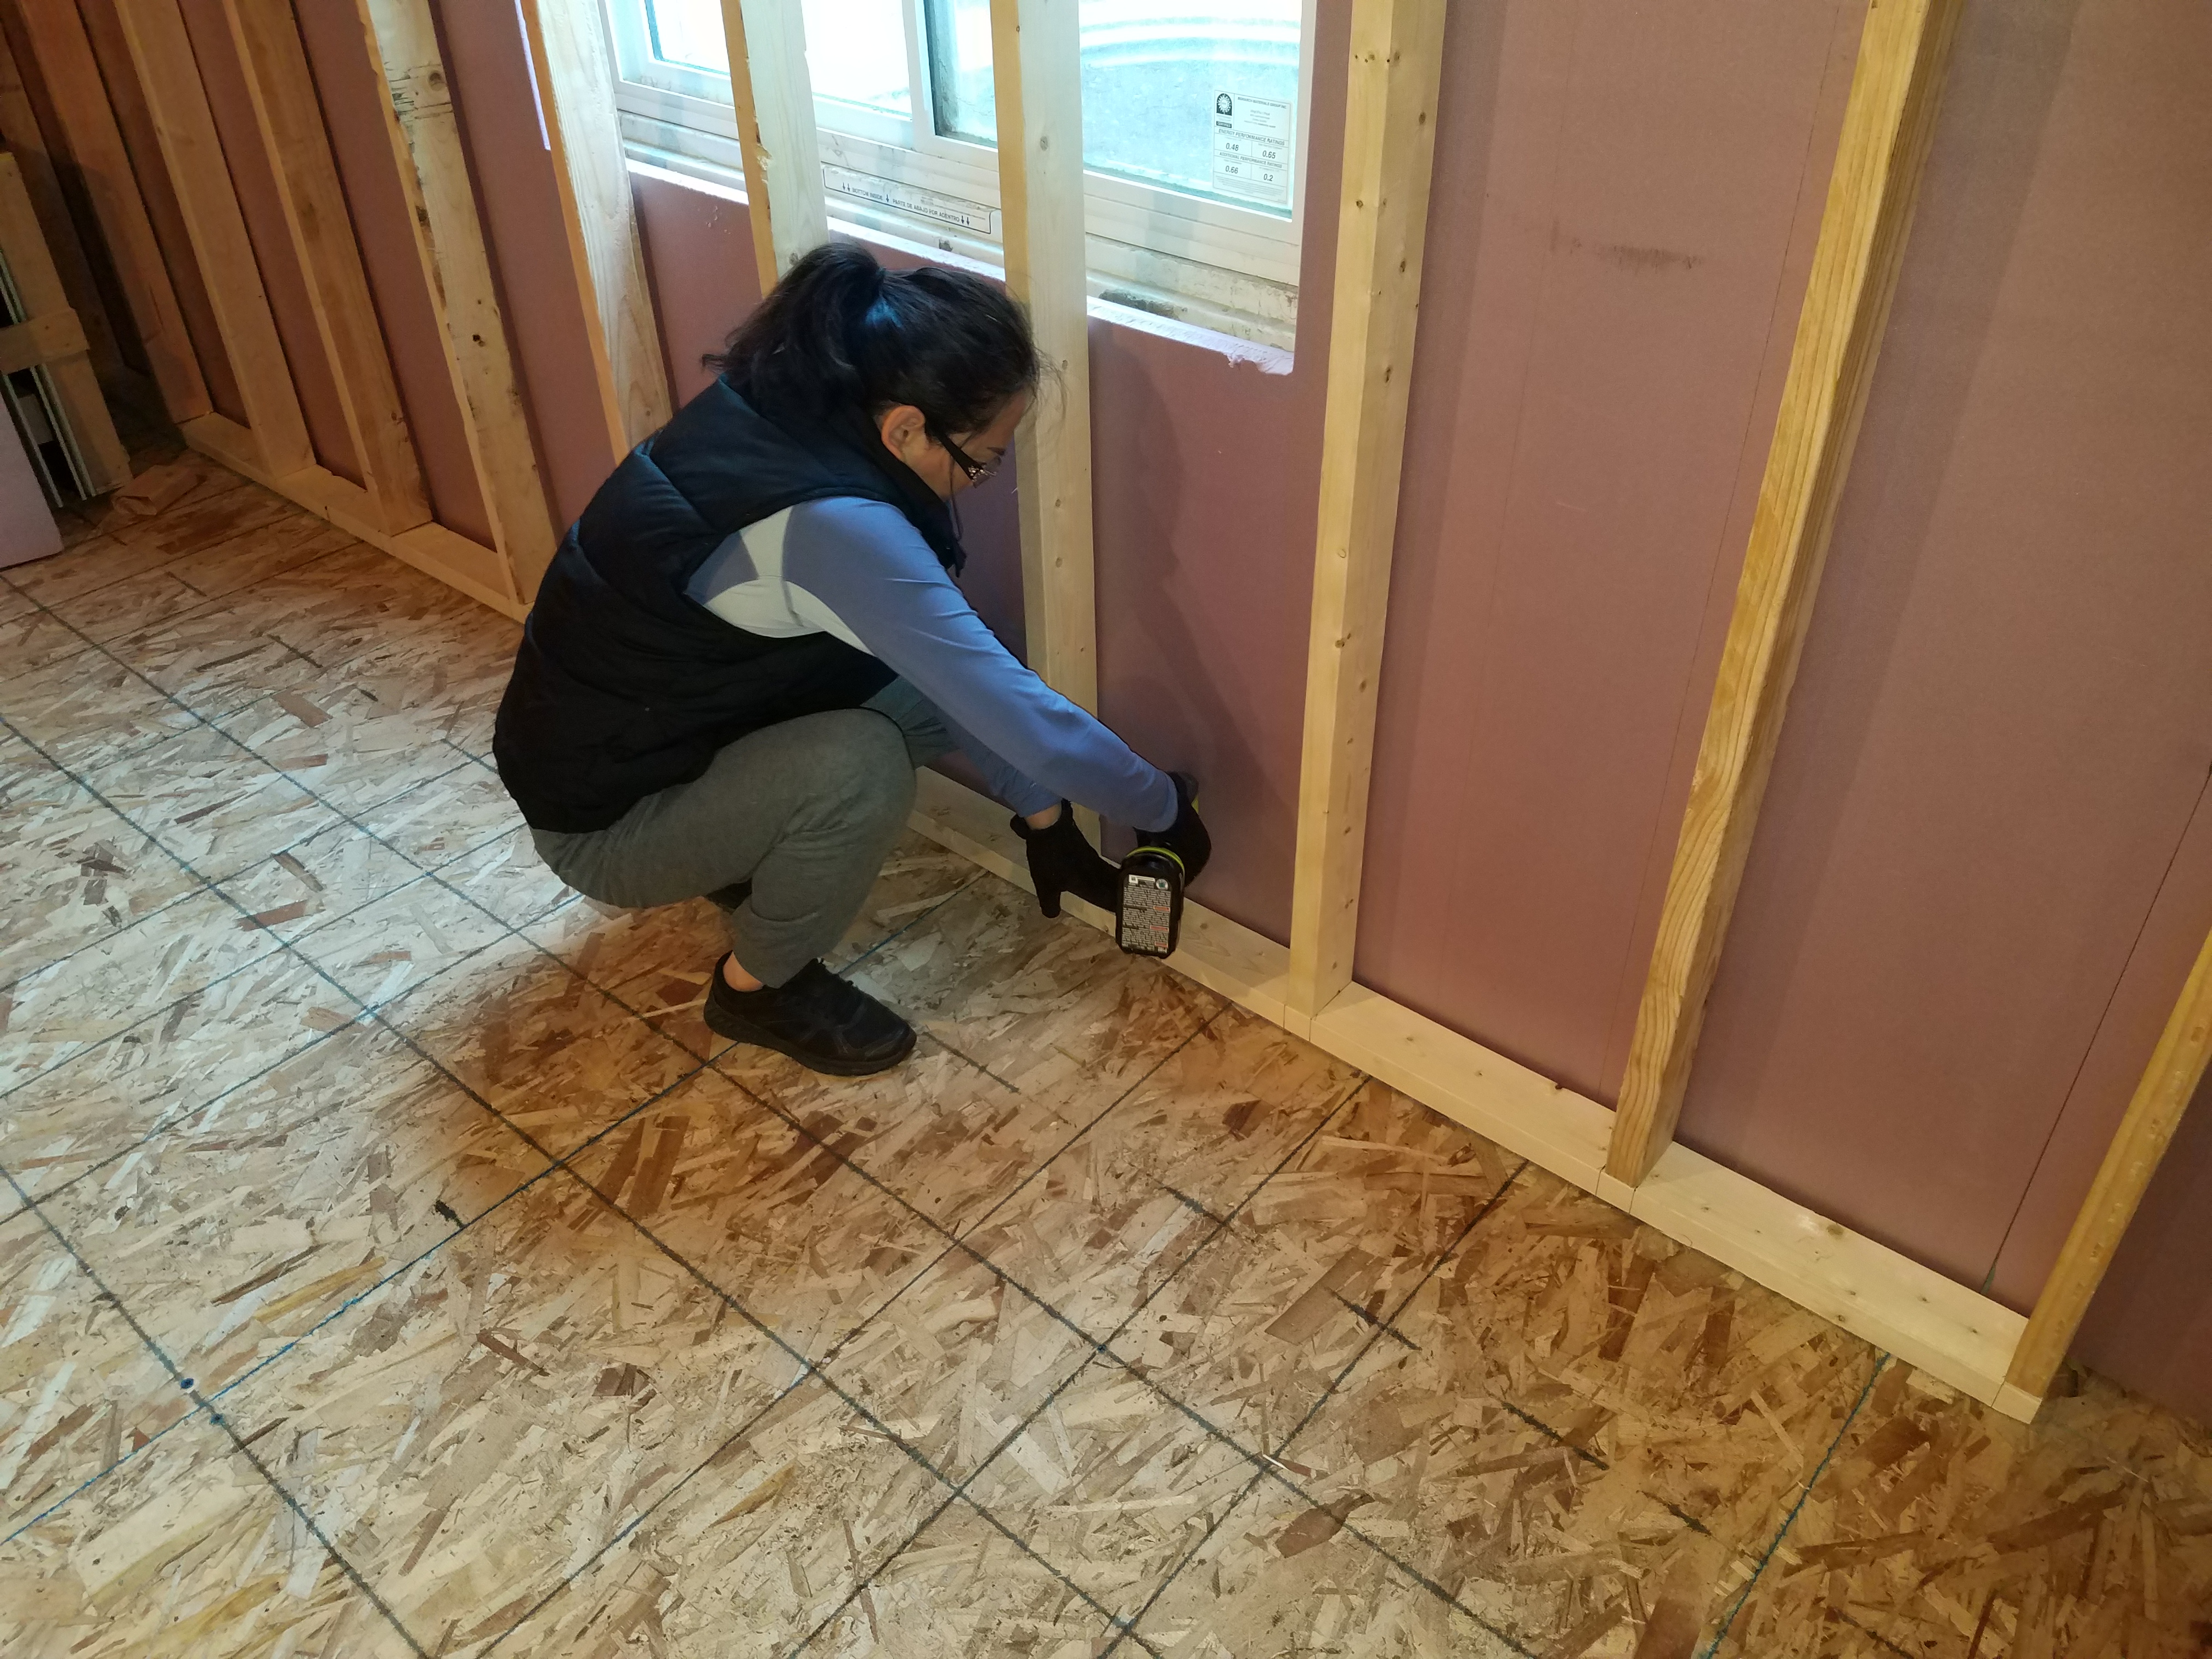
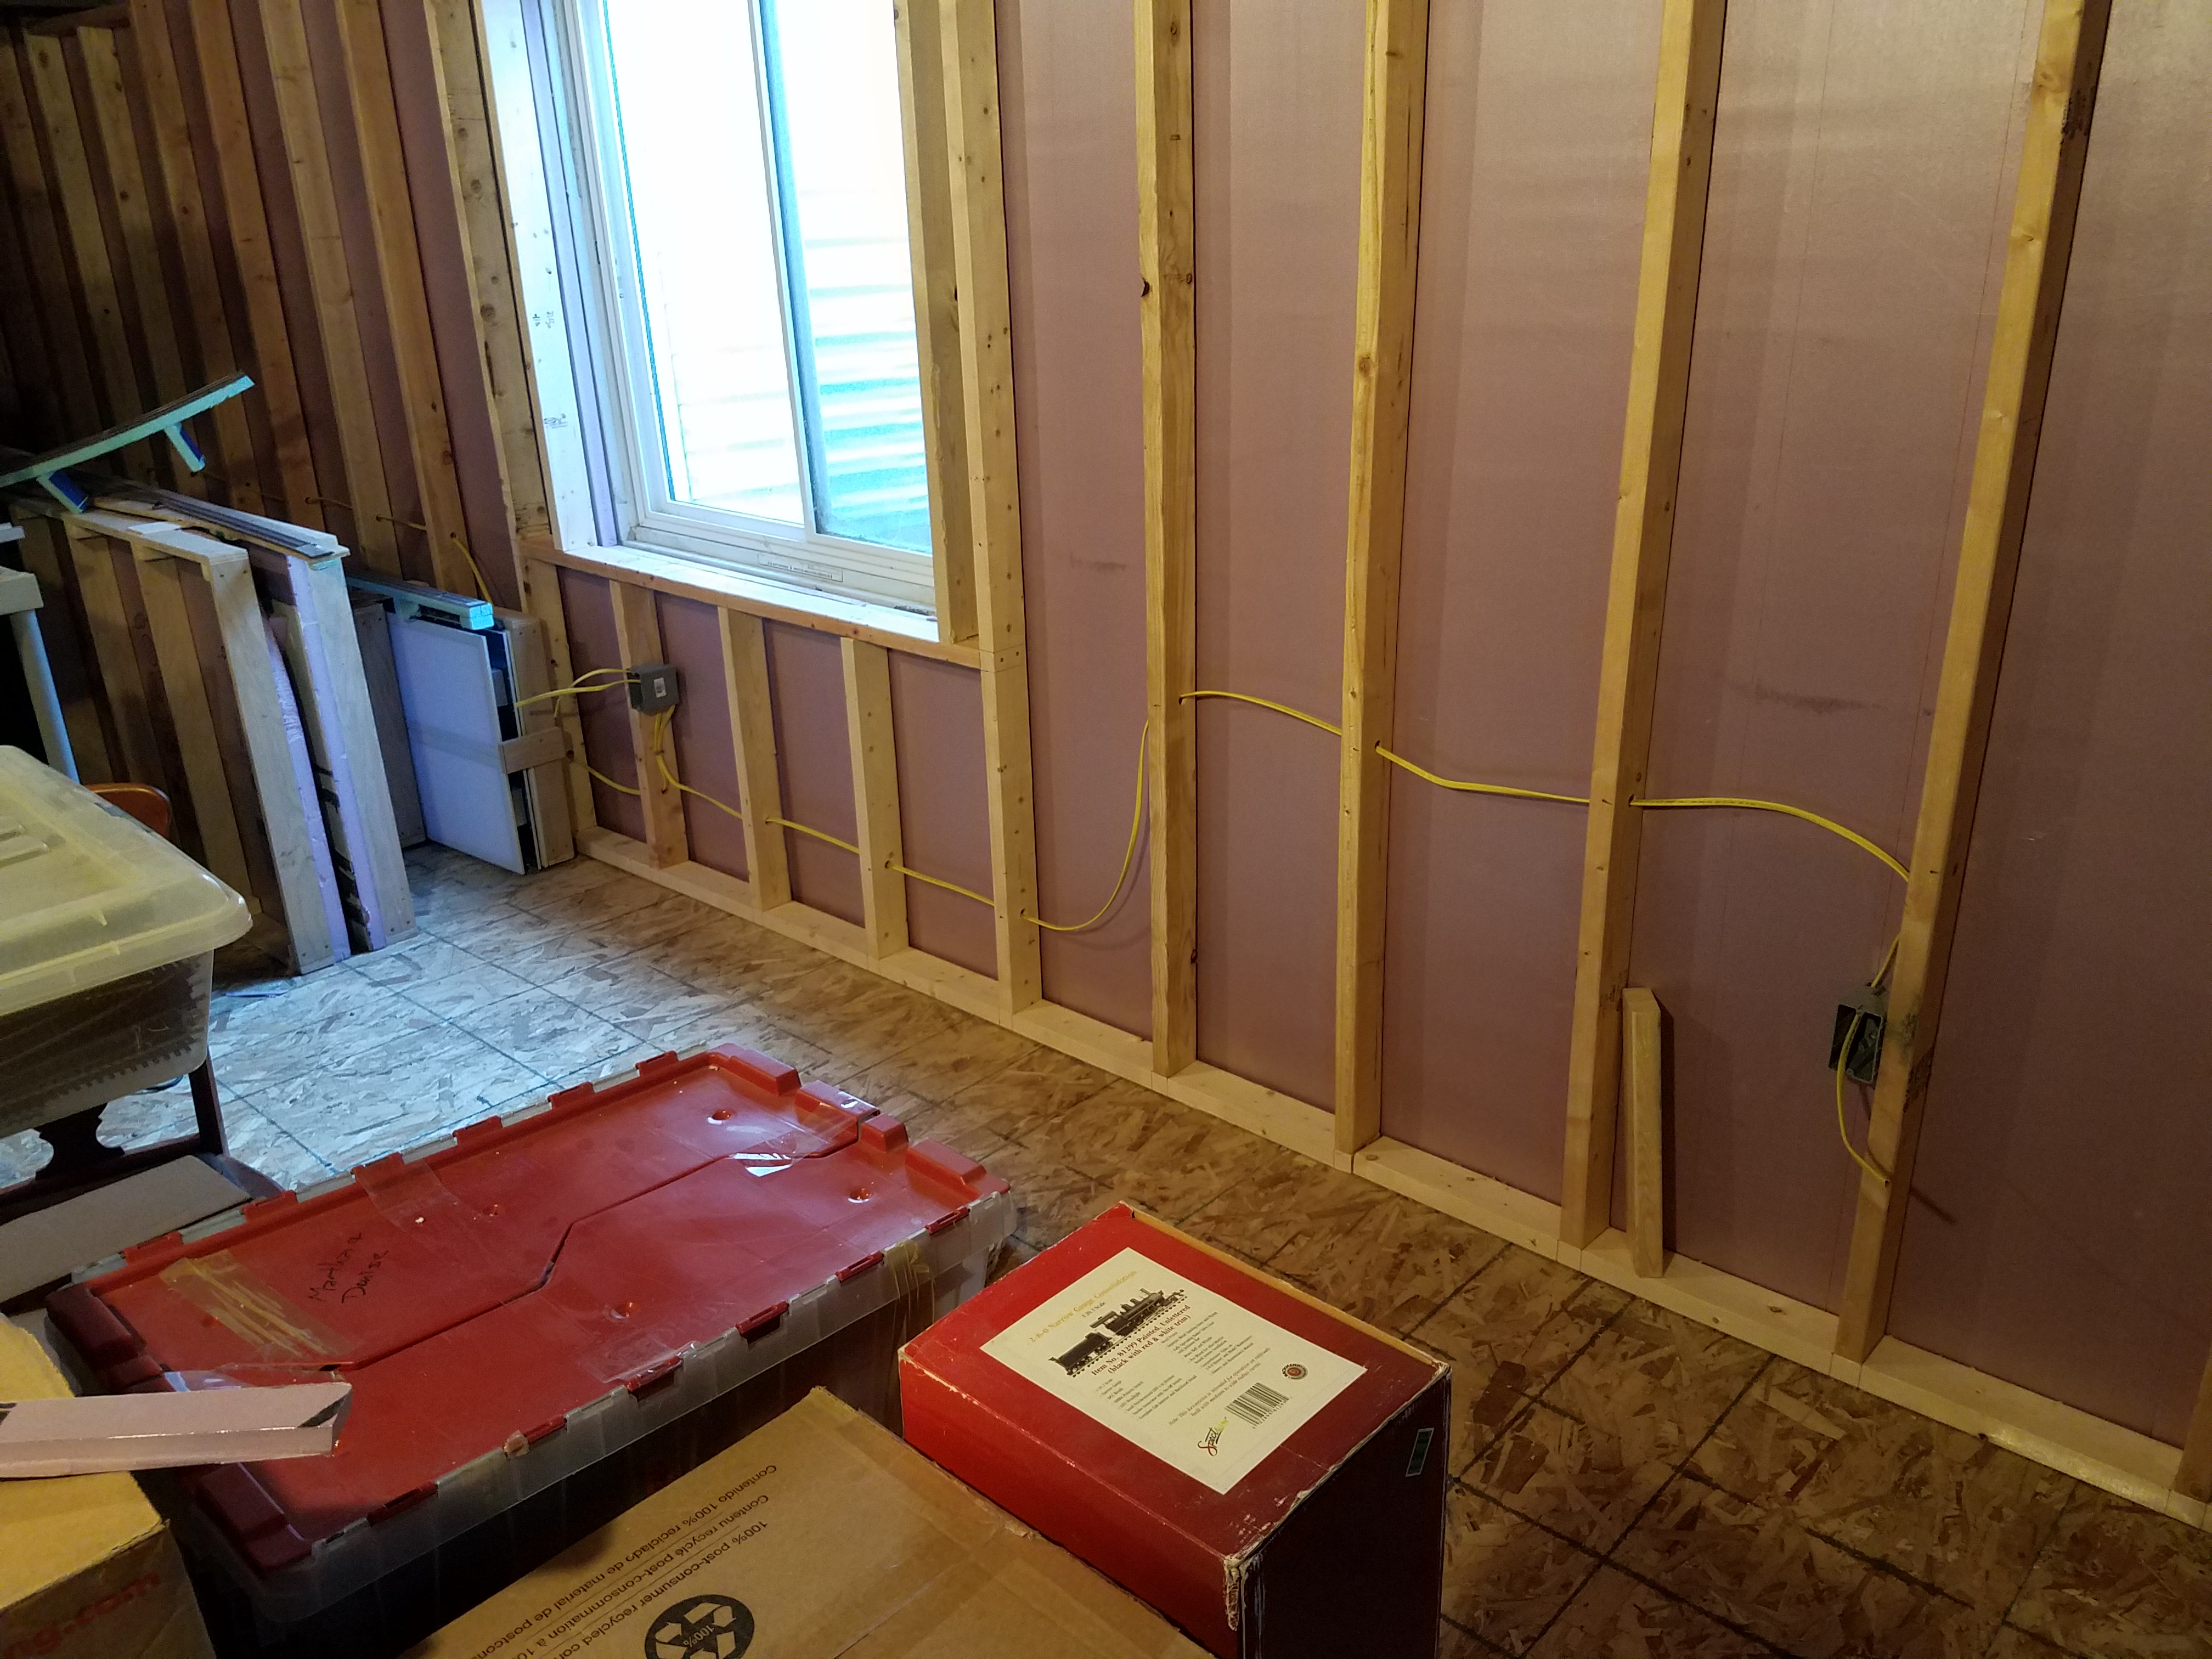
Additional insulation has gone up (that's ridiculously easy to do), and today, with my wife's help, we got the first stud wall built and installed in the train room. She's pretty good at pounding in those 3 1/2" 16 penny nails!
We're still a few months from putting in drywall. The subfloor is about 3/4 done in the train room, then after all the stud walls go in will come the electrical rough-in.
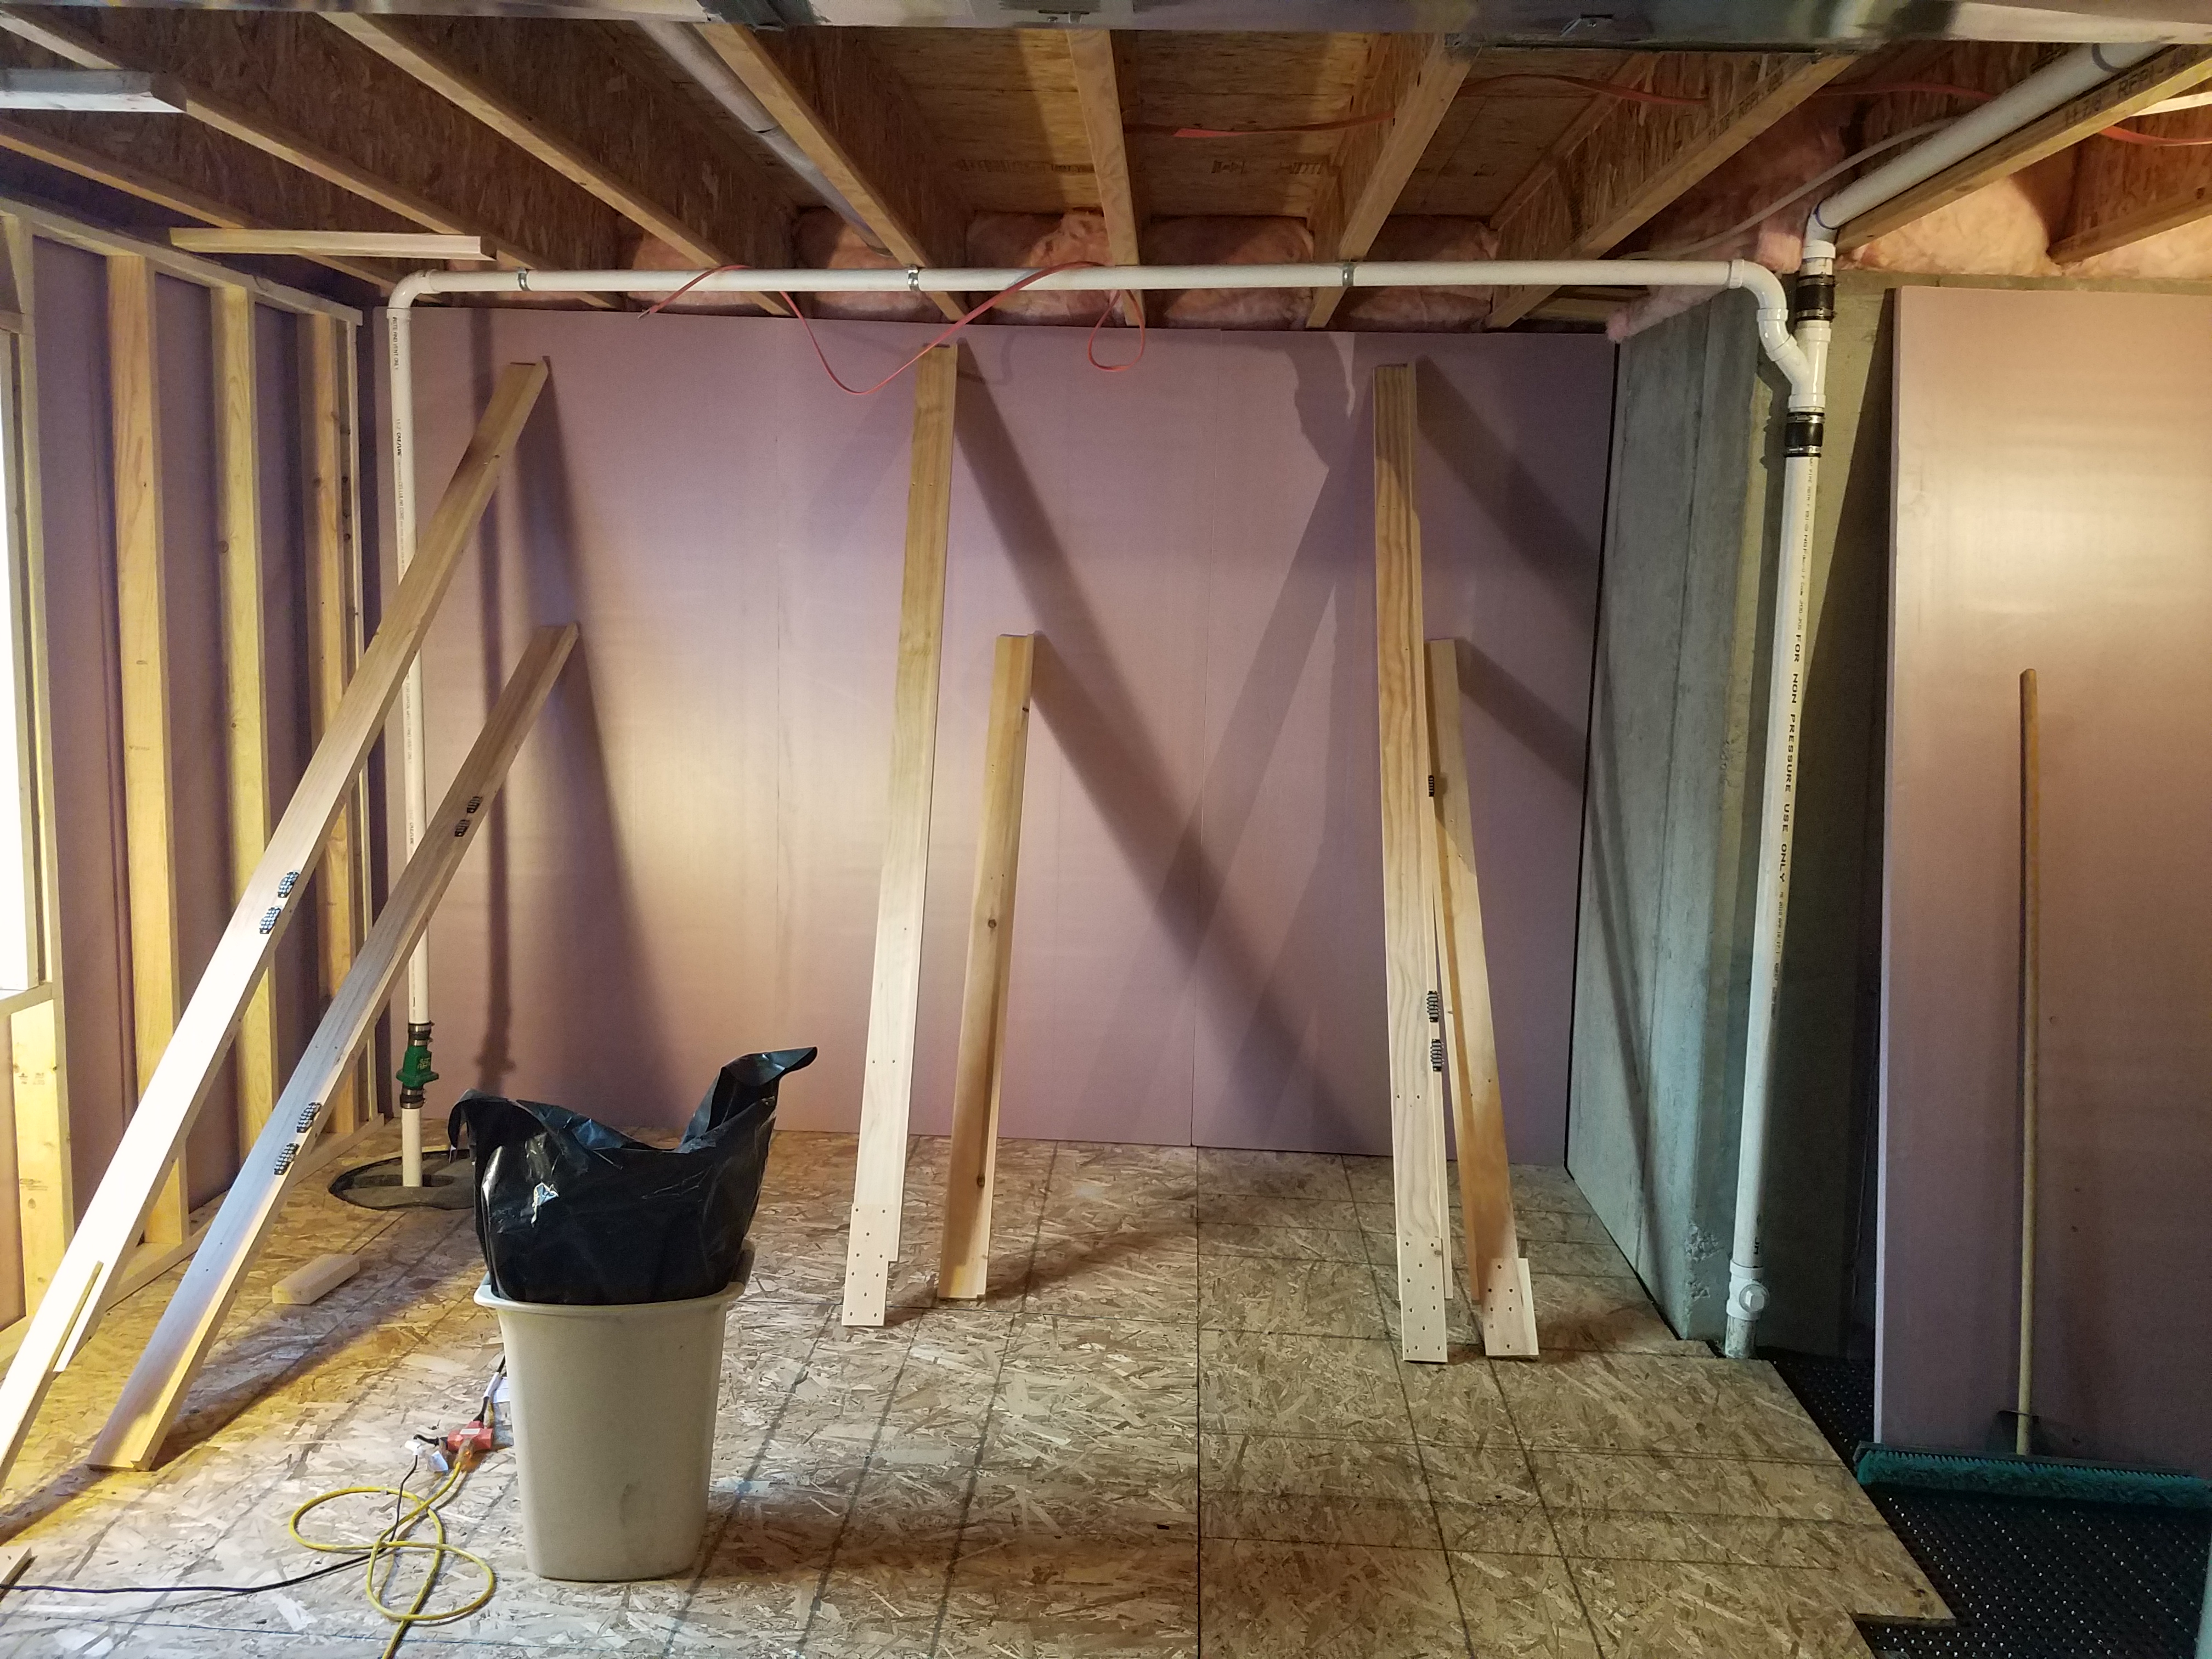
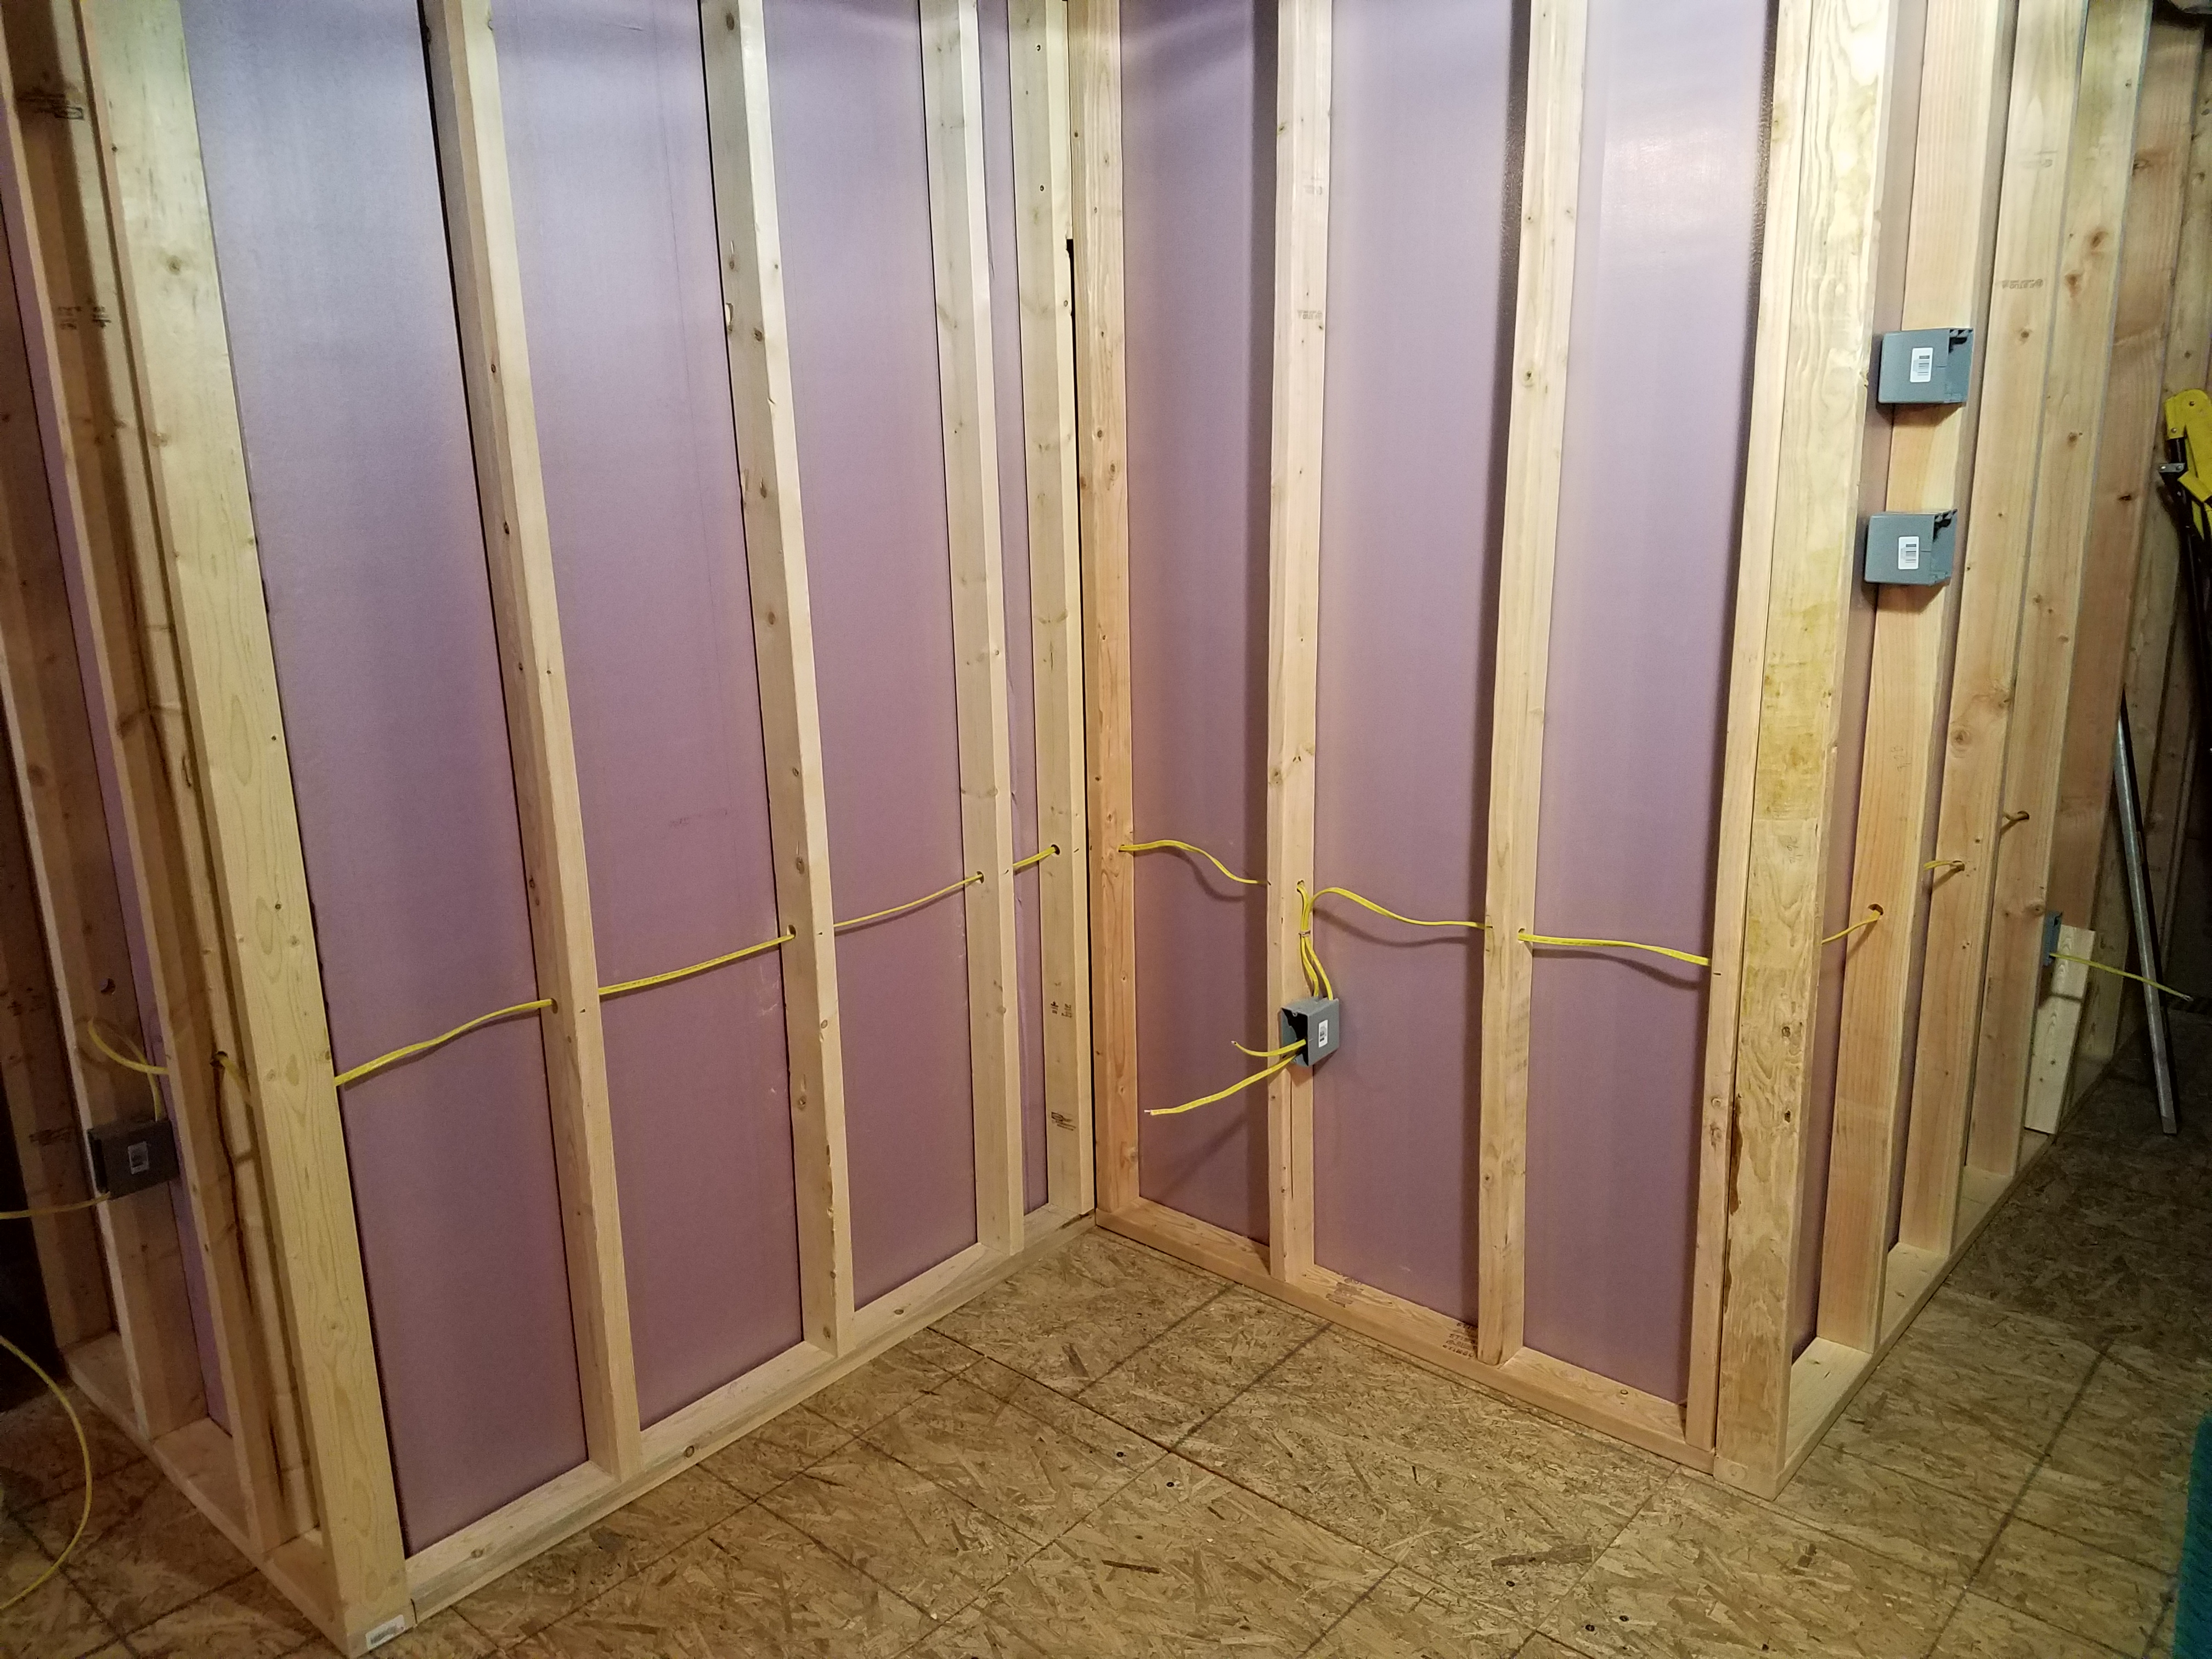
Basement finishing work is continuing. Additional stud walls have been built (or at least started):
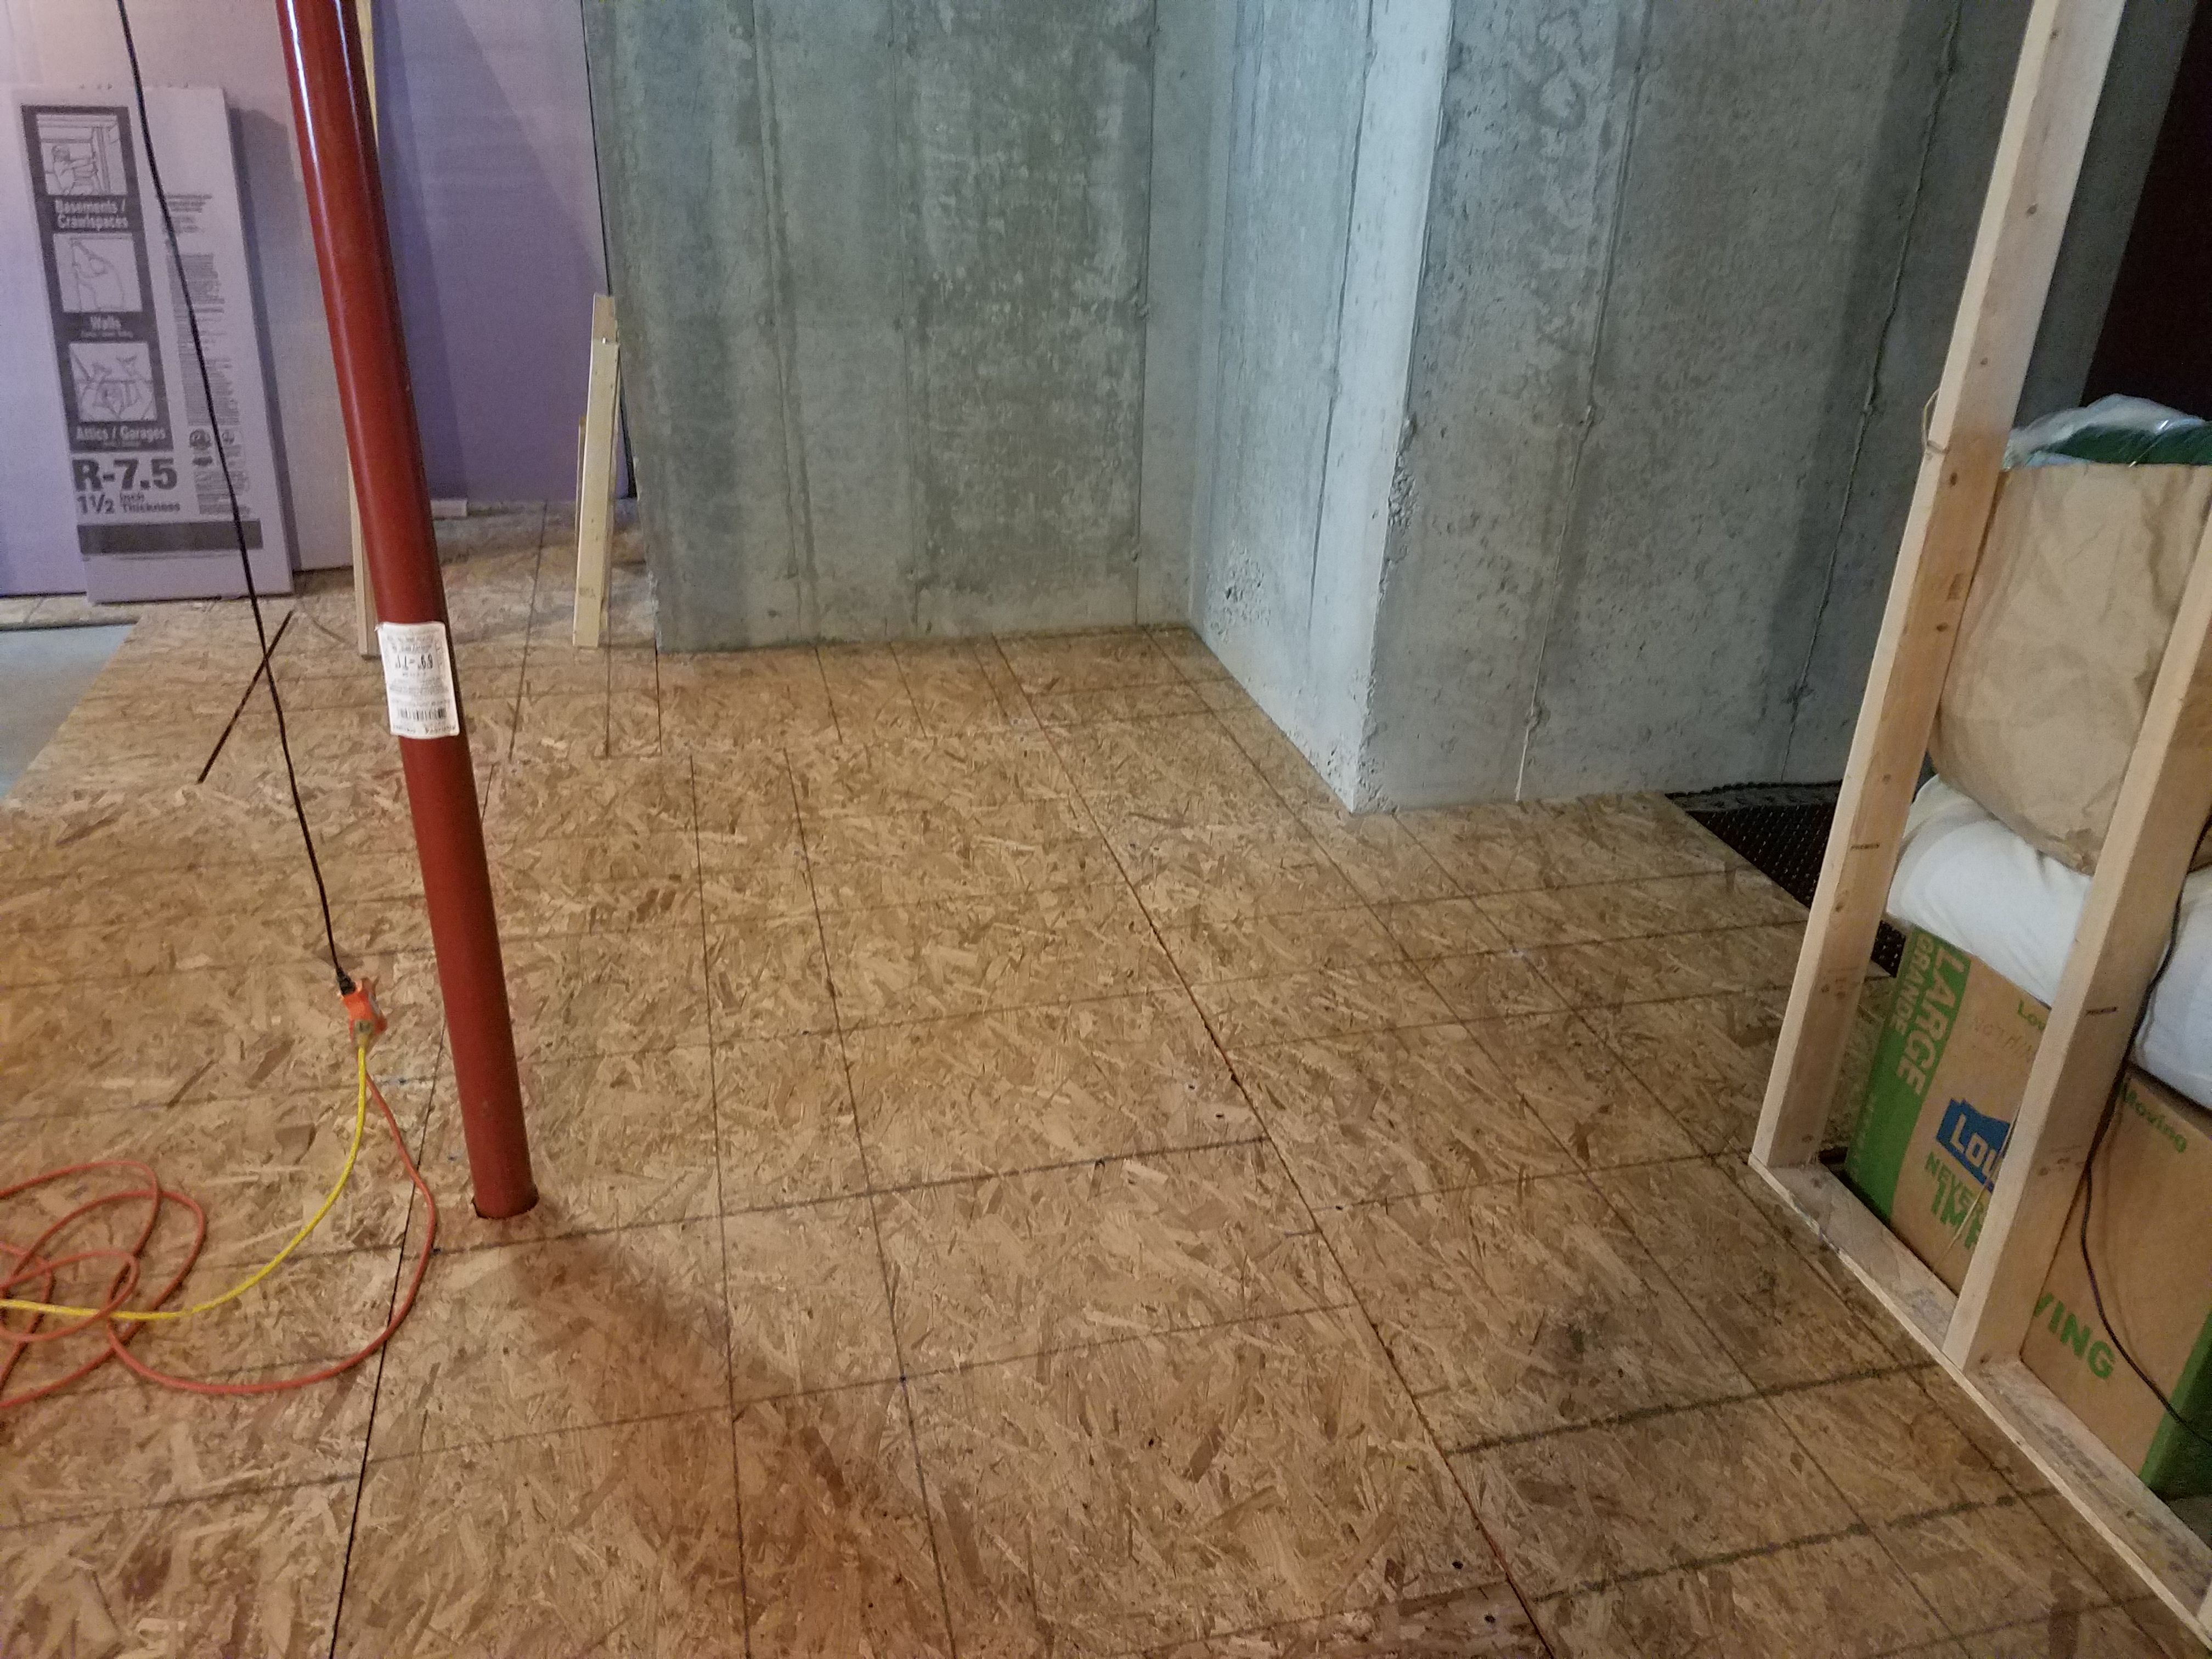
Five more sheets of OSB have been attached to the floor (well, four are attached, and one has been laid in place and not yet fastened down):
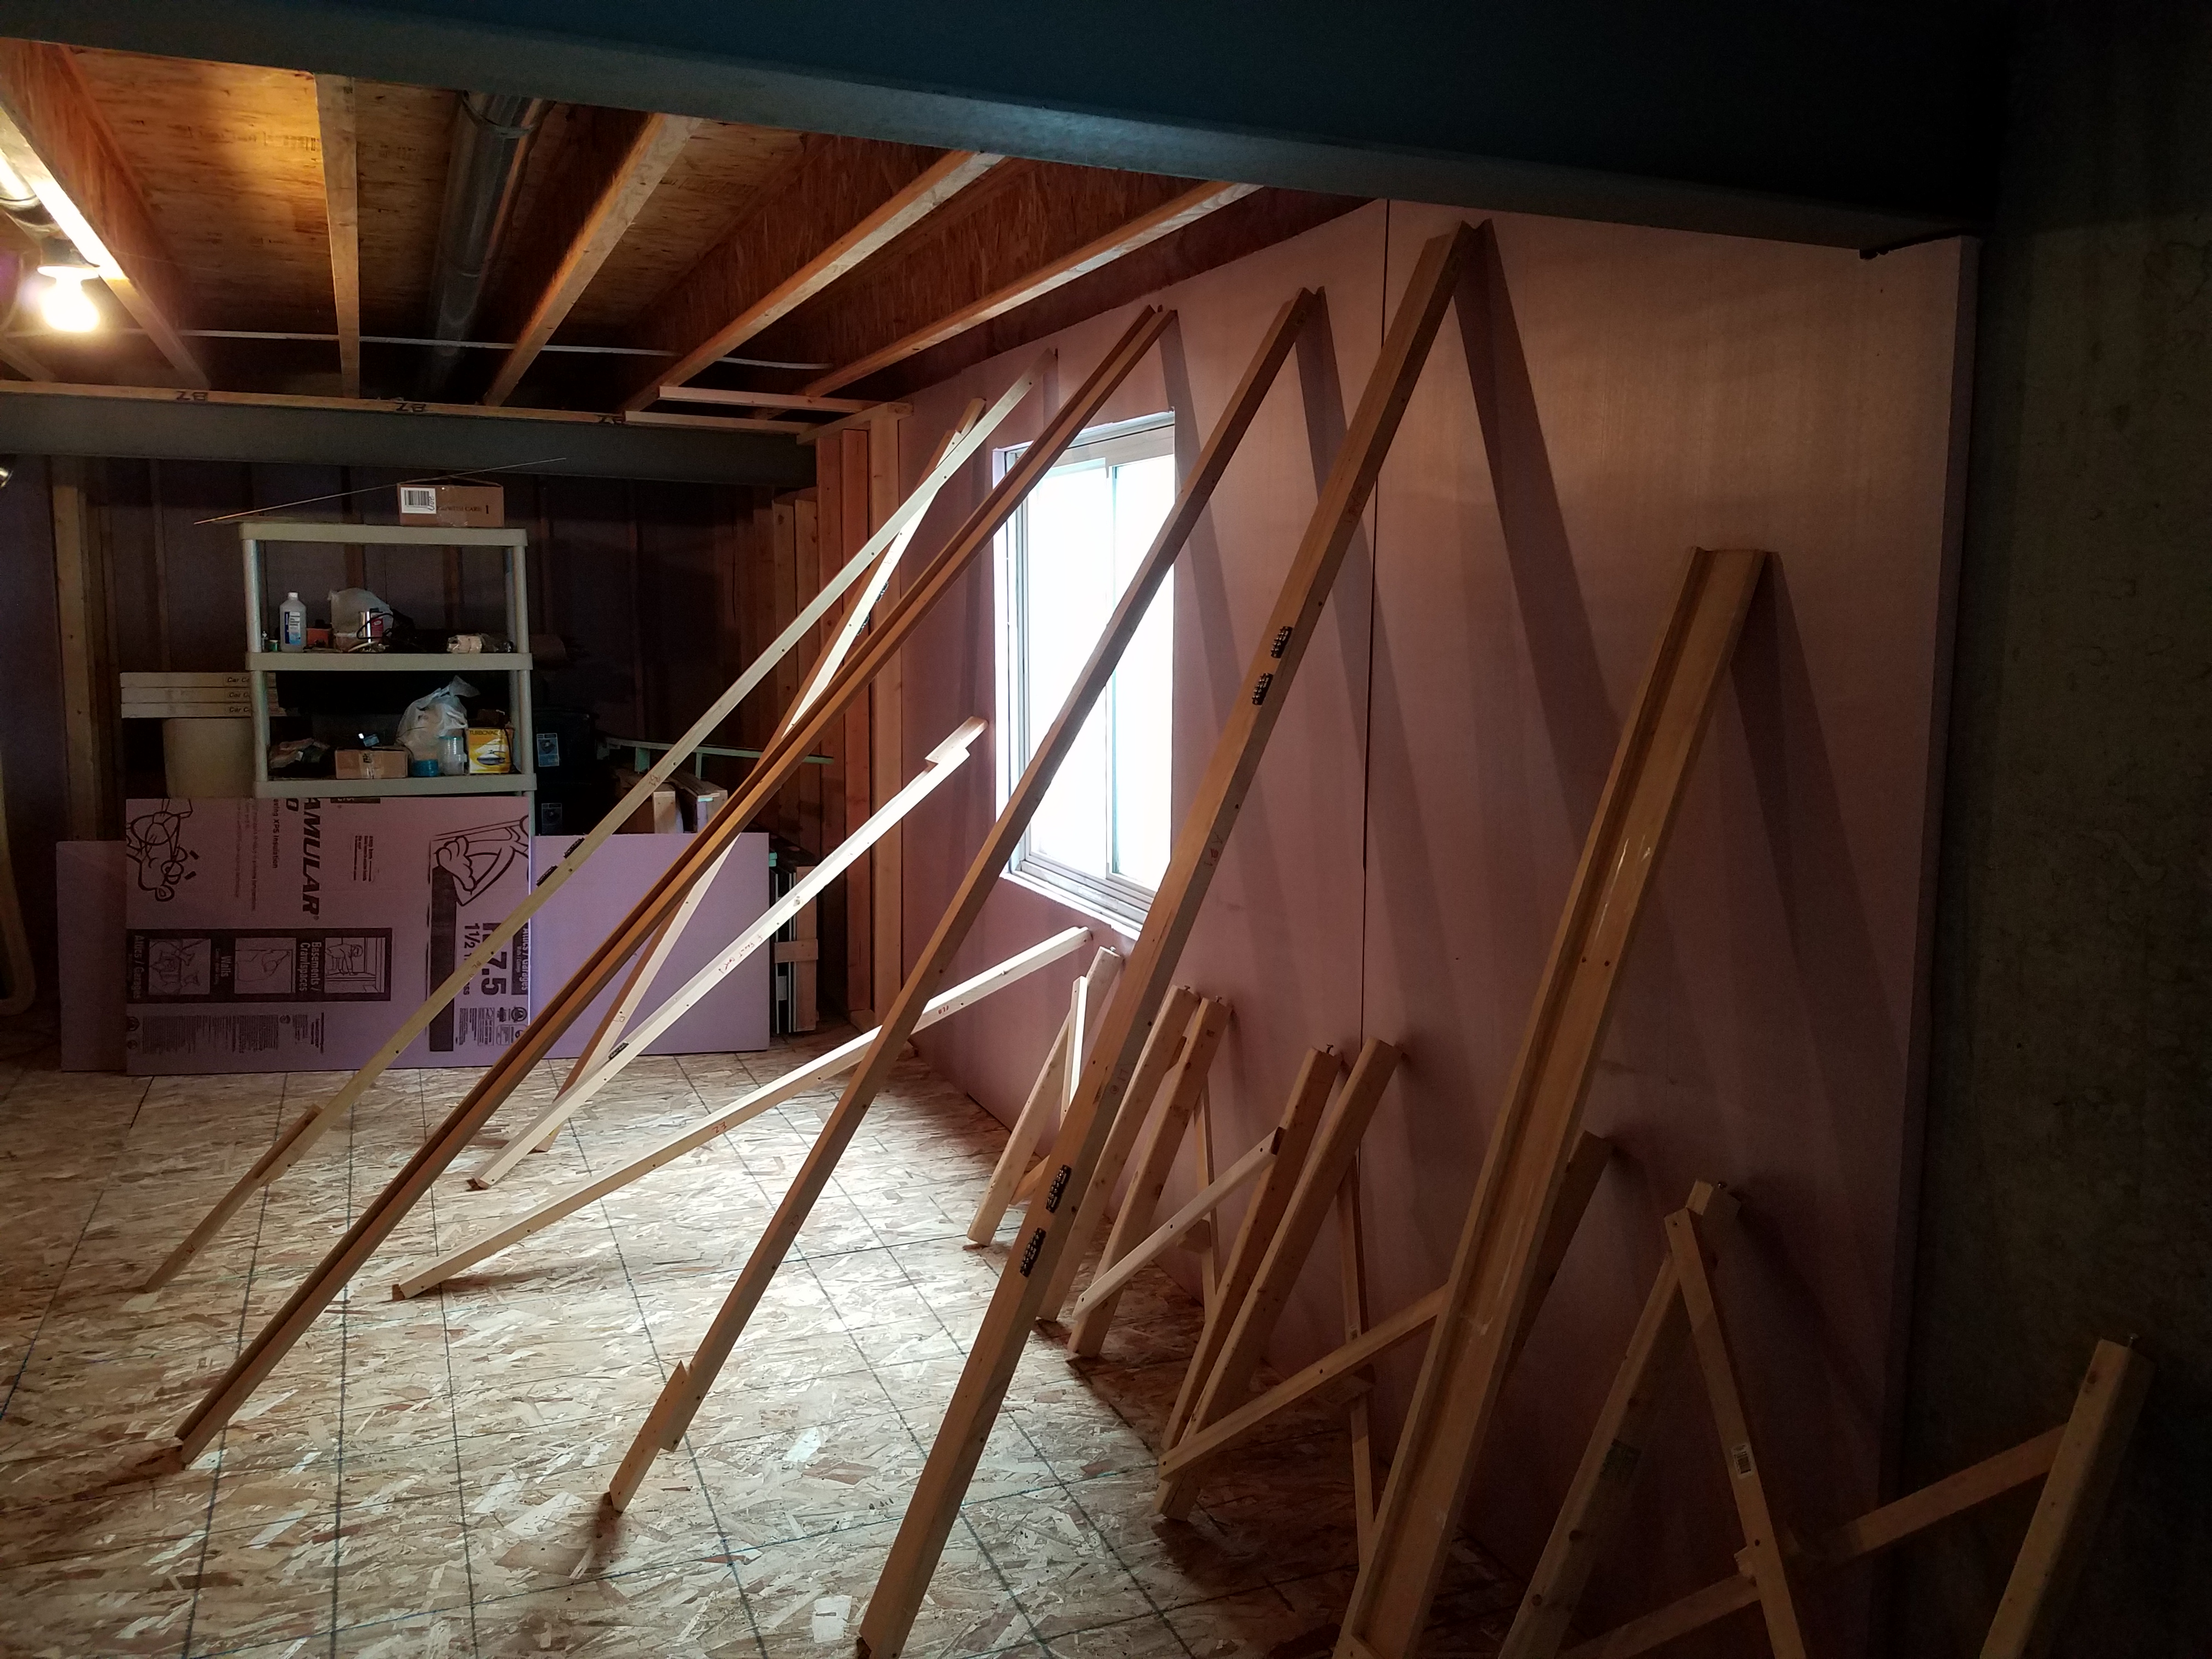
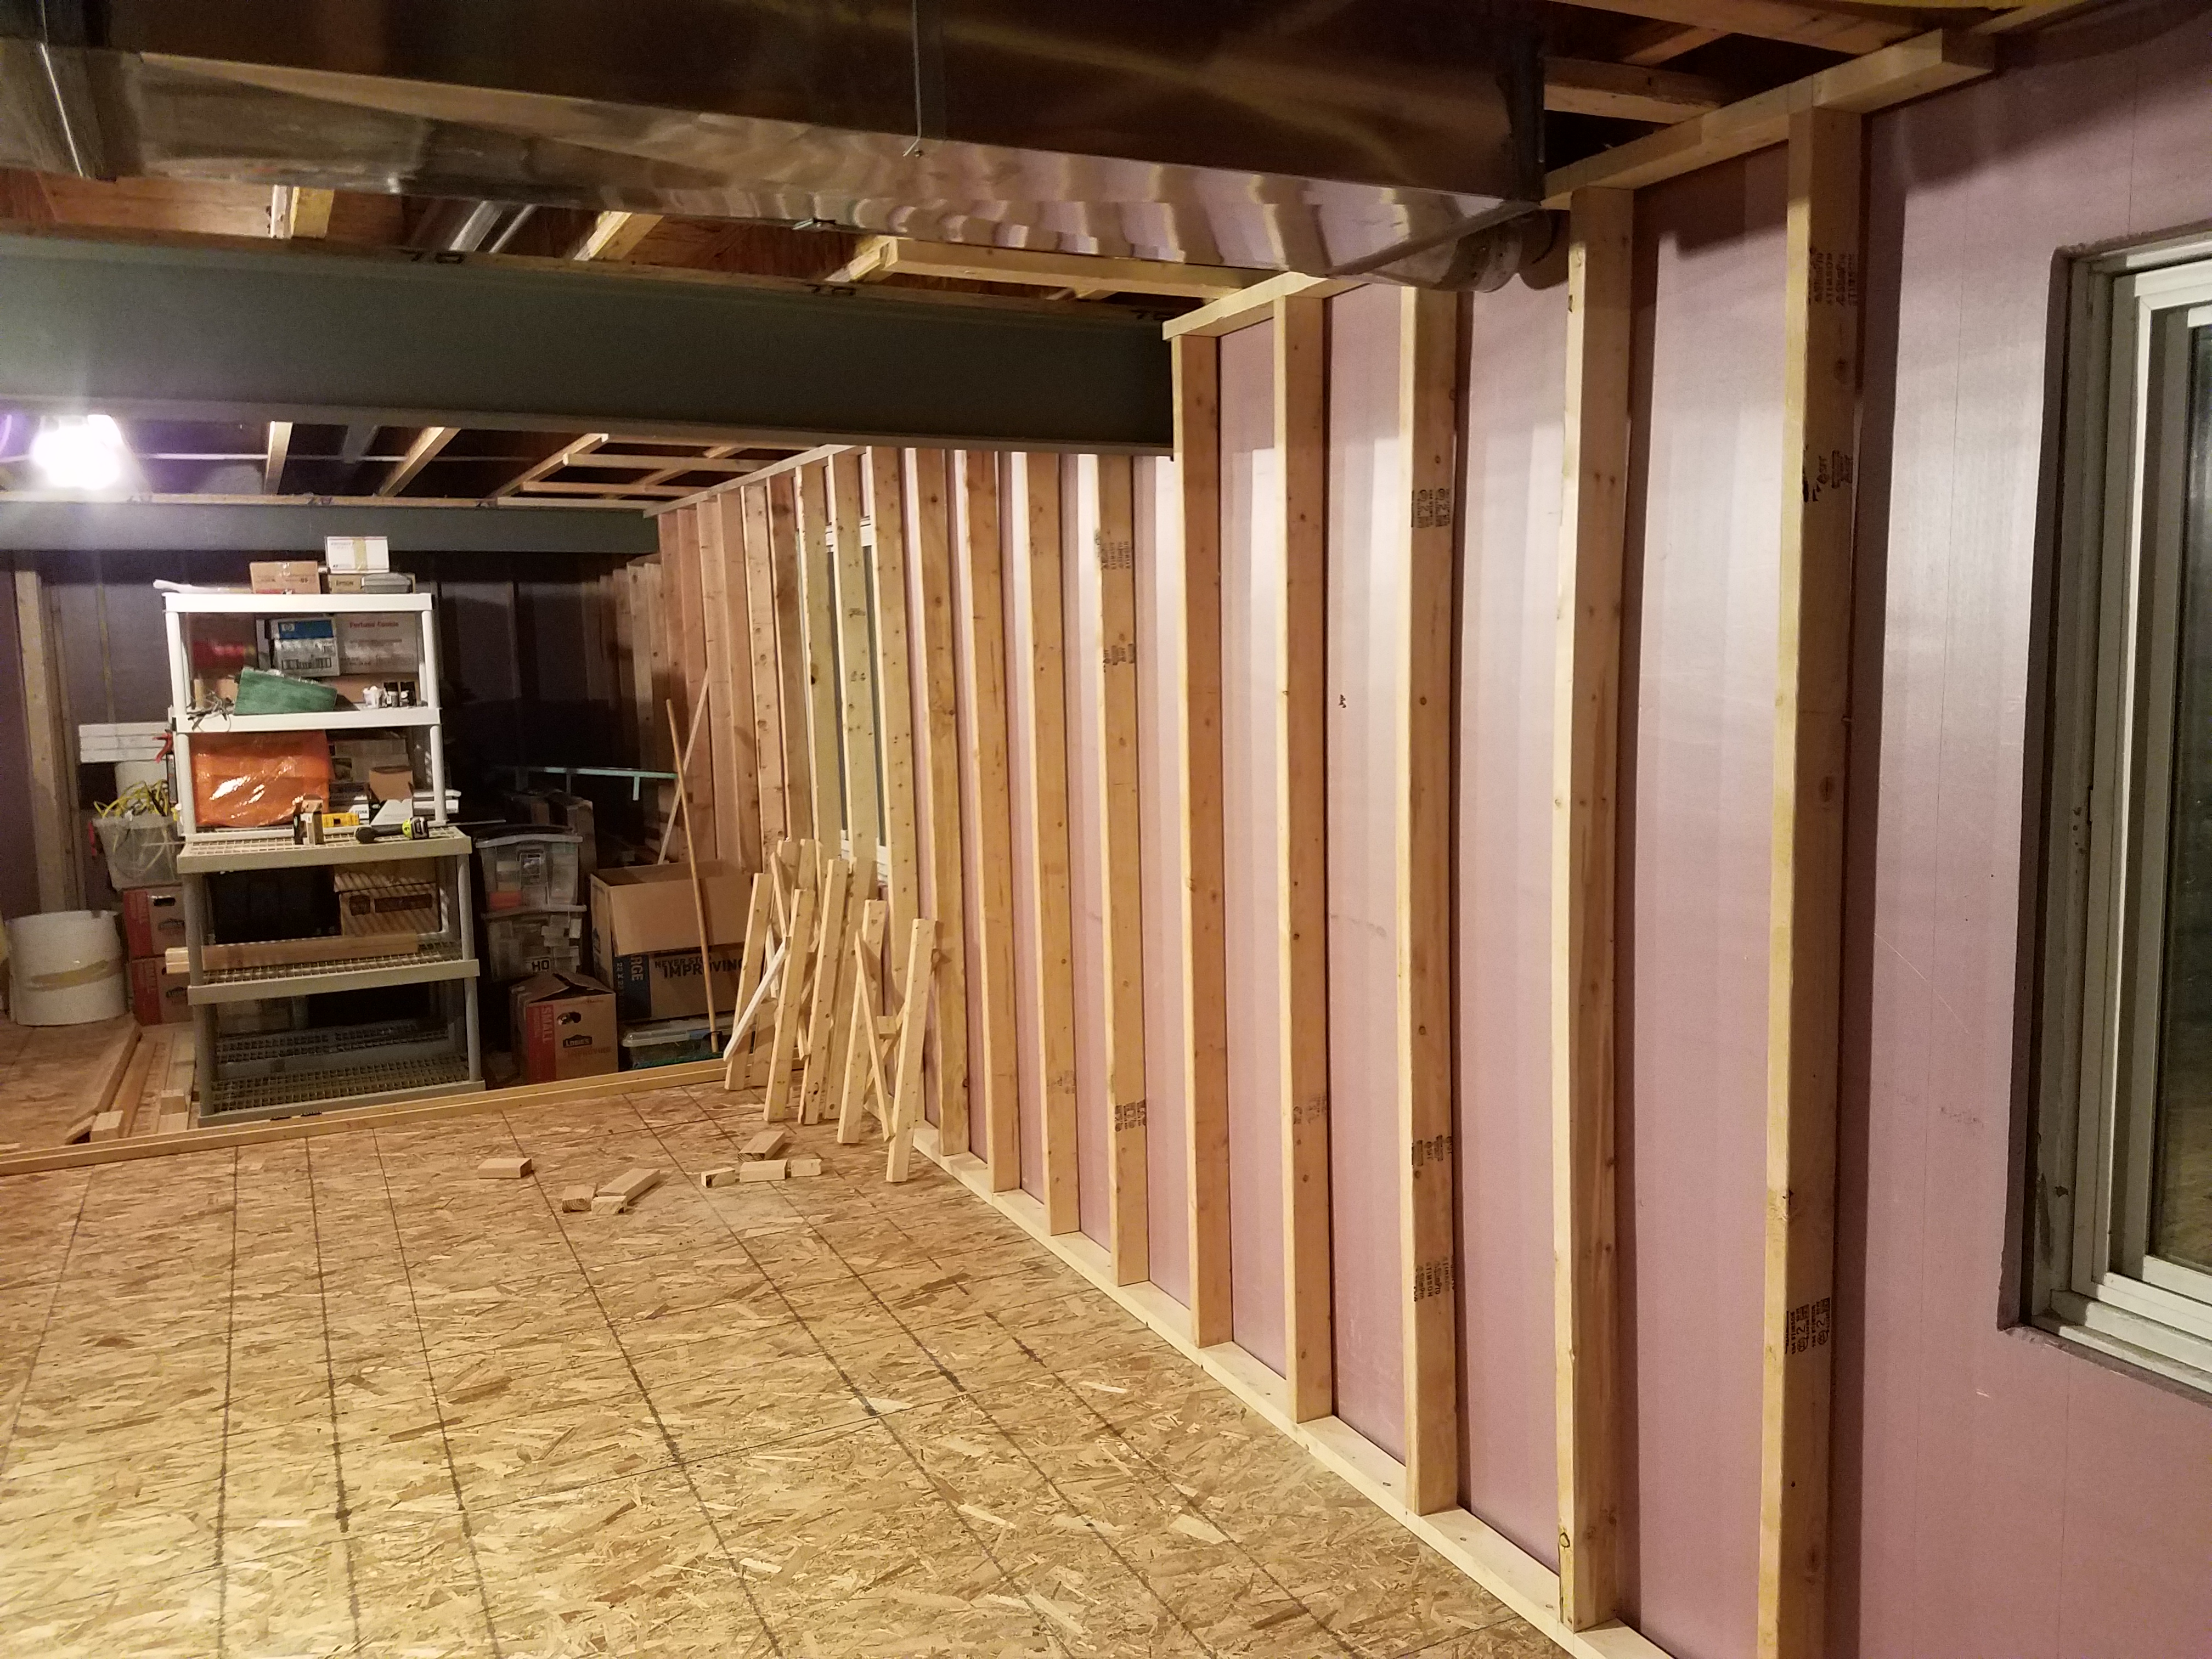
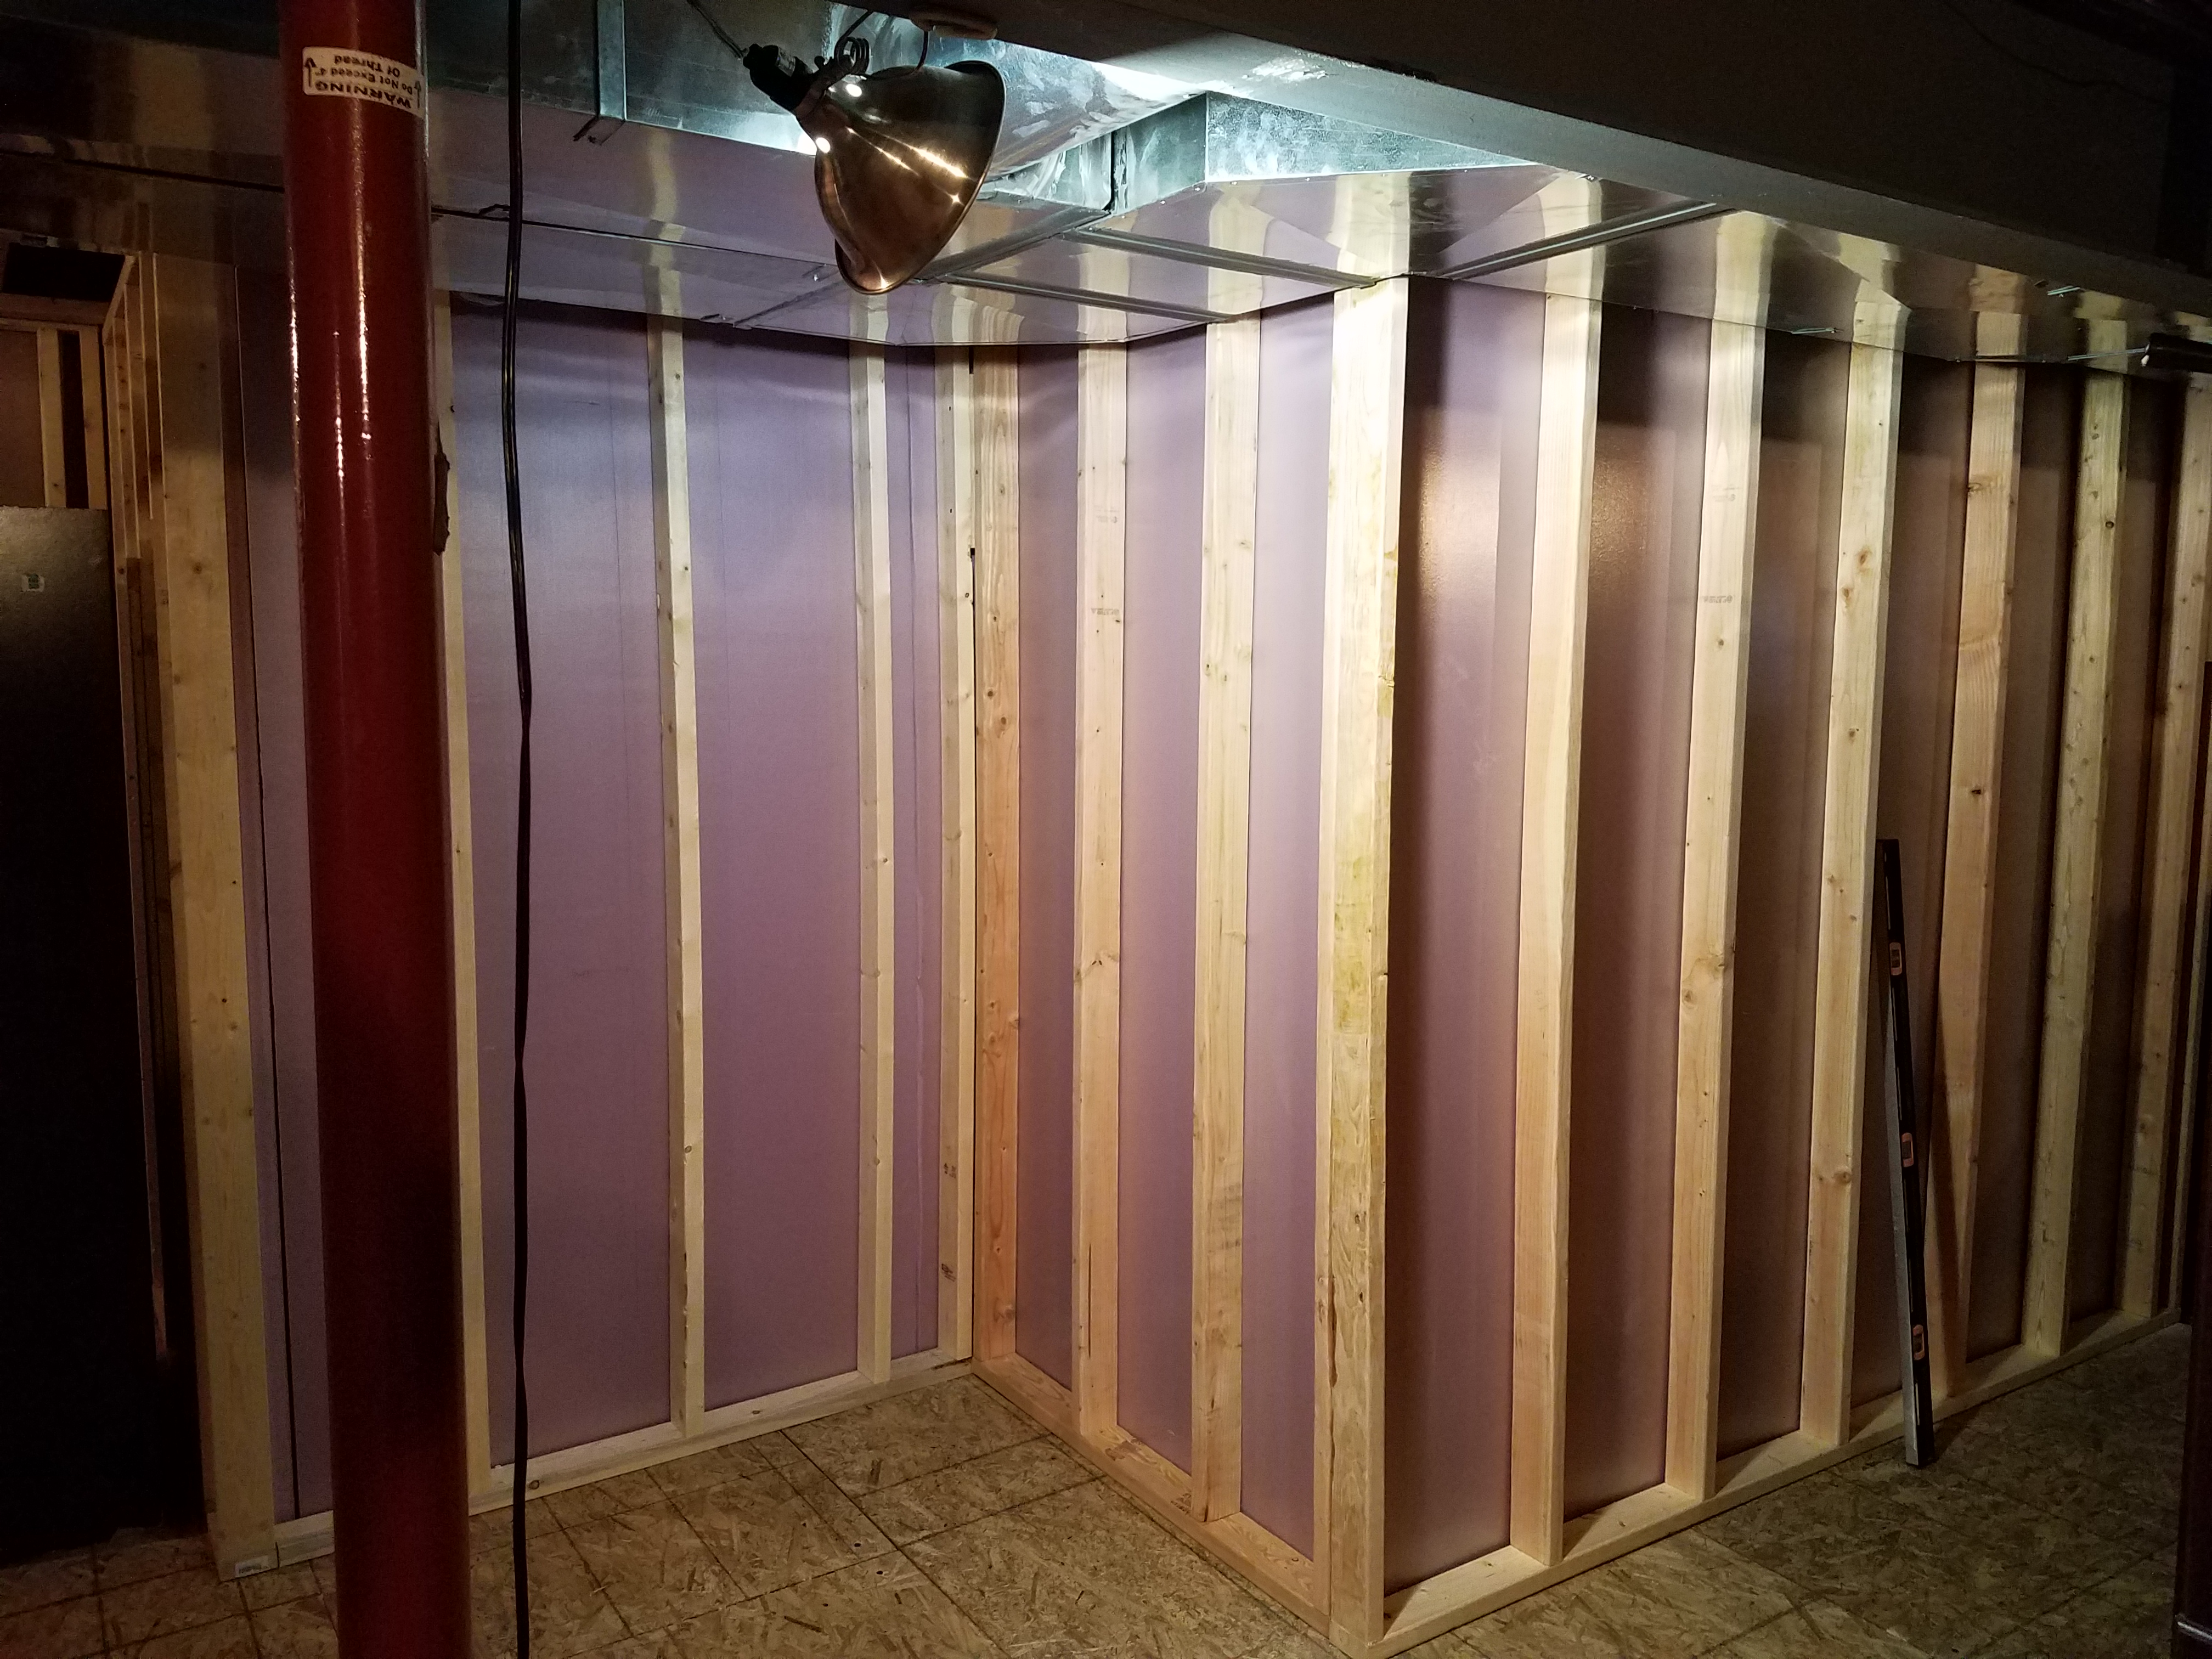
And just today more rigid insulation board has been added to the long wall in preparation for extending that stud wall:
Basement wall construction is continuing, with installation of insulation and two more studwall sections on the long wall:
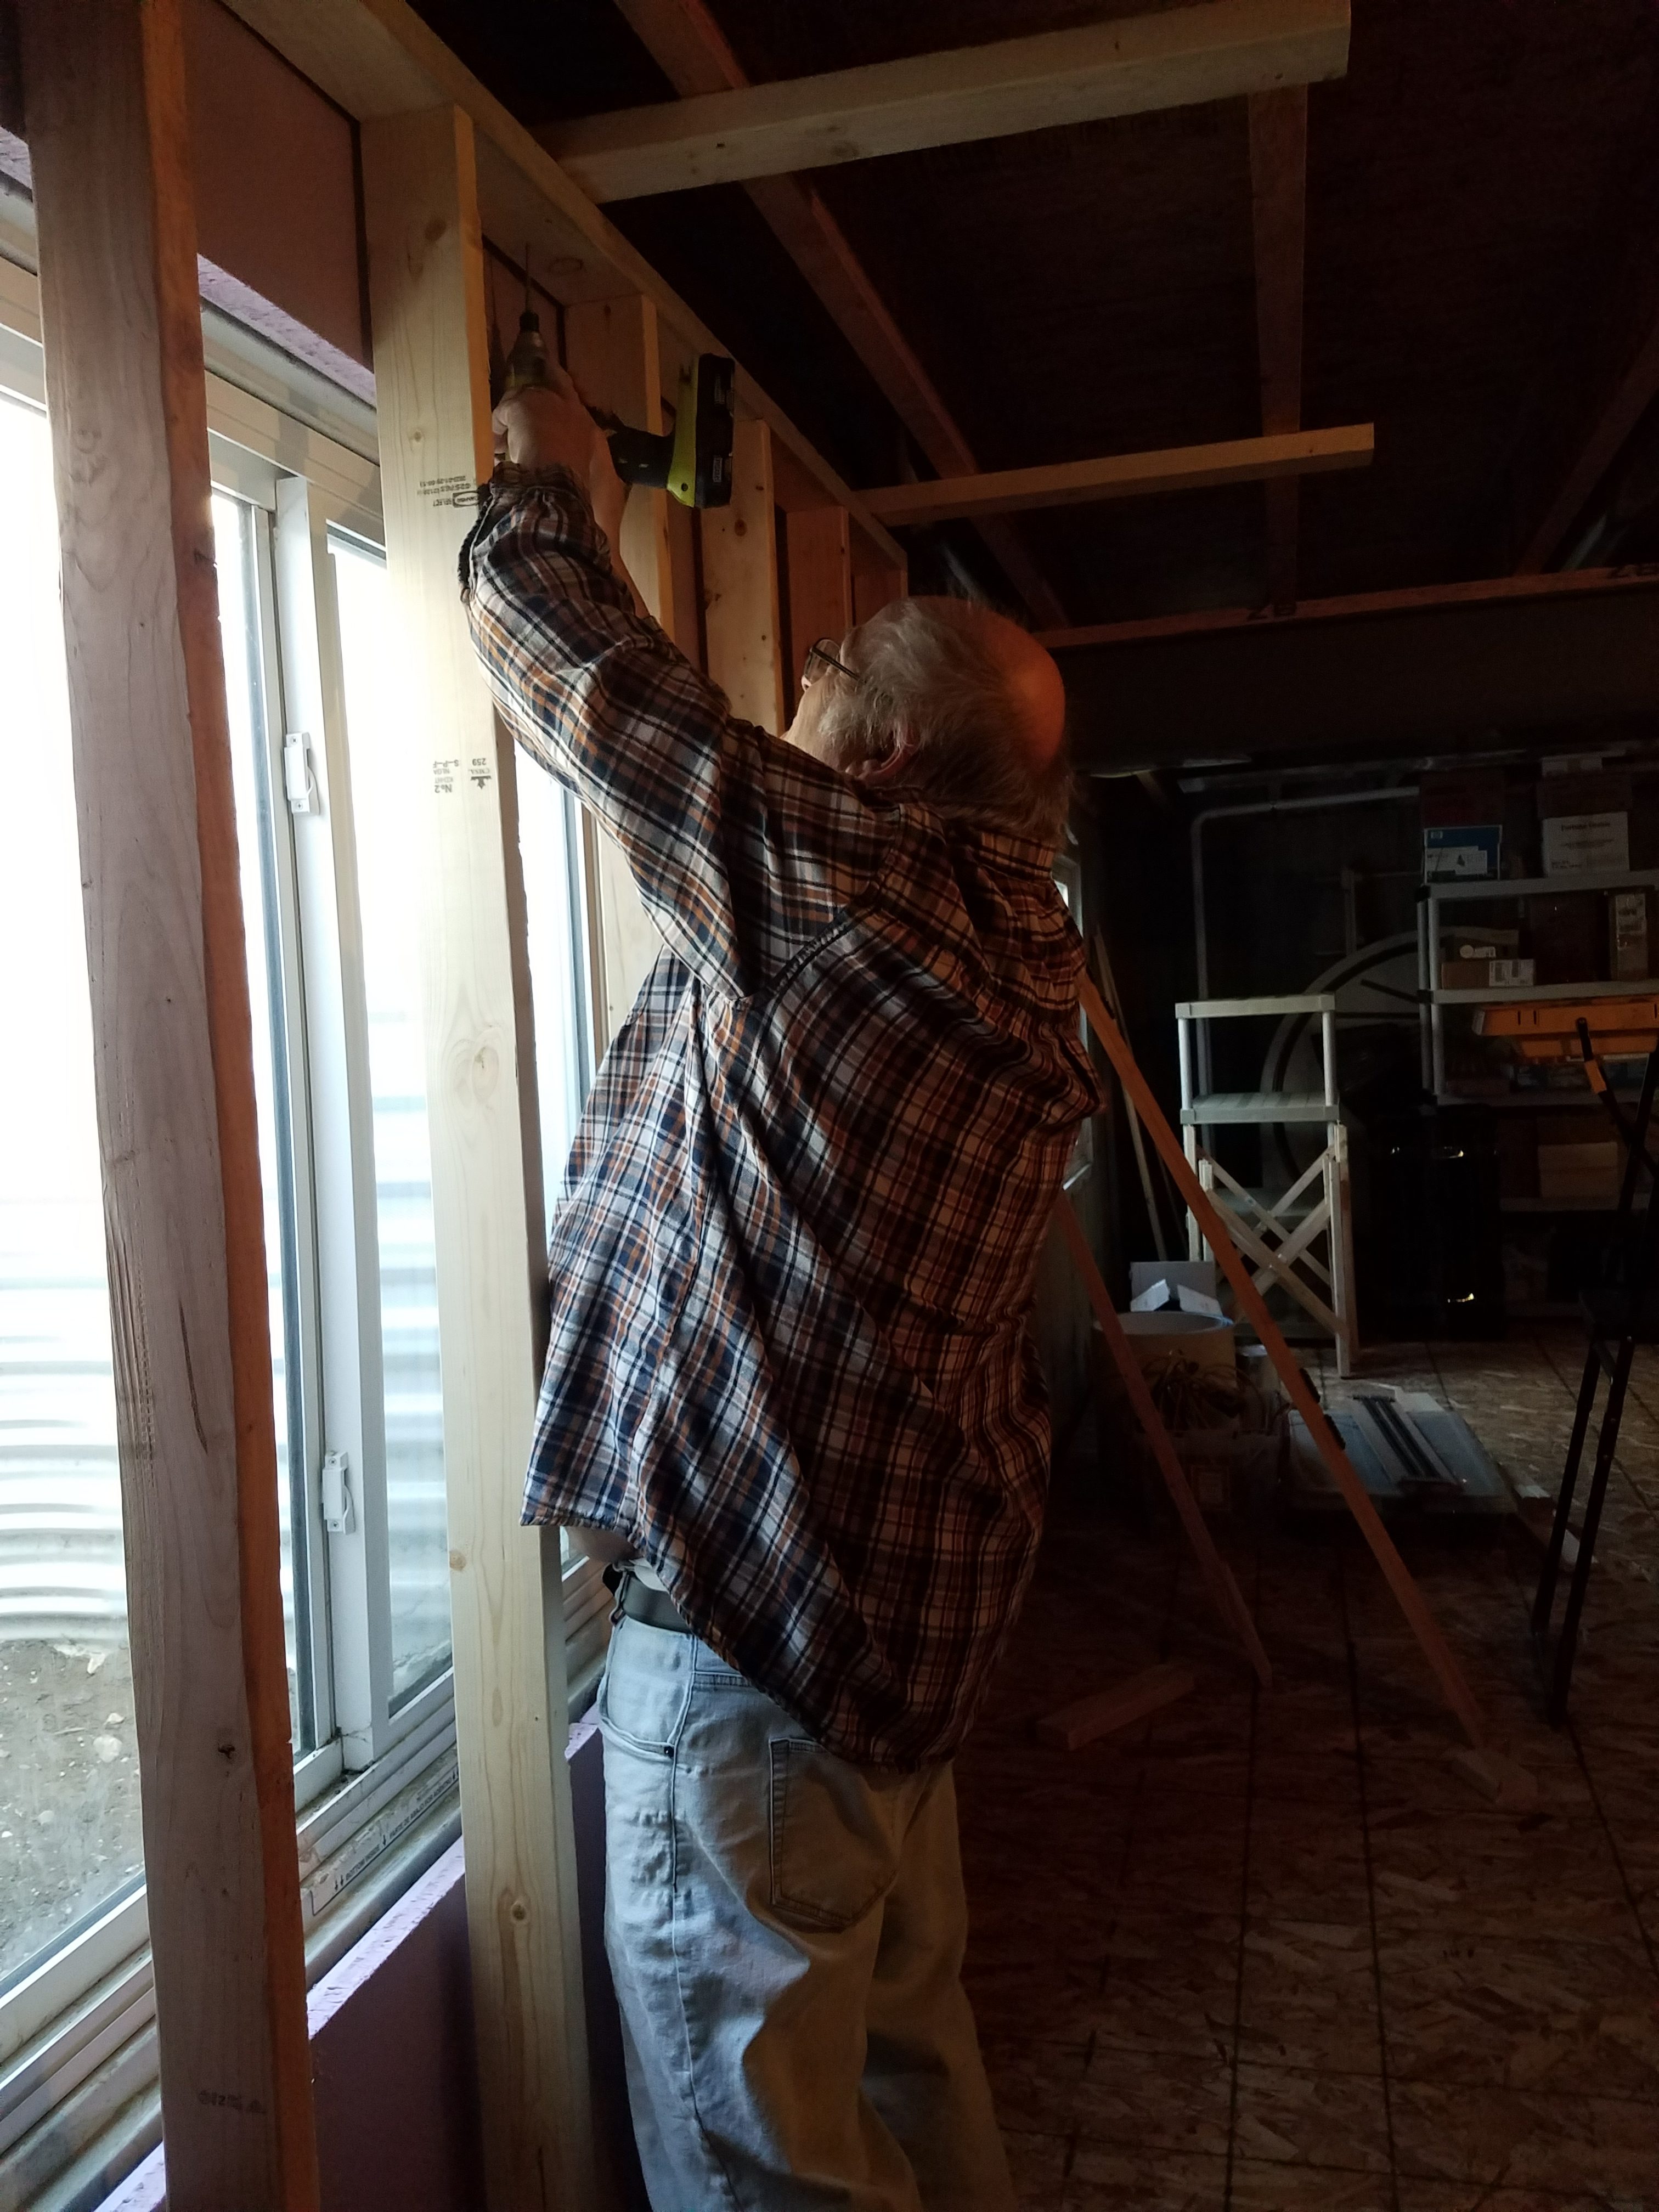

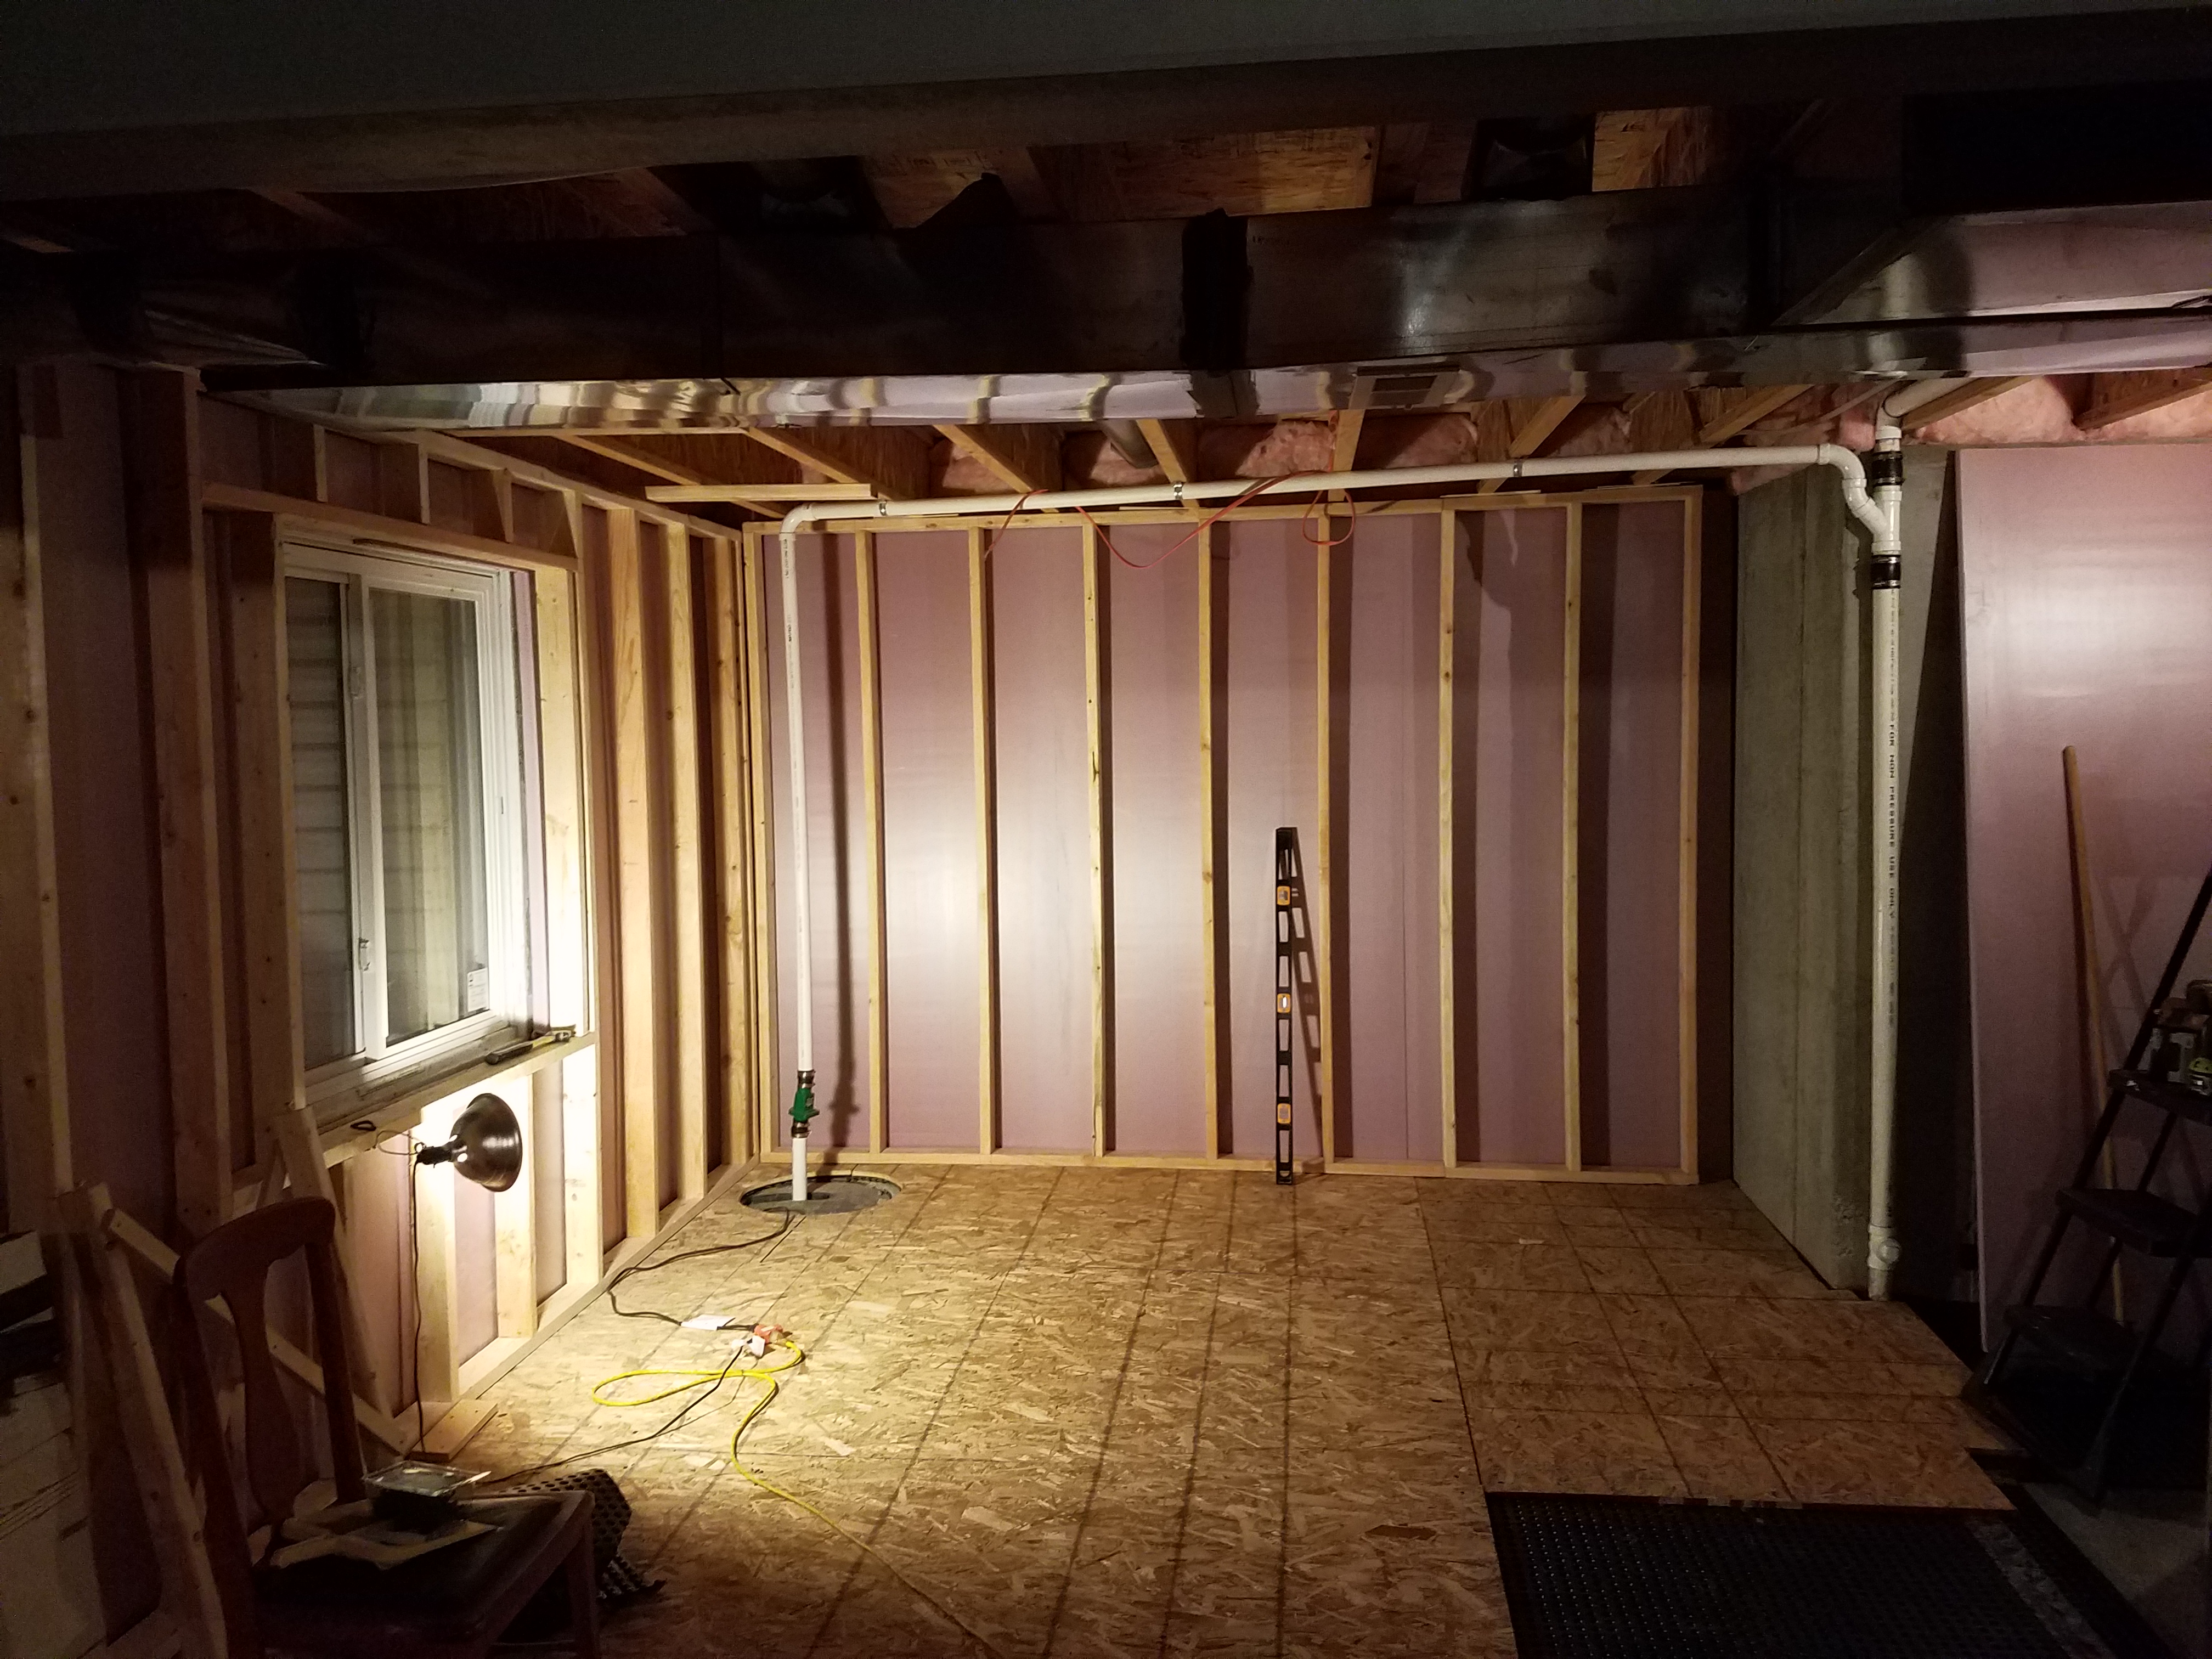
Work has progressed on the long stud wall. The entire wall is in place:

And one of the two windows has been framed out (sorry about the dark photo):
 I ran out of 2X4's, so the other window will have to wait until I have more supplies. Meanwhile, it's back to placing OSB on the floor for awhile. Yay.
I added more OSB to the floor in a couple of locations, then went back to building stud walls. Here the insulation board is in for the far end wall from the long wall:
And yesterday I added the stud wall itself:
And today I finished the train room subfloor!
 I have 25 feet or so of studwall to finish, then it's on to electrical!
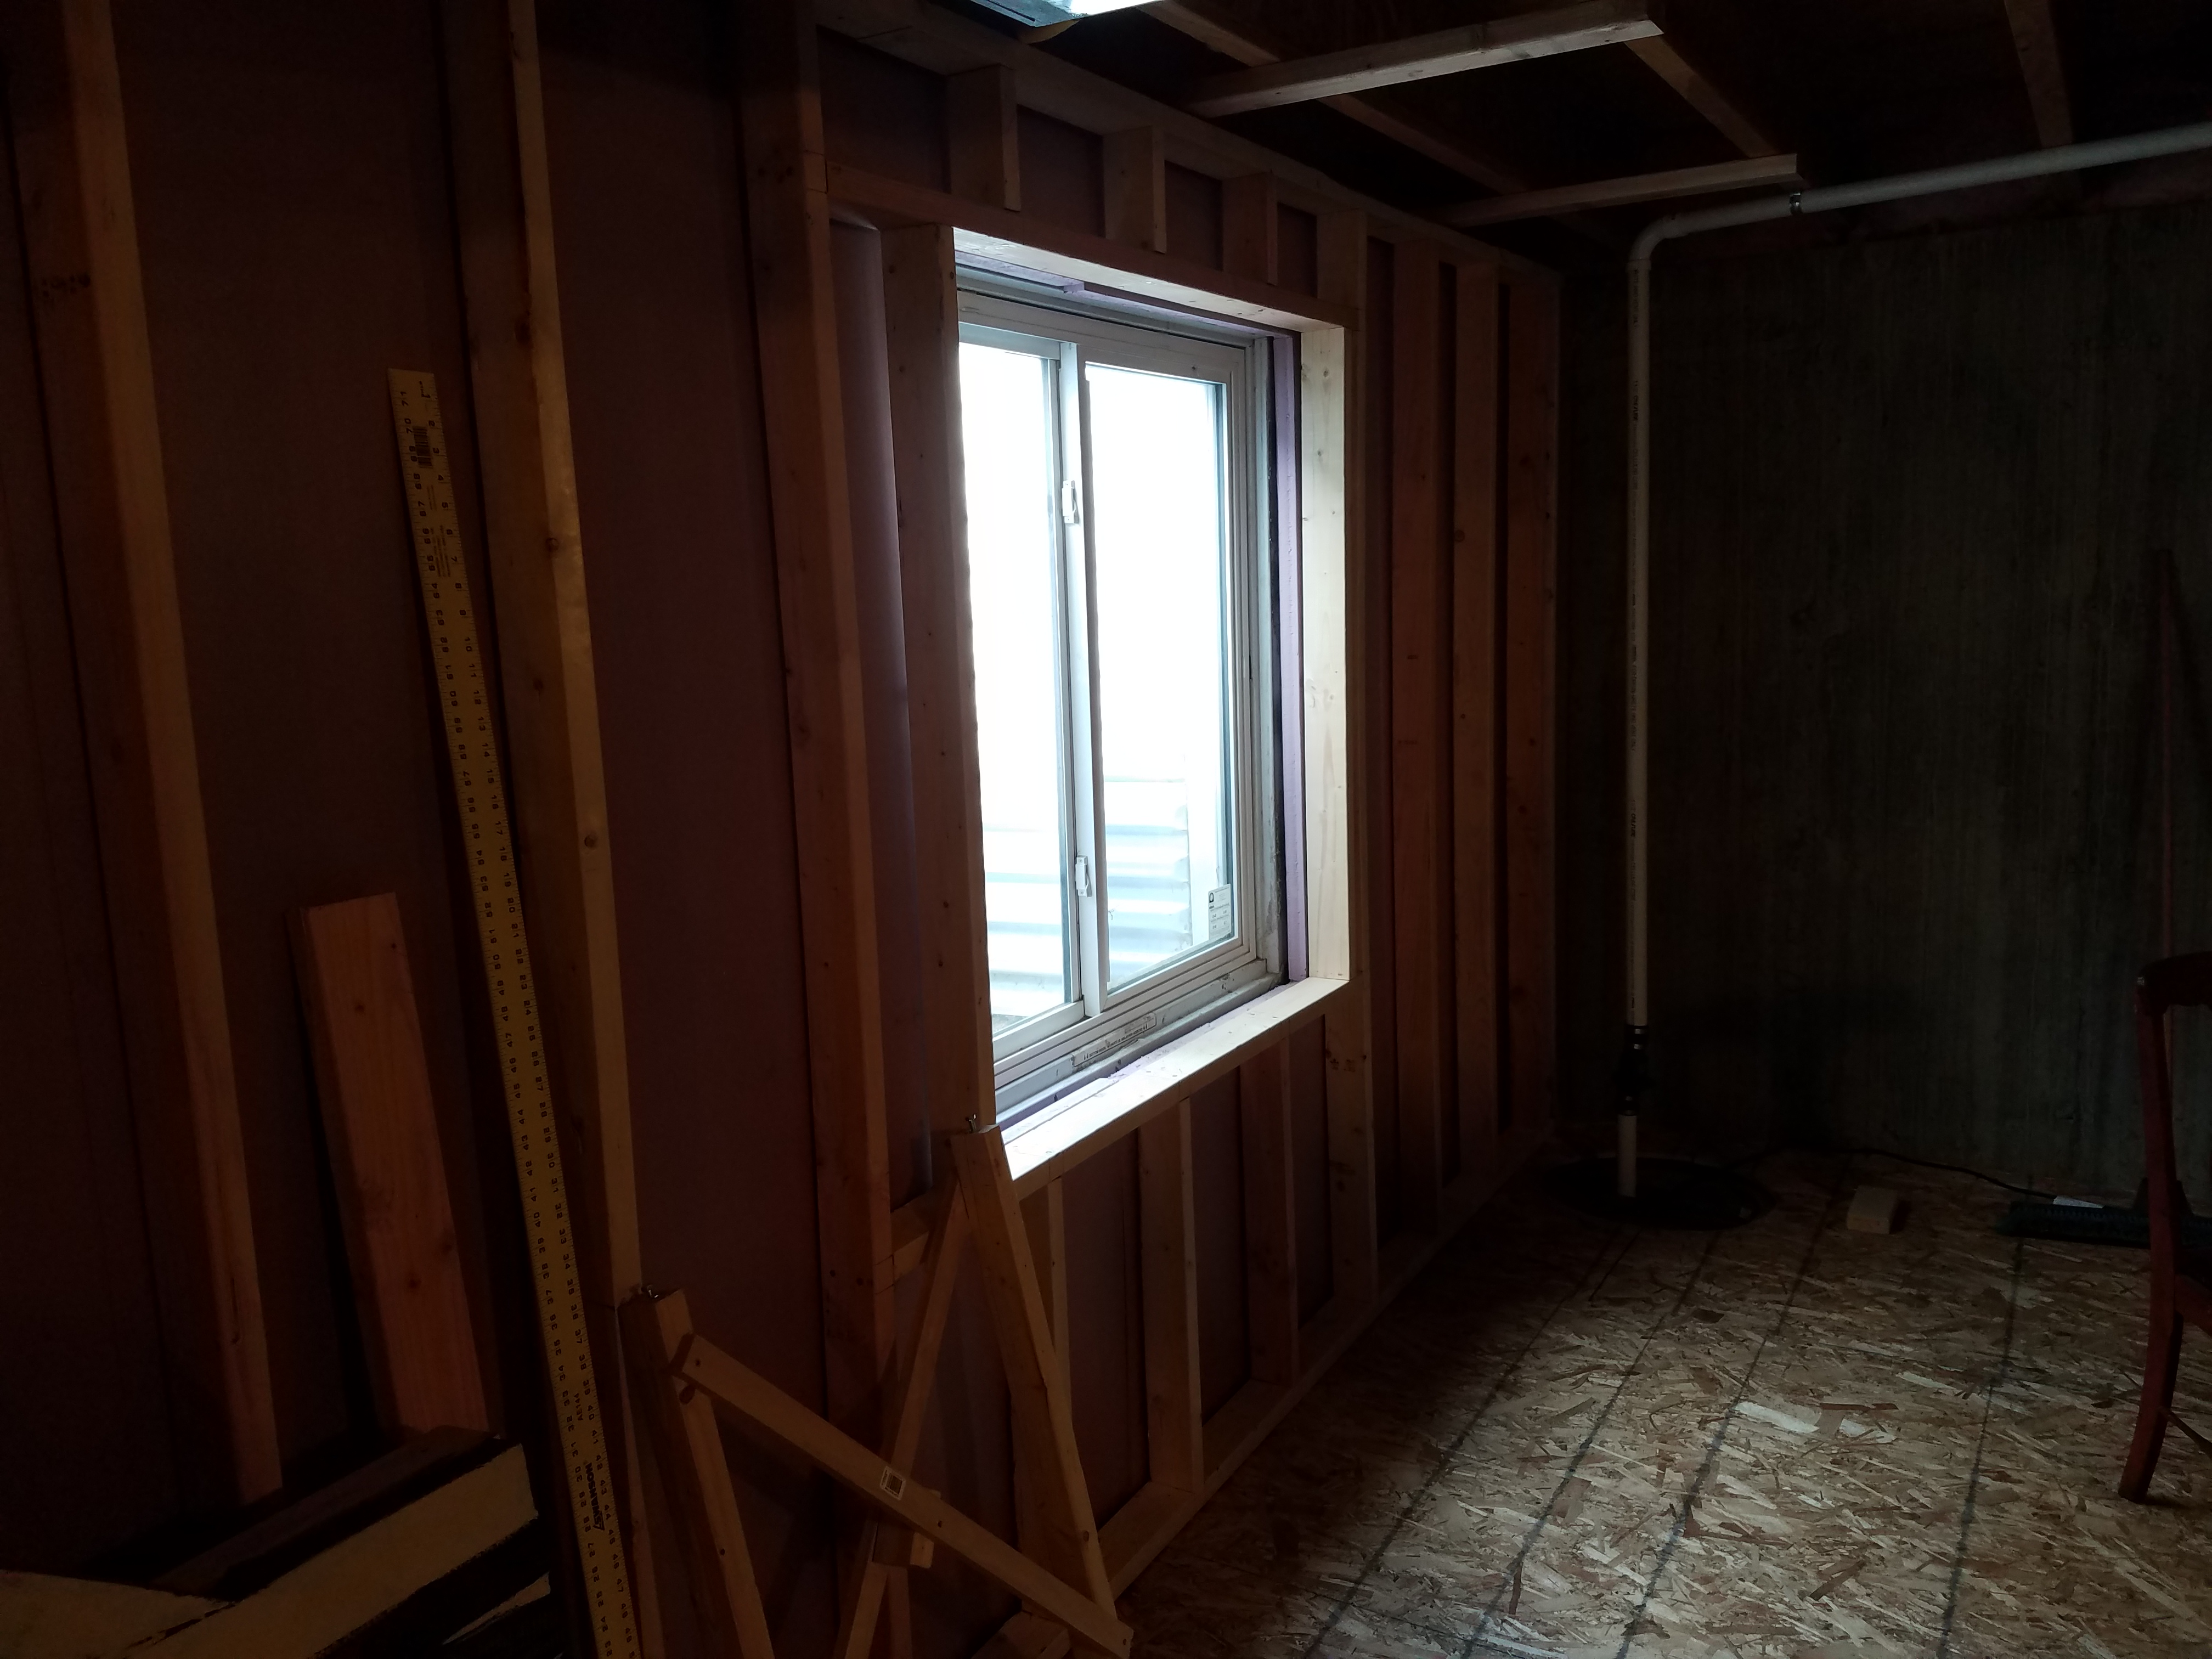
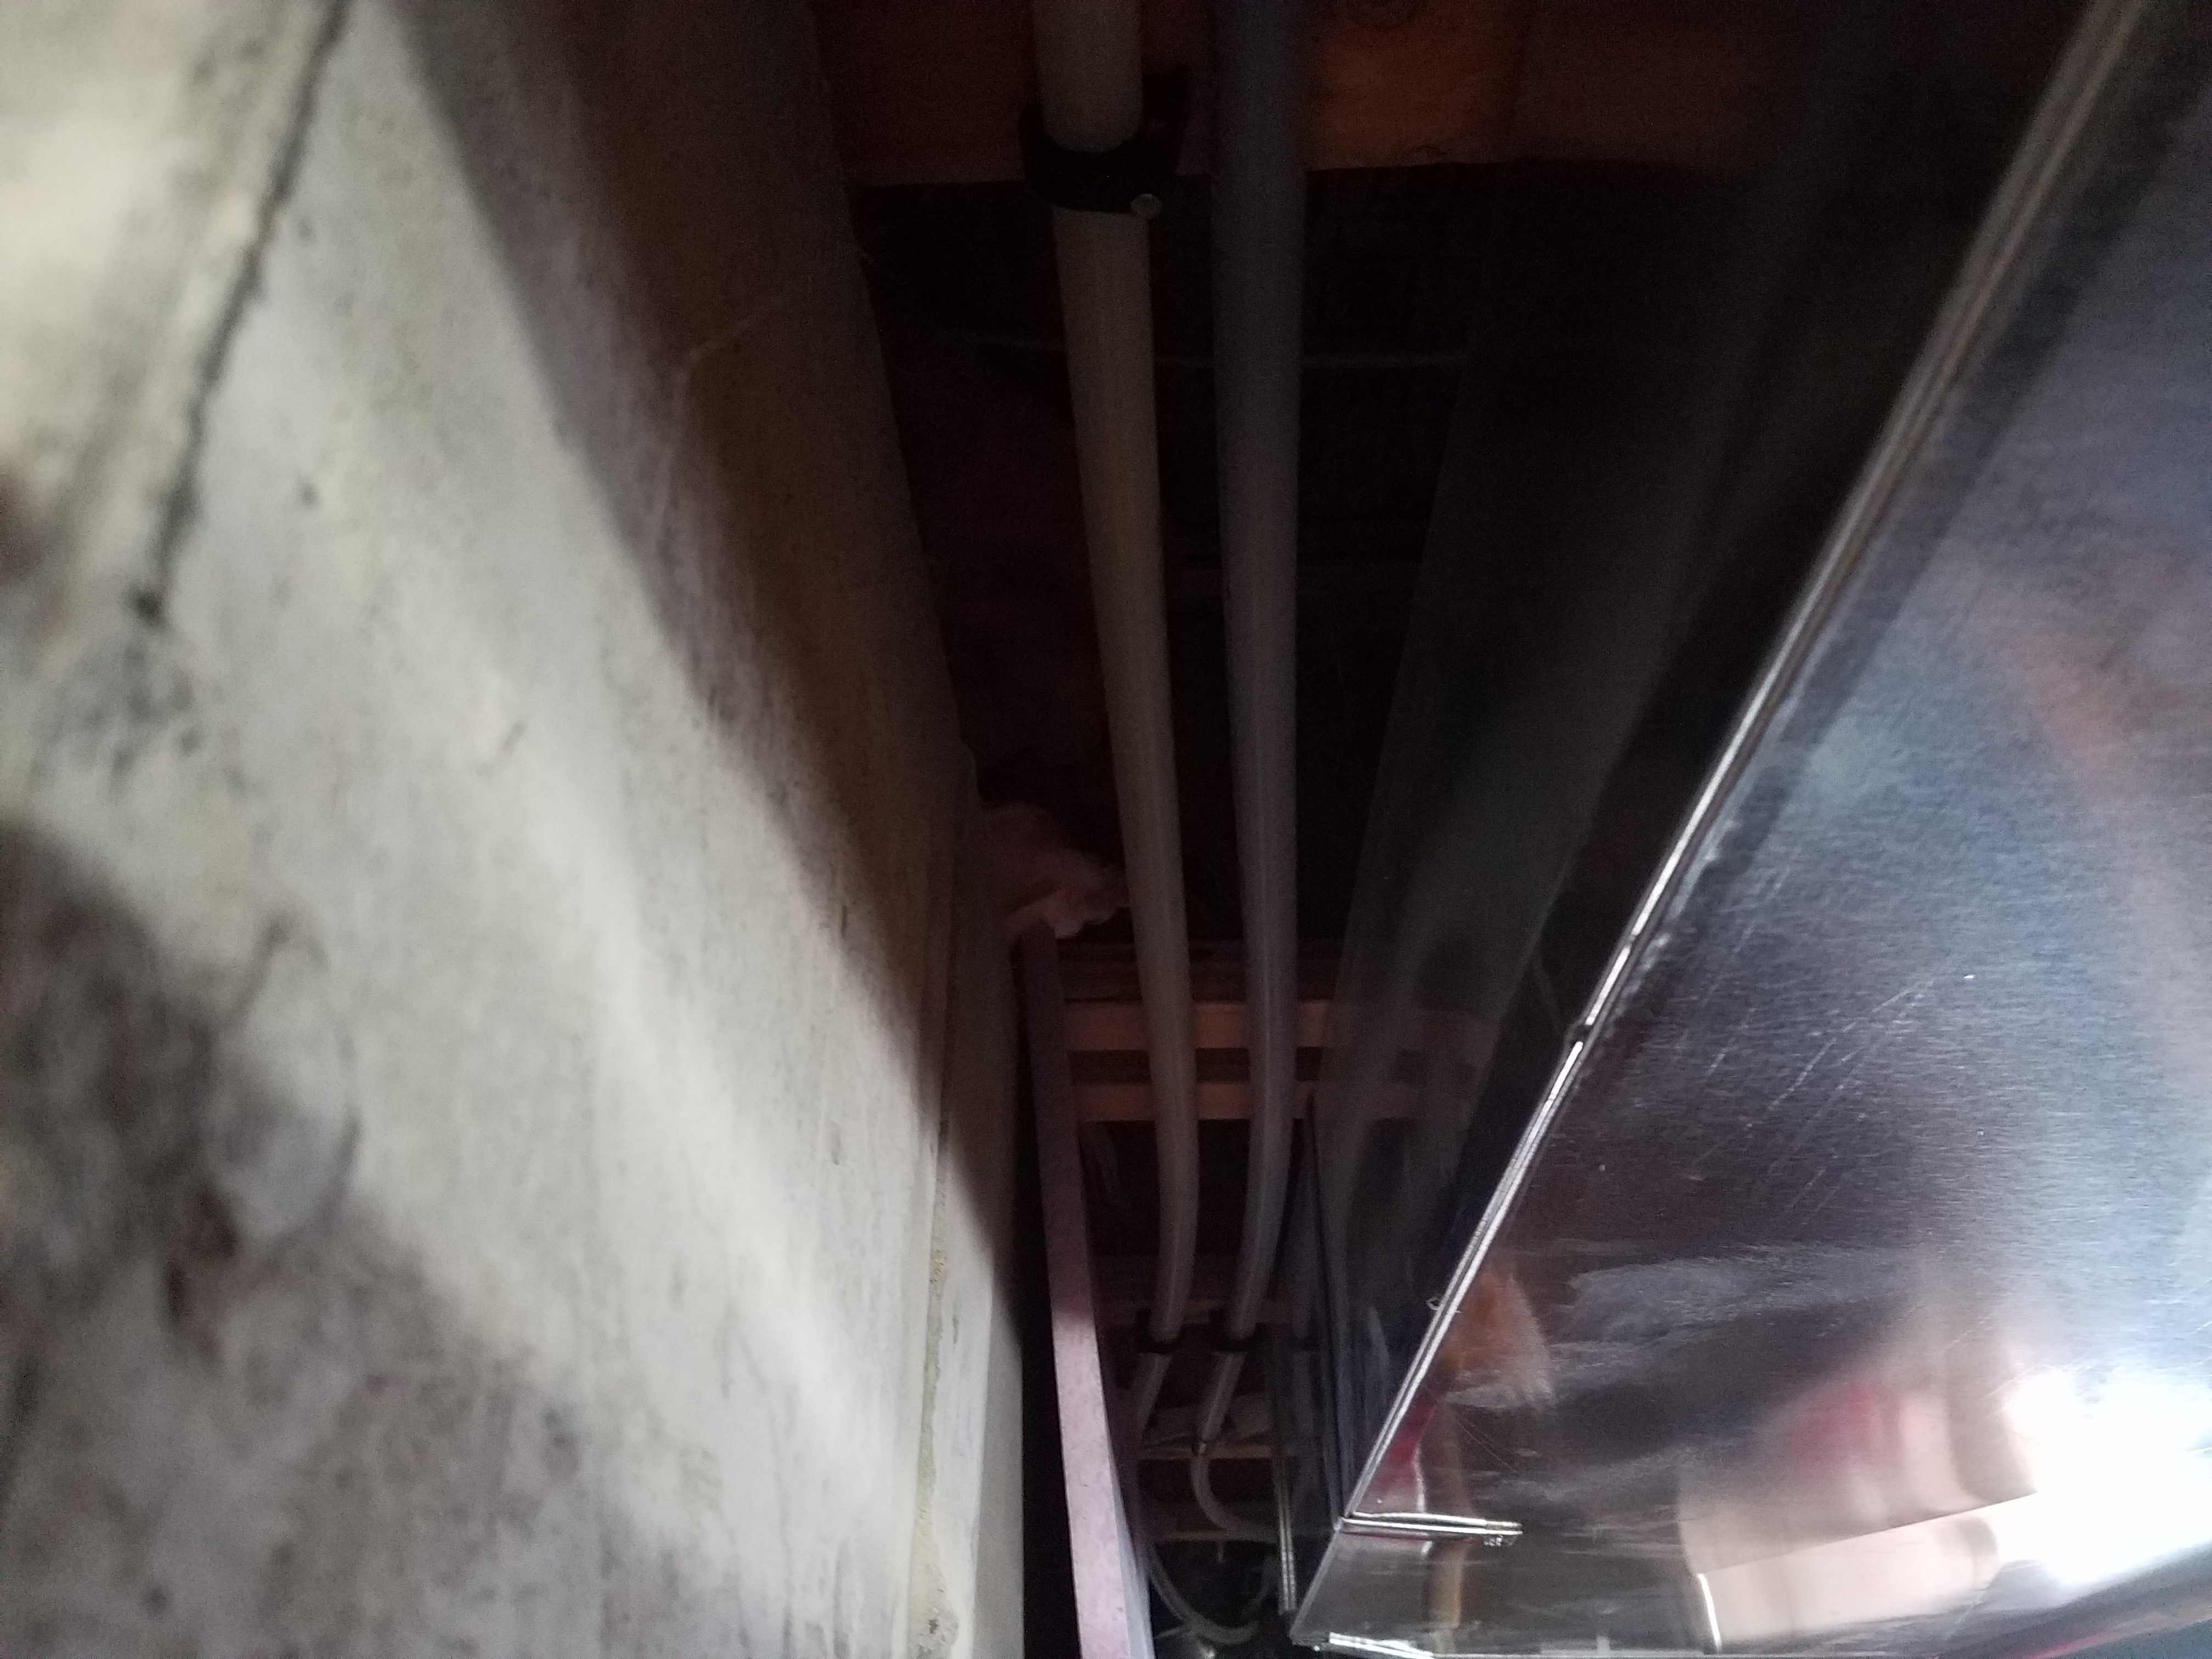
On the wall behind the stairs I had a couple of complications. The heating duct runs below the joists about 5" in front of the concrete wall. Water pipes are also attached to the bottom of the joists between the heating duct and the wall. Here's what that area looked like:
That meant I couldn't simply attach the wall top plate to the joists as I did elsewhere. So what I did was build a couple of narrow spacers out of 1X2 red oak and install them on the joists:
 These spacers provided clearance for the water lines. It was then an easy task to attach the stud wall to the spacers.
And this four foot long wall in the center of the shot was the final wall to go up:
Tomorrow I can start electrical rough-ins. Except for lighting, it shouldn't take more than a week to complete, since it's just outlet boxes, wire, and switch boxes.
Right after the stud walls were finished, I spent a few days and finished rough wiring all the electrical outlets in the train room. Here's a couple of shots:
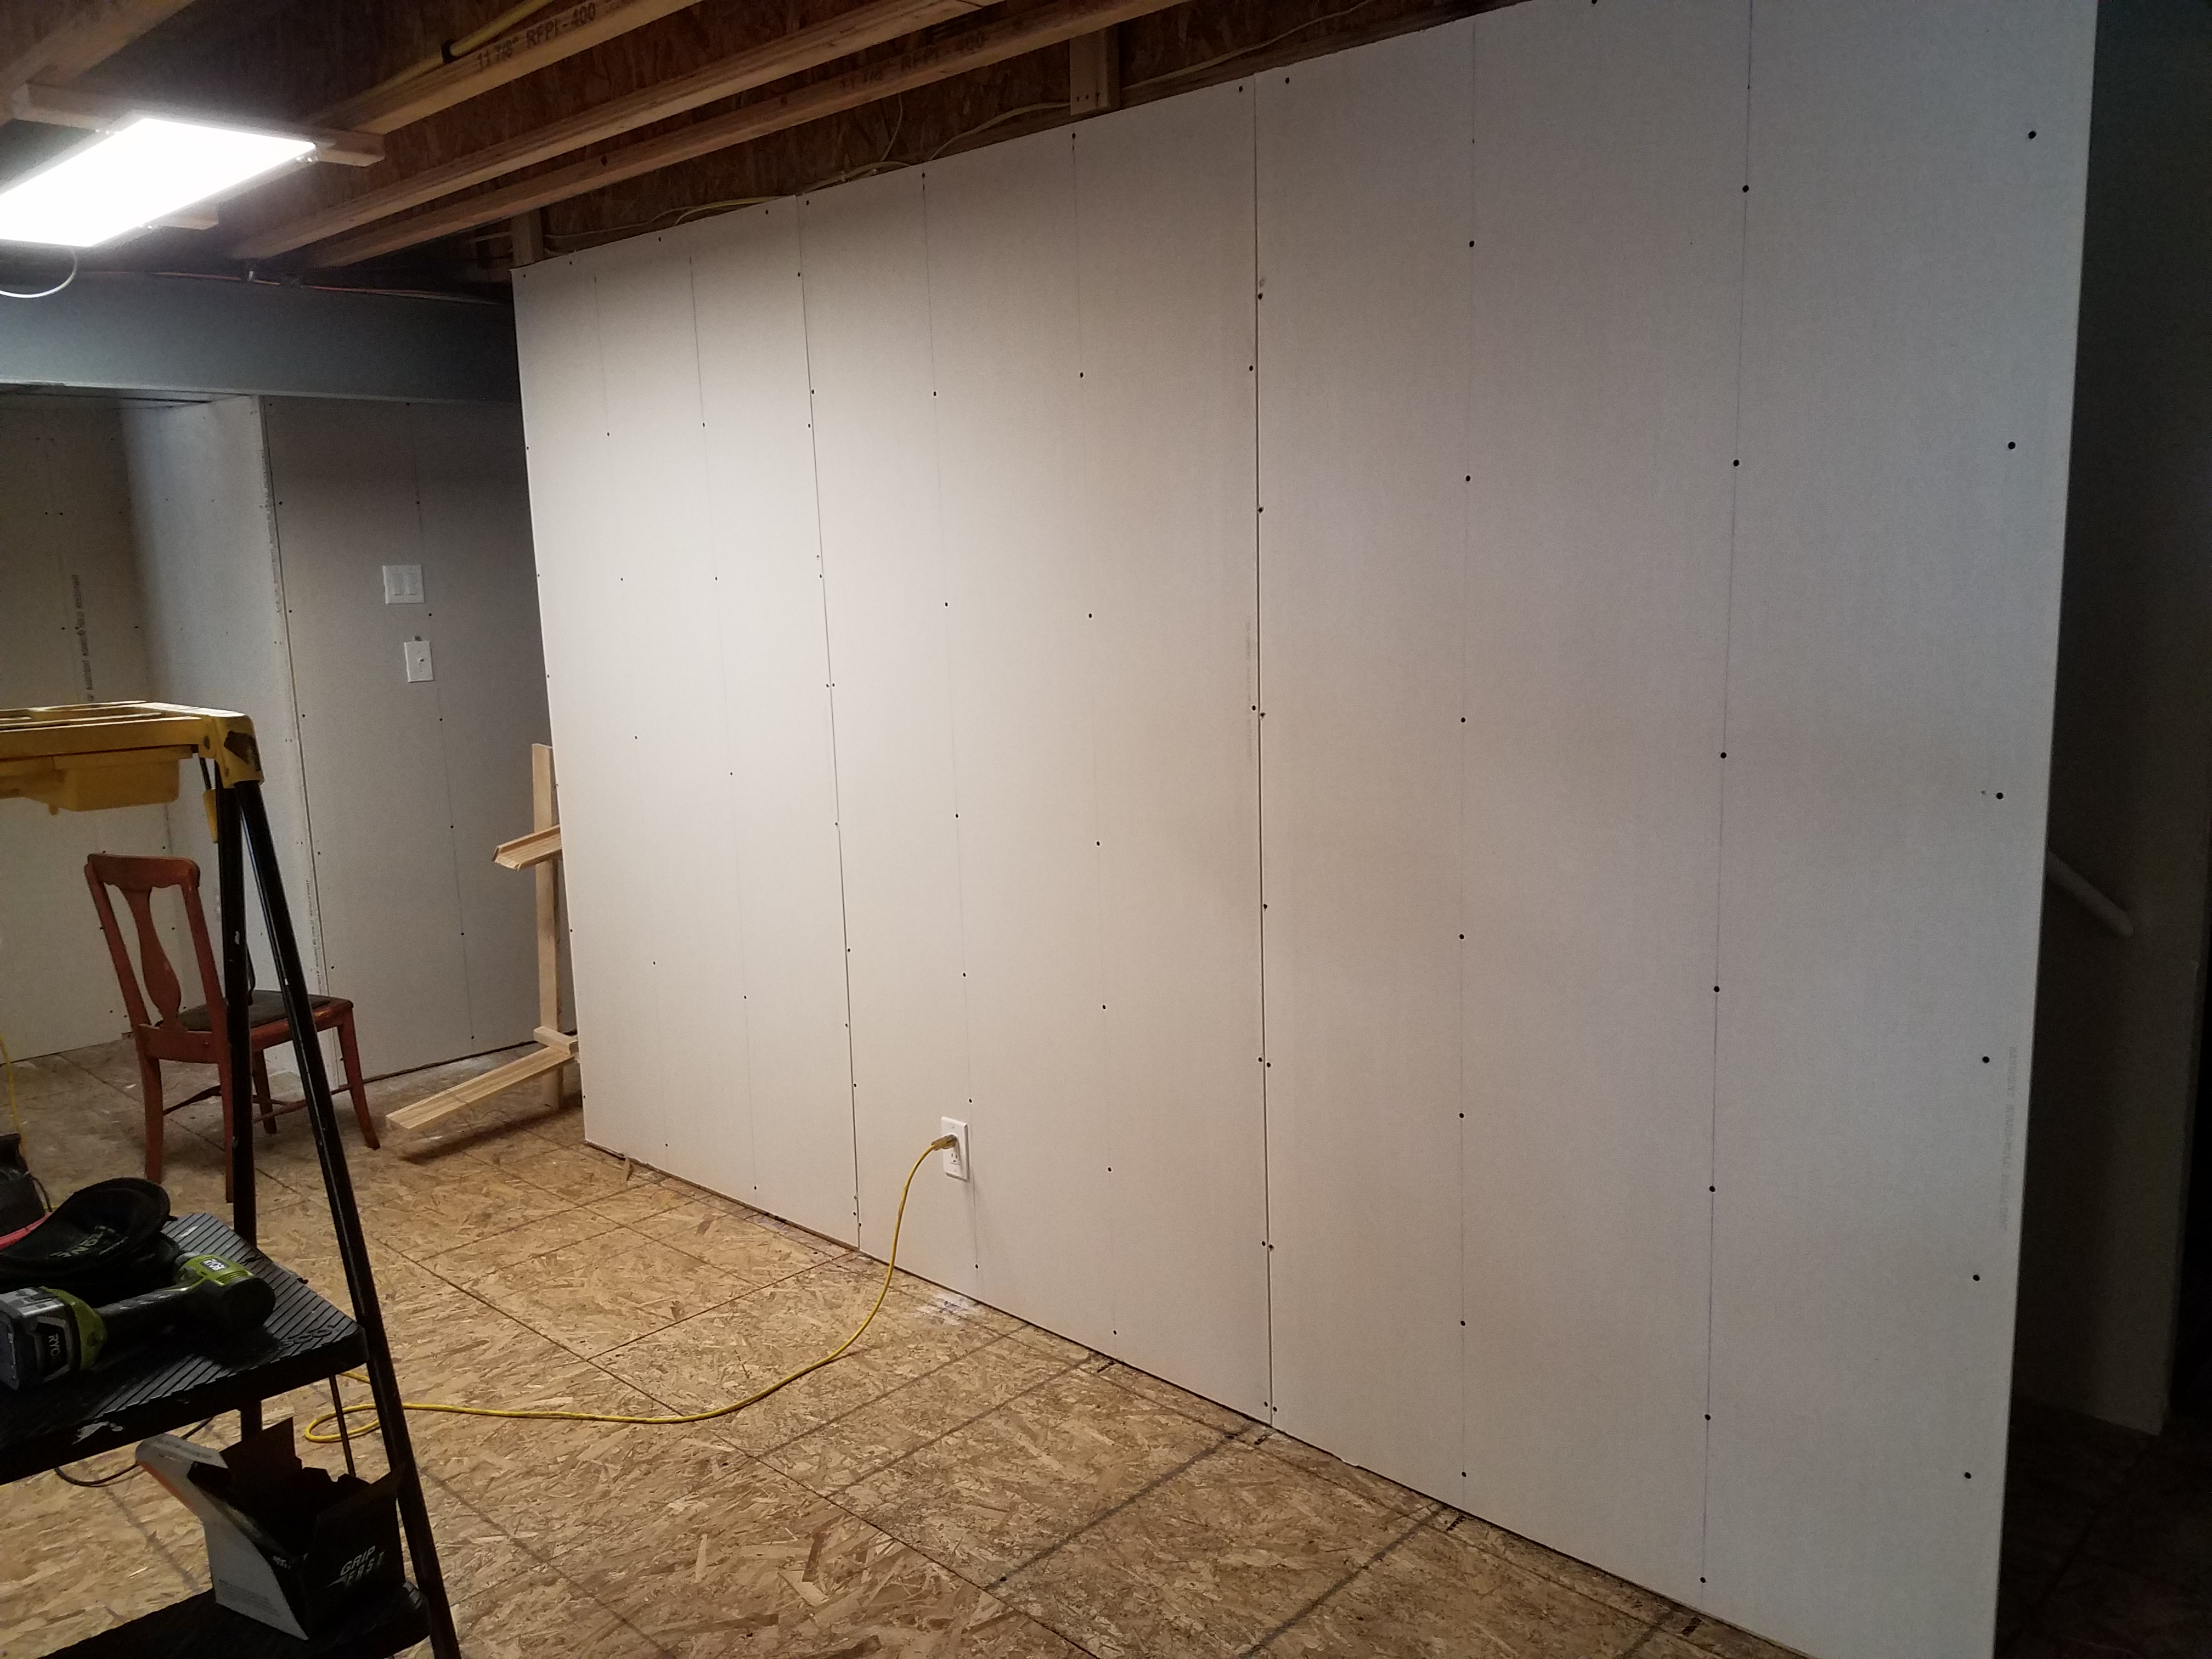
Then on April 30 we started sheetrocking:
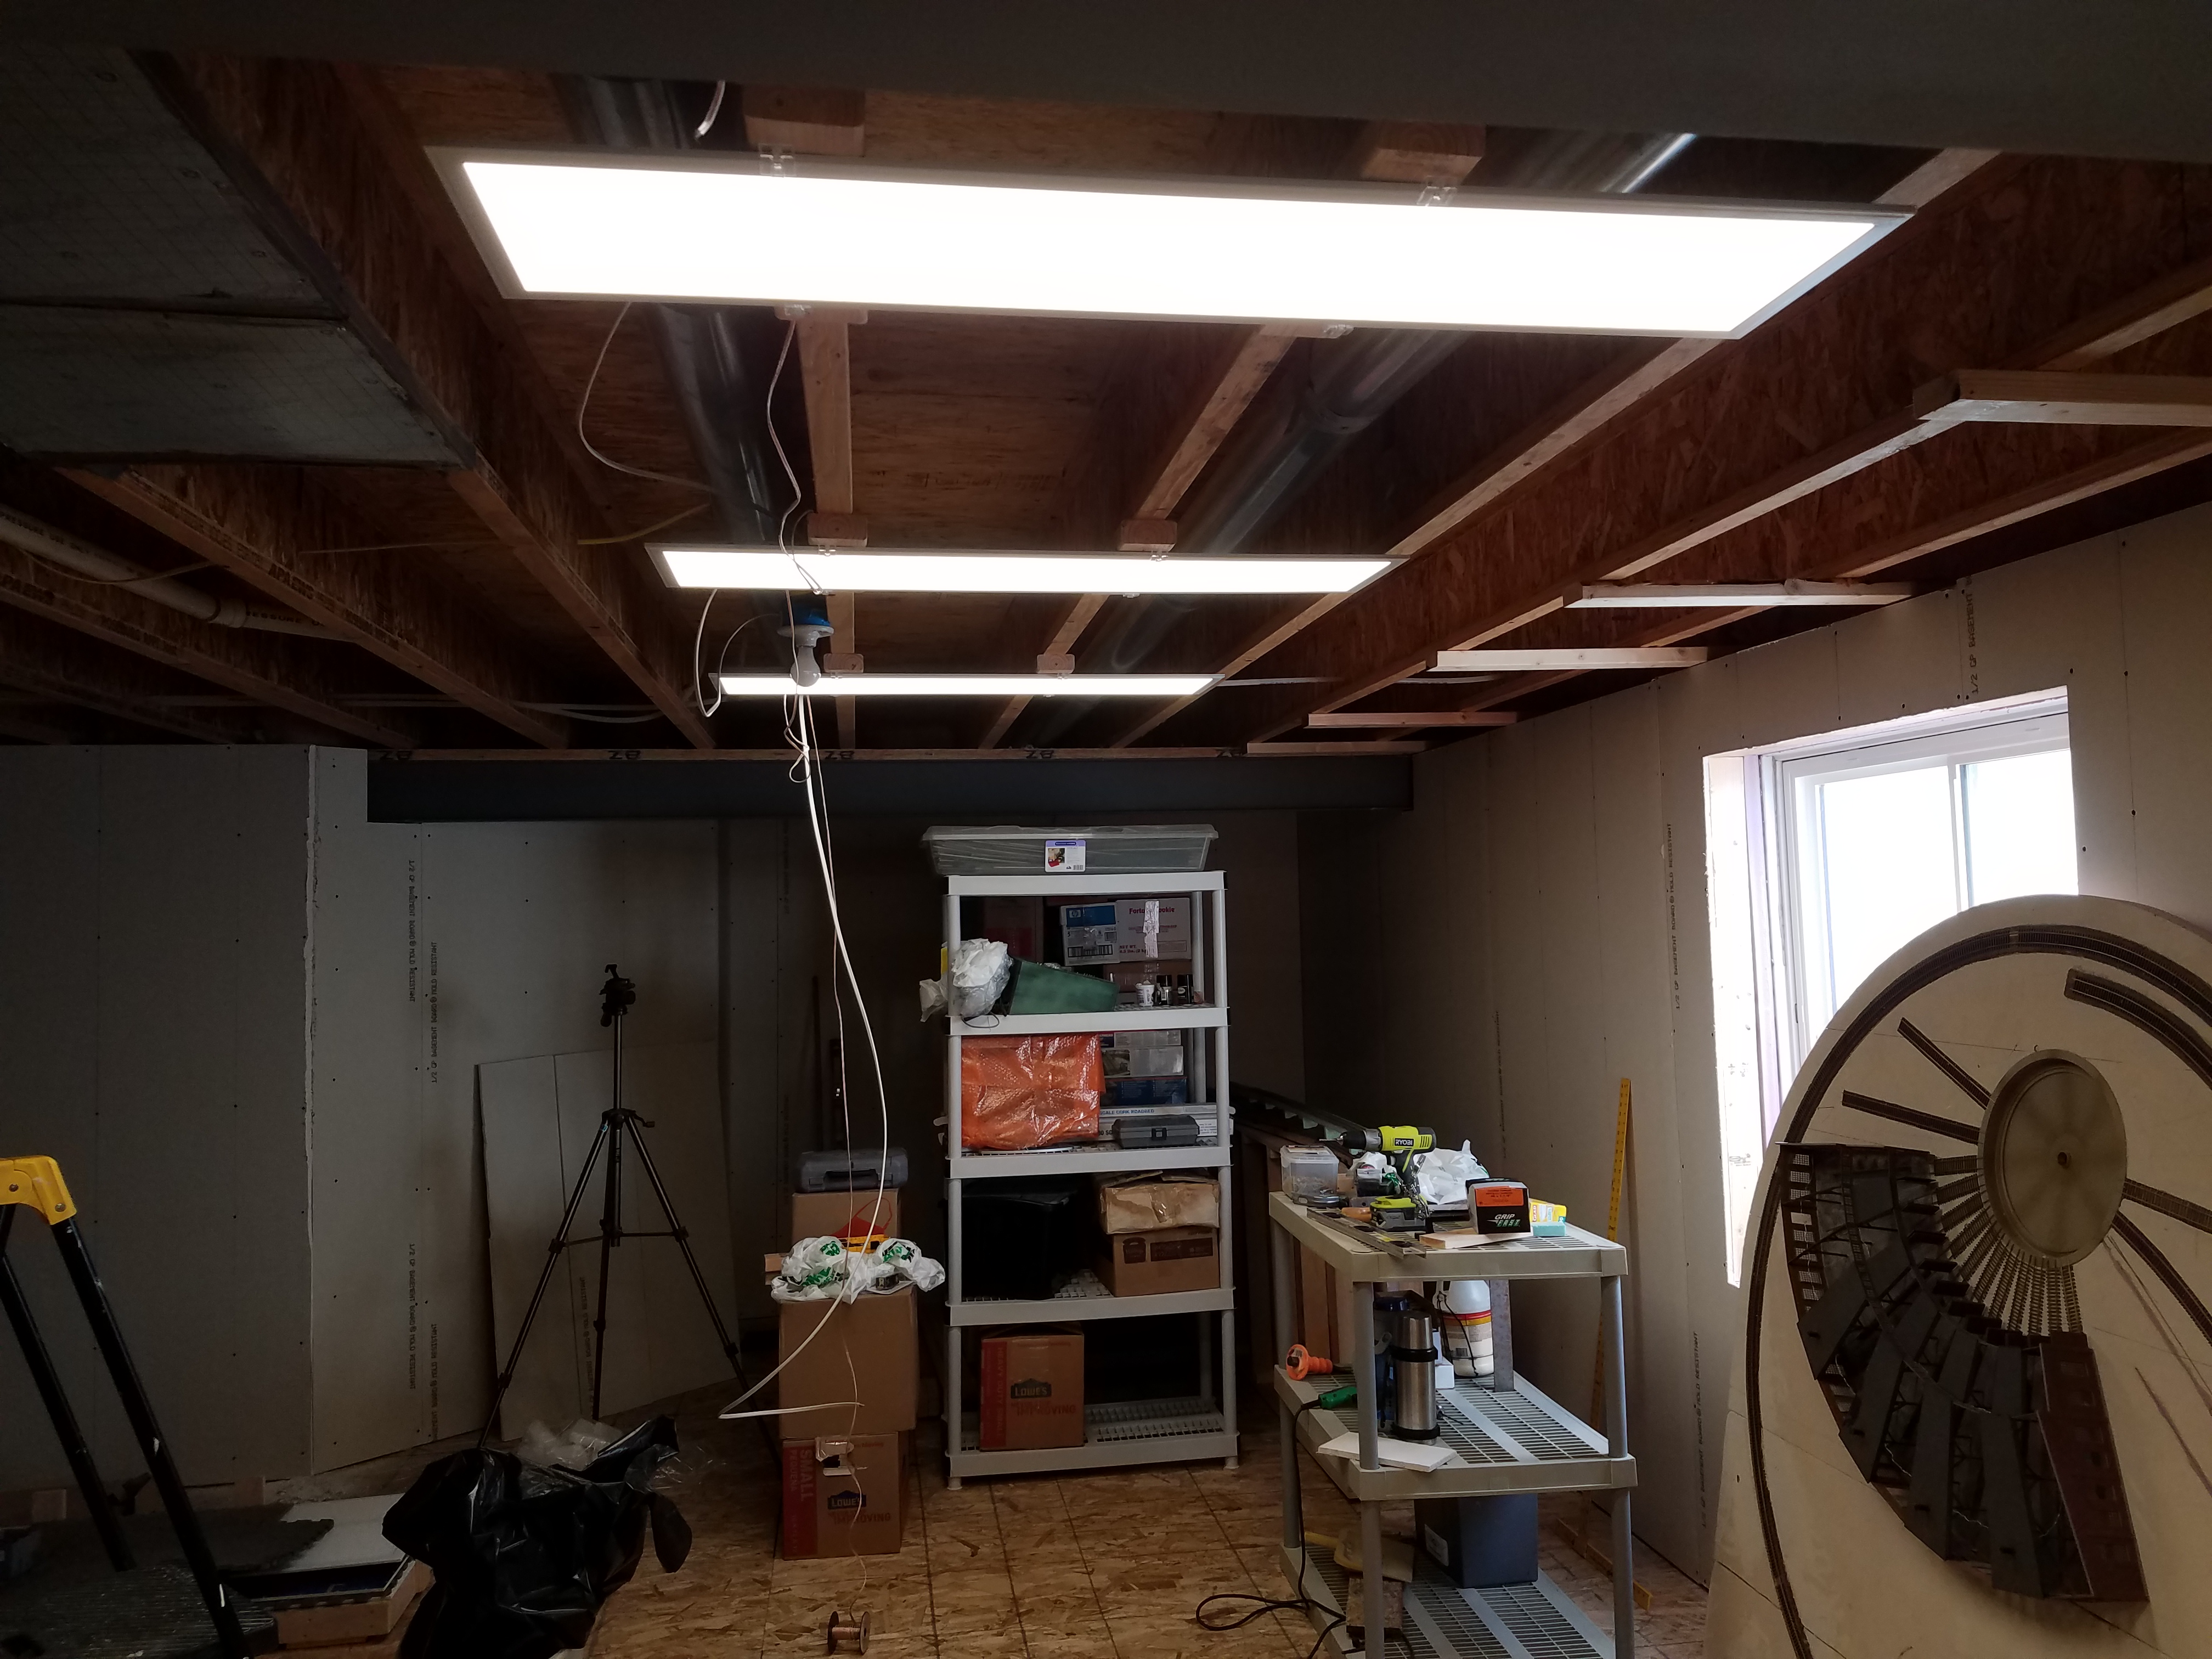
As of yesterday, 10 May, nearly all of the train room drywall is up. Today I started hanging and powering train room lights:
This week I focused on installation of lights in the train room. I'm not quite half done, but it's looking good! Here's a few shots.

Here's a lights off / lights on comparison. Even though I have a lot left to go, it makes a big difference even during the day.
Lighting work continues.
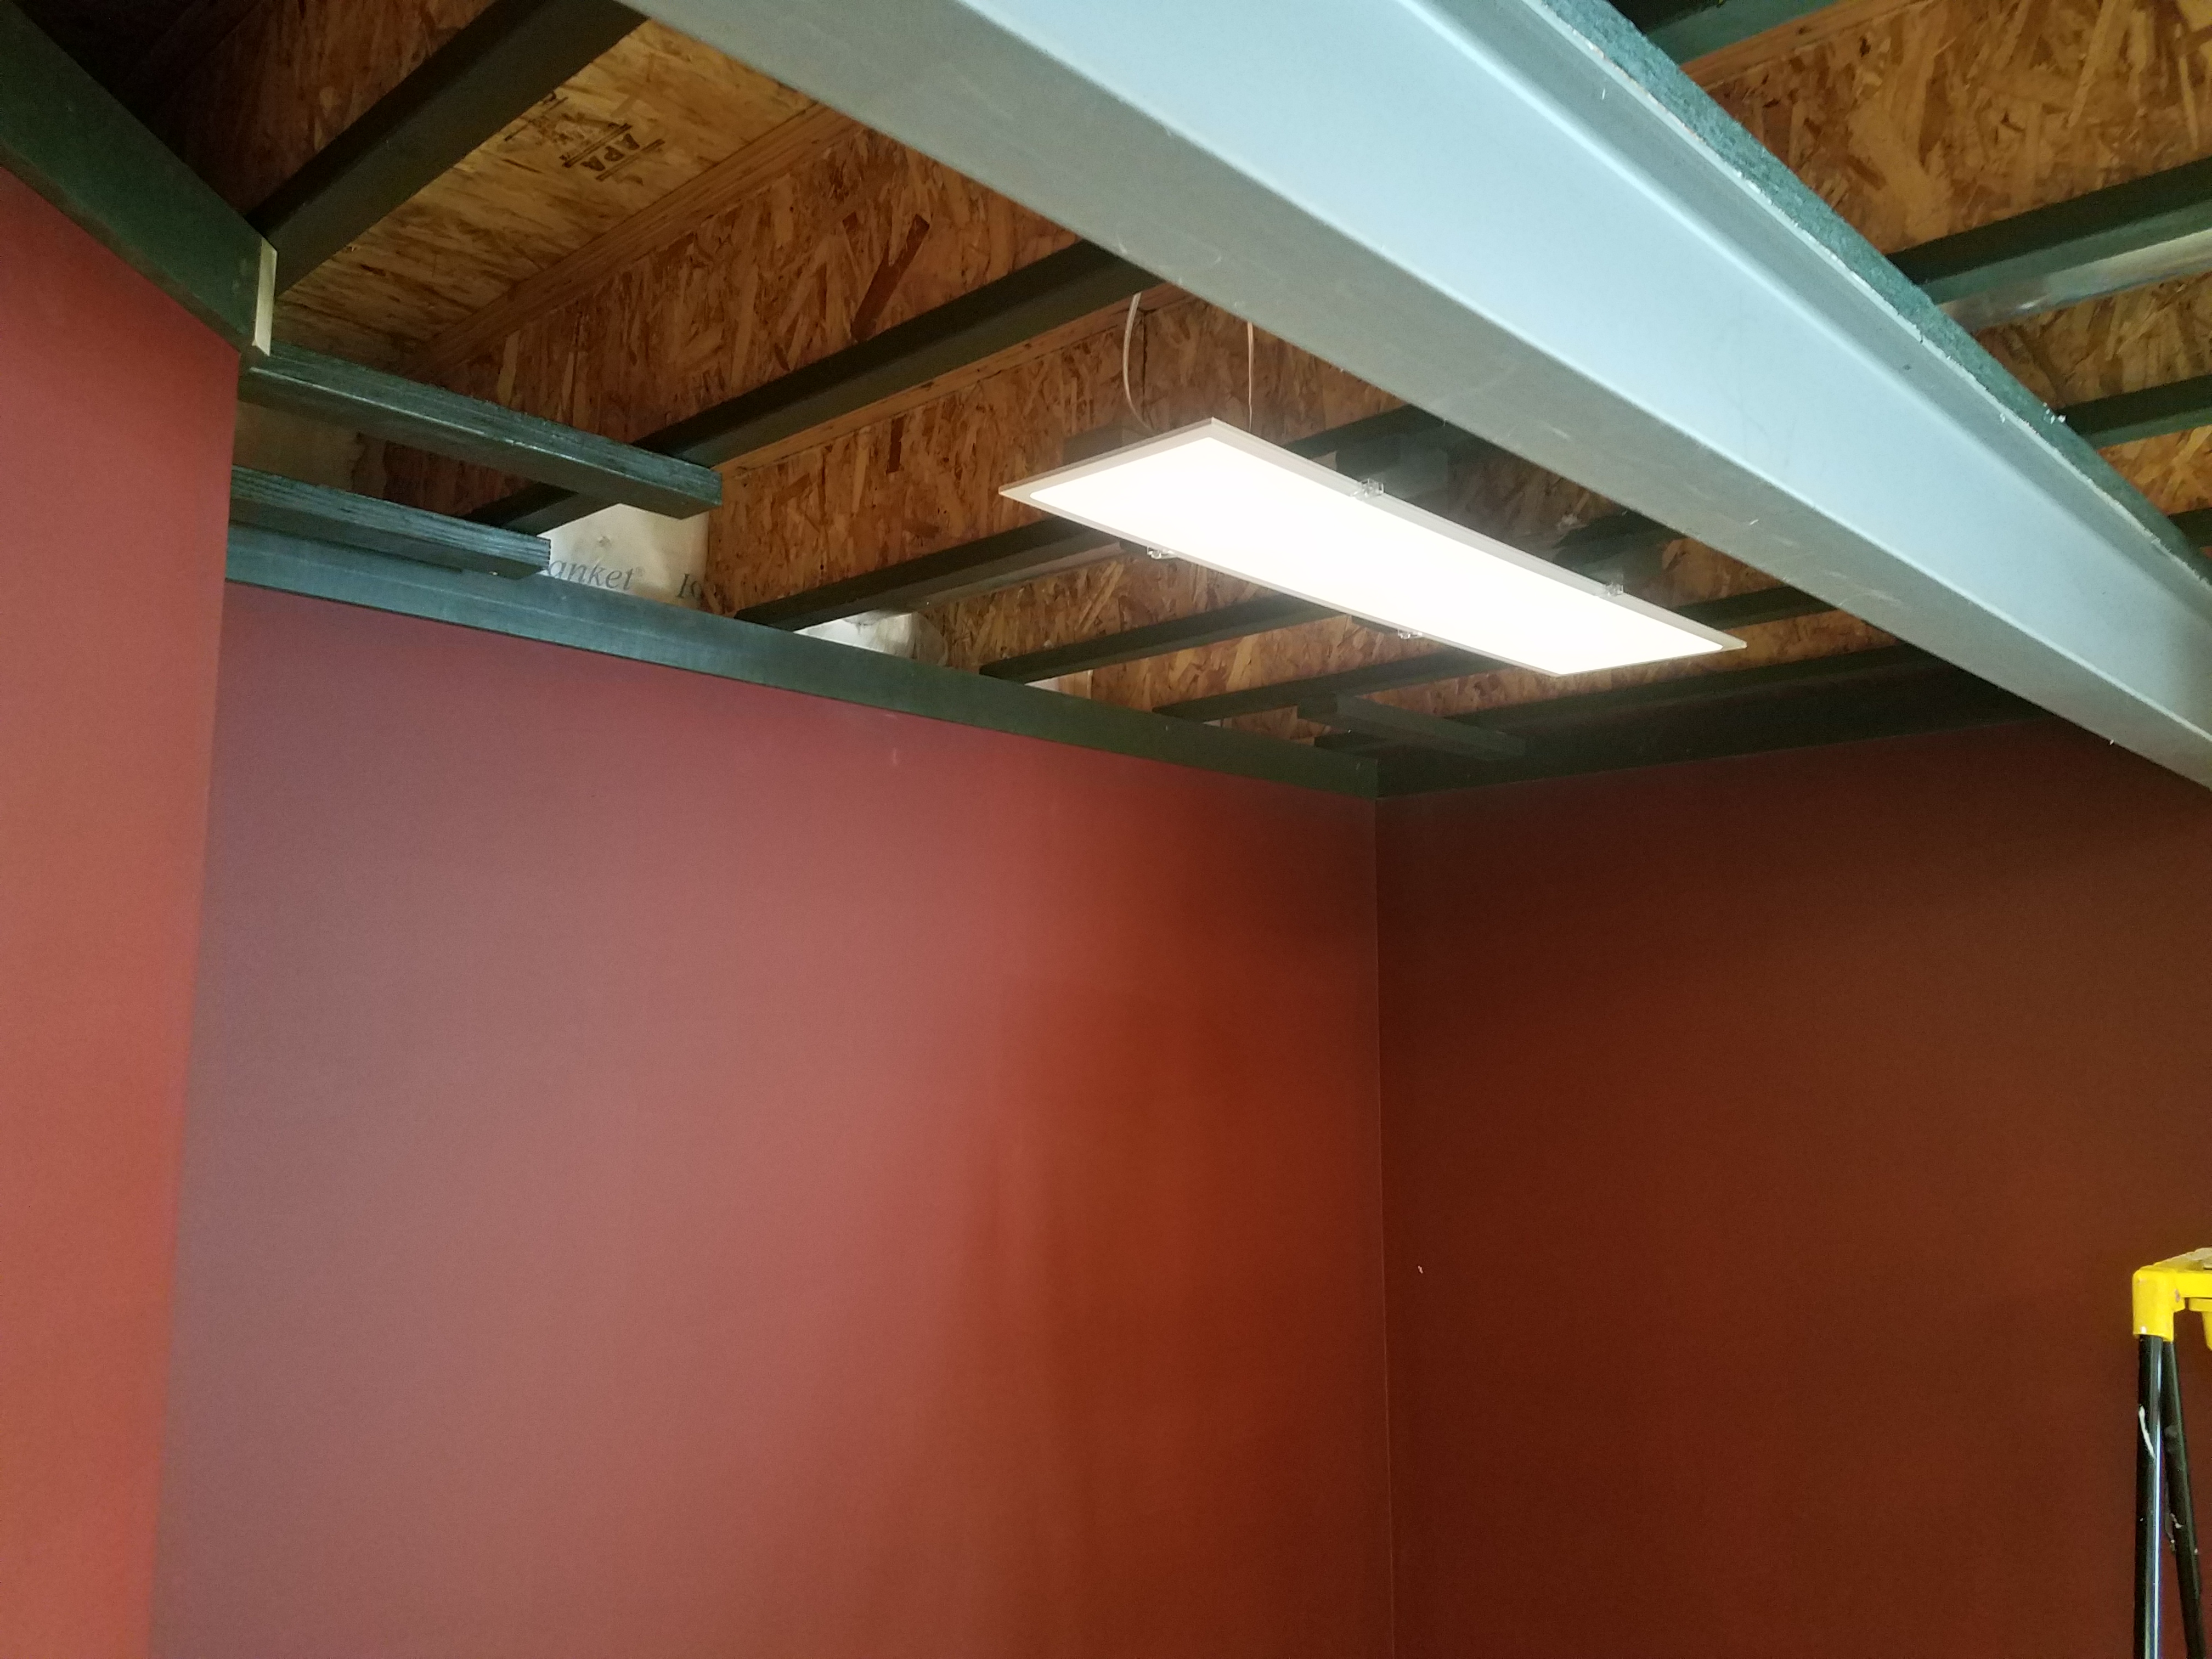
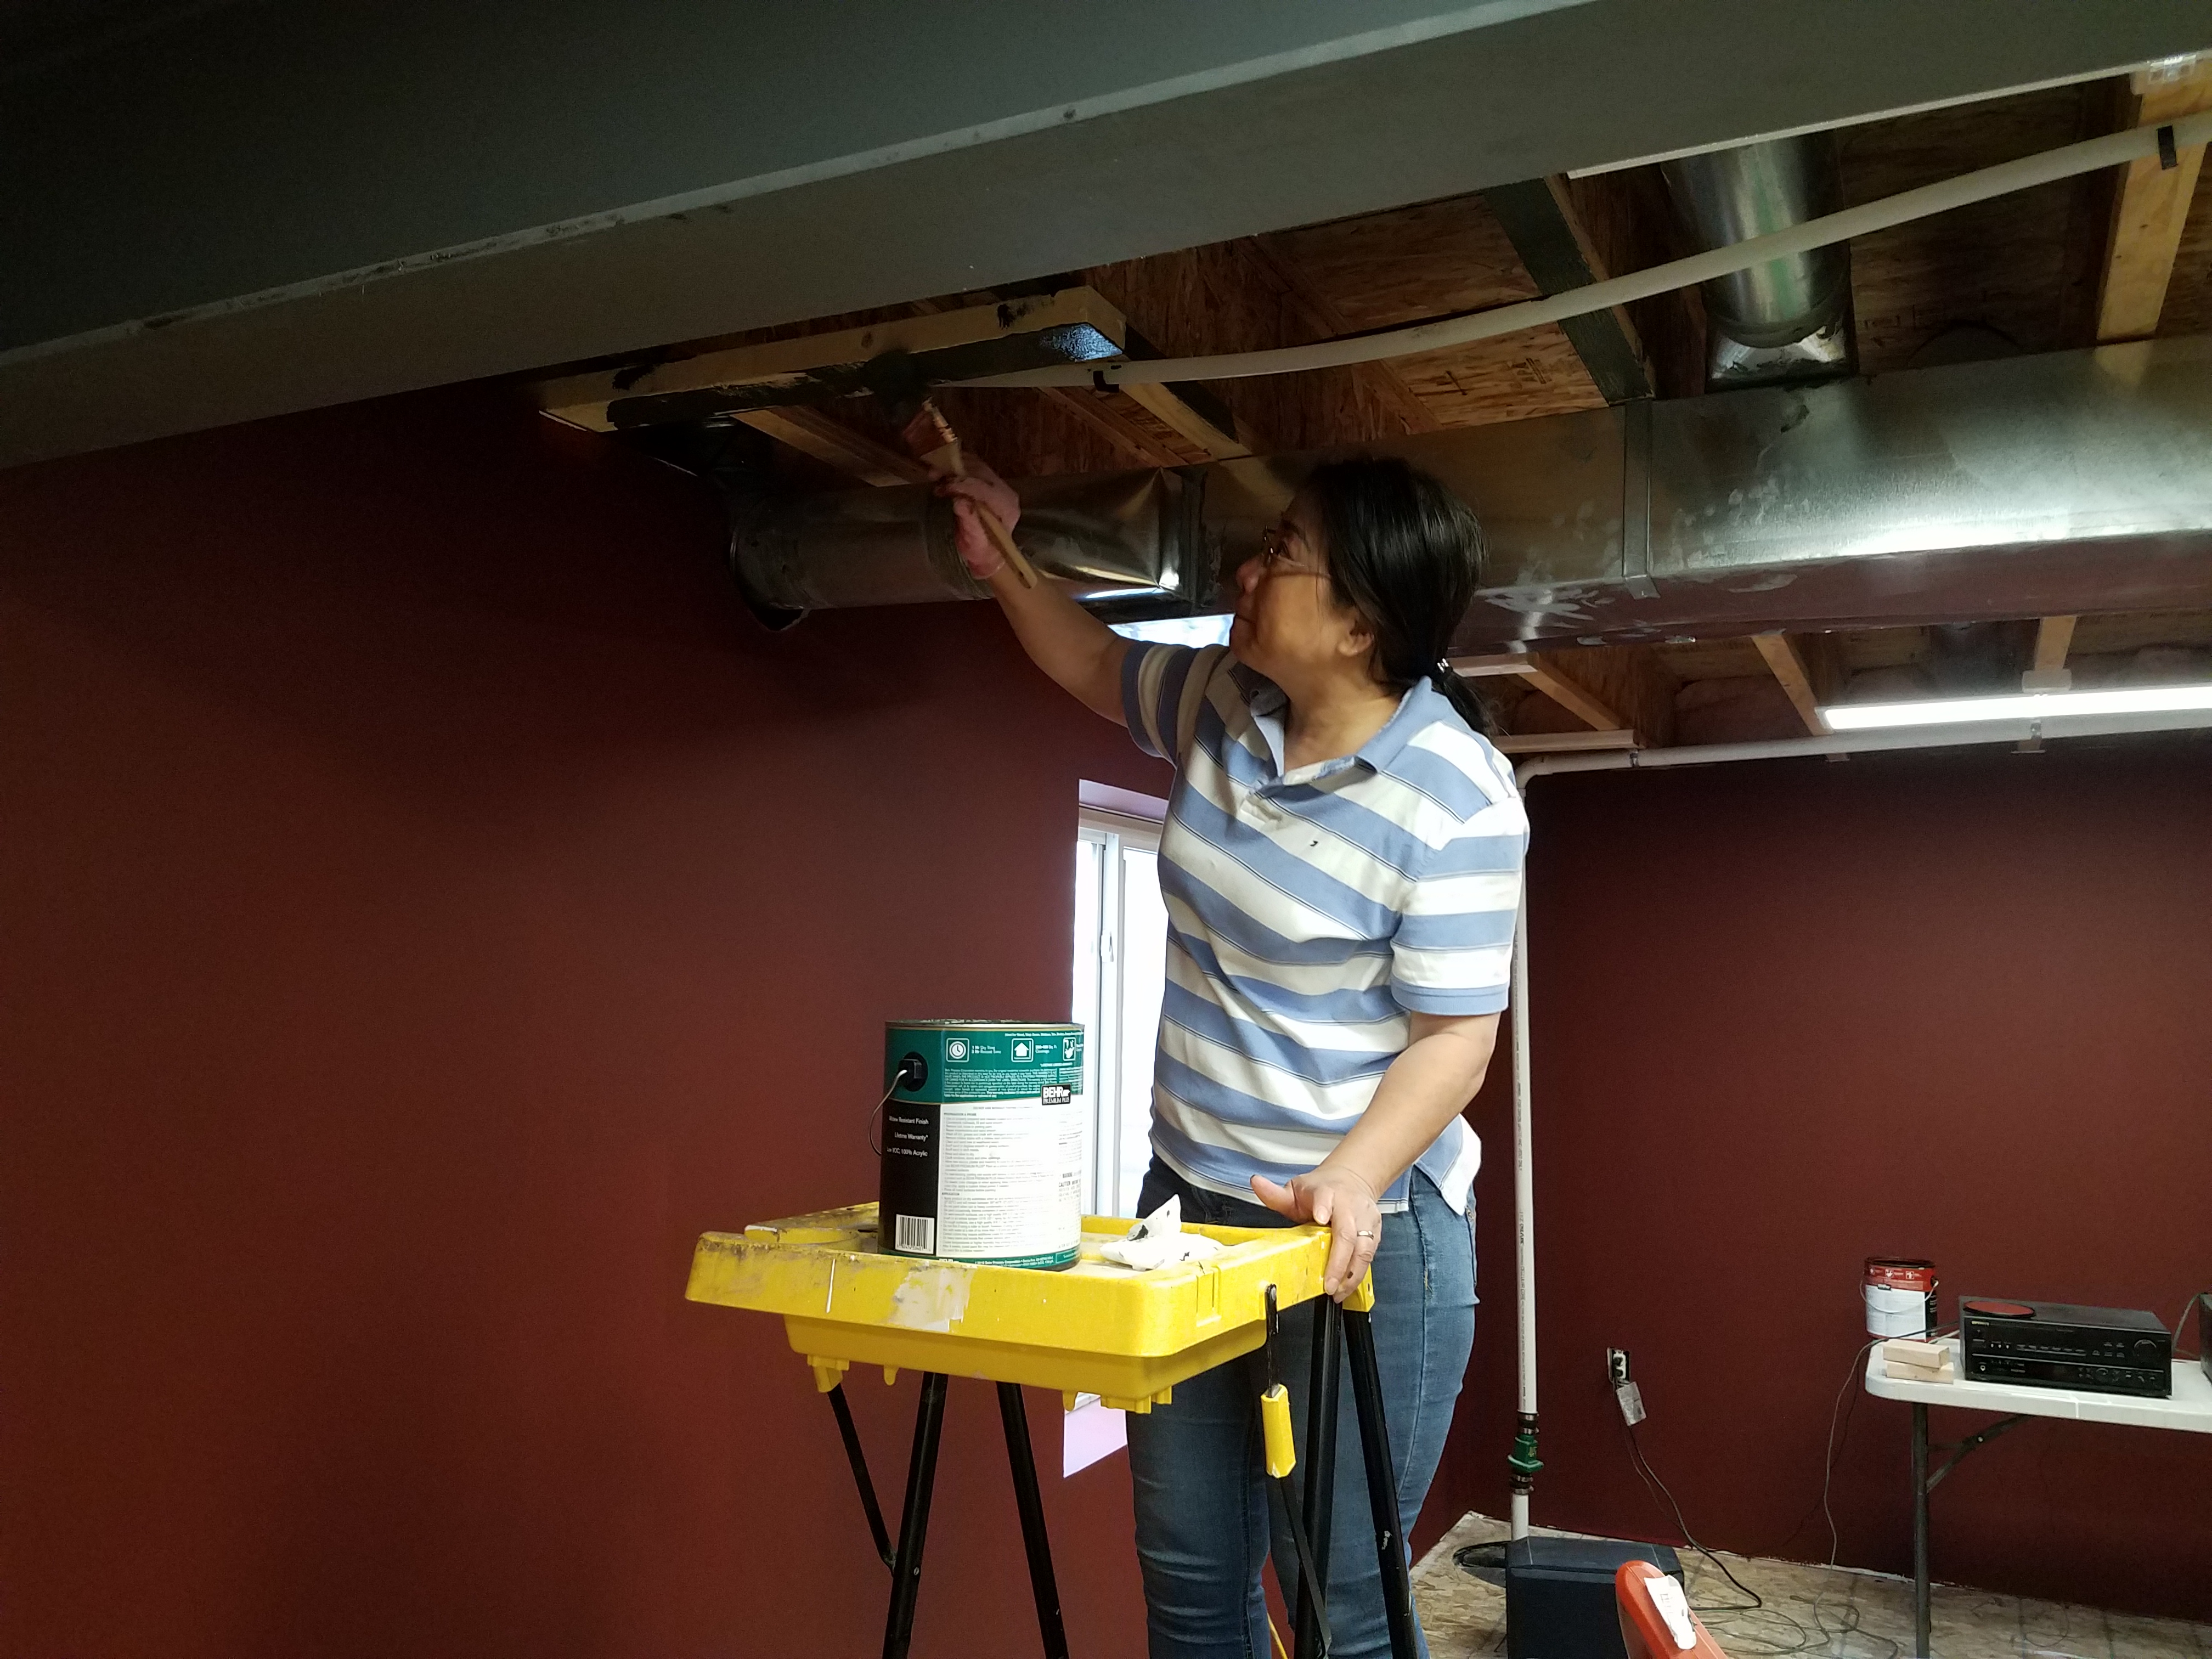
About half the LED panels are up now, including one that had to be mounted to the bottom of a heating duct. Here it is being held in position in preparation for final attachment:
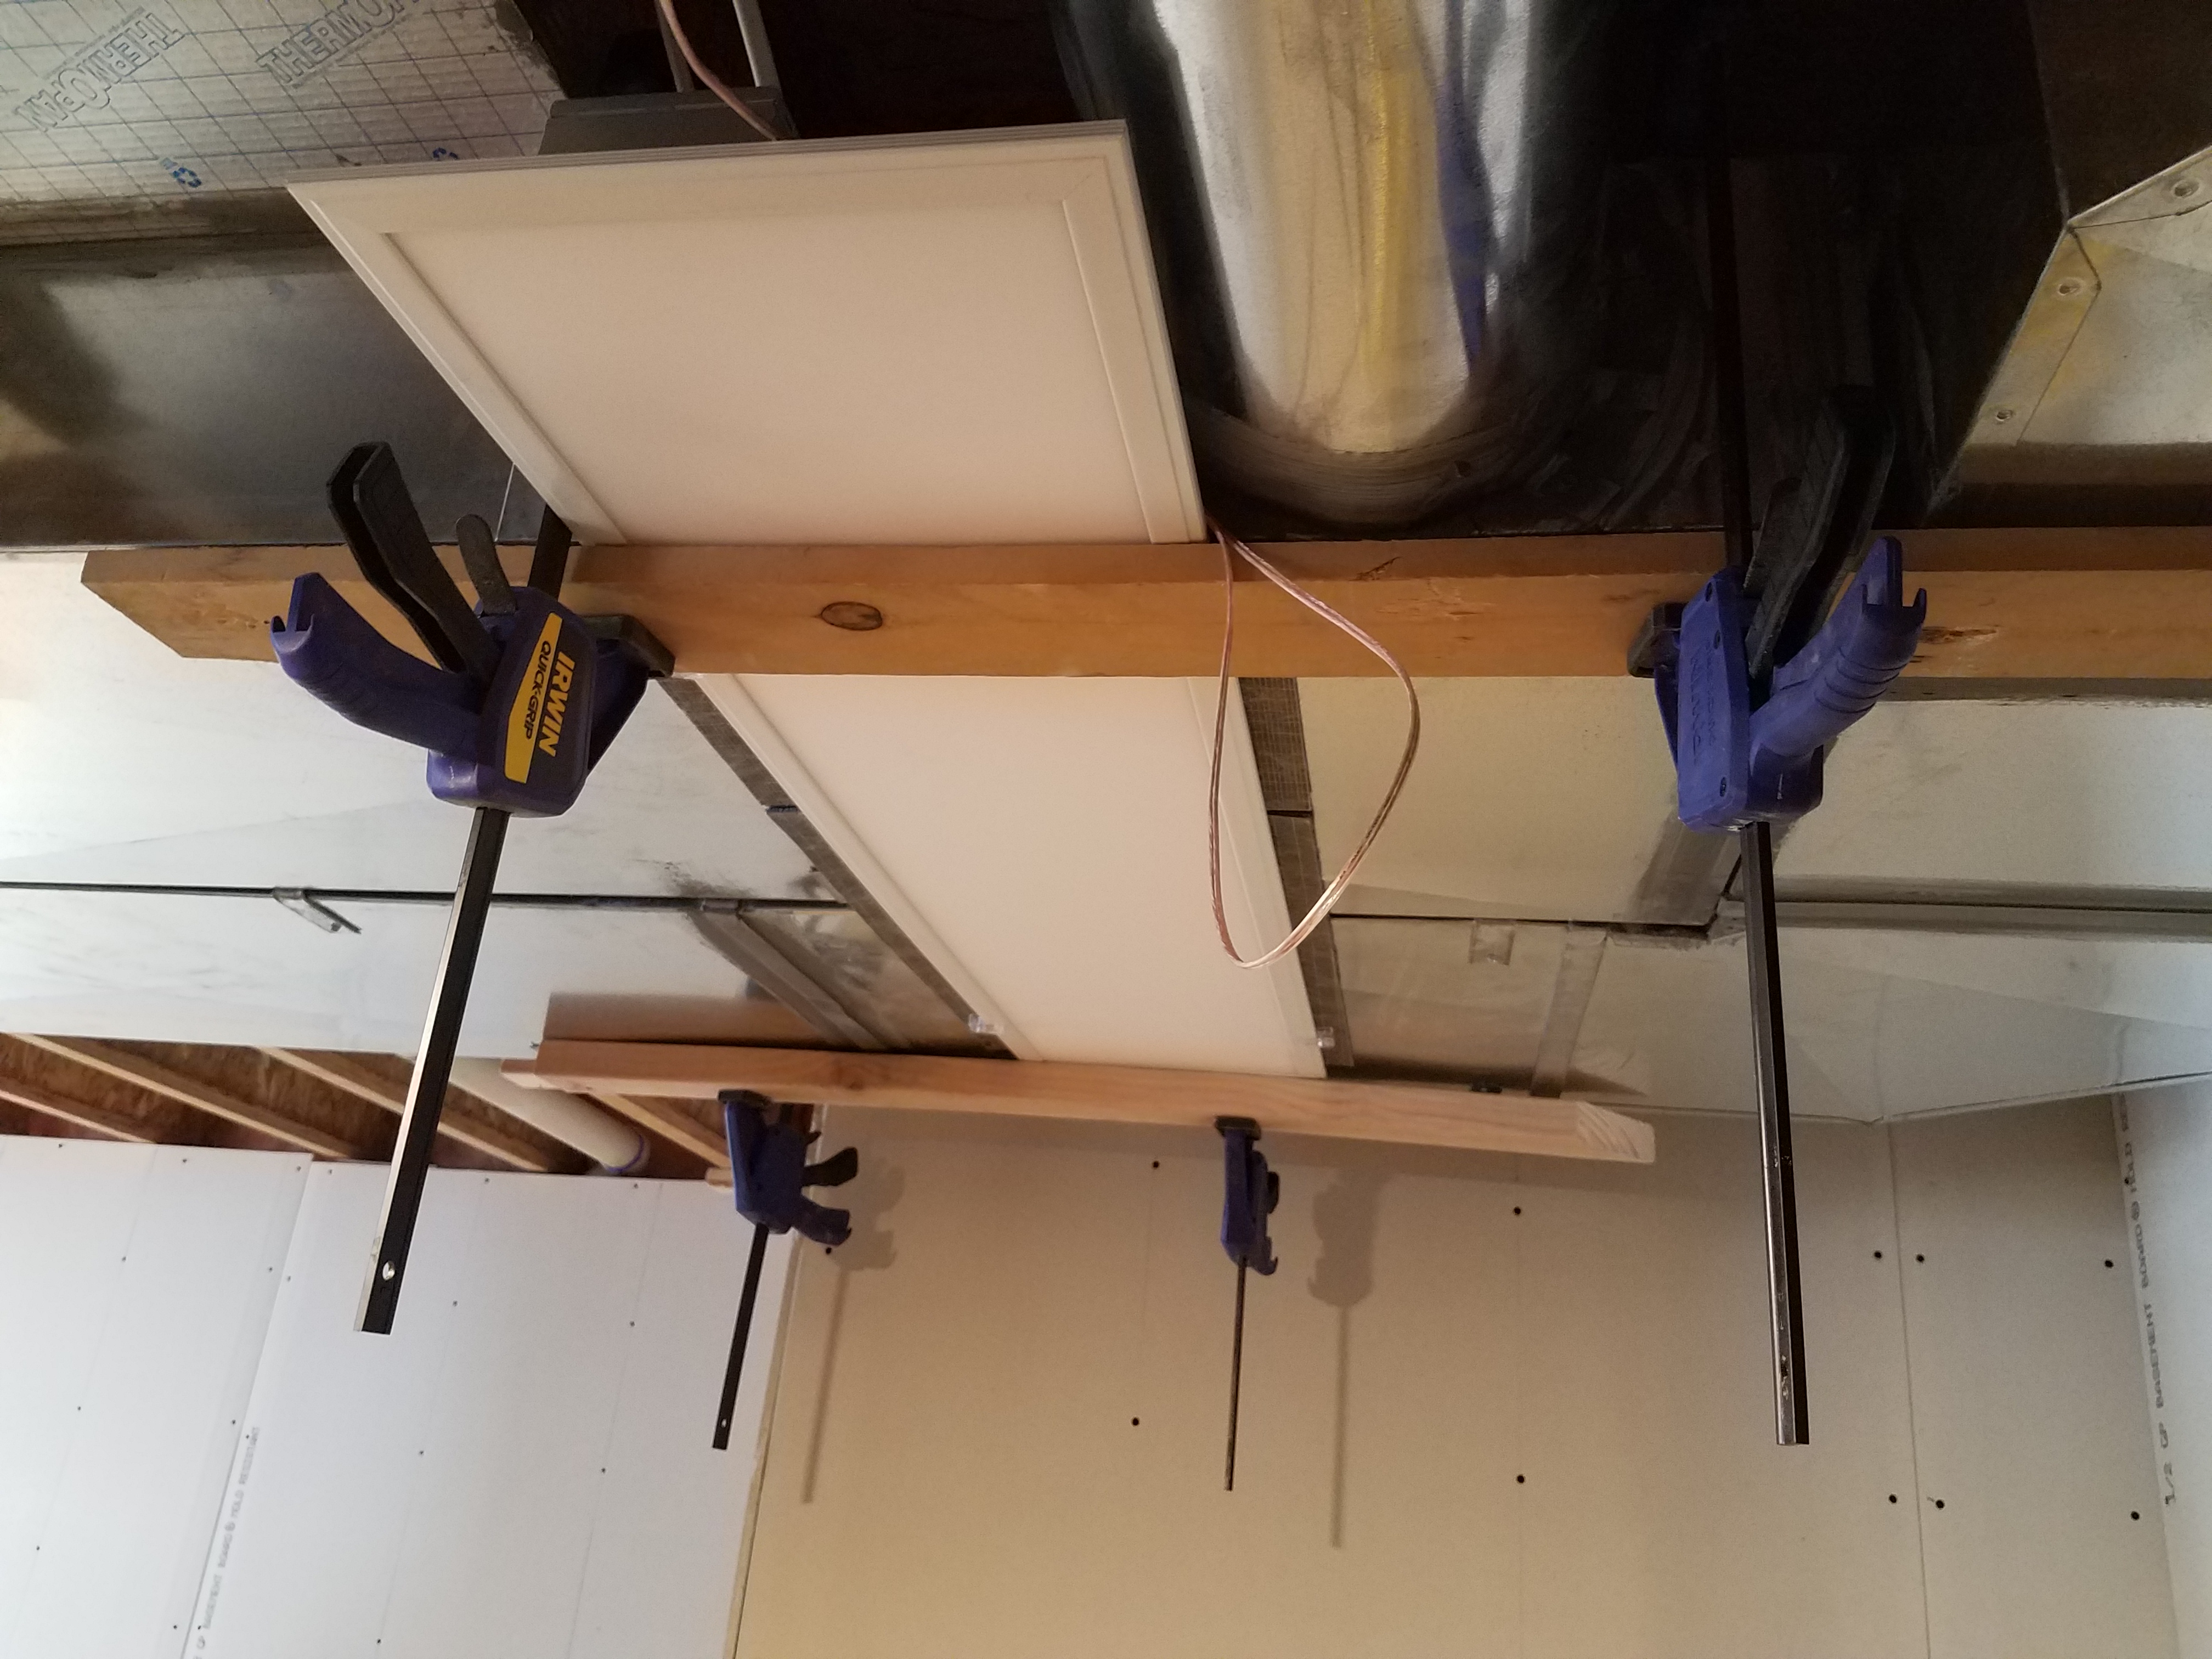 The black strips on either side of the fixture are the visible parts of a carpet square I put up as an insulator between the duct and the light. Forced air heat doesn't get all that hot, but it made for cheap insurance.
I also had to do modifications to the existing basement lighting. I won't need it in the train room anymore, so all but one of the bare overhead bulbs were disconnected. That's the wire dangling to the right in the next shot.
I had to run 3-conductor wire because the new basement lighting hallway lighting will be switched from three locations. That's the wire hanging to the left:

To switch the lights from three locations, I need two 3-way switches and one 4-way, using the 3-conductor wire I mentioned above. So below you can see the mess that was in the 3-gang switch box at the bottom of the stairs. The switch on the left is the single-pole switch I have to replace with the 3-way. The other two are 3-ways that control the light at the bottom of the stairs and the light at the top of the stairs. There's also two 3-ways for those lights at the top of the stairs.

To make the box even more complicated, power for all the lights comes in to this box. That's a lot of wires stuffed in there!
Once I pulled the switches out as you can see, I studied the wiring inside a bit. Then I turned everything off and stopped for the day. I thought this might be an all day job, and it was already late afternoon.
Stopping for the night turned out to be a great idea! Overnight my hind brain messed around with the problem of the convoluted wiring, and the next morning I had a clear plan of attack. I knew exactly what I needed to do. Proceeding methodically, checking off each connection on my wiring diagram as I went, within about an hour I had the new switch installed and working properly. Another half hour to clean up, stuff the switches in the box (not easy - there's a lot of crap in there!) and reinstall the cover plate and the job was done!
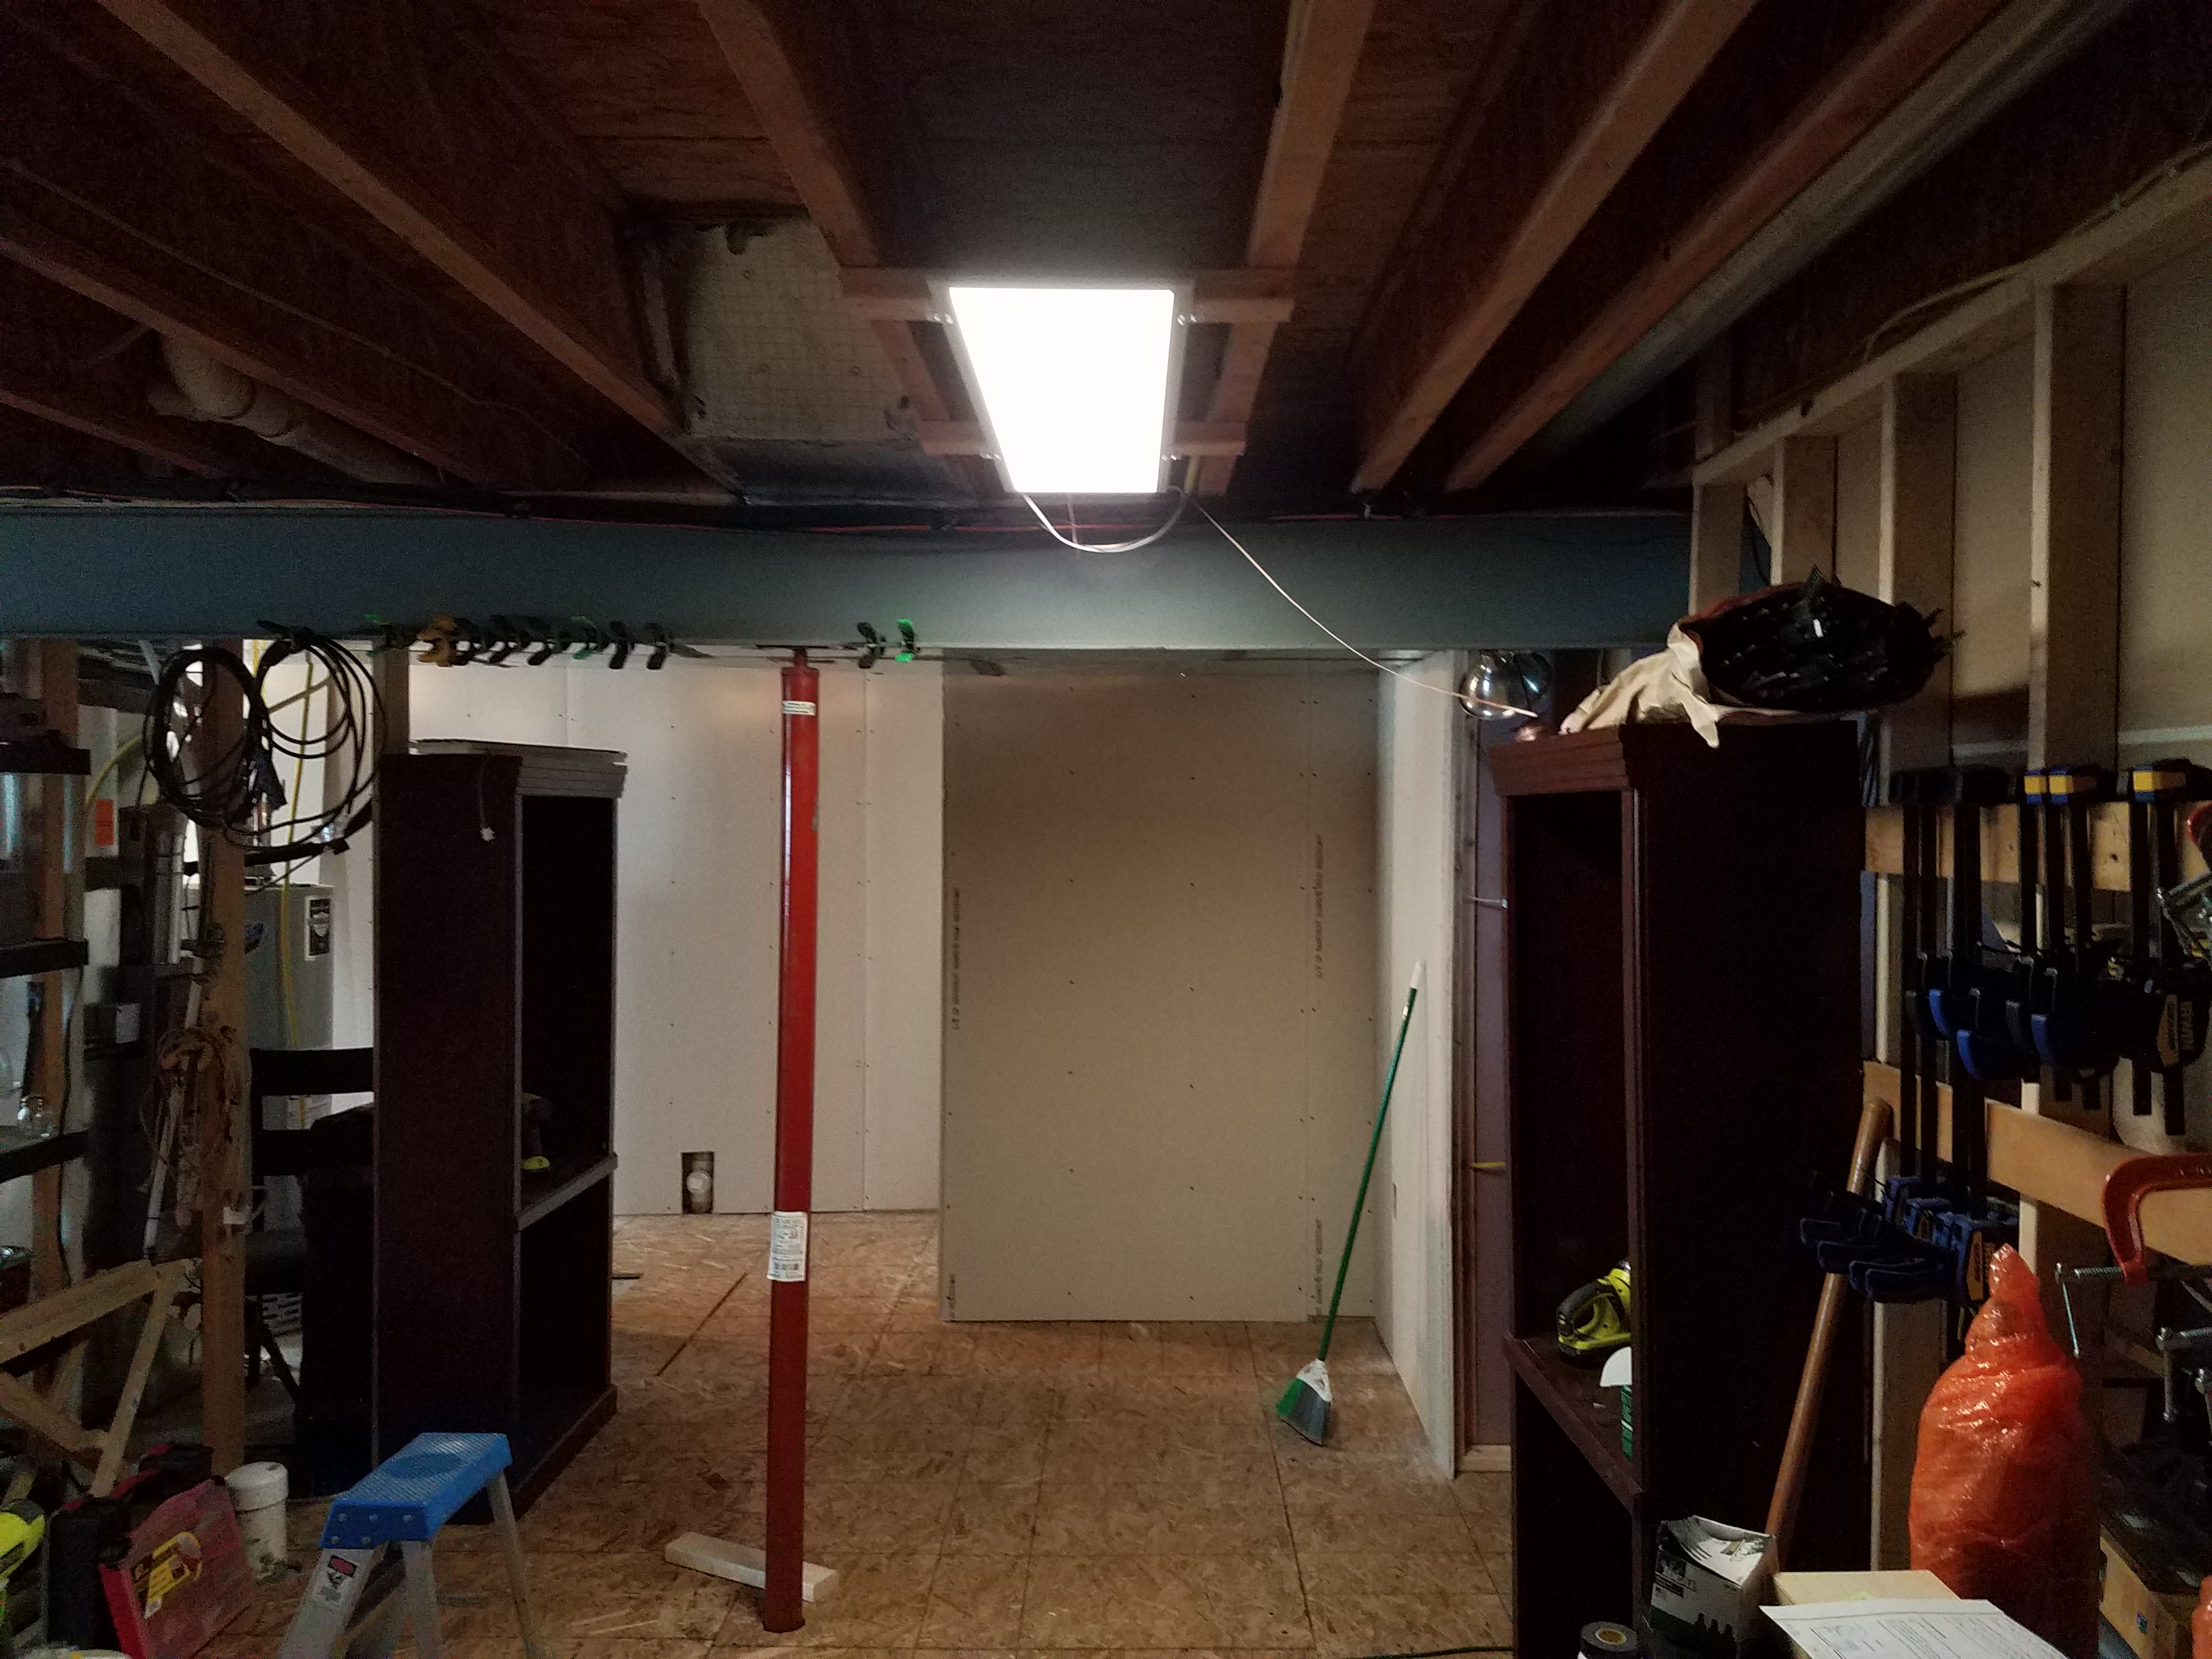
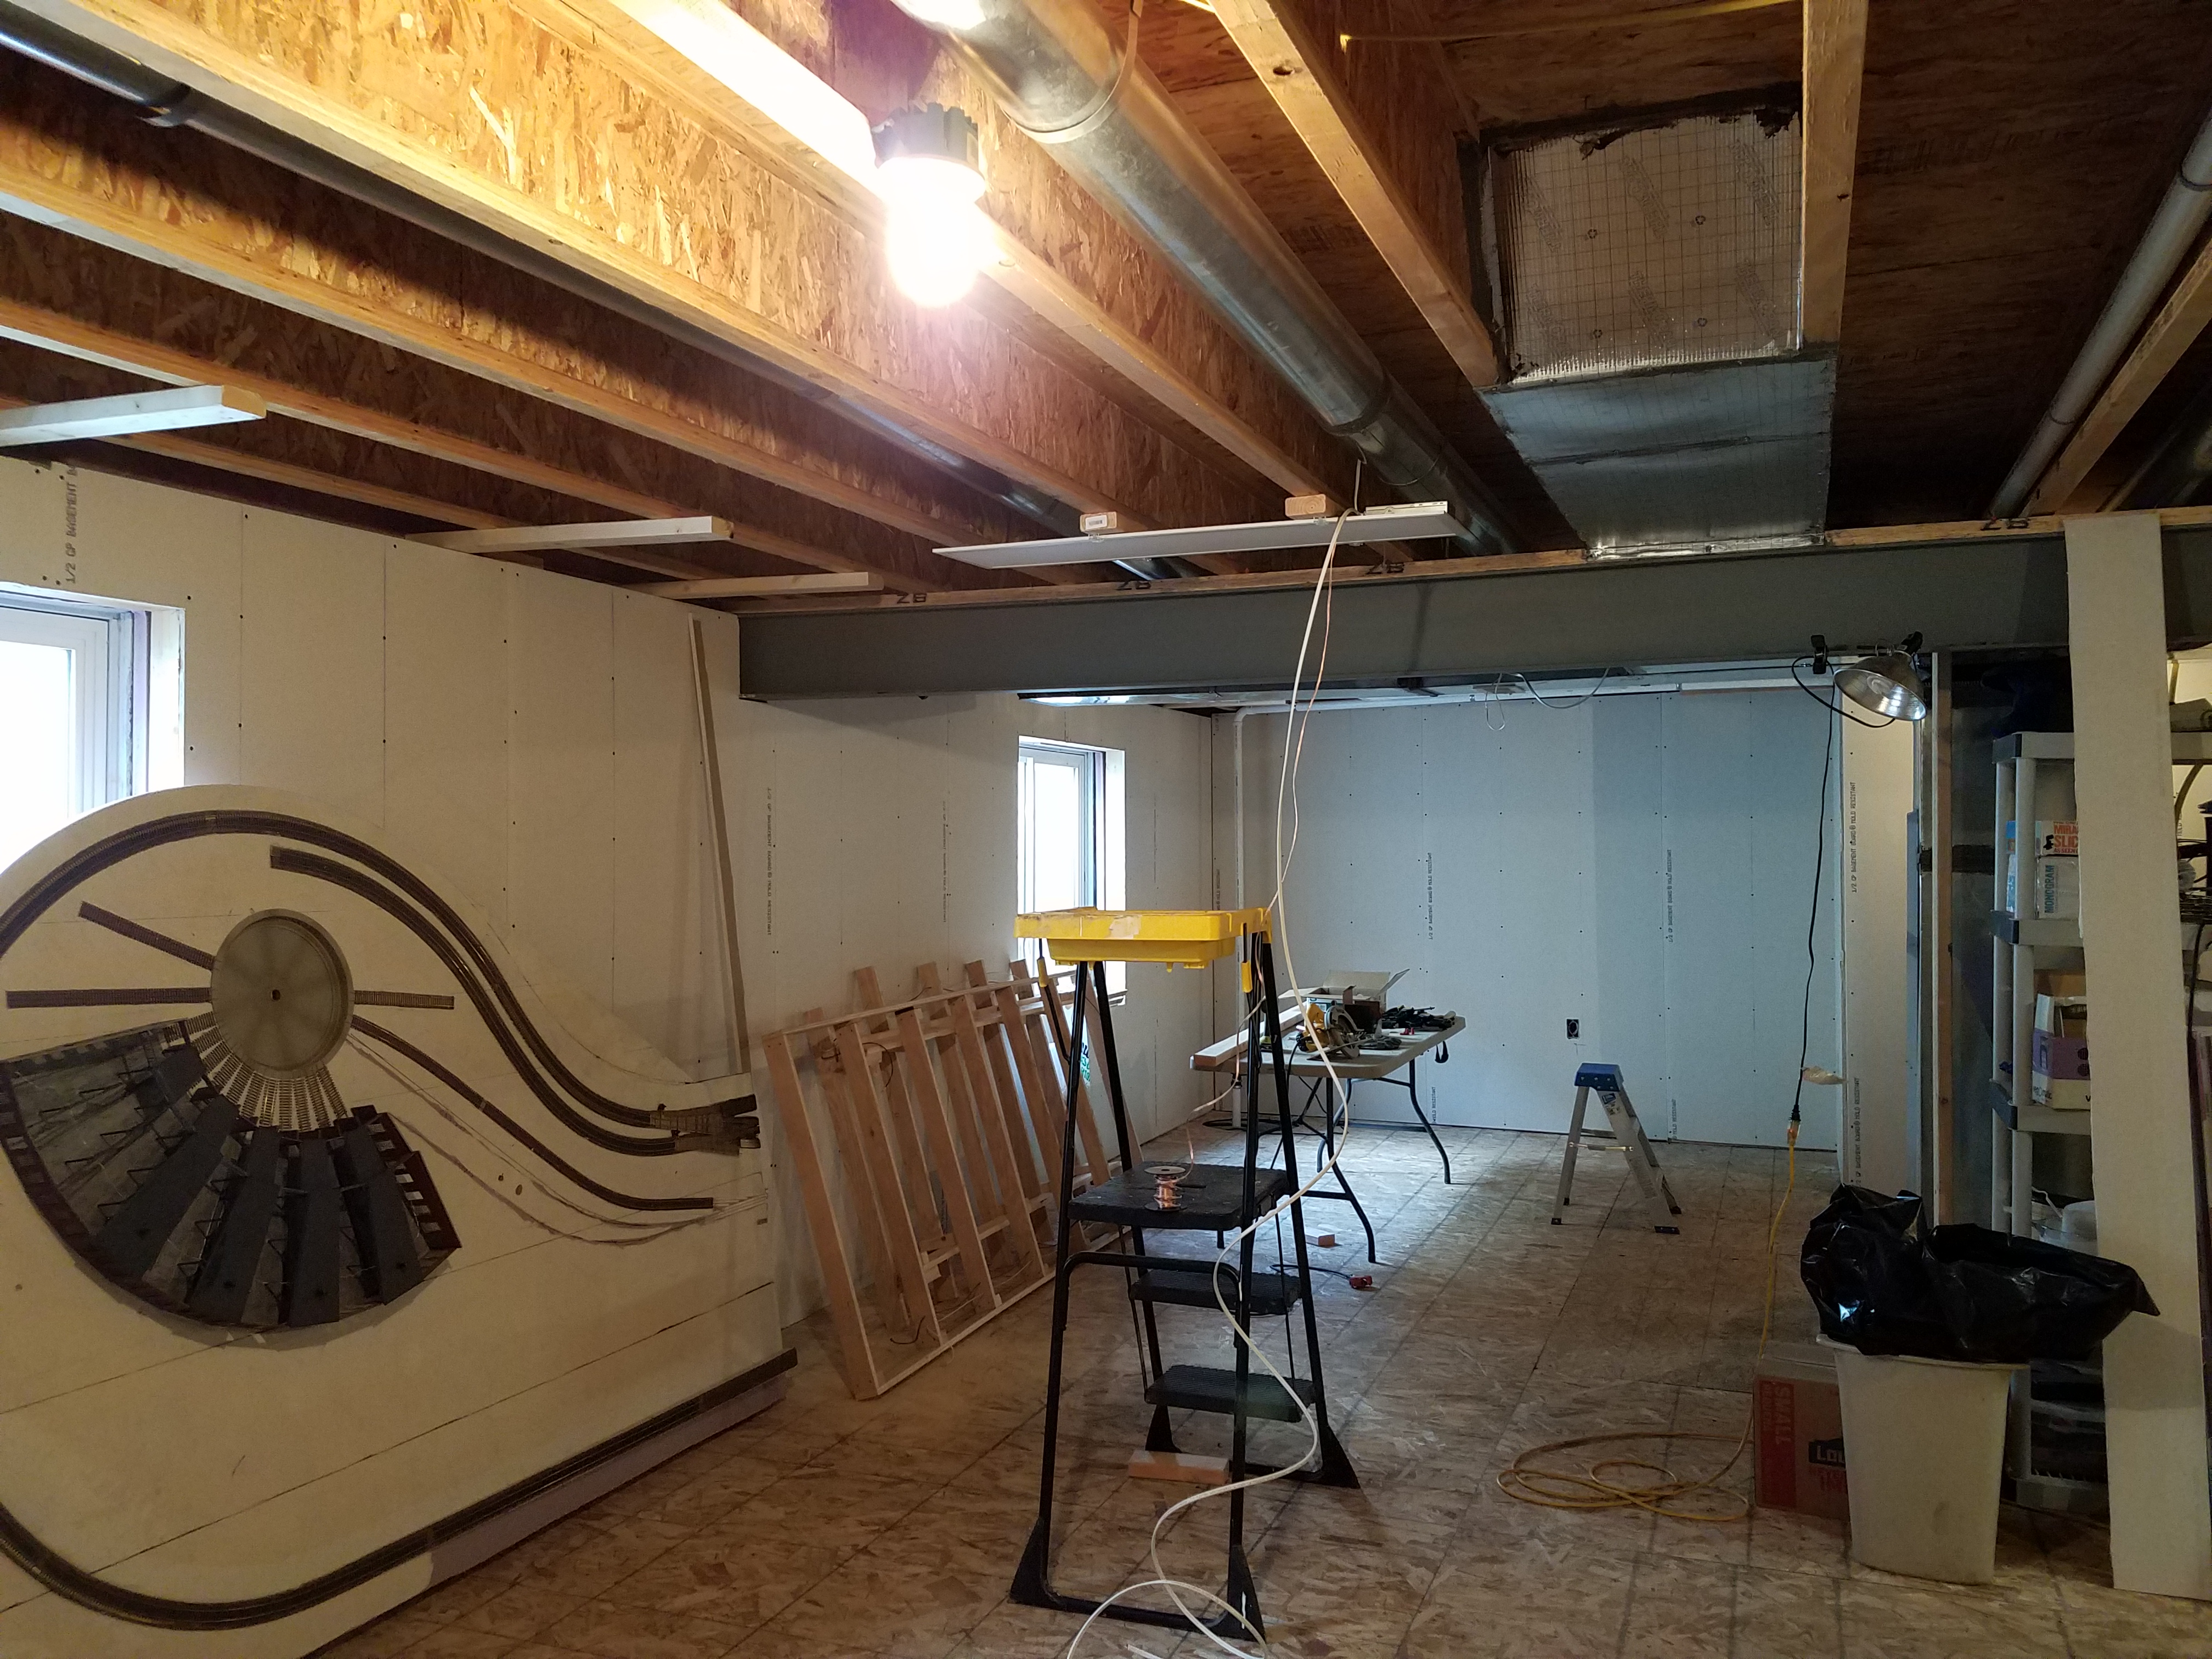
Now we could finish installing sheetrock on the train room side of the stairway wall:
Making some good progress in the train room.
Most of the LED panels are up. I have one left to install, and I'll need to order a few more. Here's the current state:
 Looks a lot better than those few bare bulbs, doesn't it?
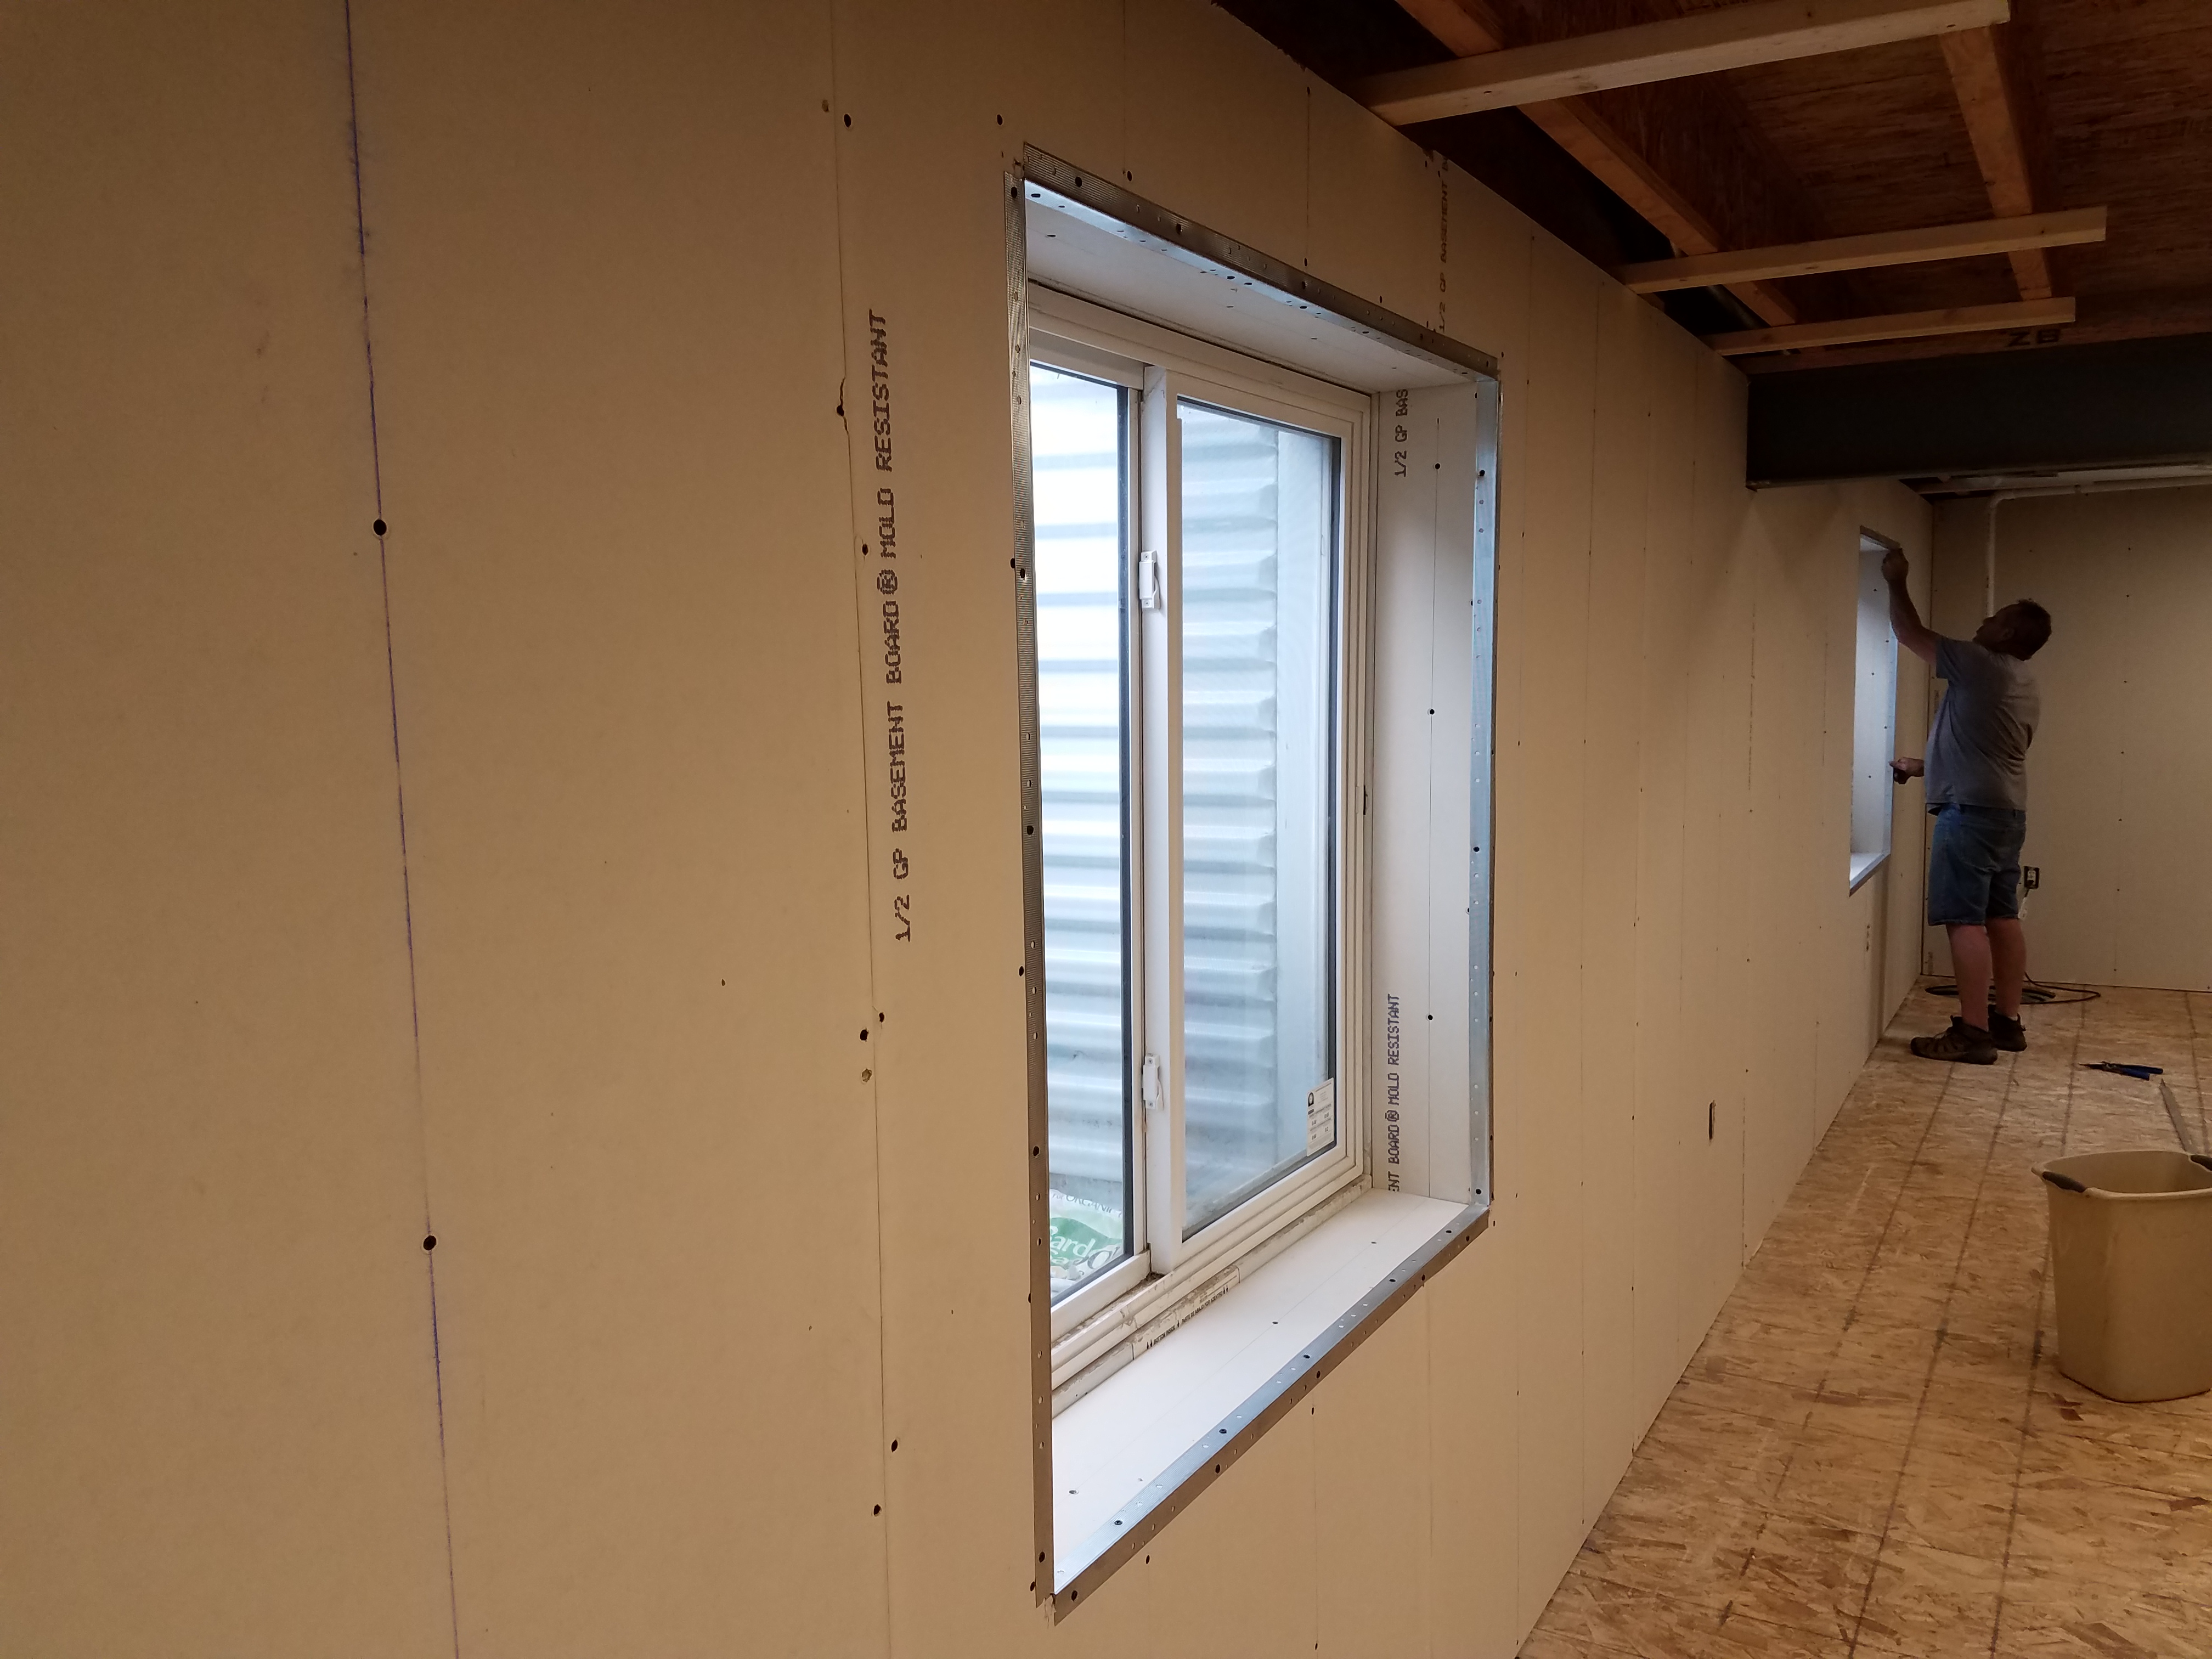
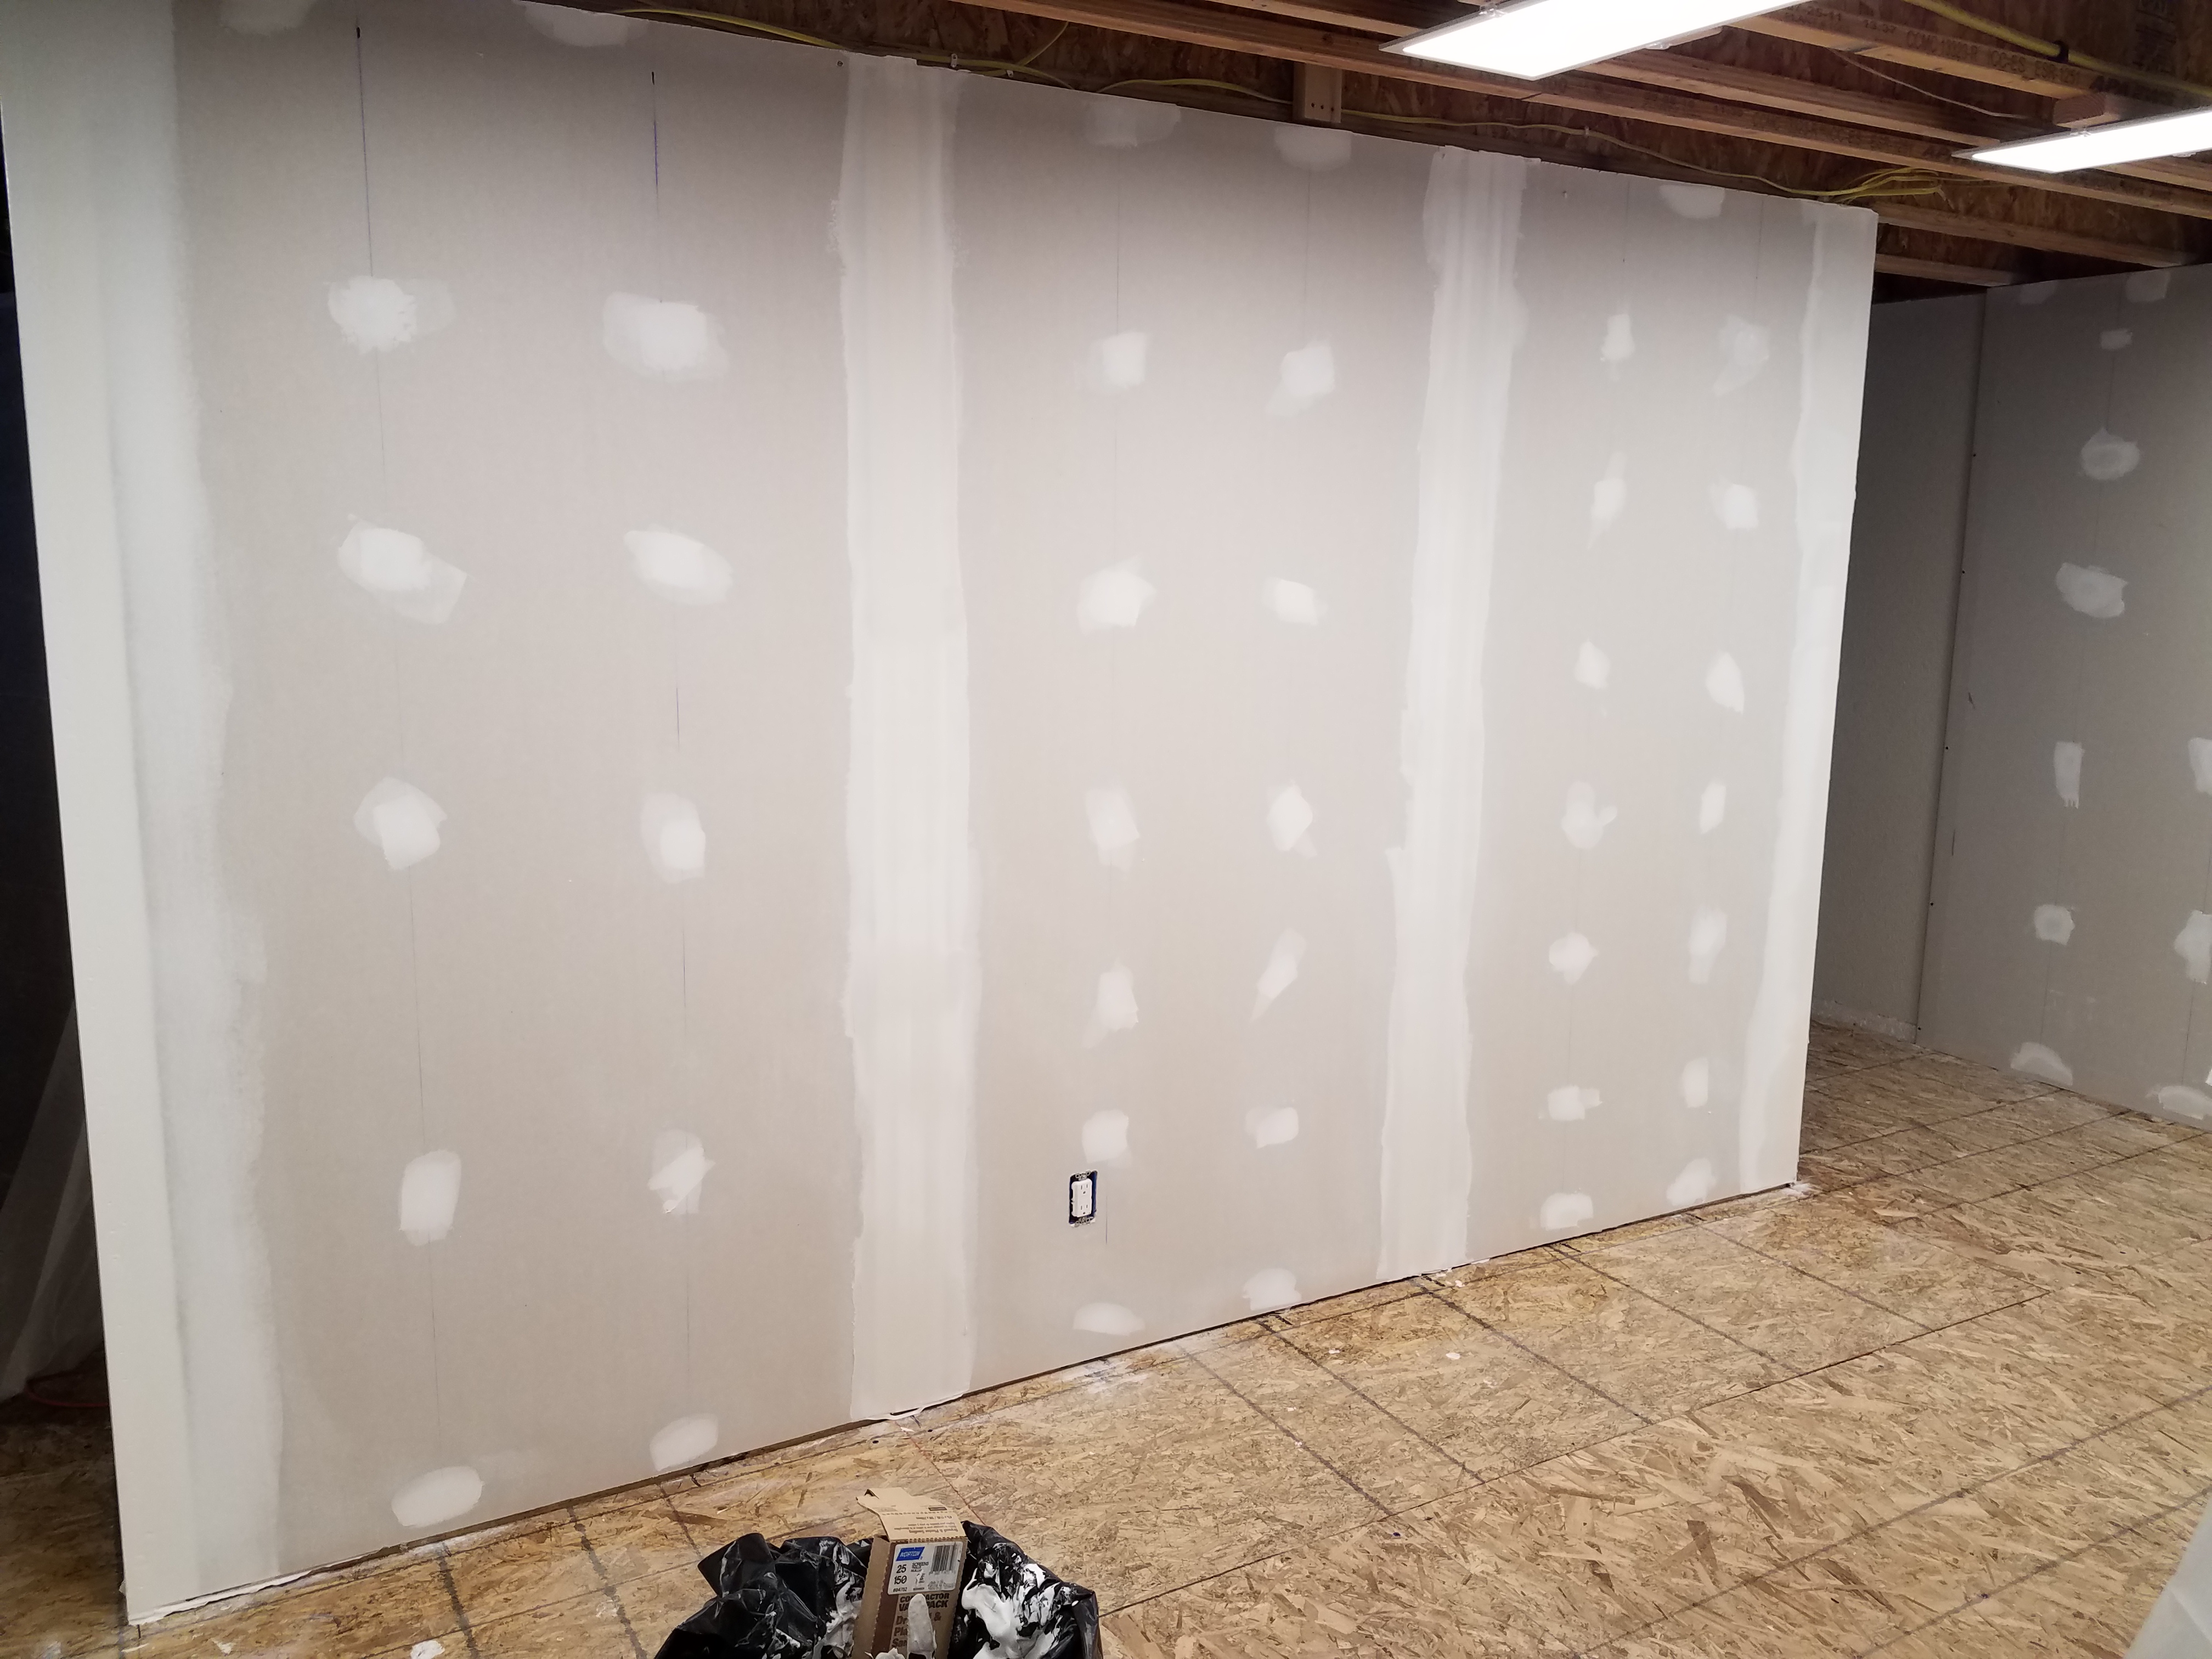
On May 26th taping and mudding of the sheetrock started. Here's the corner bead around one of the windows as of May 27th. The guy at the window in the distance is the person I hired for this job.
As of this afternoon, most of the work was done. Just a bit of sanding and touch up that will be done tomorrow (yes, Sunday). Maybe 2-3 hours worth of work.
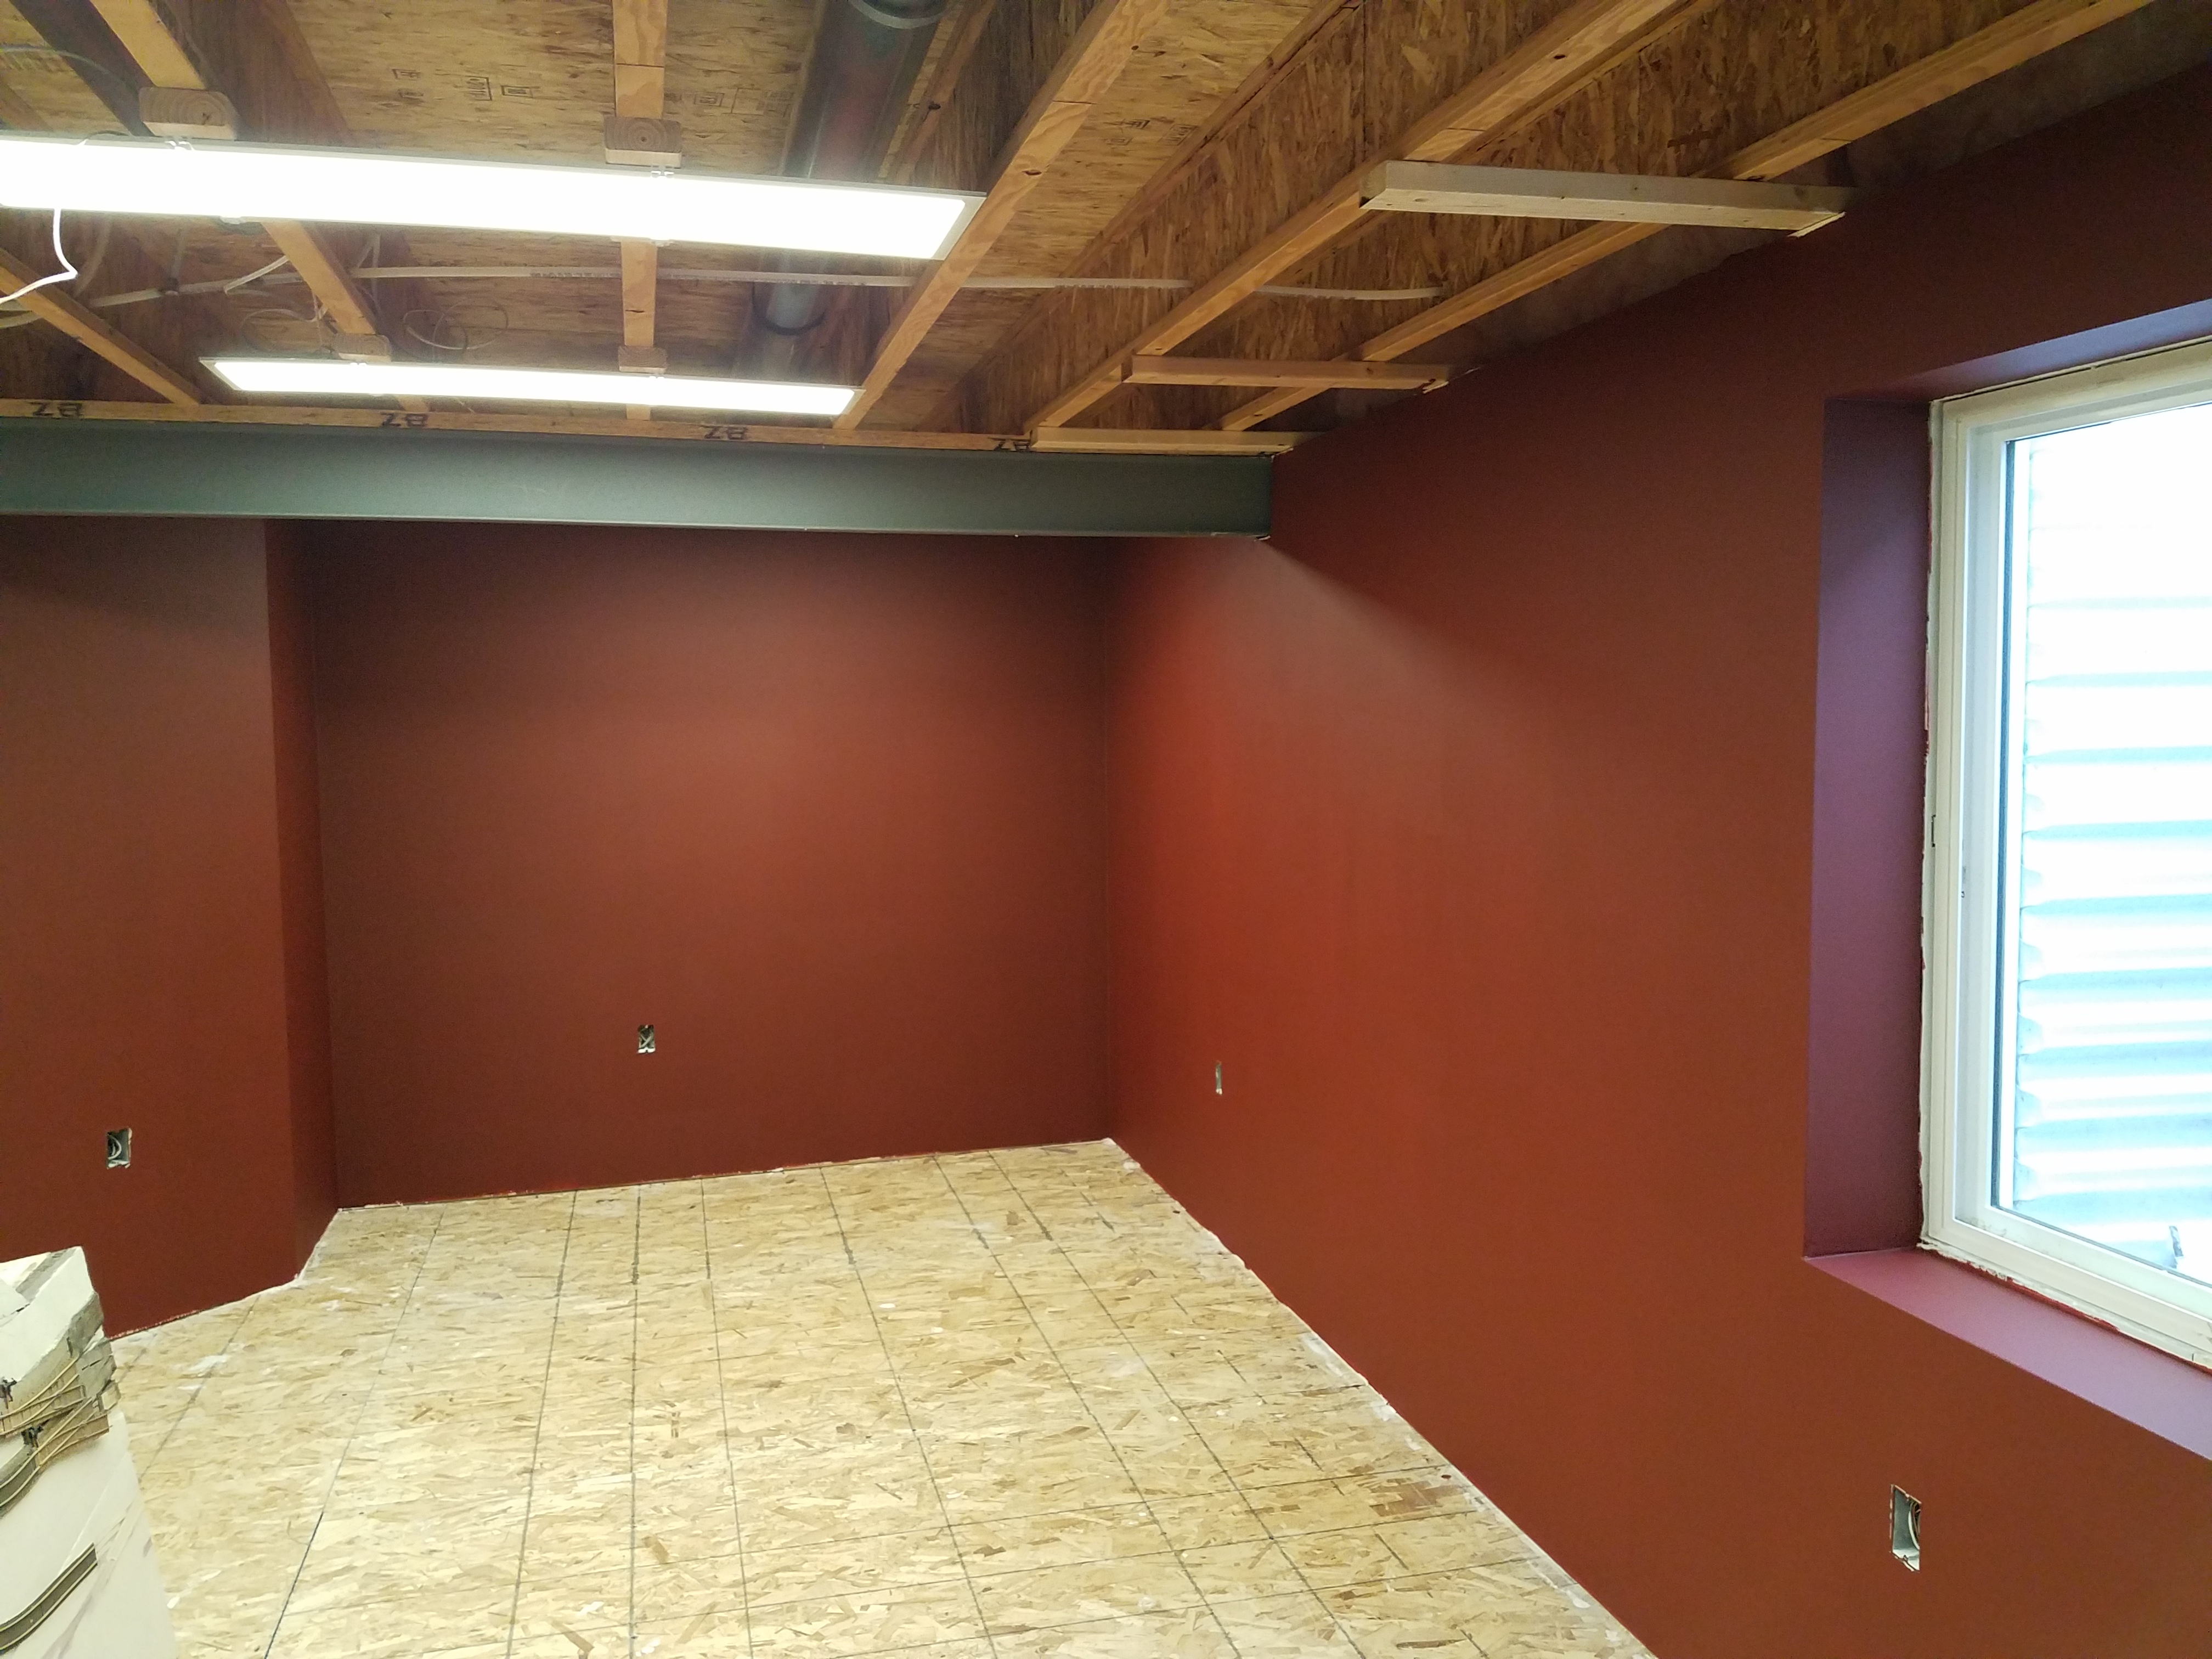
How it looks now:

Here are the colors I'll be using in the train room:

The walls will be Indian Red, and the trim Bronze Green.
We've done a lot over the last few days. We primed the walls in the train room:
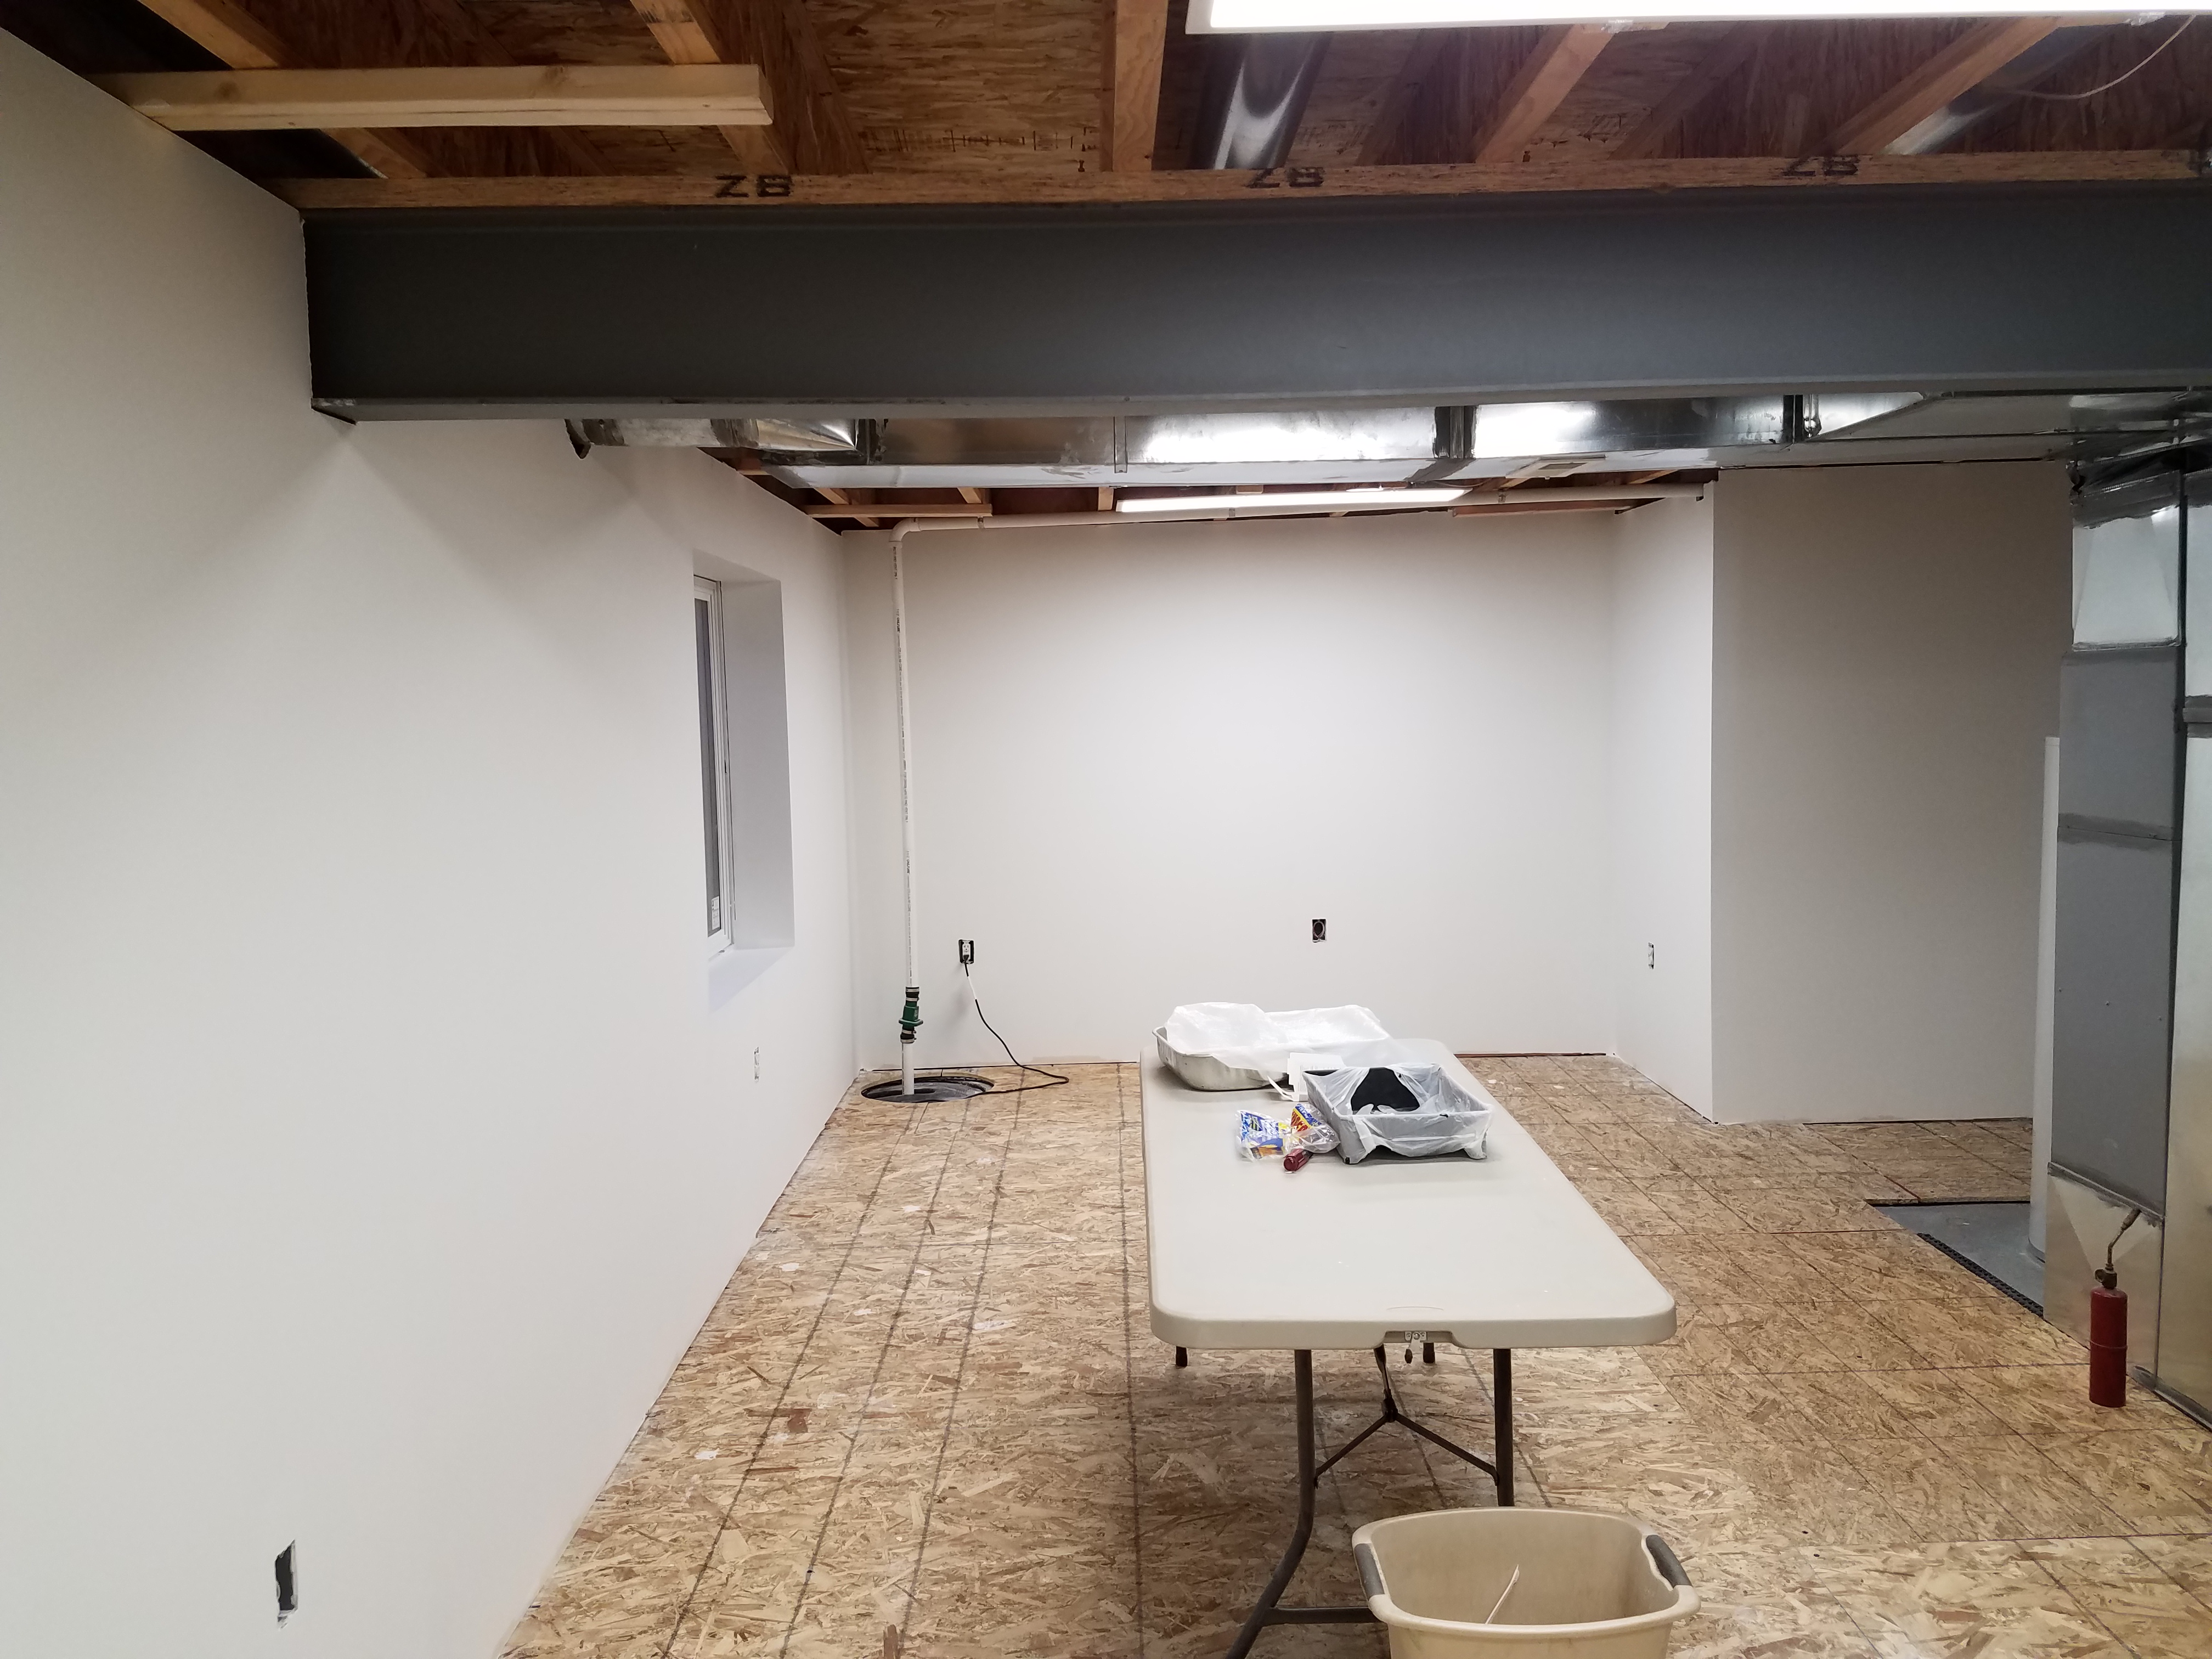

And applied the first coat of Indian Red:


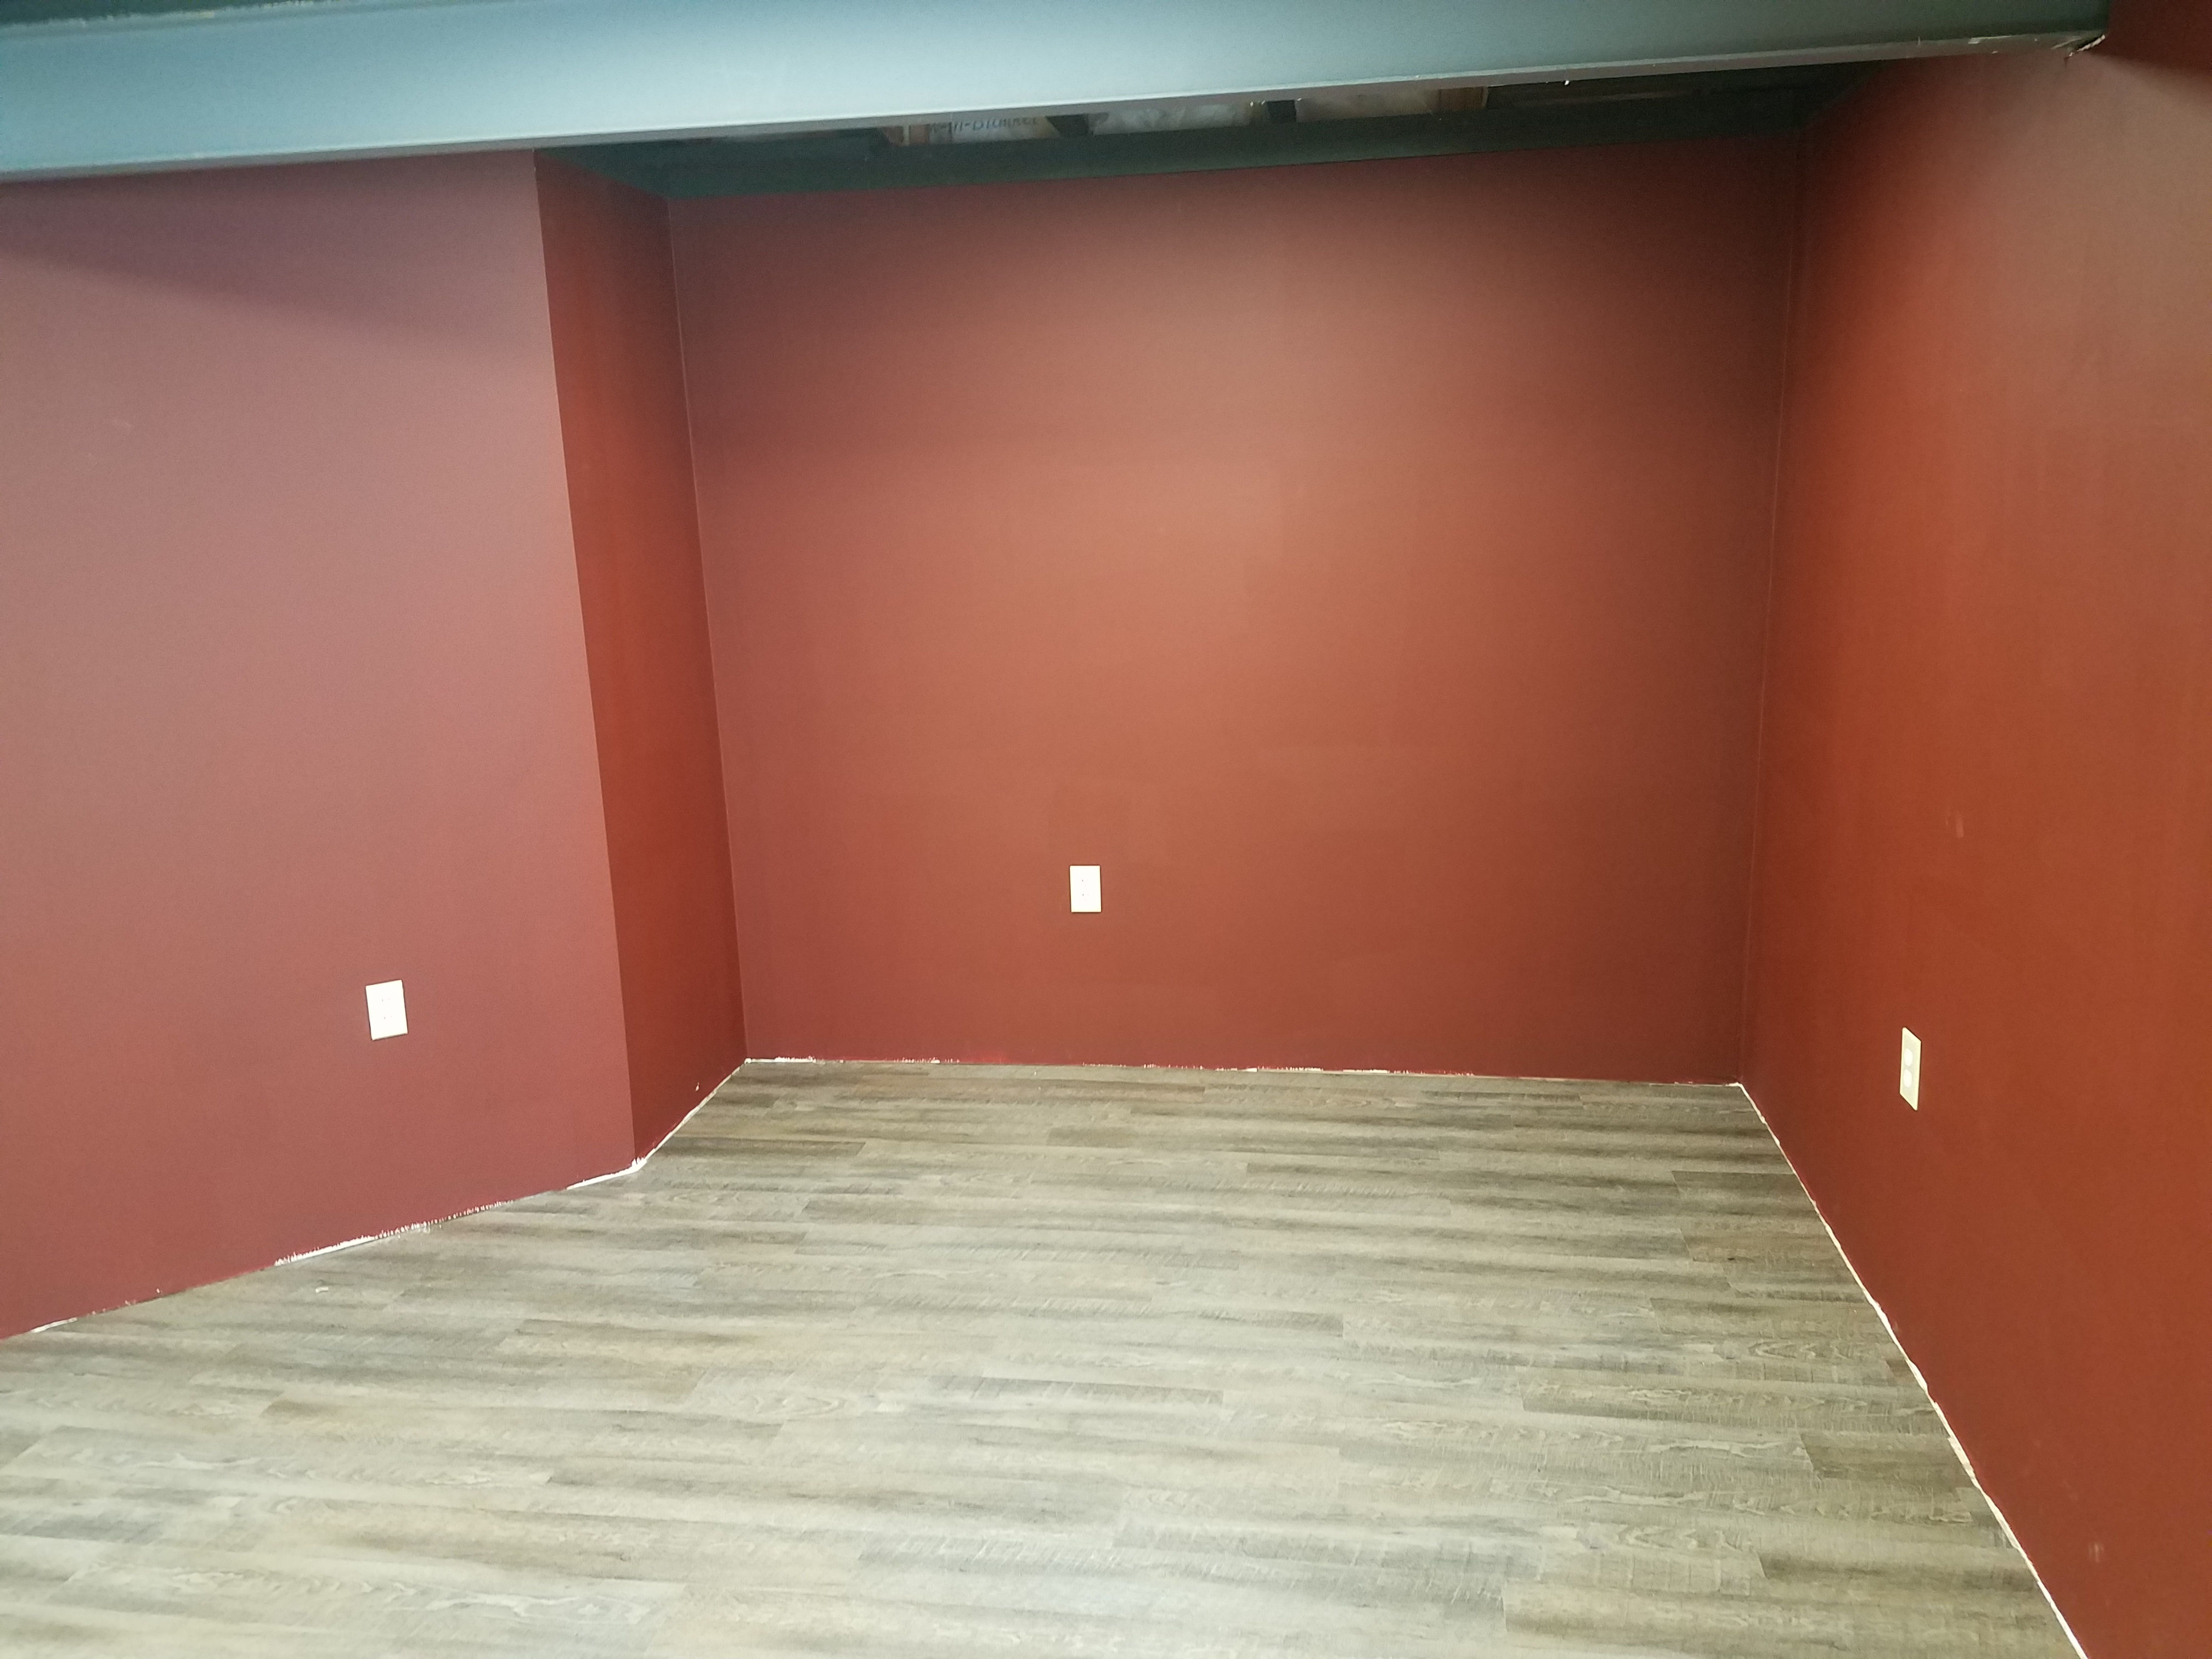
The second (and final) finish coat has been applied to the walls. While there are a few spots that are a bit light, overall it looks pretty good. If people notice any light sports, the official explanation is that this represents the outside of a Burlington structure during my modeled era, and the light spots are simply sun-faded and weathered areas. At least that's MY story.
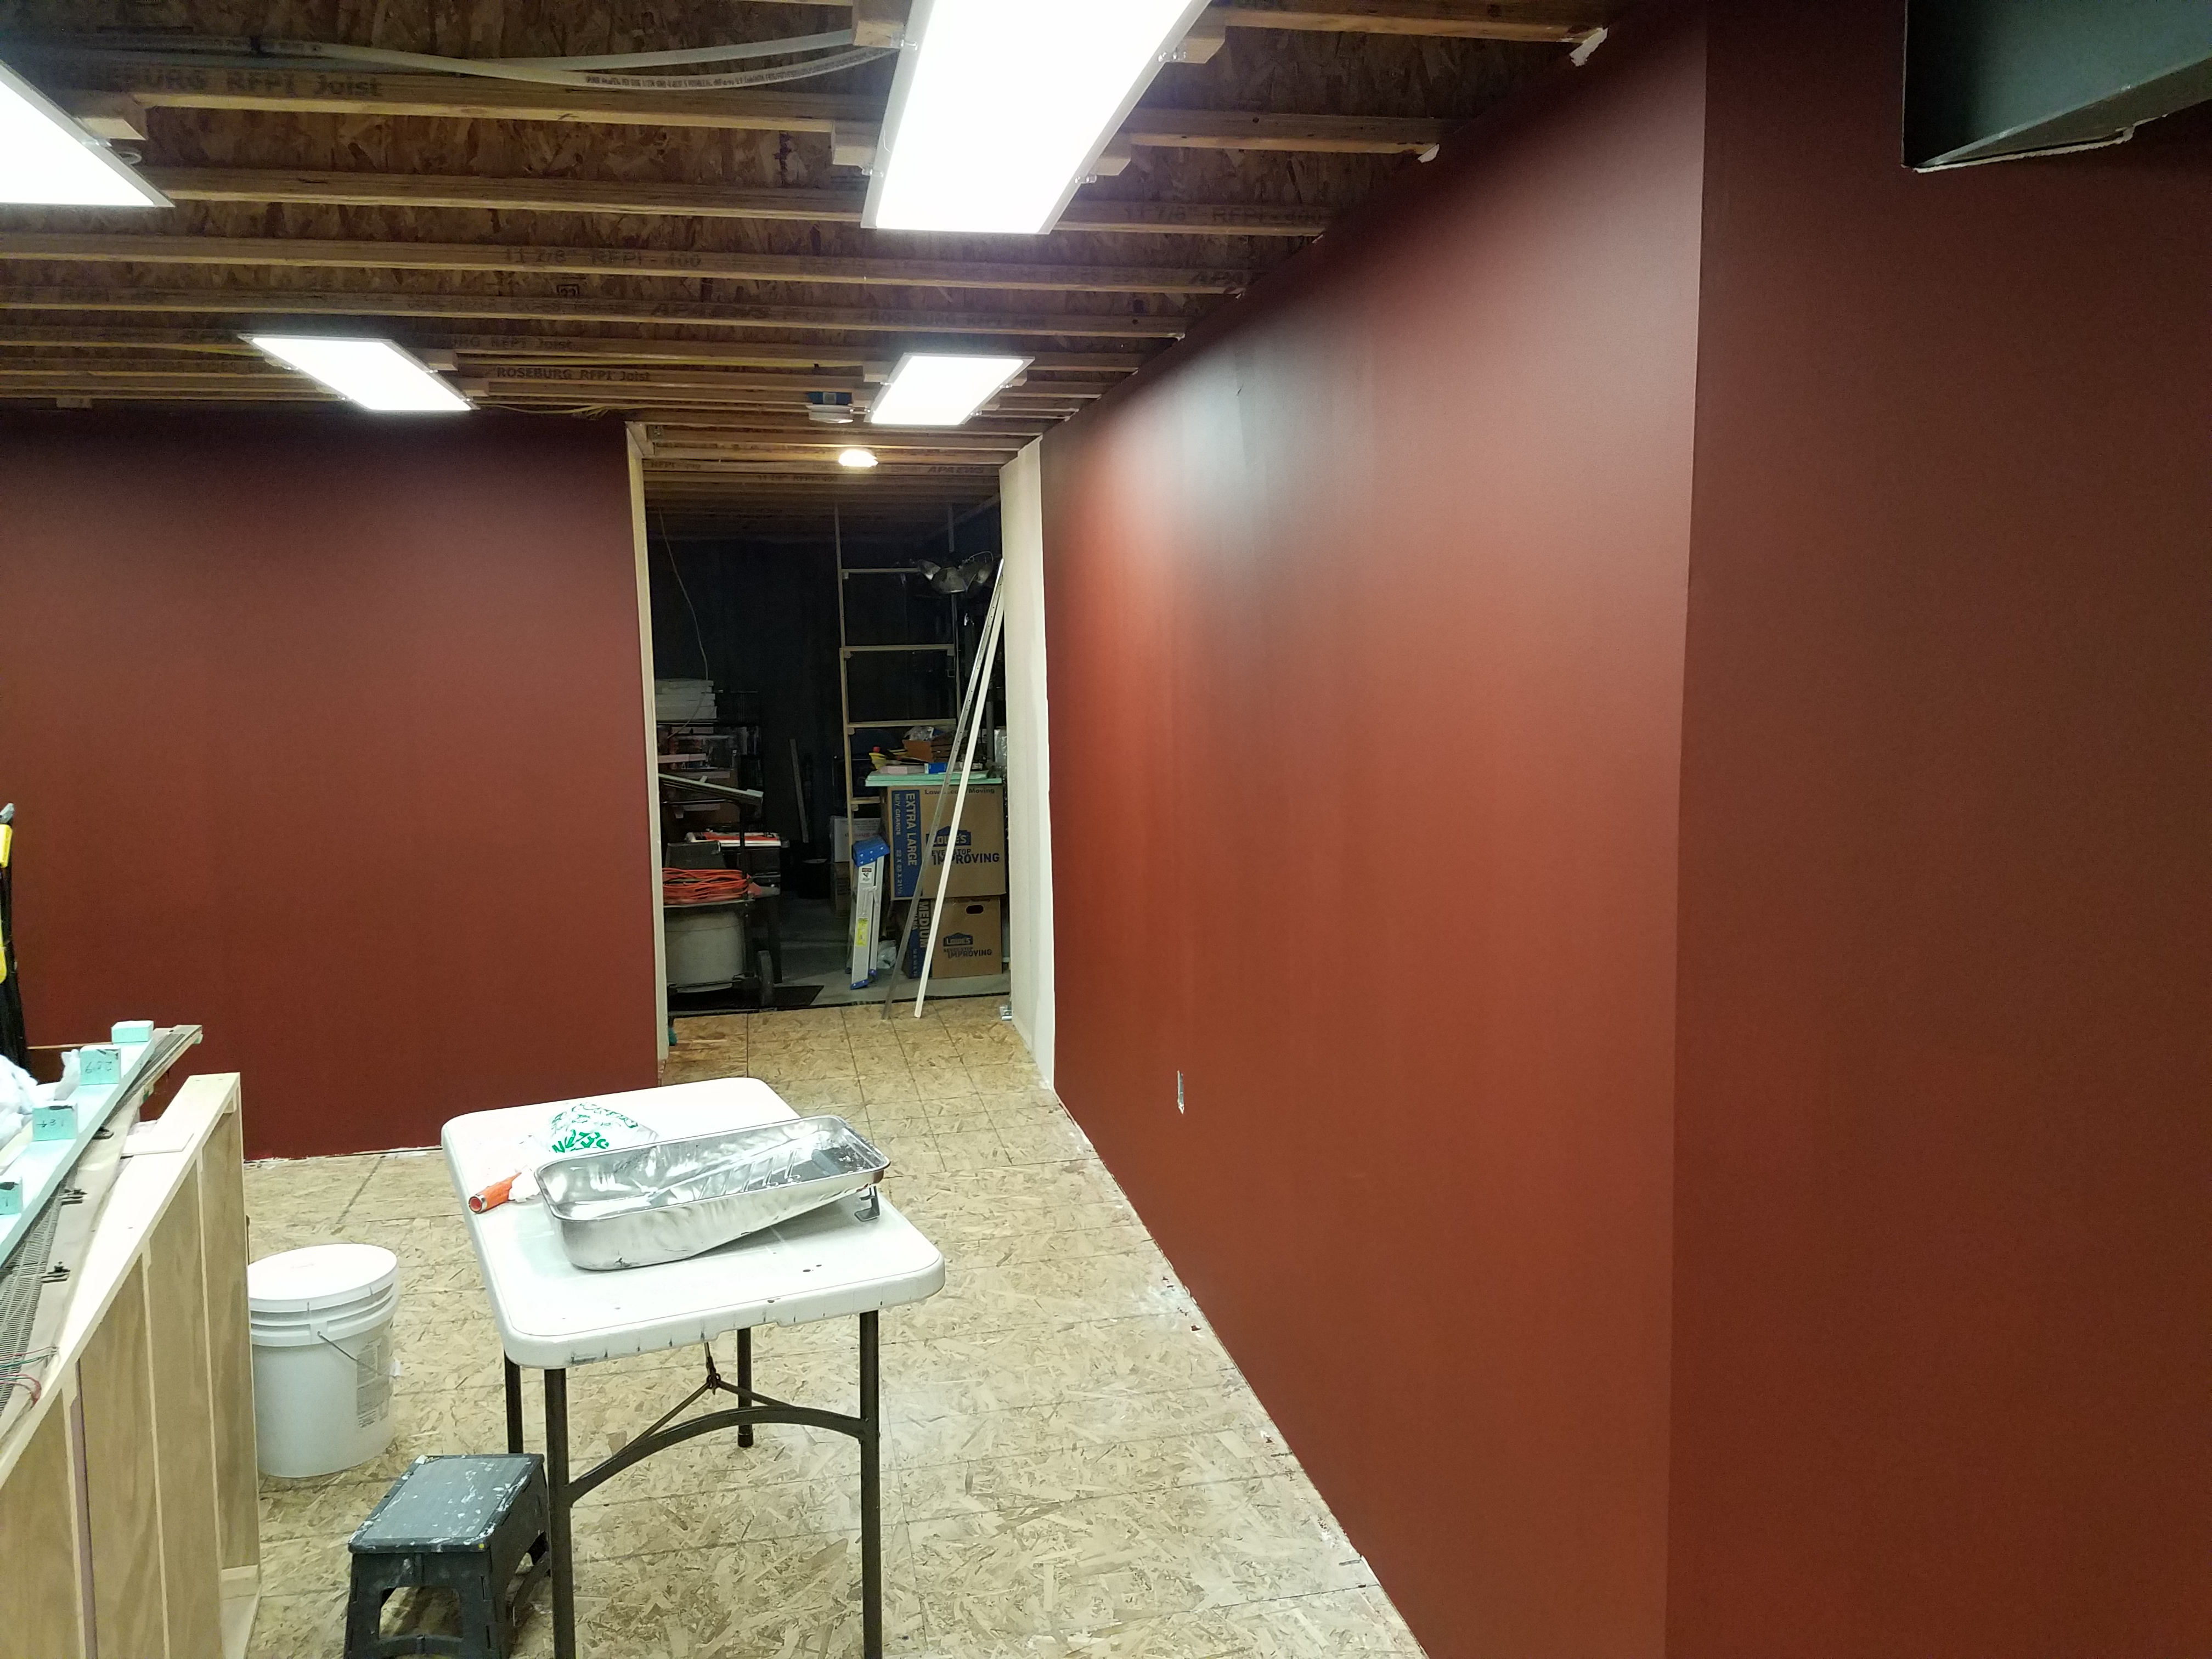
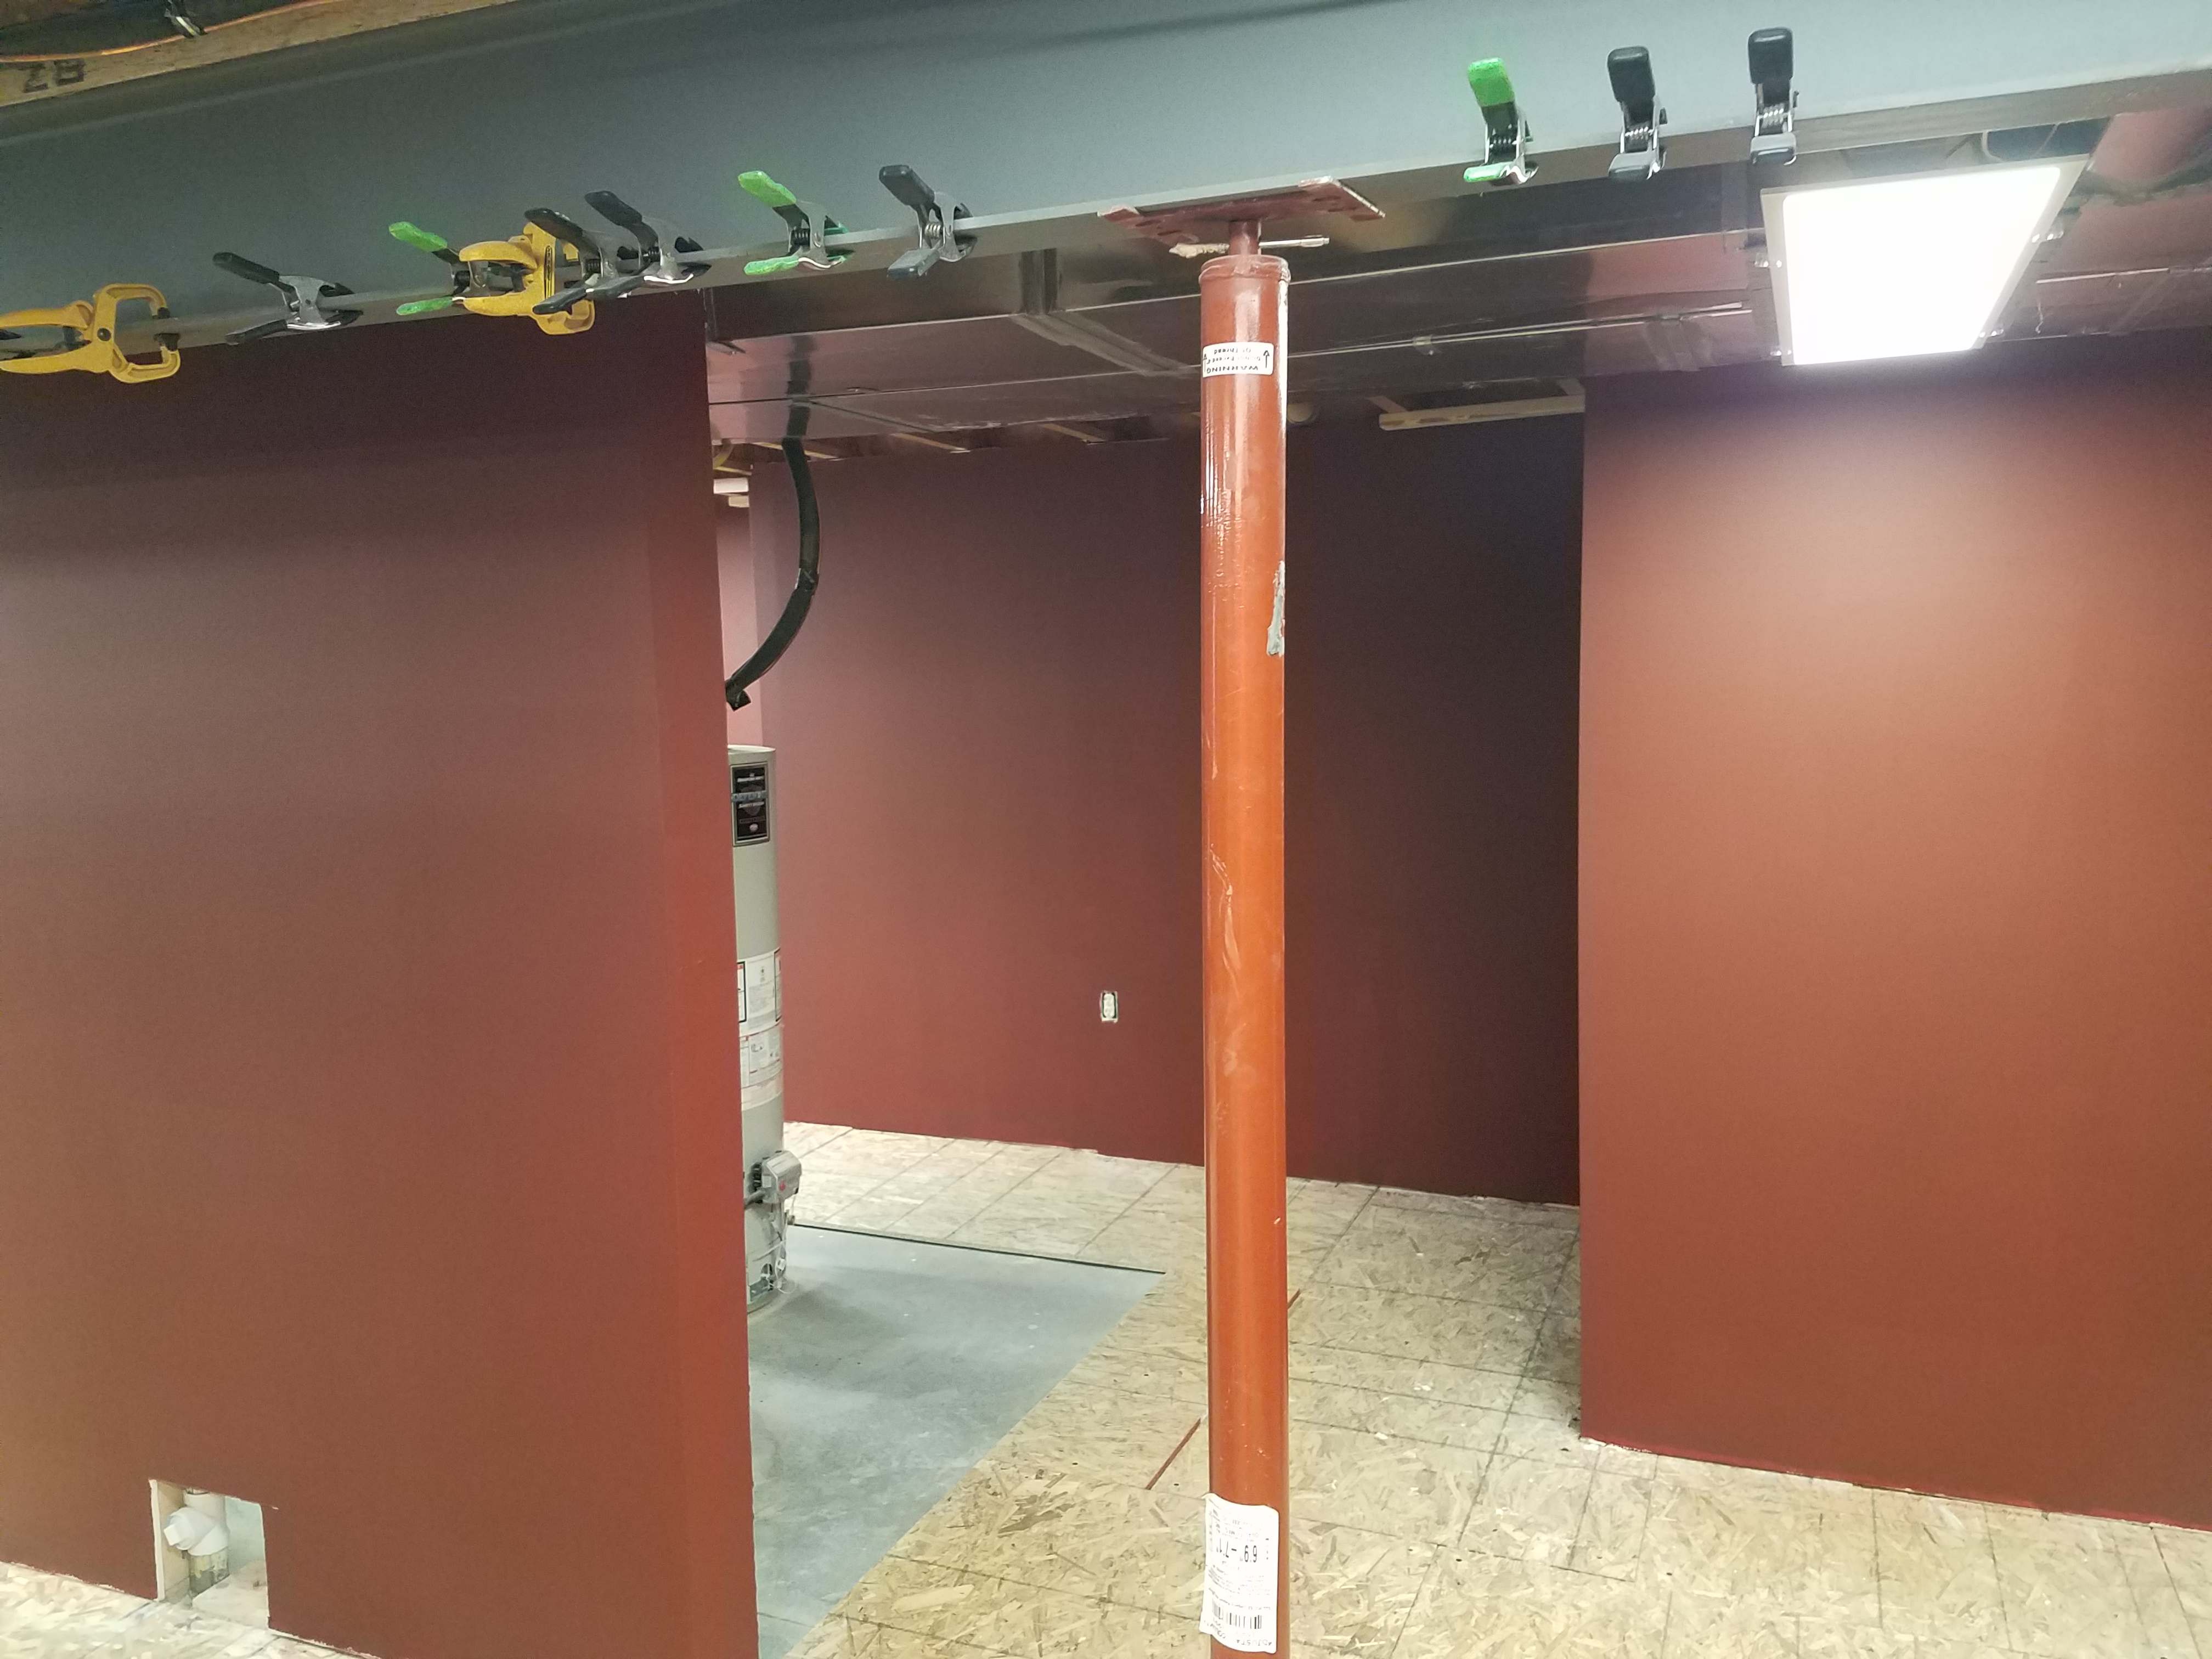
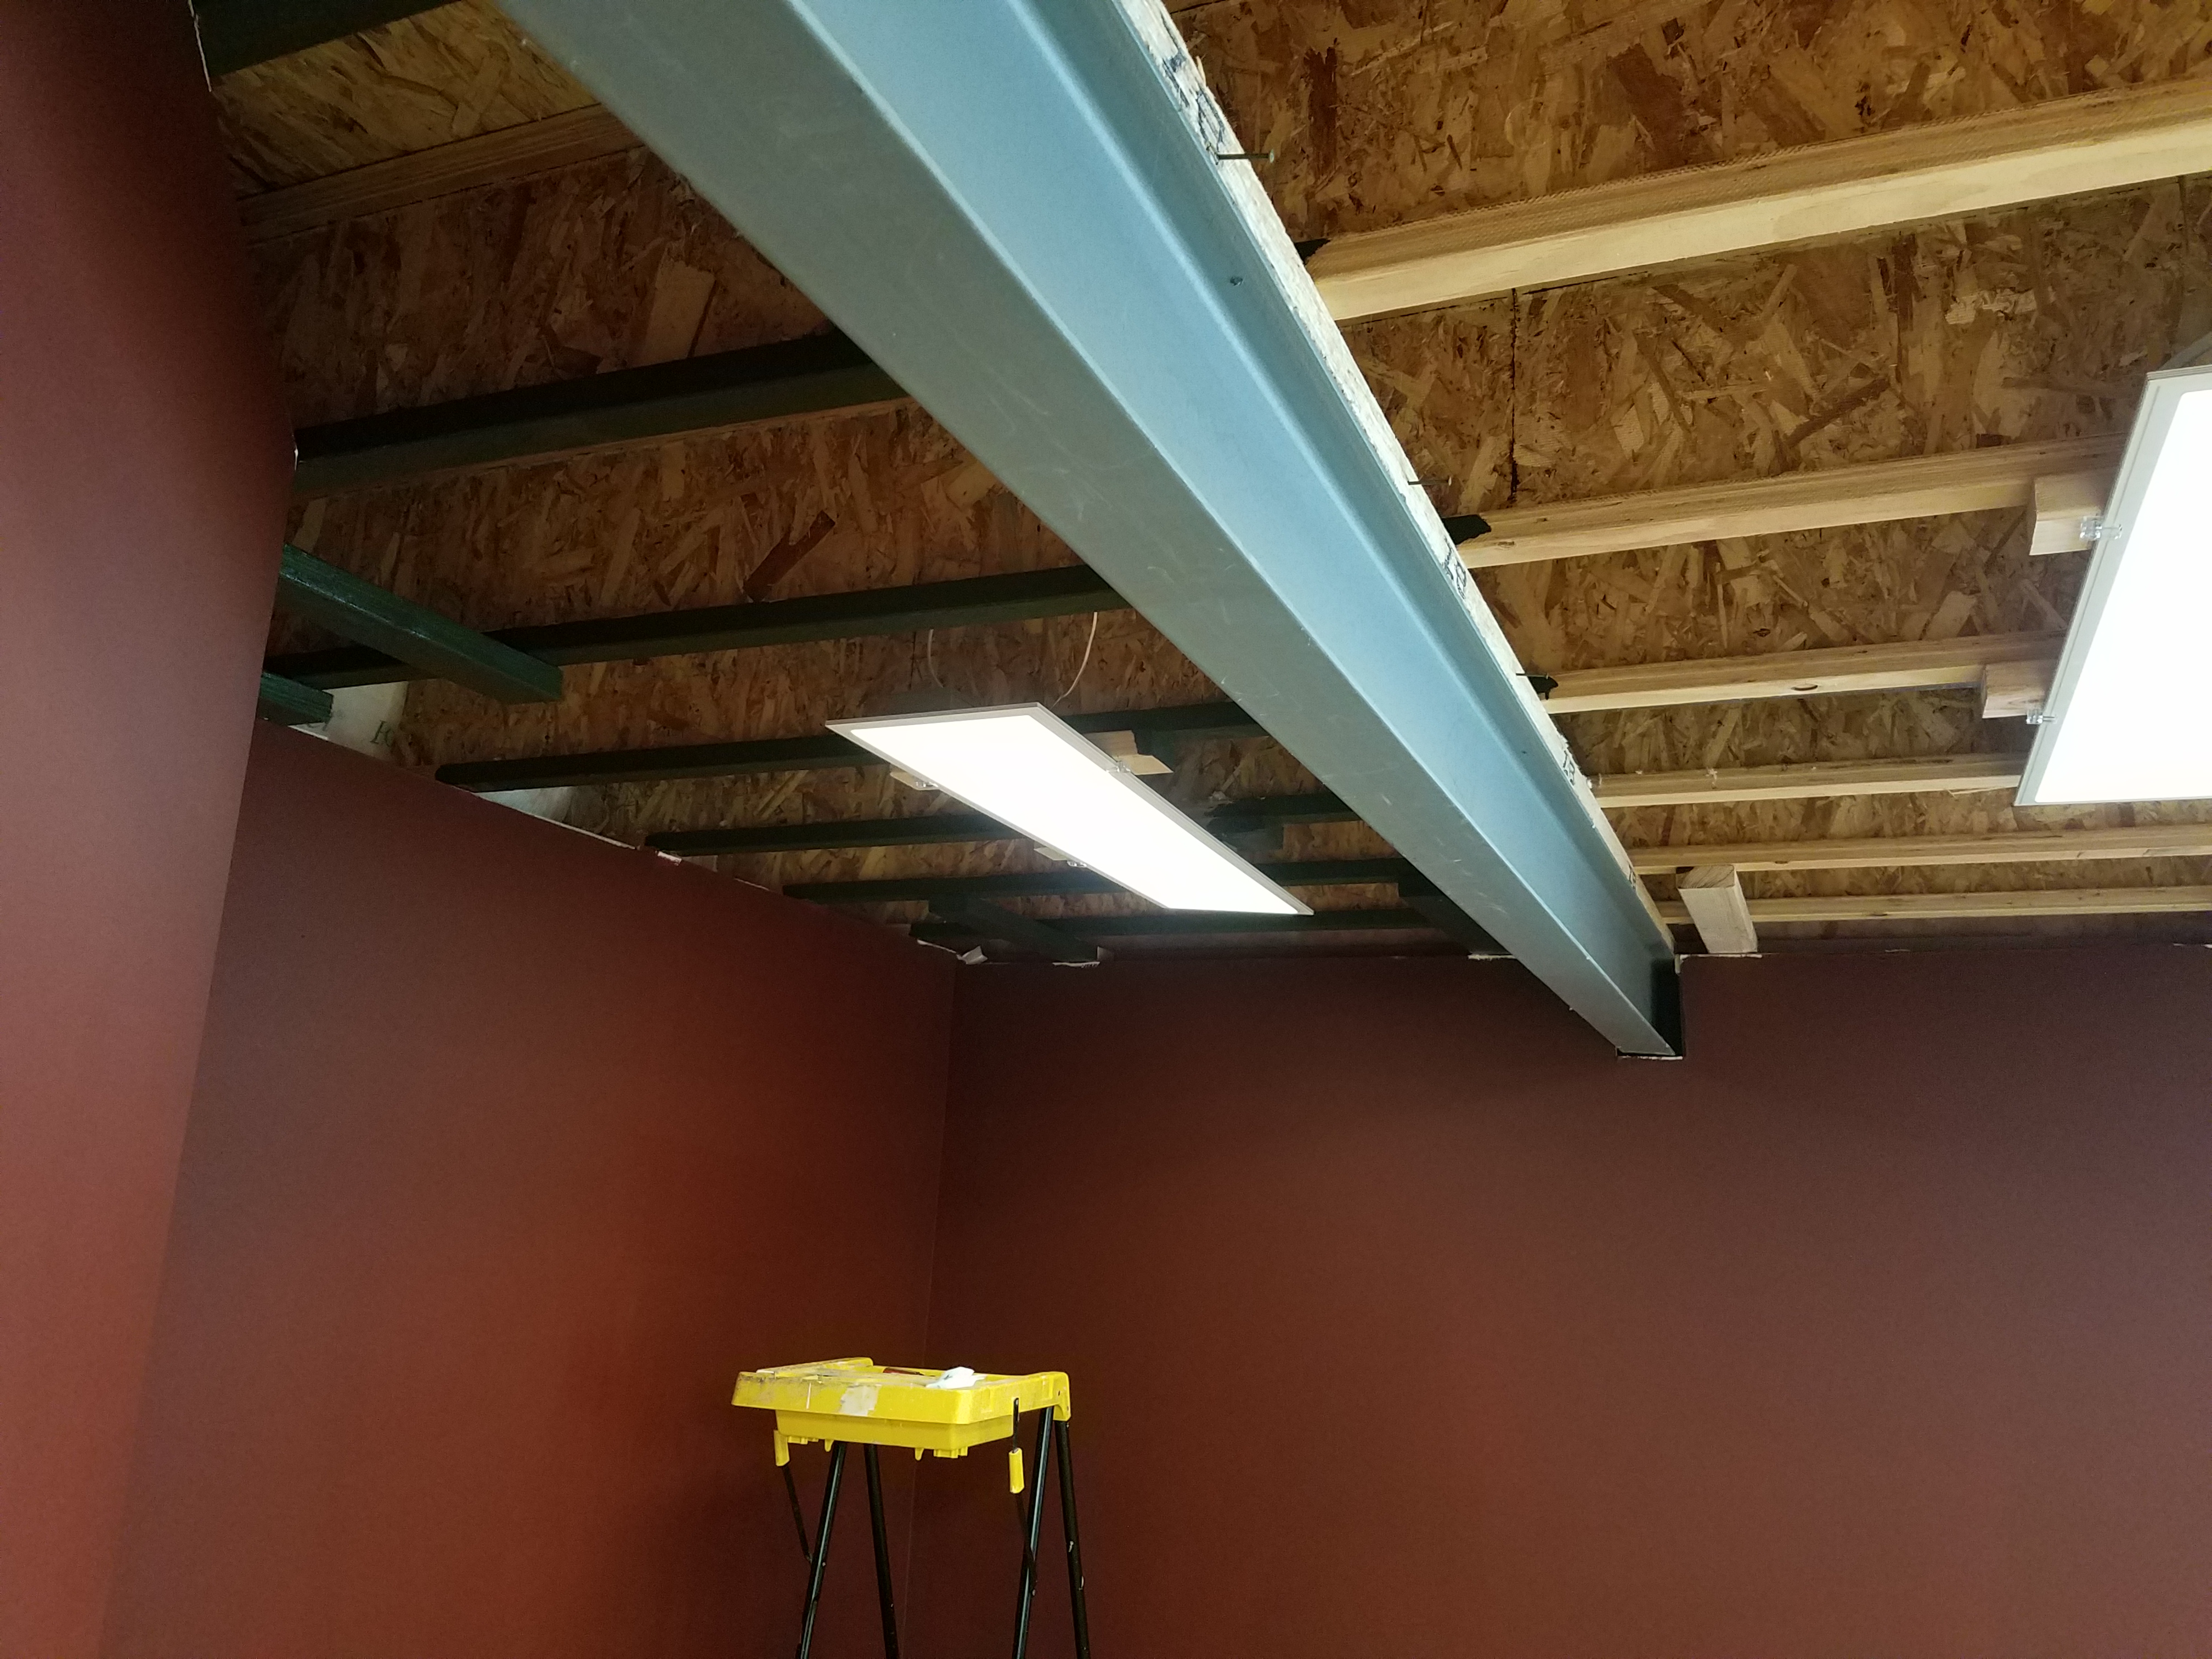
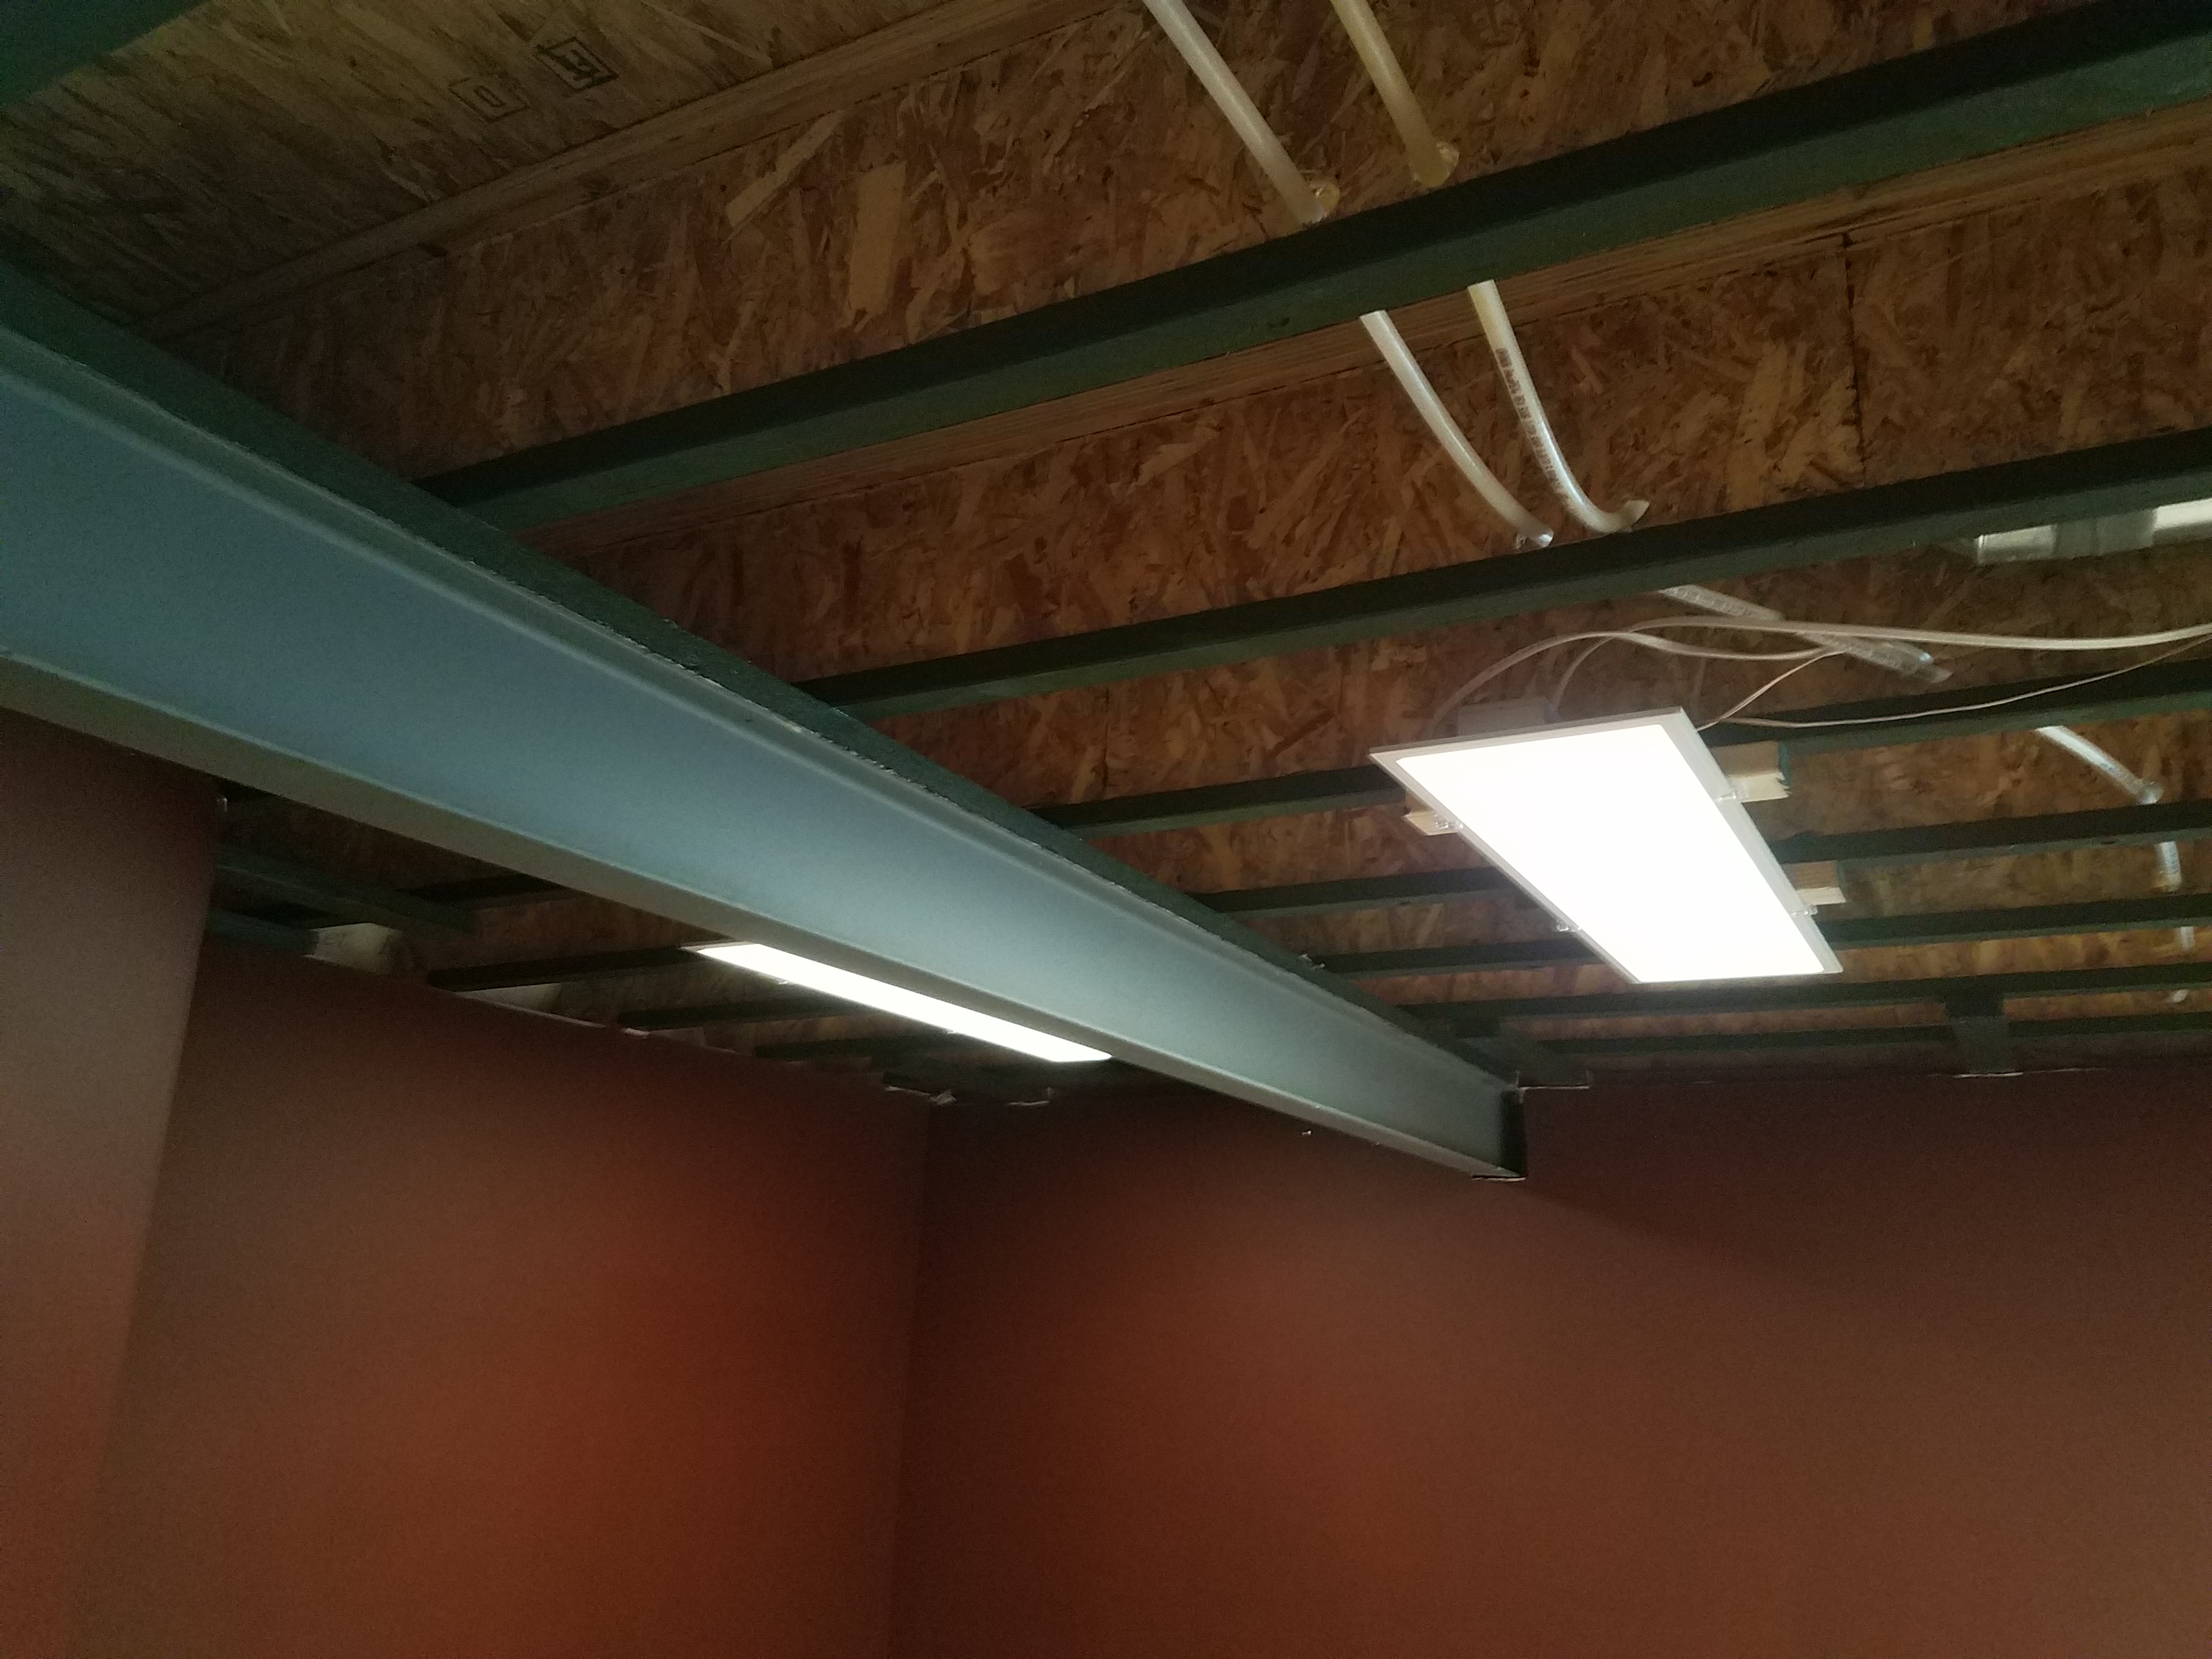
After that was done I started with the Bronze Green trim. This will take a few weeks to complete, but the green really subdues the ceiling joist lower flanges.
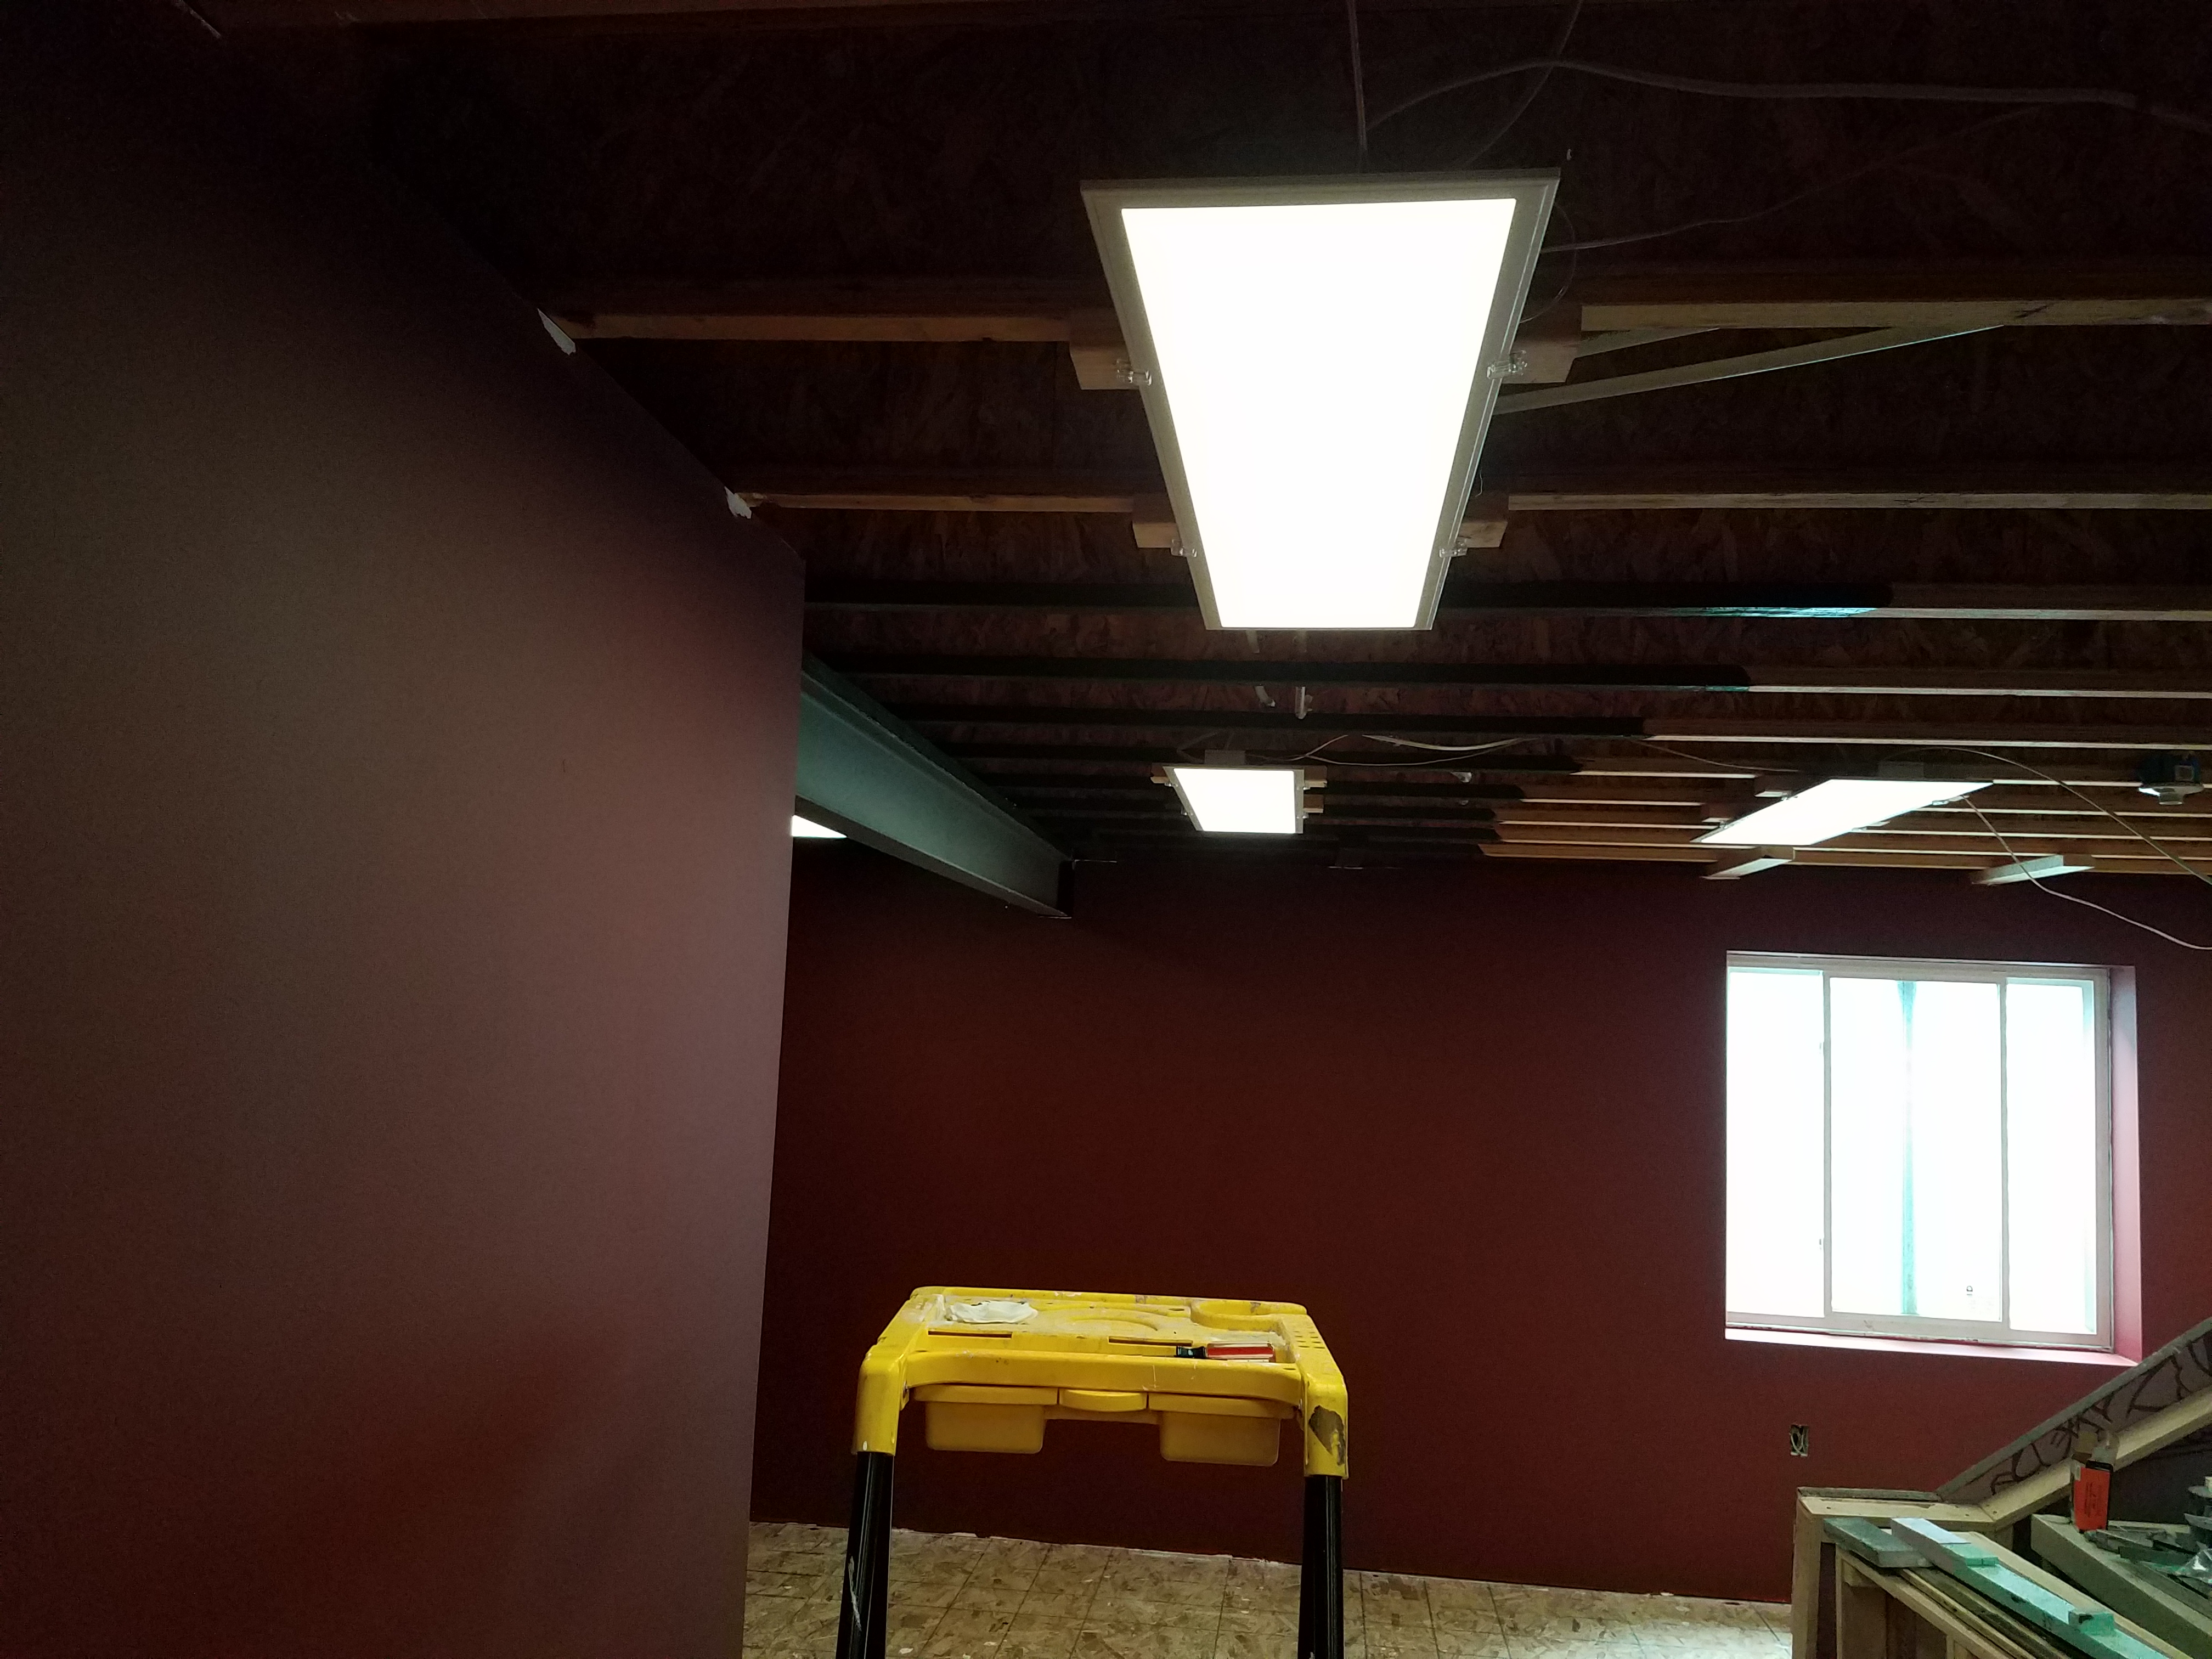
Trim is now going up in the alcove:
My wife's friend Lina is visiting from Spokane, and she pitched right in with the painting:
On June 12th we purchased vinyl flooring plans and began installing them:
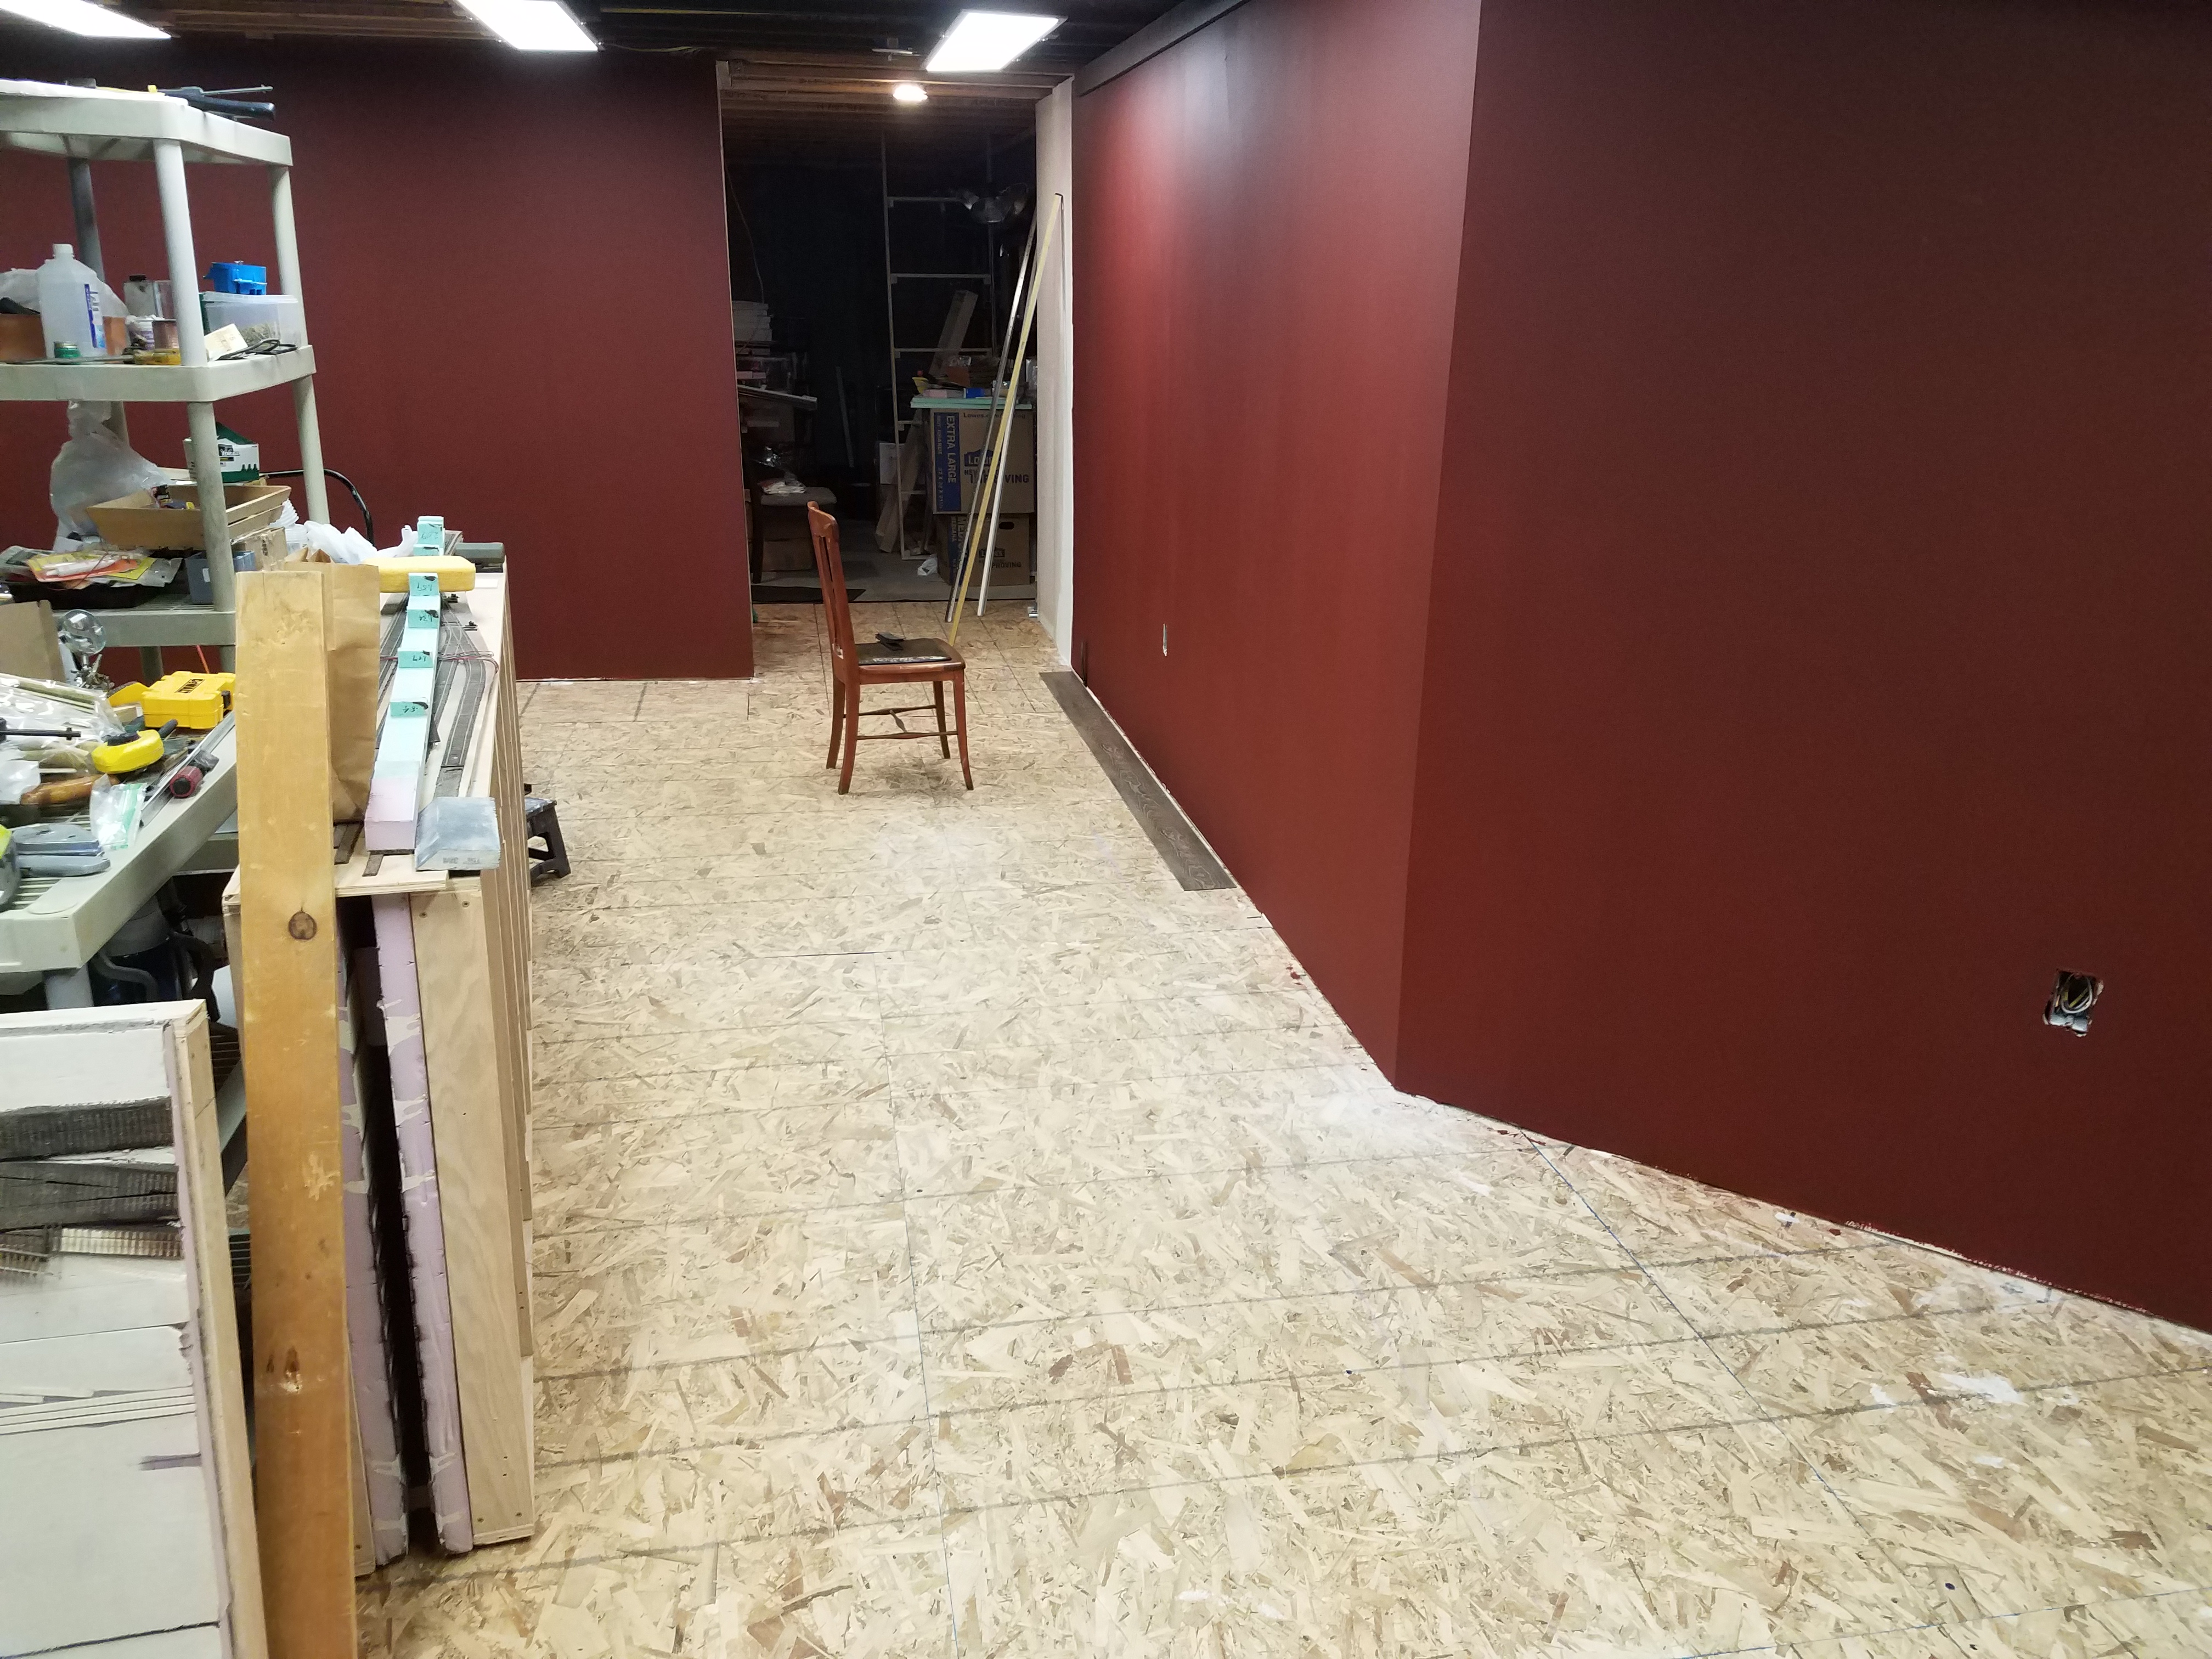
First row complete. Looks like a long way to go!

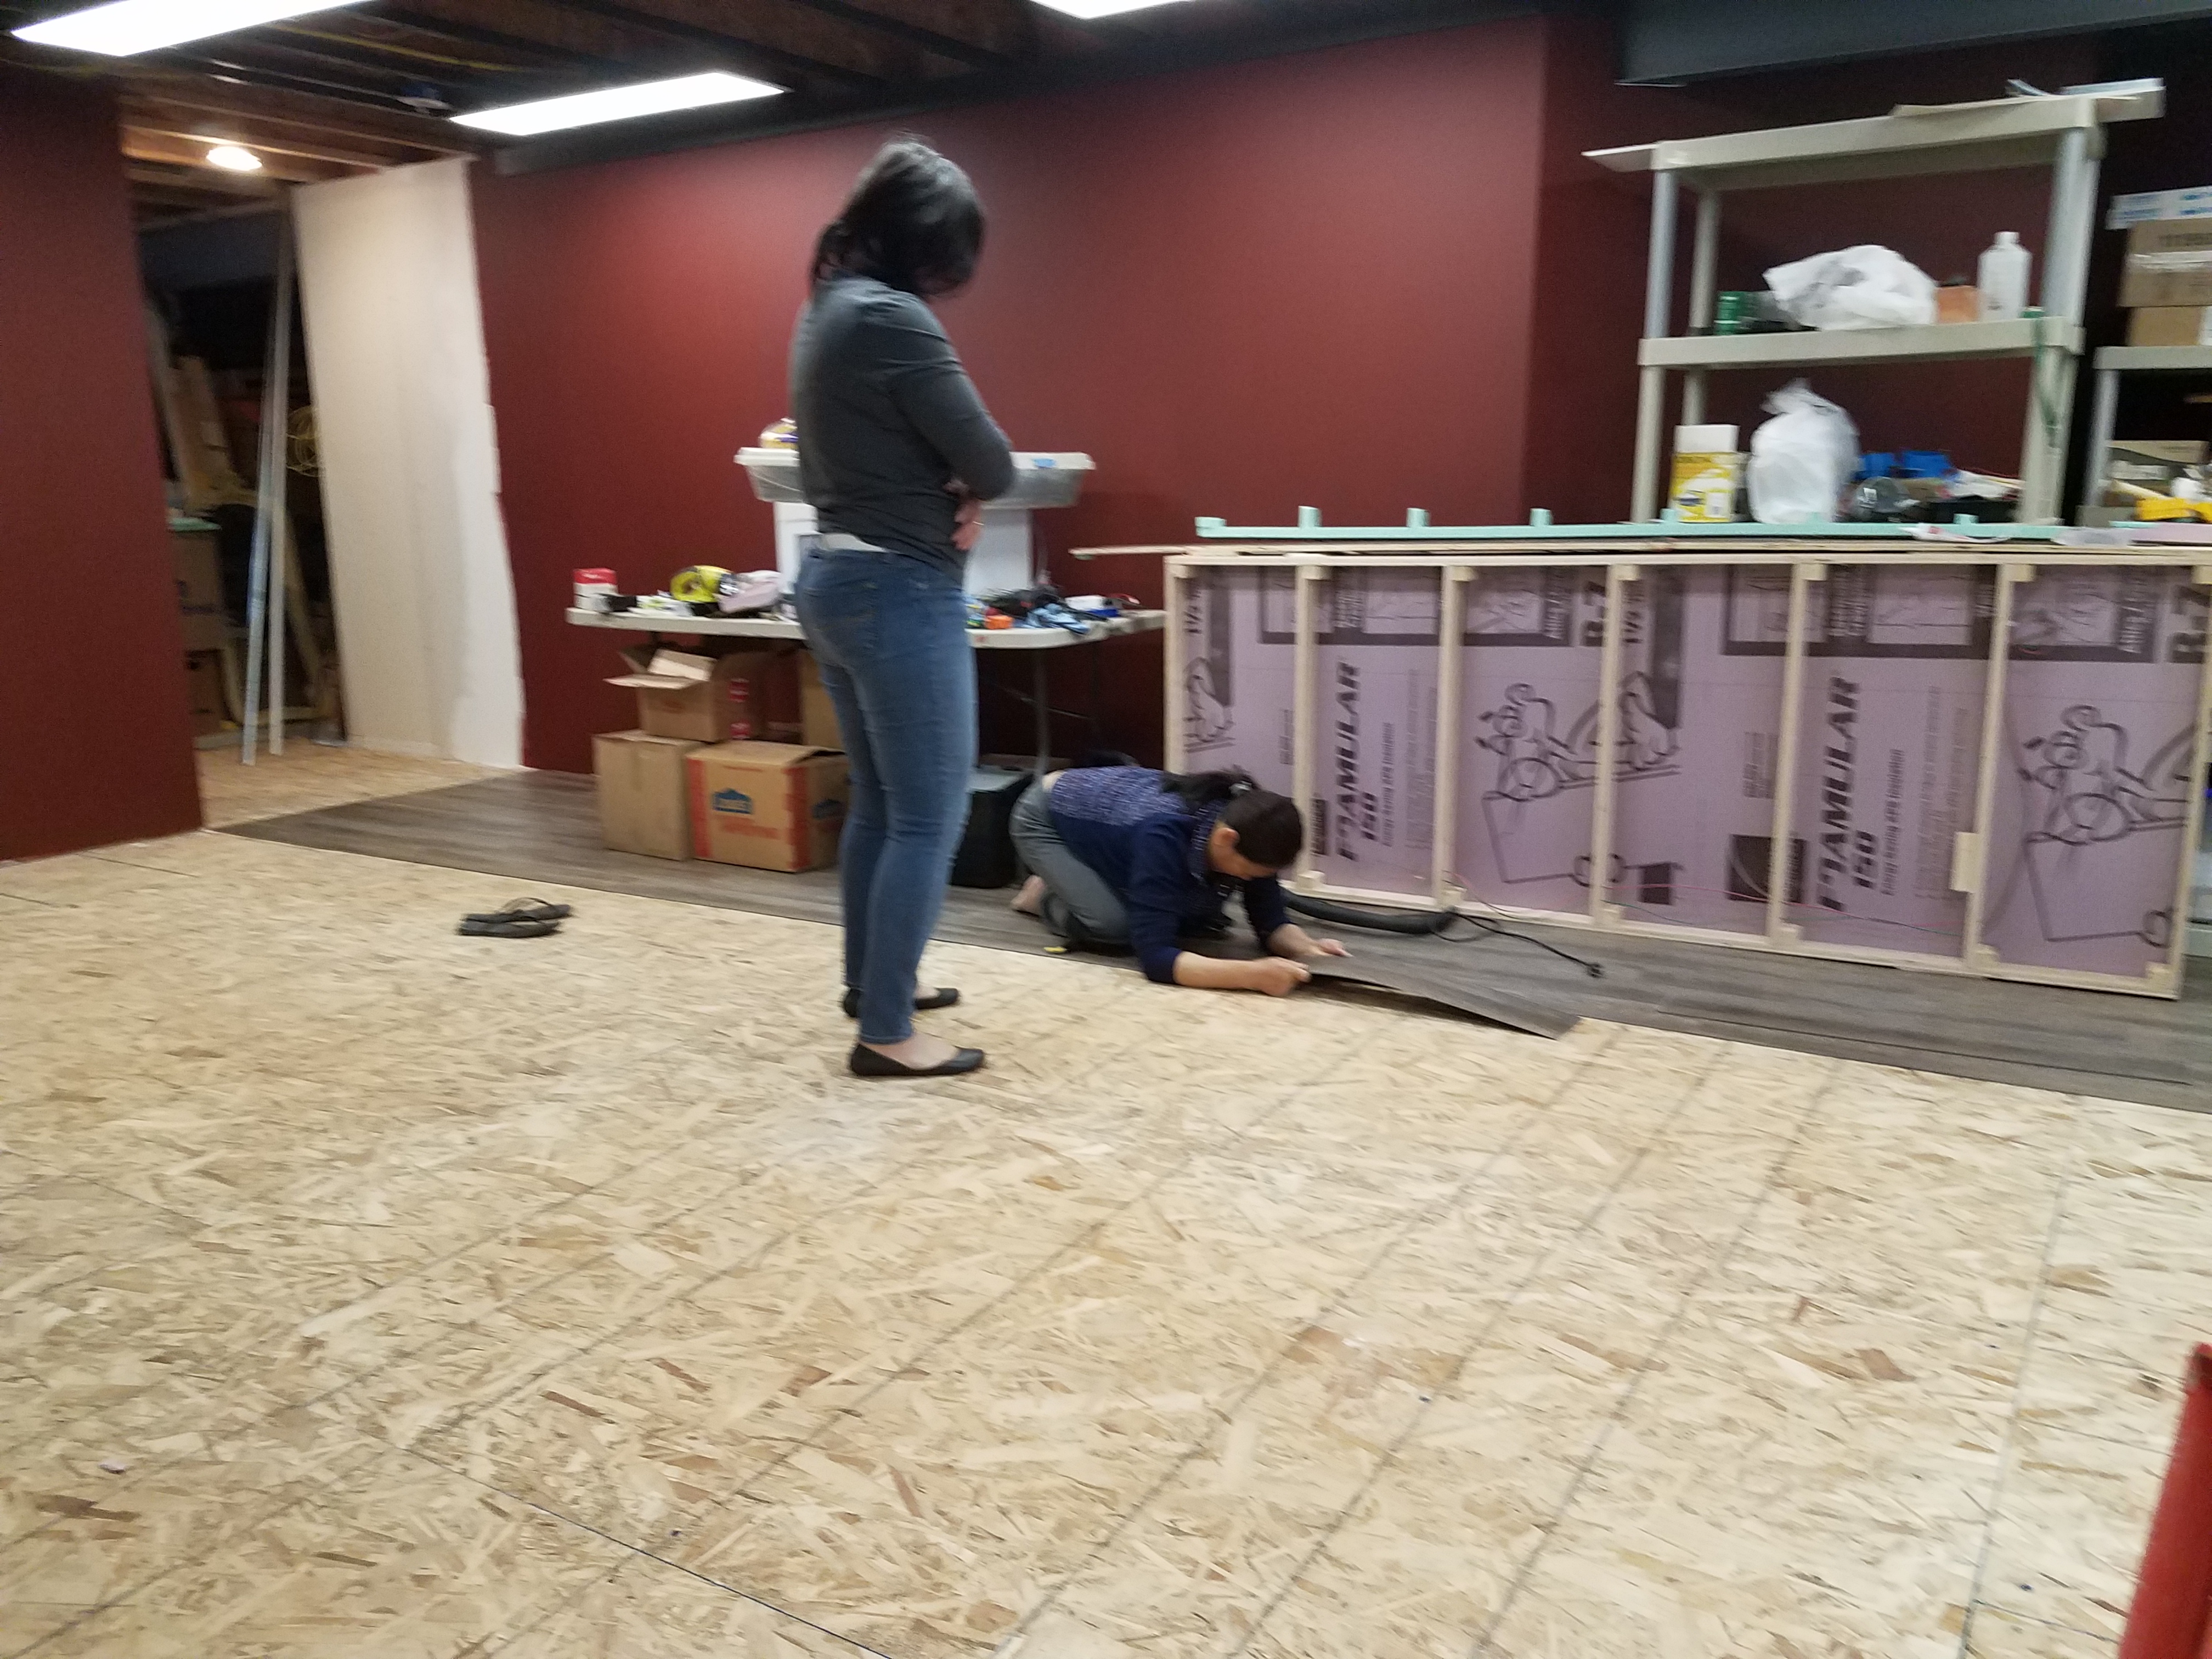
Two days later and we've made some progress! These planks link together on all four sides, and it took a bit to get the knack of installing each plank. The second and third rows were frustratingly hard to get in right, but after that it went okay.
I got the alcove finished on the 16th. Unfortunately, my kneepads weren't quite up to the task, and I wound up with a huge blister on my right knee. I won't be doing too much work on the floor for at least a week, but my wife and her friend Lina, visiting from Spokane, took over. Here they are installing a few rows on the 16th of the month (sorry for the blurry photo).
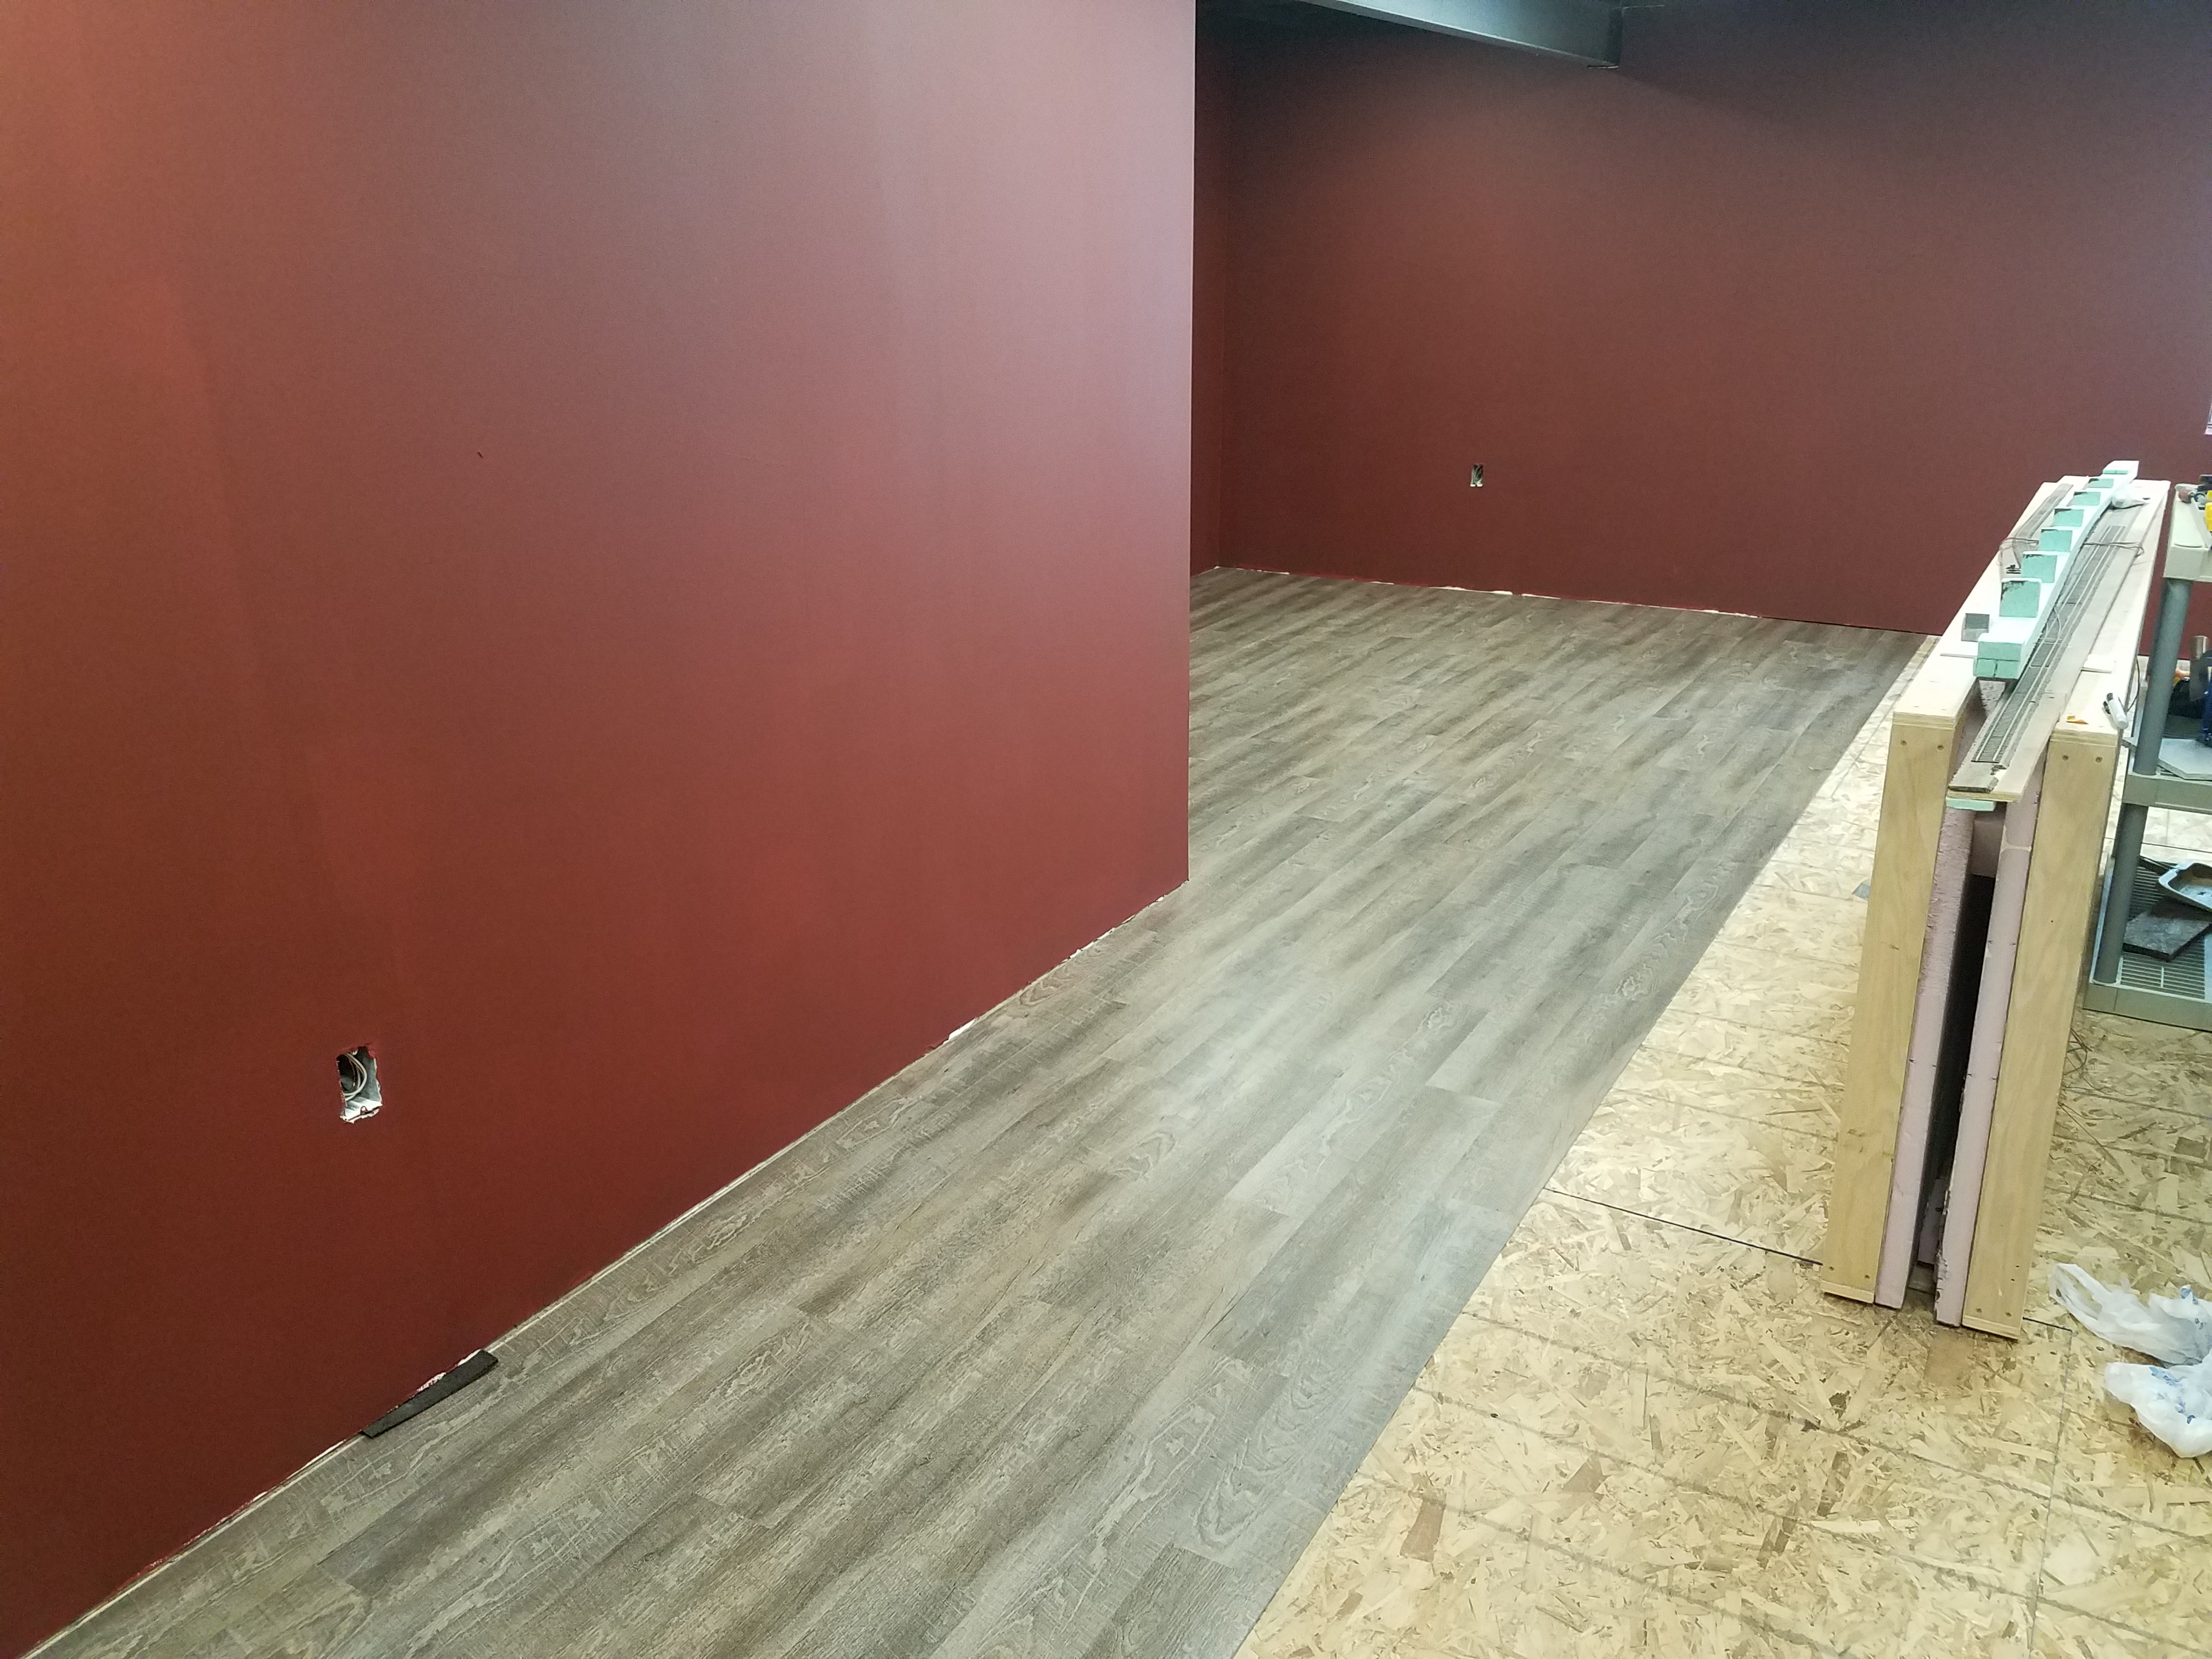
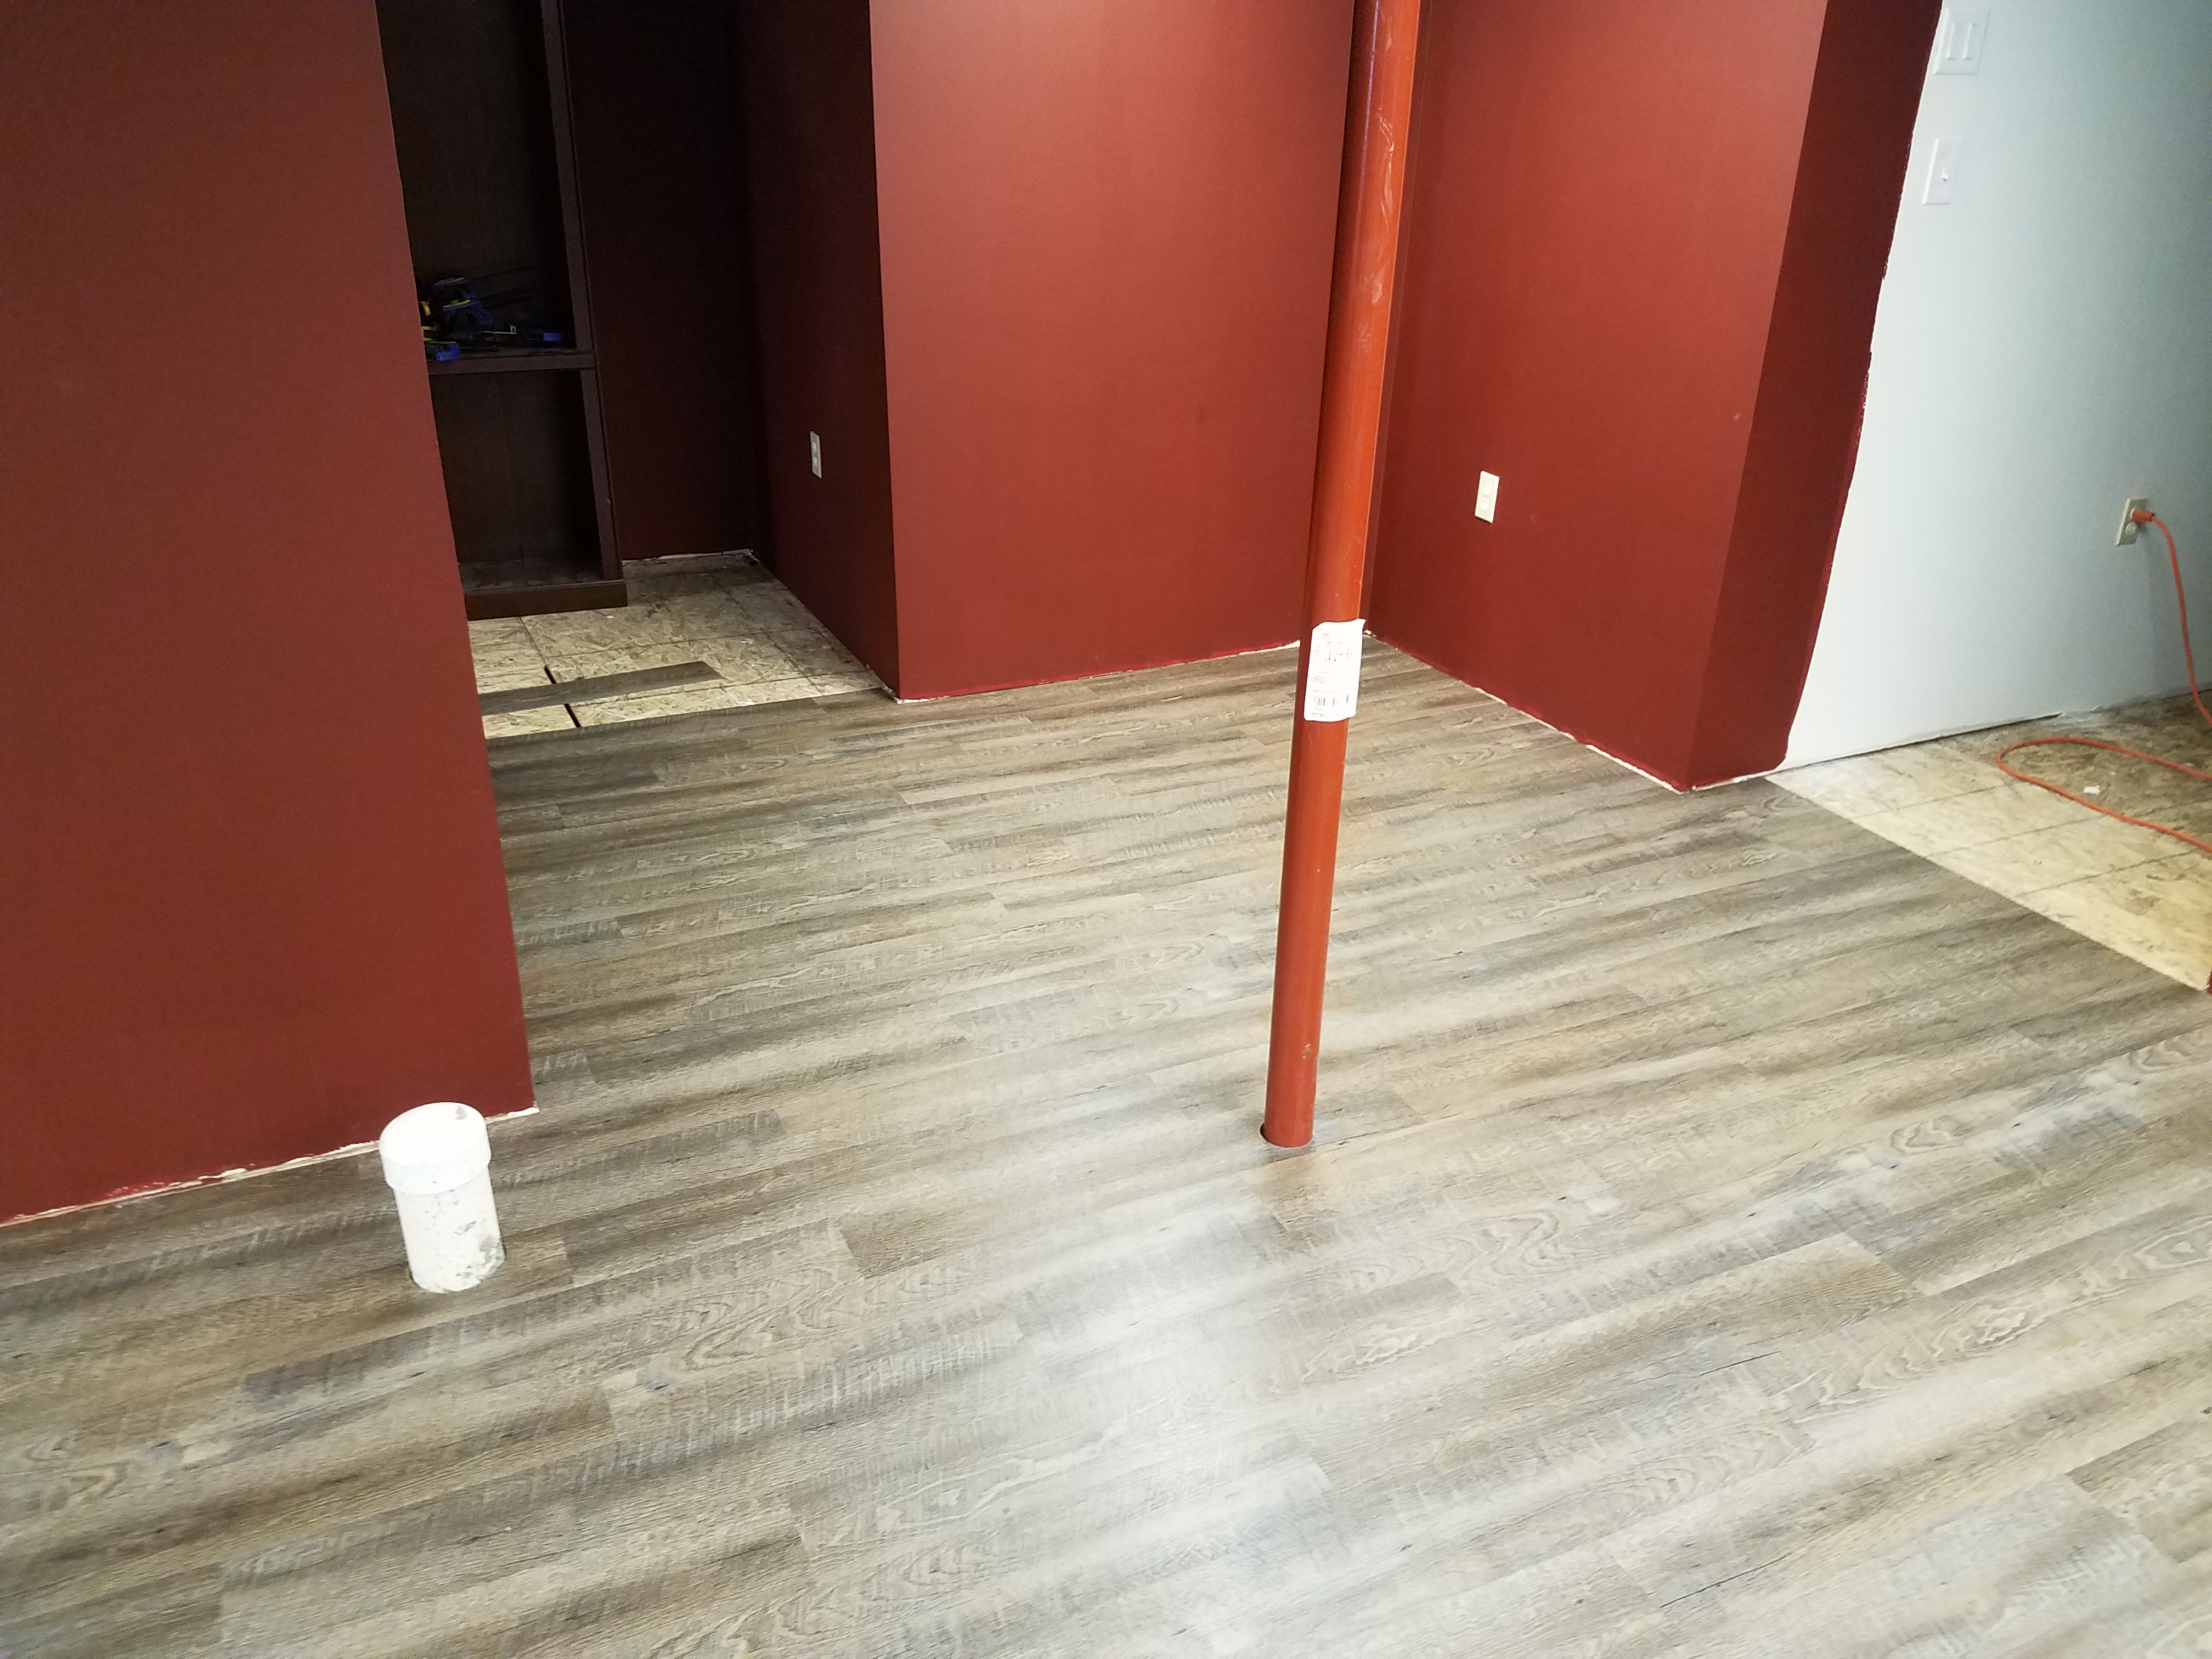
Work on the flooring continues. We're getting close to finished with that job.
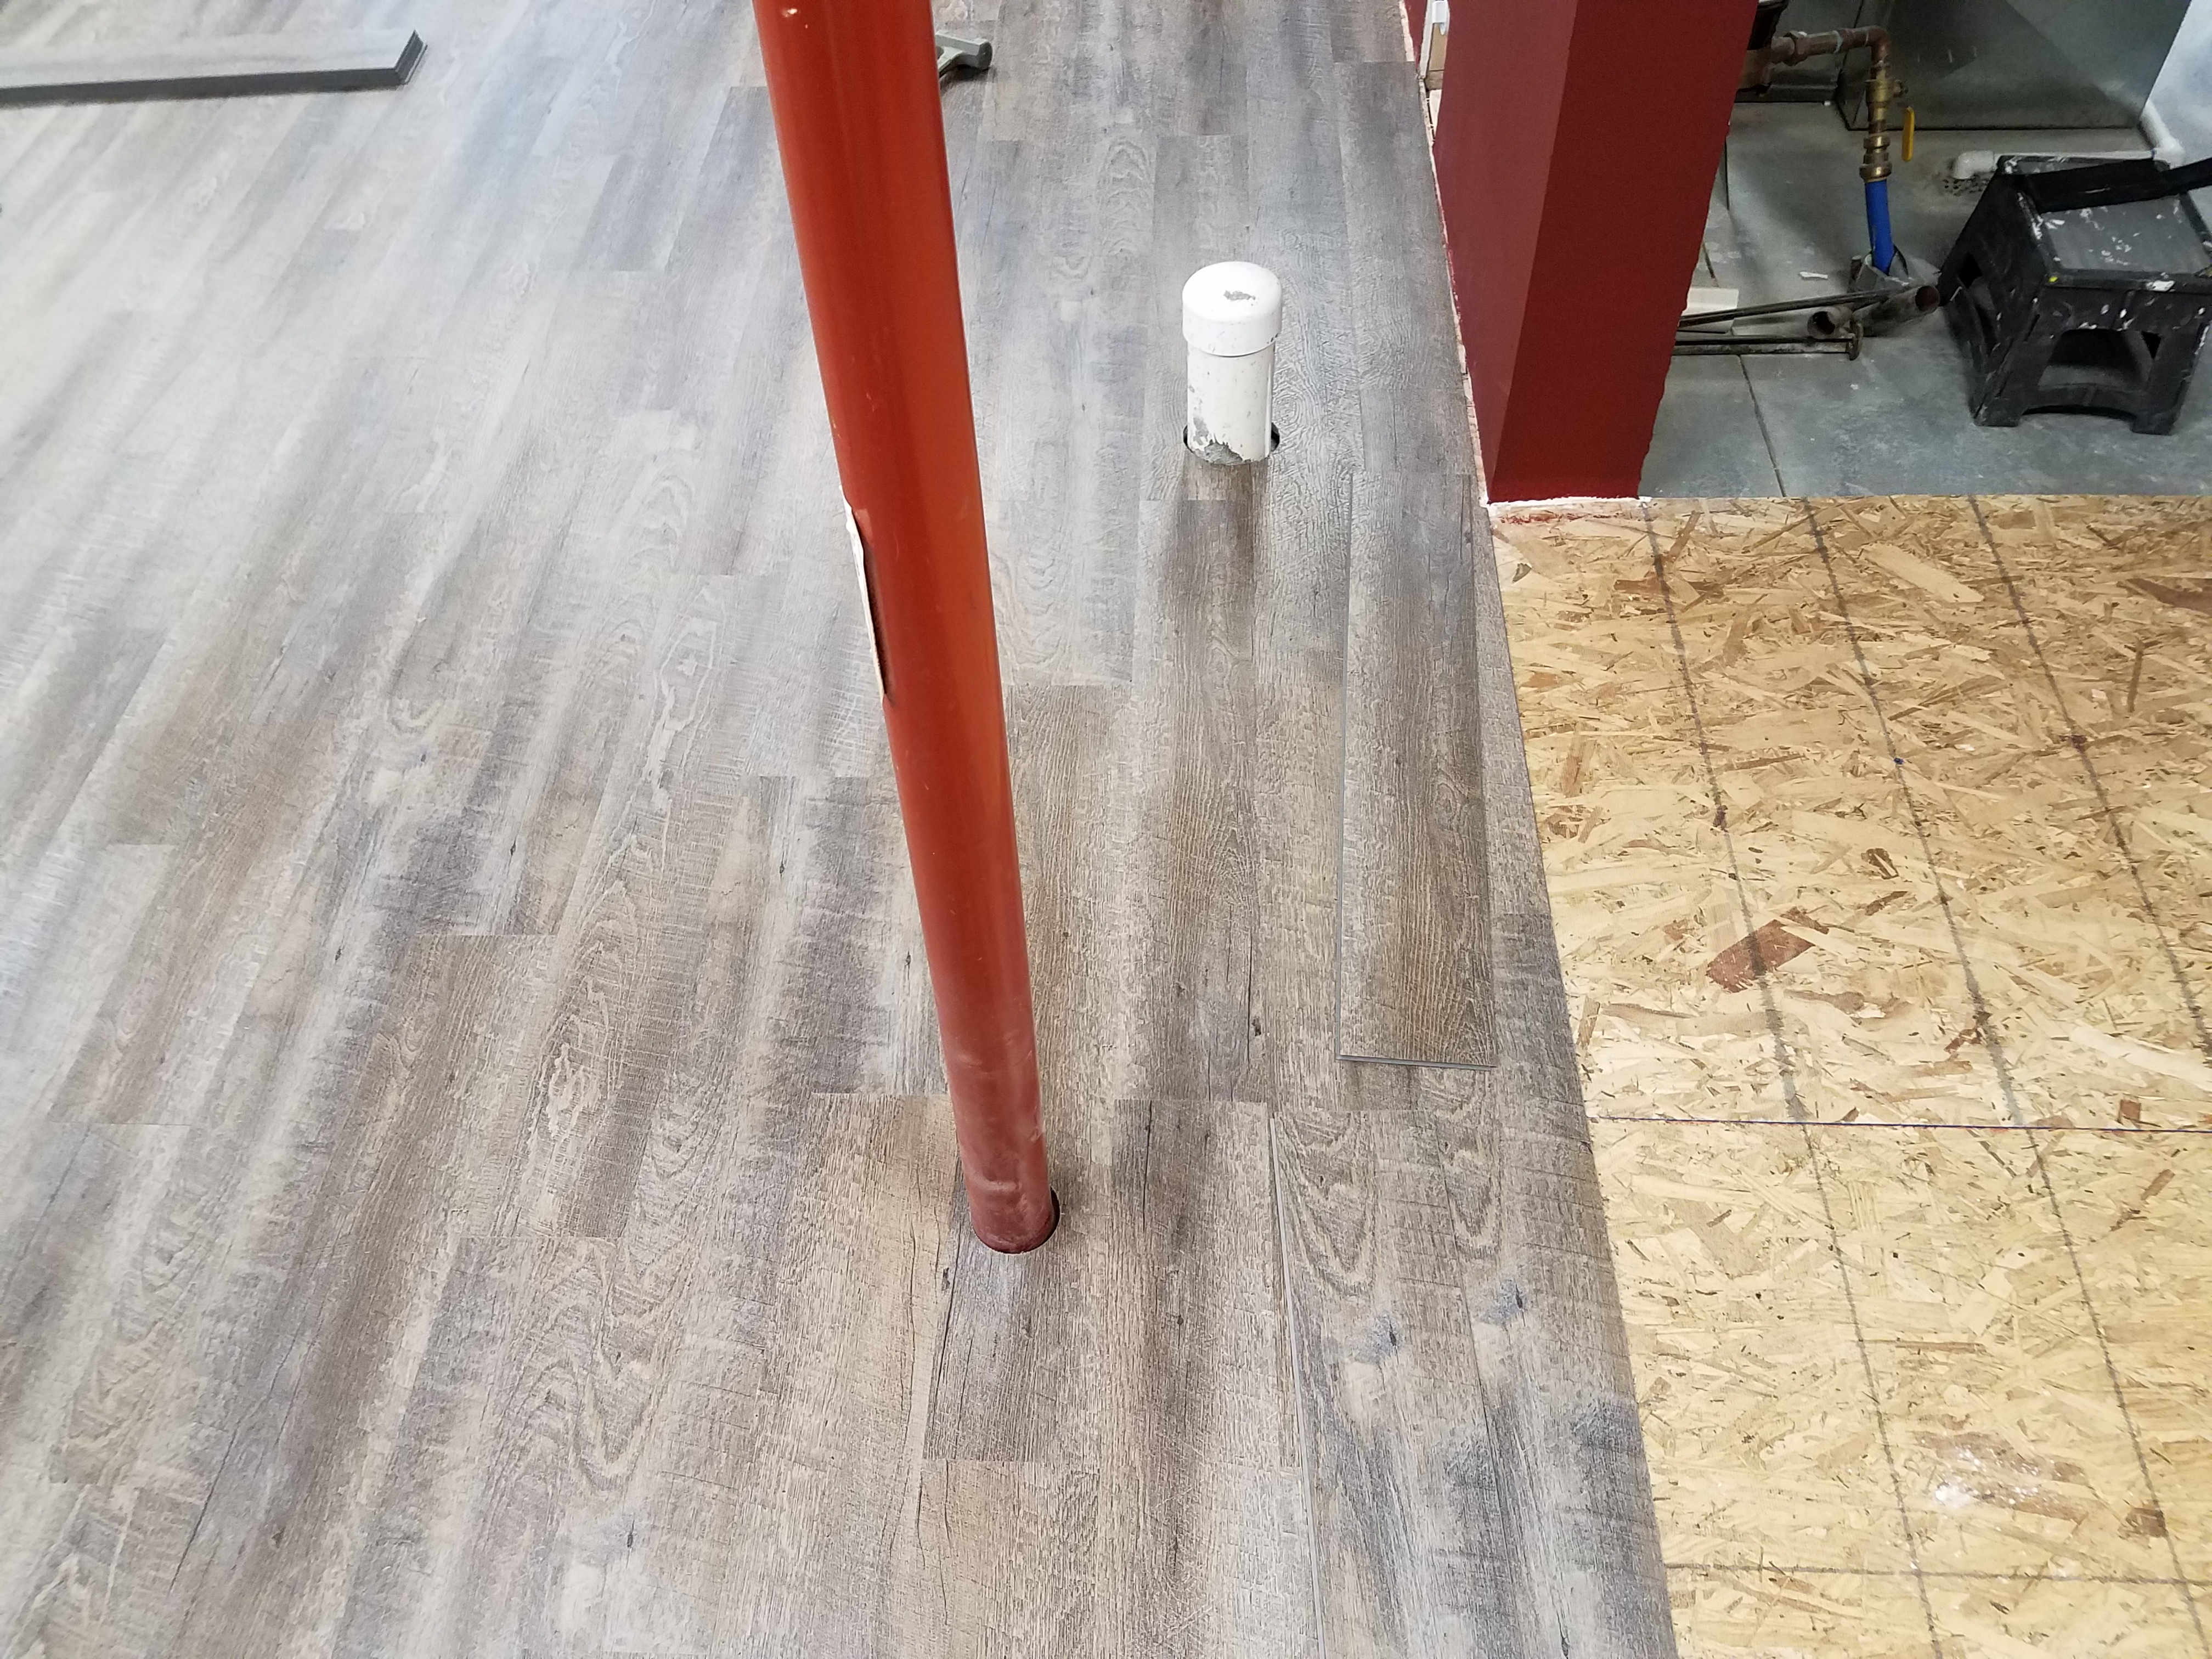
One of the things I was a bit worried about was how I would cut the flooring to fit around the two round obstacles near the furnace. Those came out pretty well, I think:
We made a lot of progress again today. I think the flooring will be finished either tomorrow or the next day. Current status:
A-n-d we finished the floor yesterday evening.
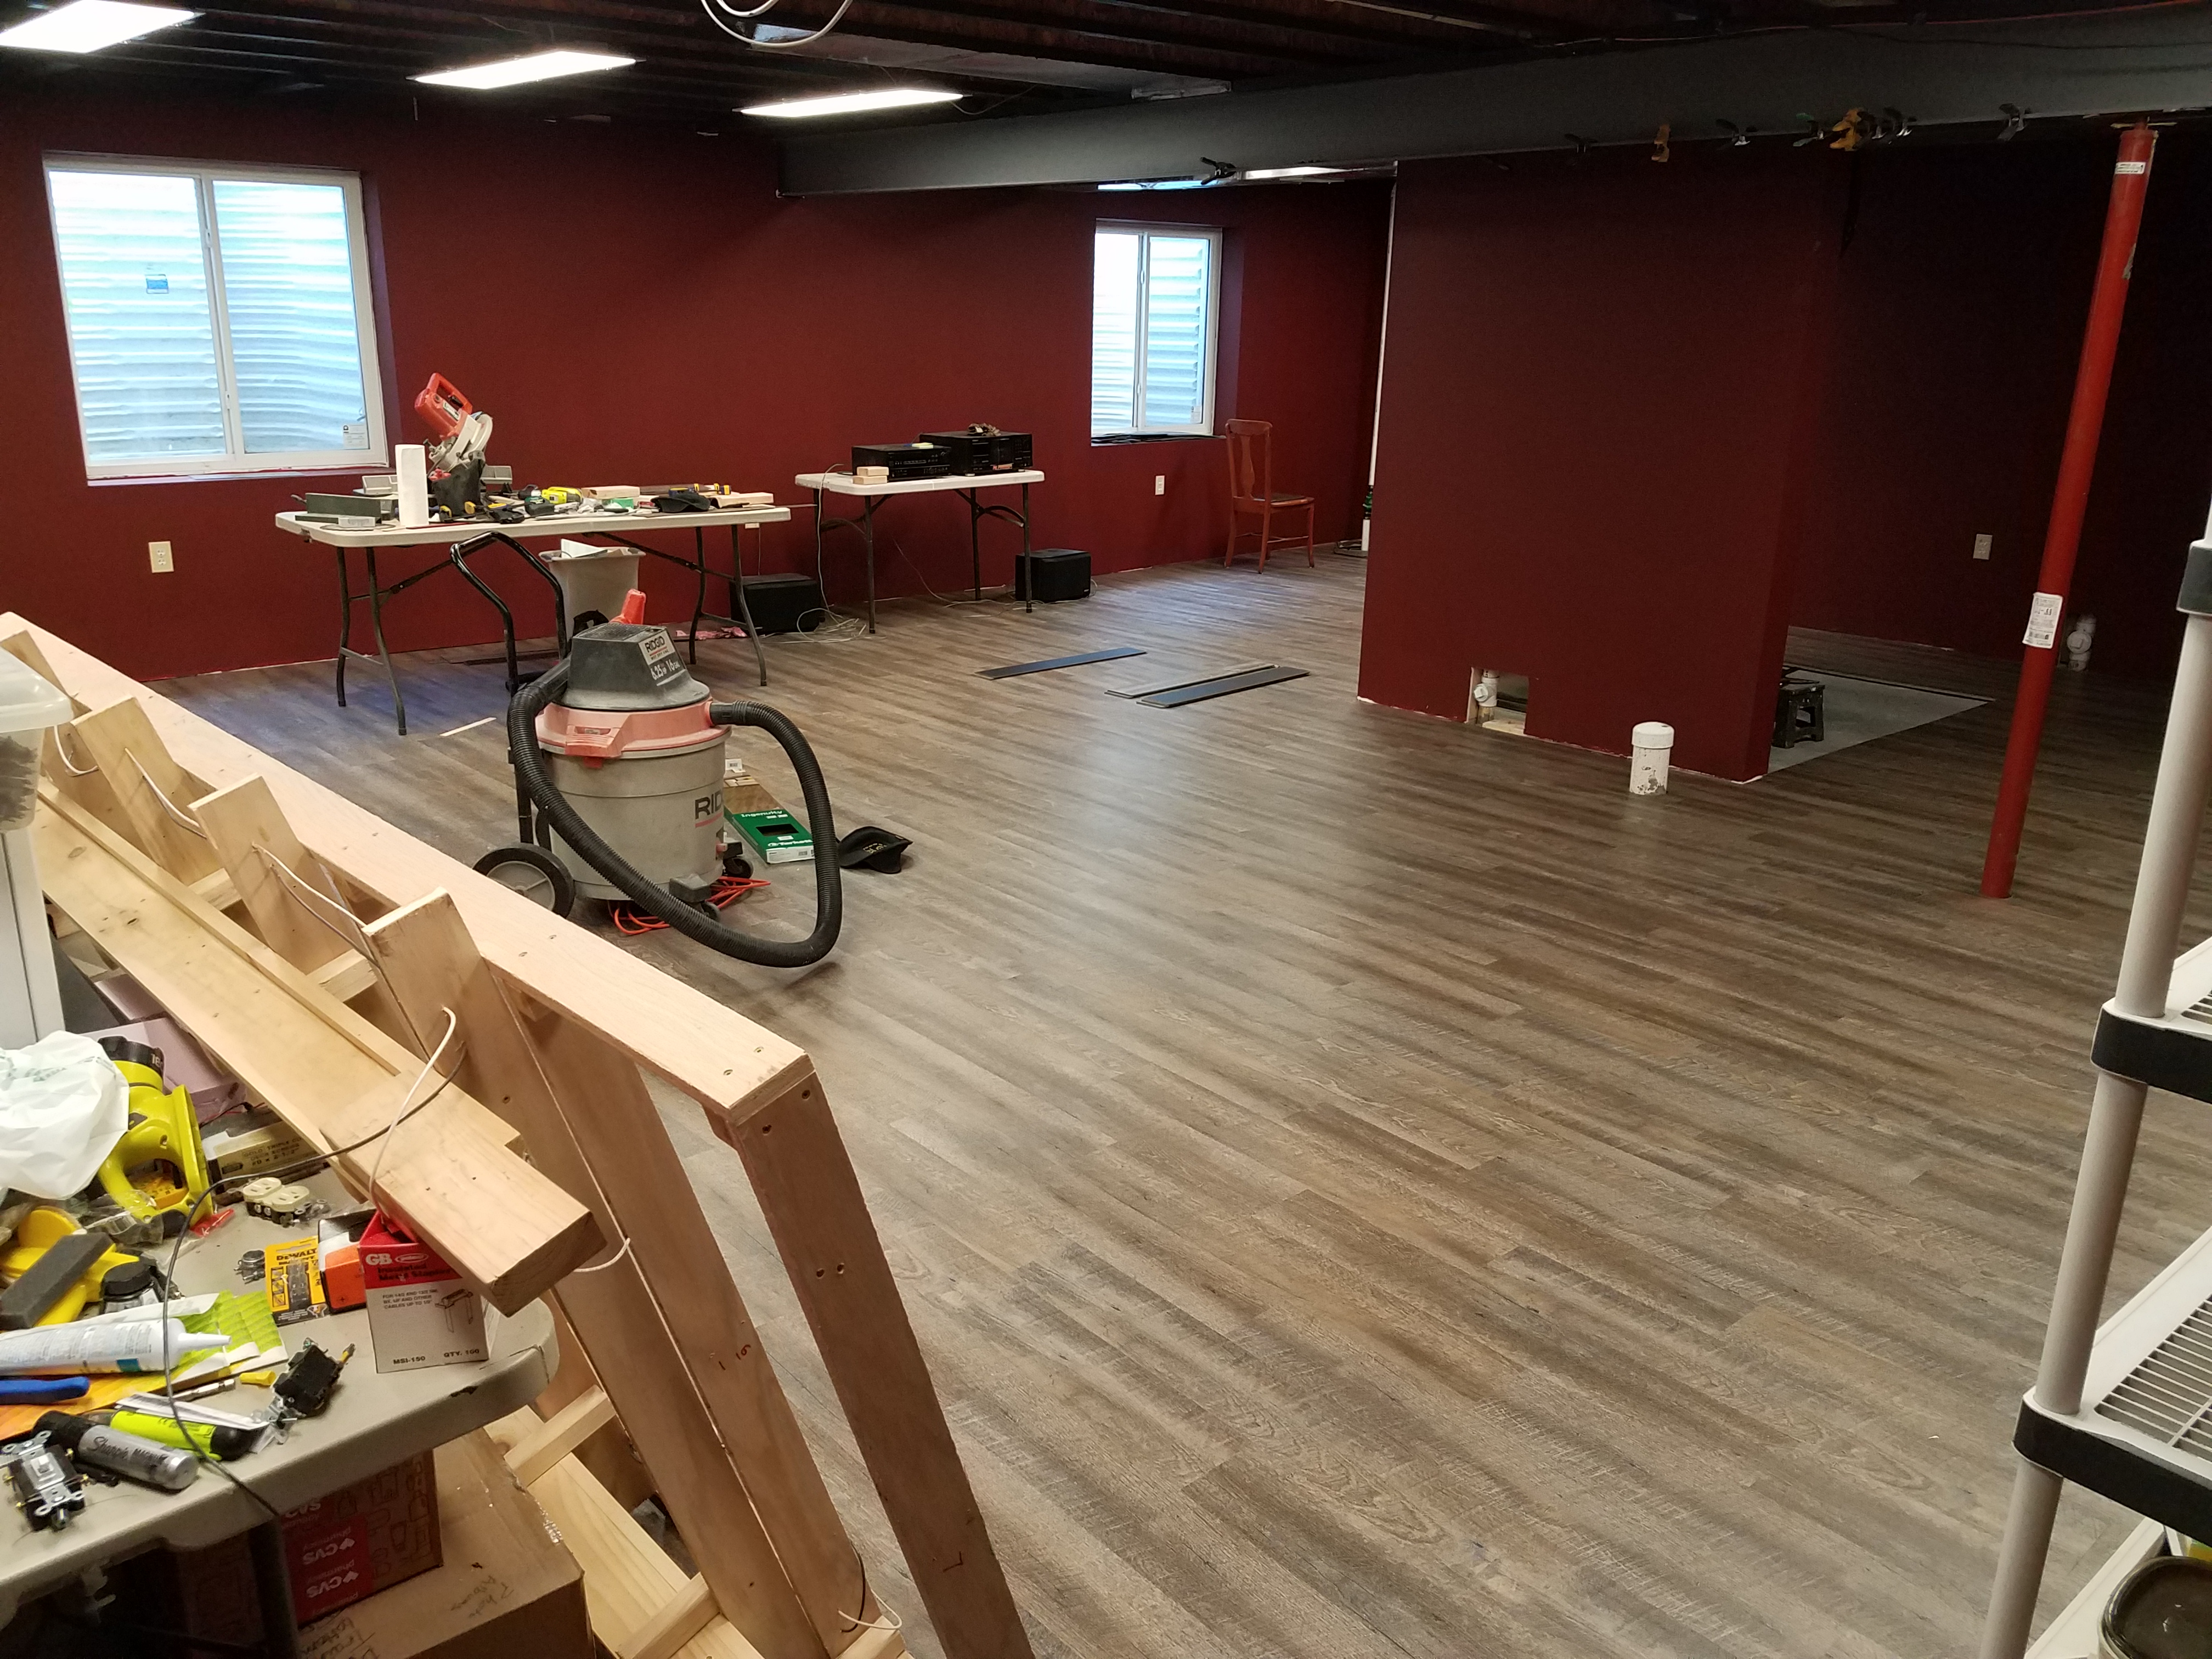

FINALLY, work on the train layout has started!
On June 25th, I dug out the L-girders and legs for the Casper yard sections of the layout. Work has officially commenced!
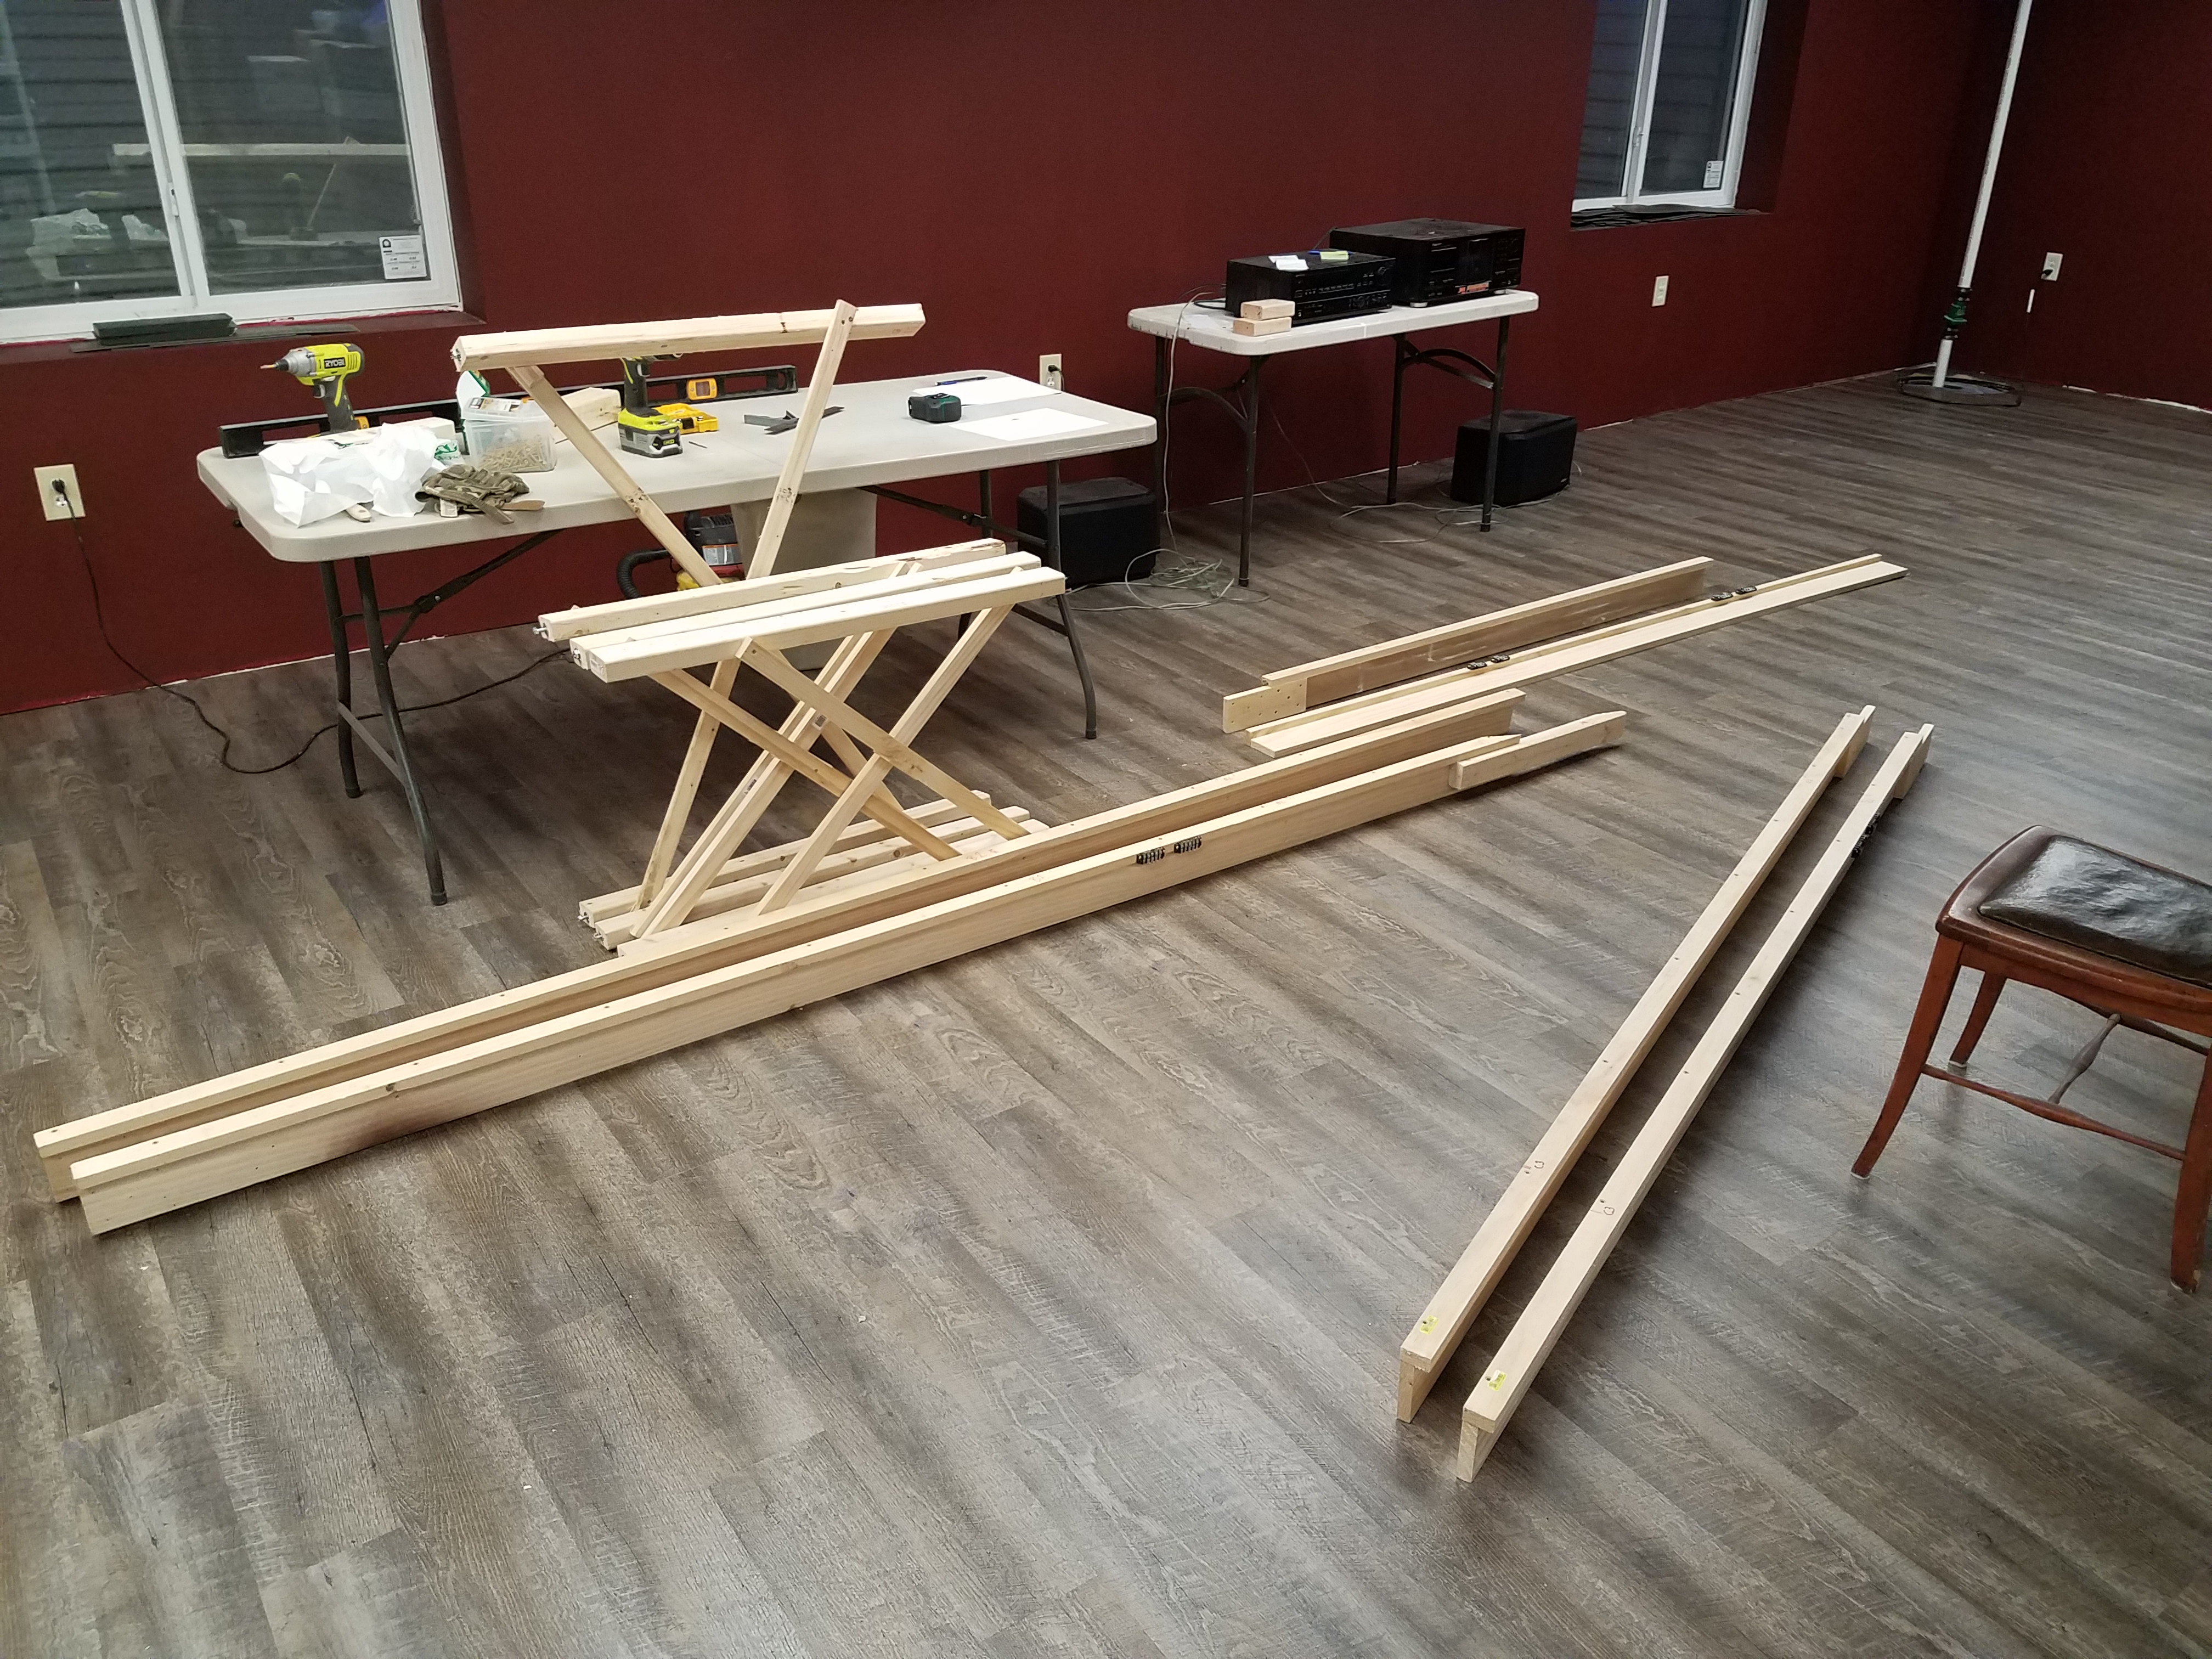
Because Casper is in three sections and I'll need to position it and move it around a bit early on, I decided to mount the legs on casters. I also need to adjust the height of Casper for the new layout, so I needed to add some height to the legs. So I picked up eight casters (four free-wheeling and four with brakes) and started modifying the legs. First I built caster mounts out of two fastened-together foot long 2X3's, to which I mounted a caster:
Then after building two mounts, one with a free-wheeling caster and one with a braked caster, I mounted them to the existing legs and got this:
While I've finally started on the layout, I'm still working on finishing touches to the train room with the addition of more trim (I've also started working on the other half of the basement by beginning to move stuff into the for-now-unused center of the train room, but that's another story). Just to the right at the bottom of the stairs work is nearly complete:
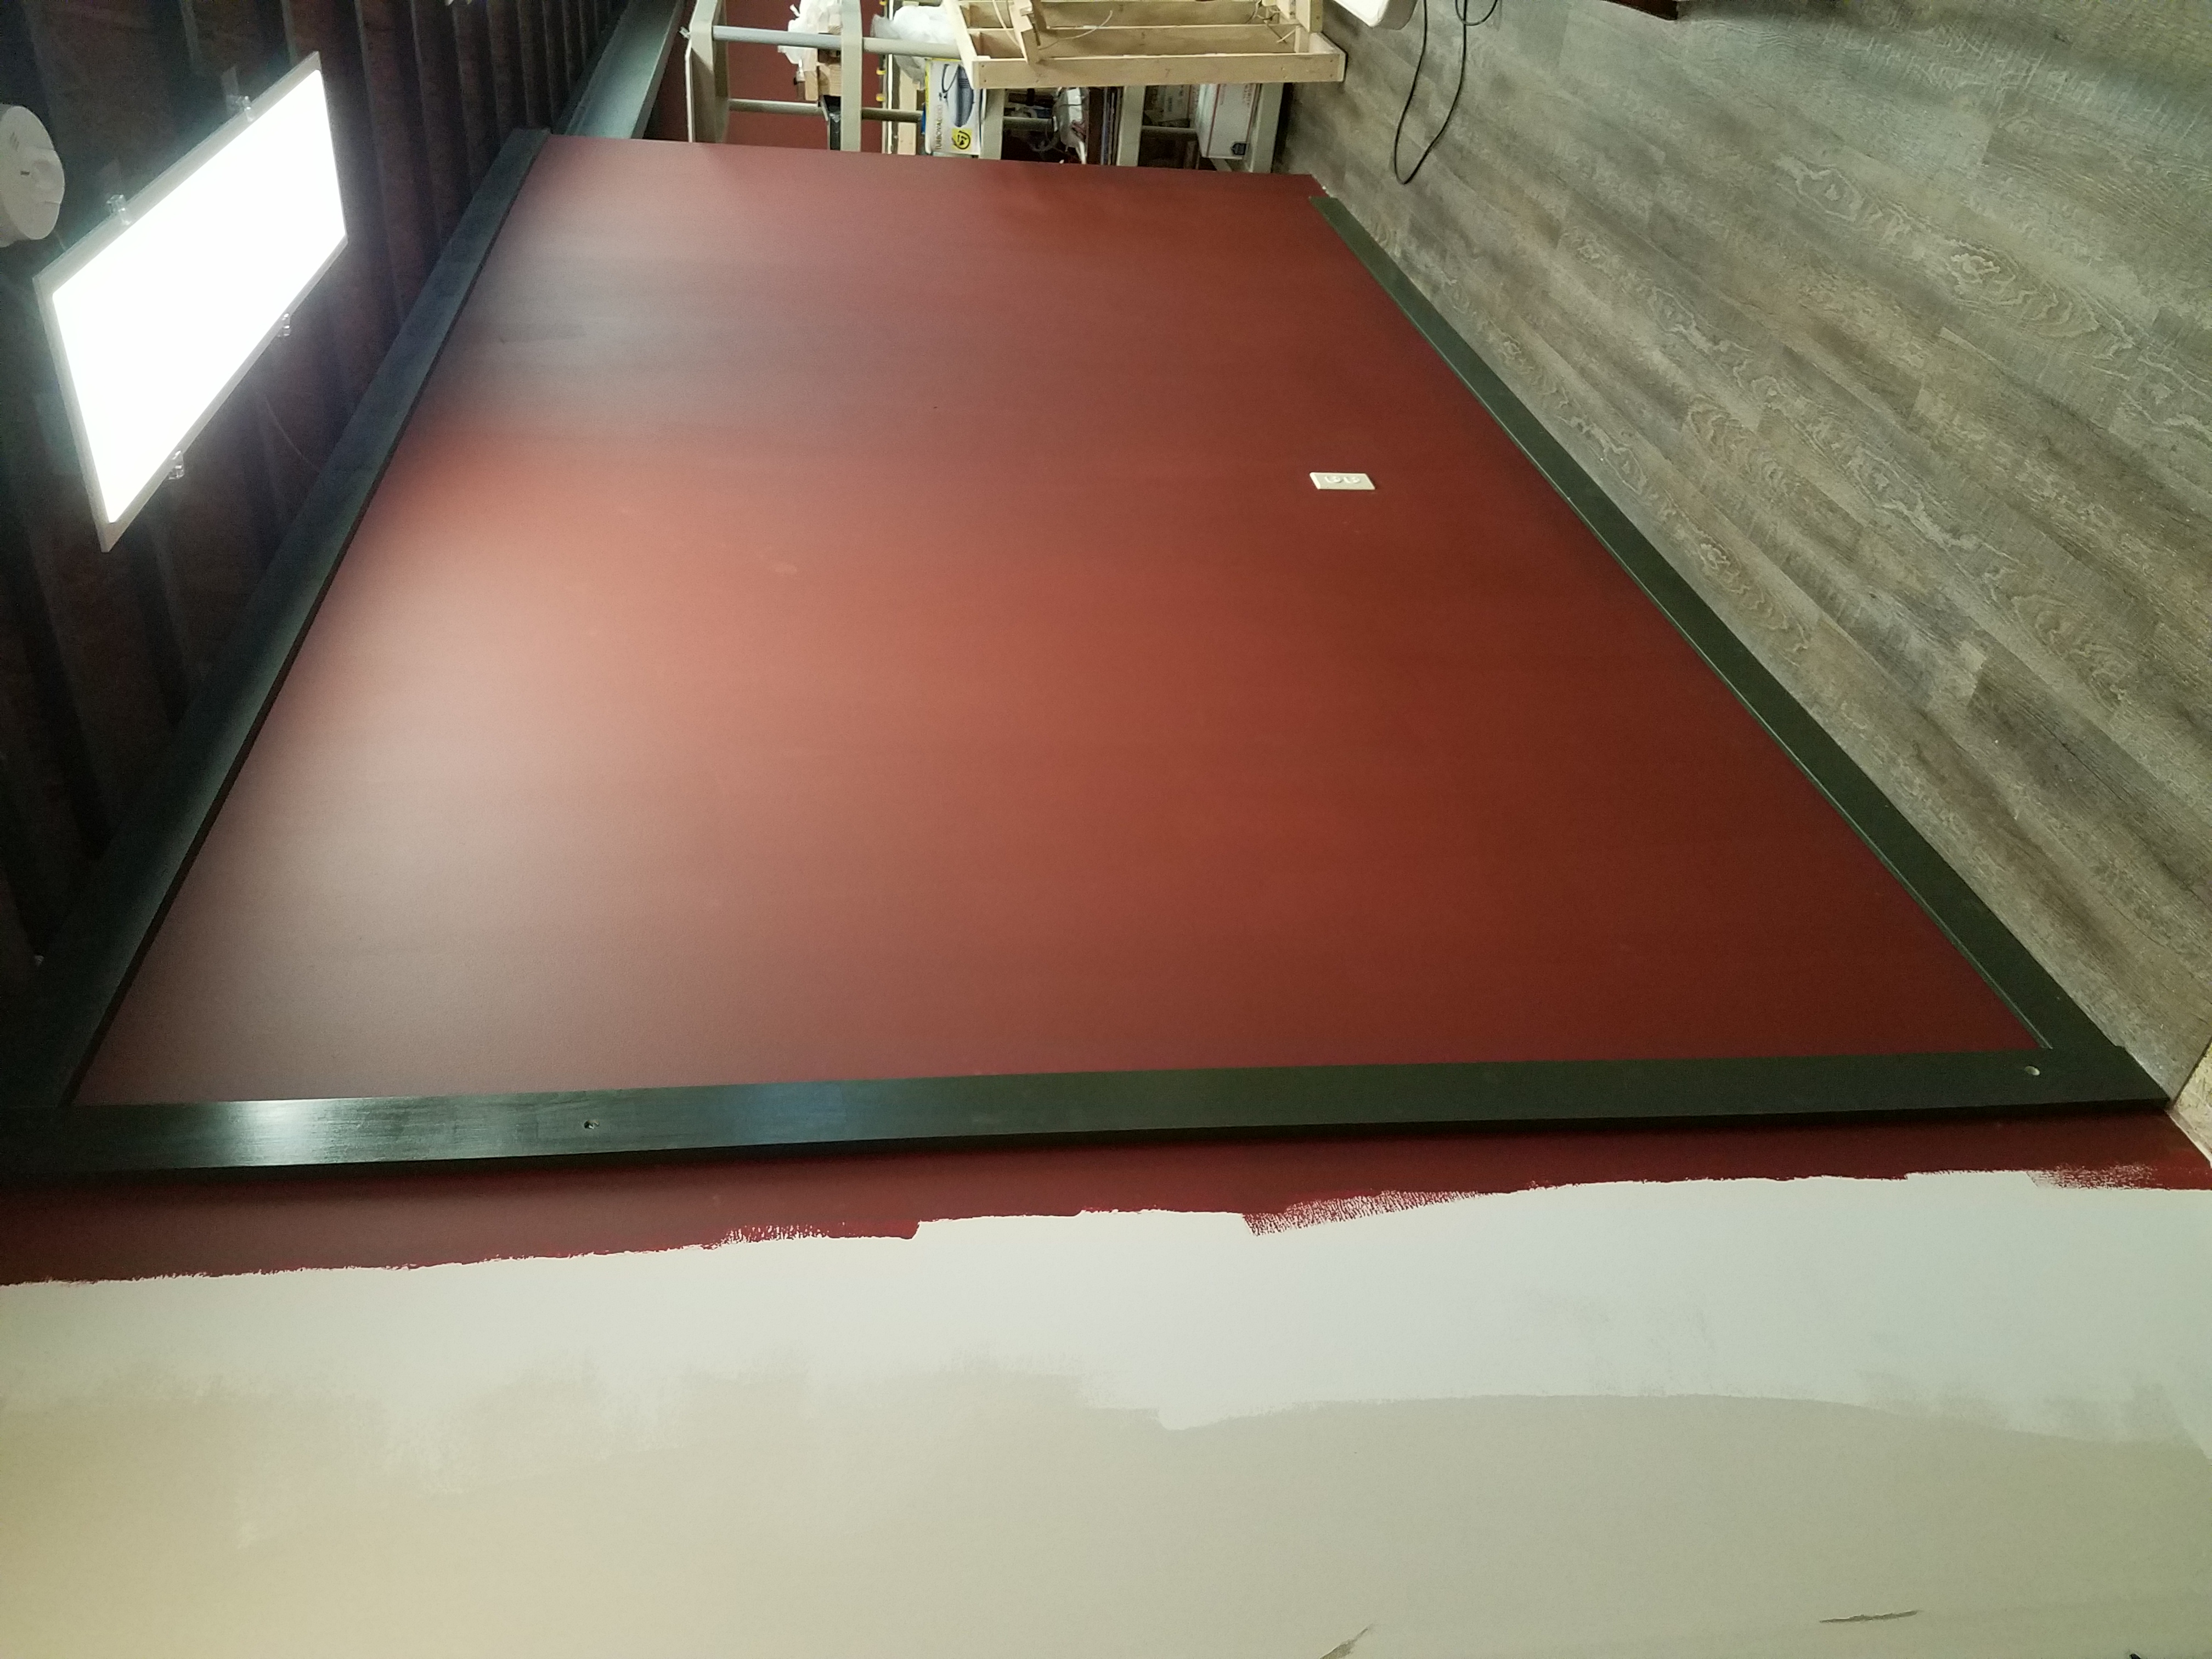 The wall to the left of the vertical board is outside of the train room, and will be painted the wall color of the rest of the basement when it's finished. The two big screw holes in that board will be filled and painted, and the baseboard extended to the corner. But this gives a good idea what the finished basement train room will look like.
The Casper L-Girder sections have been set up. Here's the first one to be reassembled:
I strung together the remaining two and the support base for Casper was complete. This only took a few hours, including extending the legs and adding casters:

Then it was an easy matter to unpack the Casper yard and sit the two sections, plus the engine servicing facility, into place (with my wife's help):
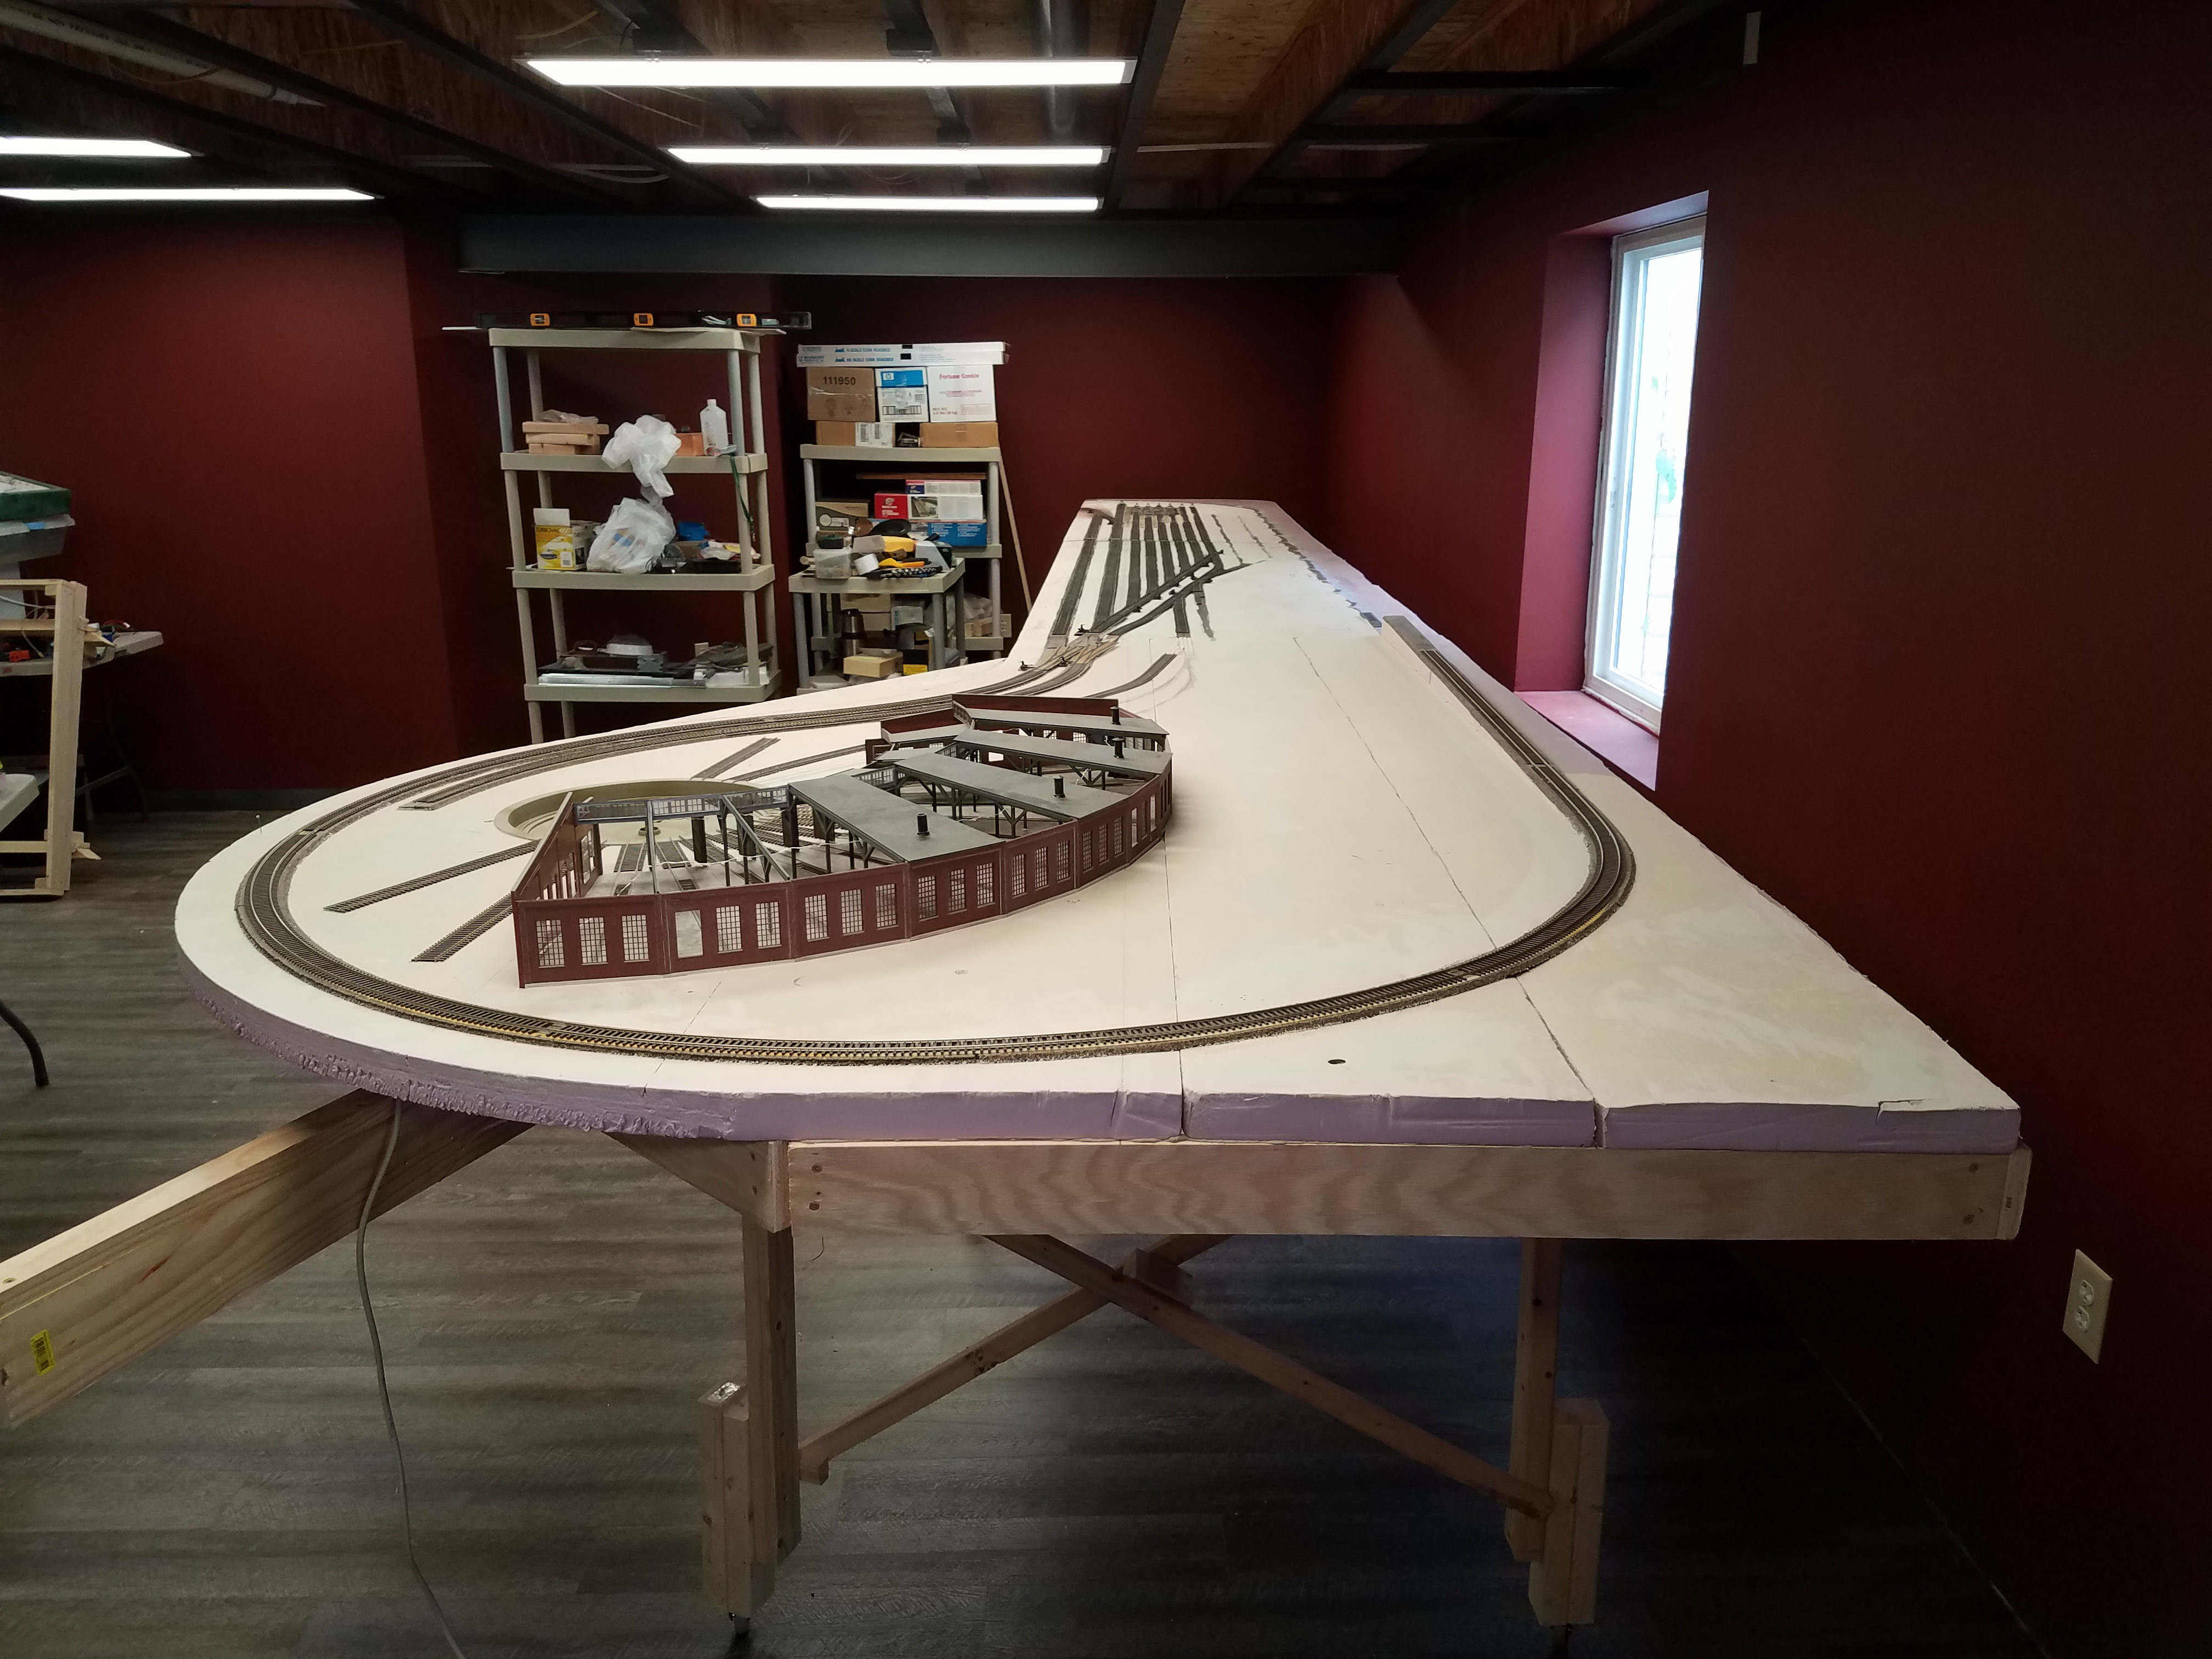
I fastened the Casper sections back together, and attached them to the L-Girders. Now I need to reconnect tracks across the section gaps, reinstall bus wiring and connect all the feeders, build shelves for my NCE system and connect it up (I'm not going to leave it sitting on paint cans this time around!). Right now the section break through the classification tracks looks like this: