Happy New Year!
On 1 January I laid cork roadbed for the mainline into Basin. I ran out of Midwest HO cork, so I just used a second layer of the 3 millimeter cork sheet.

On the 2nd I began laying track into Basin.

On the 3rd I extended the roadbed past Basin into Himes curve.
By the 4th of January I had the mainline run all the way through Basin and wired in. I ran the first train into Basin.
On the 5th I had major surgery, so I was pretty much away from the trains for several days. By the 11th I was well into recovery, so I was able to resume simple work on the layout. On the 10th and 11th I installed ground throws on the mainline switches in Basin - one each day. Twenty minutes of work was about all I could manage.
I figured I could set at the workbench without too many issues, so on the 12th I renumbered an Accurail hopper. This was kinda midway through the process, and the decal sticks out like a sore thumb. It got better, but I stopped working on this because the Accurail renumber decals were braking up. I ordered some liquid decal film to coat the decals to stop the breaking up. It arrived yesterday.

Over the next couple days I built the missing turnout for Basin, then began installing the sidings.
By the 18th the Basin trackwork was complete. I wired it all the next day.
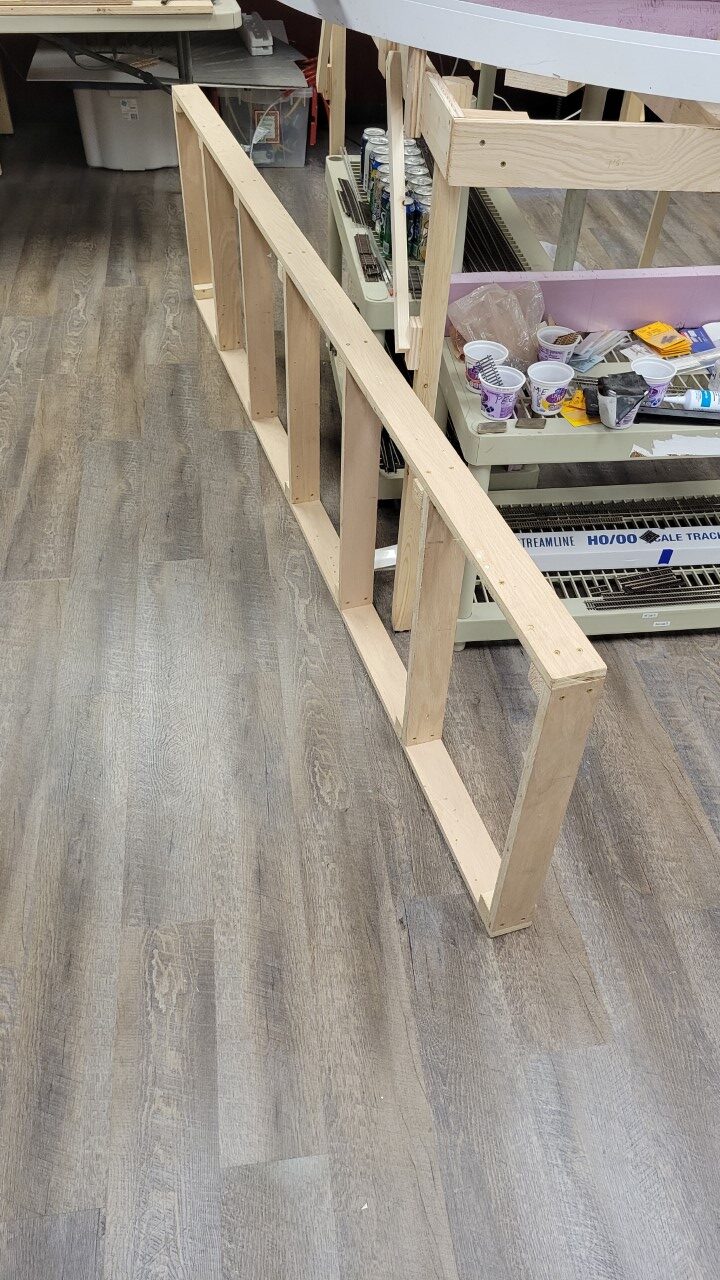
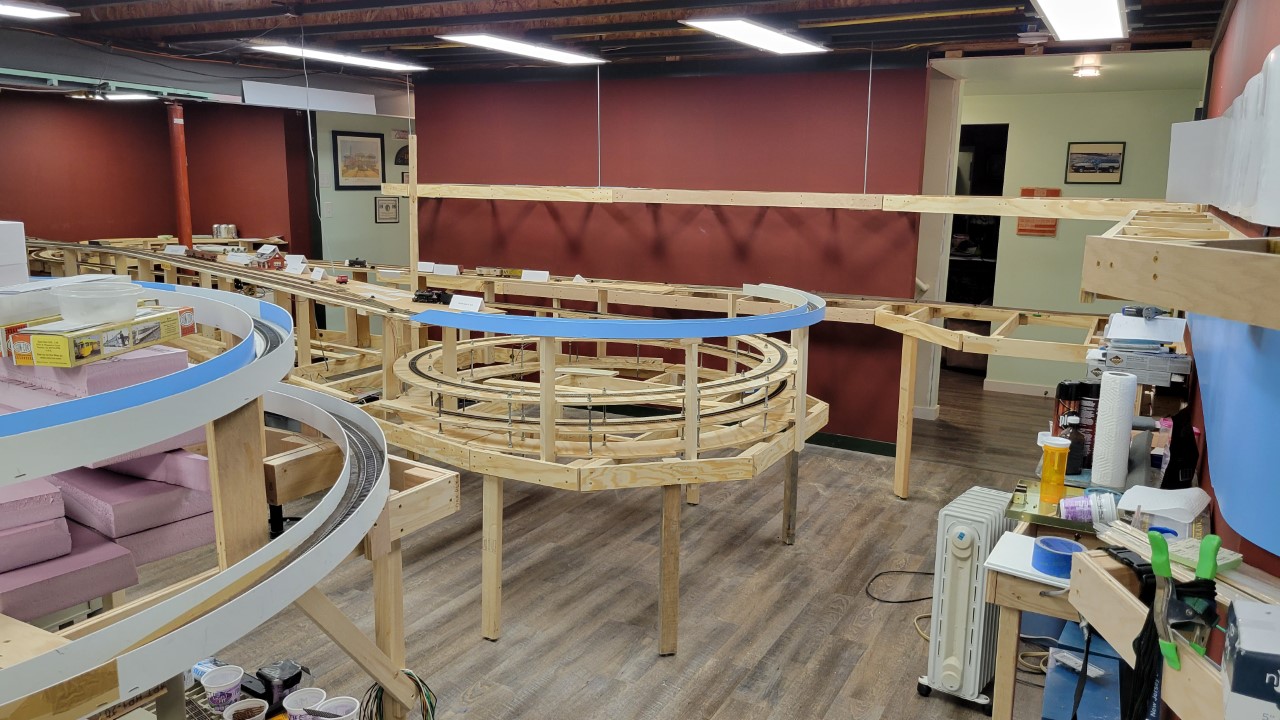
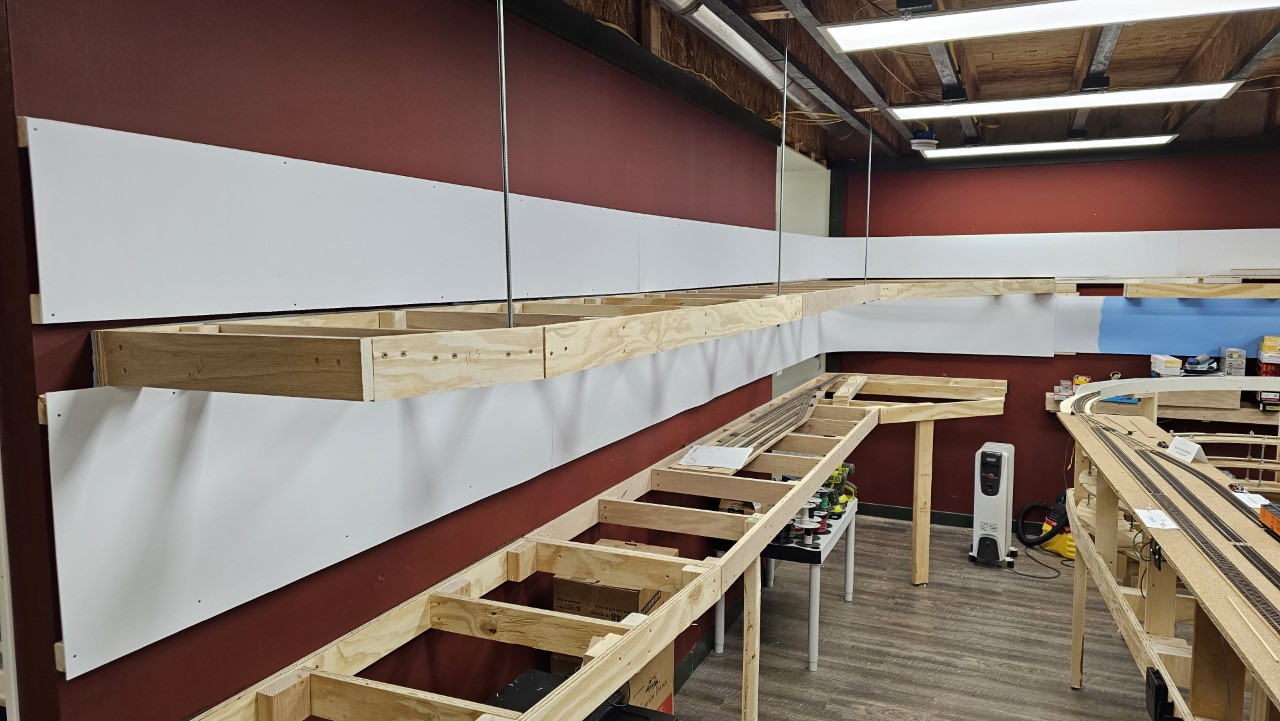
Then I started looking at the Greybull area. On the 20th I dug out a remnant of the layout from New Jersey - this section of grid benchwork. With a bit of modification, it will be the foundation of Greybull.
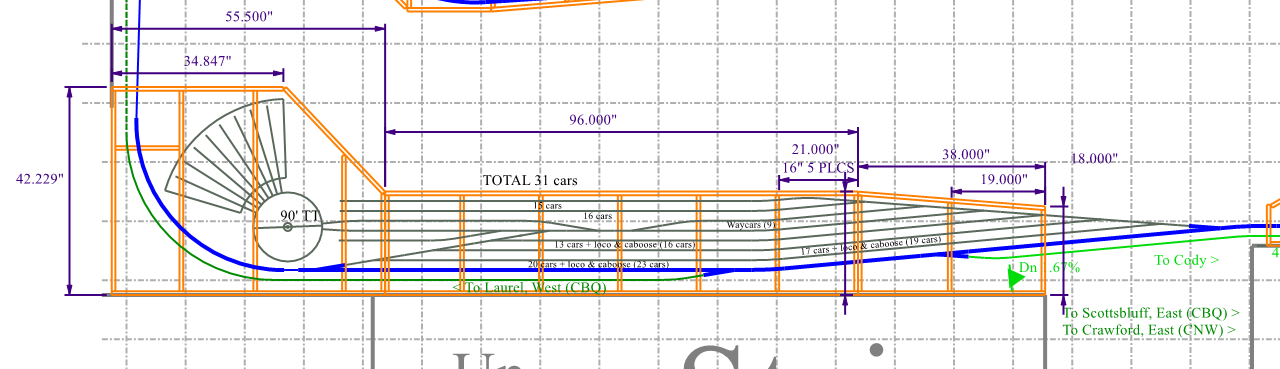
I spent a few hours on the computer designing all the Greybull benchwork grids:
Then I began cleaning up the wall where Greybull will be located. I started by moving this set of shelves, the last full height shelves in the train room.
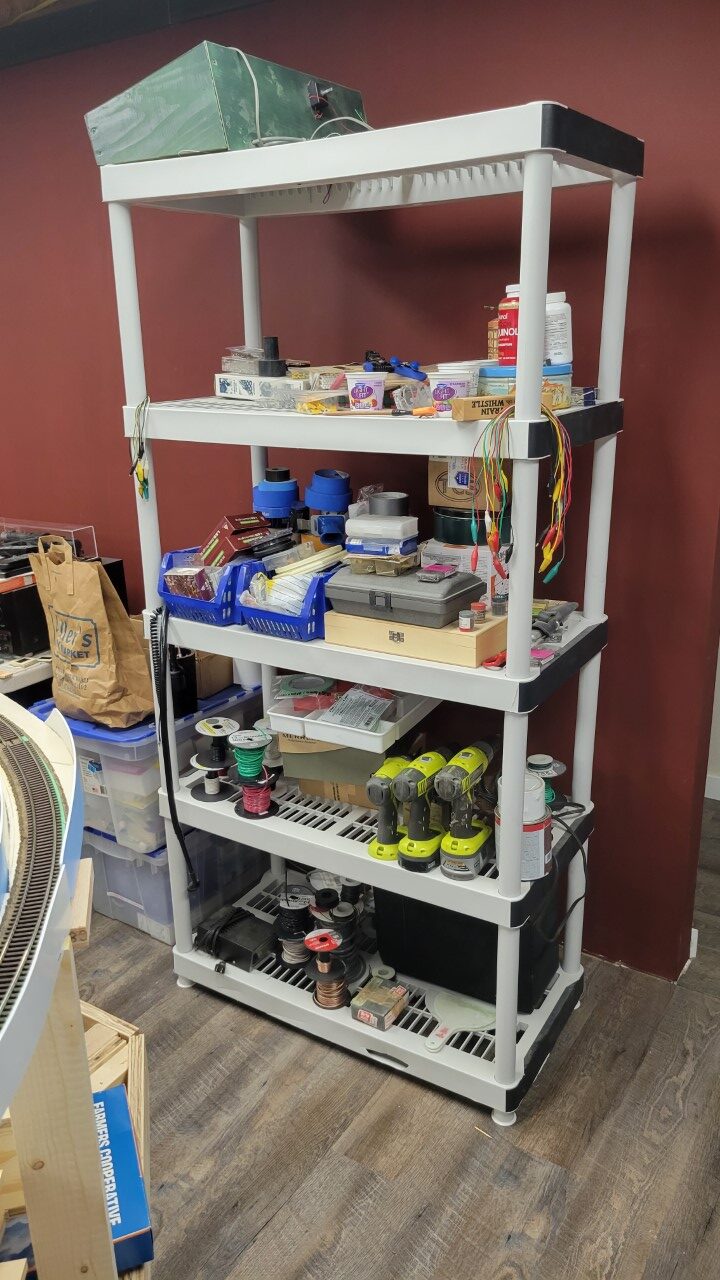
This took a full day, since I can only work in short bursts. In between I have to sit down and rest for awhile. I still have very little stamina, but it is getting better as the days pass.
Over the last week I've been fighting with a 3D resin printer, with very little success:
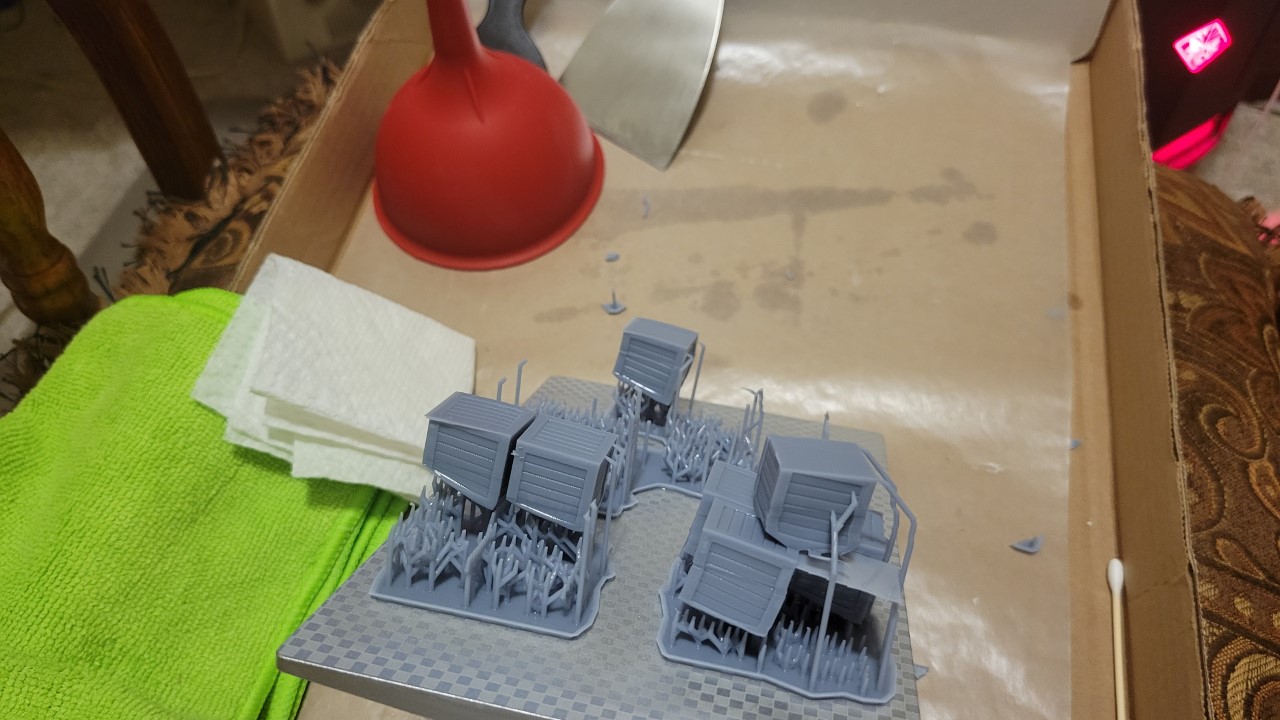 These are several stacks of crates. You can see how distorted they are, and where several are not on the supports at all.
The missing ones were left in the resin vat.

In fact, out of over half a dozen attempted prints, only two have been even partially successful.
I did get one small stack of crates to come out in usable condition:

After being removed from the print base, they're sitting (still unpainted) next to Todd Bros. Crate and Pallet:

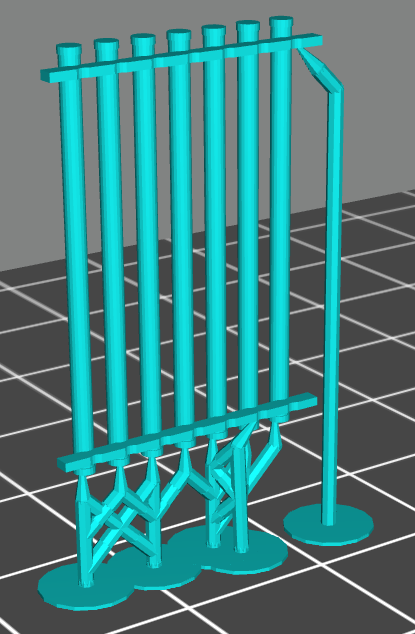
I've been trying to create drill pipe stacks on the printer also. Here's a diagram of a short test section I created in Tinkercad (with the 3D printer software adding the supports):
Here's how that came out:
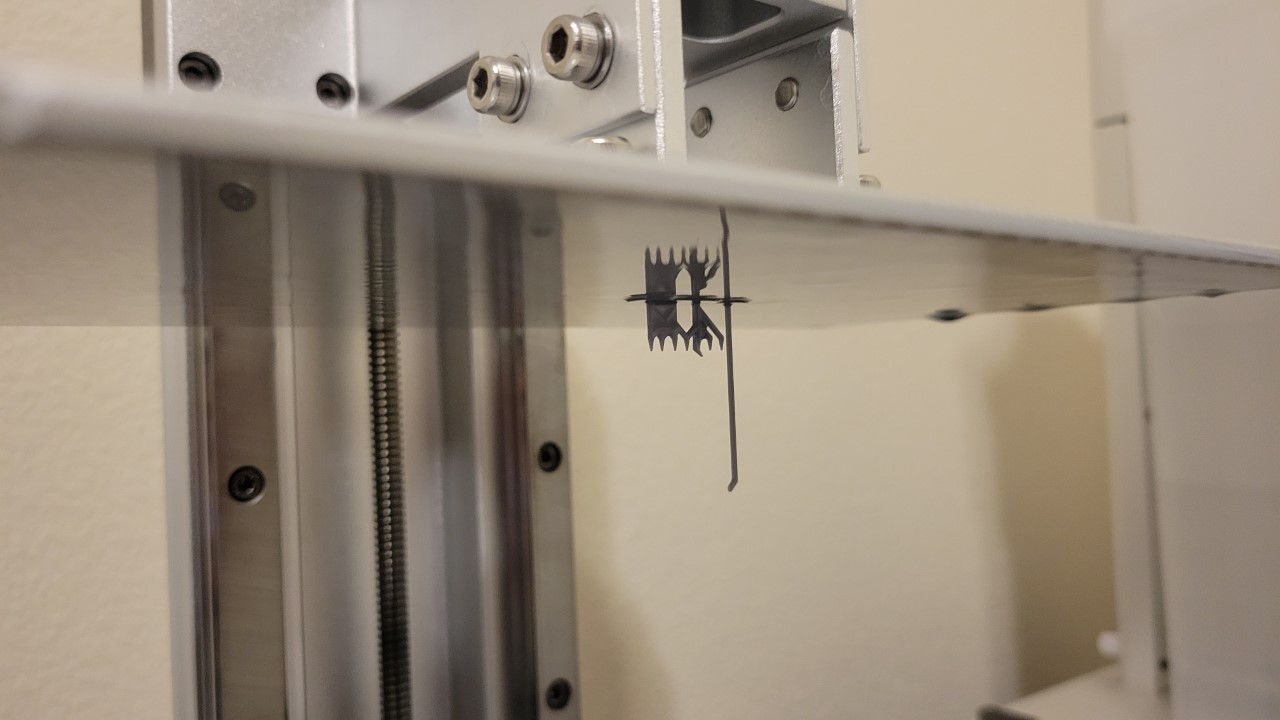
Not exactly as planned.
Beyond that I've been working on my beet hopper fleet. I have nine Accurail hoppers to build, eight of which needed renumbering. Not sure how that's going. Here's one of them renumbered before I put a protecting coat of flat finish over the decal:
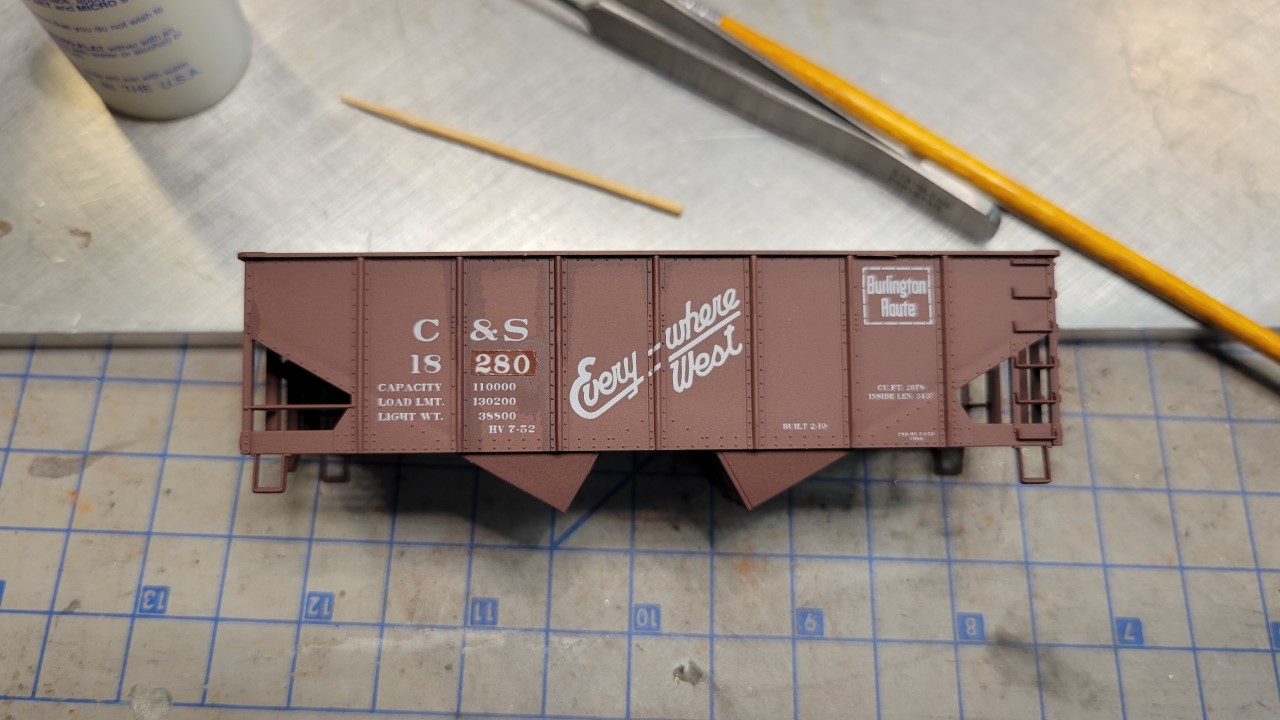 That renumber decal really sticks out!
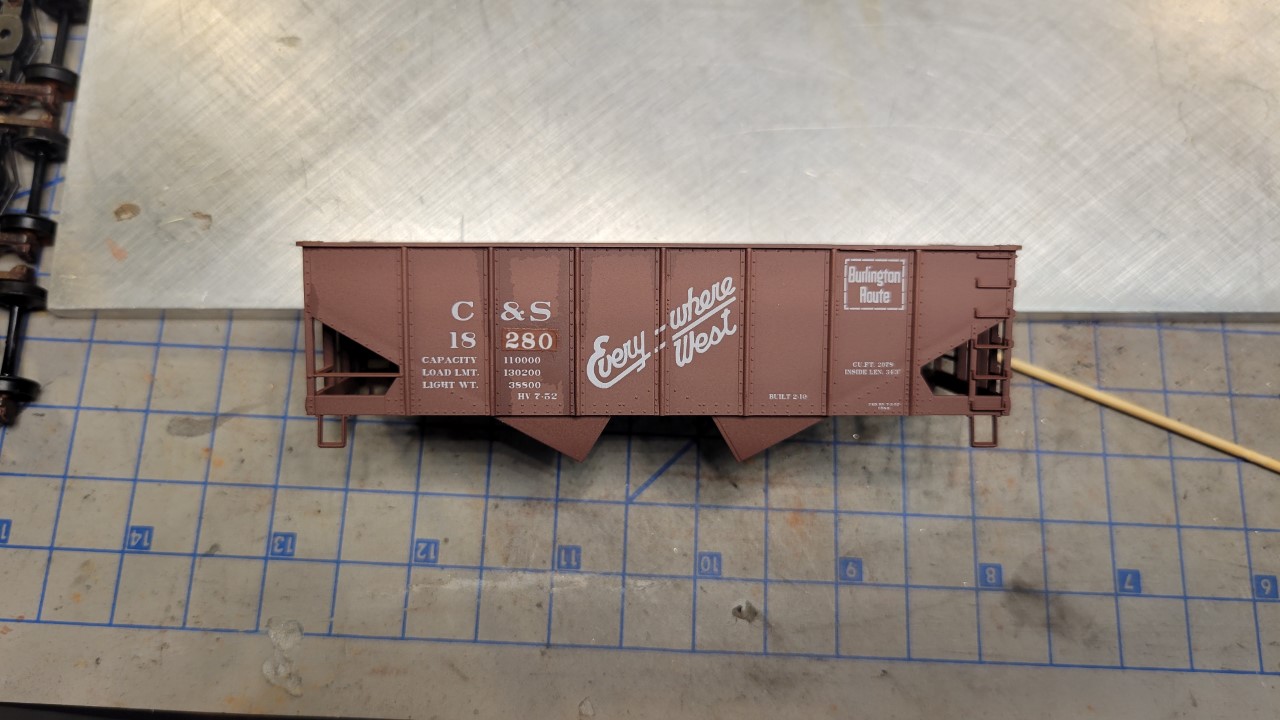
Here's that same hopper after I added the flat finish. Not much improvement. I hope weathering will help hide the glaring decal, but it will still stick out I think. I wonder if that's just the nature of these decals. I've used Microscale's Microset and Microsol to get the decals this good.
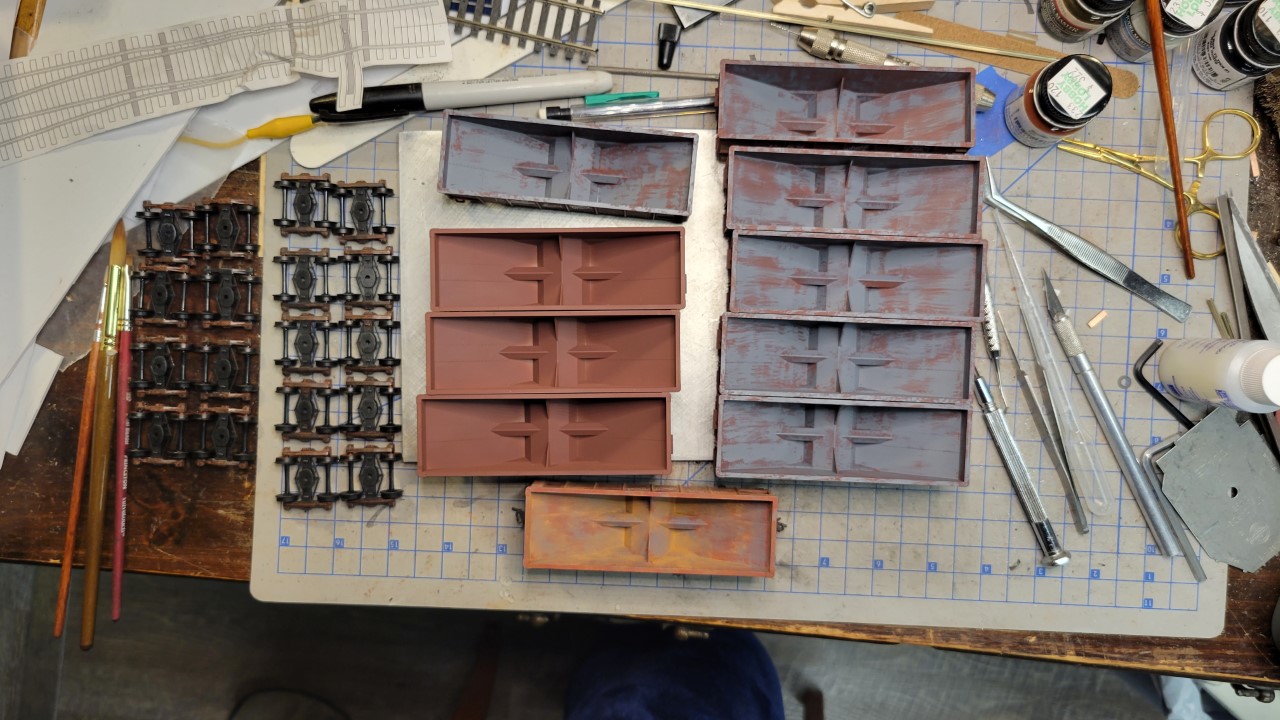
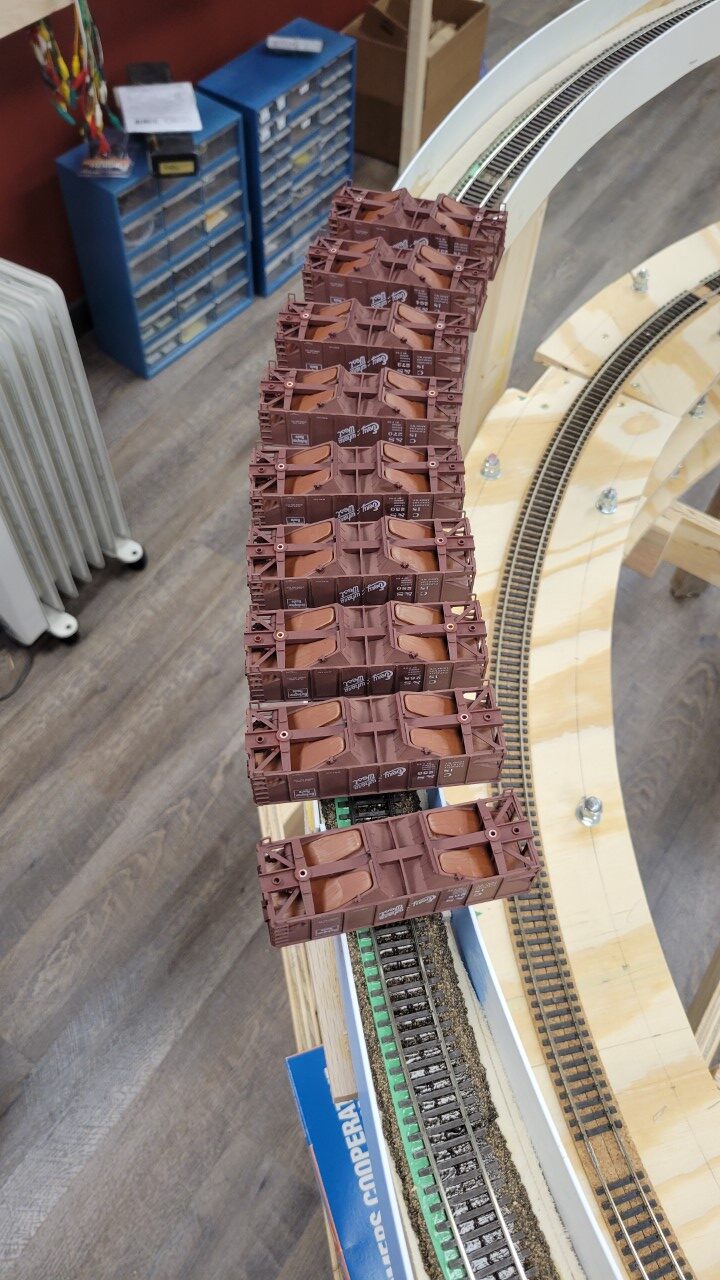
Here's the current state - all renumbering is done, such as it is, trucks are painted and weathered, and I'm in the process of painting the beds. When finished and weathered with chalks, the beds will look like the car at bottom center.
I continued with the hoppers, and had the frames, weights and car bodies assembled by February first.
The next day I had the trucks and couplers installed and set the entire string of nine hoppers in Worland to await weathering.
That afternoon I started weathering the exterior of the hoppers. I start with a very light wash of black, which is Model Masters flat black thinned with a lot of alcohol.
What I didn't know was that alcohol reacts to flat clear coats, turning them white! To a greater or lesser extent, this is what most of the cars looked like.

I was a bit pissed. to say the least. I was able to remove most of the whitening over the numbers by carefully scraping the surface with an Exacto knife, but they still look pretty bad.

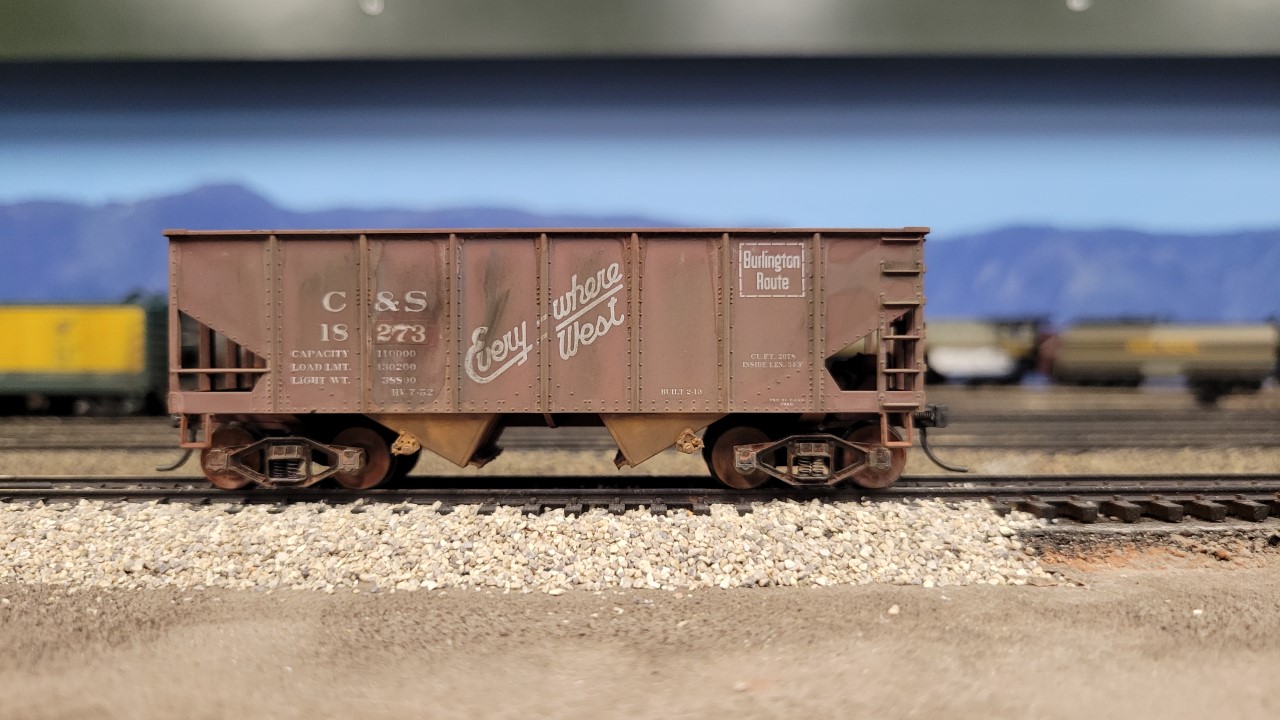
On the 4th I was back to weathering the hoppers. On the second side I switched to using Vallejo black thinned with distilled water, and it didn't attack the flat finish on the decals. Then I began adding some rust along ribs, grab irons and such. Here's what that looked like on the sides where I applied the alcohol wash:

Today I began applying the chalks as the final step in weathering. Fortunately the chalks help subdue the edges of the decals, and the first two don't look too bad:
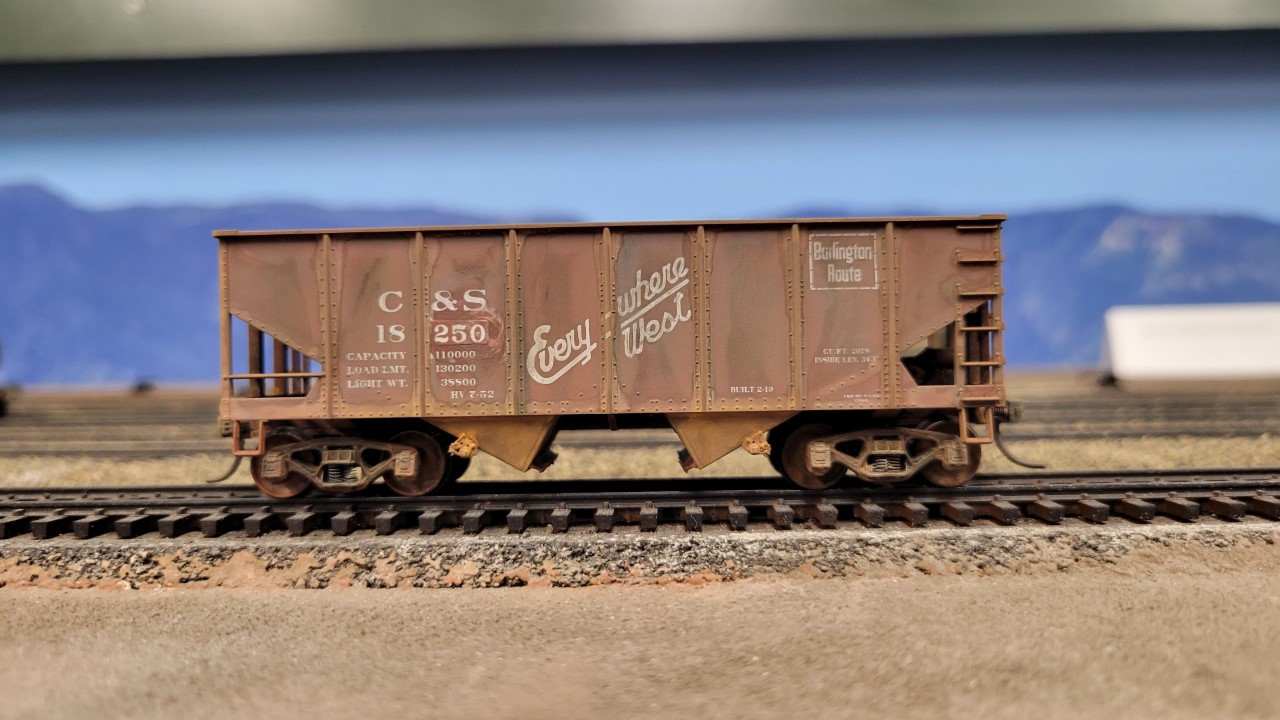
This is the same car I showed with the terrible whitening of the decal above. There still some whitening around the decal, but it looks more like natural effects of weather than anything else.
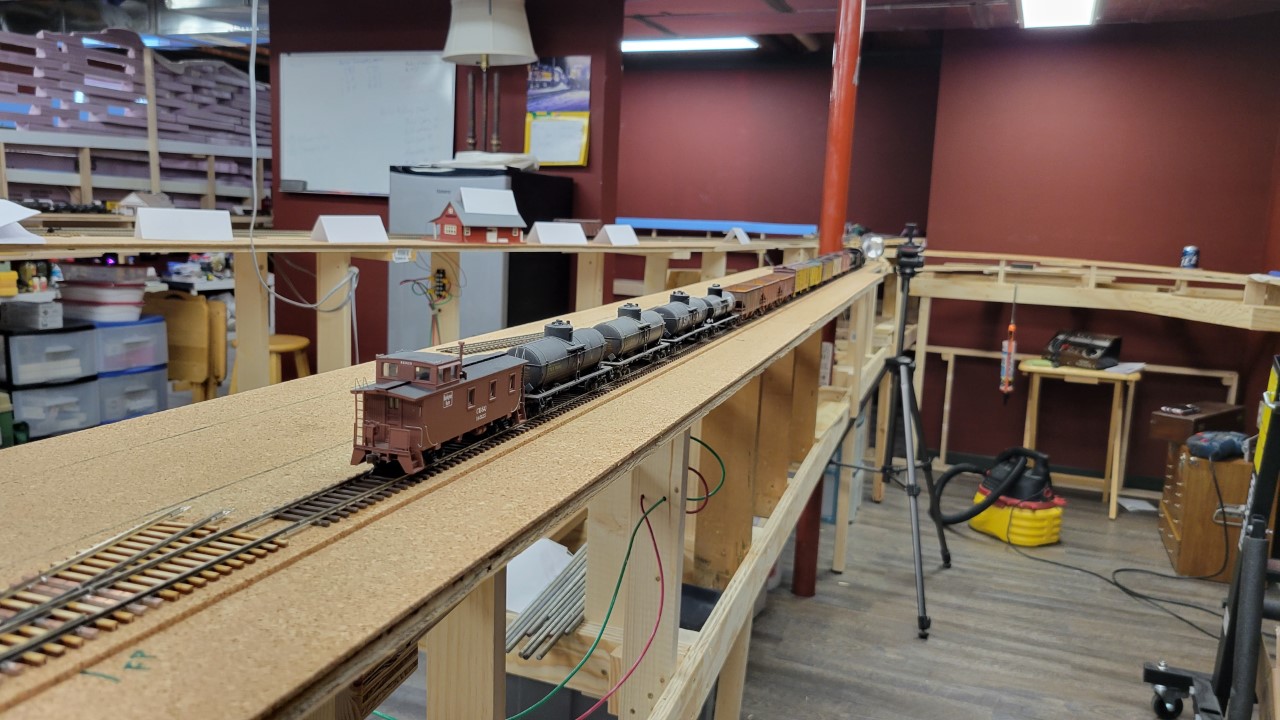
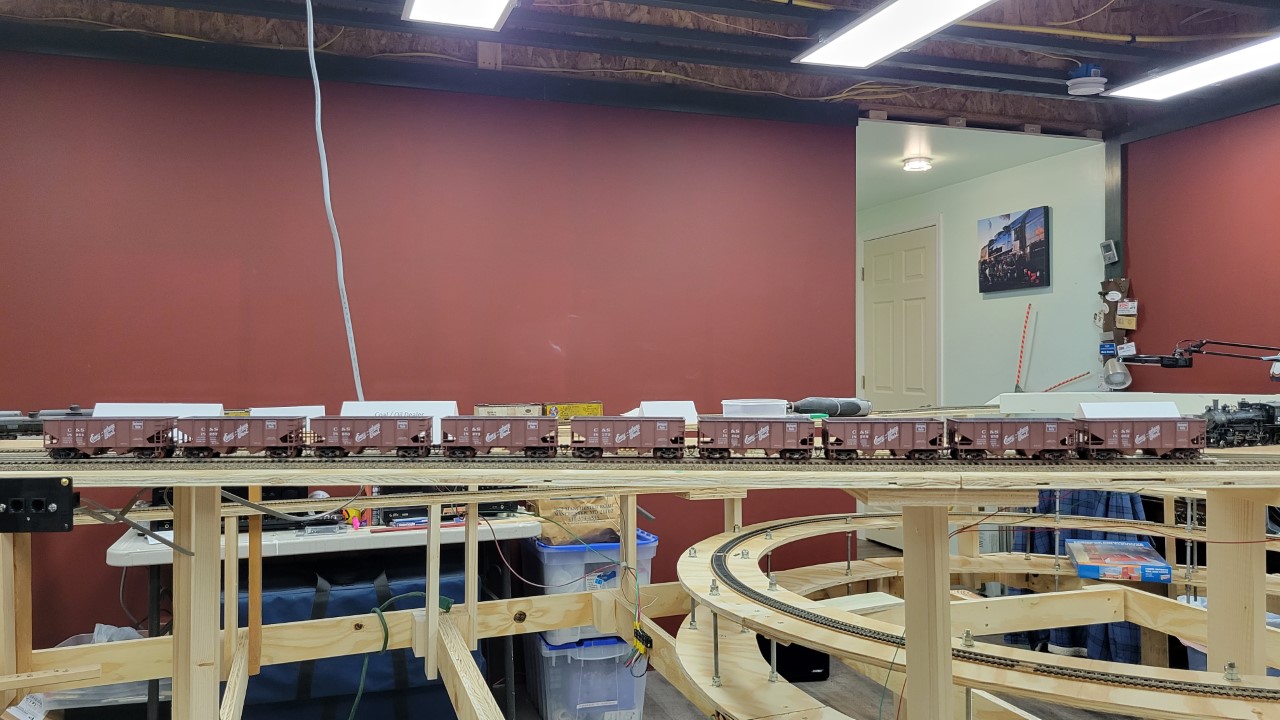
I had the string of nine hoppers fully weathered and on the layout 6 February.
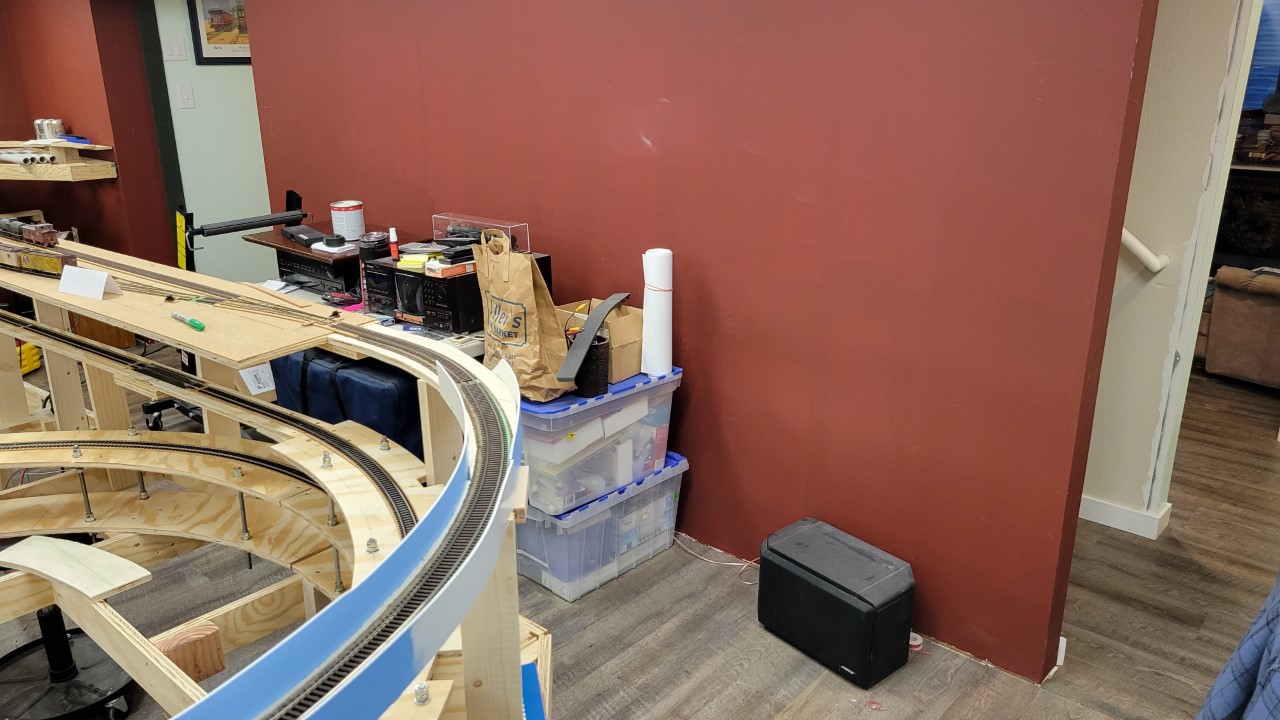
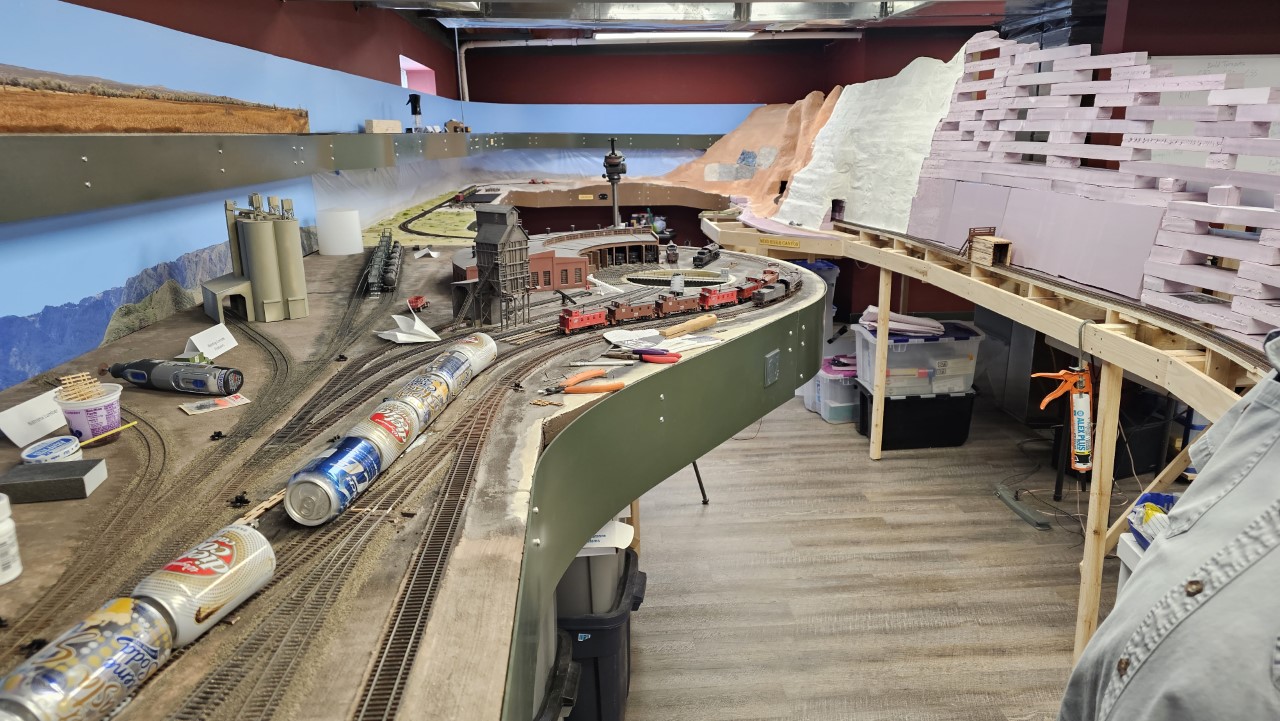
After that I started work on the Greybull area. First I had to clear the rest of the stuff away from the wall so I had room to work. I'd started clearing stuff from the wall in late January, and finished on 7 February.
![]()
I was also finally getting started on the stock pens for Powder River. On 10 February I began cutting the stripwood I'll need to build the pens.
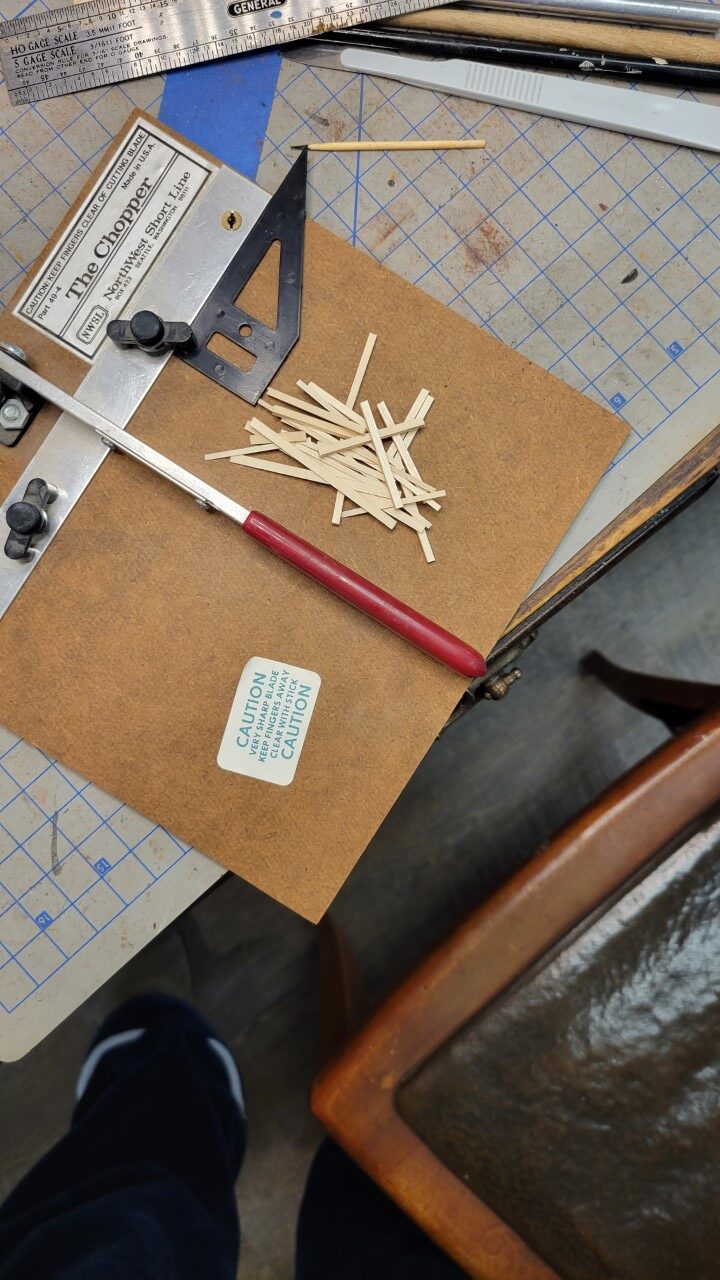
 A few days later I stained the wood.
Meanwhile I was still messing with the 3D printer, not having a lot of luck. I finally figured out my problems were related to underexposure of the resin to the UV light. After that I began having some success. On the 13th I printed some very passable sets of oil drill pipes on storage racks.

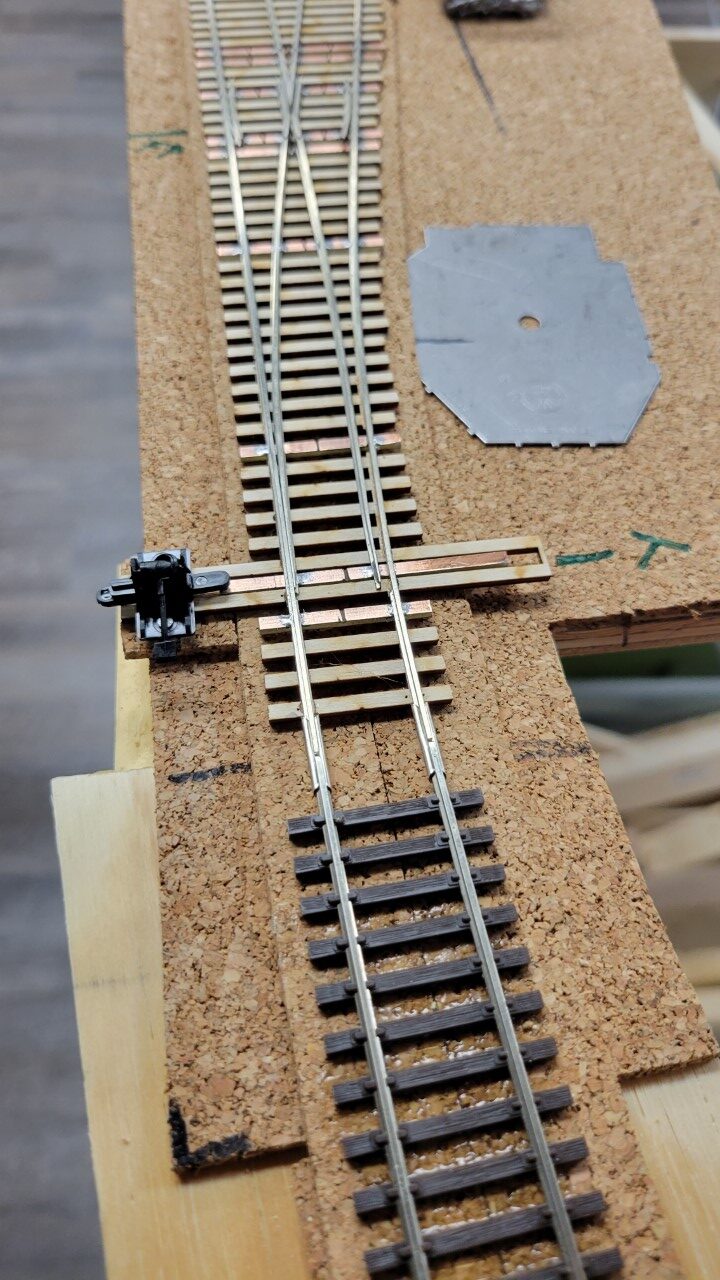
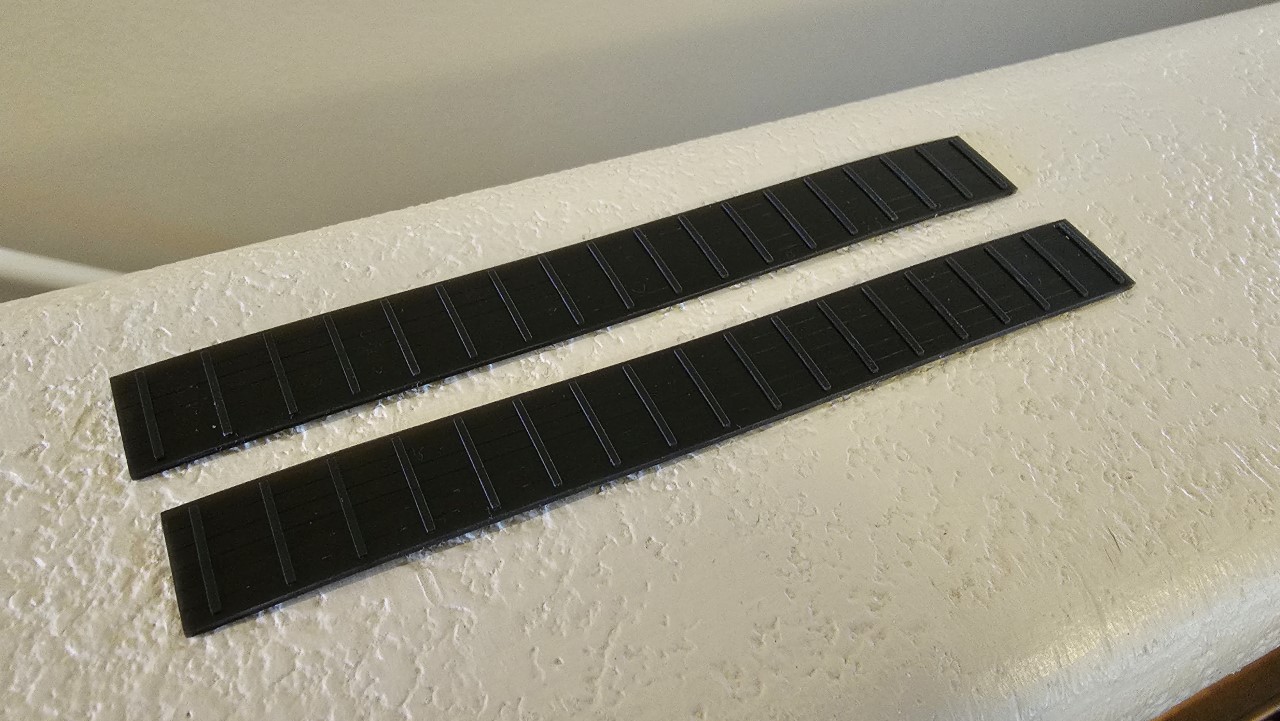
With that I was off and running! A few days later I printed out a very decent tie strip for a #6 right hand Fast Tracks turnout. I printed three of these in quick succession. They're white because that's the only resin of that type I had on hand. They'll be painted along with the rest of the track, but future tie strips will be made from black resin.
 Being able to print out tie strips, which cost all of about 20 cents for the resin vs. nearly $9 for the wood tie strips from Fast Tracks, will pay for the printer over time.
On the 14th I started building the Greybull benchwork. Here I'm modifying one of the benchwork sections I salvaged from the layout in New Jersey.
On the 15th my friend Walt from New Jersey arrived for a visit. Here' on the 16th, Walt is doing some local switching in Thermopolis.
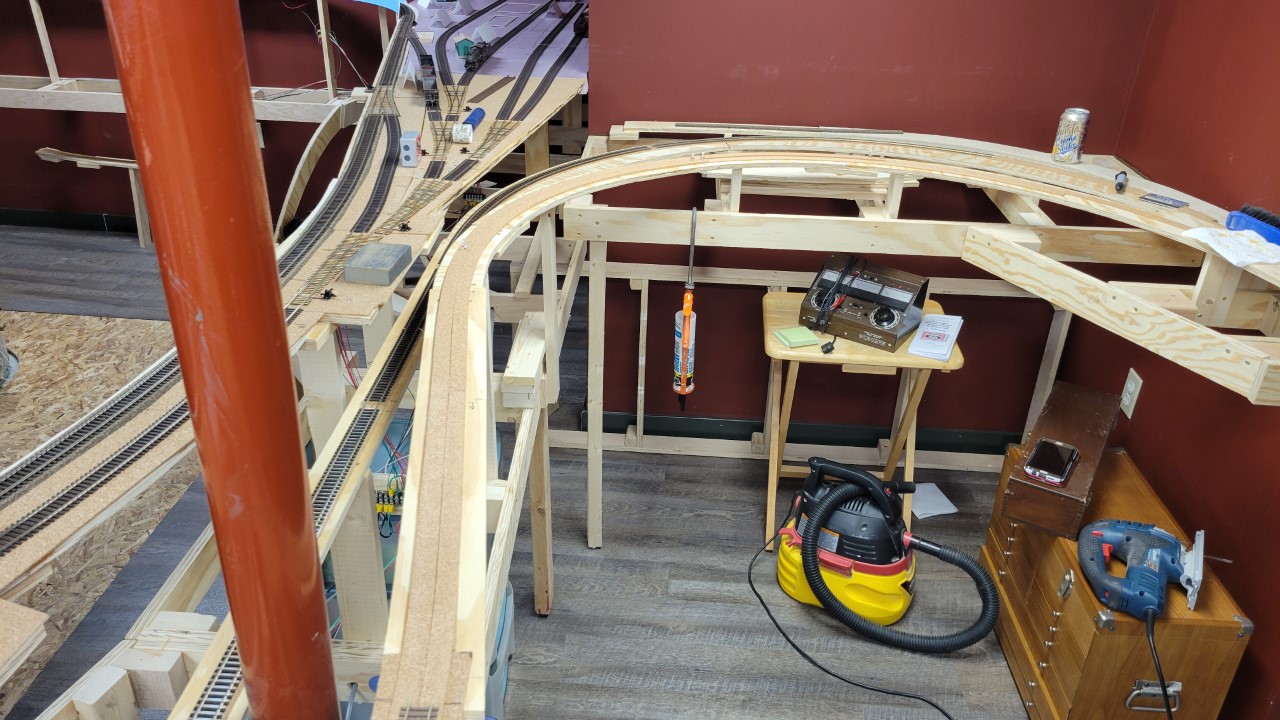
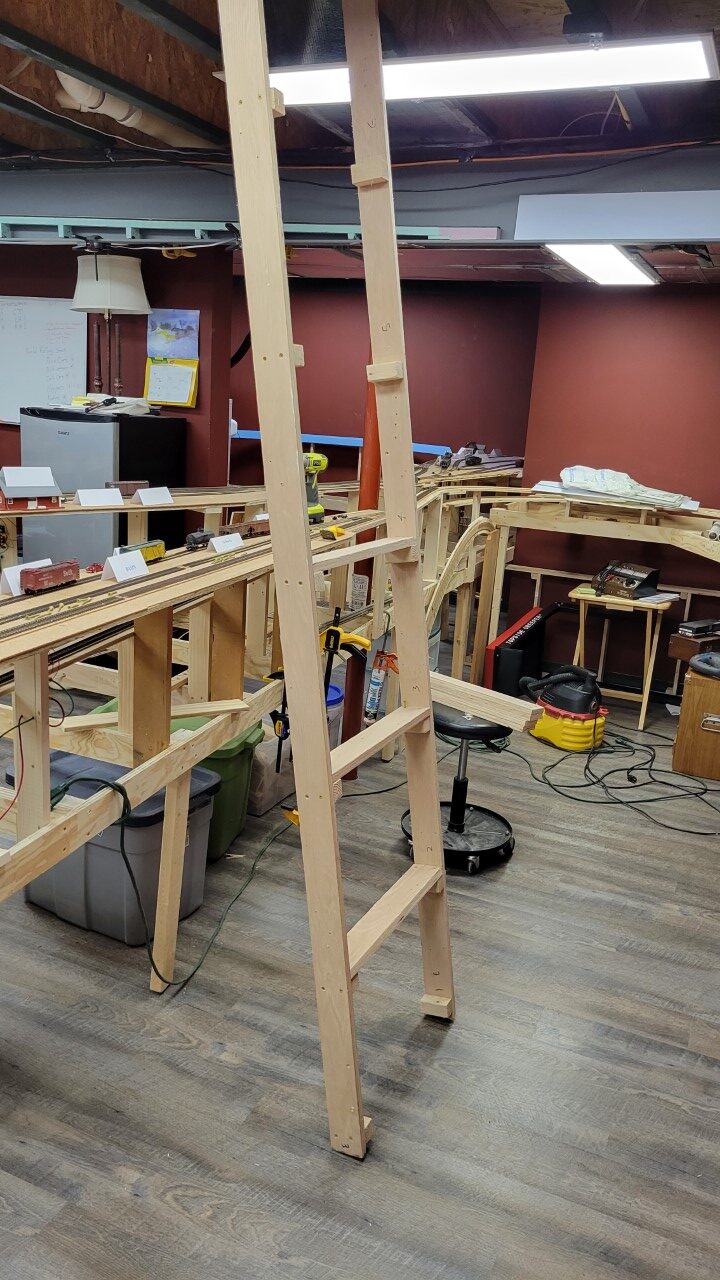
Walt is also a model railroader, so we spent a great deal of time working on the layout. On the 17th we erected the Greybull benchwork. Here it is in process.
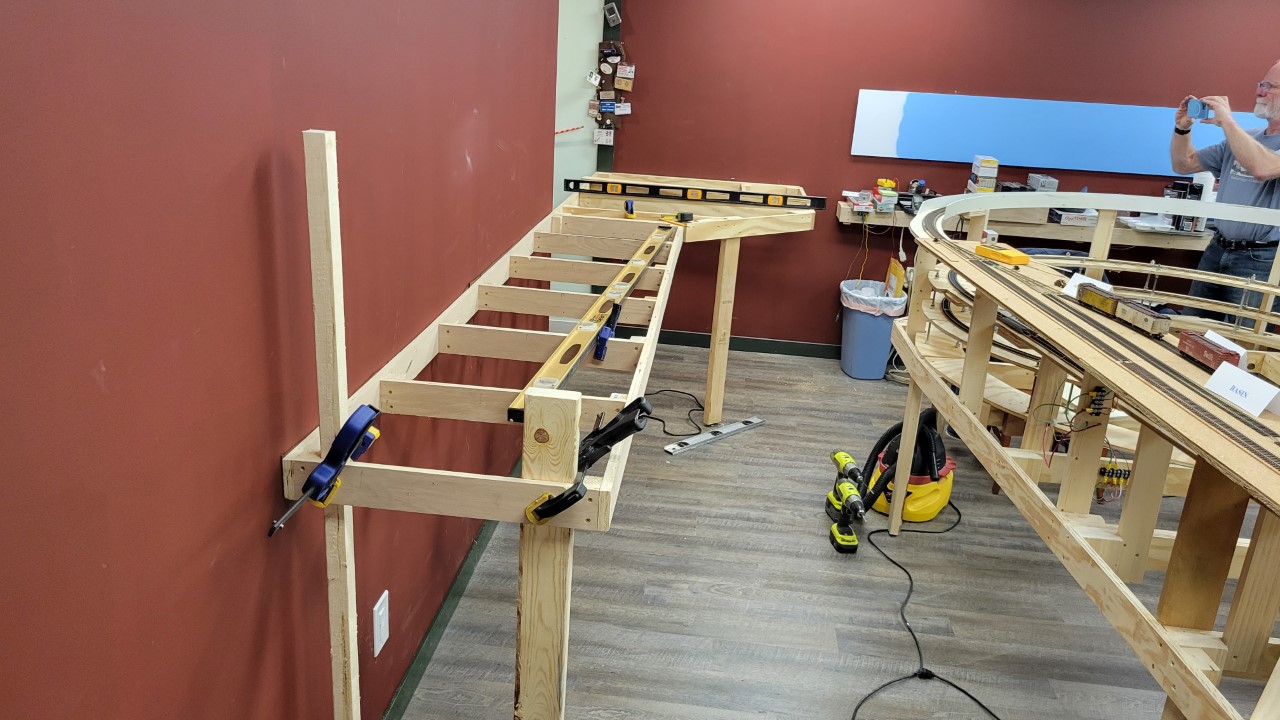
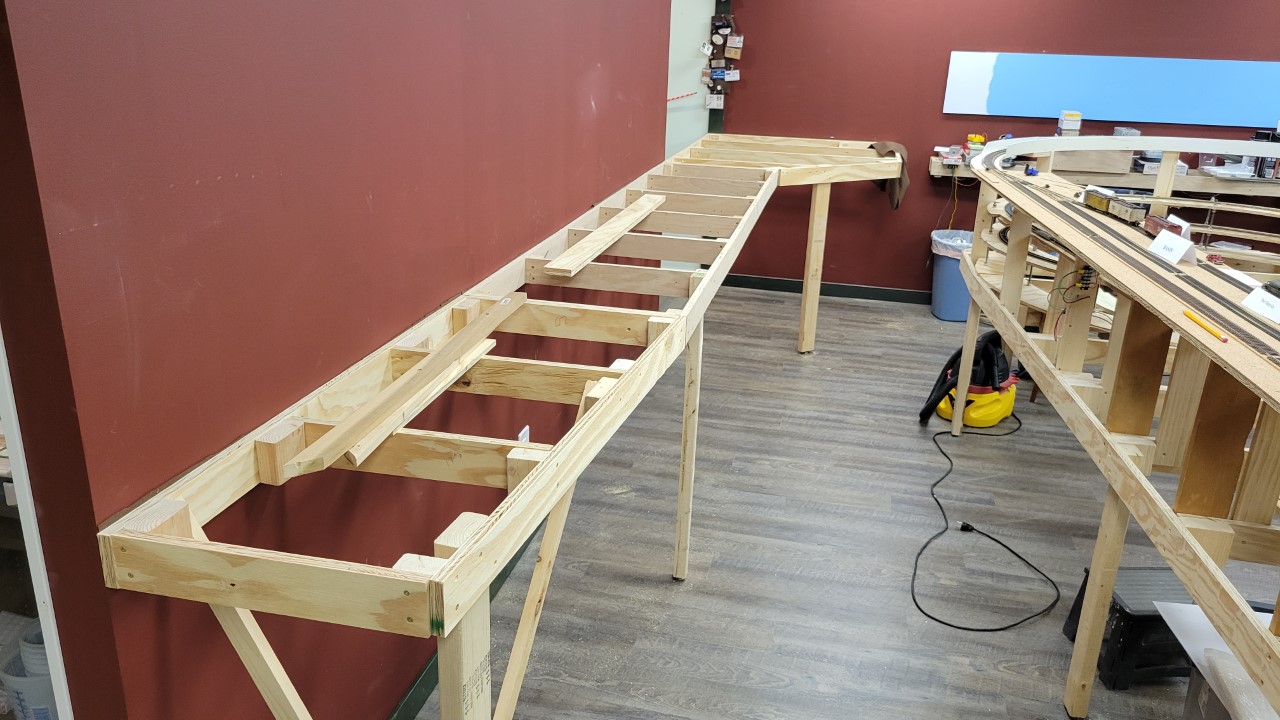
And here it is completed late that same evening.
The next day we constructed and installed a section of benchwork between Hudson and Lander, and even installed the skyboard that was rolled up at the end of Hudson for the past two years or so.
We also experimented with the 3D printer, and got pretty good results! Here's one of two material conveyors I printed from a commercially available model. Still needs painted.

Walt flew home on the 19th. We had a great visit, and his help sure made building and installing all that benchwork easier!
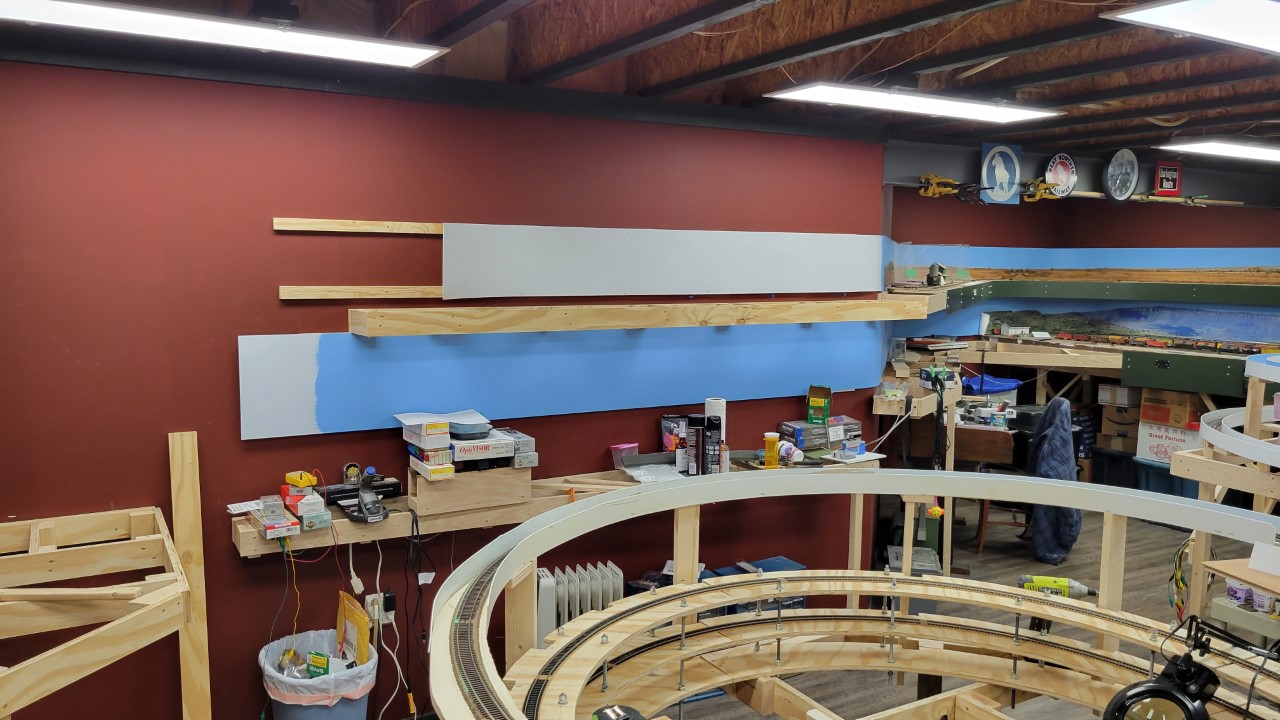
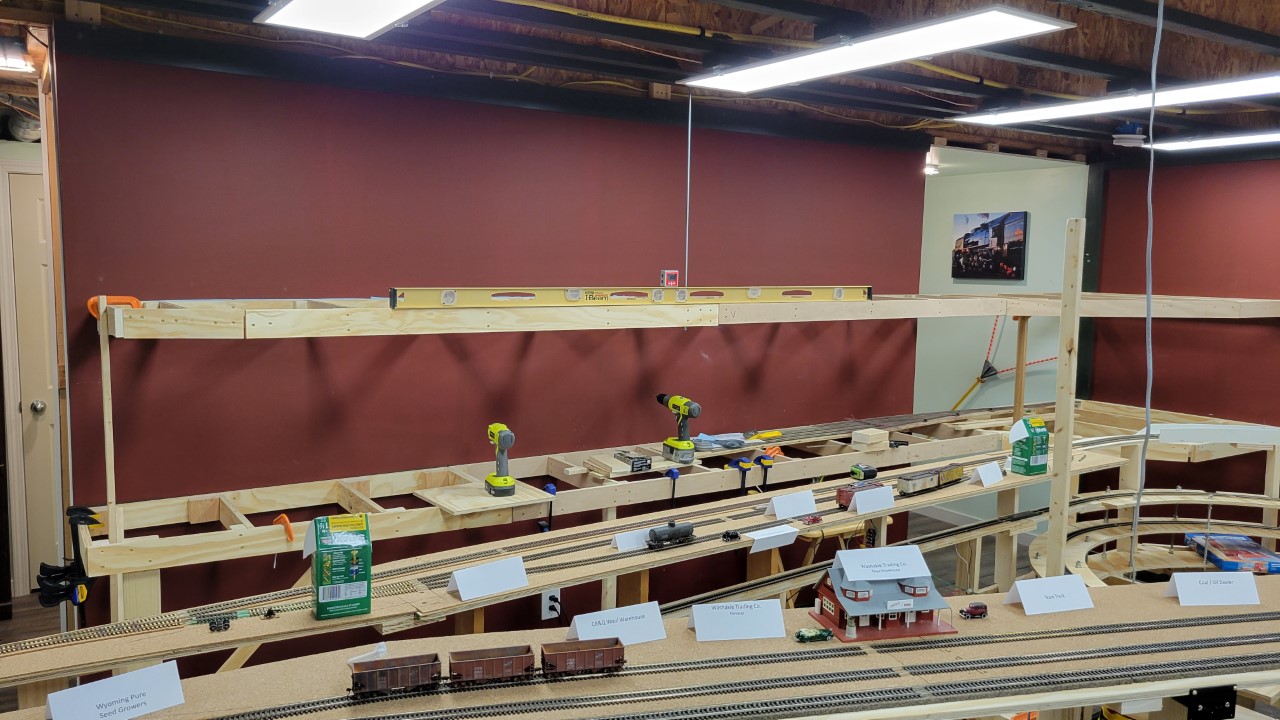
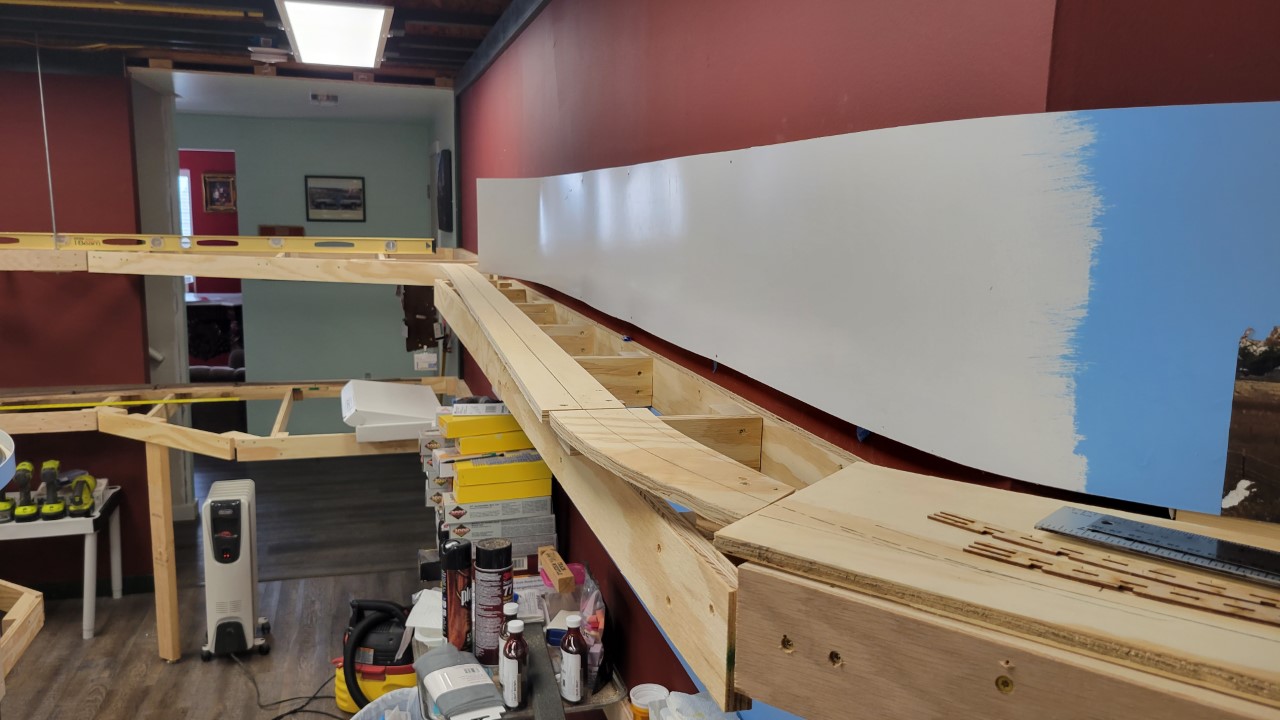
Since new benchwork was going in, I continued working on the Lander benchwork, which is located just above Greybull. By the 22nd I had the first two sections installed. The 1X2 wood supporting the front edges is temporary. Threaded rods will hang down from the ceiling to provide support like in Riverton.

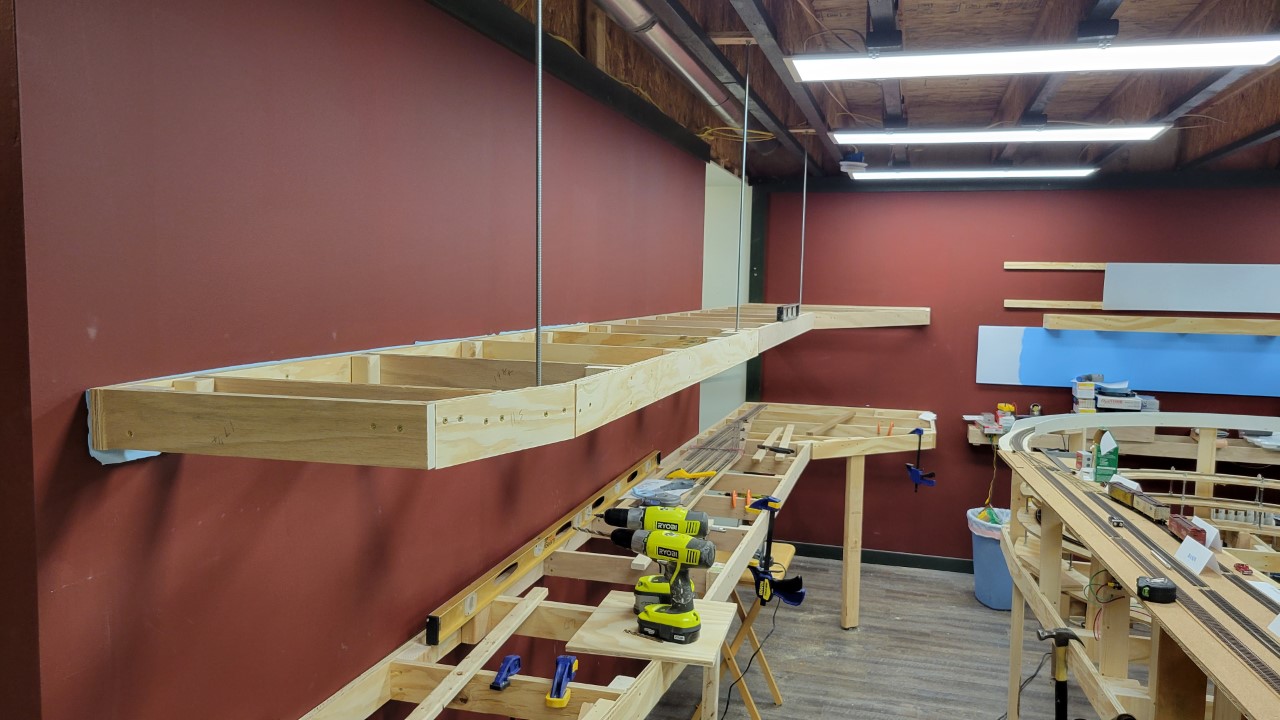
Today I finished the Lander benchwork, except for a short narrow section on the far wall.
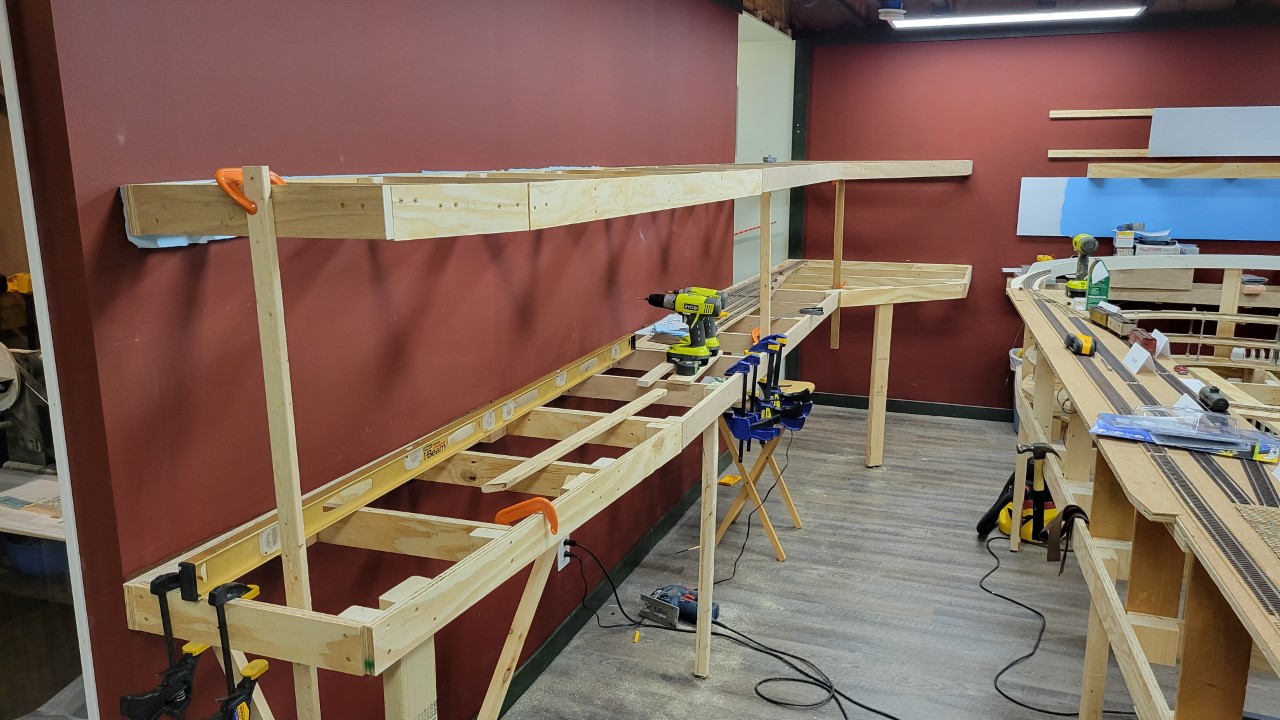
Here the center 1X2 is gone, replaced by the first of three threaded rods. I don't like those rods hanging down like that, but it's better than having big bulky supports reaching up from the level below.
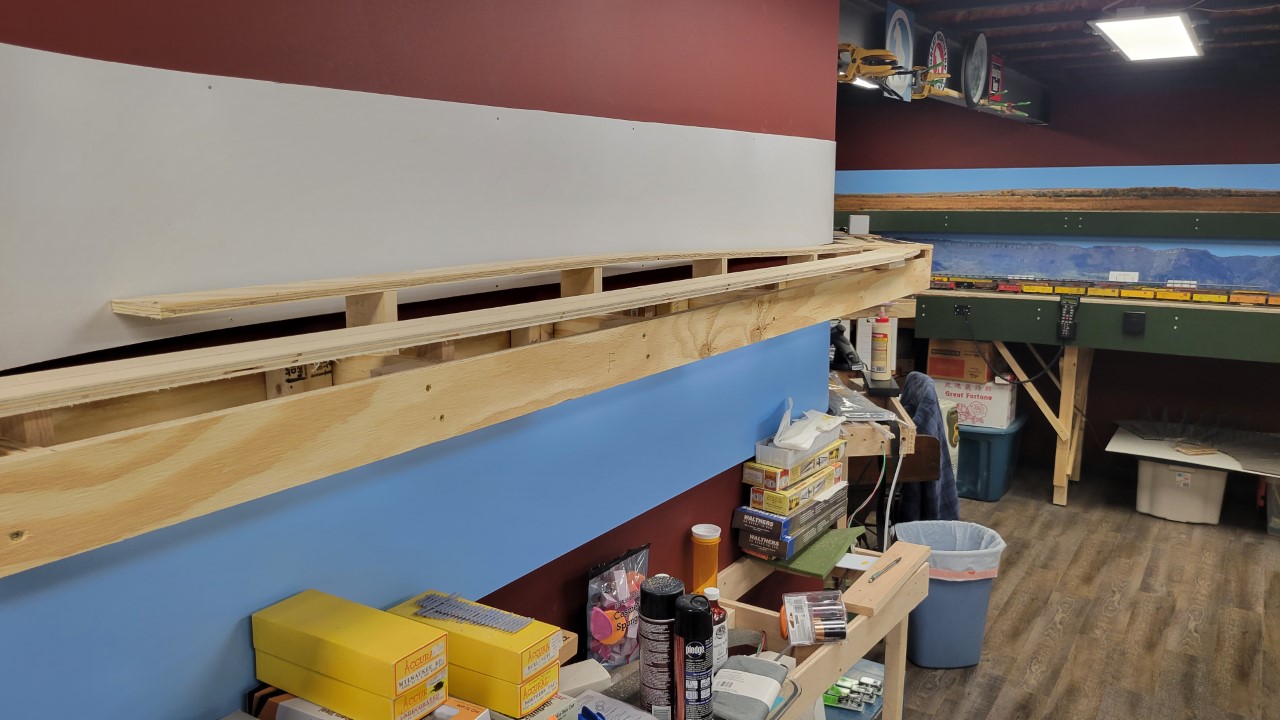
On 24 February I finished the Lander benchwork, then discovered that the free corner near the far wall in this shot was a bit wobbly. Rather than add a fourth threaded rod to support it, I extended the angled stringer all the way to the wall. Here's the before:
And here's the after.
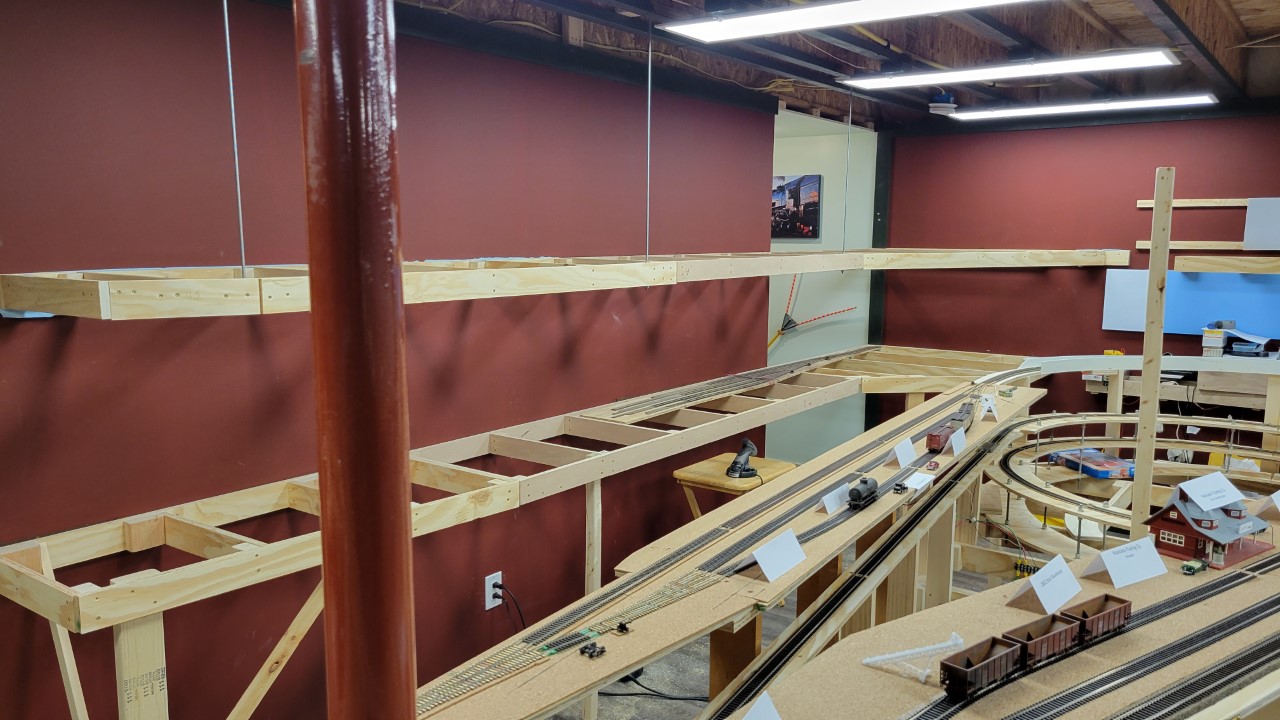
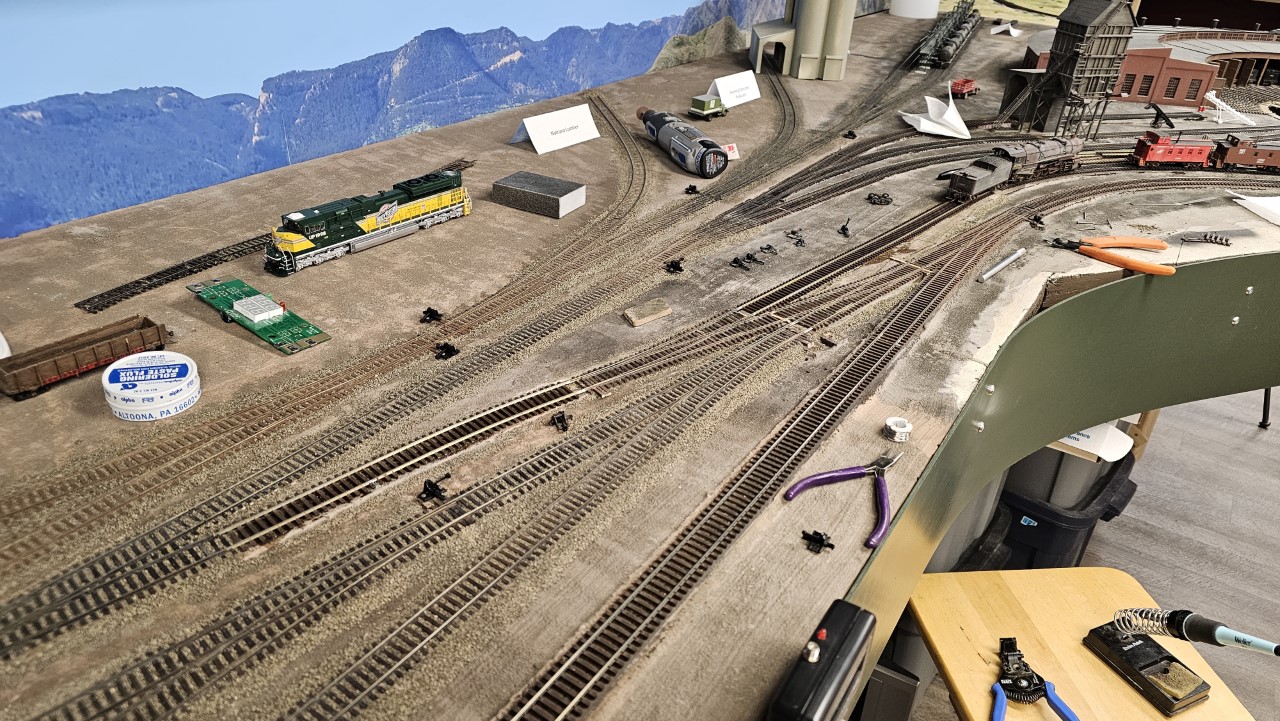
The footprint of the layout in the room is now complete. Here's a view looking from near Rocky Mountain Drilling in Casper across to the stair wall.
Here's a shot of the workbench in its new location under the Douglas benchwork.

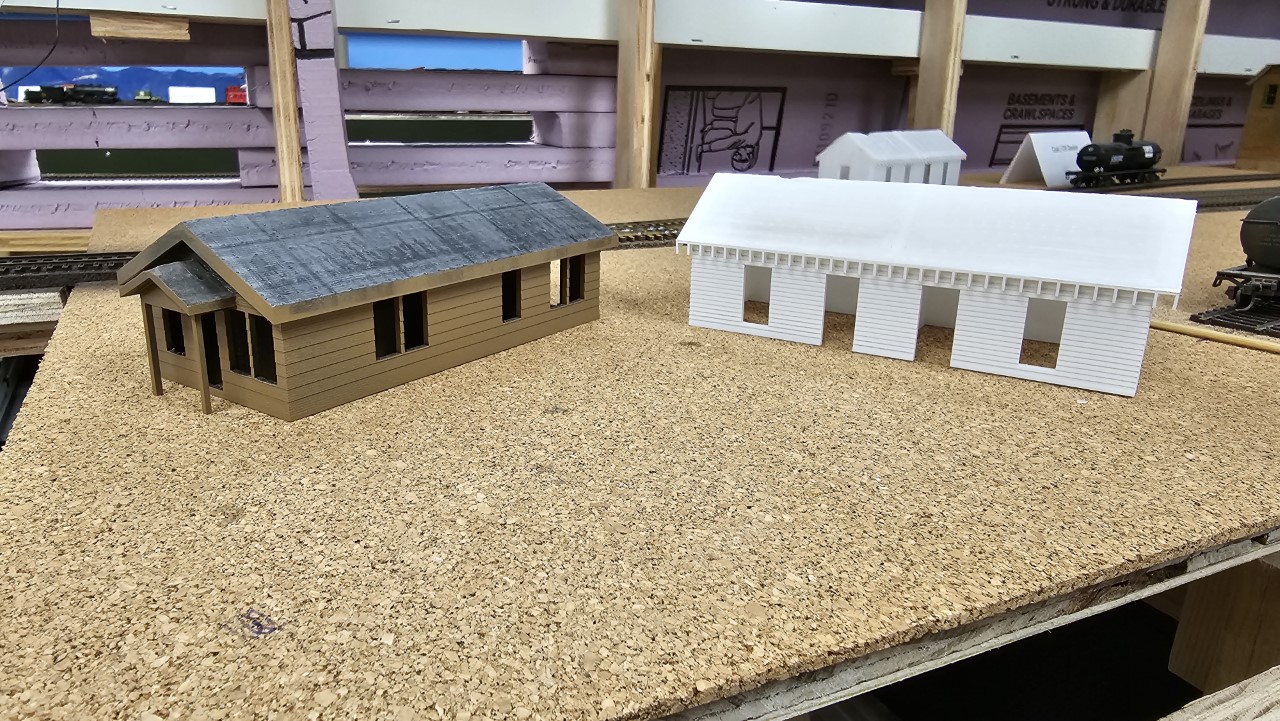
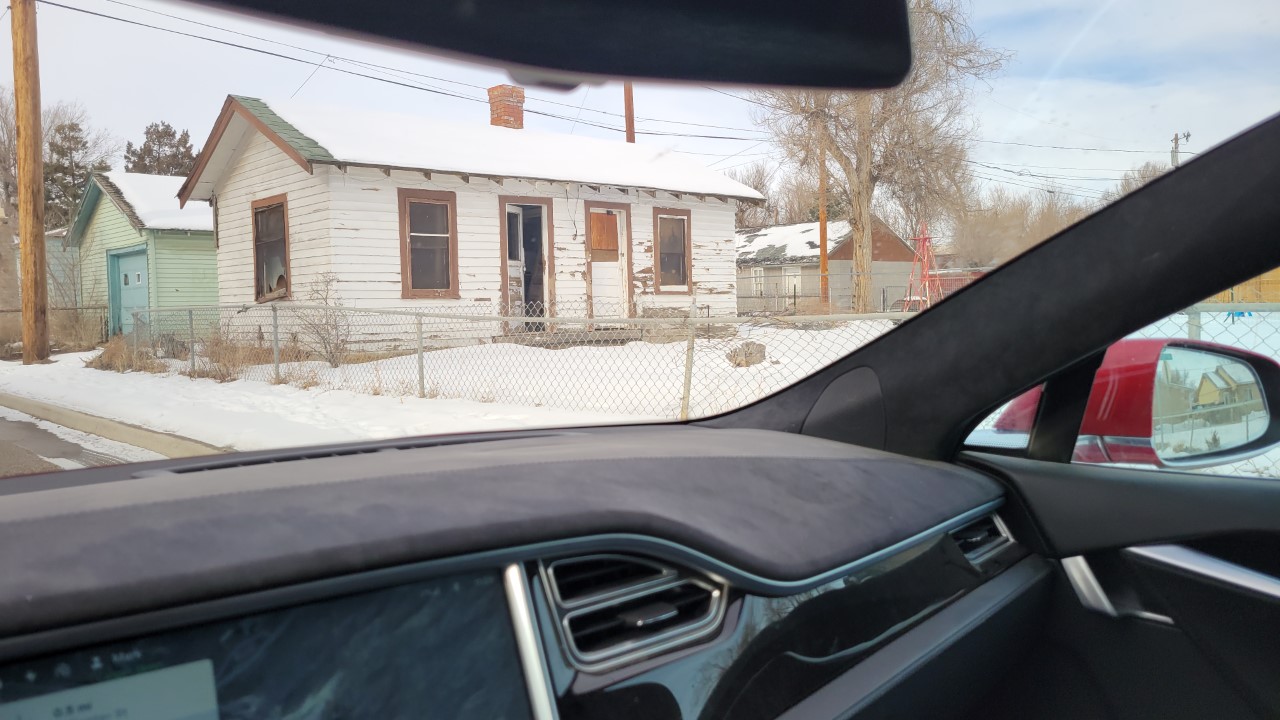
The end of February I designed a small house in Tinkercad to print on my 3D printer. Here's the real house I used as a guide, in North Casper:
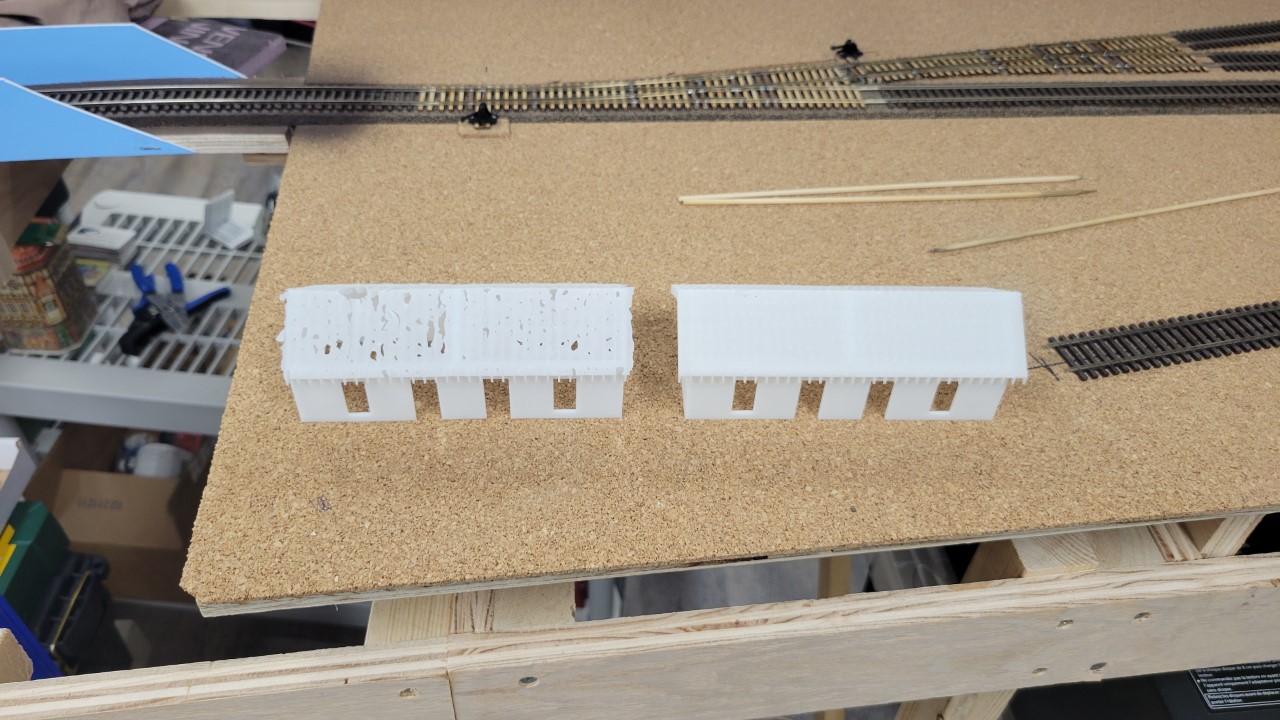
Here are two copies of the printed house, The one on the left was the first print. Usually you can just pull the part away from the supports on the finished print, but the roof is so thin it tore up when I did that. The second print I cut the supports away.
On the print with the intact roof I popped the doors and windows (Tichy castings) in place and took this shot.
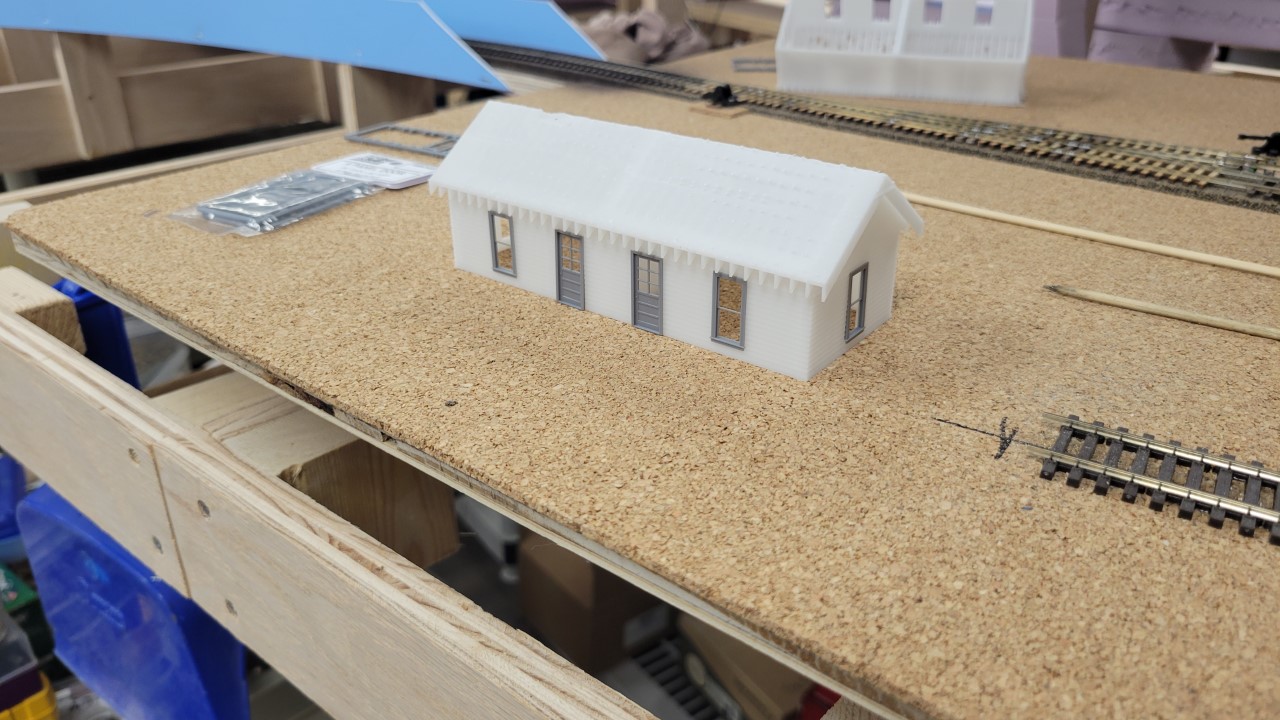
Once finished, this house a few others will go near the backdrop behind Rocky Mountain Drilling to finish off that area.
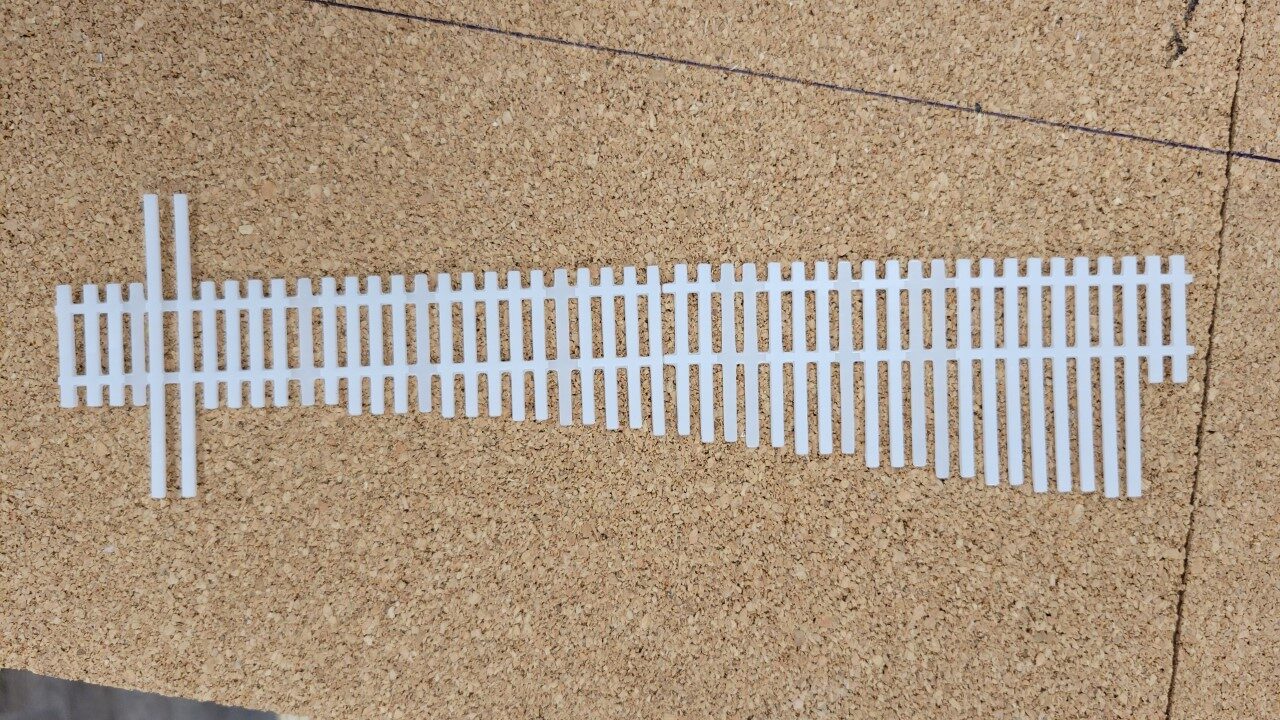
Meanwhile I kept working on the stock pens at Powder River. Here's the first few fence sections plopped in place temporarily:
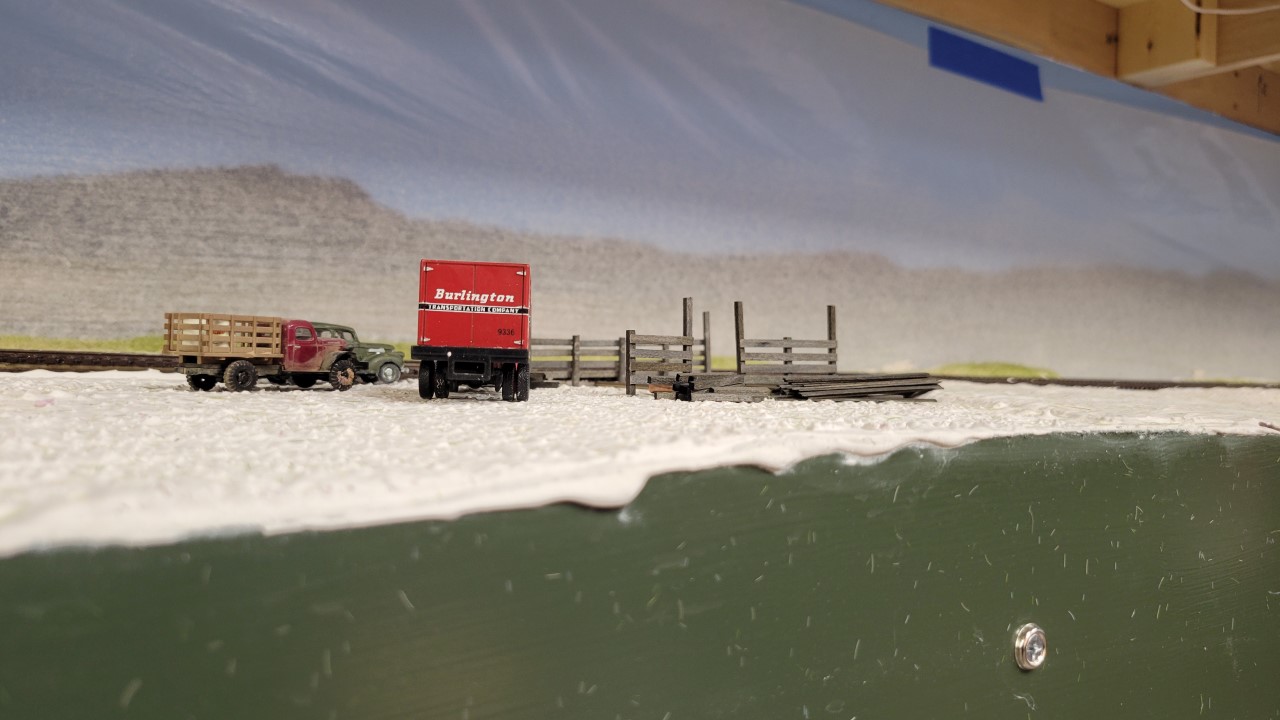
Here's progress as of a few days later, on 6 March:
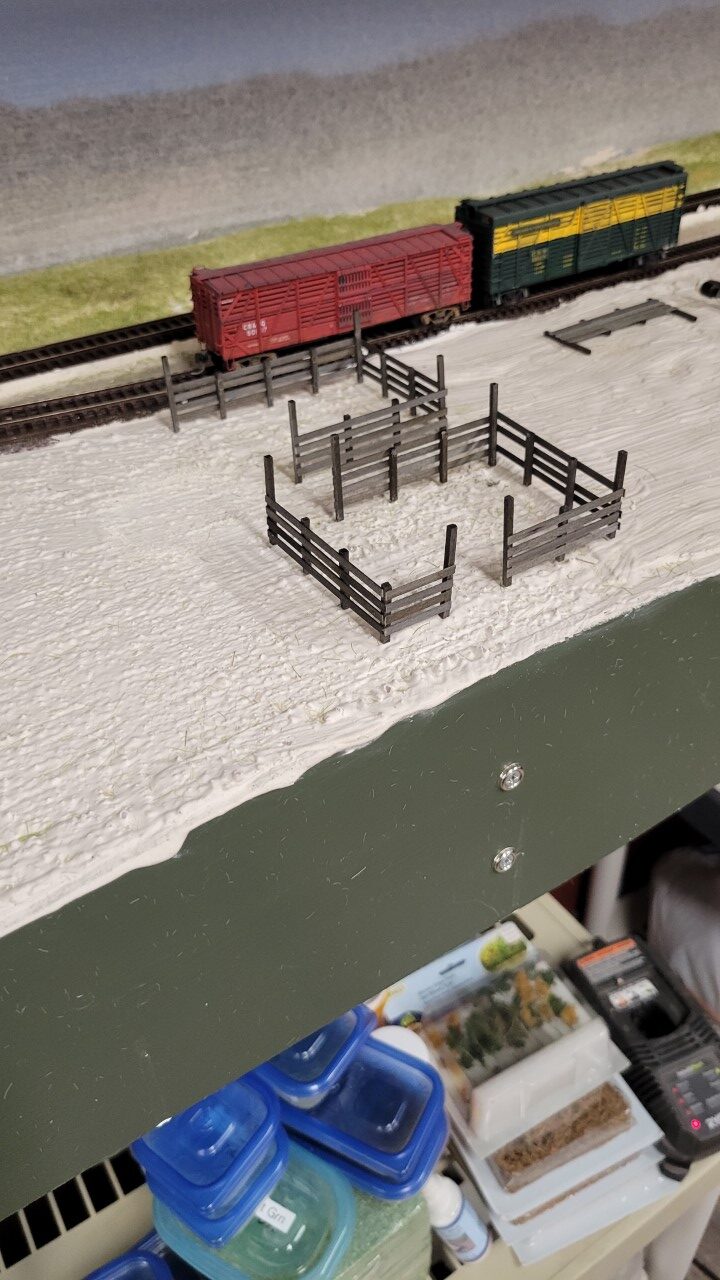
I continued working on the Powder River stock pens after my last update. Here's the first of the gates:

Also on the 13th I started adding ground cover to the stock pens area.

In between the ground cover and building more gates for the stock pens I also started adding subroadbed west of Hudson on the CNW line.

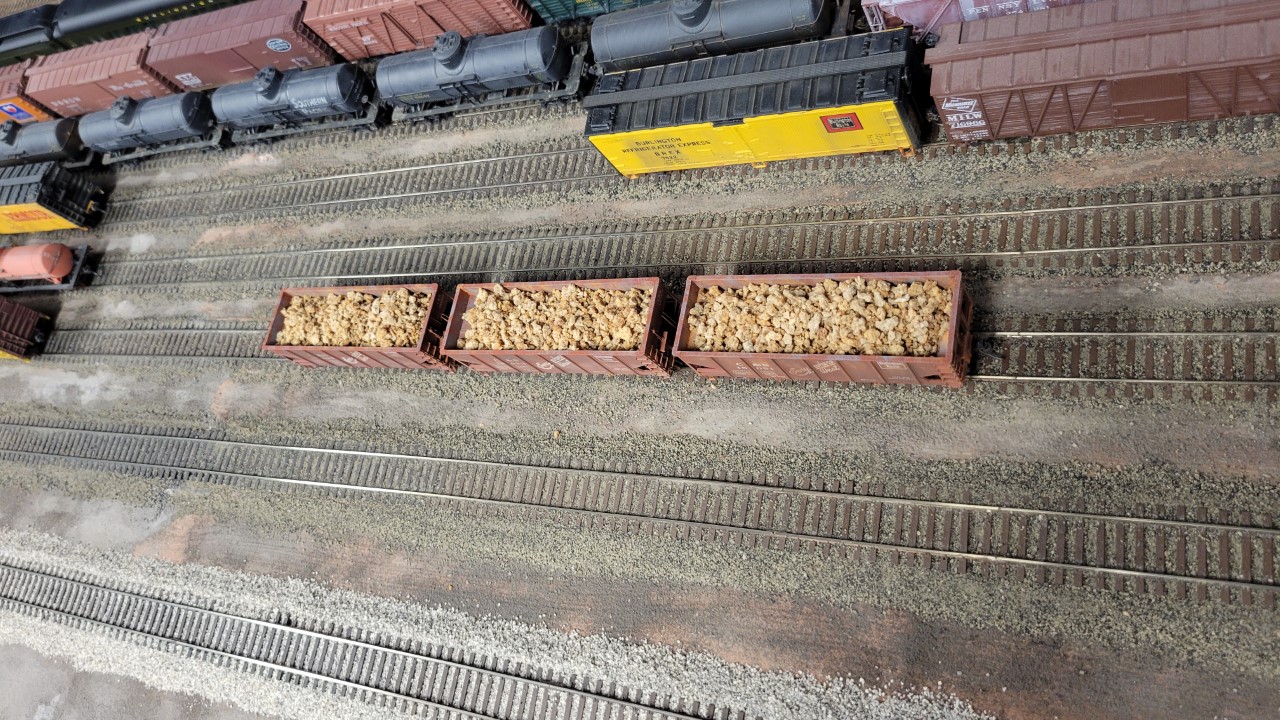
While my wife and I were at the grocery store I had an epiphany (or a stroke, depending on how this looks to you) and picked up something I think makes semi-decent beet loads. Here how three loaded hoppers look:
I continued with the subroadbed west of Hudson. This highly bowed section is made of rather expensive 1/2" seven-ply plywood. At least it didn't twist.
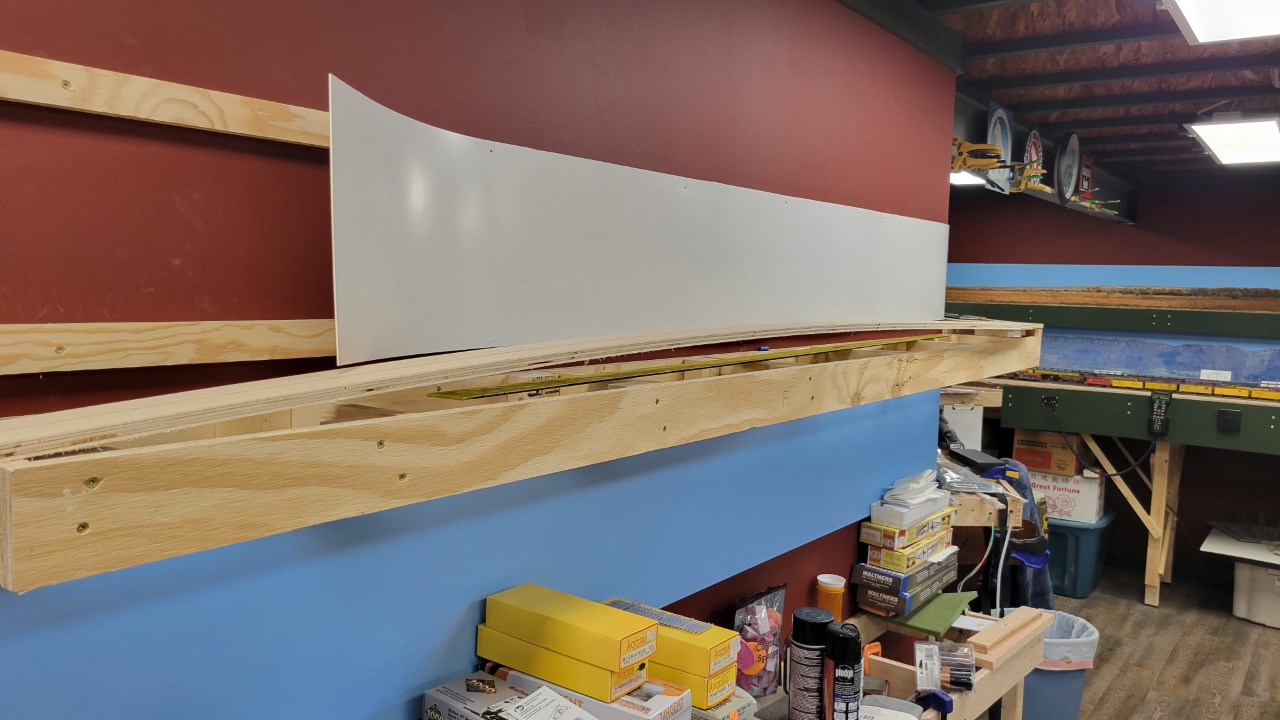
The next day it looked like this. Risers are keeping the plywood flat, except at the far end where there are no risers.
Meanwhile, over on the Powder River stock pens on the 19th - After looking over the newly applied ground cover, it seemed obvious that the ground was just too rough to be able to install the pens, so I took a bit of a left turn. I picked up a sheet of foam core board and cut it to fit the stock pen area. I'll attach the pens to the foam core, then cut out the ground where this board will sit and install the entire thing as a unit. Using the foam core will solidify the entire set of stock pens, which otherwise would be a very fragile collection of sticks.

Back to the area west of Hudson, by the 19th I had the subroadbed installed for the coal mine spur behind the line to Lander.
On the 20th I built the turnout for the west end of the Hudson siding, then started laying track onto the new subroadbed for the Lander line.
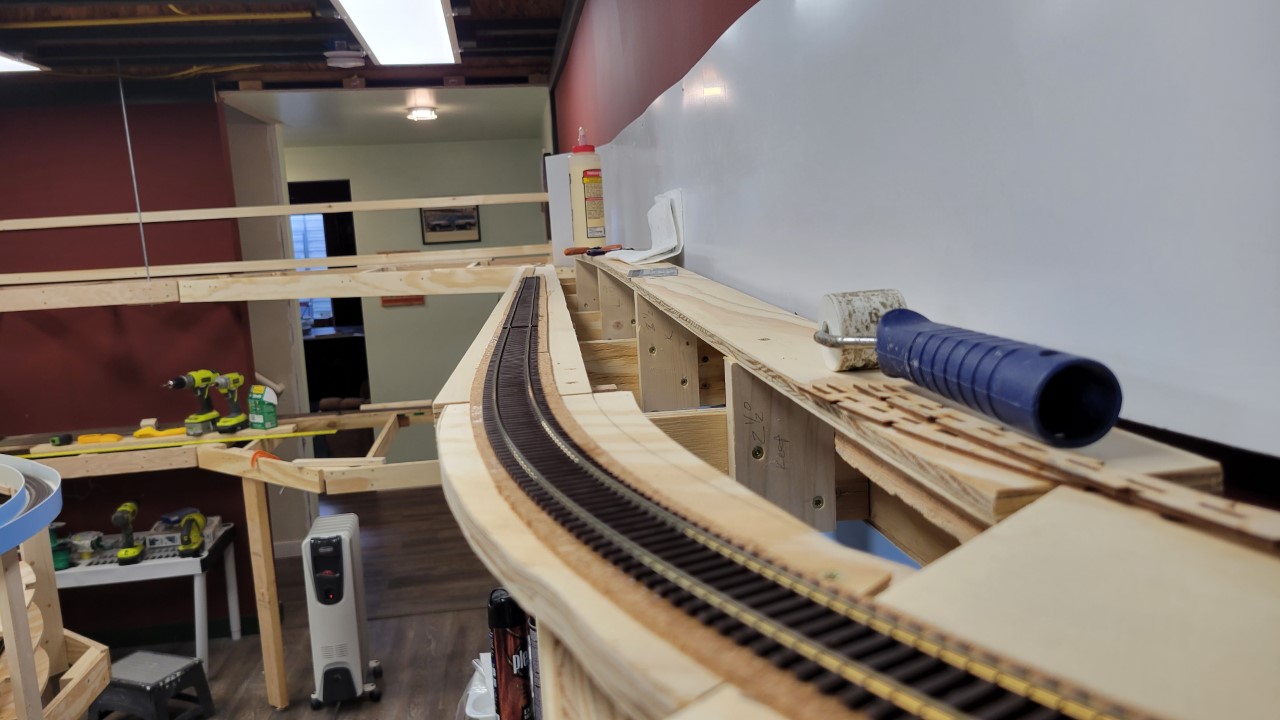
I also added mounting strips for the skyboard all the way to the end of Lander.

Today I began cutting and install new skyboard.
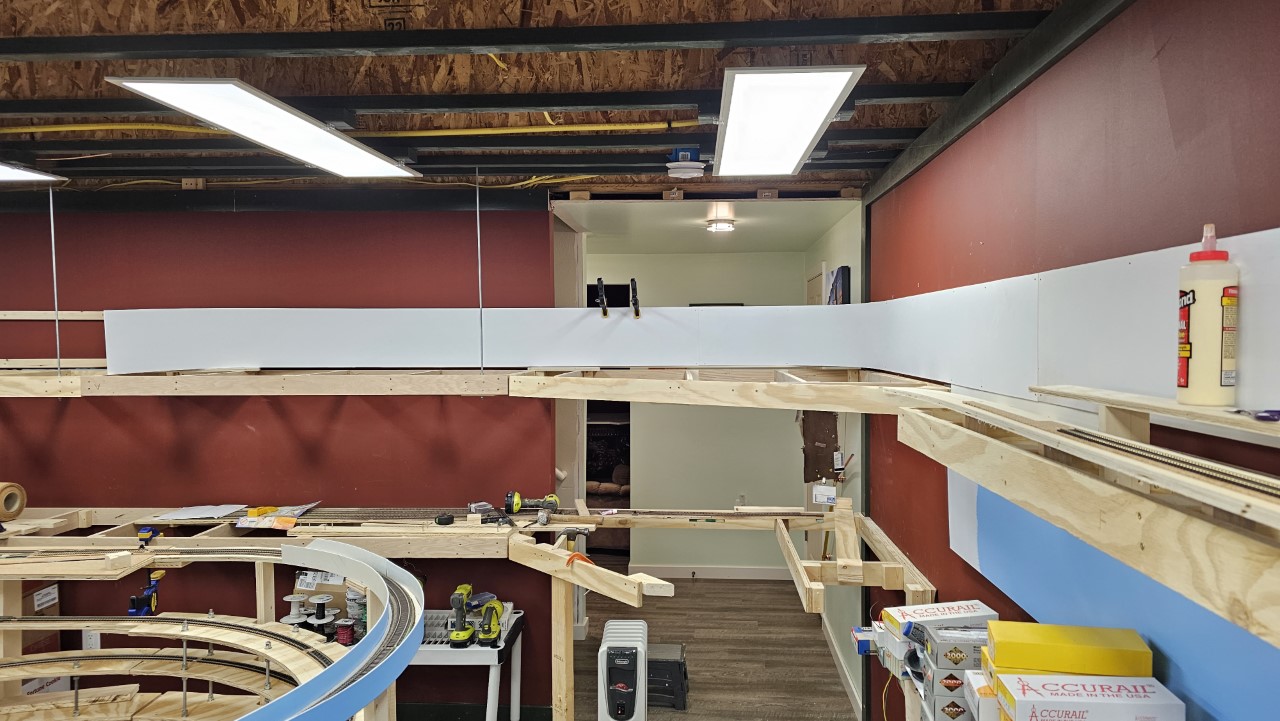
I finished installing both the Lander and Greybull skyboards the morning of 24 March.
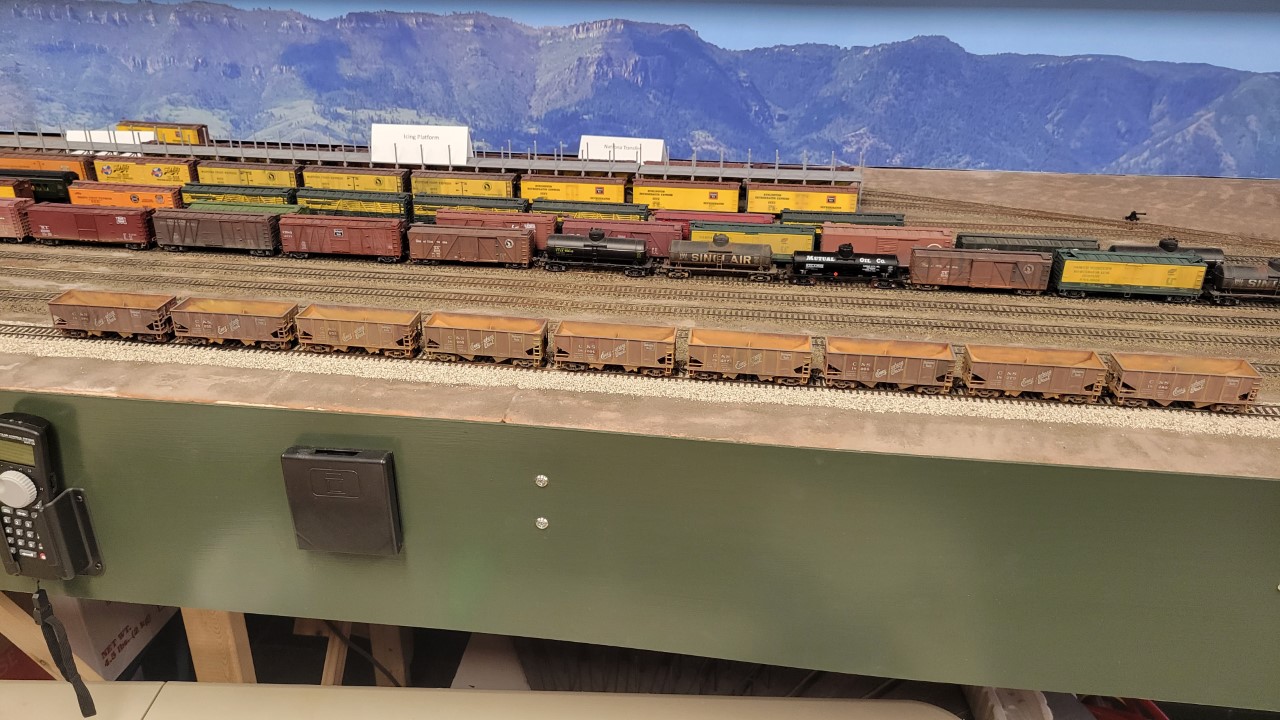
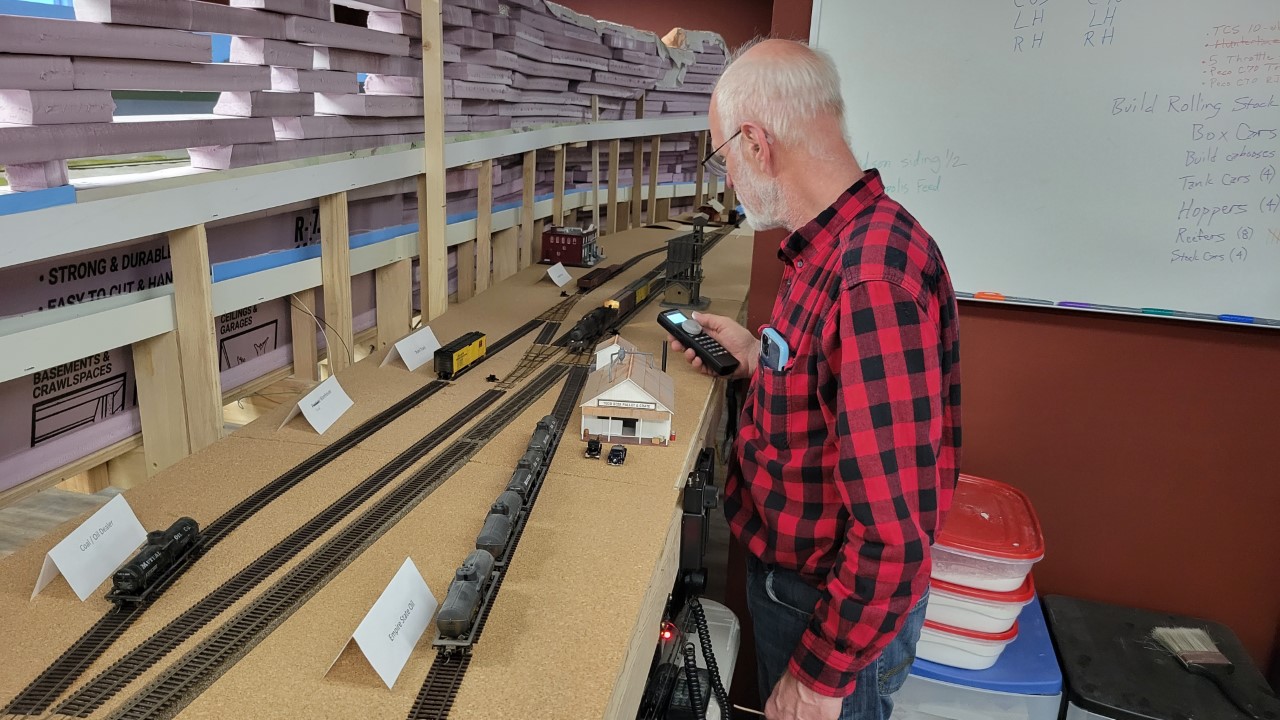
Dave from Basin came down with his wife that day, arriving about 9:30 am. Dave was here to help me modify the Casper yard throat to simplify switching of the icing platform and the industries on the east end of Casper. I'm a bit surprised that I don't have a real good shot of the area before we made modifications. This is the best one I could find.
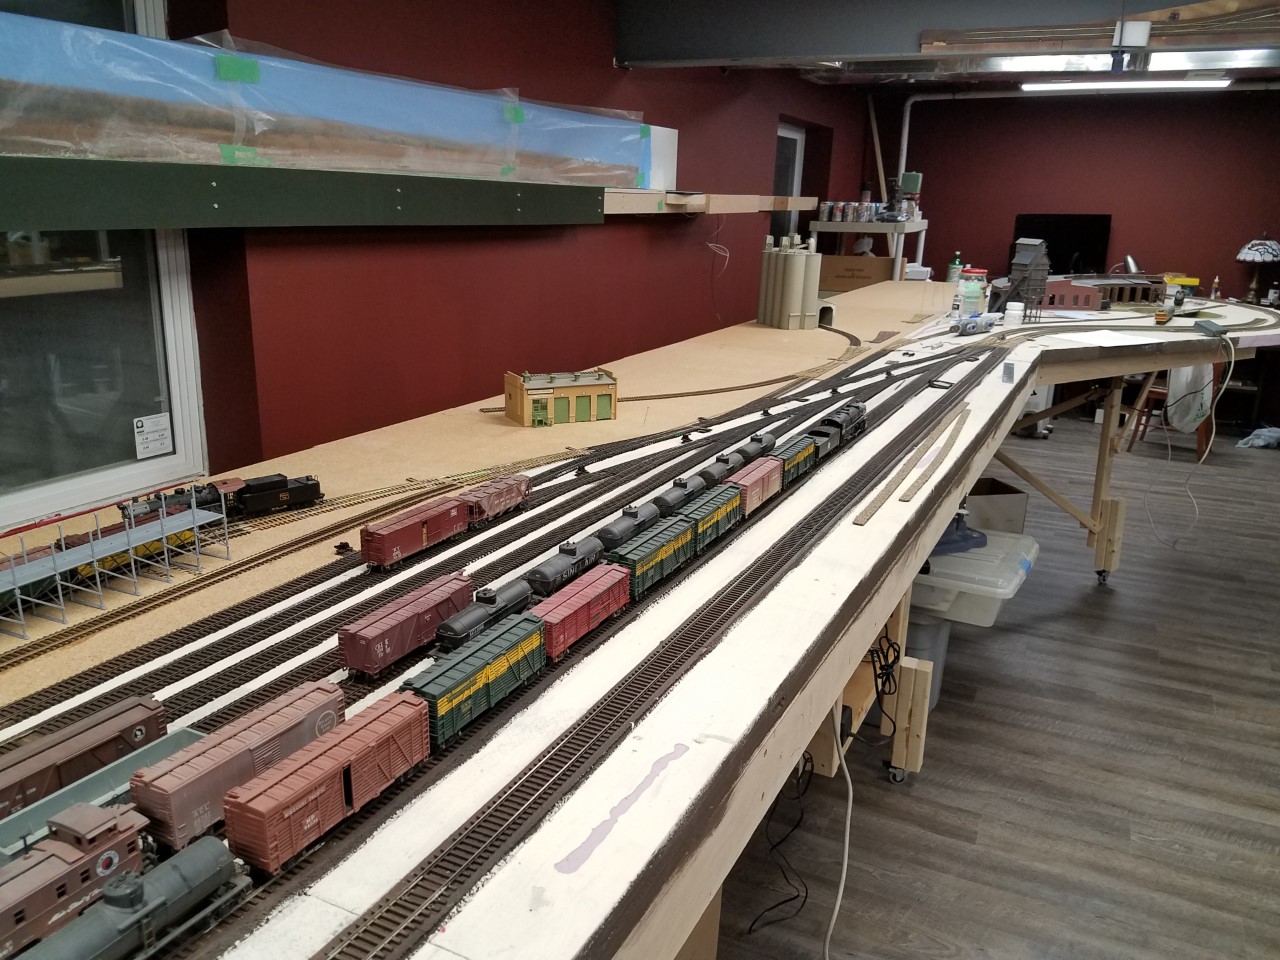
Basically, the mainline is on the right, curving around the engine facility in the distance. The track just to the left of it, which ends about halfway around the curve, is the drill track for Casper yard.
You can see the yard ladder in the center to left part of the image, and the runaround track just behind it. The spur to the icing platform and east end industries come off the runaround at the turnout at the far left of the runaround track in this shot. That configuration meant that strings of reefers going from the mainline to the icing platform had to zig-zag back and forth from the mainline onto the drill track and then up to the icing tracks. That was a back-and-forth, back-and-forth movement for each cut. What a pain!
On top of that, the caboose track was at the opposite end of the yard, off frame in the foreground in this shot.
For a long time I was pretty sure I was stuck with this very inefficient track arrangement, because one of the basic runes of model railroad yard design is that you have to have a drill track for moving cars that doesn't interfere with the mainline.
Then Dave told me a few months ago that Casper yard, despite being a fairly substantial yard, never had a drill track! Switching was done off the main!
I'd been planning on moving the caboose track up near the yard throat in order to extend the A/D track half a dozen car lengths or more towards Douglas, since running all the way down the yard to pick up or drop off cabooses was a real pain. Then Dave made a very simple suggestion - flip around the two turnouts that tie the drill and runaround tracks to the yard ladder, so giving direct access from the mainline to the runaround track. As a bonus, the old drill track becomes a much longer caboose track, right where it's most convenient!
That's probably not real clear, but the following pictures will hopefully help.
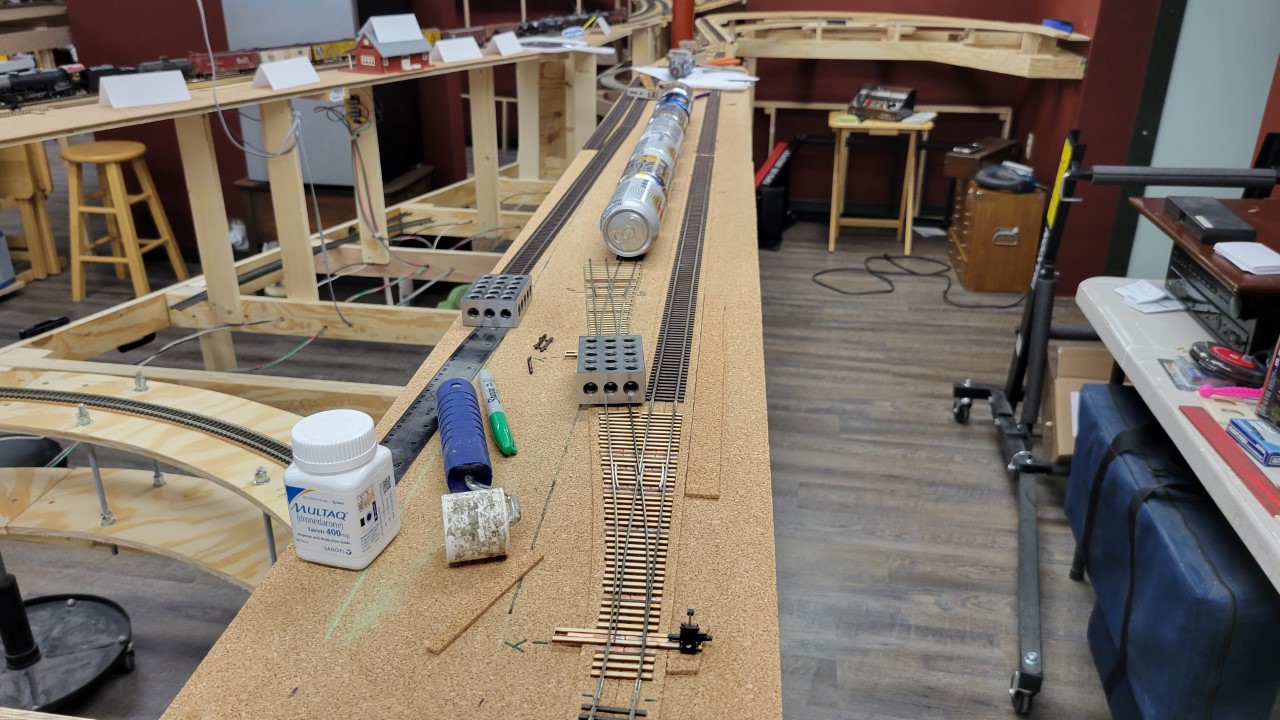
We spent about five hours rearranging those two turnouts and replacing some short lengths of track on the runaround and the drill track. Here we've finished the work and I've added caulk to the new lengths of track. The cans are there to hold the track securely while the caulk dries. You can see where we moved all the cabooses to their new home.
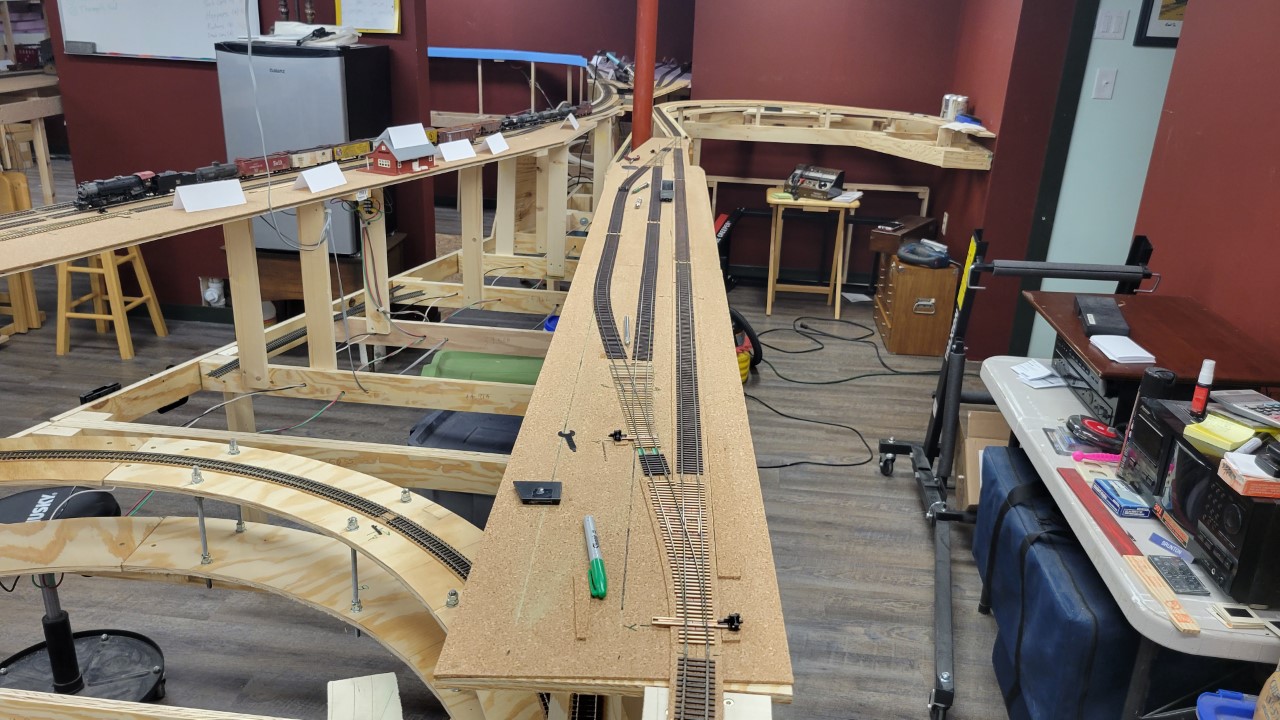
Later that evening, after Dave and his wife (who spent the day shopping with my wife) headed home, I removed the cans. Here's the new track arrangement:
The next day I installed ground throws.
I had to install three new ground throws, because while we were soldering the turnouts to the adjacent rails in their new positions, we had a bit of an accident with the soldering iron.
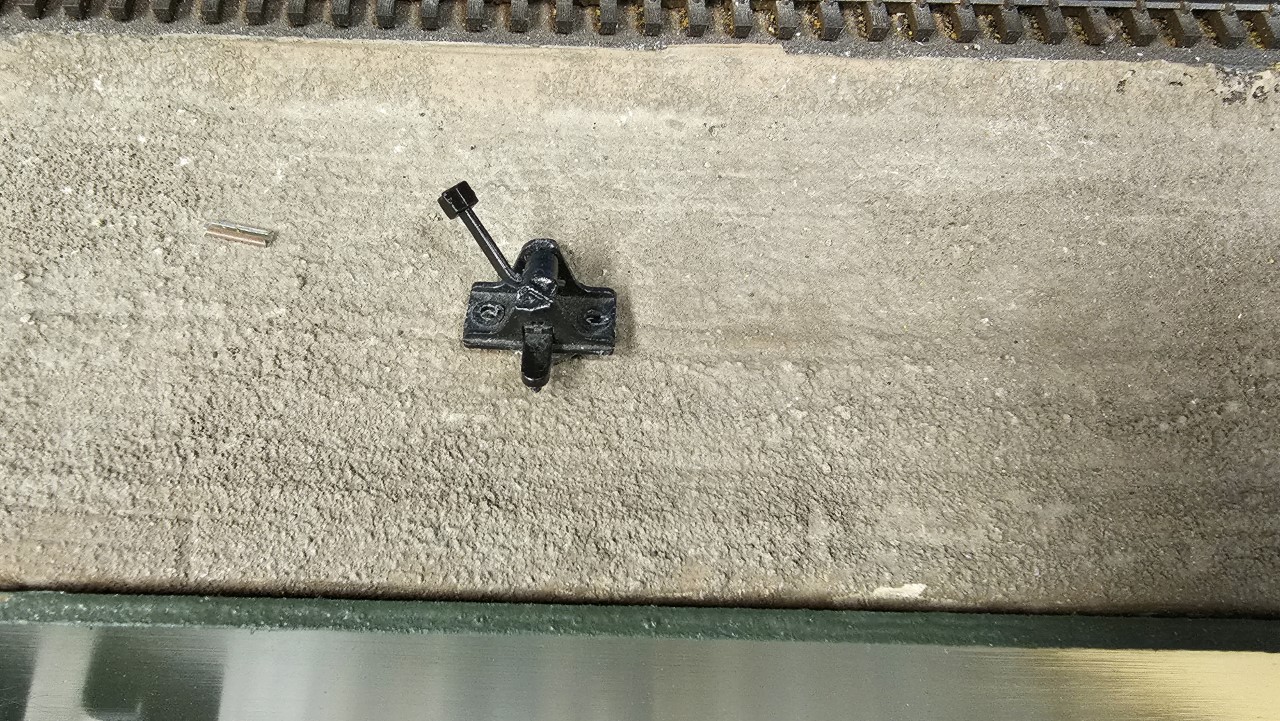
We touched the iron to one of the throws, and wound up with a partially melted, now non-functional throw. No big deal - it took about 10 minutes to replace it.
Over the next few days I filled the seams in the skyboard with plastic putty, sanding them smooth after each application. In between fillings, I repaired my 3D printer and tried it out. This is the second house that will go in North Casper, printed in black resin.
I also 3D printed floors for the loading chutes for the Powder River stock pens. These are way long - I'll cut them to length when I get to building the chutes.
 I am really excited about the 3D printer - it will be of immense use on the layout and will save me a fortune over having to purchase all sorts of small detail parts.
I finished all the seam patching on the skyboards late on the 27th, and painted the sky on the 28th.

On the 29th I wired the new track that extends about six feet out of Hudson, and today ran a loco onto the new track to make sure everything is okay.
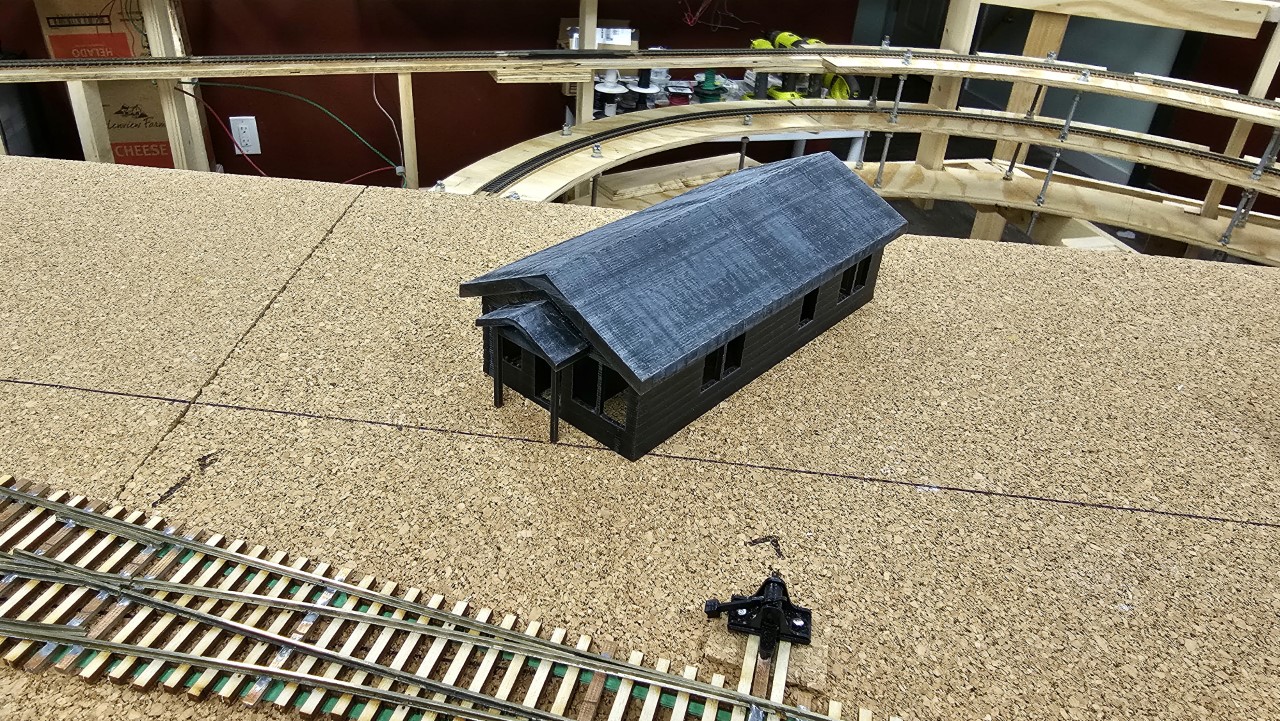
The weather was above 50 degrees today, so I painted the two 3D printed houses. Here they are. Roofs aren't on yet, and I have to paint and install the door and window castings, but I think these are going to work out pretty good. They're one-print units. Larger buildings will need multiple print sessions and assembly afterwards.