Casper Construction Progress Part 1 – 2024 – January through March
14 January 2024
Then I switched back to working on the S-2 Pacific. It has set for about a month with almost nothing done to it, so I decided to push on to finish it. Here I've cut a hole in the tender front plate for the wires and connector, and brushed liquid electrical tape onto the edges of the hole to act as a grommet to protect the wires from scraping on the sharp metal.

The next day I cut the sound holes in the tender floor for the speaker. The first hole took about twenty minutes, using several different drill bits to step up the hole size slowly. It would have taken forever to drill all the holes that way, so I switched to a small ball cutter in my Dremel. That worked great! The cutter ate right through the soft brass! It took me about an hour to finish cutting all the holes, including deburring the entrance and exit of each hole.
 Not real pretty, I know, but it doesn't really have to be. The holes won't be seen when the loco is on the tracks.
By the 7th I was ready to install the decoder / keep-alive in the tender. In this view the wiring is complete, and if you look in the tender shell you can see where I've installed double-sided foam tape to hold the decoder and keep-alive modules. The speaker isn't installed yet, but you can see it in the top right part of the photo. It's wired up; I'm ready to install it, then fit everything into the tender.
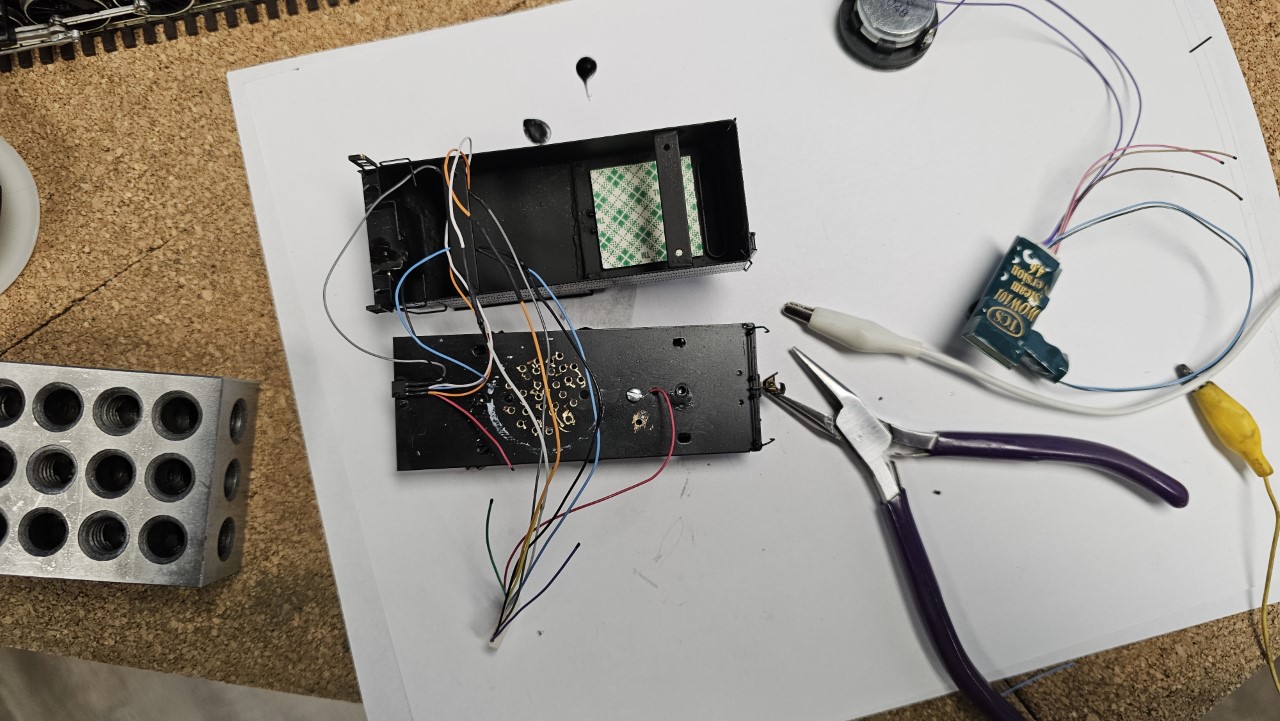
I put the loco on the track, and it worked! I'll post some photos as soon as I get some decent ones.
I still have three things I need to do:
- Put a dropping resistor in the headlight line - that thing is dazzlingly bright!
- Shorten up the wires in the cab, and add a connector for the headlight wires. Right now the wires are just looped up and stuffed in the cab. Not pretty.
- Add wire electrical wipers to the tender trucks to improve electrical pickup.
These things are improvements - the loco runs pretty good as is, and pulls a five-car passenger train with ease. I'll post a video as soon as I have one up on YouTube. I'm calling this a success. nd I didn't even let the magic smoke out of the decoder!
23 January 2024
I haven't done much with the S-2 the past ten days. I ordered some small screws and tools I need to add wipers to the tender trucks to improve electrical pickup. They're arriving tomorrow, supposedly. Then I'll get back to work on the S-2.
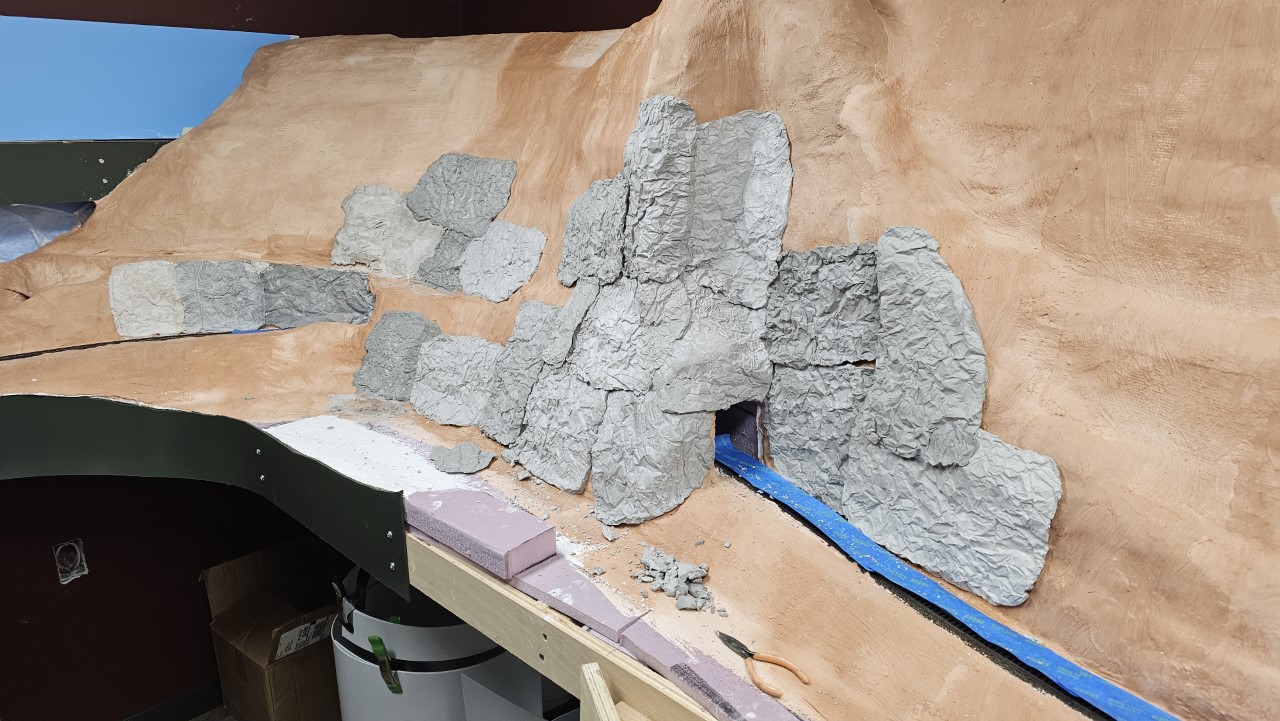
In the meantime I started working on the rock faces in the Wind River Canyon. Here's a couple of rocks poured into aluminum foil molds.

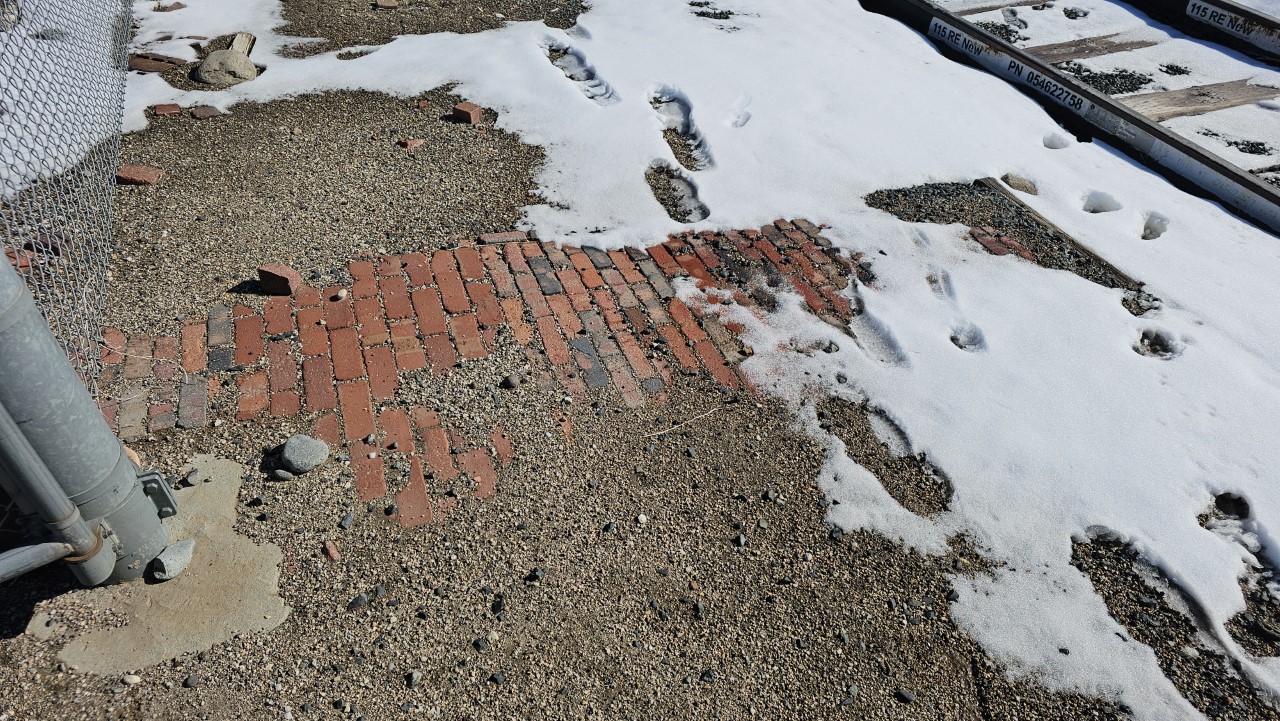
Here's the east end of Black Tunnel from April 2022. The concrete above the entrance to the tunnel carried an access road to the first Boysen Dam, which was replaced with a new dam farther upstream in 1948. The road has been unused since then, and is slowly being covered over with detritus from small landslides over the years.

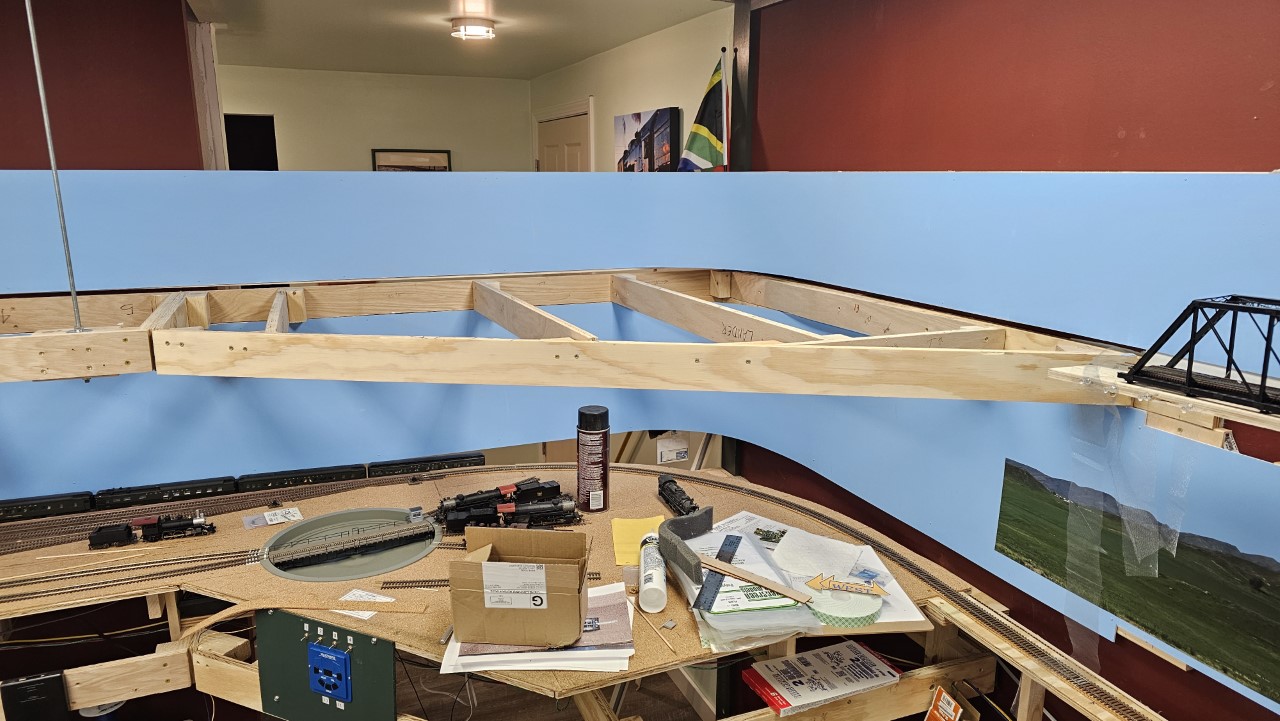
By late yesterday I was thoroughly sick of making rock castings, so I switched my attention to beginning construction of Powell, which is located under Worland. A lot of the supports for Worland need to be replaced to make room for Powell. Initially Powell was planned to be located elsewhere, but the major redesign of about a year and a half ago resulted in it being relocated here.

And here's where I was late this afternoon. The first sheet of Powell subroadbed is cut and installed at the end of the helix. After taking this shot I attached risers to the bottom of the plywood. Tomorrow I'll adjust the vertical position of the risers on the benchwork to set the final grade leading into Powell, and to make sure Powell itself is level.

11 February 2024
By the 6th I had the first sections of Powell covered with cork, and I was laying out the Powell tracks.
 And that was it for Powell. I had to order some code 70 rail and a new roll of cork (I ran out) to be able to proceed much farther. The cork has arrived, but the rail has not. So I busied myself with other small projects.
I addressed the wires visible in the cab and the headlight at the same time. I'd planned on just adding a resistor inline with the headlight, but even one-watt resistors got pretty hot, so I decided to just do the job right and replace that bulbous headlight with an LED. I had these on hand from Evan Designs.
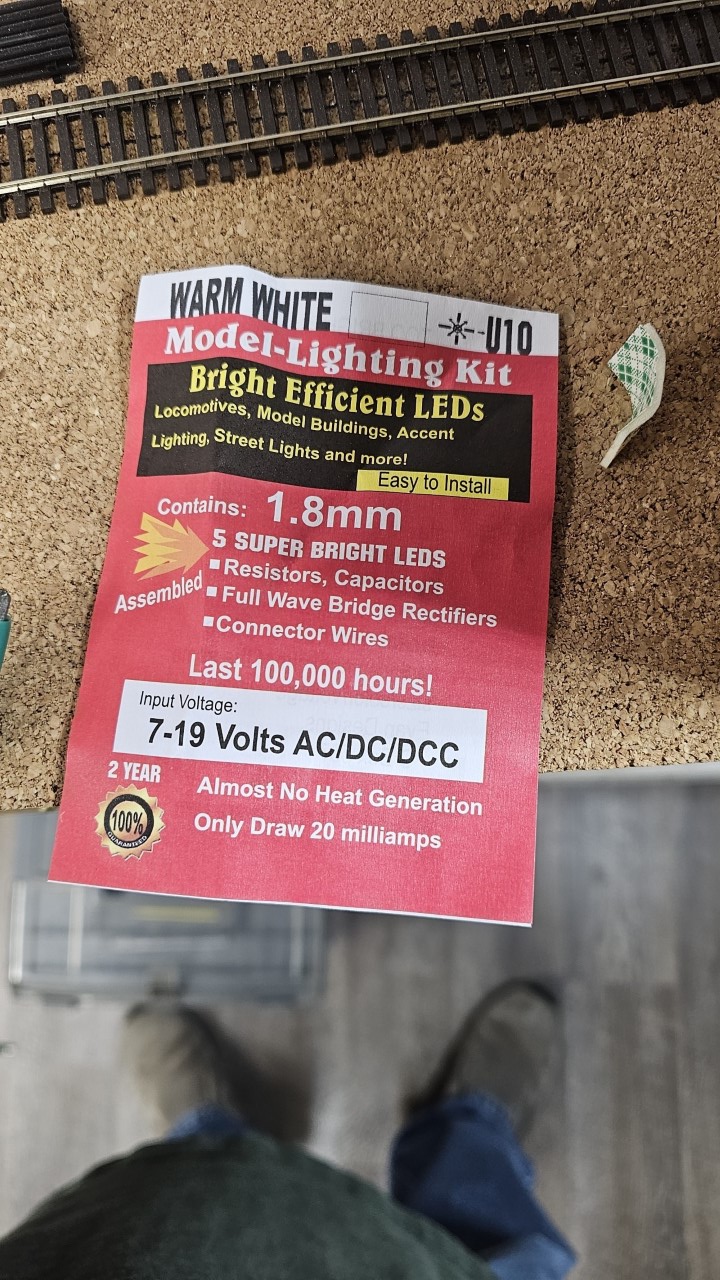
It took a bit of work, but by the 28th of the month I had the locomotive back on the track and looking and running much better.
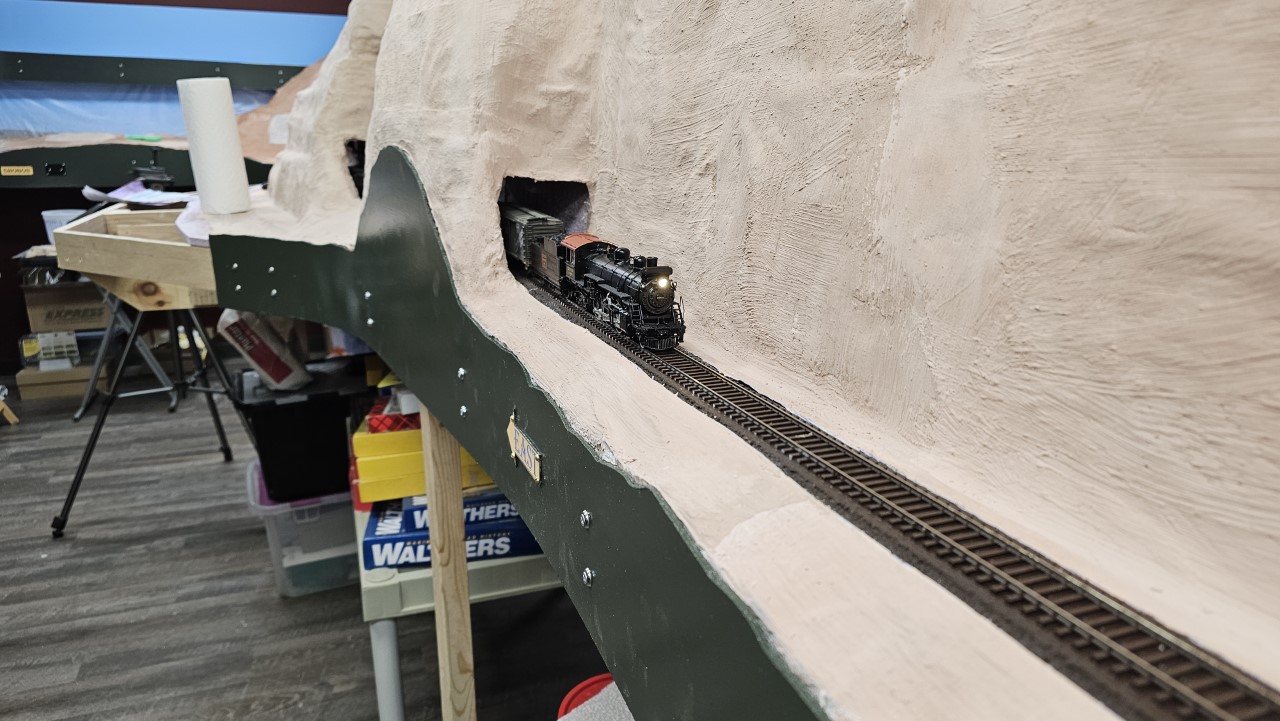 I still have some things to do. While I did improve the gobs of wires in the cab, the headlight wires are still far too obvious. Much more importantly, the locomotive isn't vary well balanced. The boiler weight is way forward in the boiler and smokebox, and only extends back to about the axle of the first driver. The two rear driver sets bear very little on the track - most of the weight is on the pilot truck and first set of drivers. The locomotive doesn't pull very well at all, even though it's relatively heavy.
So I bought a one-pound ingot of 203-degree melting point bismuth alloy. The first thing I'll try is to melt it down and pour some into the underside of the cab roof. Being so far back in the loco, even only a few ounces should have a significant effect on the tractive power of the loco. I can also add quite a bit to the boiler behind the lead weight if necessary, but I'd prefer not to do that, since it would make removing the lead weight impossible in the future.

On the 31st I posted a video showing how I remotored and added DCC with sound to the locomotive.
Then of course on February 3rd I posted my usual layout update video.
And today I finished installation of a Wowsound decoder in the Spectrum Consolidation I bought a few months back off ebay. Here I'm preparing the model for decals. This one will be numbered 3188, one of the two consolidations assigned to the Casper division in my modeling era. It will most likely be assigned to local freight duty out of Greybull.

7 March 2024
With the one side of the tender done I started on the same side of the locomotive. The model has some sort of protrusion in the middle of the cab side under the windows. Rather than try to scrape it off and repaint, I simply placed two of the four digit loco number on each side of the protrusion. Here the "88" is in place.

On the 18th I bought a very small skillet at a thrift store to use for melting the bismuth alloy. That worked out real good.
 I ordered some small syringes from Amazon. They're supposed to be here Saturday. I'll use them to very precisely place exactly the amount of molten bismuth I need in different areas of the S-2 to hopefully balance it a bit better and improve its traction.
So early this month I began adding more castings to try to get something at least vaguely resembling the stair-step appearance of those cliffs. Here's how it looked as of this evening. Looks like a real mish-mash at this point, but there are steps in the cliffs now, even if they're not real obvious. Still a lot of work to go!

On February 20th Dave and I took a trip to Cody to check out what's left of the railroad there. While it was very active even 20 years ago, now there's essentially no traffic that comes in or out of the area. The only reason it's used at all is to turn trains for switching up the line back towards Frannie.
Here's a couple of old, unused buildings. There used to be another track right alongside them, but it was removed many years ago.

On February 22nd I began trying to connect a new Windows 11 laptop to the layout to use DecoderPro to program my locos through my NCE system. I bought the laptop to run a video prompter and this. I spent many hours trying to make it work. I kept getting this error message that the port the program uses was busy (it wasn't).
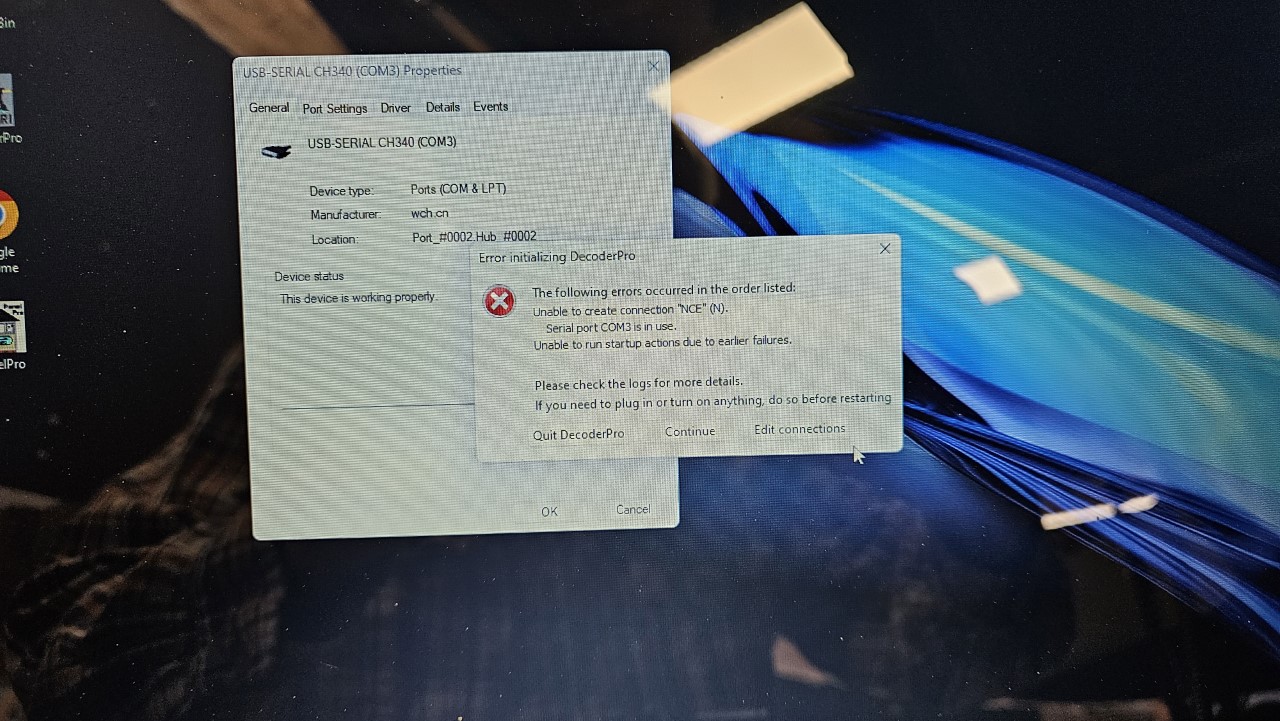
After probably fifteen hours of fighting with this thing, it was pretty clear there was a problem with the COM ports not working properly. I contacted HP (where I bought the laptop) for help in resolving the issue, and I was told I would have to pay for support on a brand new laptop! I sent it back and went to WalMart and bought one built by ASUS. Same Problem! That when I realized it was probably a port driver problem, even though the computer said the ports were fine. Turned out the drivers supplied with Windows 11 don't work with Windows 11! They do work fine with Windows 10. So I just happened on a website with newer drivers. I loaded them and DecoderPro worked! I programmed two locomotives.
When I went to the laptop the next morning I was presented with a new error:

I spent several hours wrestling this problem. I fixed it by installing a different version of JAVA.
But I'd had enough. This was anything but a reliable set-up. I ordered a Windows 10 laptop from Amazon. It took me less than an hour to load and install DecoderPro and JAVA, and they worked right out of the gate! I packed up the WalMart laptop and returned it to the store. I'll stick with Windows 10 for the near future.
March 3rd I posted my usual layout update video.
Over the last couple of days, in between making the update video, rockwork in the canyon and fighting with Windows 11 I installed the new turnout in Powell, added a length of flextrack and wired it into the buss. Then I ran a train down onto the new track to make sure everything was good.
 Since then I've continued work in Powell by laying and wiring the first couple pieces of code 55 flextrack for the siding that comes off that new switch.
31 March 2024
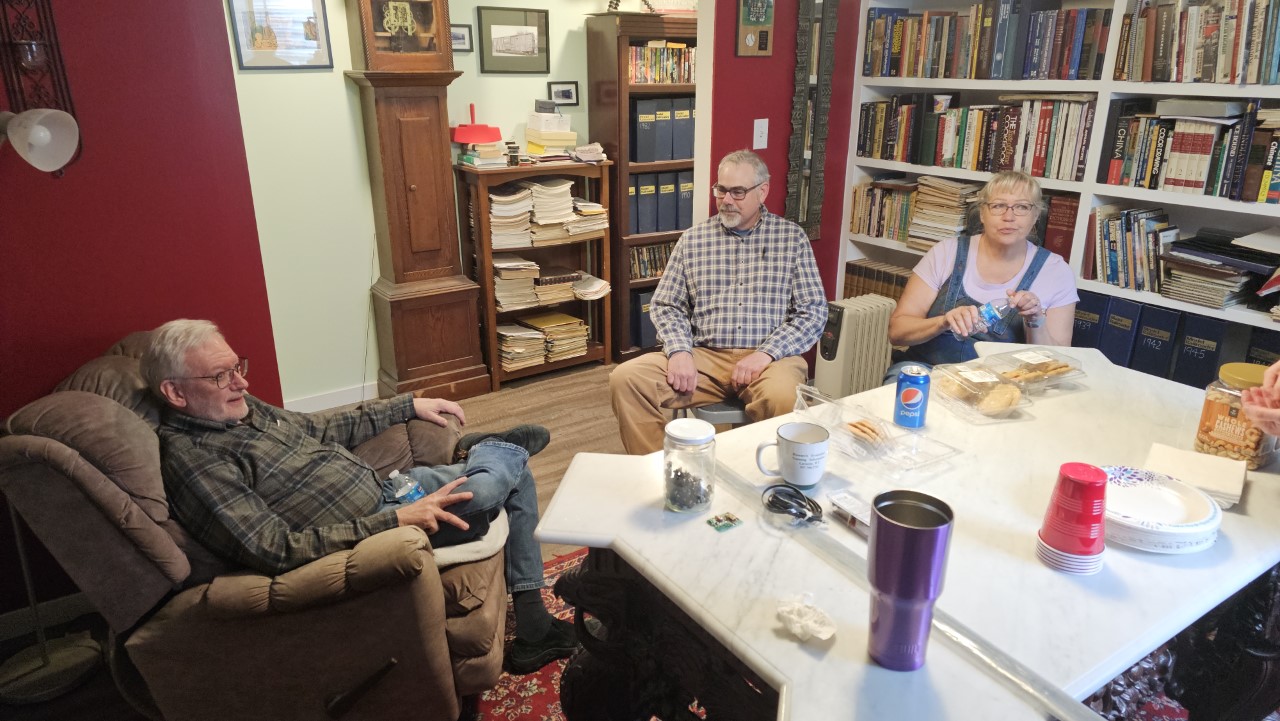
After the session was over, I got into a turnout-building kick. Here's the three remaining turnouts needed to complete Powell.
 I decided to just carry on with turnouts, building the ones I need for east and west staging. SO far I've completed seven of the ten. The remaining three will be finished in the next few days.
On the 27th I posted a very short video of some clips from the operating session that my wife took.


