Construction Progress – 2019
2 January
Those LED's I showed in the last update look like they'll work out pretty good. I strung them through the roof support frames in the roundhouse, and they look pretty ok when they're on: Of course, they'll look much better when the roundhouse is finished. I still need to convert them from batteries to a DC power supply.
24 February
After a six-week odyssey to China, I'm back home and working on the layout!
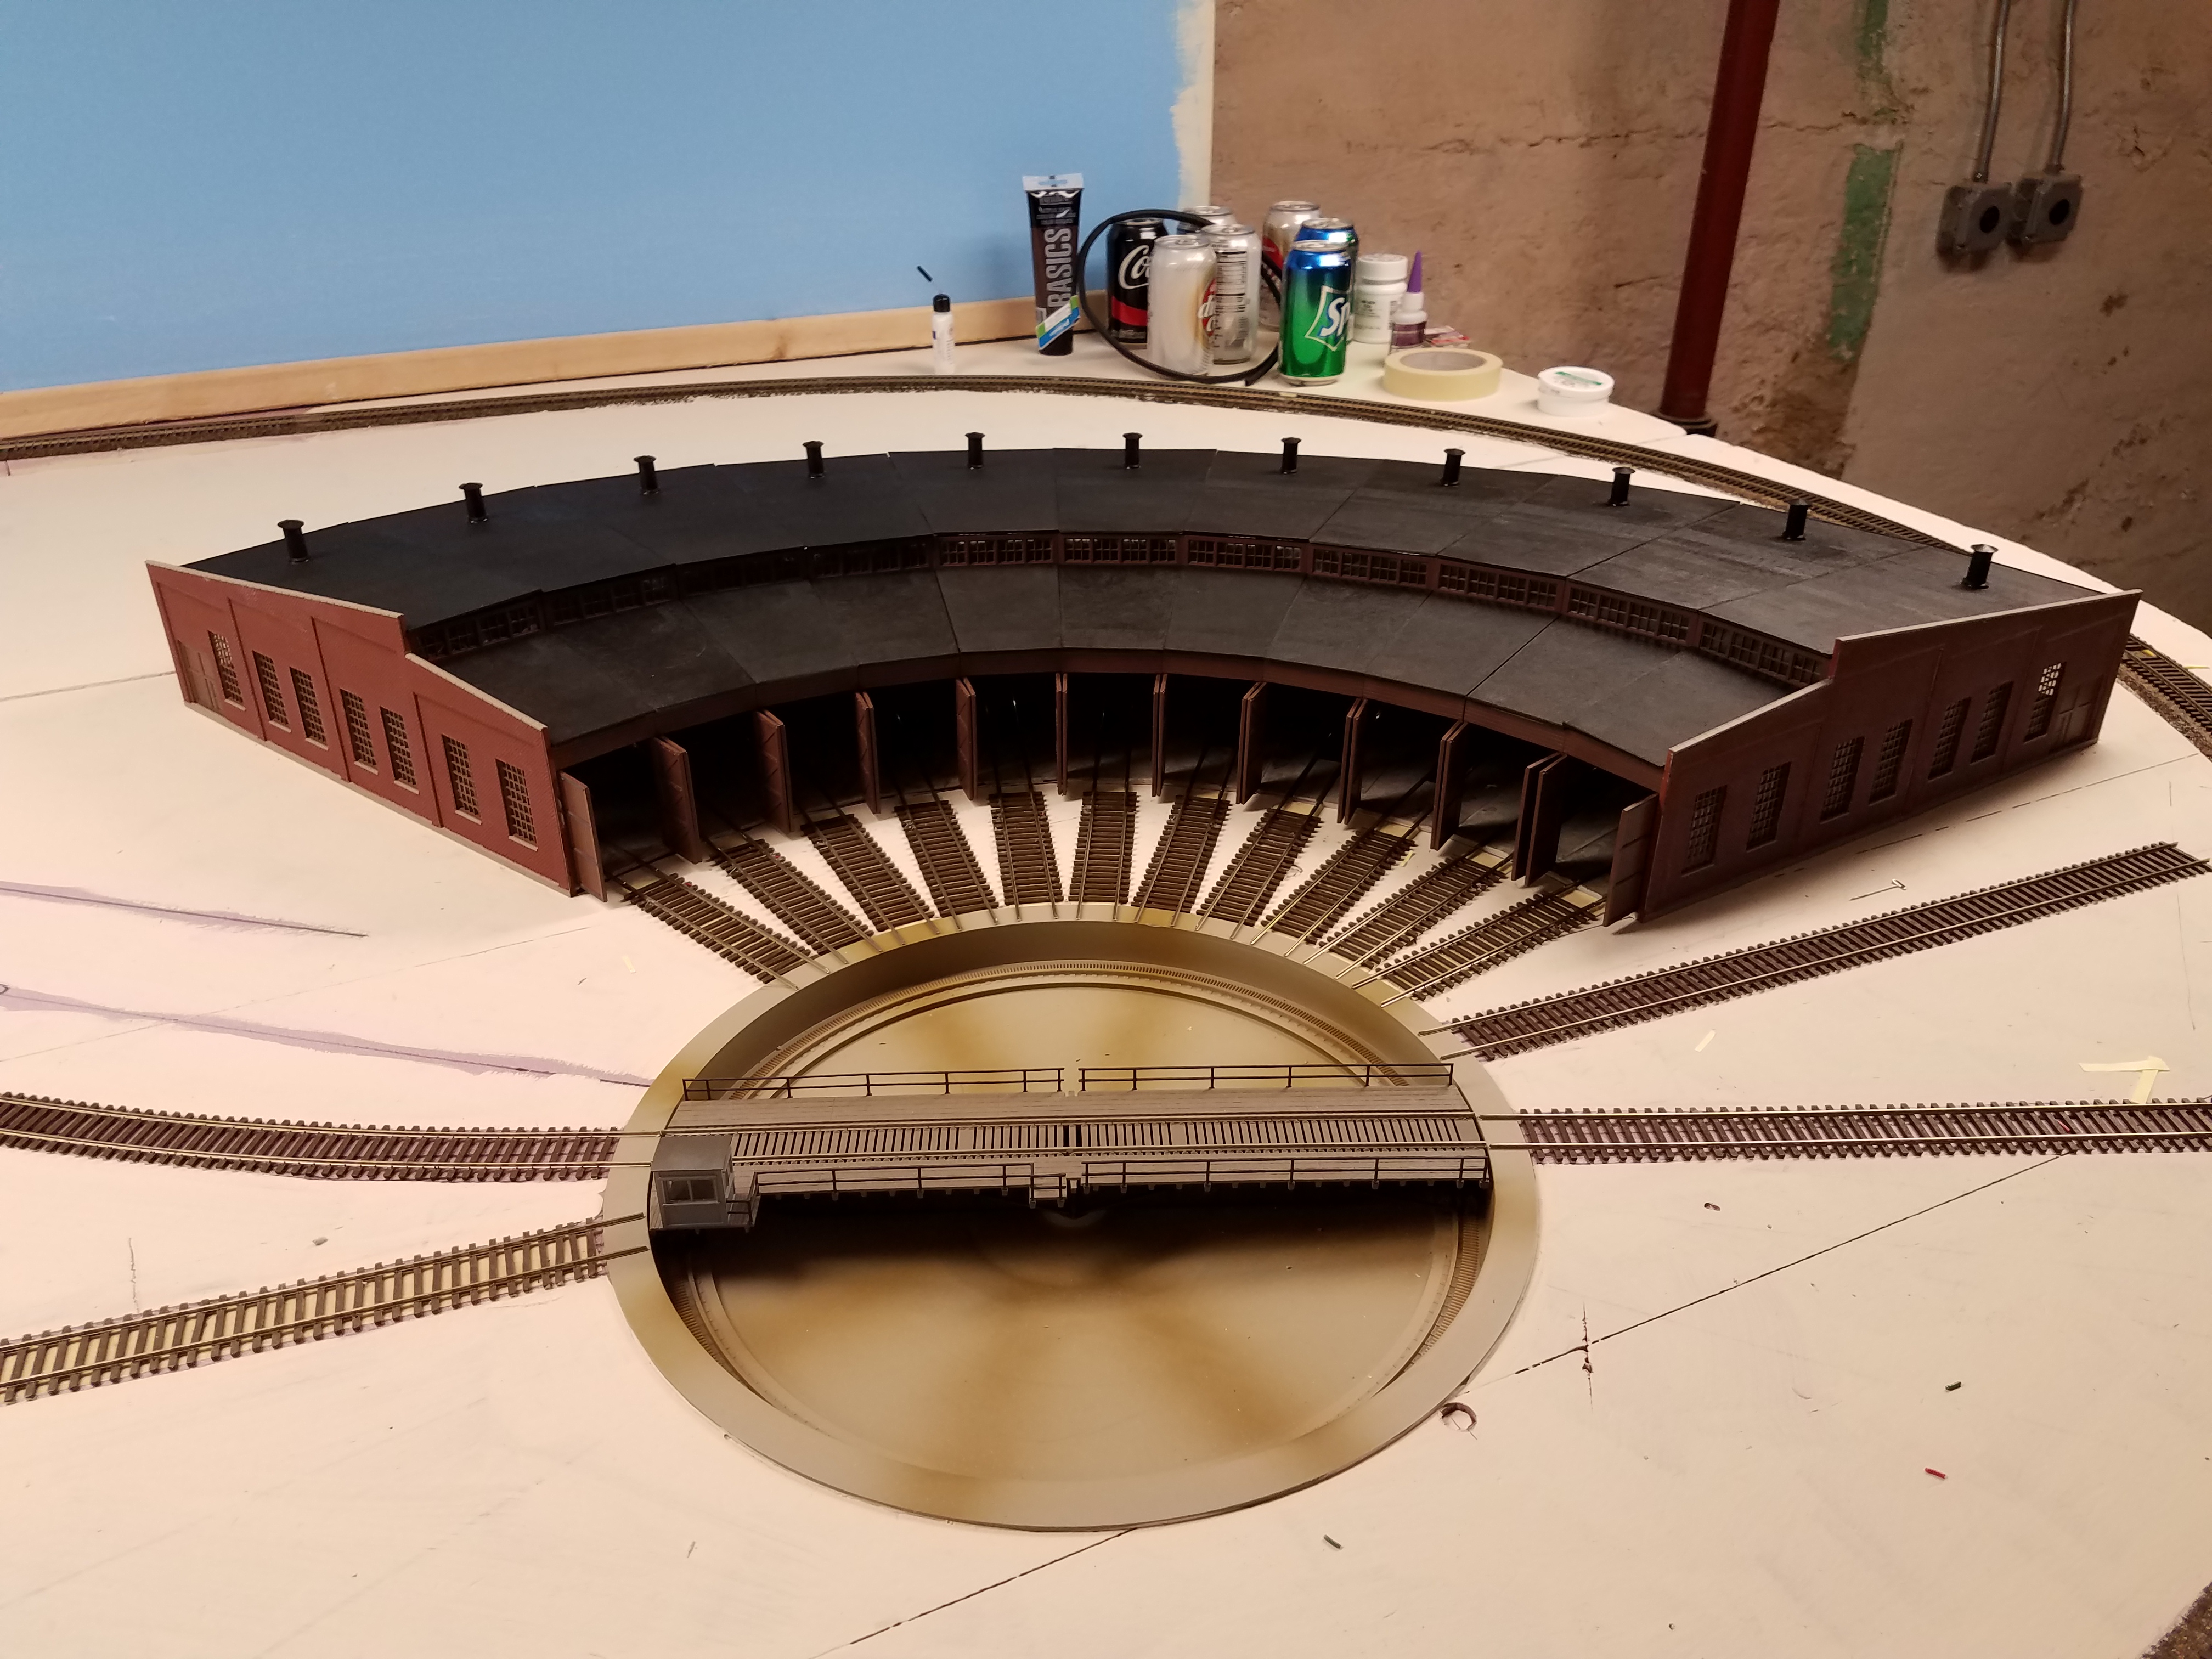
The roundhouse is progressing, but slowly: According to the kit instructions, the roundhouse doors should be able to open and close when installed. The two sets on the right do swing, but with it being erected in place, it's extremely difficult to glue the hinge frames to the vertical posts without getting glue onto the hinges, freezing the doors into place. After struggling for several hours to get the two end sets in place, and watching the door that's partially closed free swing from open to its current position, I decided to drop the close-able doors, and cement them into the open position. MUCH easier to install that way! I'll be going back and gluing the two sets that actually swing into the open position as well.
I anticipate another week or two to complete the basic roundhouse build (that does not include light-sealing all the cracks).
27 February
The Casper roundhouse is nearly complete.
I still have to paint the roof, plug a few light leaks, install some outside lights and final install the roof. Weathering will come later, when I weather the entire engine facility all at once.
Meanwhile, here's a few photos: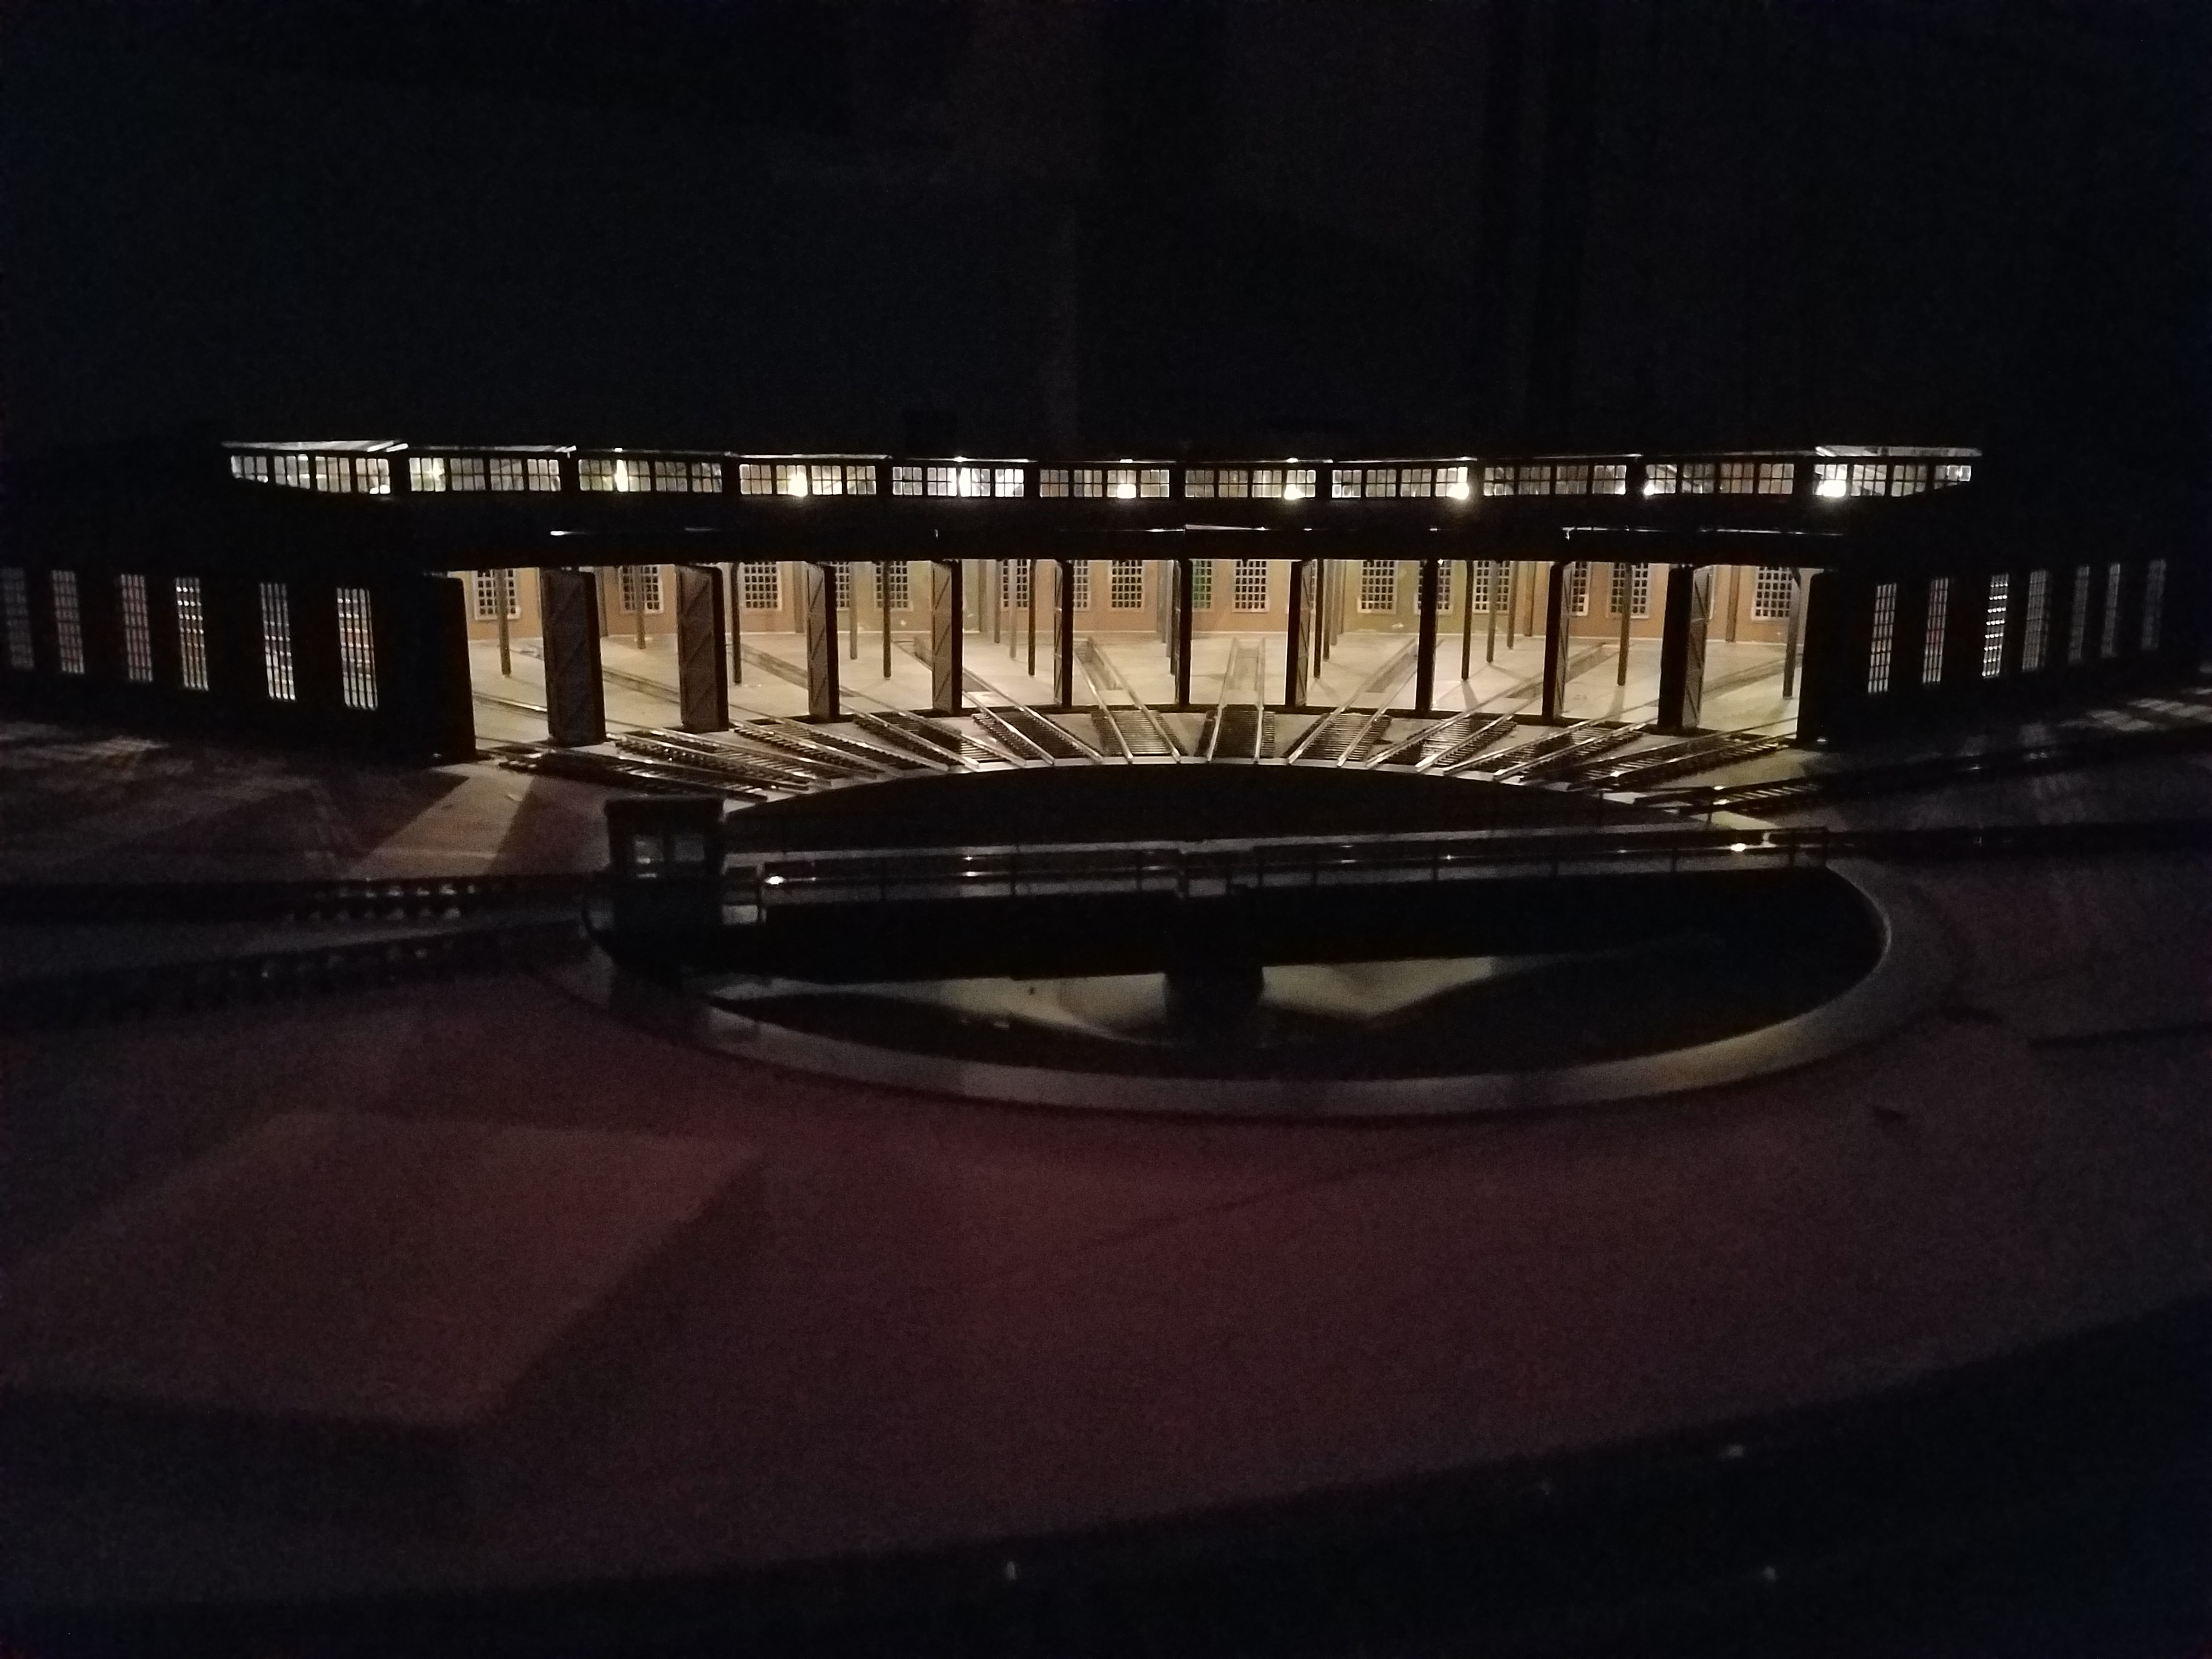 That looks like a lot of empty space, doesn't it? I wasn't planning on adding much, if any, interior detail, but I might have to from the looks of this picture!
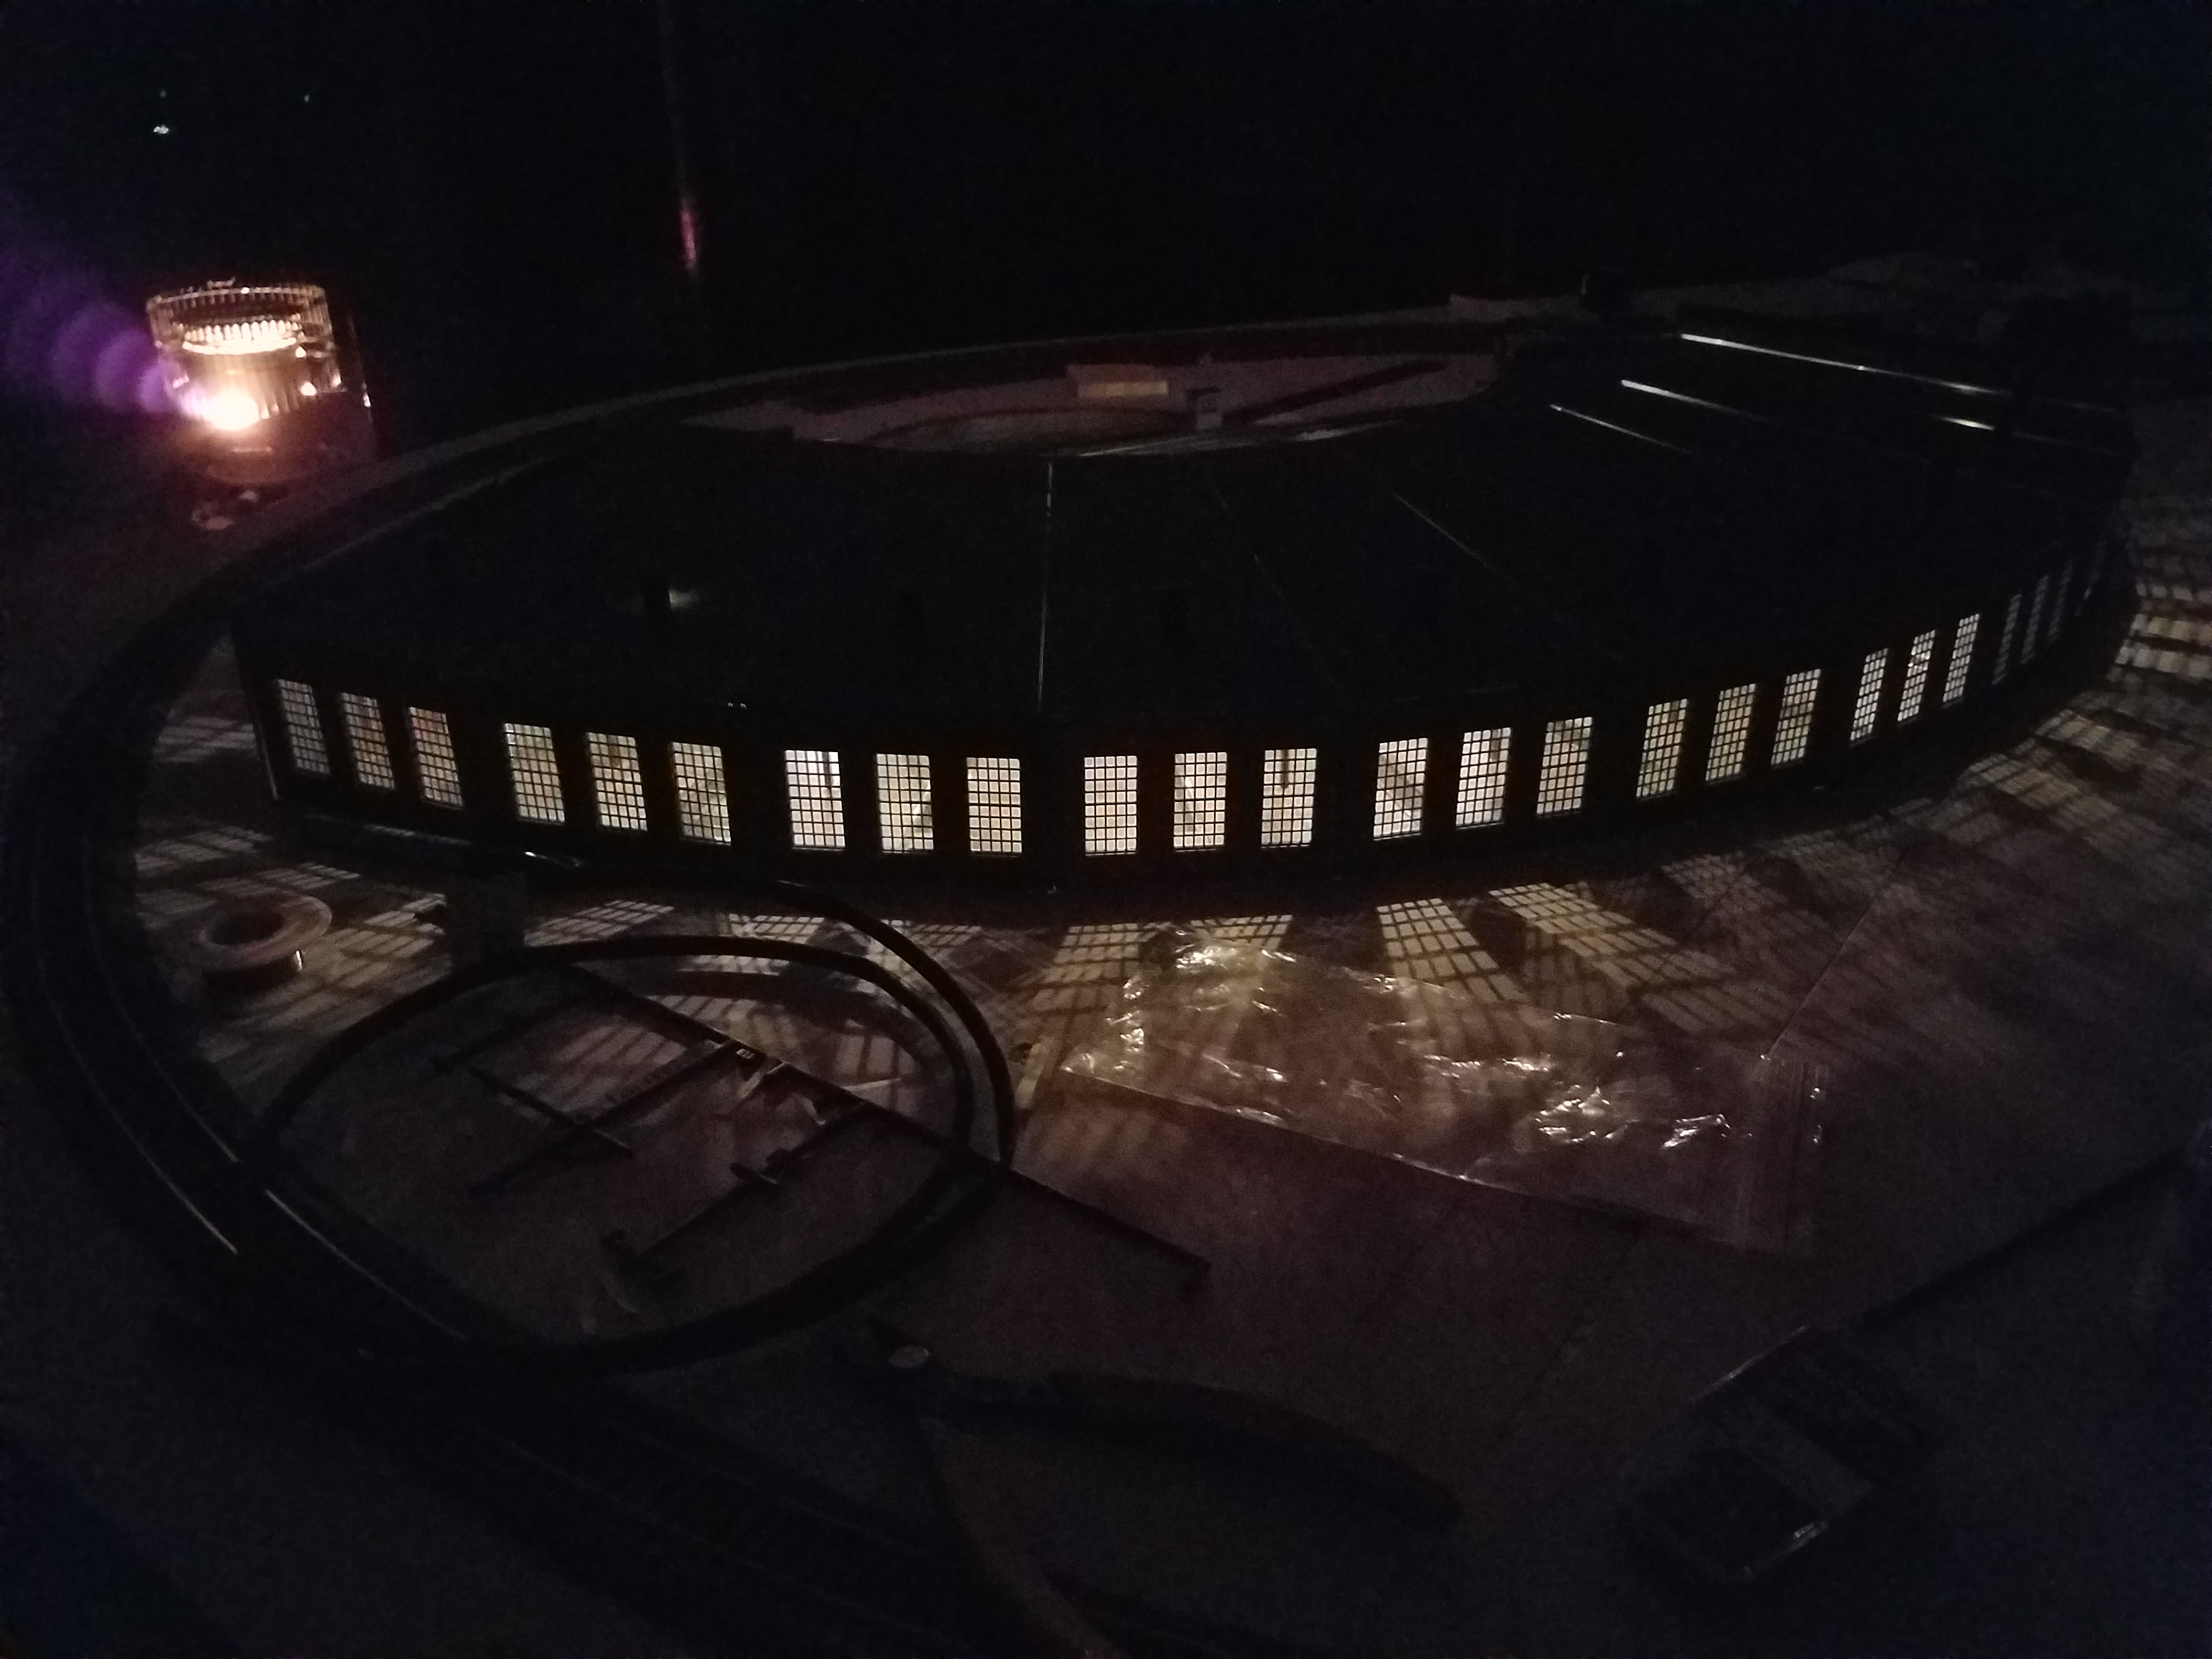 I messed around with the brightness of the LED's a bit by changing the current-limiting resistor value. It's hard to tell because the phone's camera automatically adjusts the exposure, but the LEDs are pretty dim compared to most illuminated model structures I've seen. Usually model lighting is way too bright, in my opinion. With the room lights on you can't even tell the interior is lit, but with the room dark the lighting casts light through the windows onto the ground outside, without glaring, so I think it's about right.
9 March
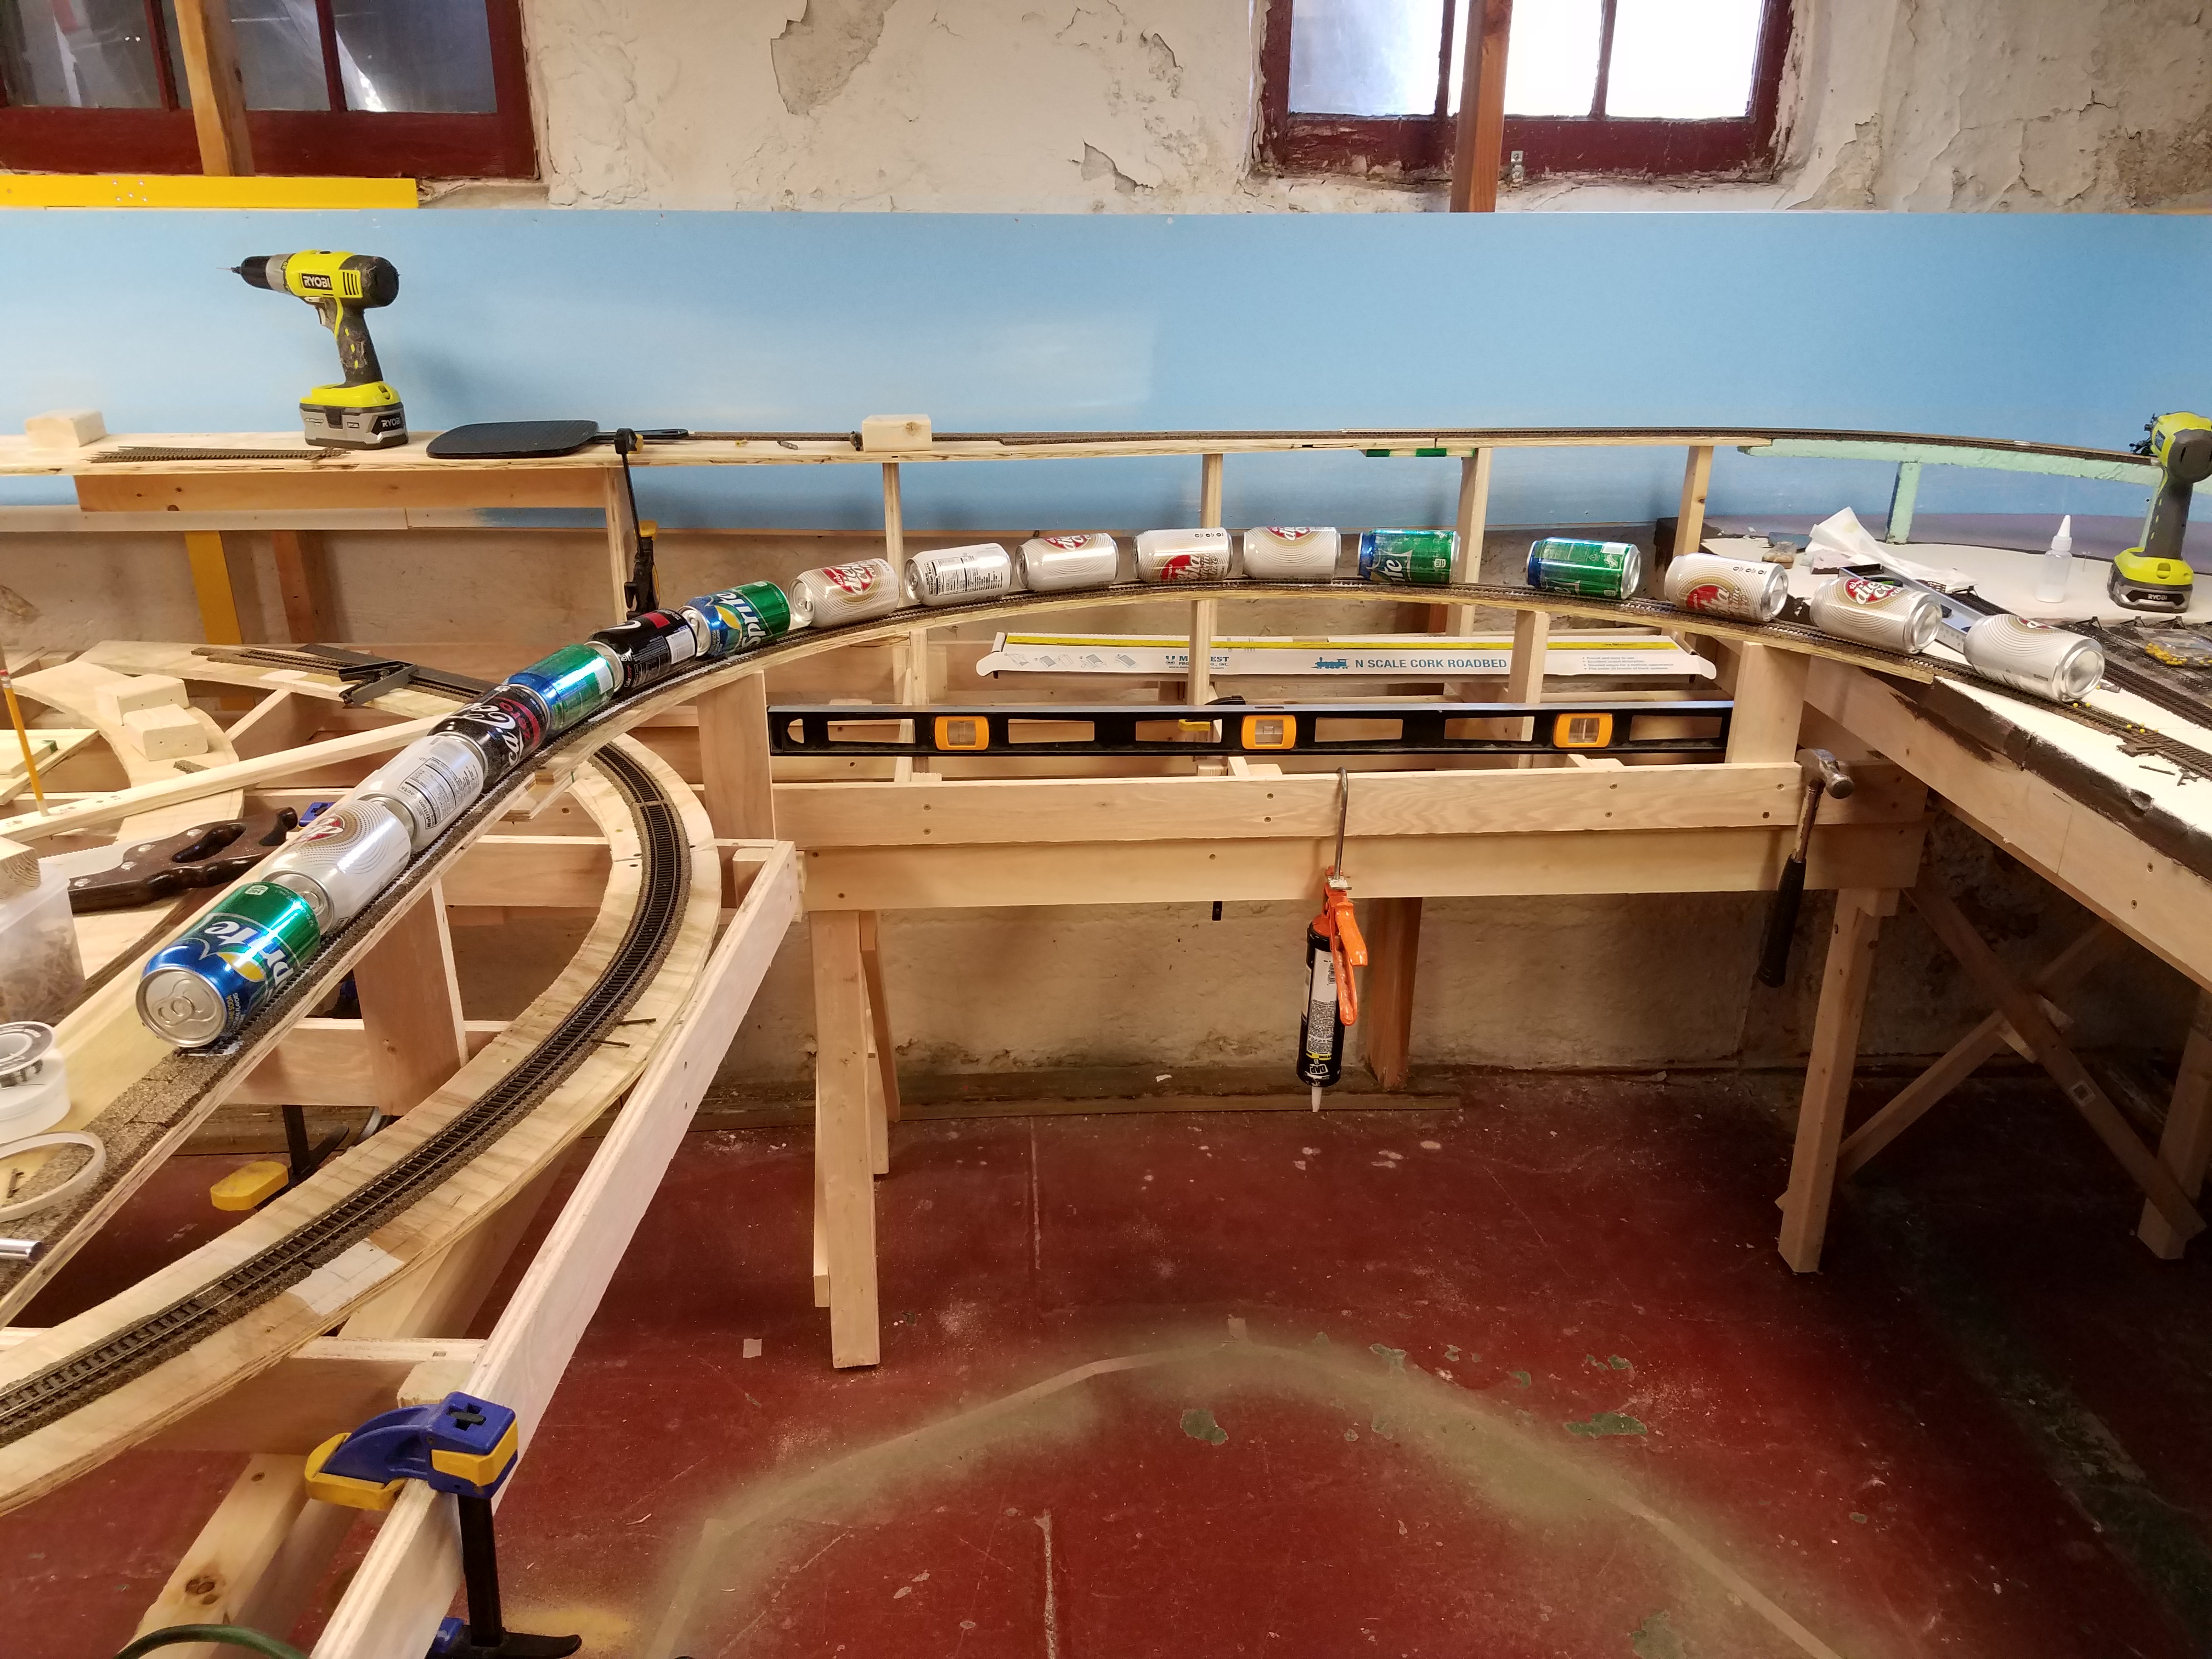
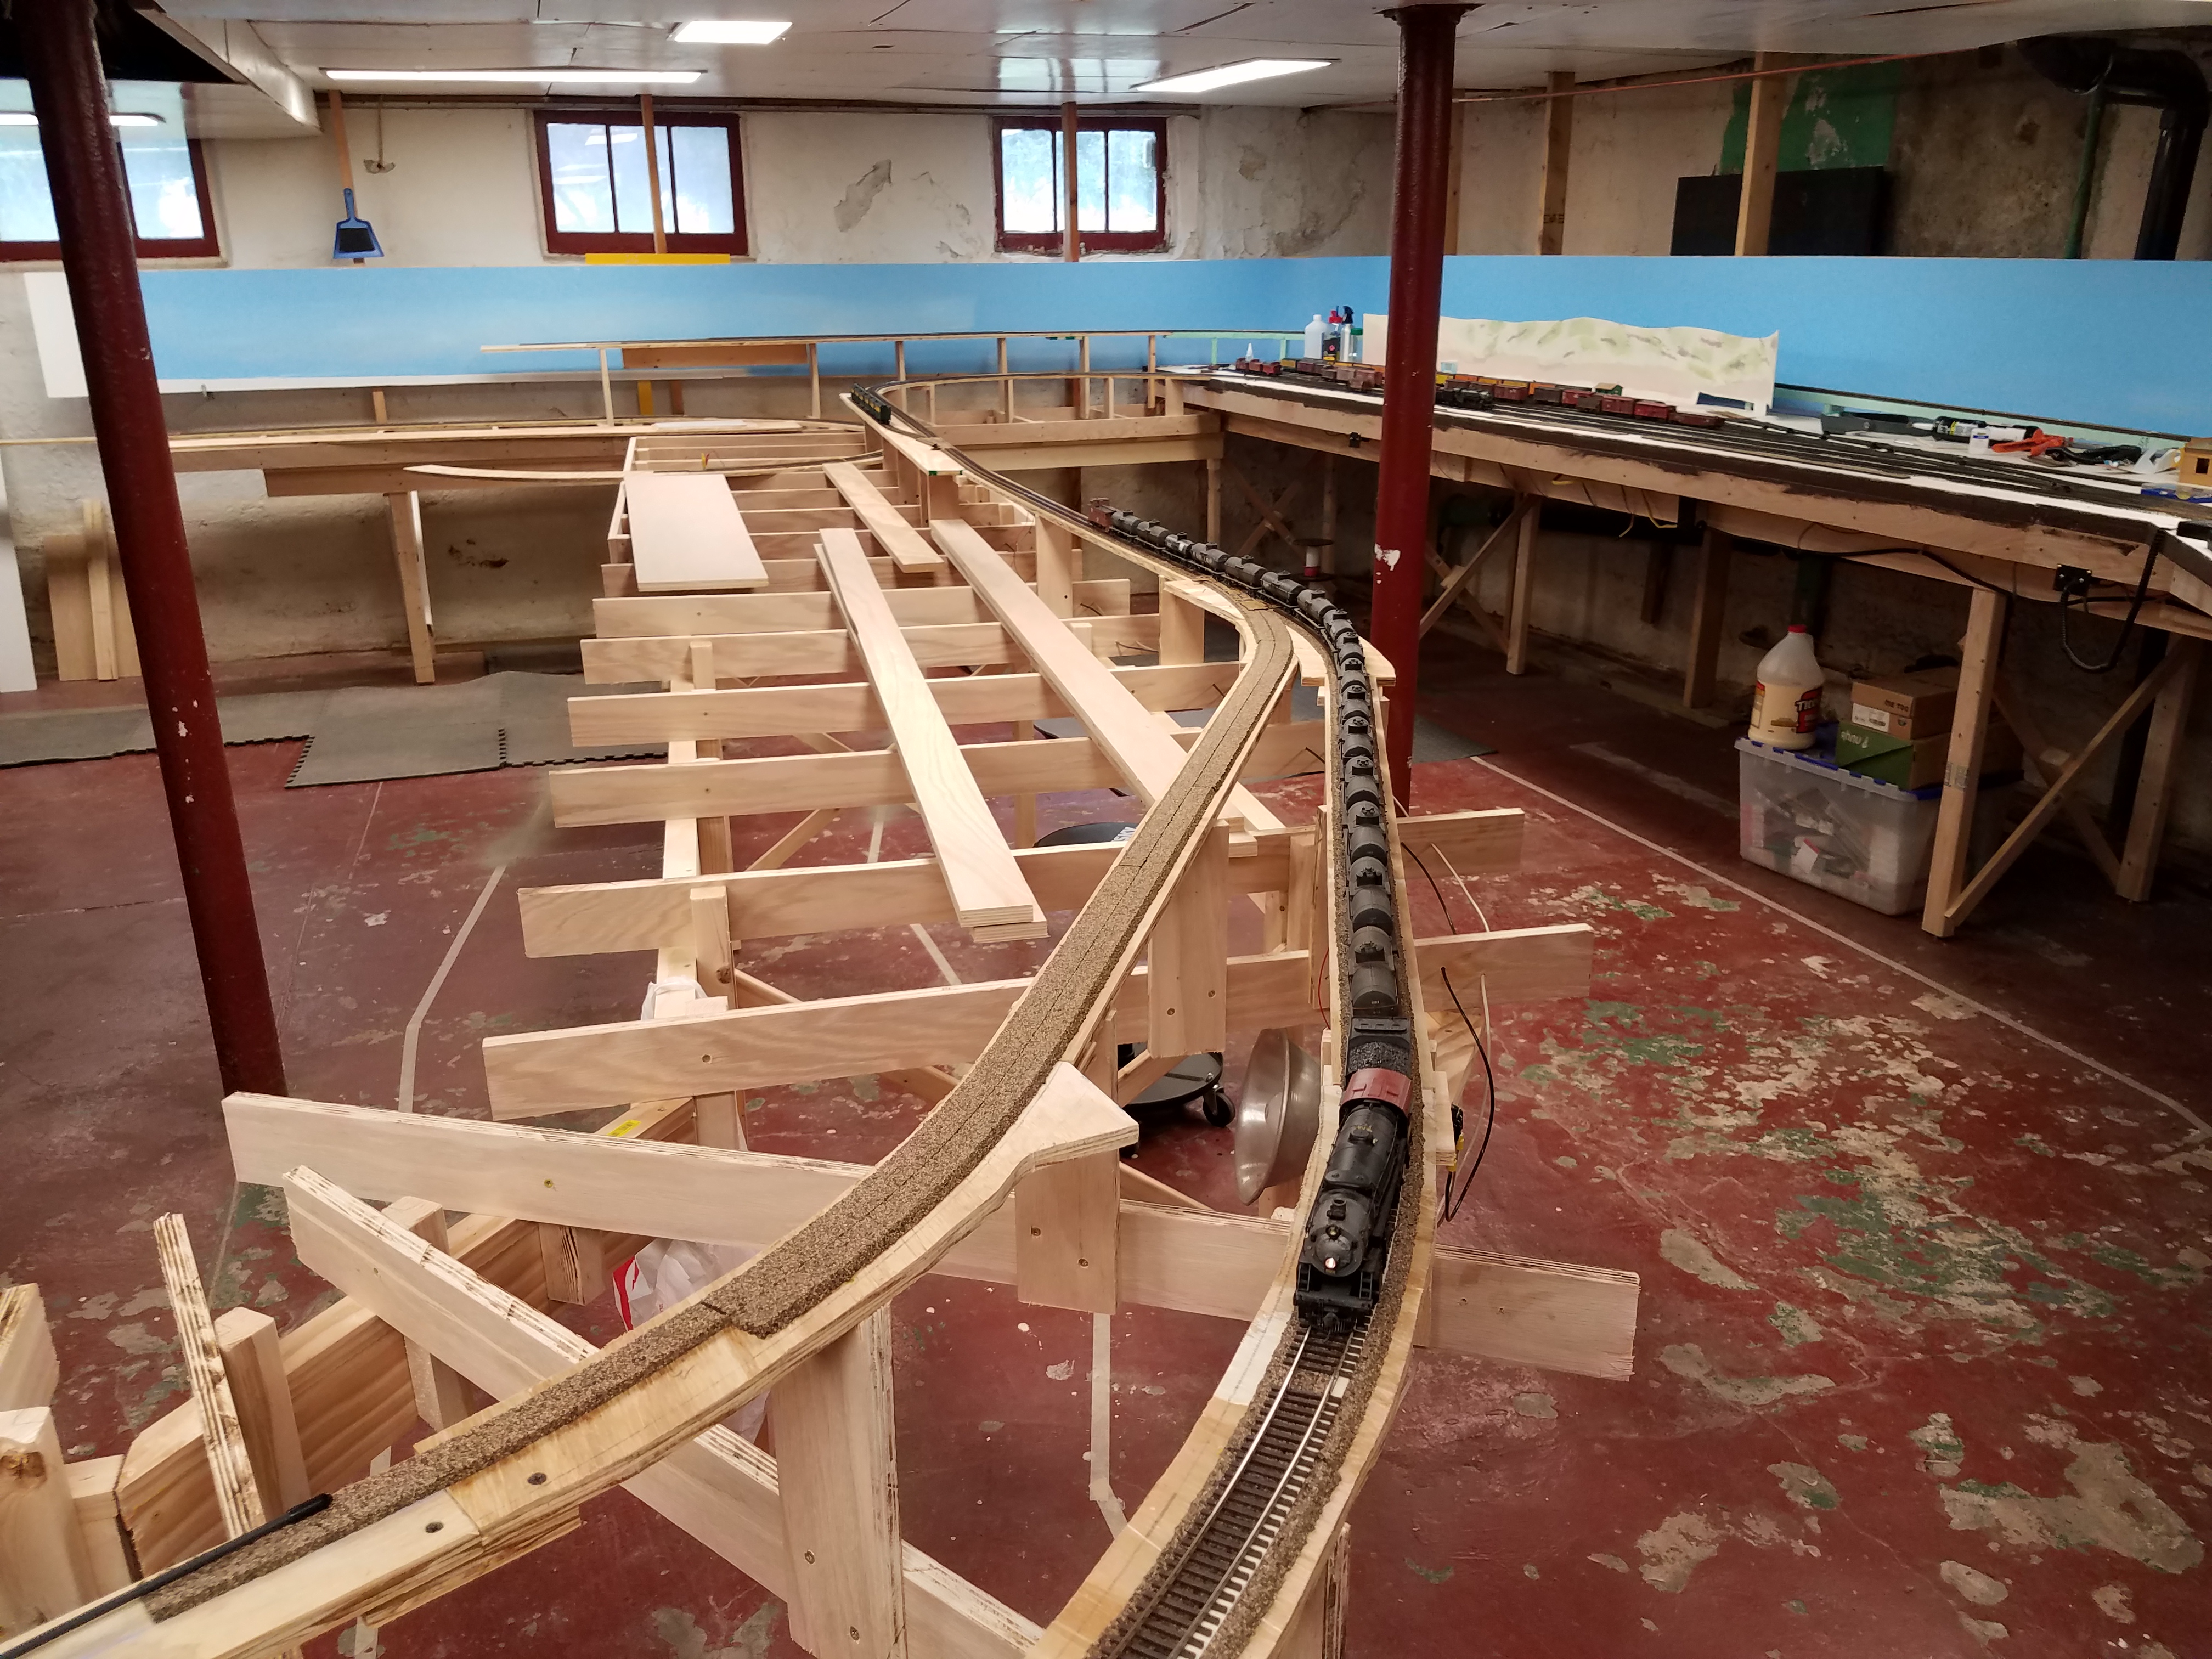
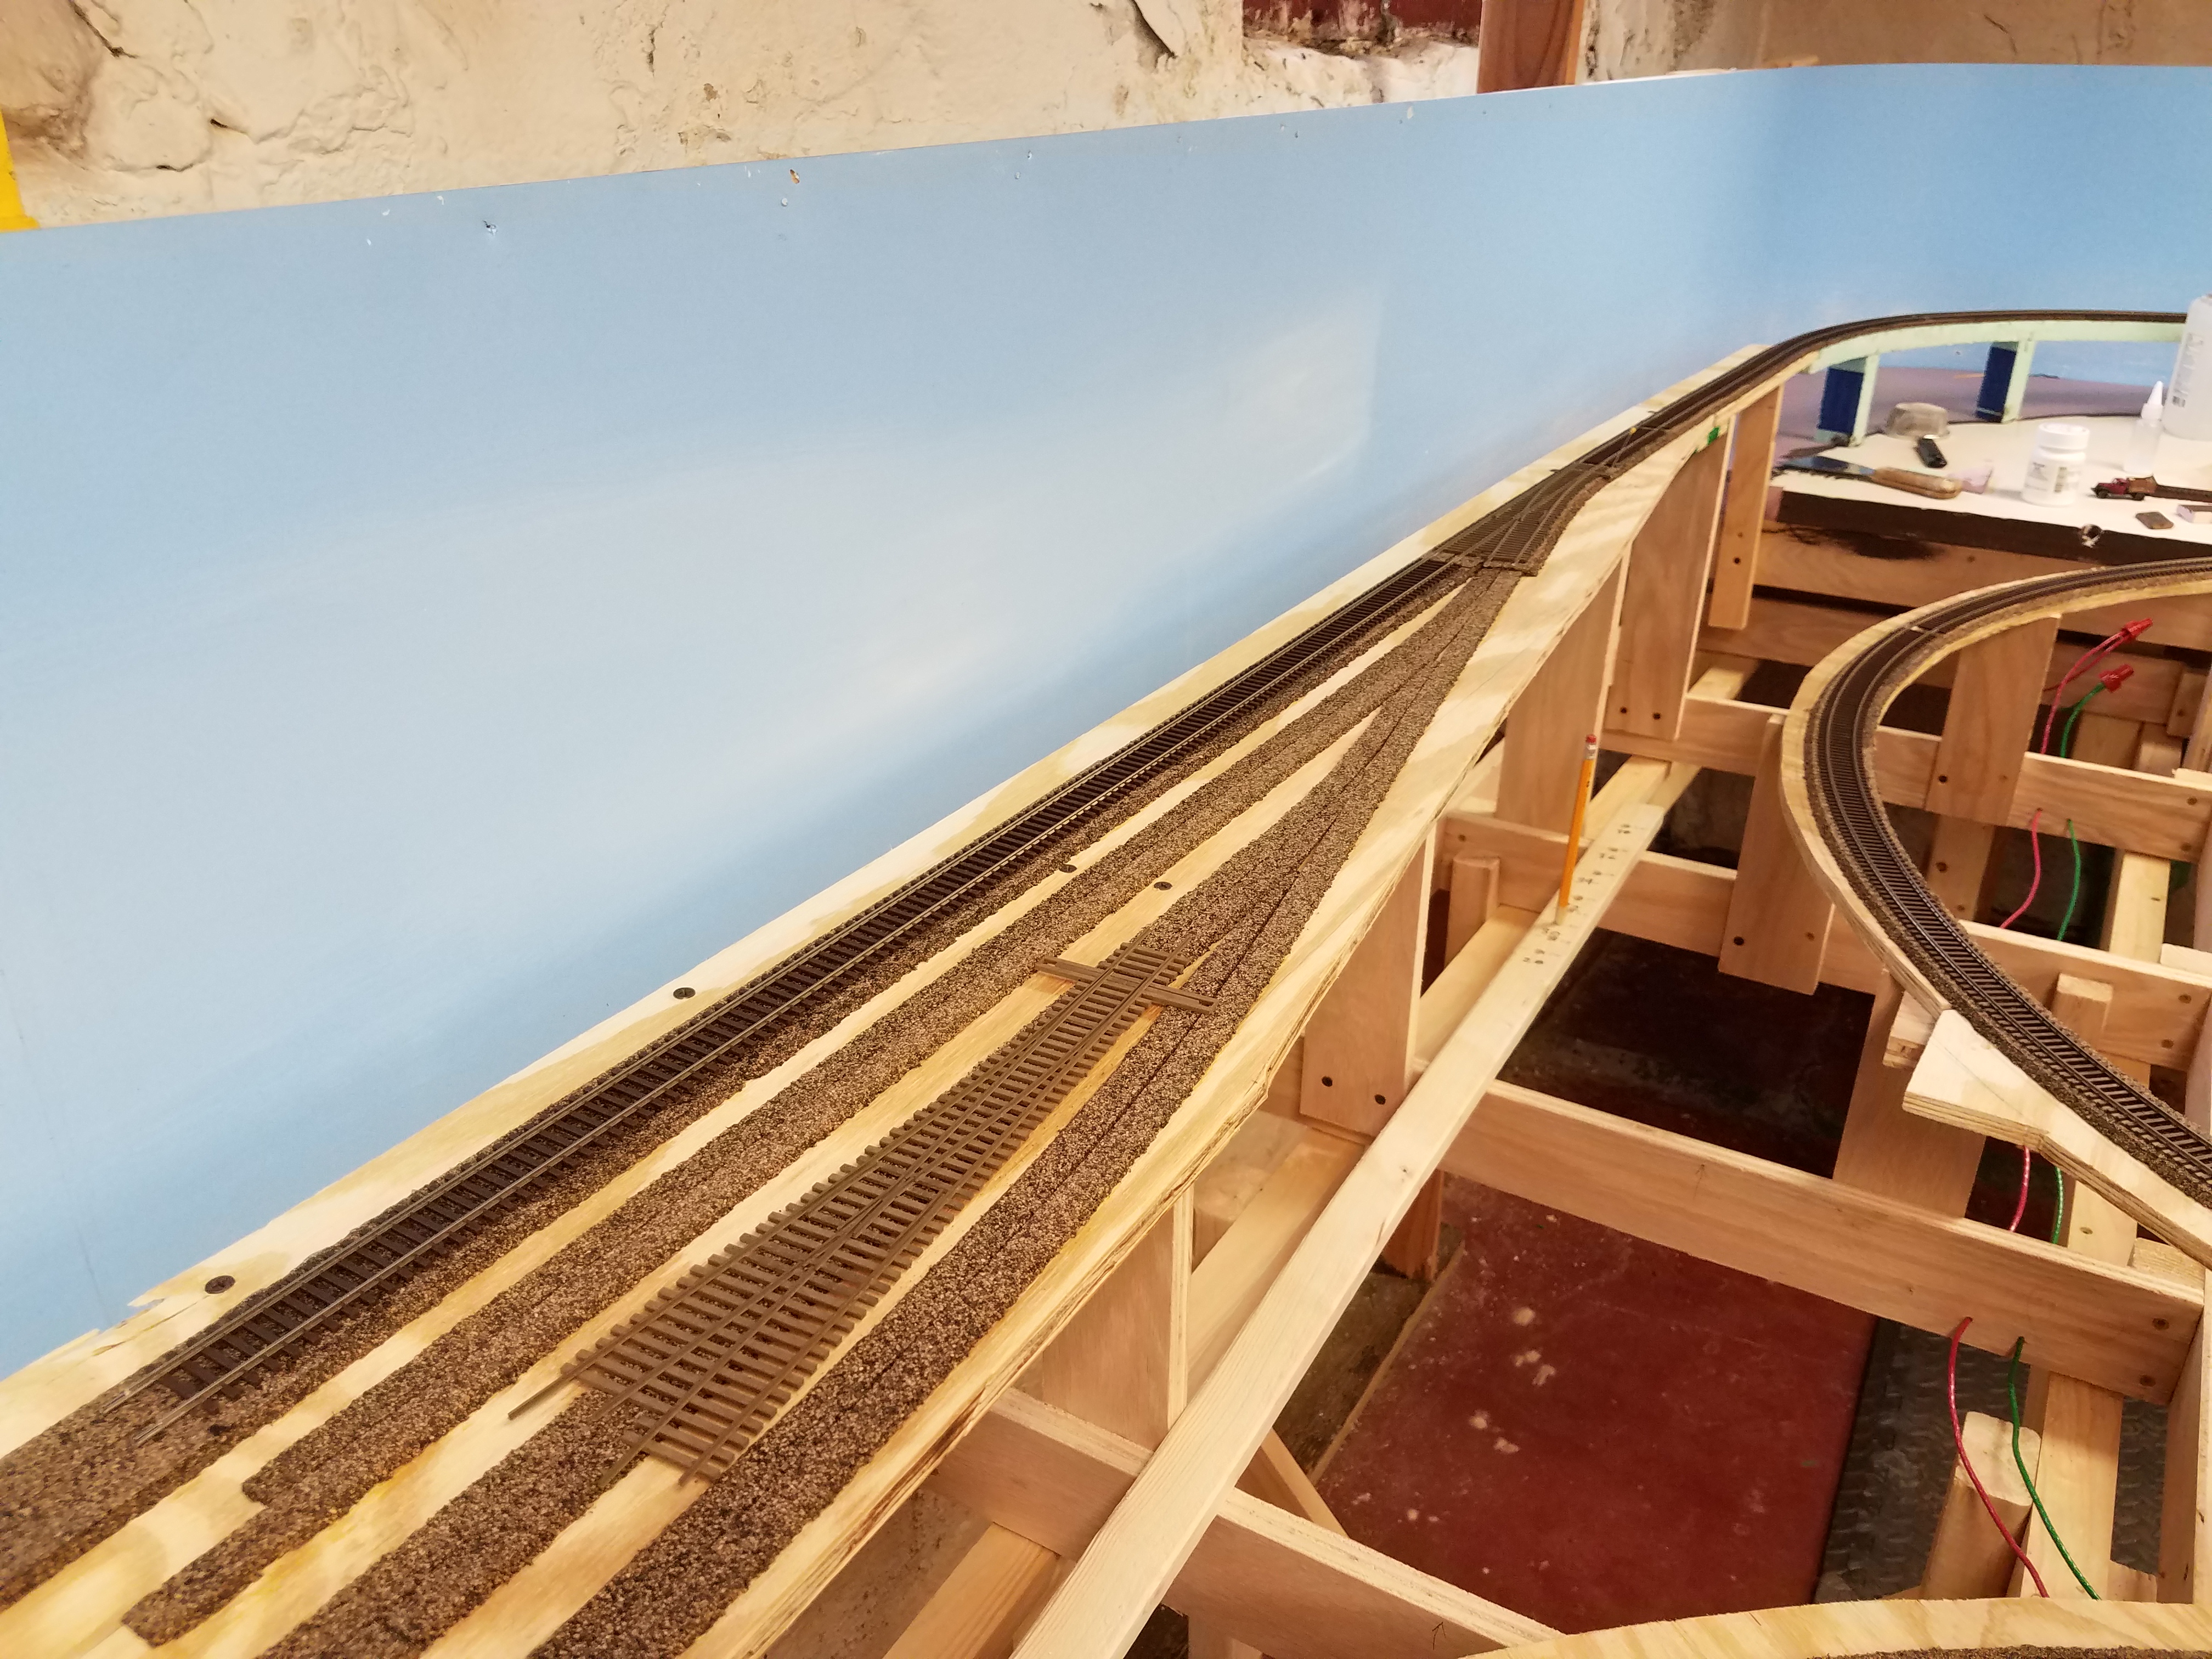
 These girder tops are 4 1/2 inches lower than the one under Casper because the lowest level of trackwork will be 5 1/2" lower than the Casper yard. That will be the NP staging tracks. Above that hidden trackage, at the current level of Casper yard, will be Powder River and, towards the camera (and actually on the next section of benchwork to be built) will be Shobon, where the CNW Lander Branch breaks off the Burlington trackage. In the background will be the Orin/Frannie interchange yard, which will tie to the raised track you can see in the far back right part of this photo.
I took the following shots of the roundhouse on March 3rd, for my monthly video update (here's the link to that: https://youtu.be/yhI3vbMHYWU):
26 March
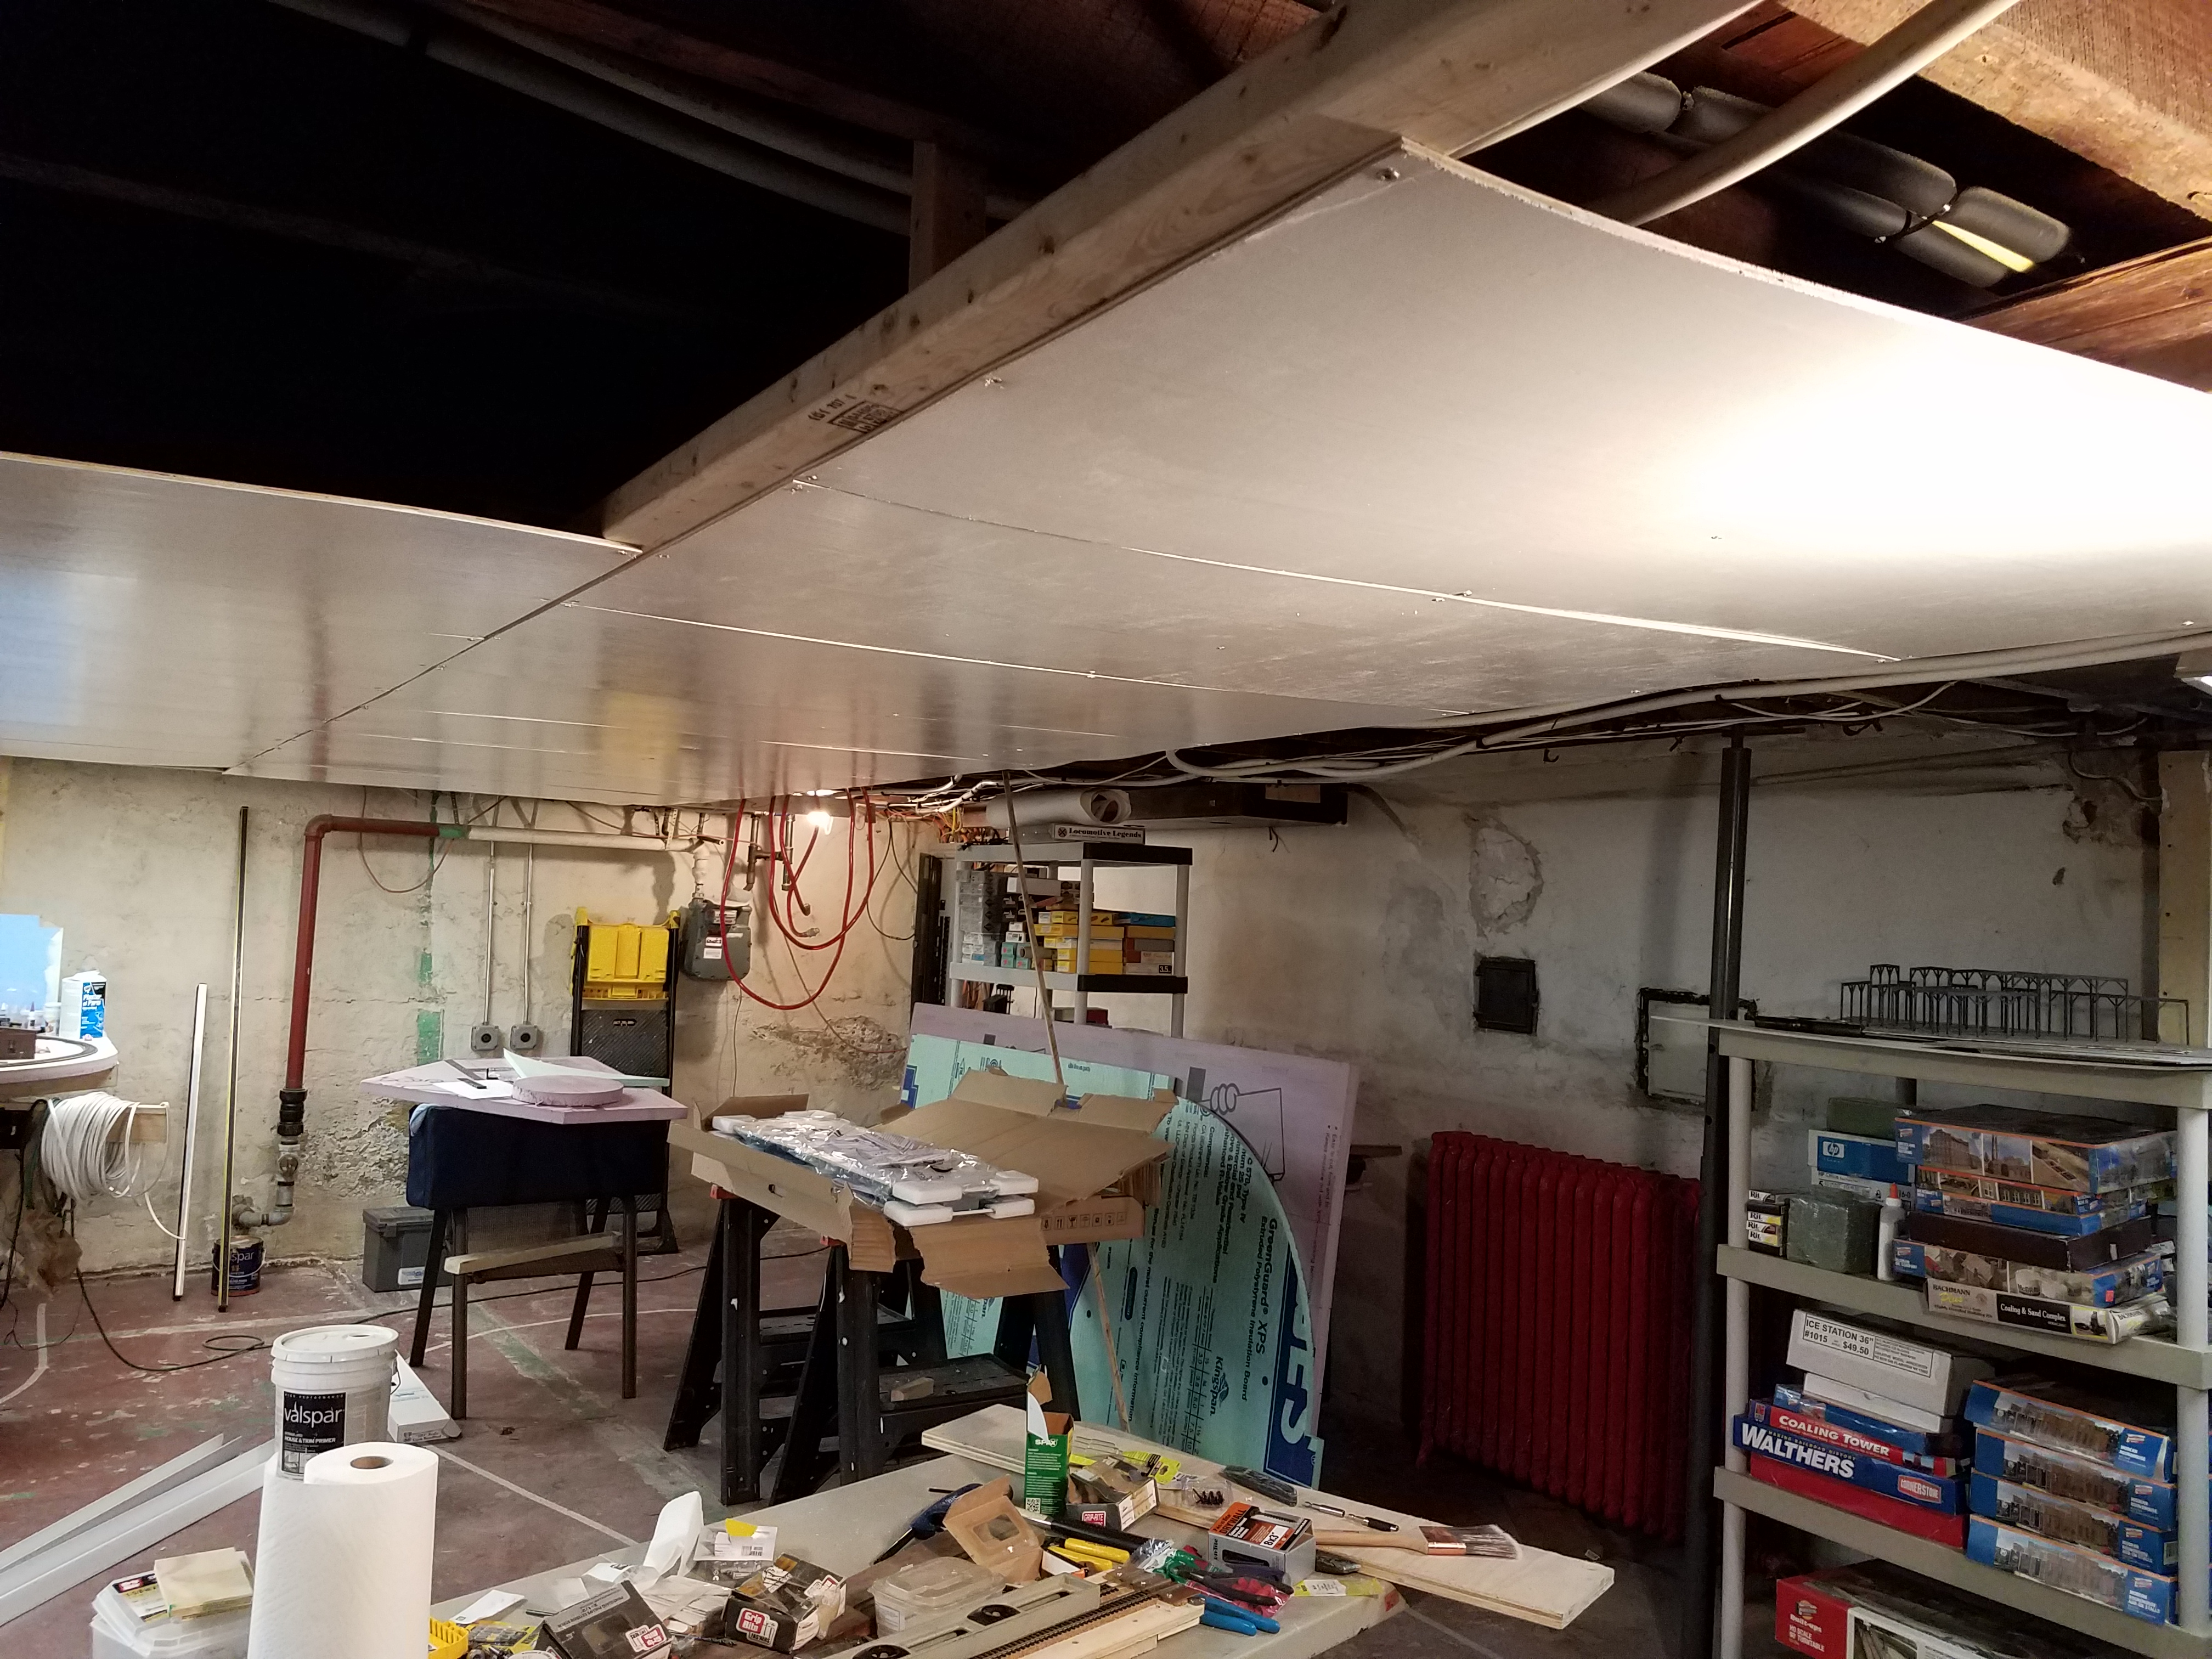
Some additional ceiling panels are now installed (that's my wife Juying in the shot): I know the ceiling looks a bit wavy and rough in this photo, but that's because it is, to an extent. The purpose isn't to make the basement into a finished space, but to brighten the room with the white panels, and more importantly, to reduce dust on the layout that falls from the joists and subfloor above.
29 March
Today I reworked the Powder River section of benchwork a bit. It came off the wall at a 75 degree angle, but as I worked in the area I realized how much empty space there was between that peninsula and Casper. I like ample aisle space, but this was too much! So I changed the angle from 75 to 85 degrees.
Here's what the area looked like in the plan before I made the changes (the grid is one foot squares):
And here it is after: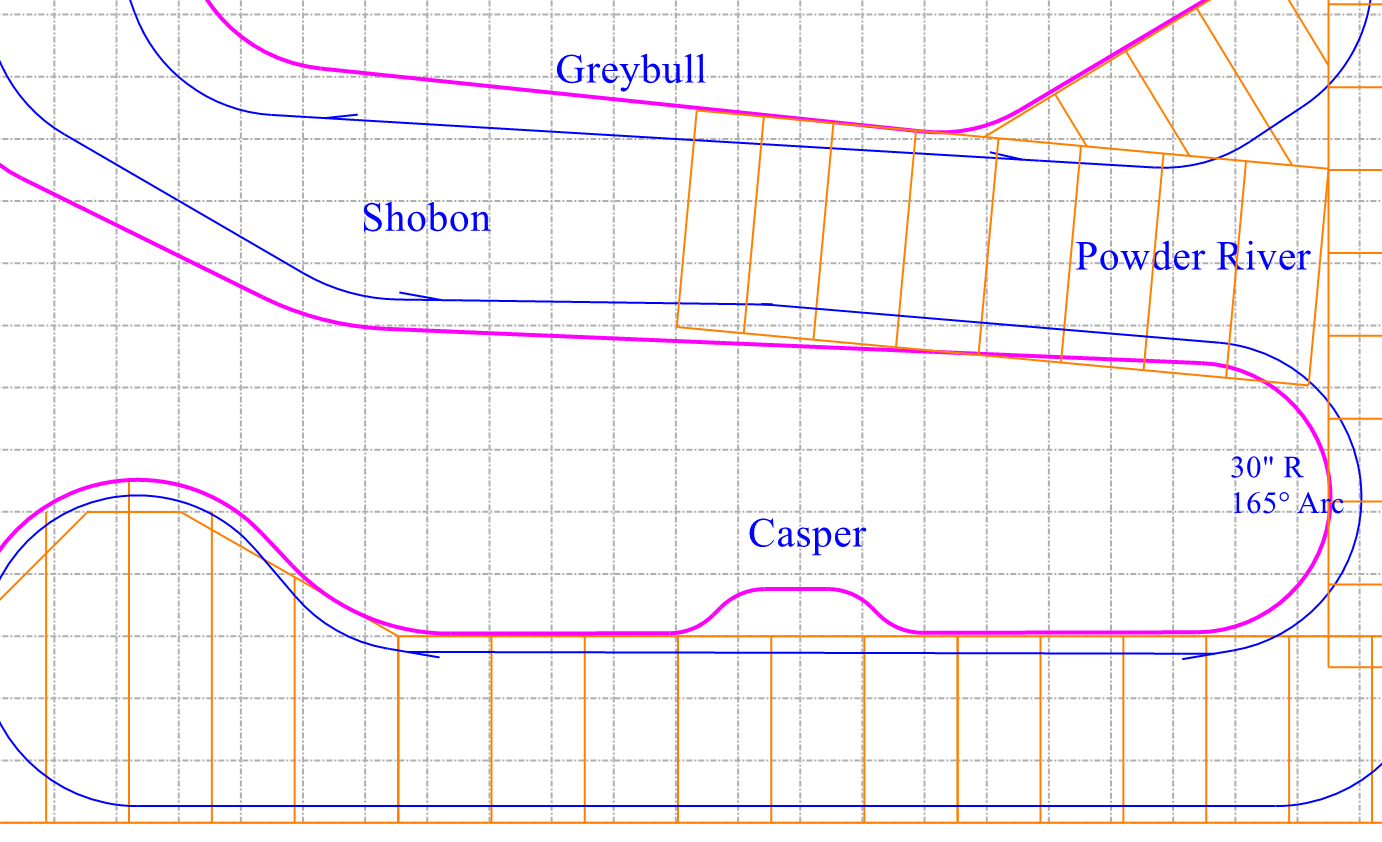 The distance between Casper fascia and Shobon fascia (across the aisle) is about 6 1/2 feet. This would probably tend to invite folks to stand there and chat rather than go out into the lounge area. The distance after reworking is still a respectable nearly five feet - plenty of room for folks to move past each other while operating trains. Plus this small change allows a bit more room for the Boysen Reservoir and slightly longer Wind River Canyon run, just past Shobon (to the left of Shobon in the plan).
I also was not happy with the length of the sidings in Thermopolis and Worland. While I was adjusting the track plan for the Powder River area I also made some simple adjustments to the trackage through those two towns and increased the siding lengths significantly. Here's what it looked like before: 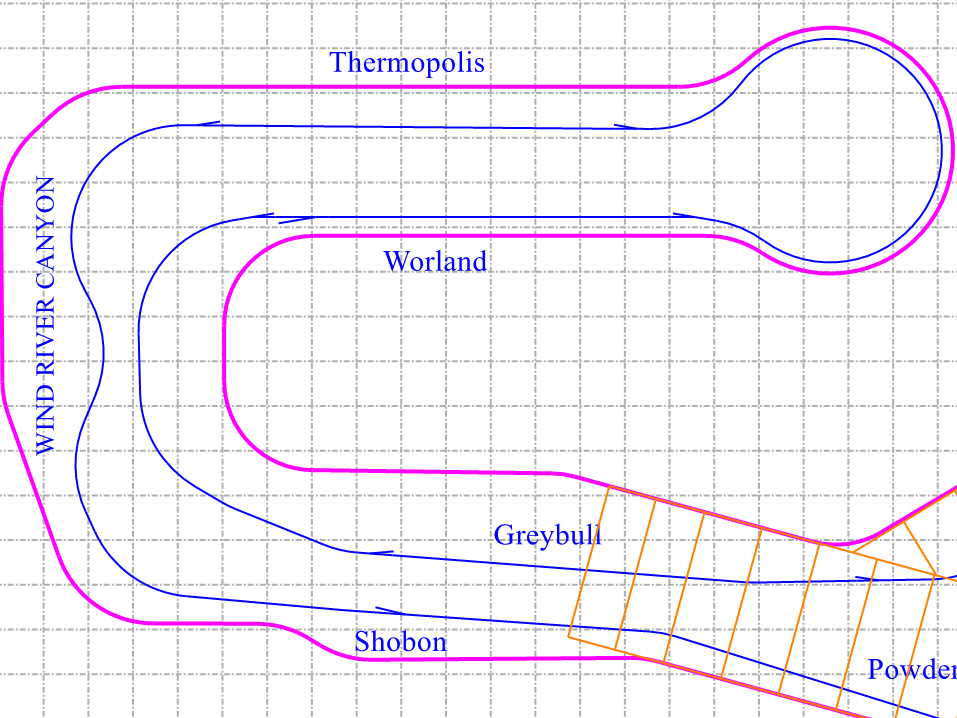
And here it is now: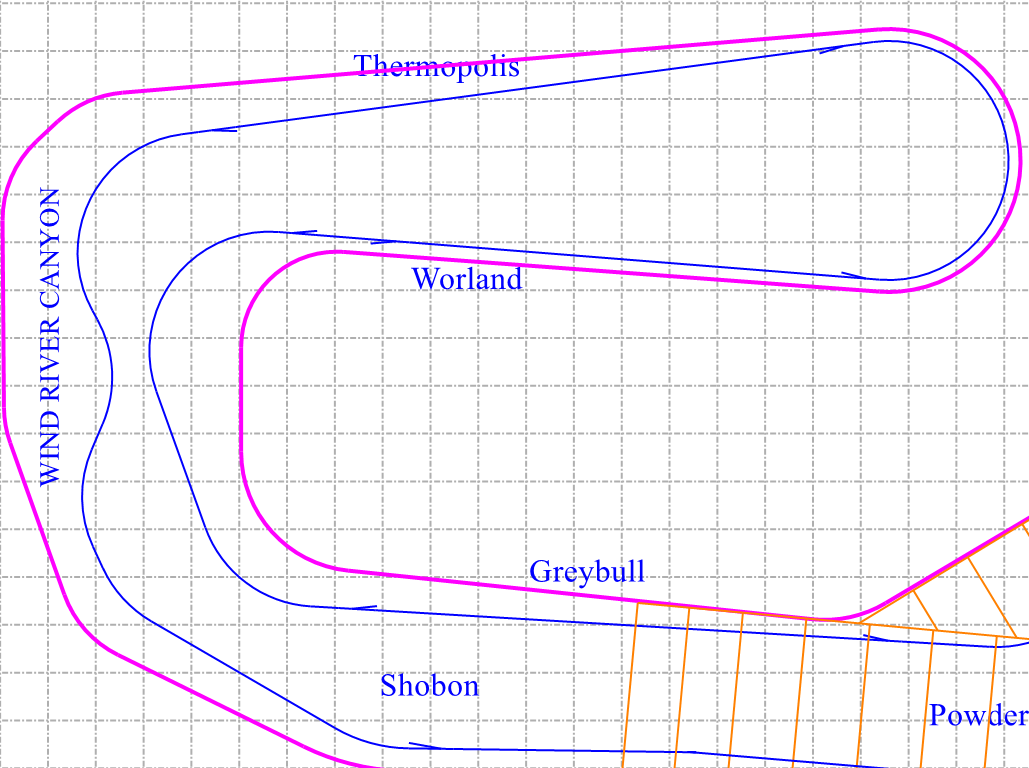 This simple change (basically, eliminating the S-curves at each end of the turnaround blob between the two towns) worked wonders - Thermopolis went from 106 inches between turnouts (about 14 cars plus loco and caboose) to 148 inches (21 cars plus loco and caboose). Worland is similar, going from 106 inches to 132 inches (eighteen cars plus loco and caboose). Plus there's much more room for the towns and industries in this rearrangement.
21 April
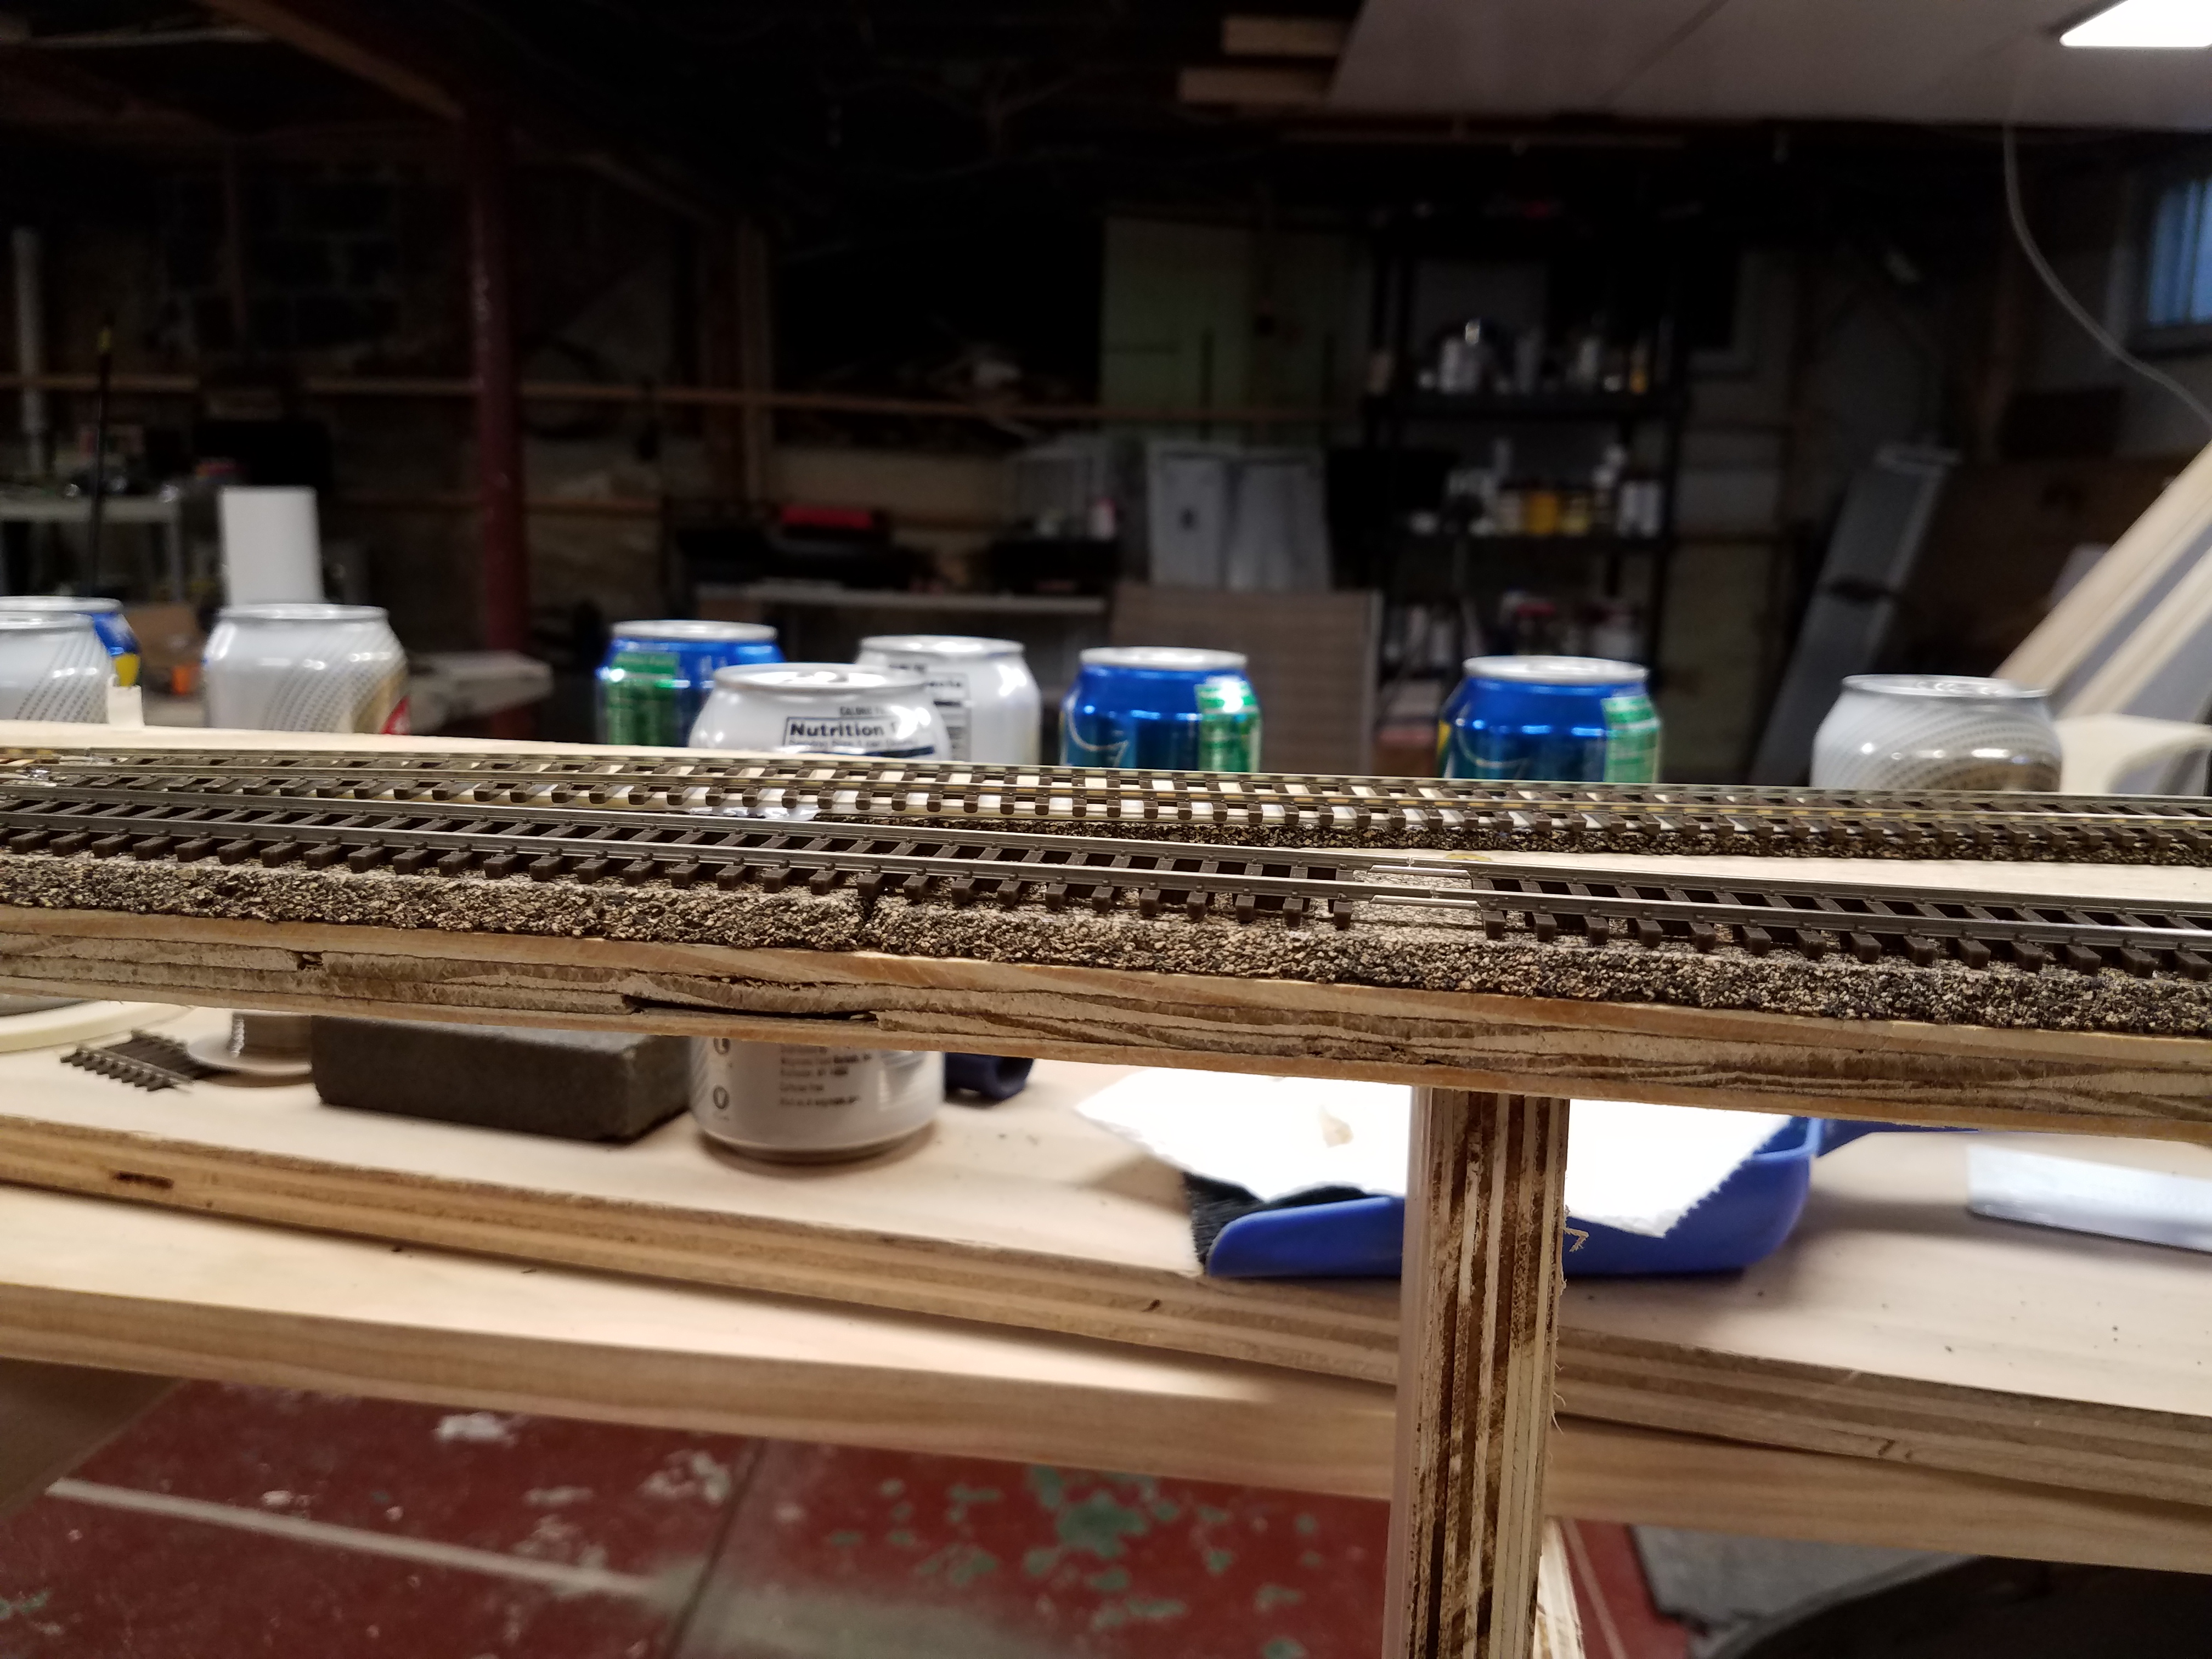
Roadbed is down for the Casper end of the Orin / Frannie Interchange yard: Some track will go down over the next few days, but I need to build more switches to continue much farther. Also, right now I'm spending more time installing ceiling panels and LED lights, and extending the benchwork beyond Shobon on the peninsula.
27 April
7 May
I uploaded my latest construction update video to YouTube:
And finally, I finished a new car for the layout - a PRR covered hopper that will be used in Bentonite or Natron hauling service. The one on the right is ready to go; the one on the left is its fresh-out-of-the-box brother for contrast. The brother will be appropriately weathered and have sprung trucks installed before going onto the layout permanently. (Hopefully the weathering jobs will improve as time goes on).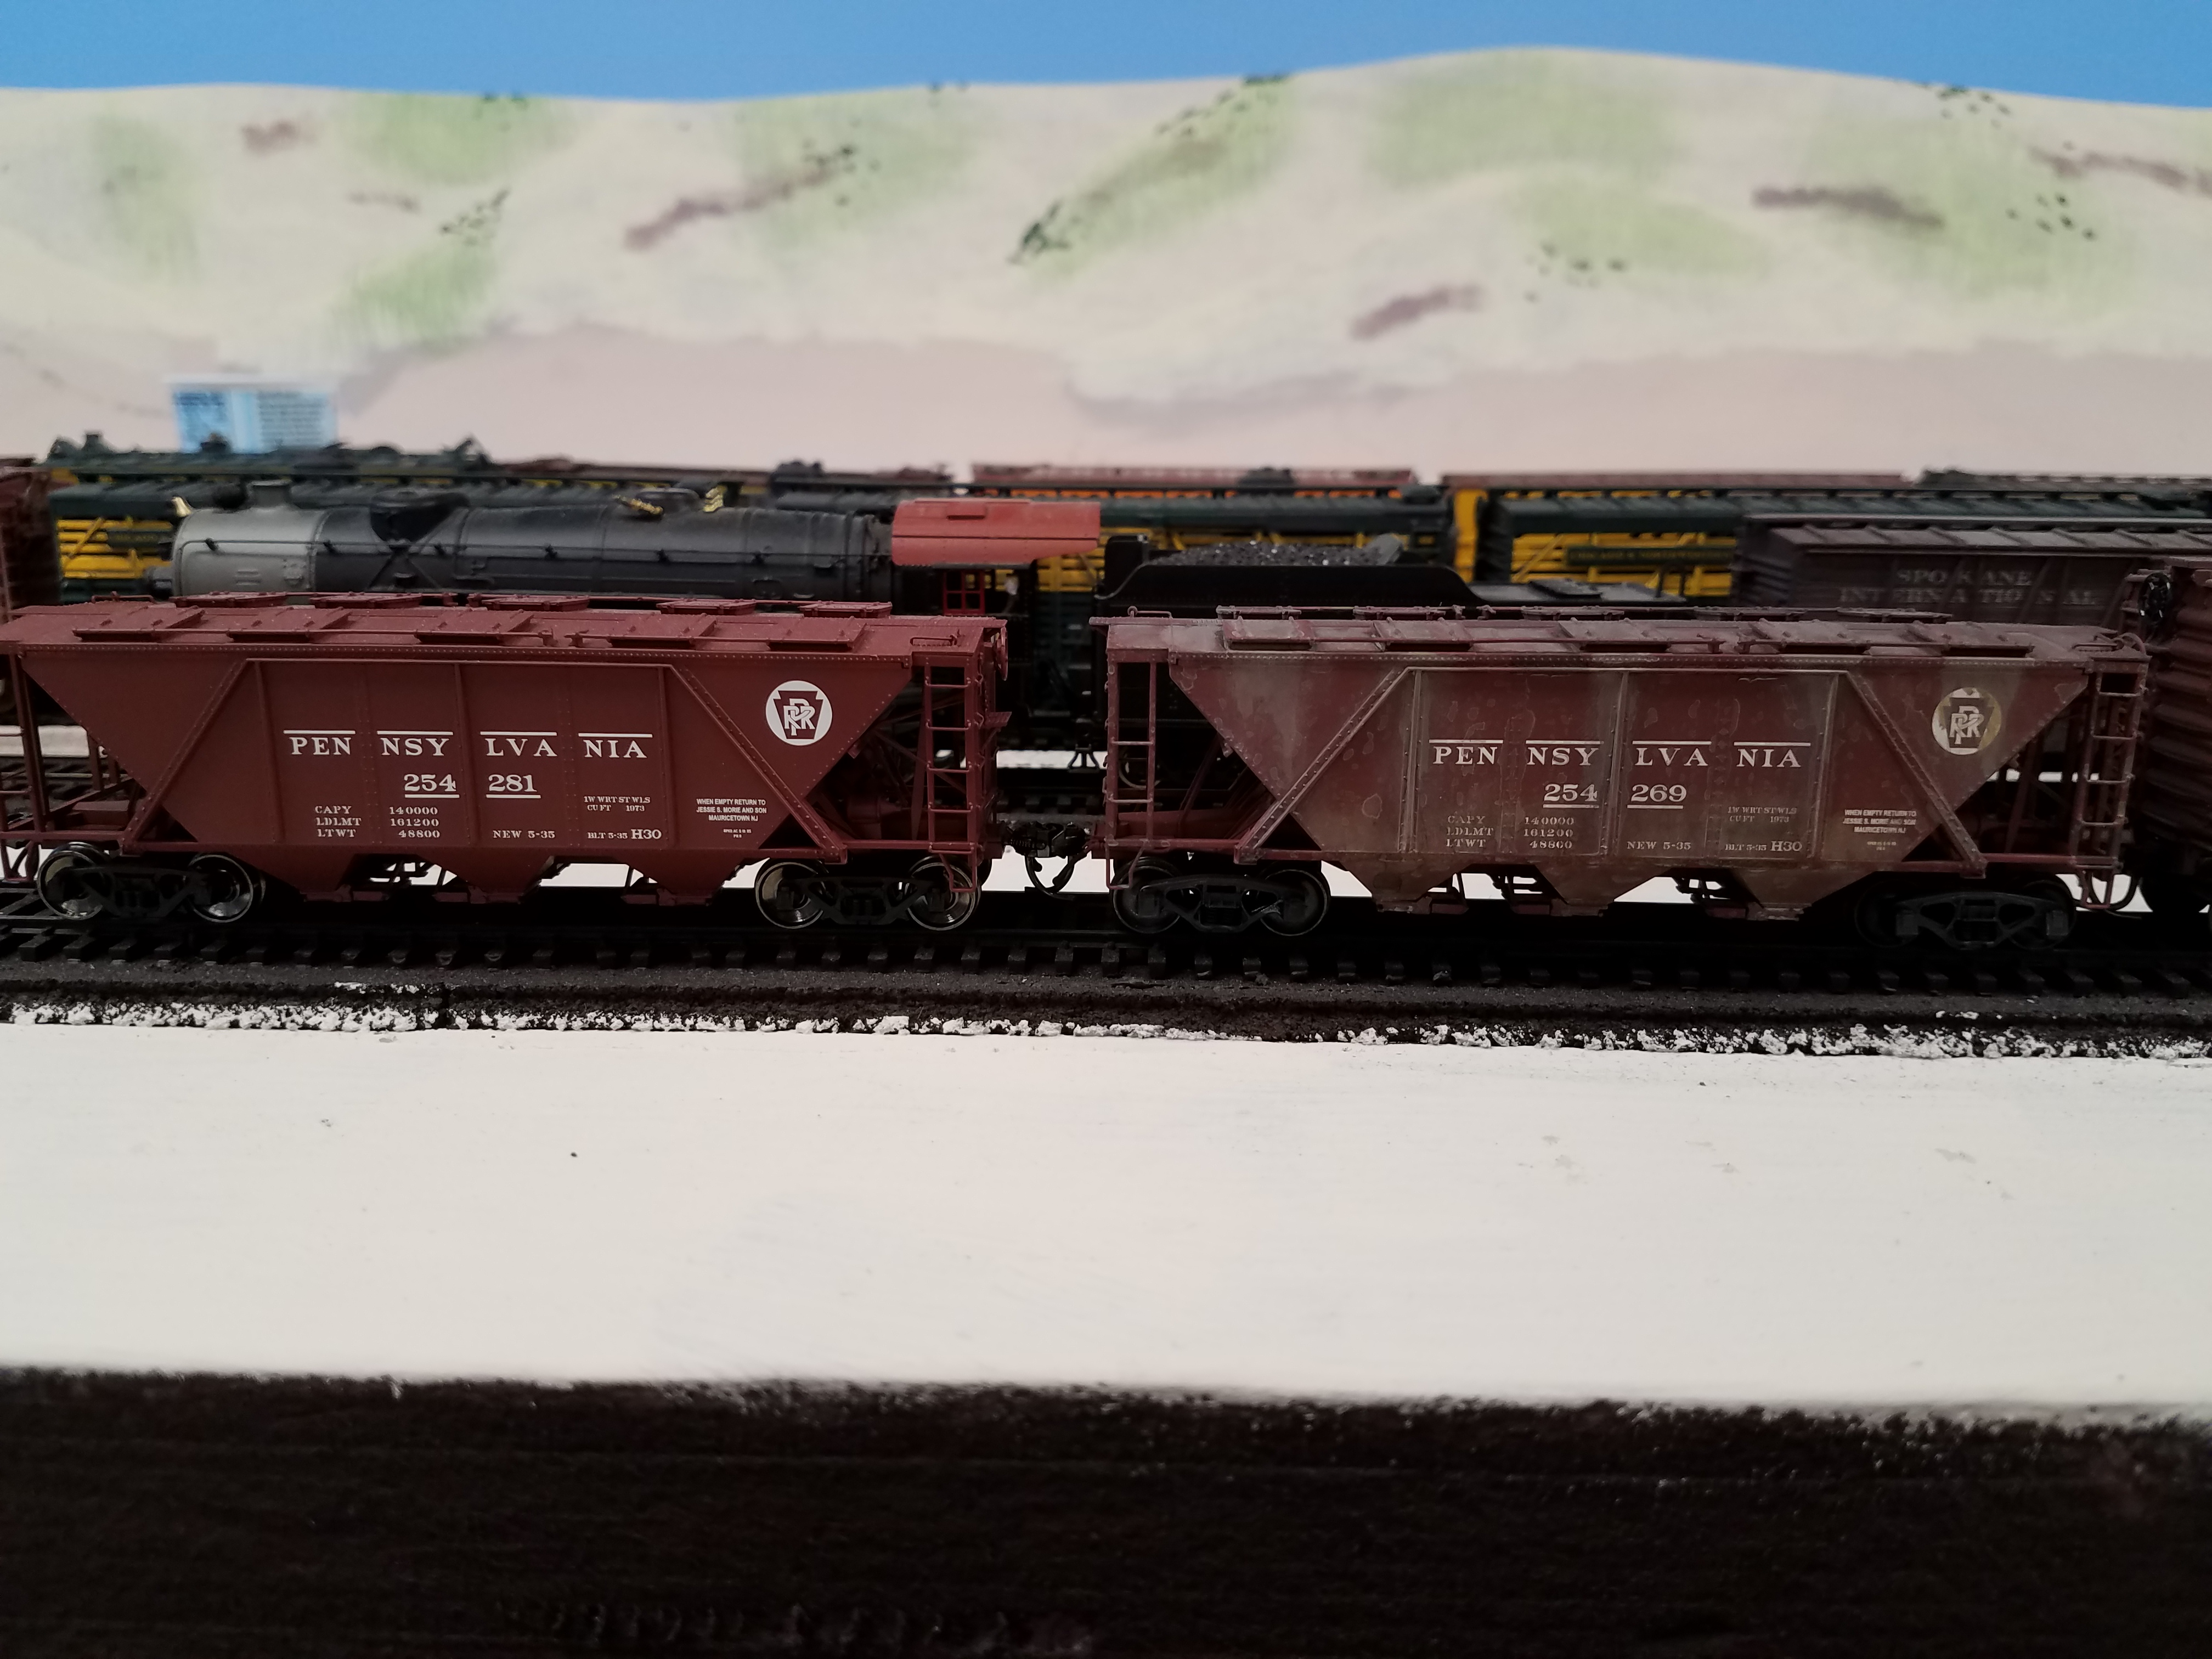 The car has (in theory) been knocking around the mines and refining plants in and around Wyoming for several years. Some day an agent from the Pennsylvania RR is going to come knocking and demand their cars be routed back to their territory!
12 May
18 May
Subroadbed work has been continuing.
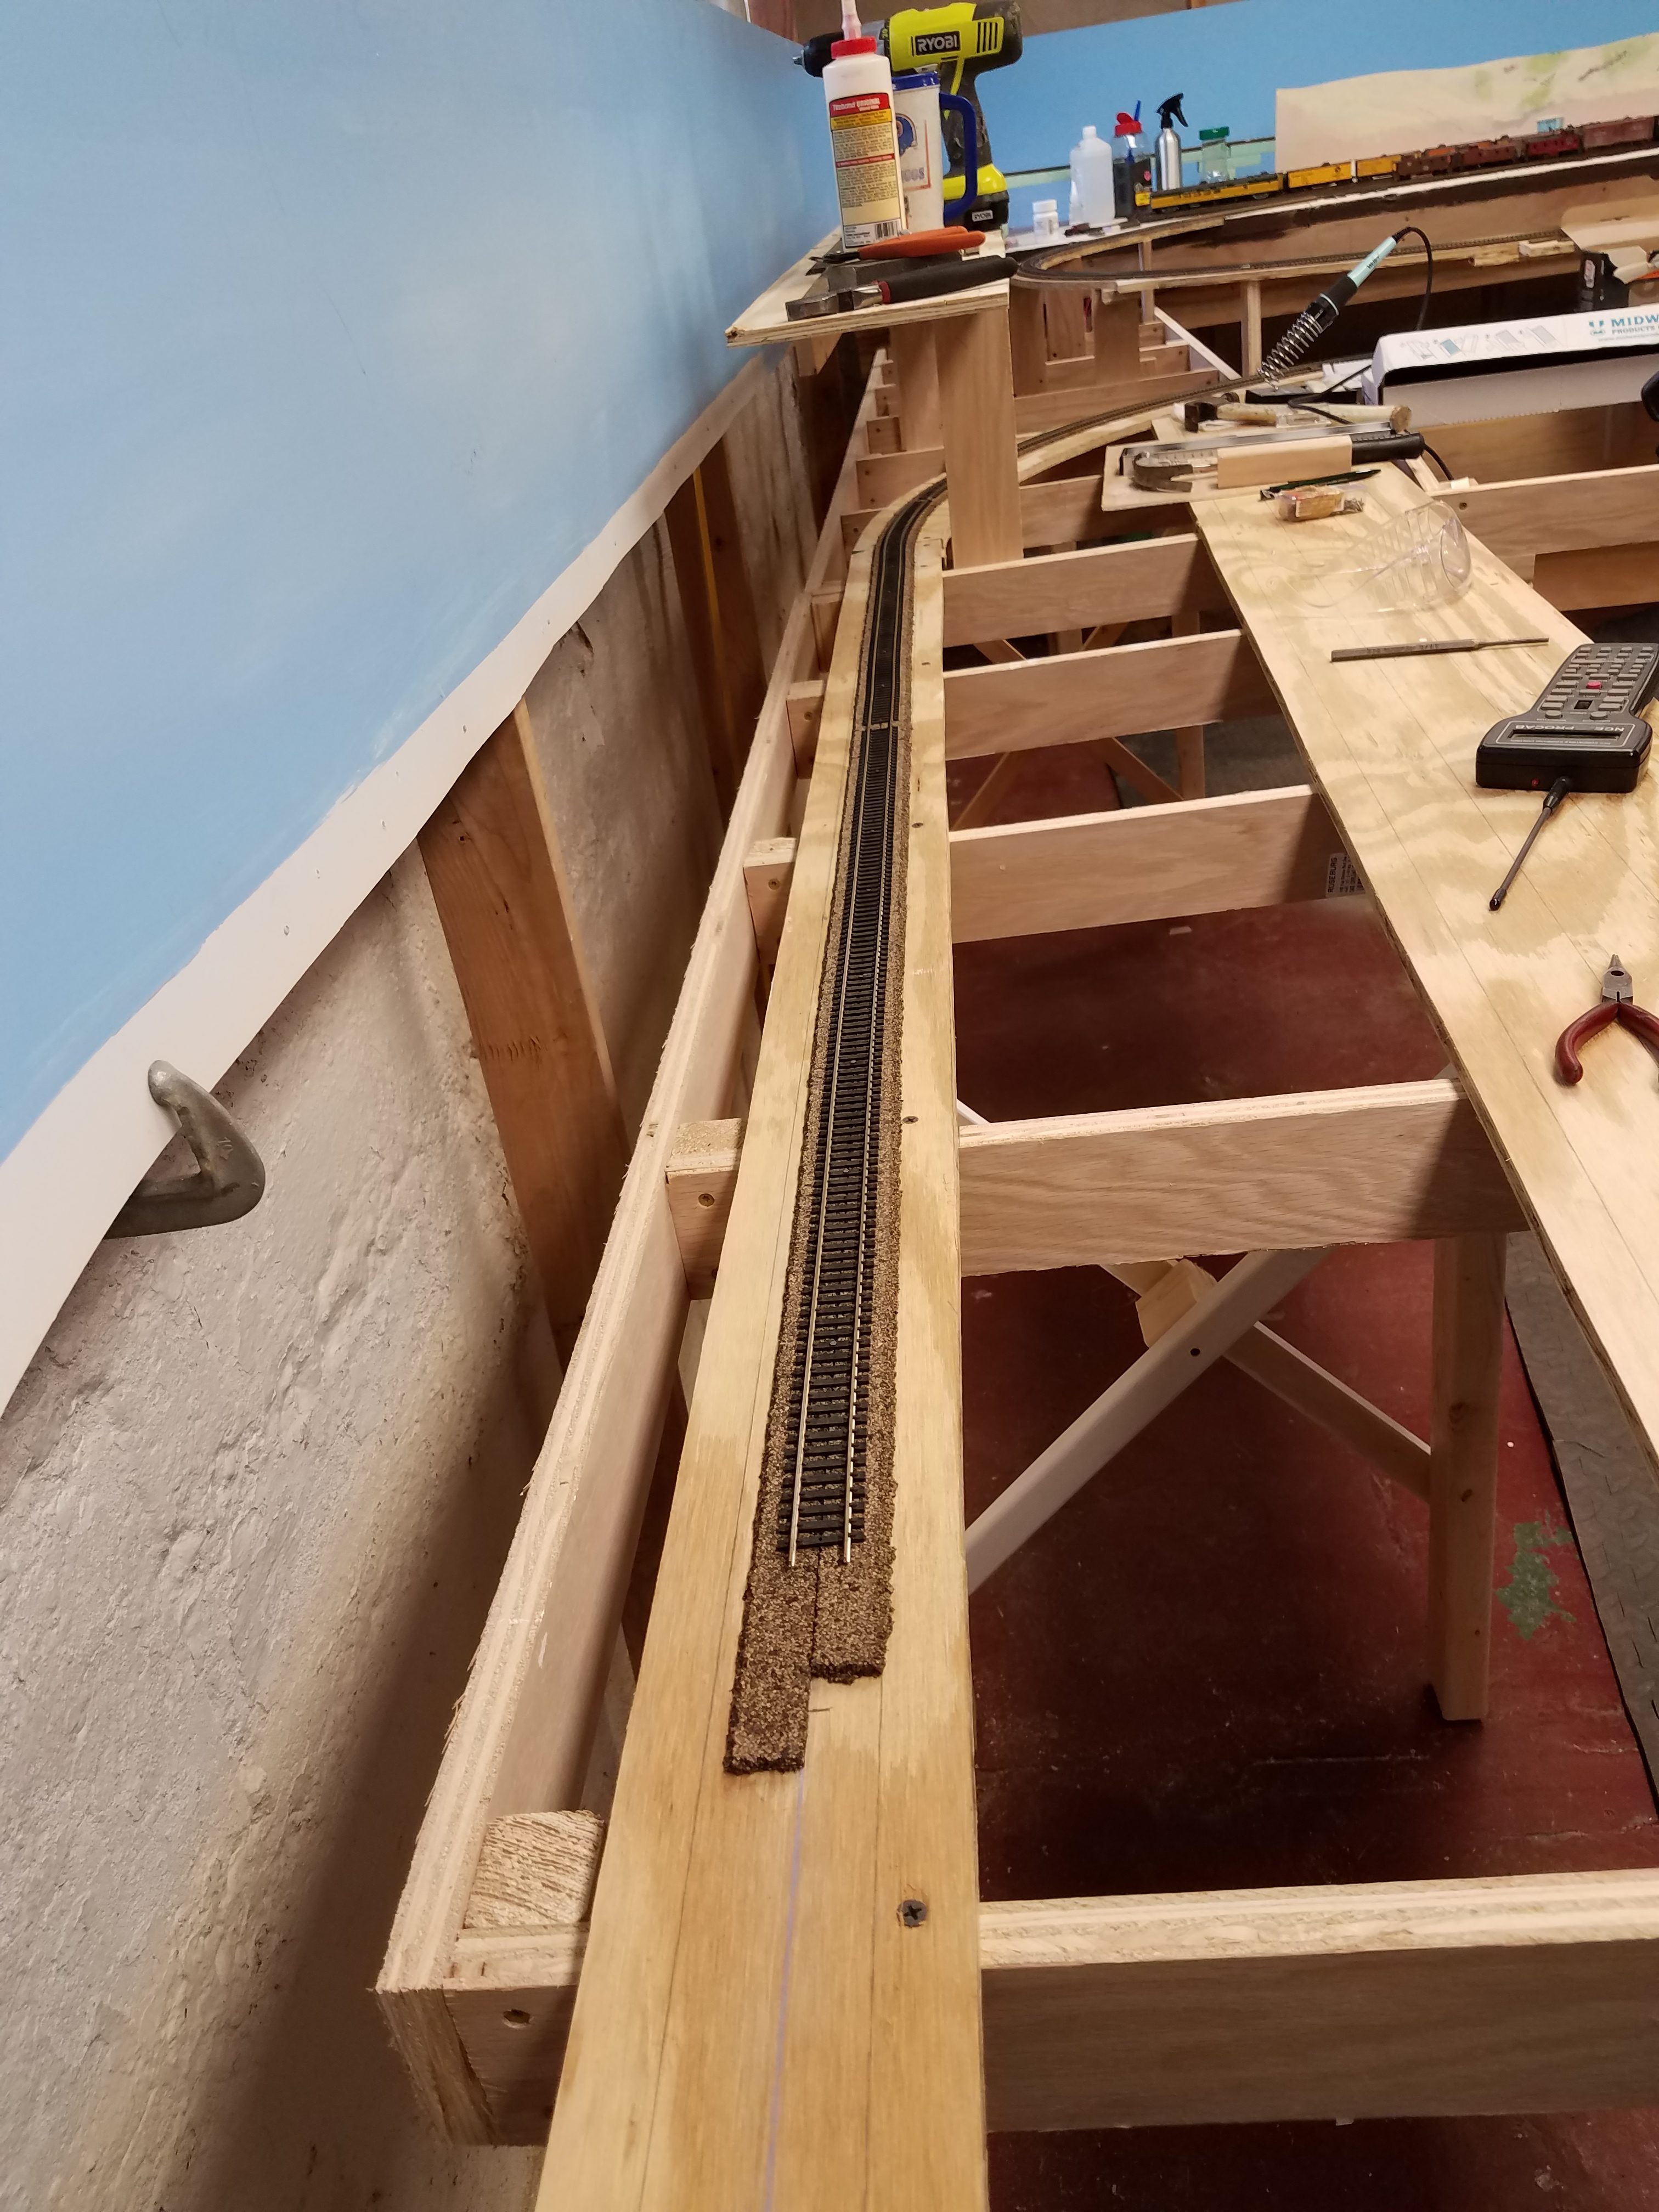
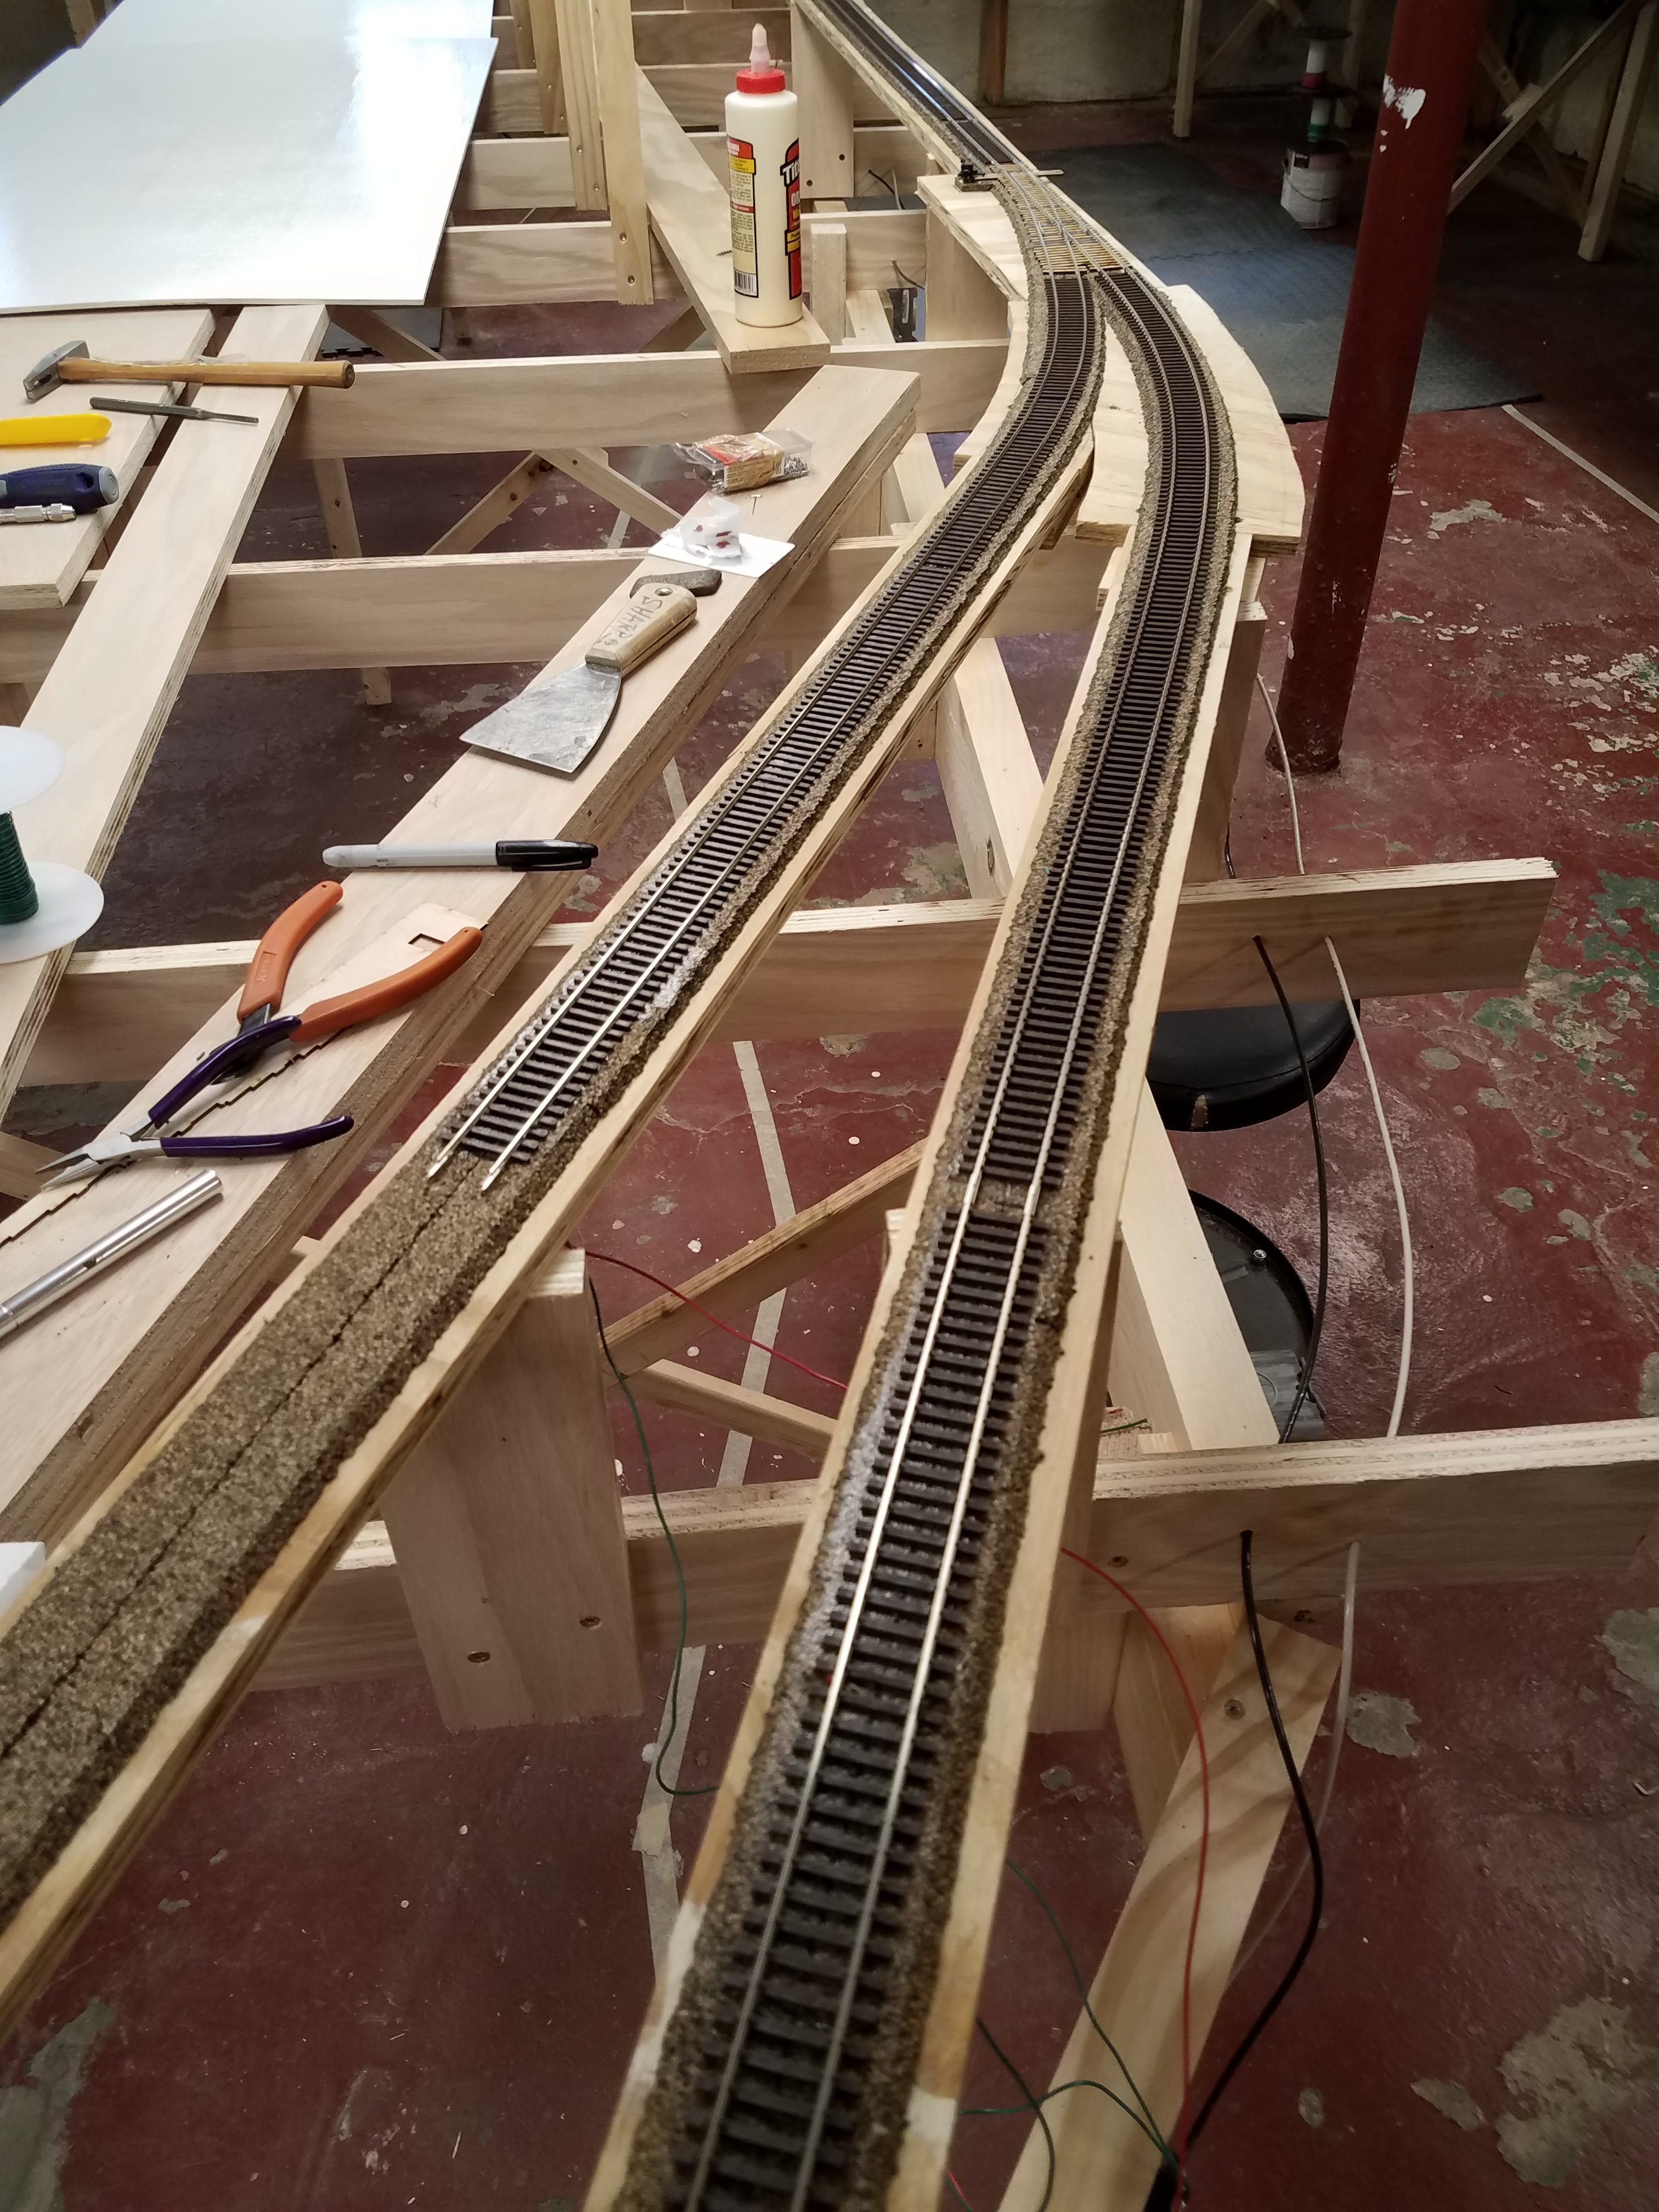
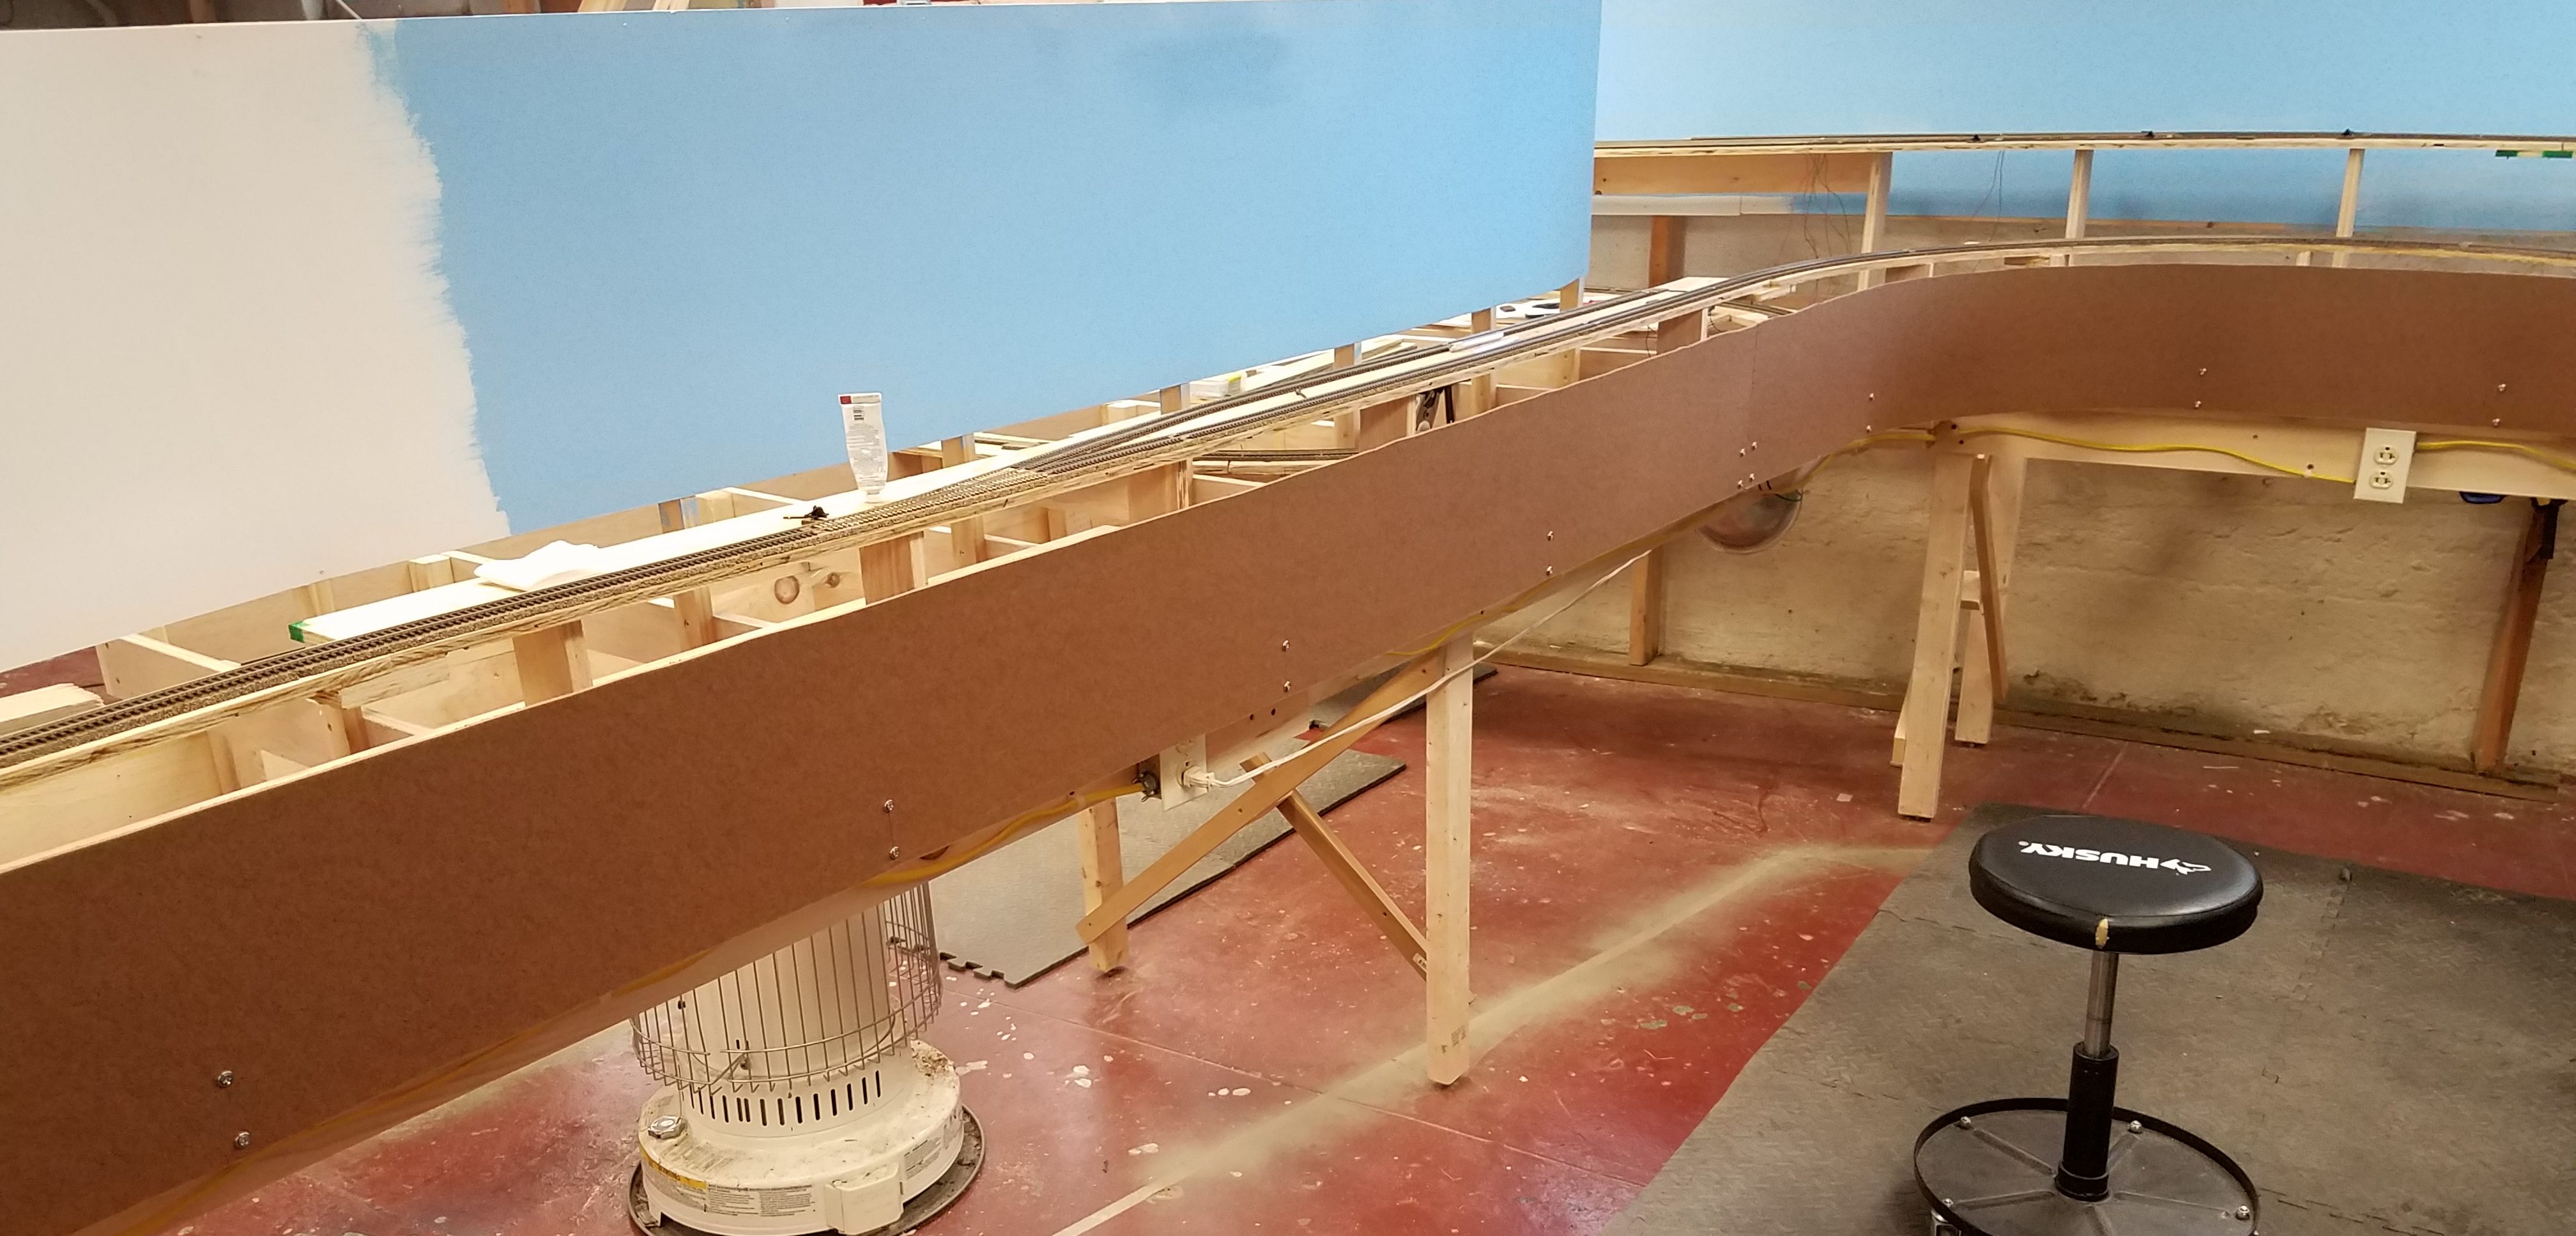
I've progressed past Shobon and into the Wind River Canyon. This view is looking from Powder River out to the Canyon. The subroadbed on the left goes into the canyon. The one branching to the right will disappear behind the foothills of the canyon, and is the CNW line to Lander: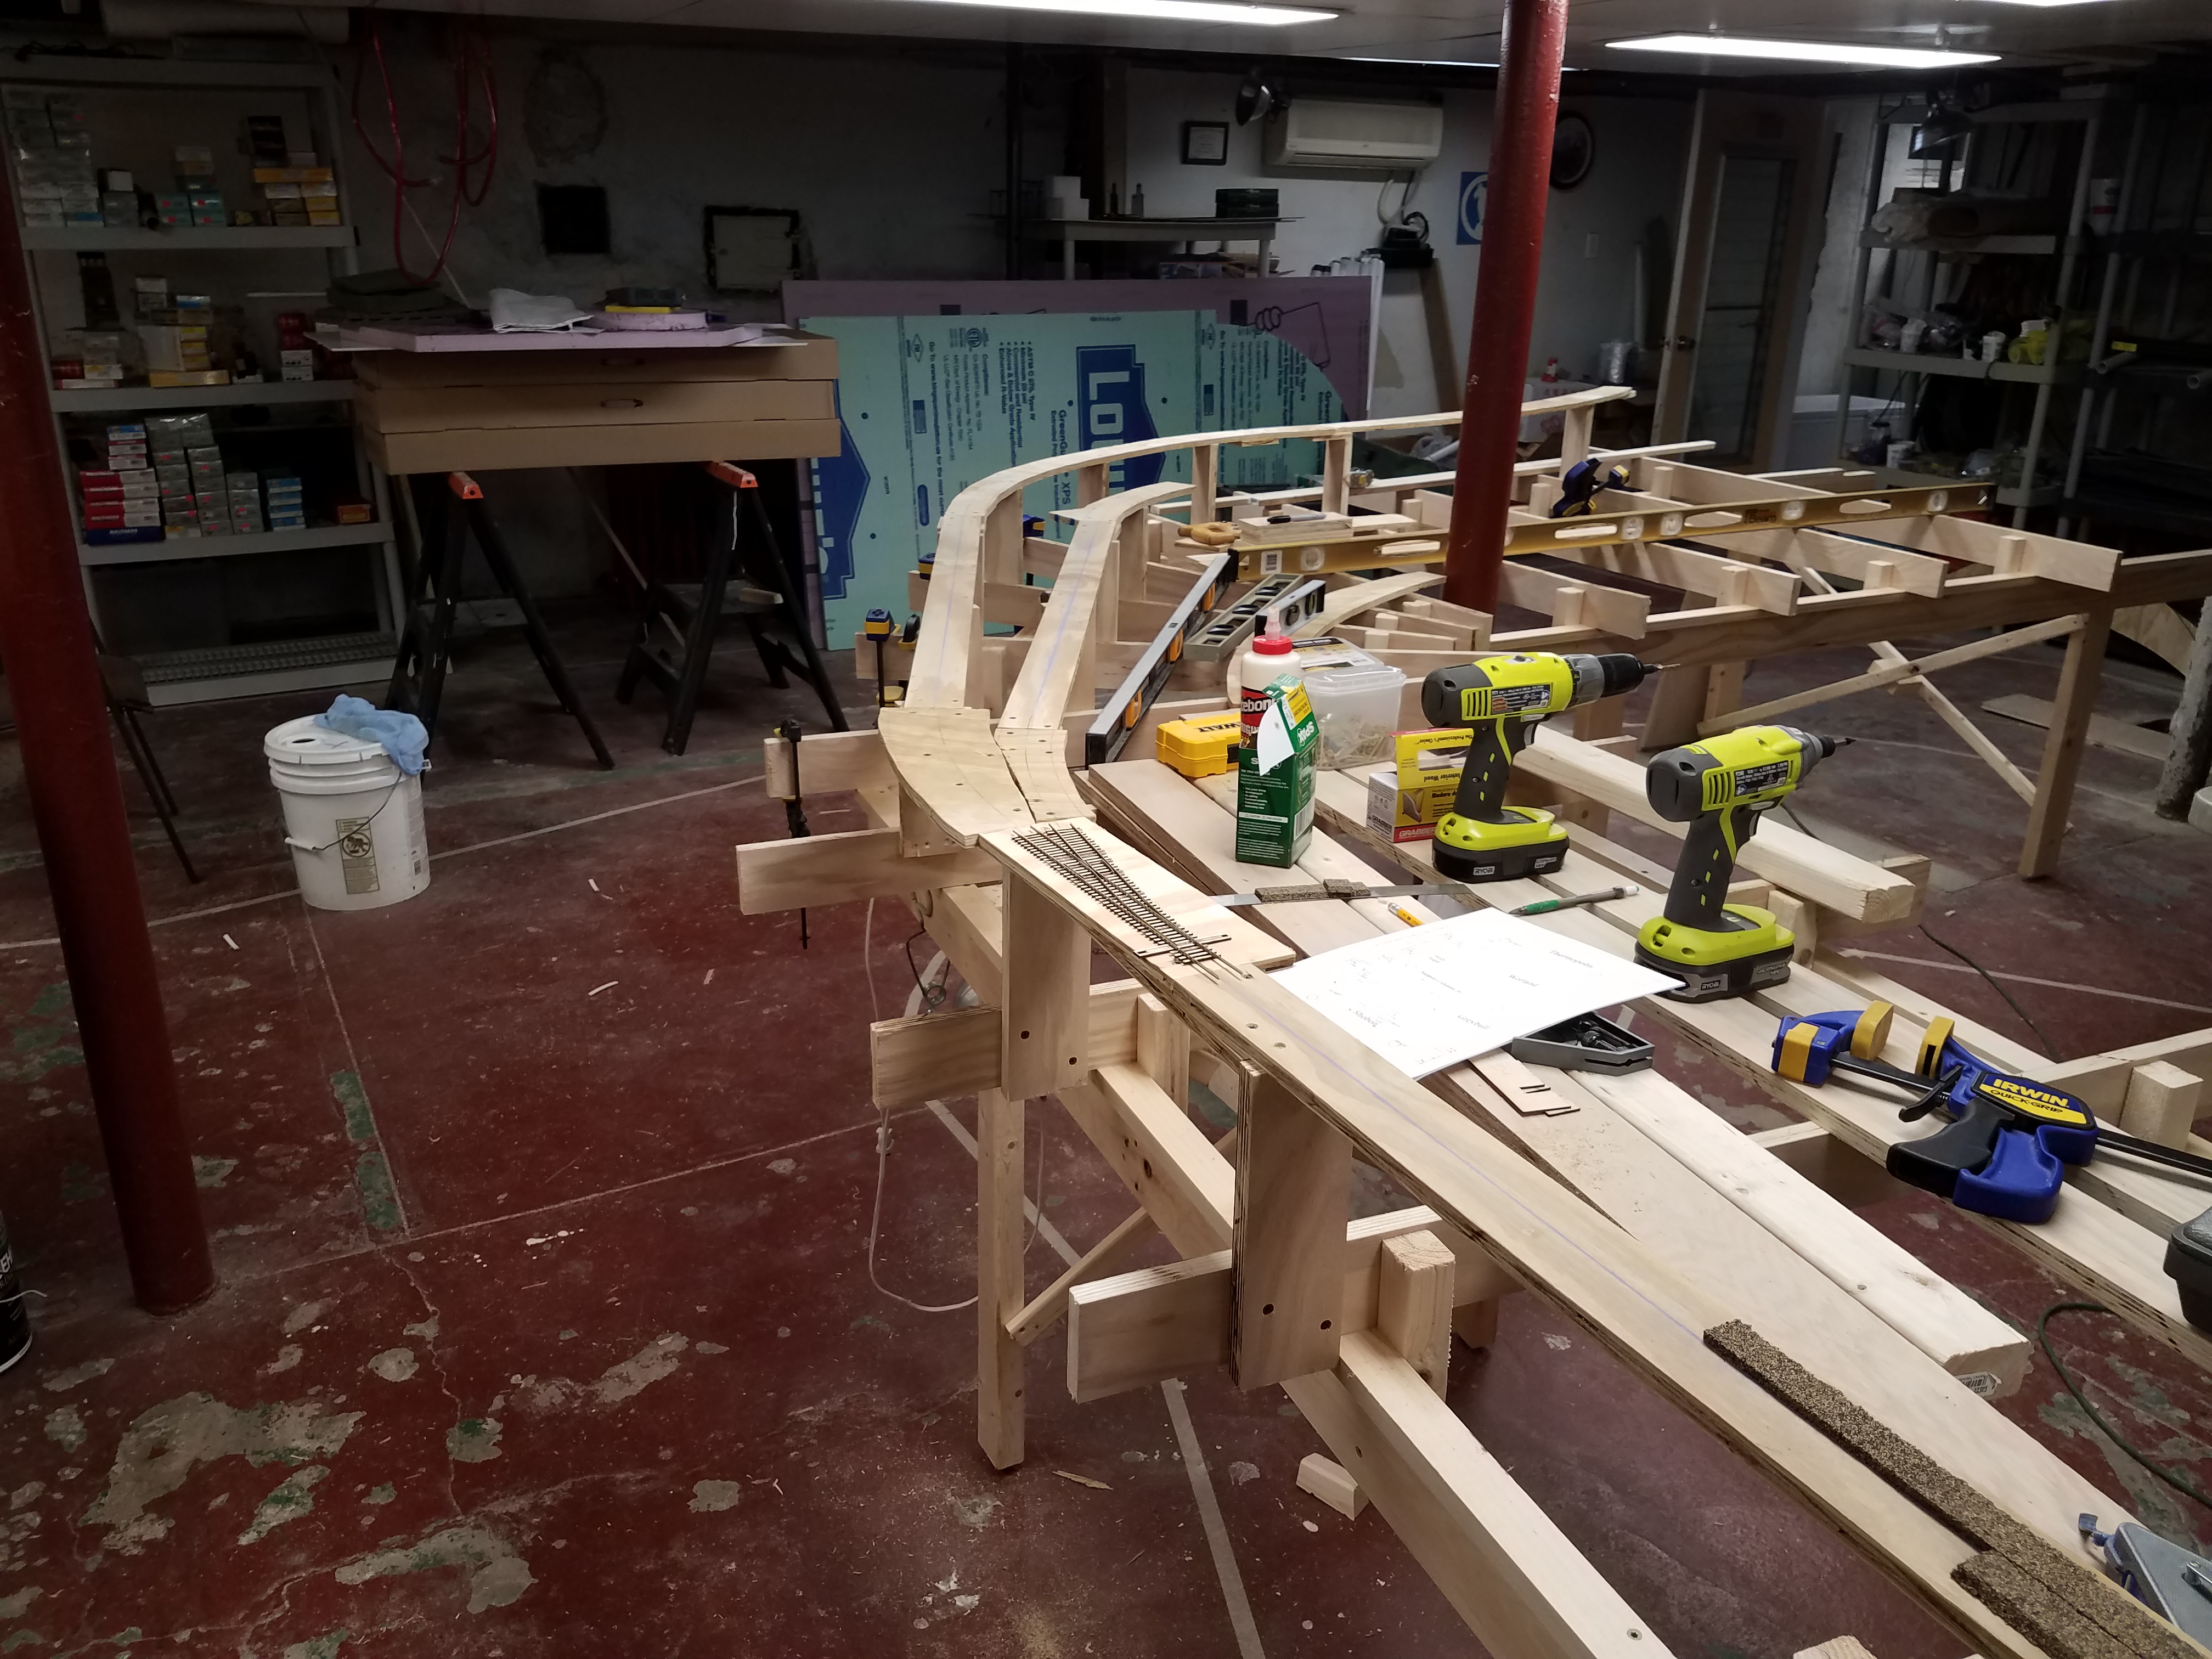
24 May
One year ago today I started construction on the layout. To celebrate, I made a video chronicling the journey. Here it is:
31 May
And I've extended the convenience outlets to the Benchwork at Powder River, Shobon and Wind River Canyon. Note that this is not something you should try unless you know what you're doing - 120VAC can kill you! This installation is OK since it's on the layout, which is plugged into an outlet in the basement, and is not a part of the permanent house wiring.
5 June
A couple days ago I posted Layout Construction Video #11 on my YouTube Channel:
15 June
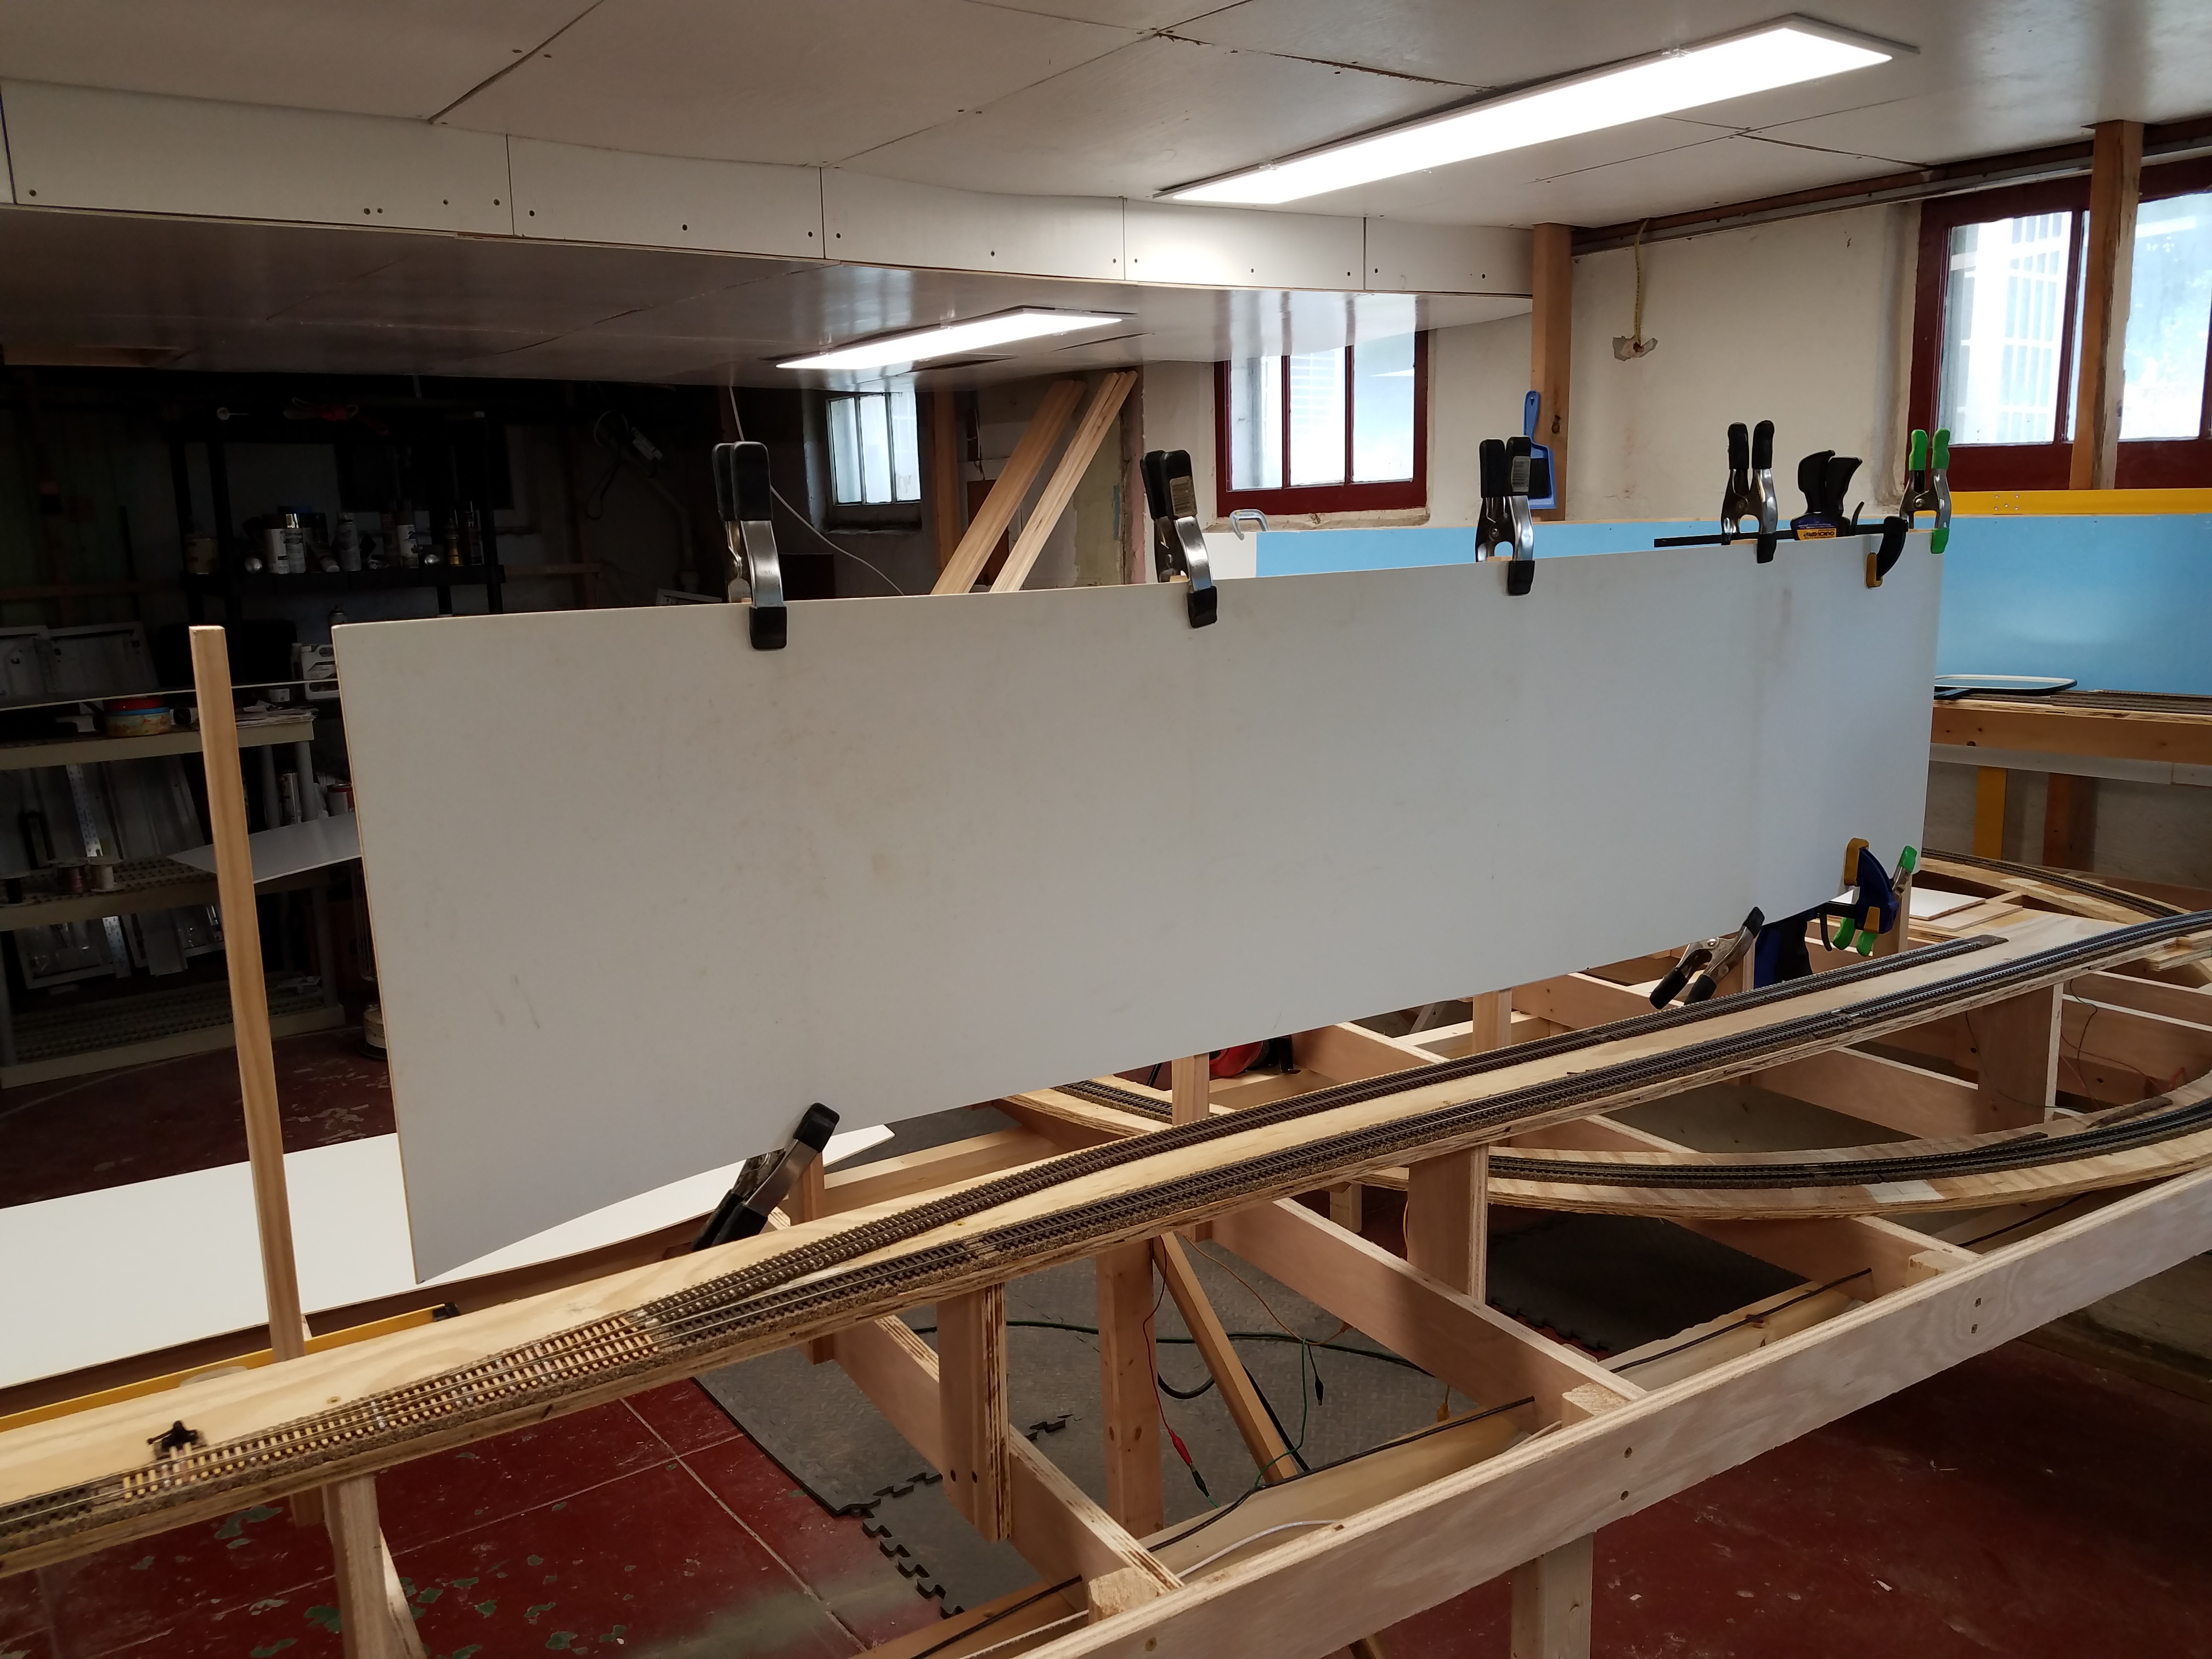
I've been installing ceiling in the train room, and building turnouts for the Orin / Frannie yard. Not a lot to share photos of. But I've also been working on the Powder River / Shobon and Greybull (back side) backdrops. Here's where I was with them on June 1st: The clamps at the end are holding a sharp bend in the styrene at the end of the backdrop, where it curves around a roughly four inch radius to travel back on the other side of the 1X2 supports. It worked out pretty well.
I cut several new sheets of styrene to width, installed them, and joined them to the first piece behind Powder River. After that I filled the seams with Squadron White putty, then sanded everything to smooth the filled joints and give the styrene some "tooth" for the paint to grab. They're now painted. This is the Powder River side: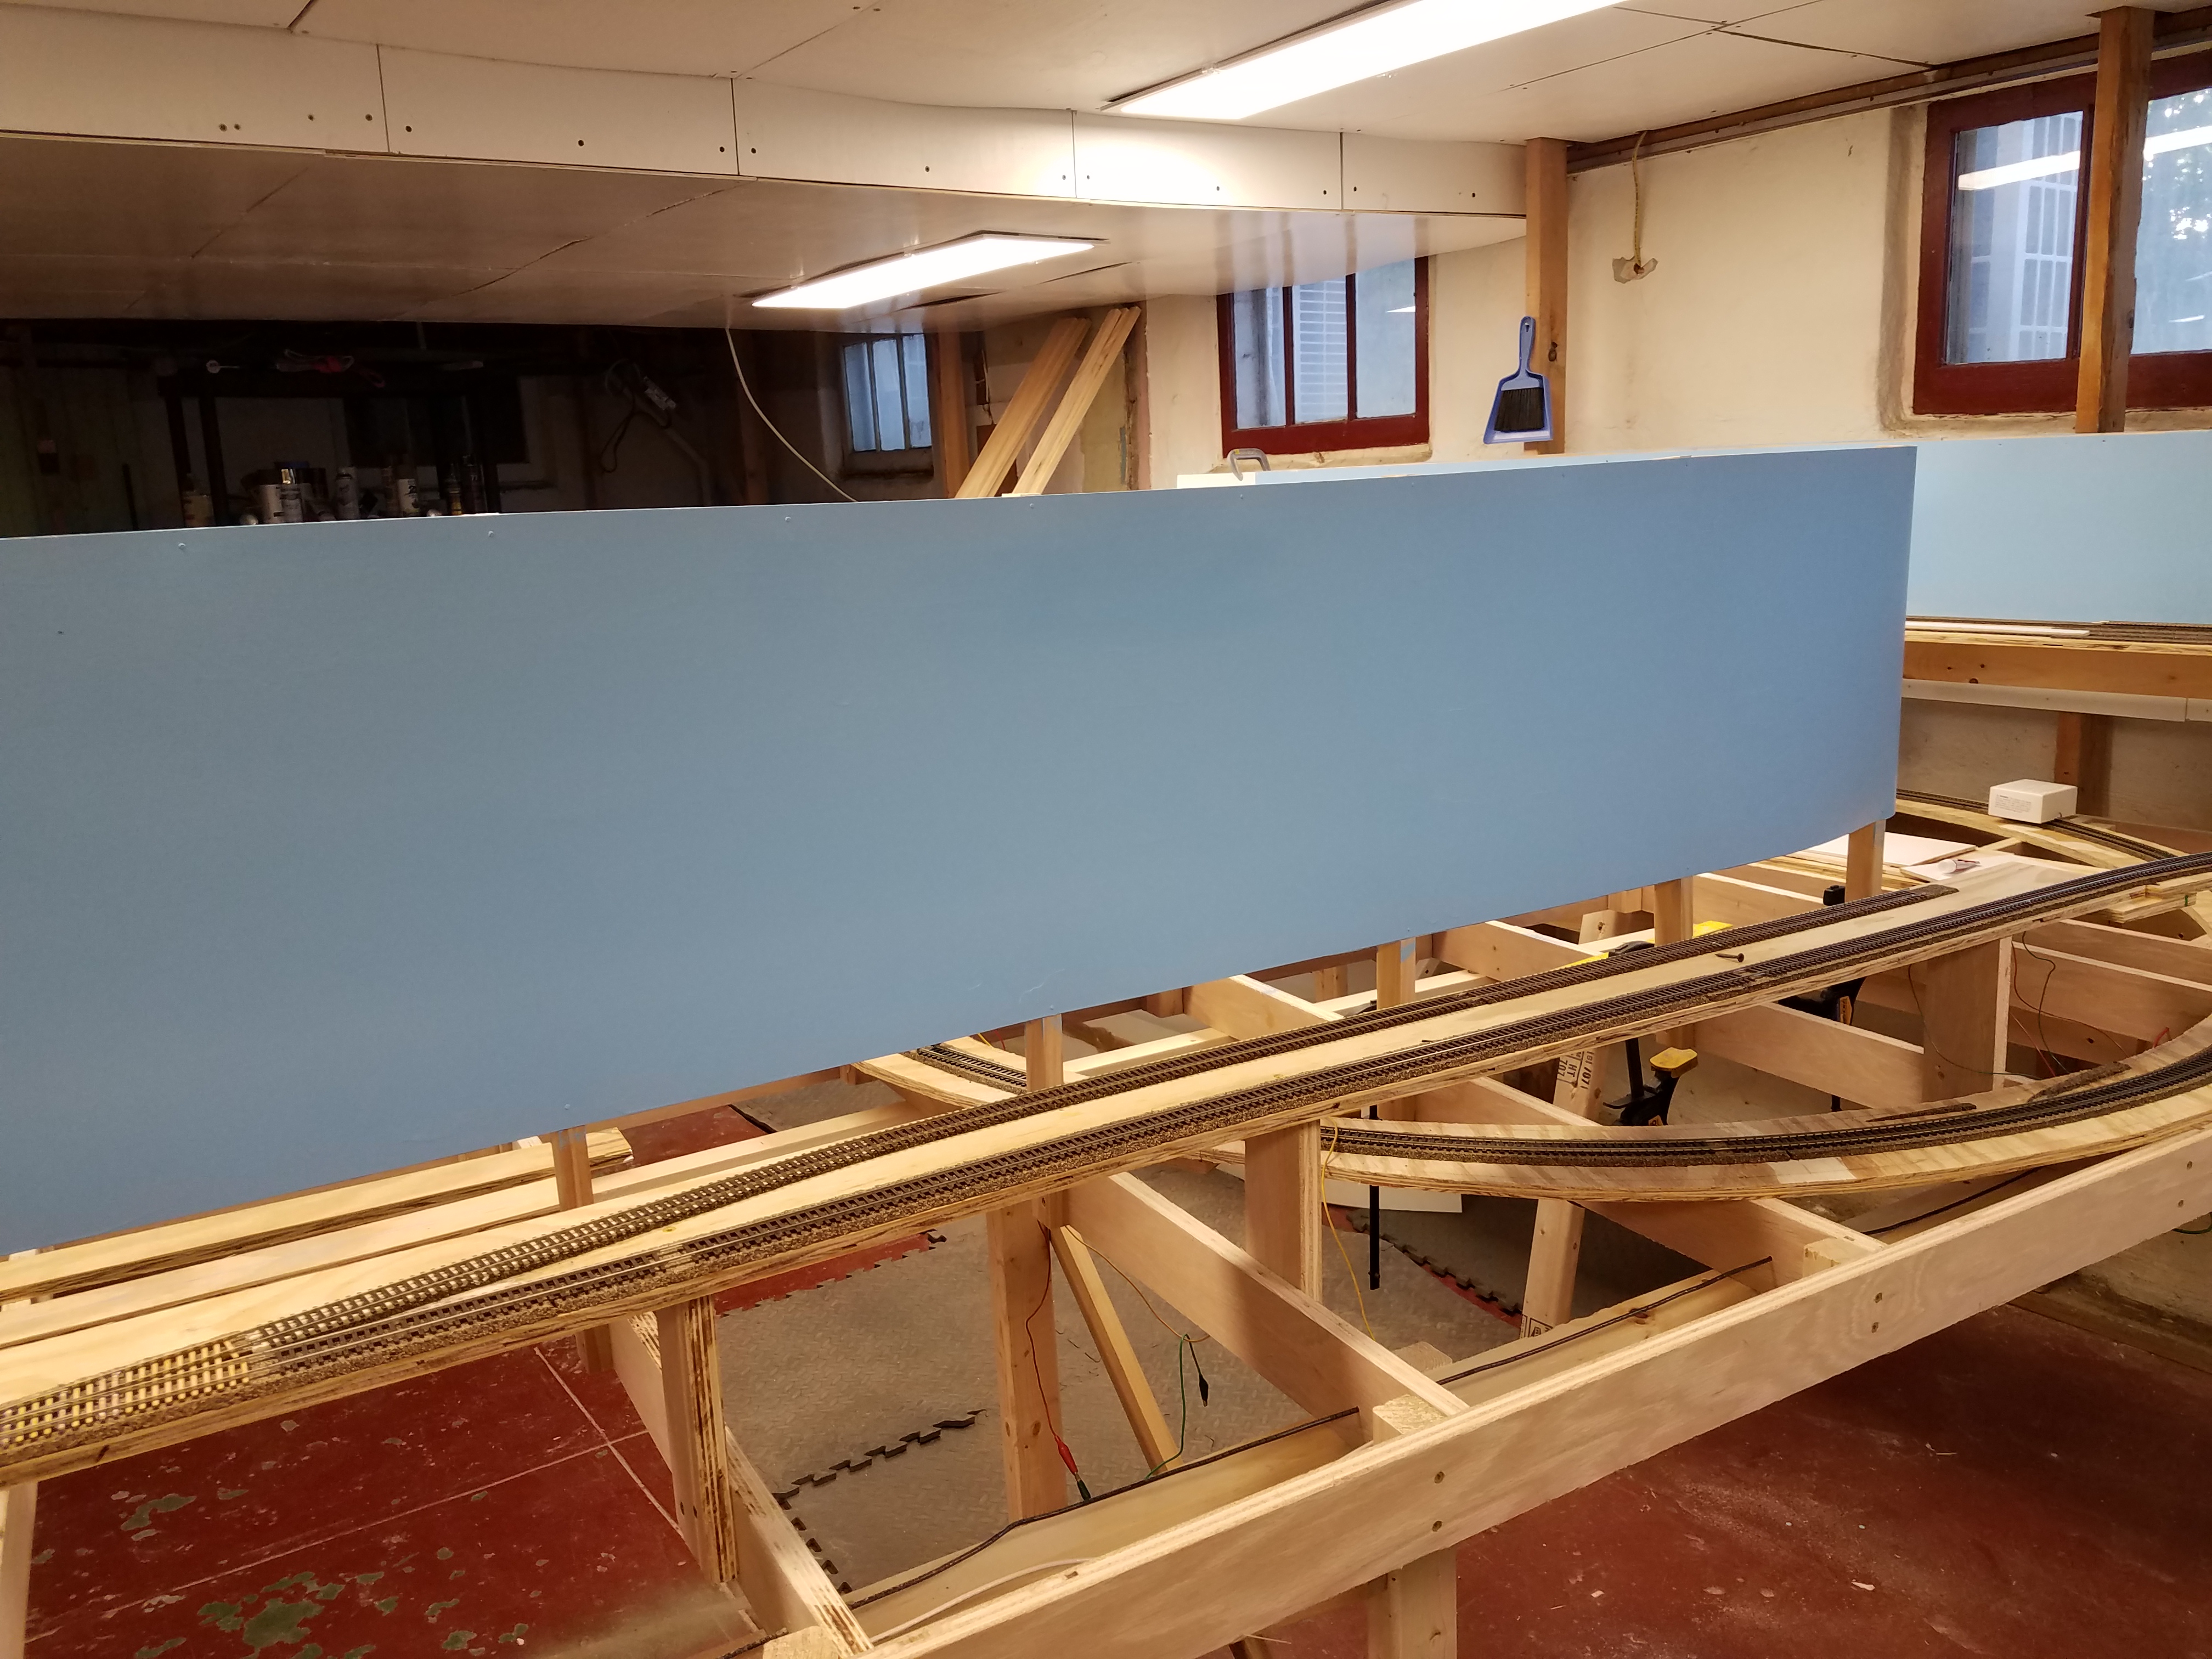
Early in the month I also put a new sound decoder kit in one of my Walthers (Life-Like Heritage) 0-8-0 switchers. This was a first run loco with no tender power pick-up. It struggled with stalls even on my #6 yard ladder switches. Ran much better after I added the new decoder with a keep-alive circuit. I installed TCS kit # WSK-WAL-1, which is made especially to fit these 0-8-0 and 0-6-0 locos. Here's a video of the before and after:
21 June
This morning I finished installing feeders. I cleaned the rails and turned on track power. My DCC system indicated a dead short!
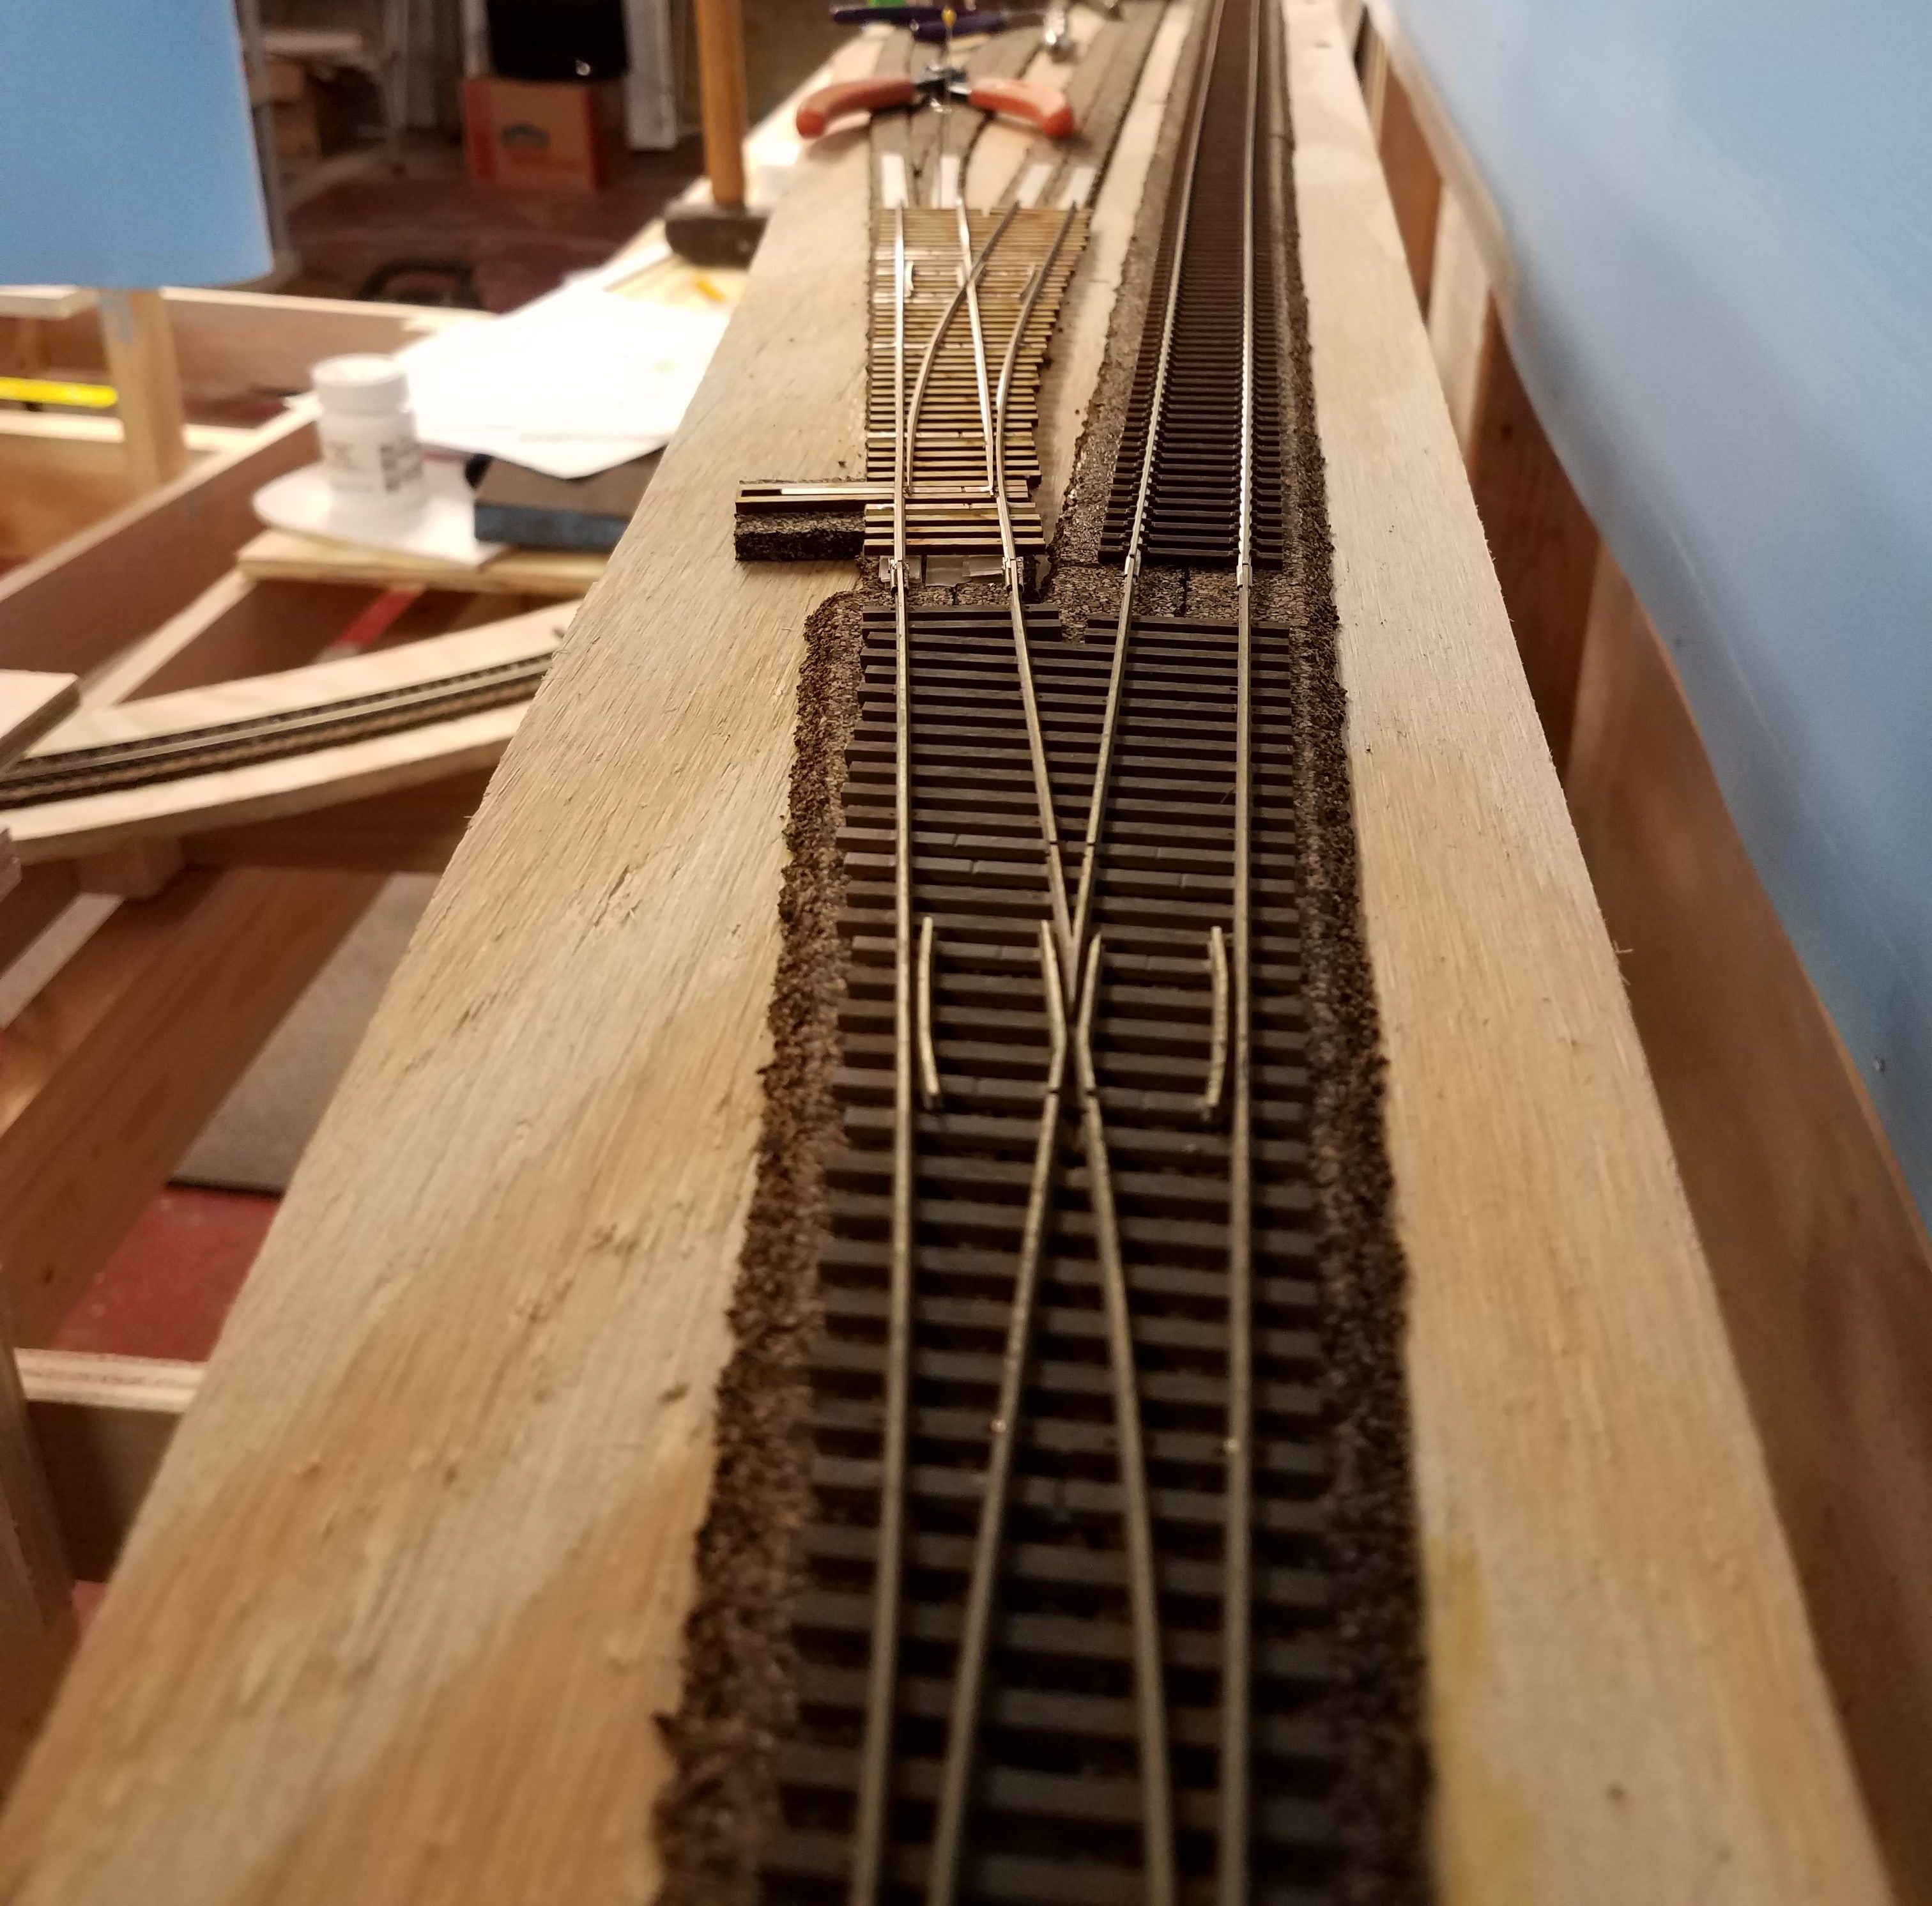
I knew immediately what the problem was - I forgot to cut gaps at the frog on the second new turnout! Short (ok, that was bad!) work with a Dremel and a cutoff wheel (then repairs to the turnout where the wheel bound and broke, pulling up the rails beyond the frog) and no more short.
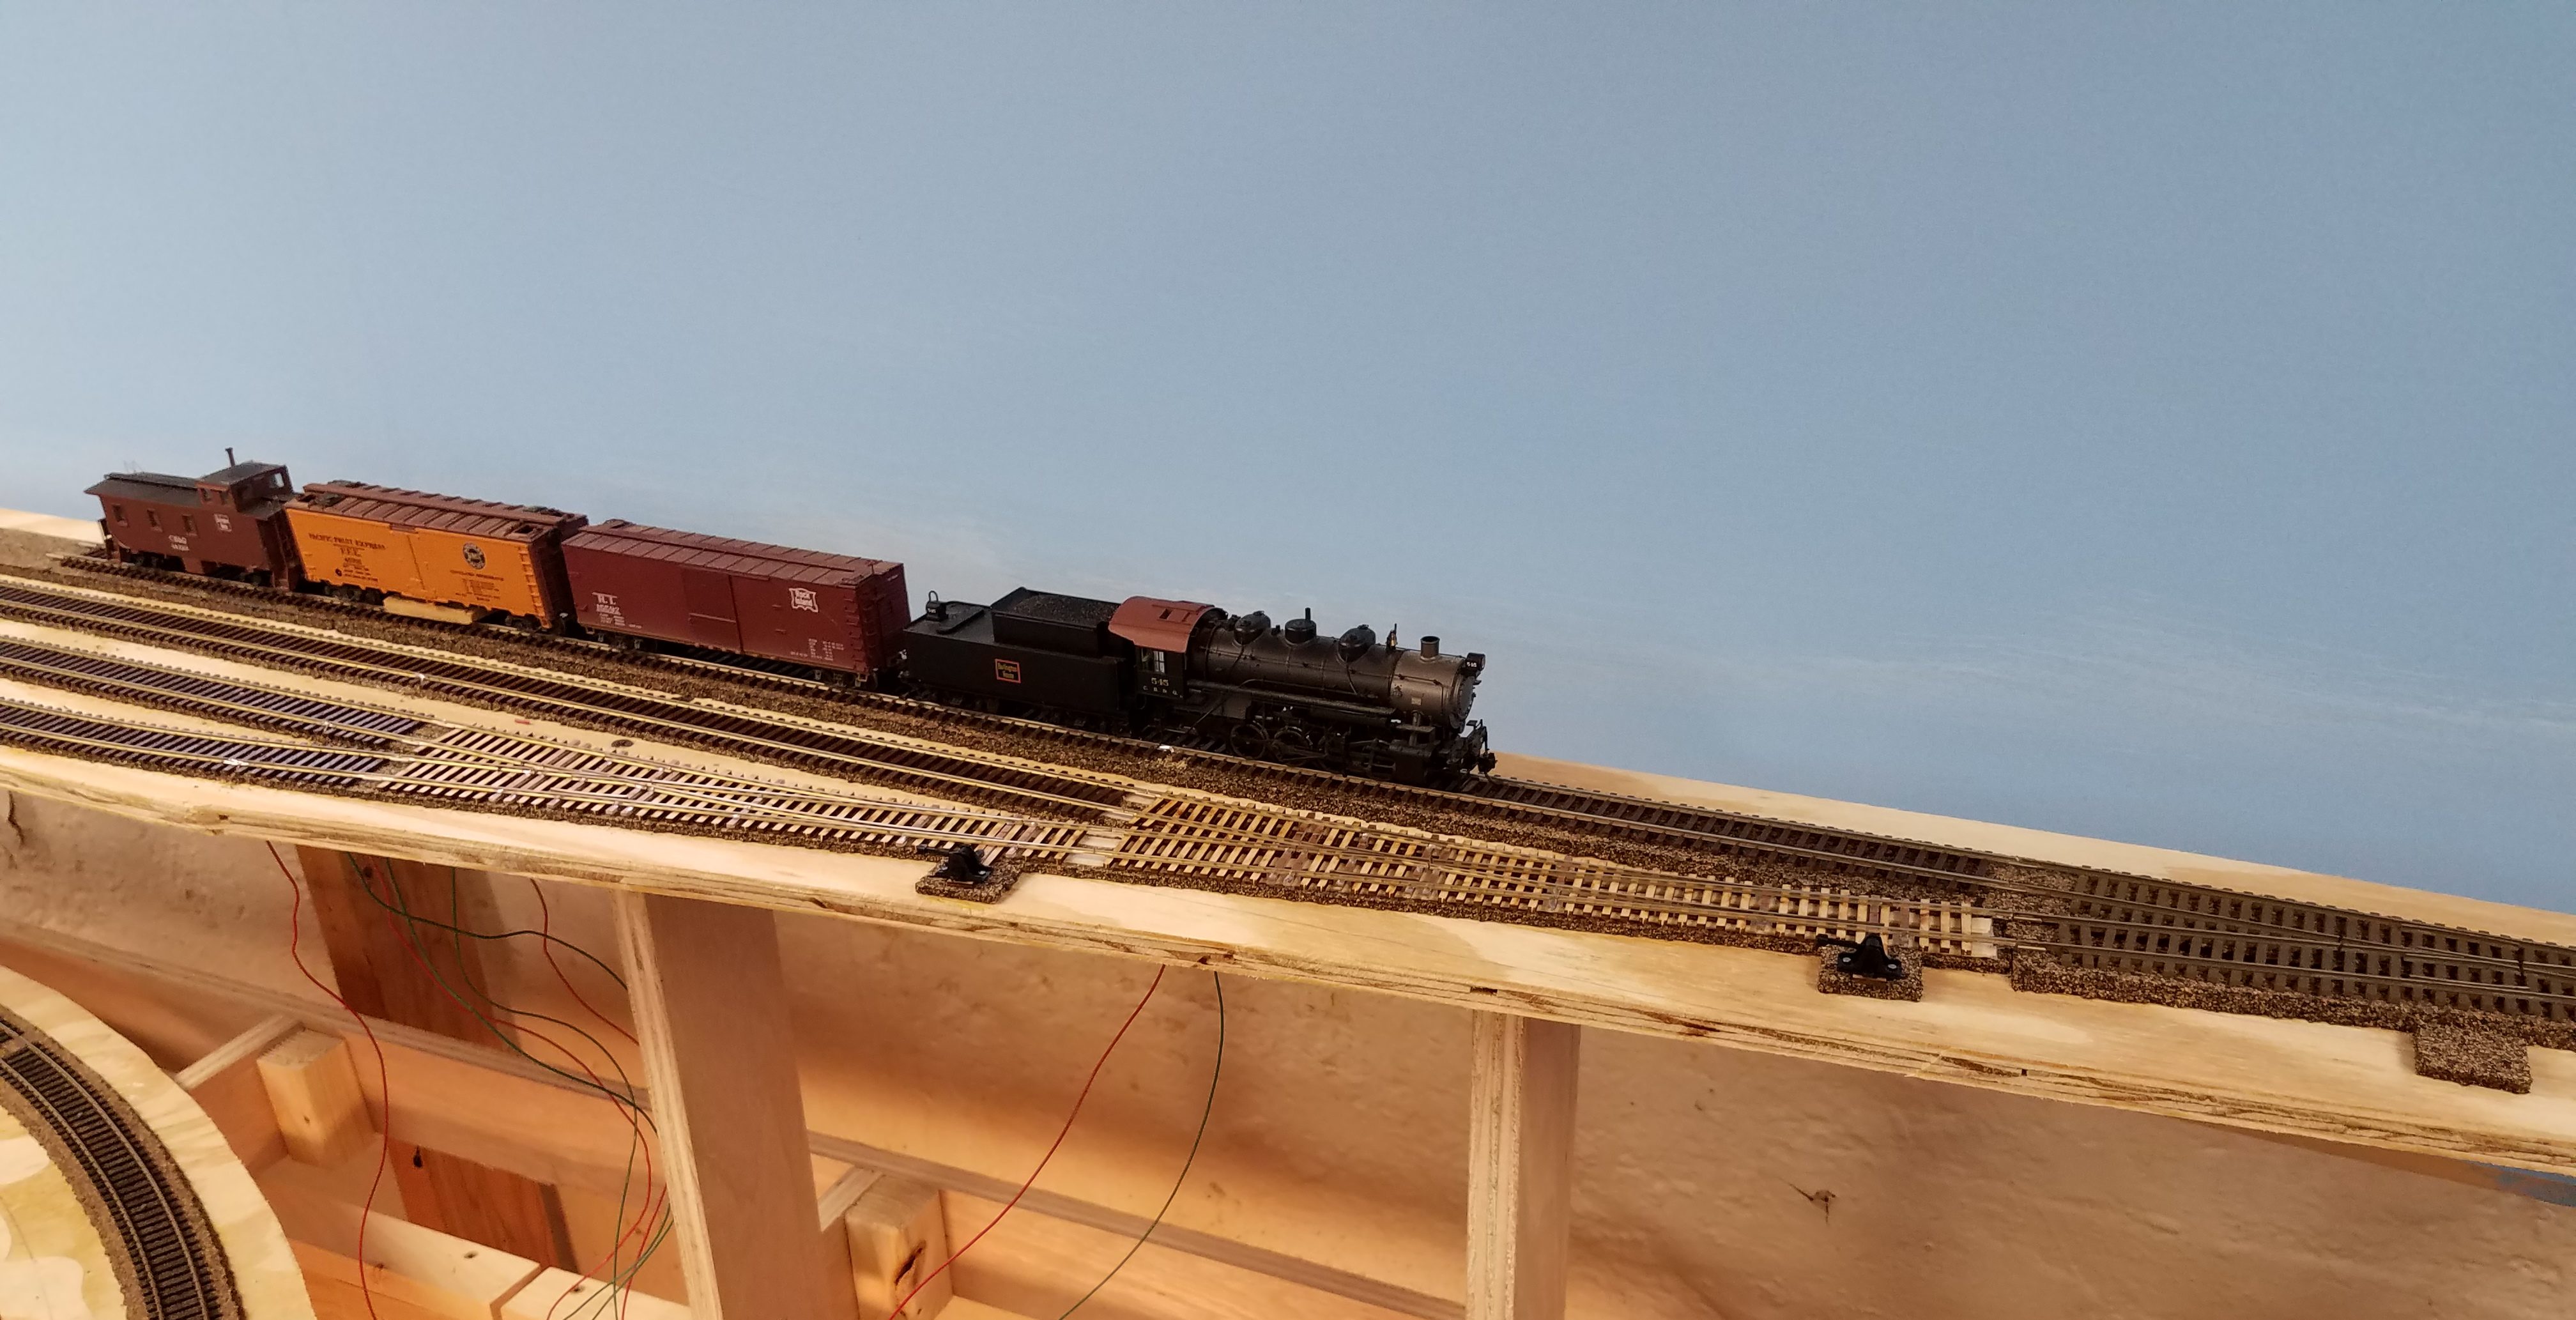
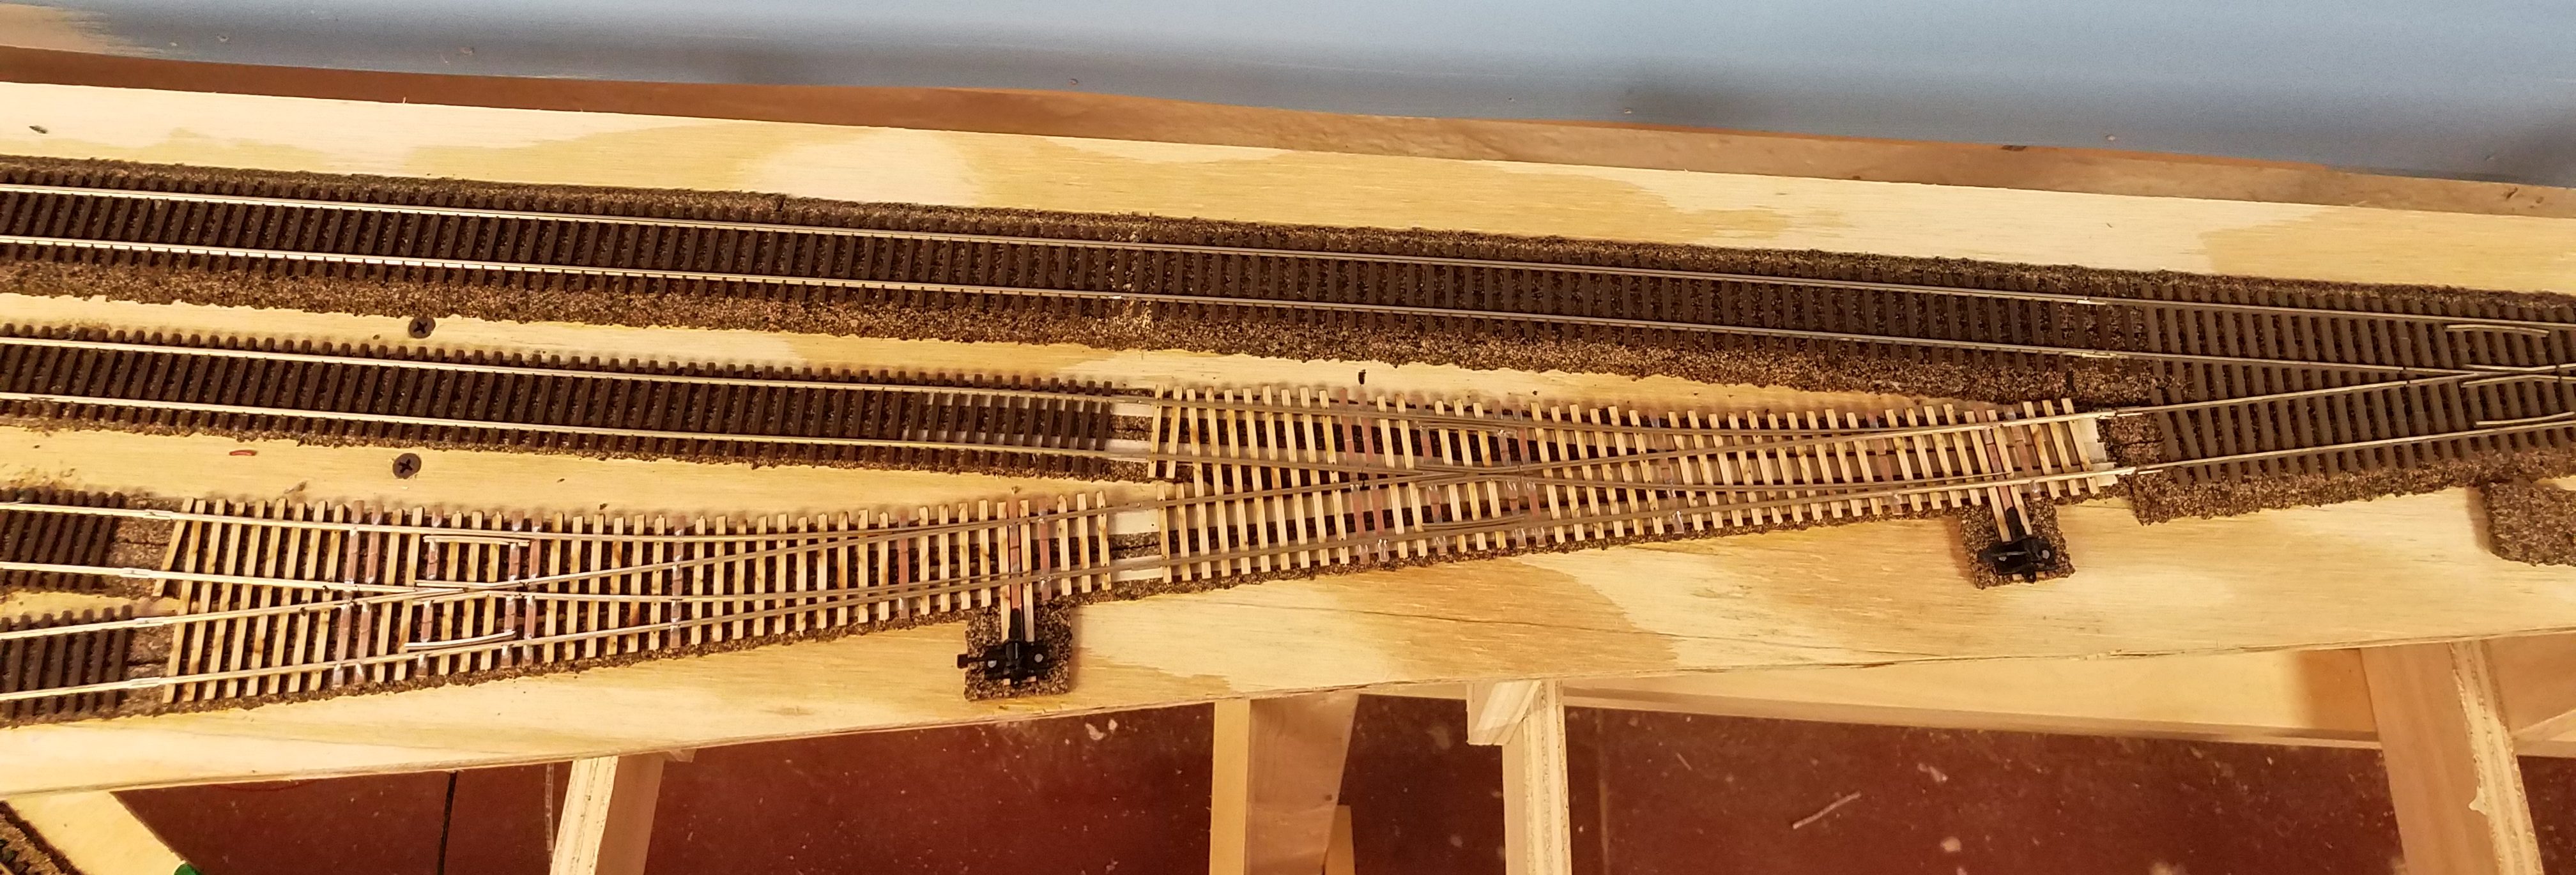
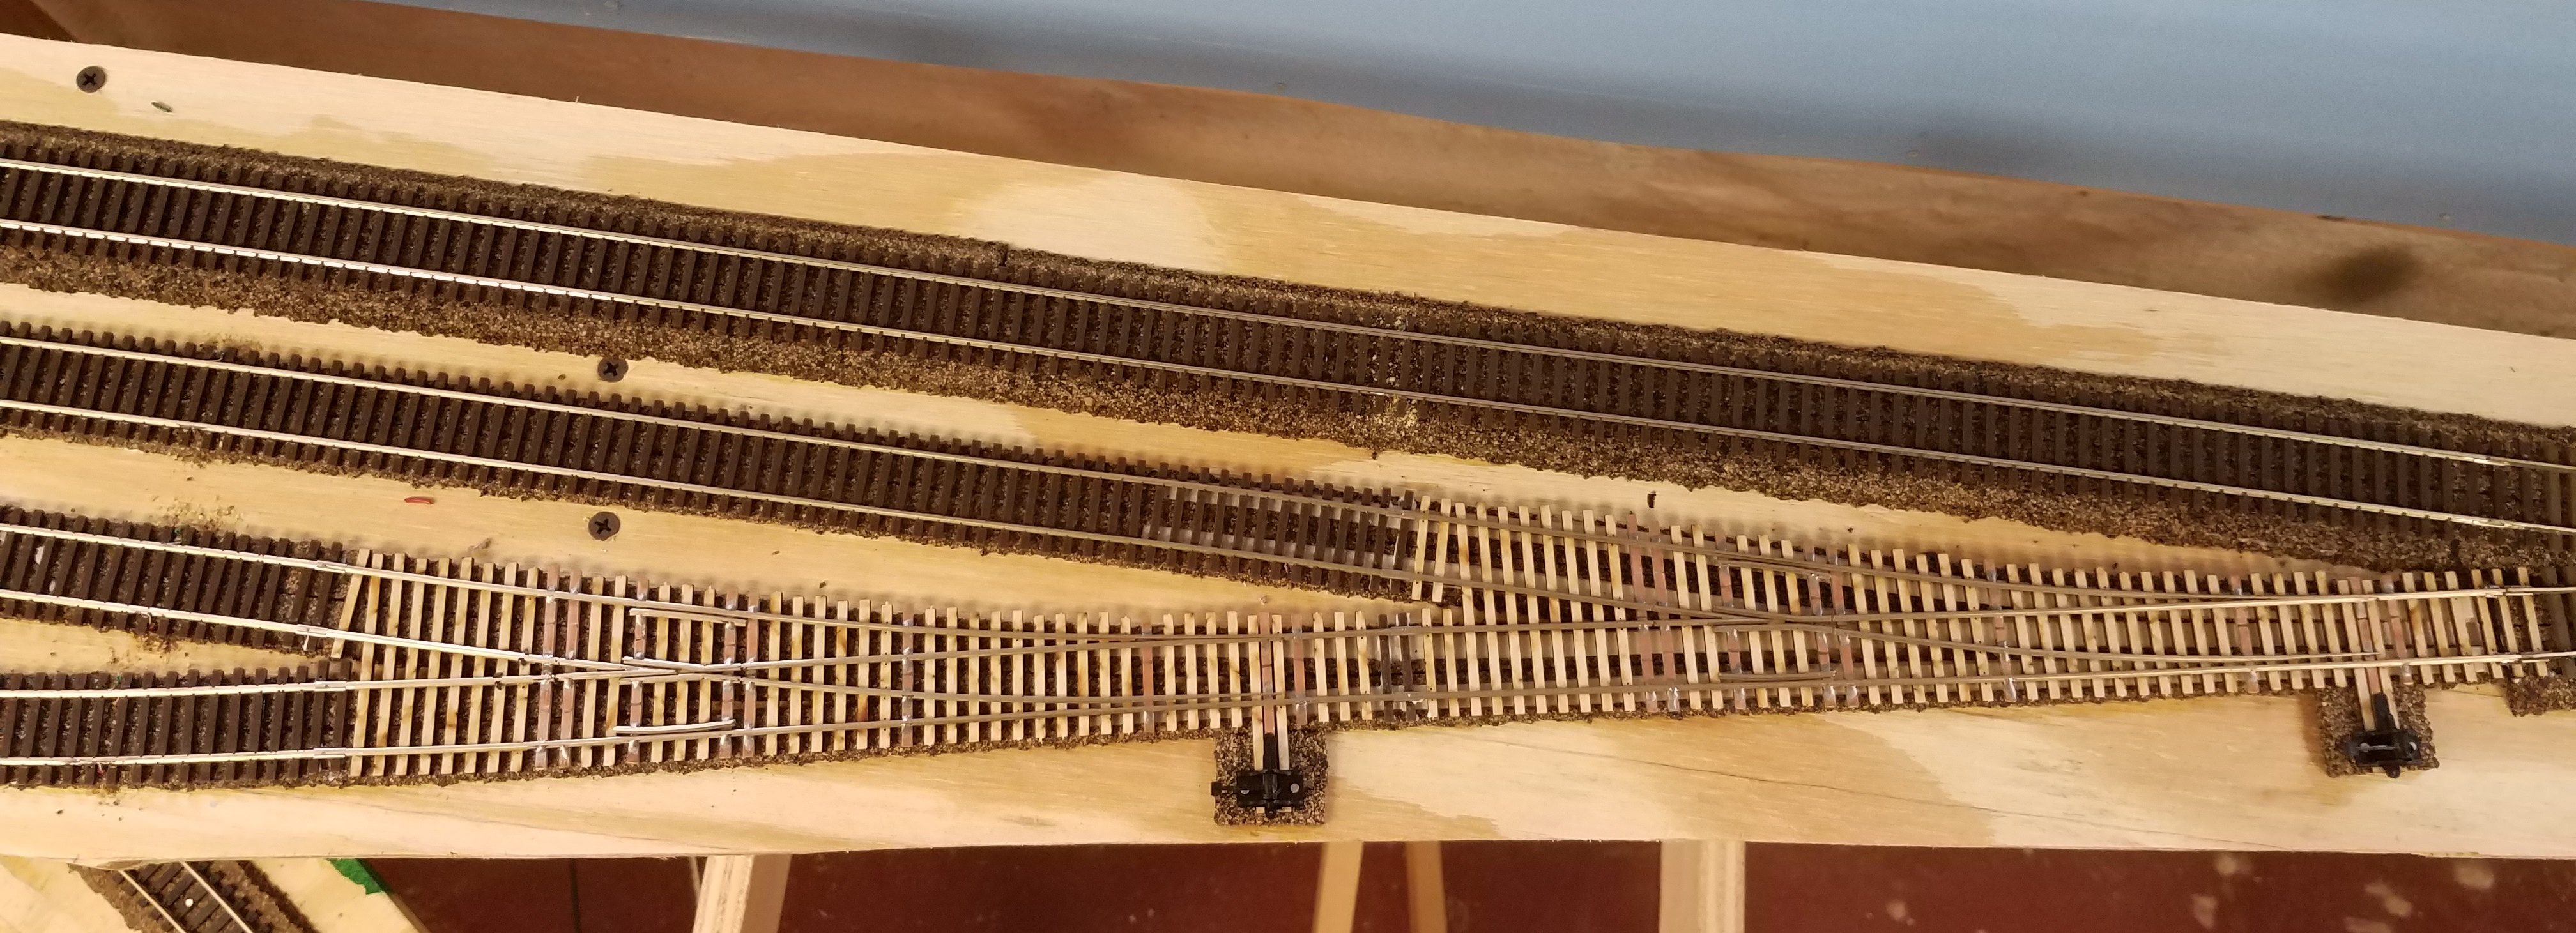
And from the other direction: Obviously the tracks will get longer at some point. But all track is now finished in the Orin throat area and Powder River, so as soon as missing ties are replaced and tracks are painted, scenery can commence in this area. I hope it turns out better than my efforts at the end of Casper yard did!
25 June
29 June
I've painted all the track outside of Casper.
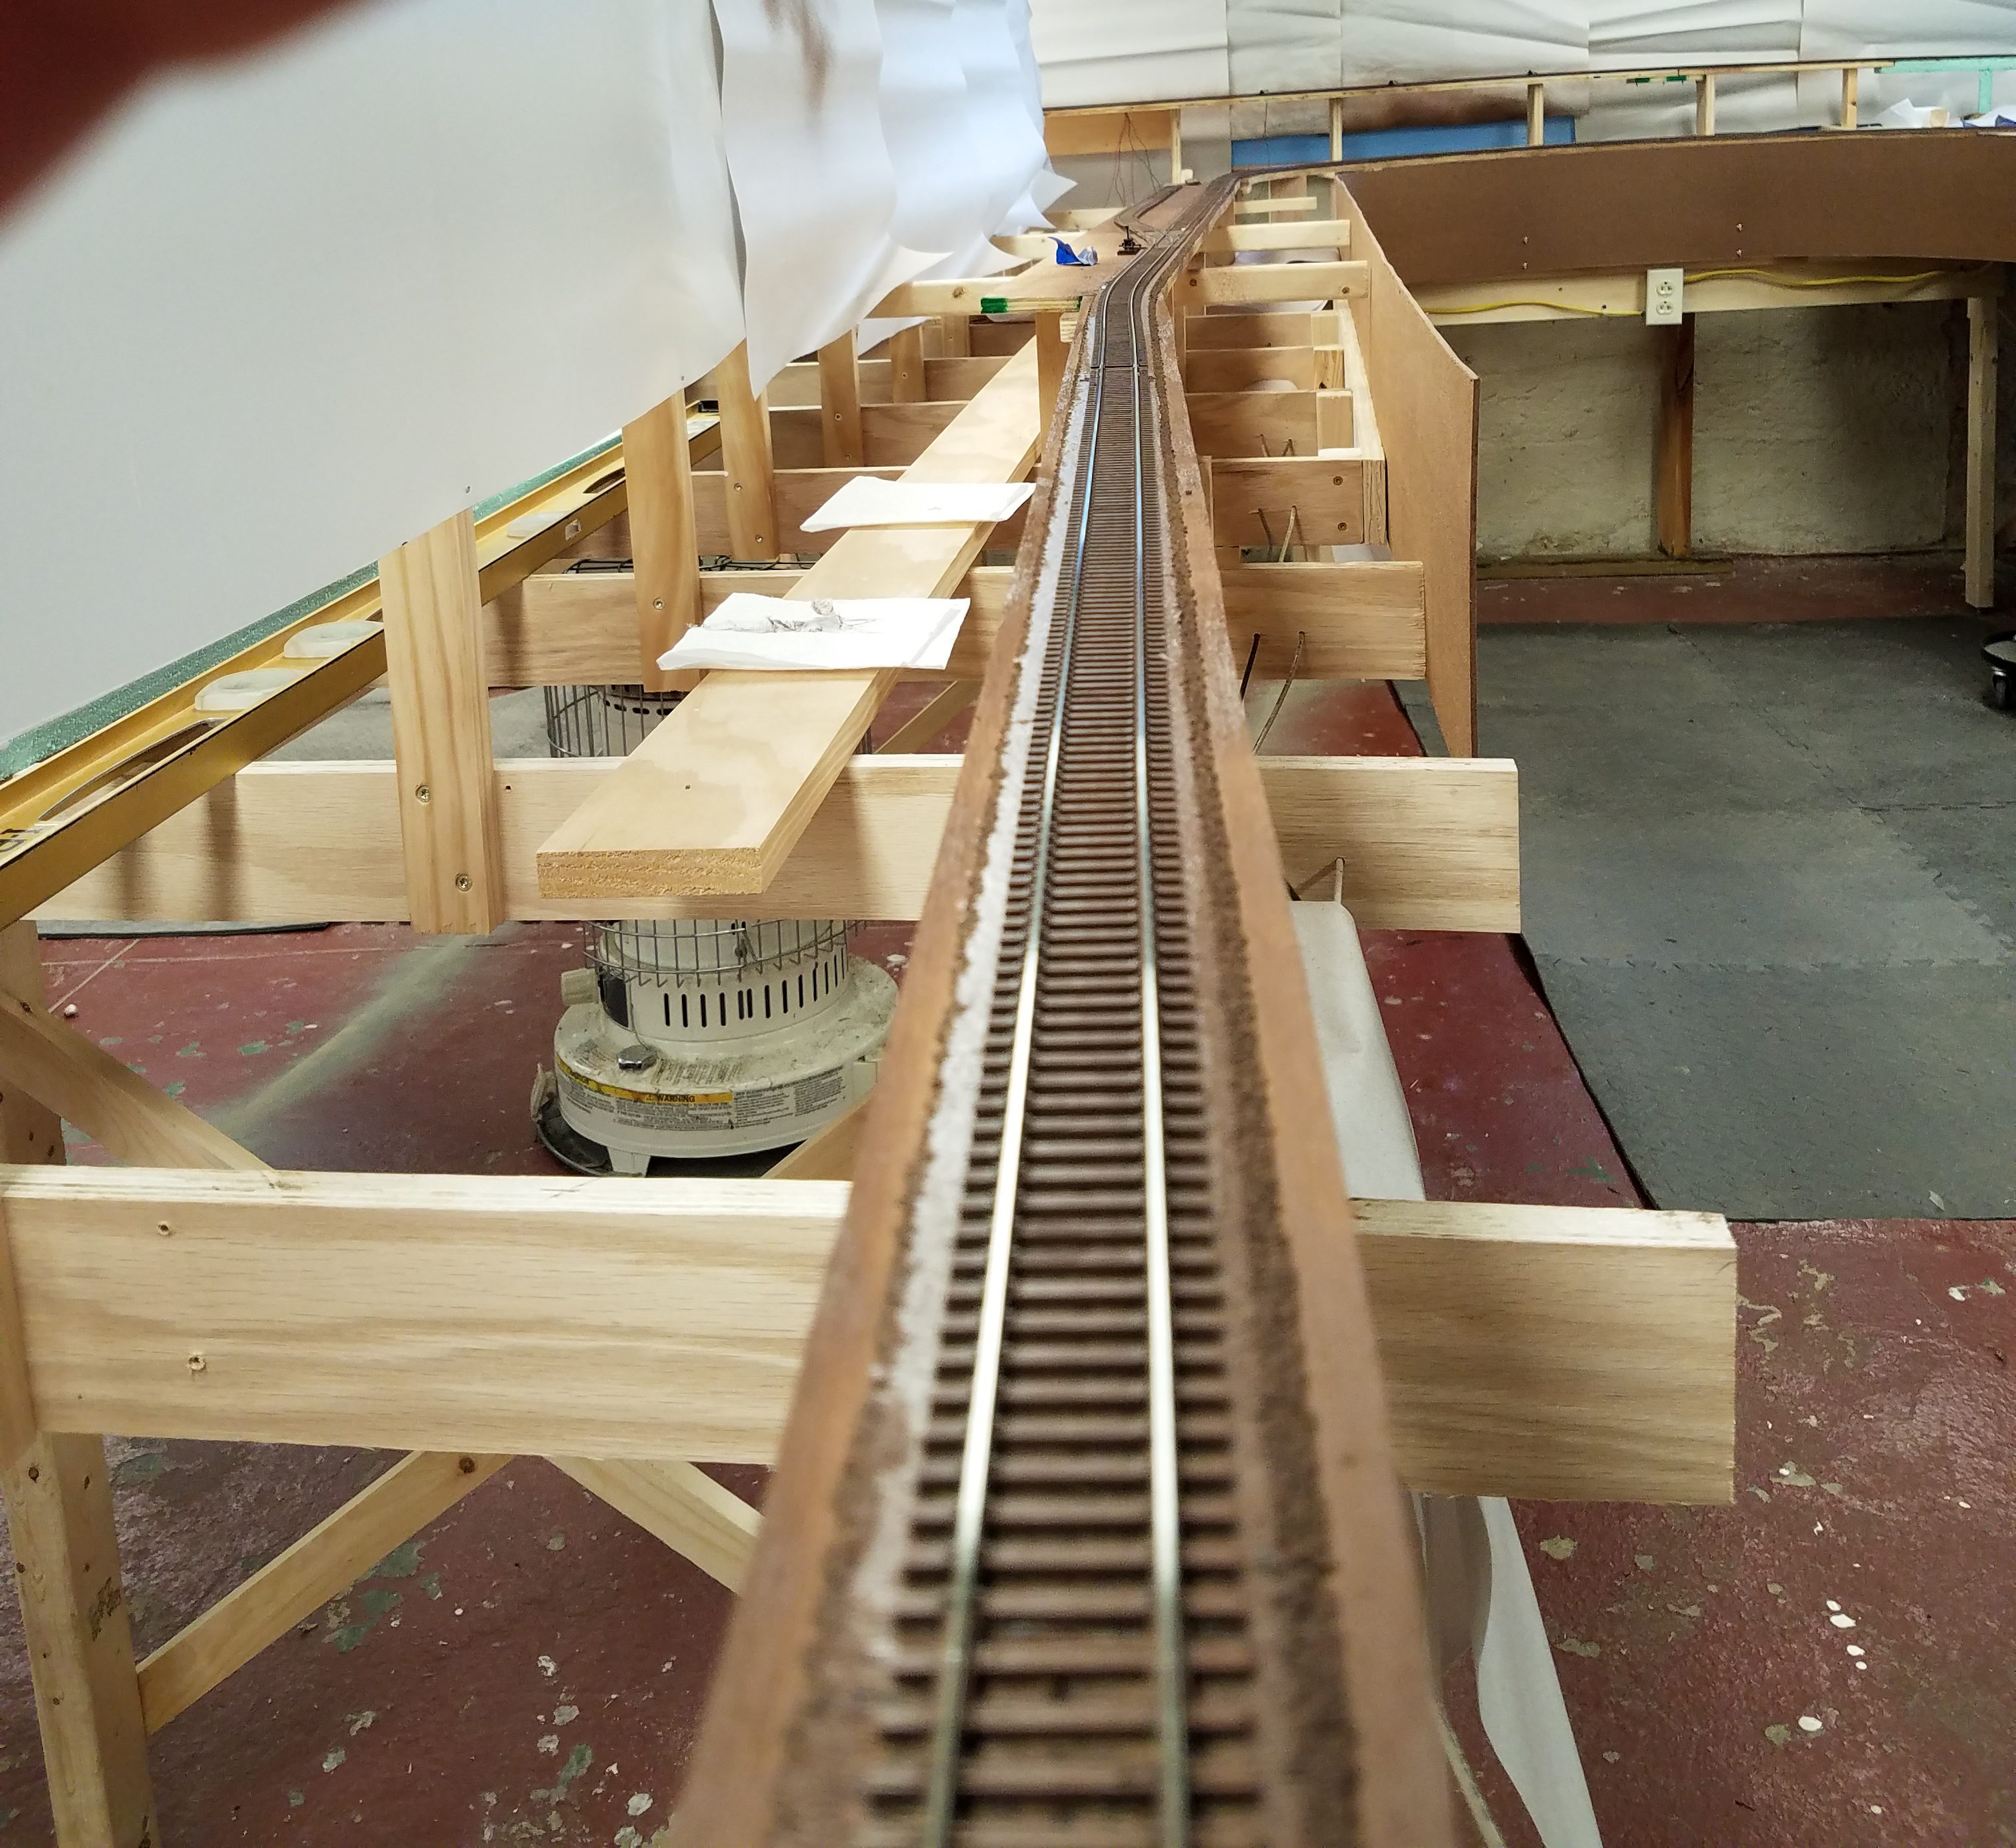
First I prepped the layout by hanging newsprint over the backdrop and putting painters tape over all the switchstands to protect from overspray. I also laid newsprint over the end of Casper yard. I spray painted the track with a Rustoleum brown. Before the paint hardened I cleaned the top of the rails, first with a paper towel wrapped around a 2X2 block, then with a brightboy to remove the more stubborn stuff. I painted all the track I've laid outside of Casper yard - all in all six switches and around 40 feet of track. It took about half an hour to clean off all the rail tops afterward - not much of a pain at all! Here's what it looked like before I removed all the newsprint:
After waiting about six hours for the paint to dry, I went back and ran my crankiest locomotive (from an electrical contact perspective) over all the newly painted track to make sure it was clean. It had no problems.
Finally, I placed several chunks of foam that will act as scenery base around Powder River and behind Orin:


