On the first I completed the CNW fence all the way up to the top of the peninsula:
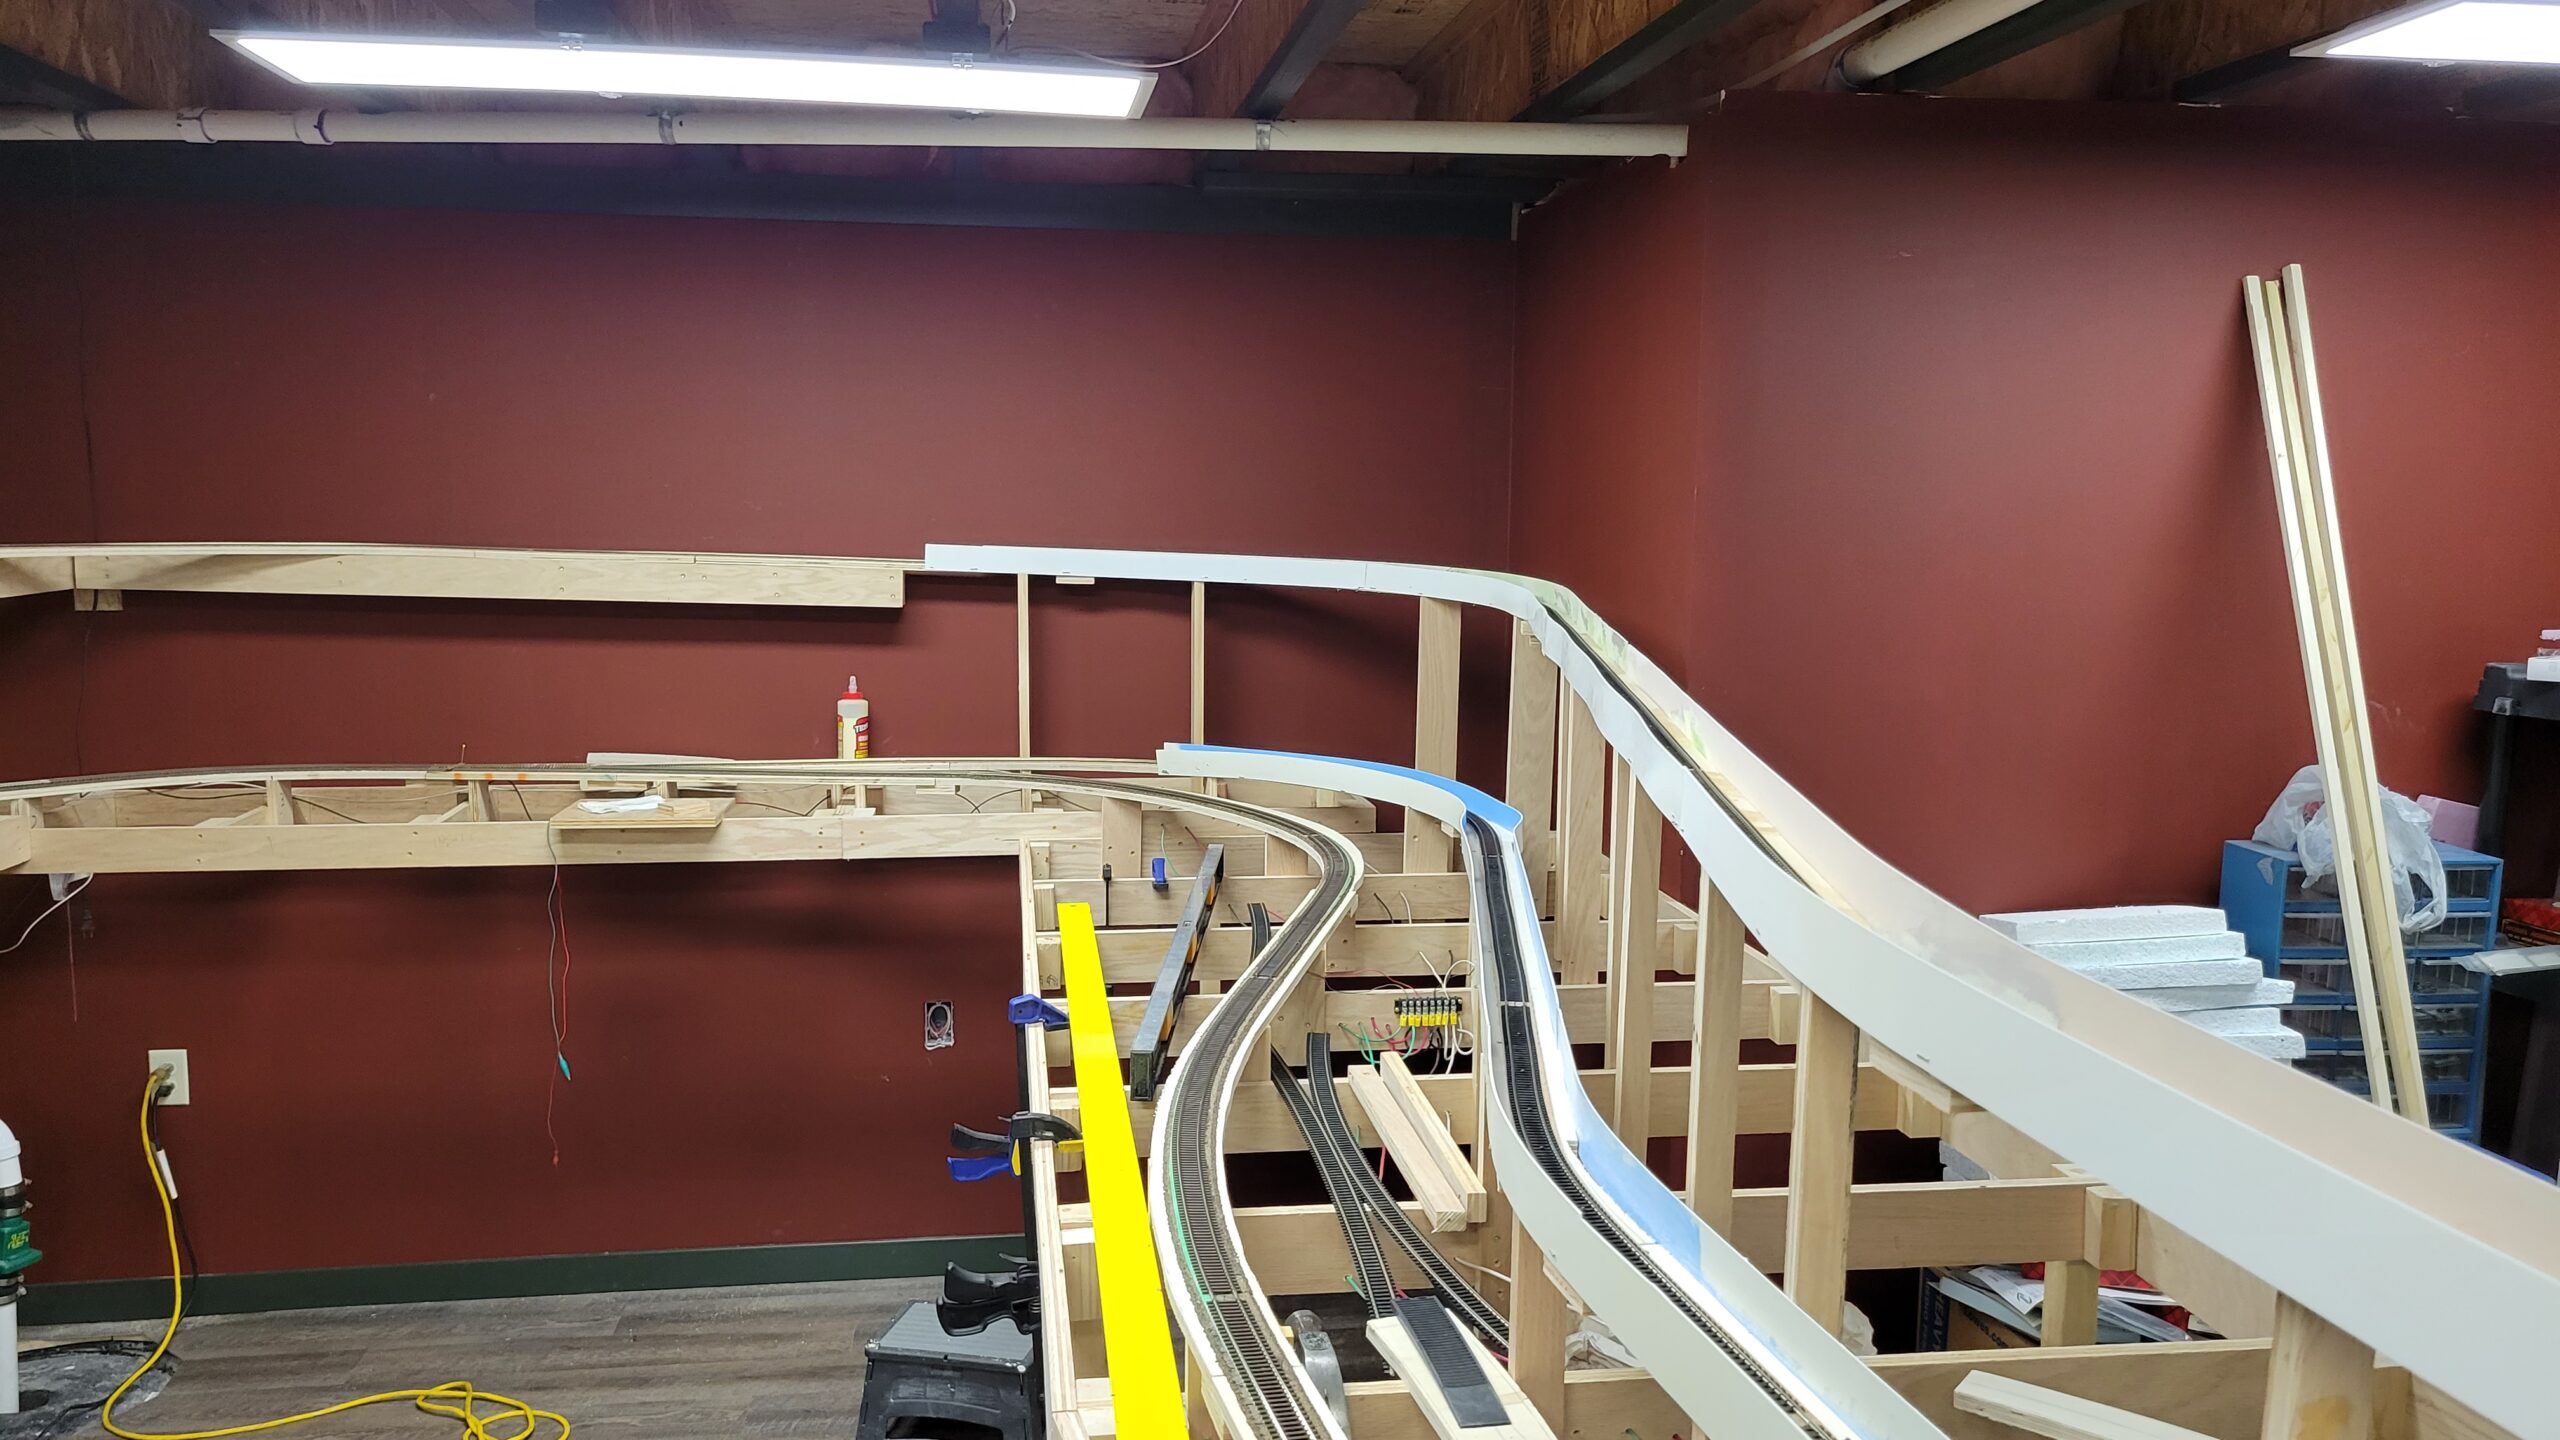
By the 5th I had the approach to Thermopolis worked out and subroadbed installed:

I also installed the permanent wiring for the CNW line at Riverton...

...and cleaned up Powder River.
 It looks a lot better without all that debris!
During the first few days of the new year I also took time to clean up and inventory all my flextrack. Here's the pile of Atlas code 100 track, mostly used, when I started:
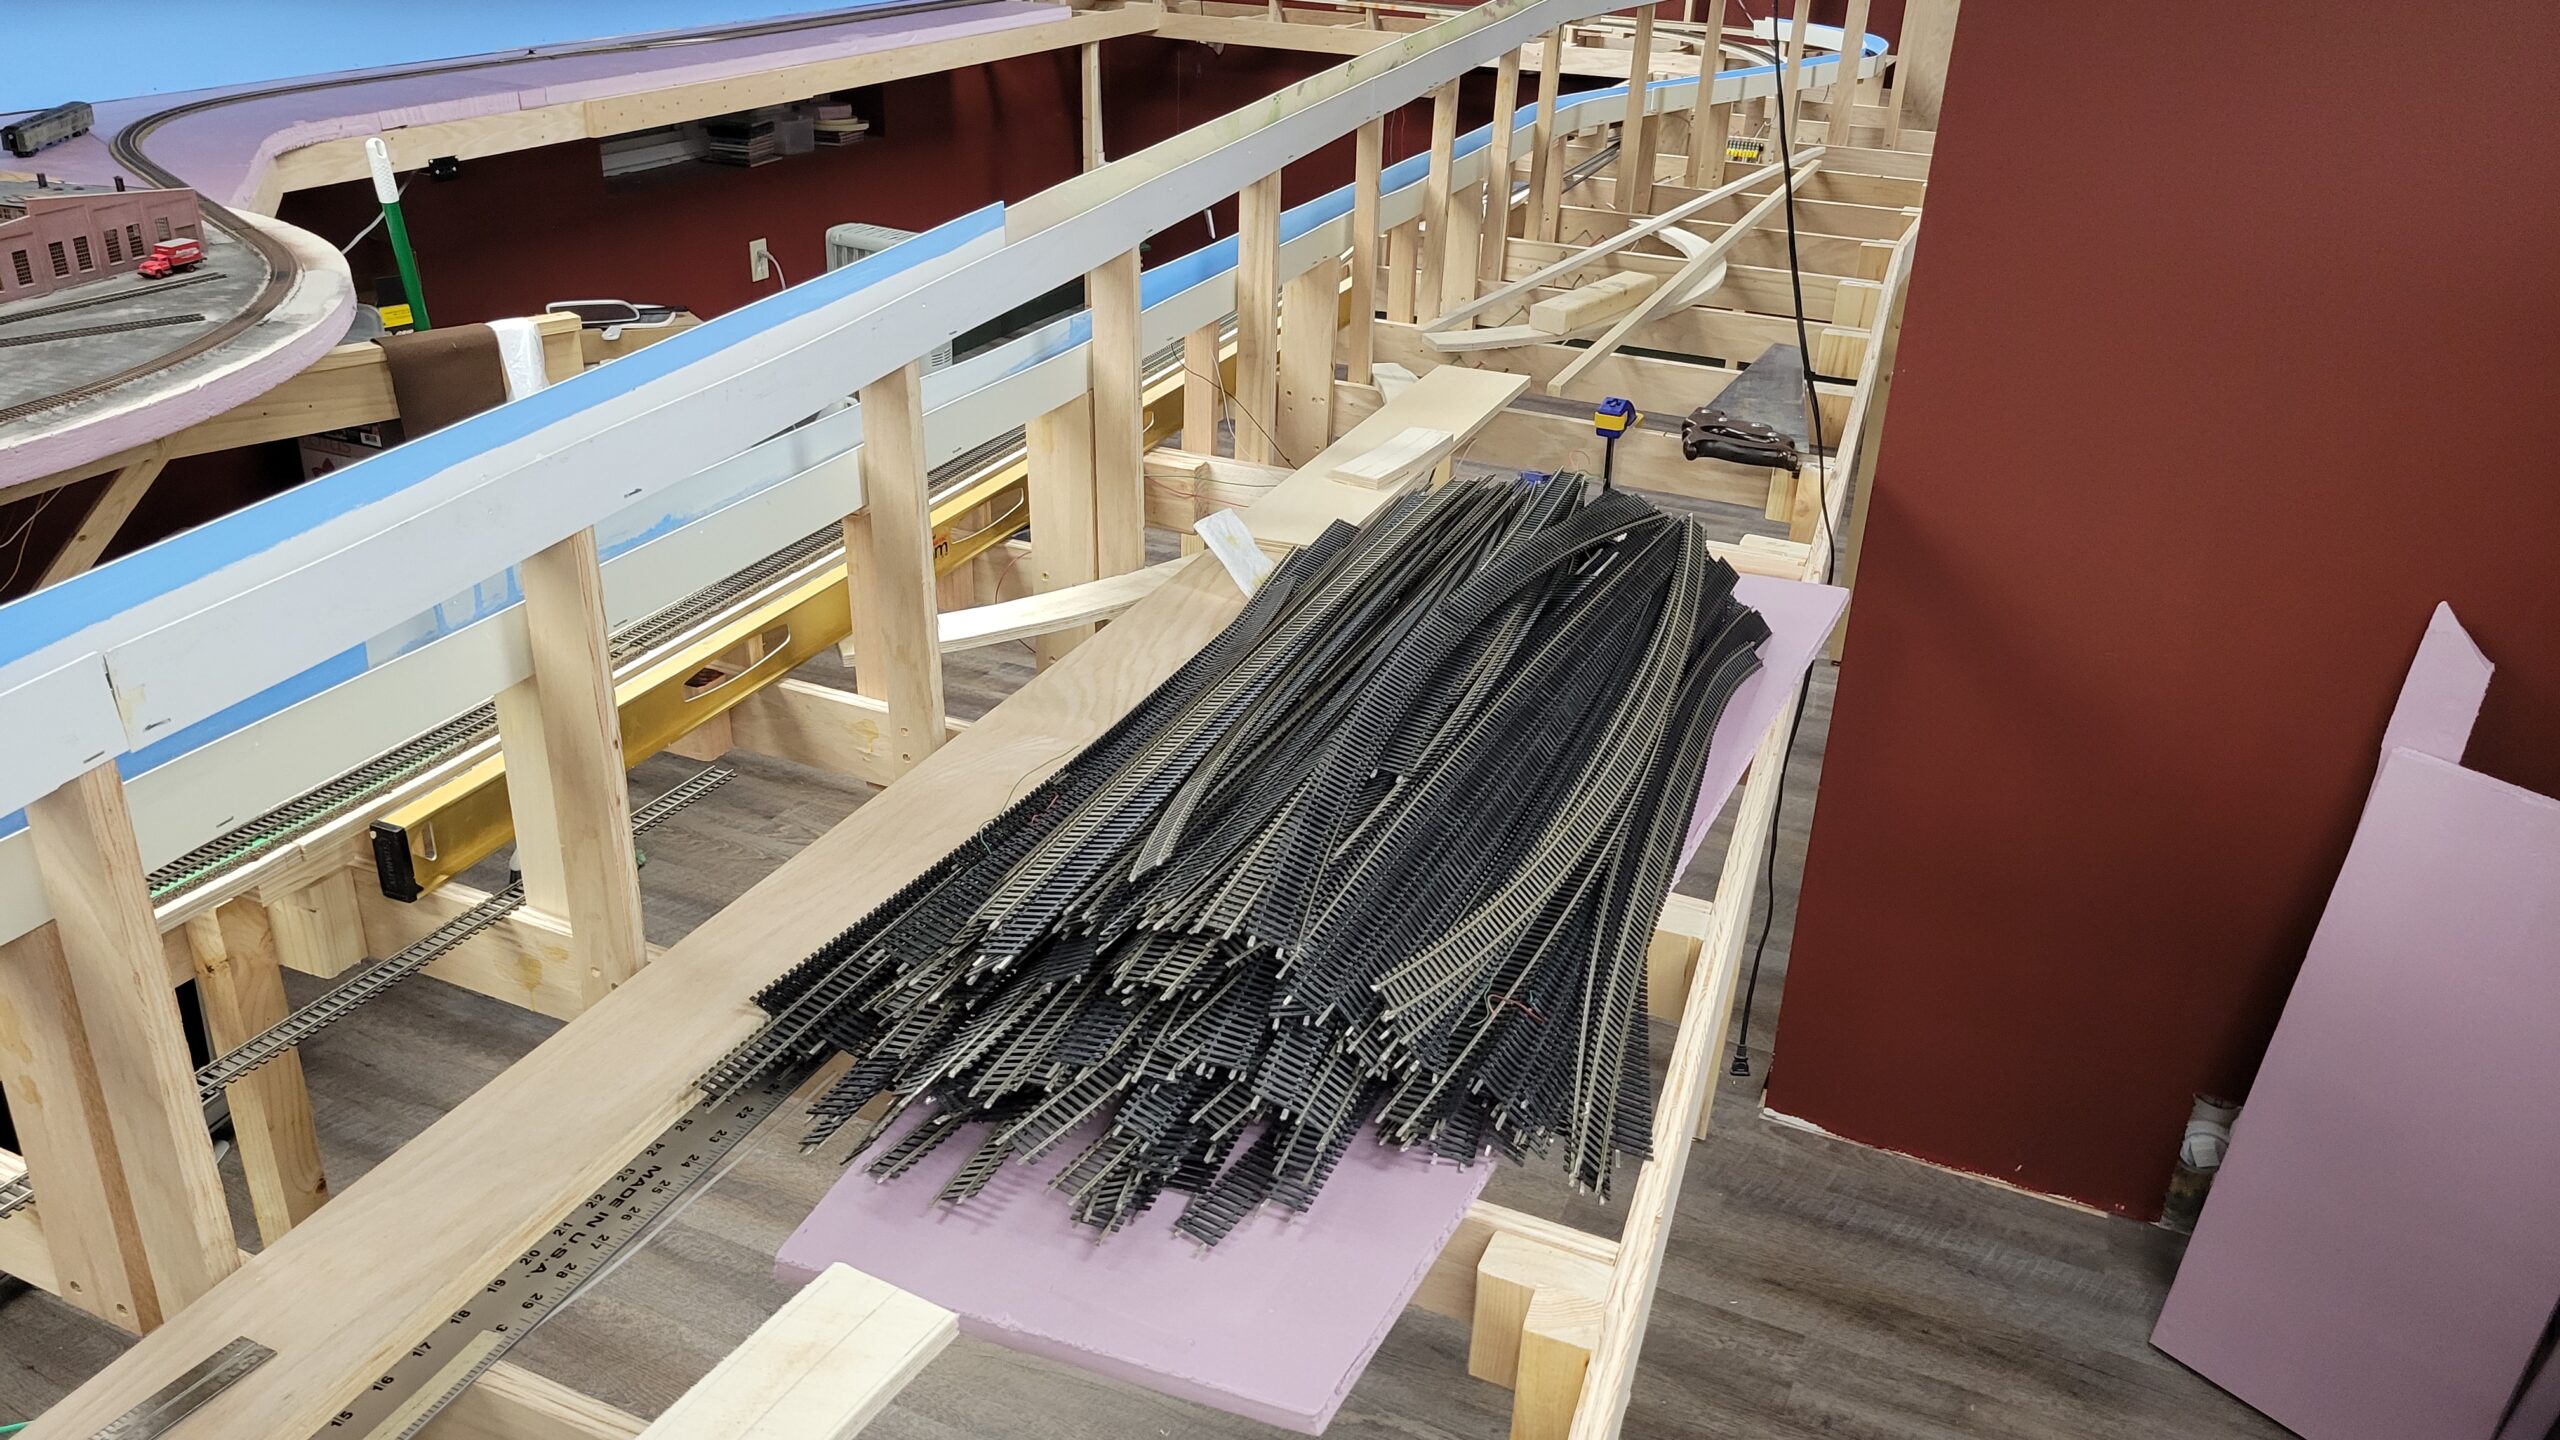
The curves in so many of the pieces are from soldered-on rail joiners where the track was in curves (mostly the giant helix) on Version 1 of the layout in New Jersey back in the first decade of this century. Most of it has not been used since. It has thousands of miles on it - New Jersey to South Carolina to New Jersey to Wyoming. I clipped off the rail joiners, which allowed the track to straighten out. This took hours to do, and my fingers were sore for a day or so afterward!
And here's all the track after I organized it.
Top to bottom shelf: ME Code 55 - just a few sticks; Peco code 70 - about half a scale mile, and a couple sticks of ME code 70 behind the Peco; Atlas code 83 - about 2 1/2 scale miles; and on the bottom shelf all that Atlas code 100 - around nine scale miles (that will be used for most hidden track on the layout, but I'm sure I have much more than I'll need)!

On January 6th I laid the roadbed on the approach to Thermopolis:

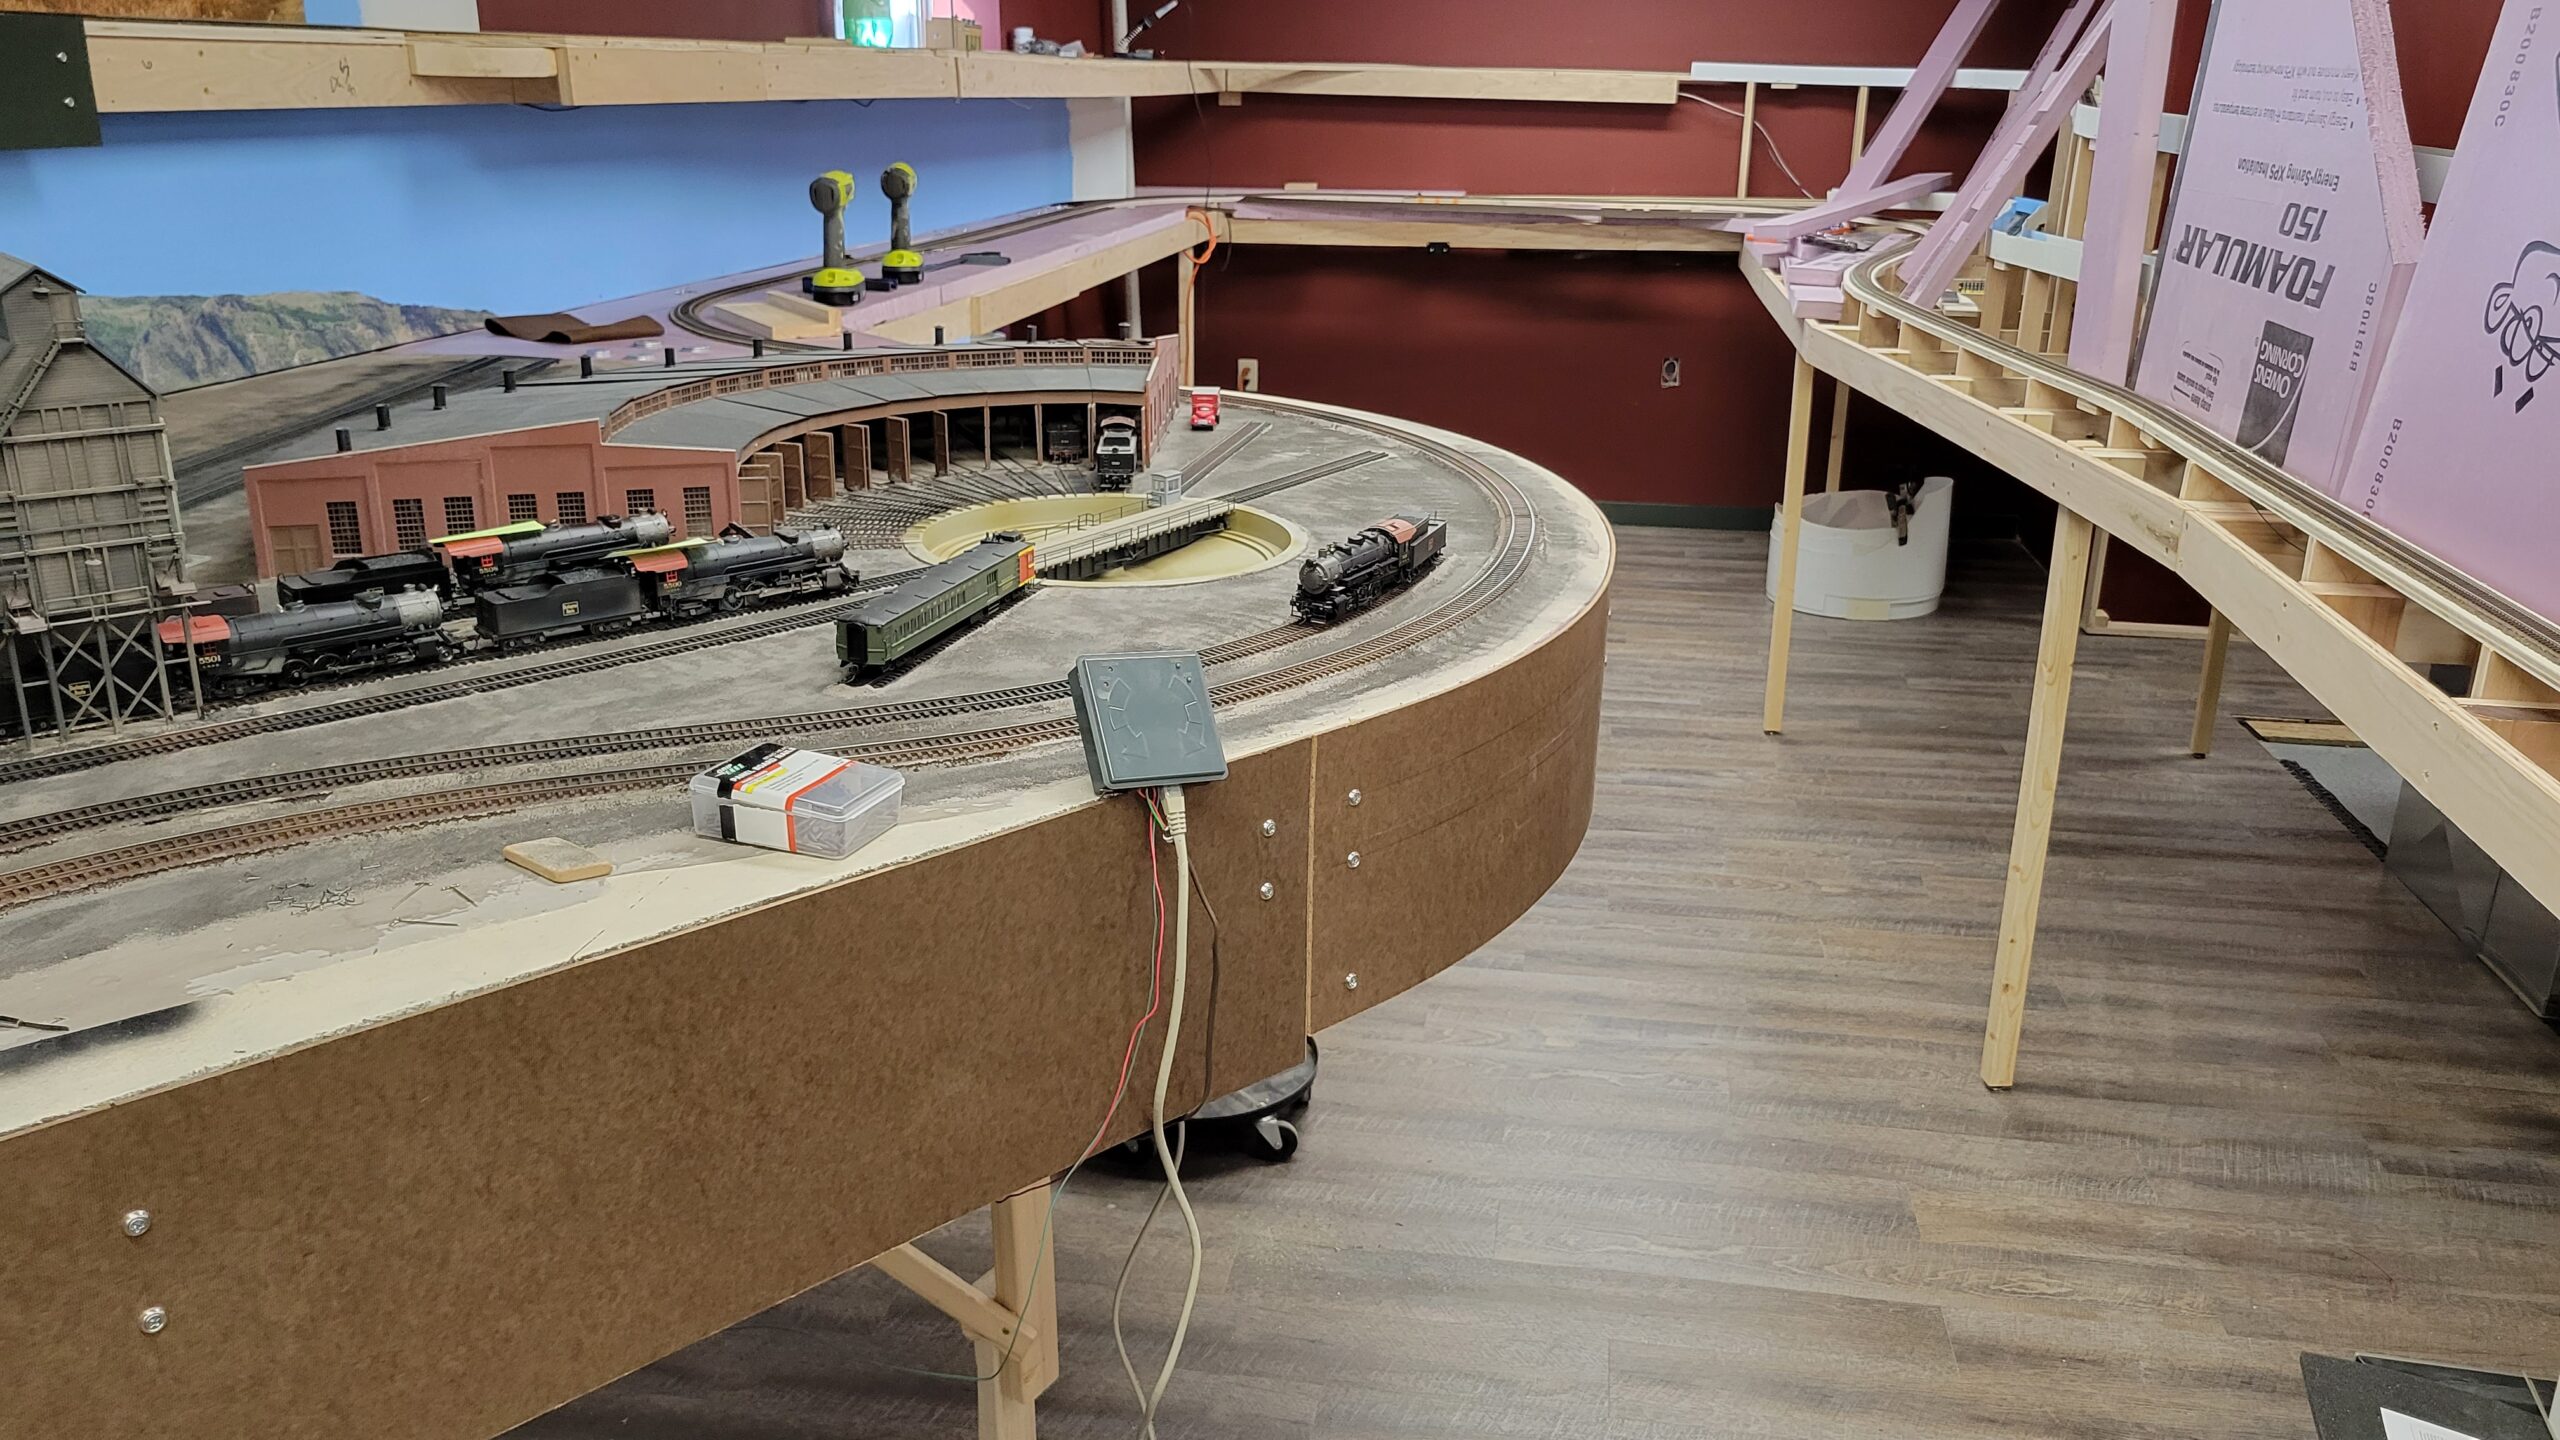
And on the 10th I laid track on the big turnback curve into Thermopolis.

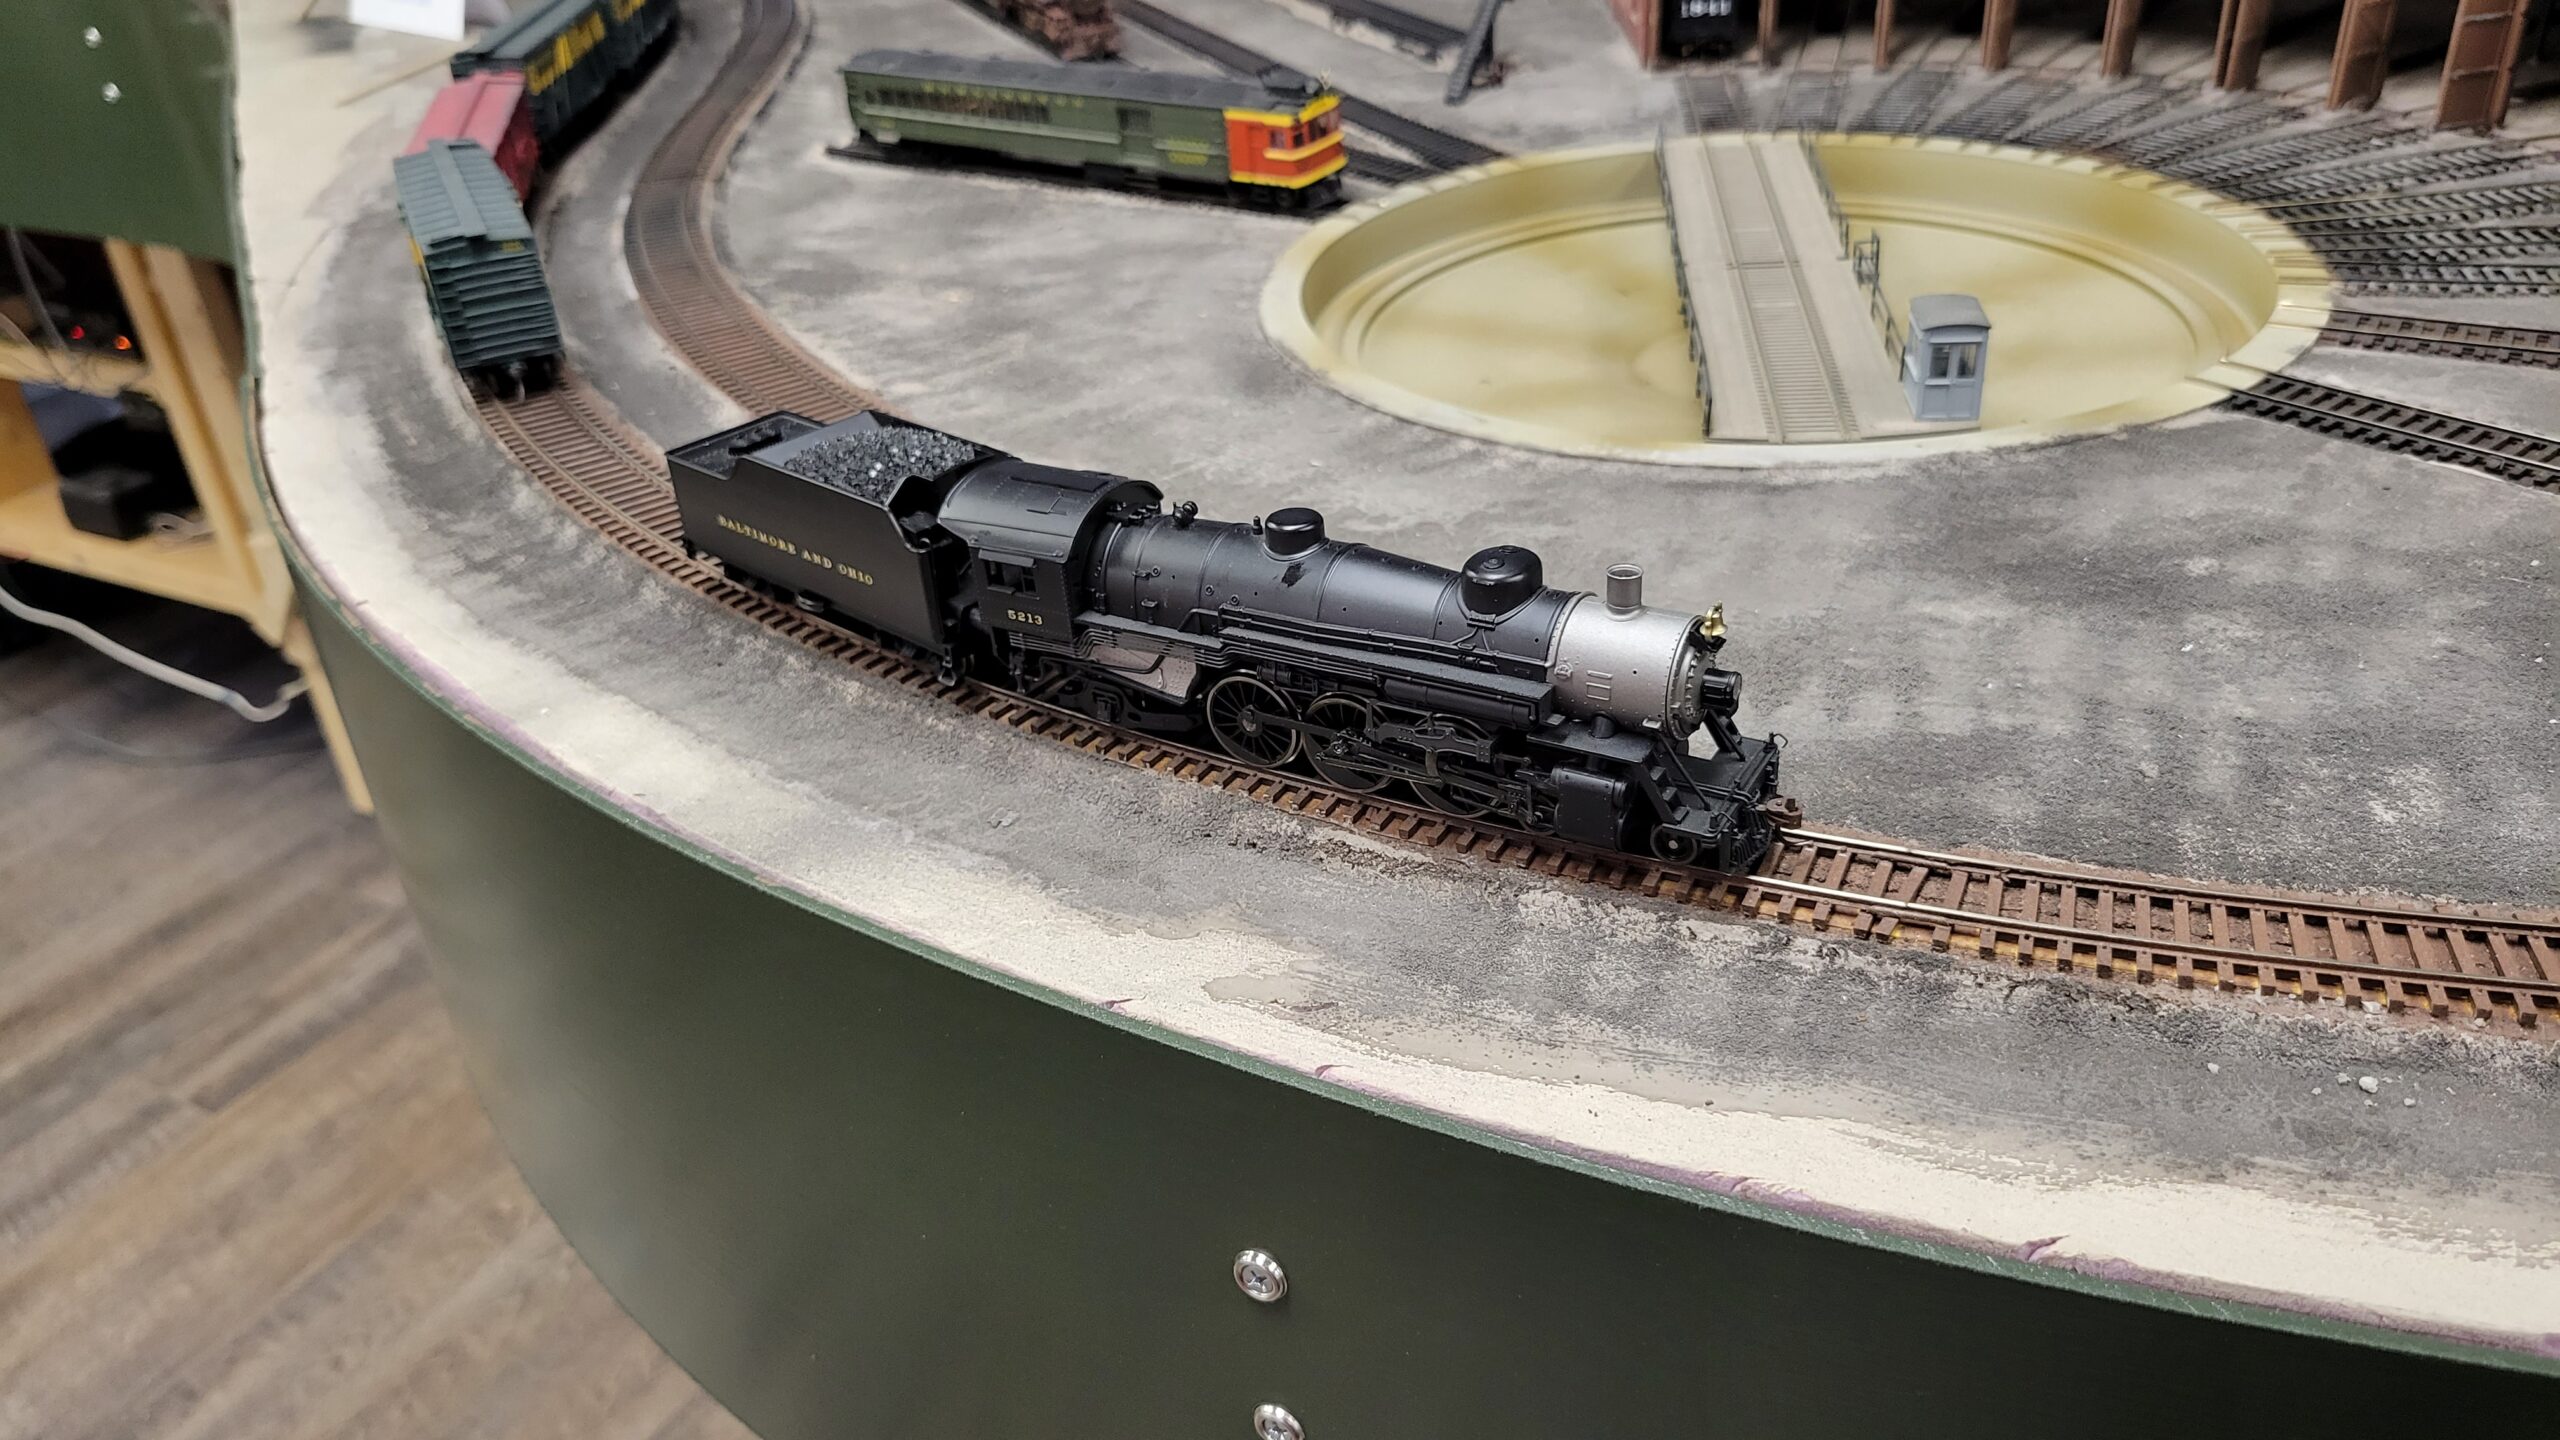
Of course I had to test the new trackwork. Here's my 2-10-2 on the new superelevated curve:

And here's a slightly wider shot sowing some of the train in tow behind. The curve seems smooth.

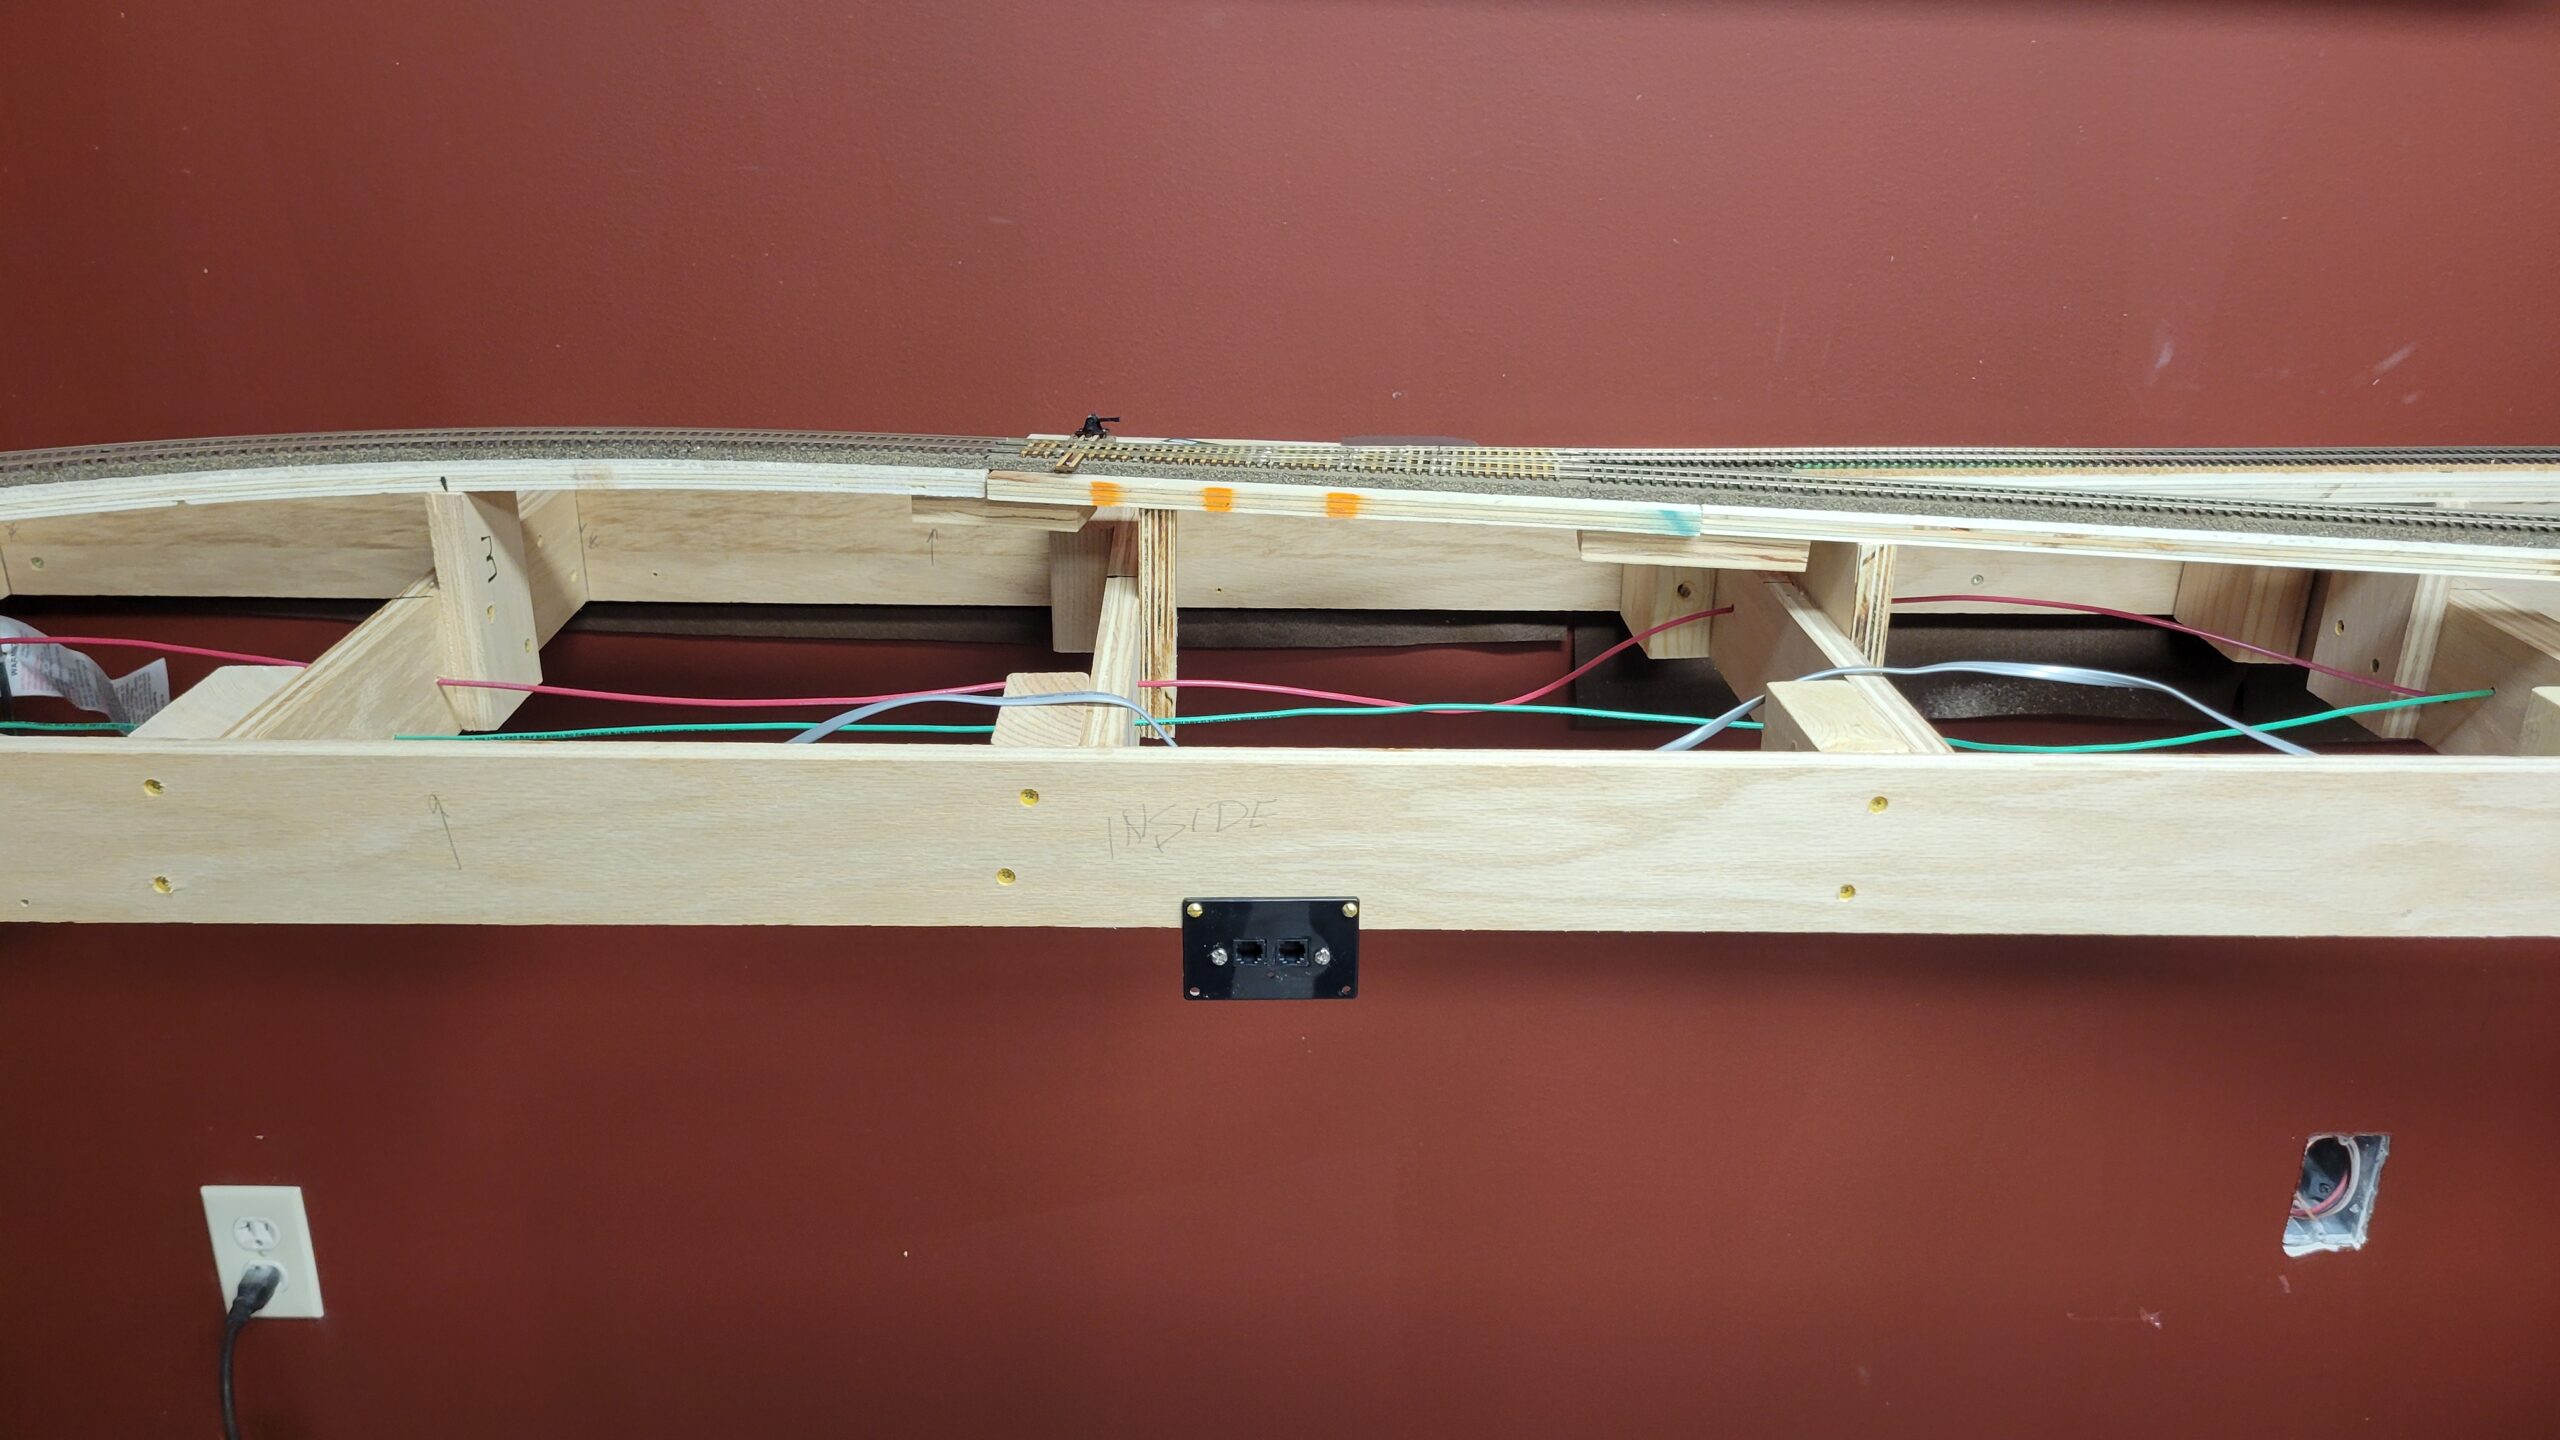
I installed two new throttle ports temporarily on the benchwork, one at Shobon, below, and the other at Thermopolis. Later they'll be moved to the fascia.
About that same time I ordered six-conductor flat cable to fabricate my own throttle wires. I got tired of a lot of extra wire I had to keep neat from the cables I bought at train shows.
I looked all over Casper for the wire, and no one had it. Everything is eight conductor now. So I ordered 250 feet of wire from Digikey, which should keep me going for quite some time.
It arrived a few days later, and on the 17th I made and installed some throttle wires. I stuck the wire spool on a clamp and threaded the wire through the benchwork.
 Sure is nice to not have a bunch of excess wire length the deal with! I'll go back and re-wire everything else in the next week or two.
Tuesday I took a day and drove to Basin, Wyoming, about 3 1/2 hours away, to visit a model railroader I met through my YouTube channel. Dave lives just south of town, and we had a great visit.
He showed me his layout and we ran a local freight. I was very impressed! The layout ran flawlessly. No stalling, derailments or anything else he had to make excuses for. Here's one shot of the big, scratchbuilt Firestone tire factory on his layout.
Here's an overall shot of the layout, minus the yards behind the camera:

Back to my own layout, On Wednesday the 19th the winds were pretty calm, so I picked up a sheet of 1/2" 4X8 plywood. Almost $60! Prices of lumber is outrageous!
But I got it home, and Thursday I cut it into two pieces for Thermopolis' subroadbed. Here it is just laid in place:

Over the next couple of days, in between building turnouts for Thermopolis, I installed risers and mounted the subroadbed.
Here's the risers in process:
Here all the risers are installed and ready for the subroadbed (one sheet of which is standing on edge in this shot).

Of course nothing goes completely smooth. It turns out one of the risers was right under the splice between sheets of subroadbed.

So I just removed that riser and turned it into the splice plate between the two sheets of plywood. If that area needs support underneath (I don't think it will) it will be a simple matter to add a riser from underneath later.
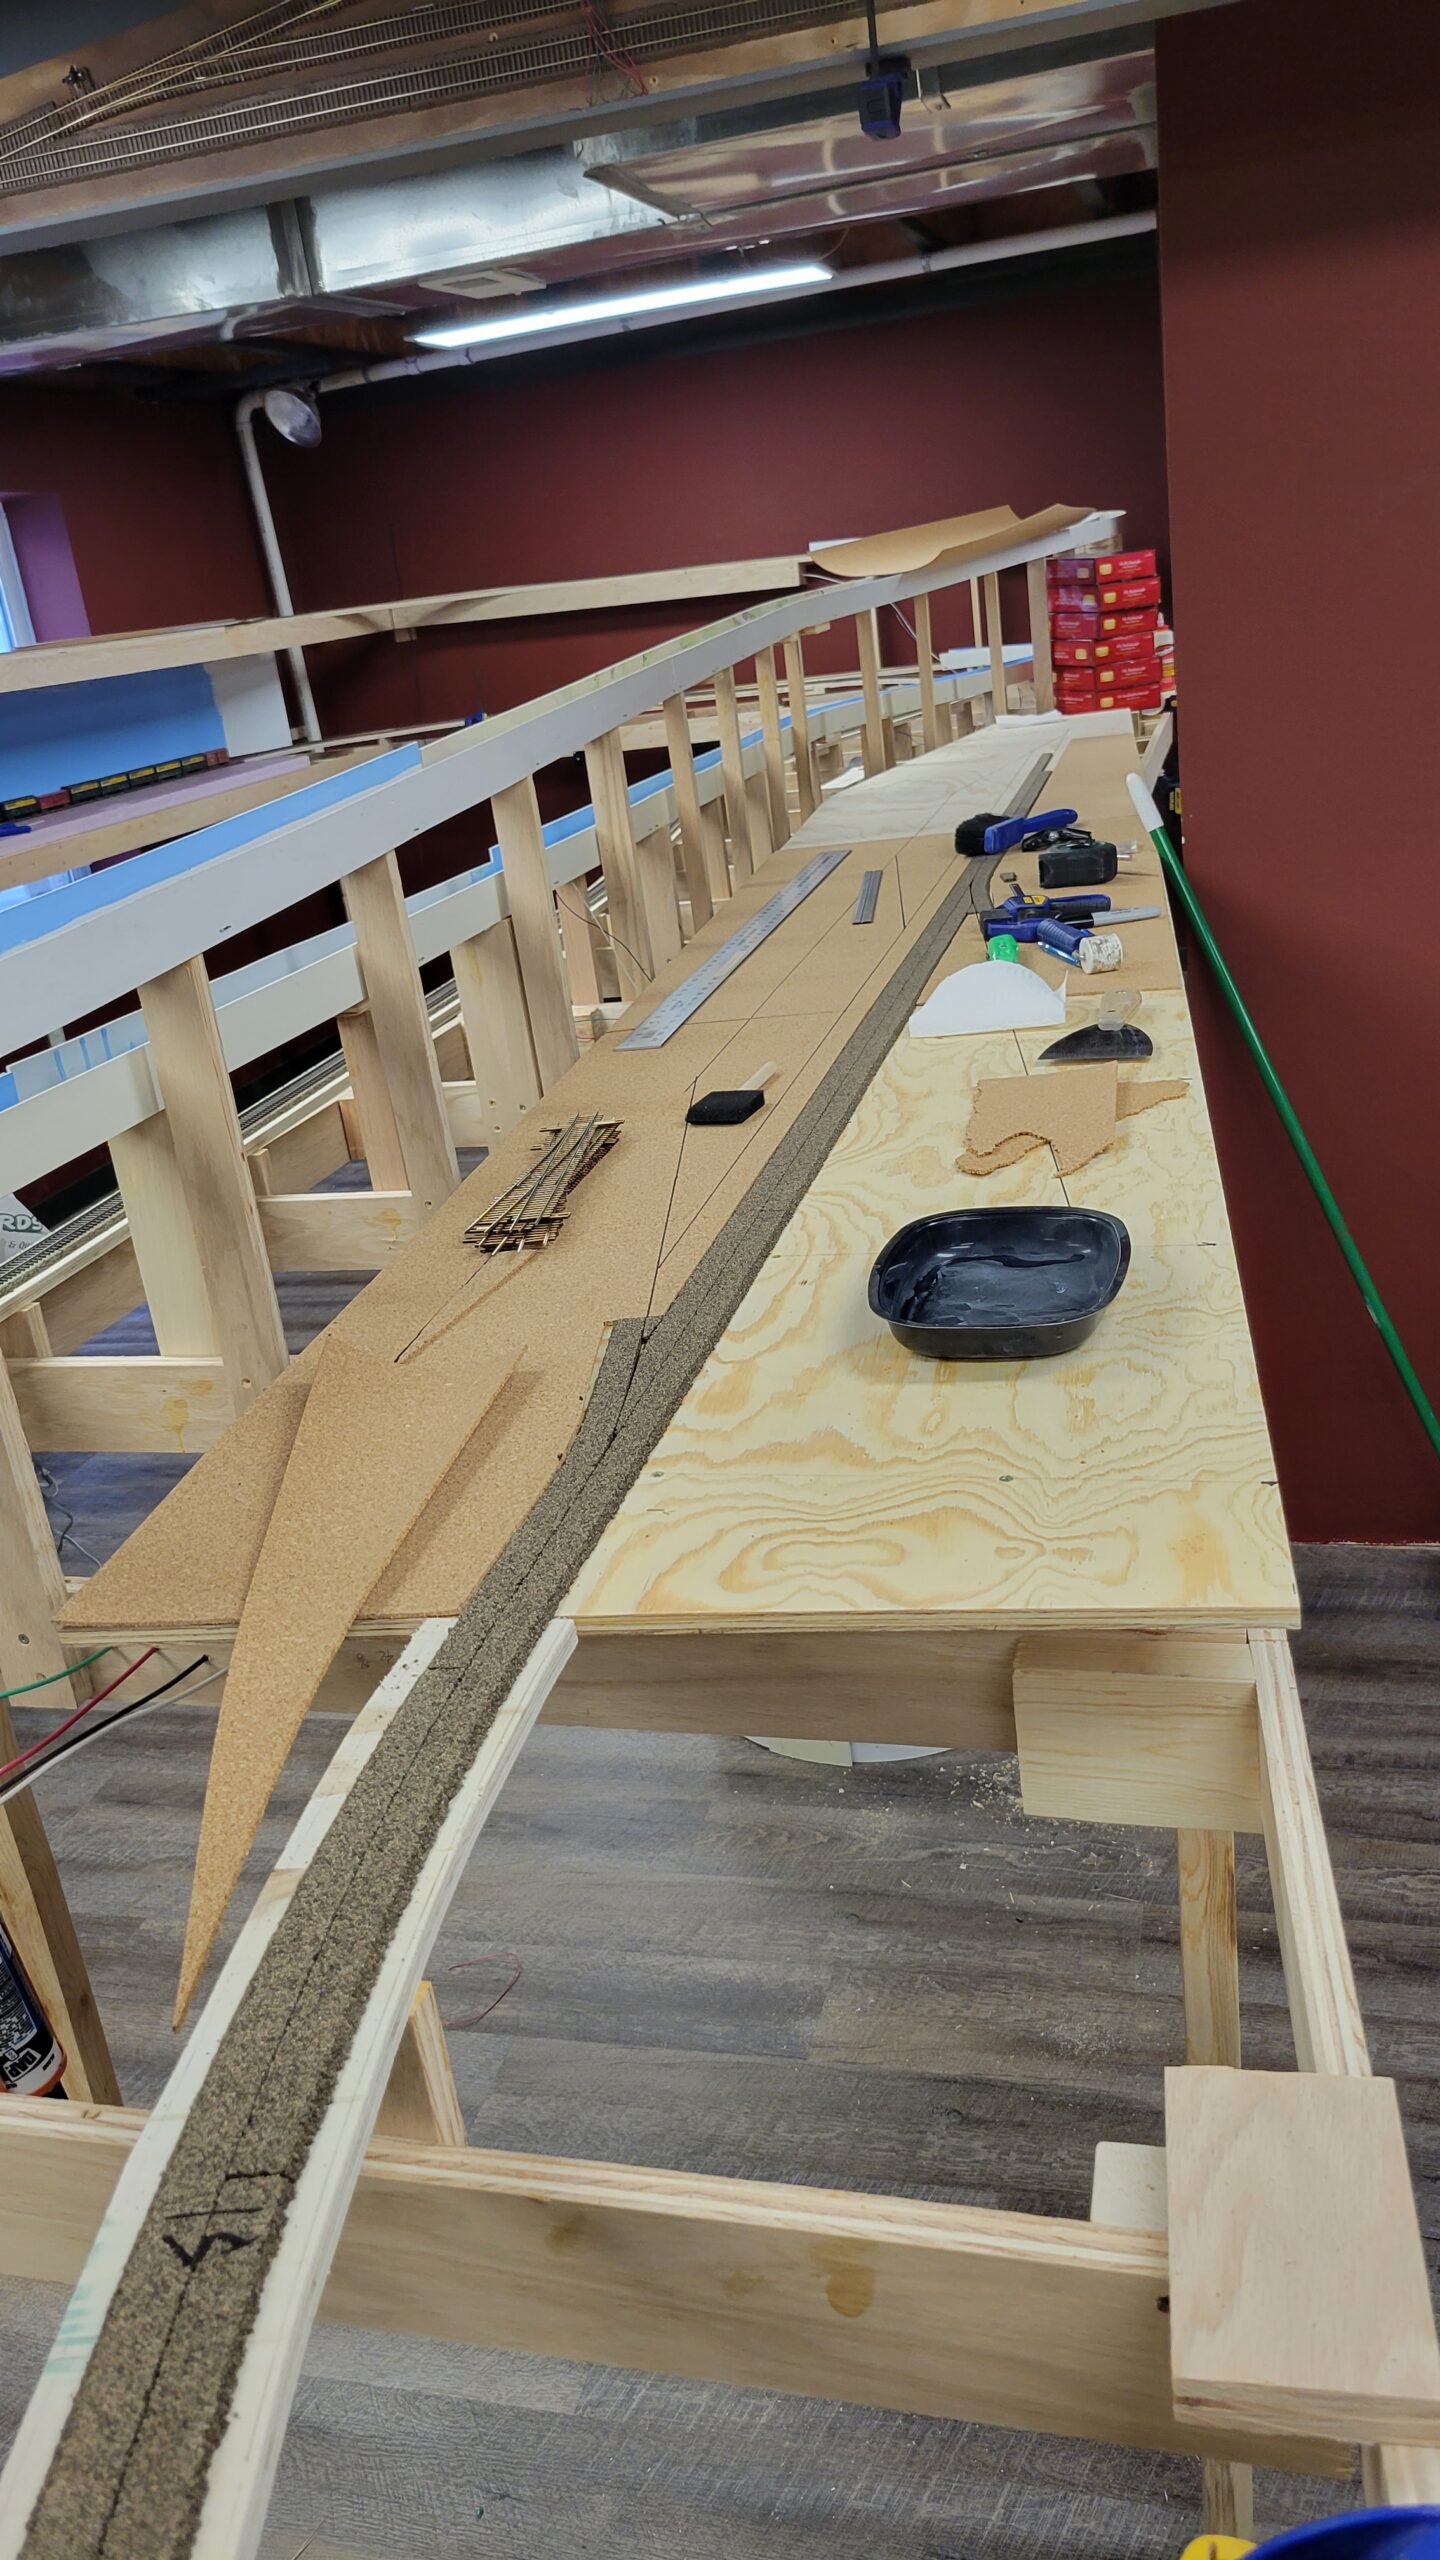
On the evening of the 22nd I attached the Thermopolis subroadbed. Ready for roadbed and track now!

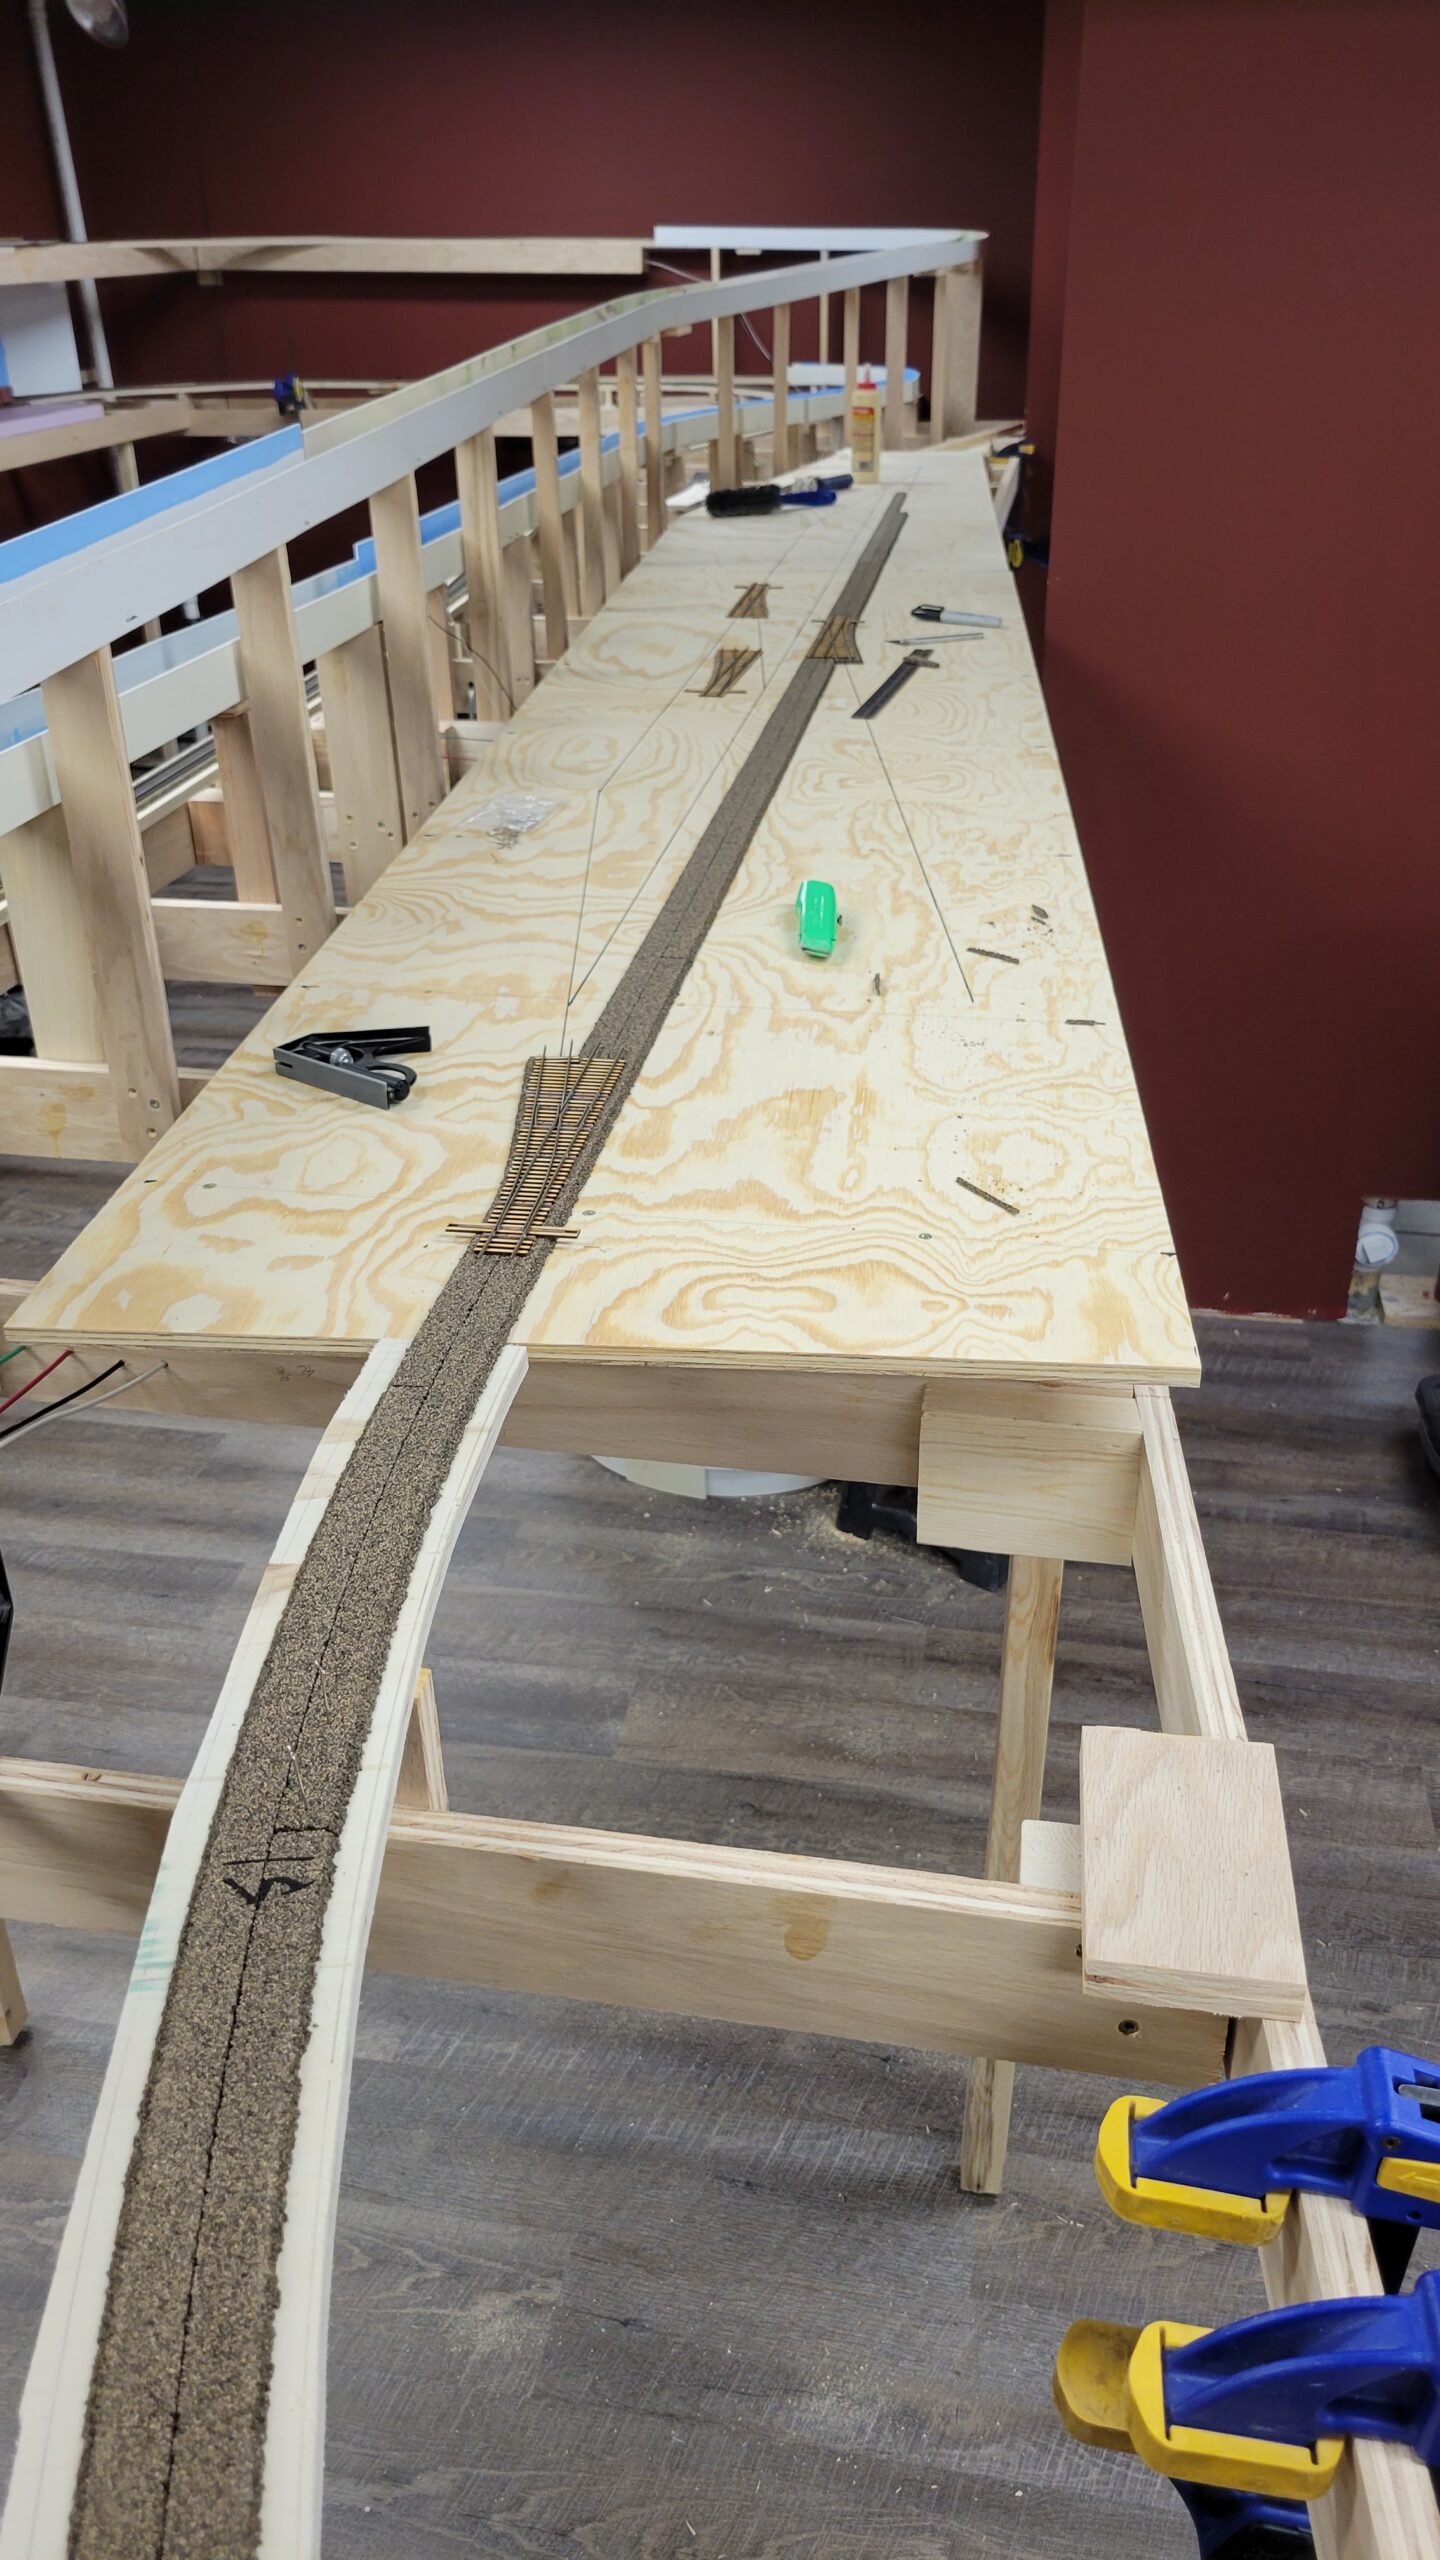
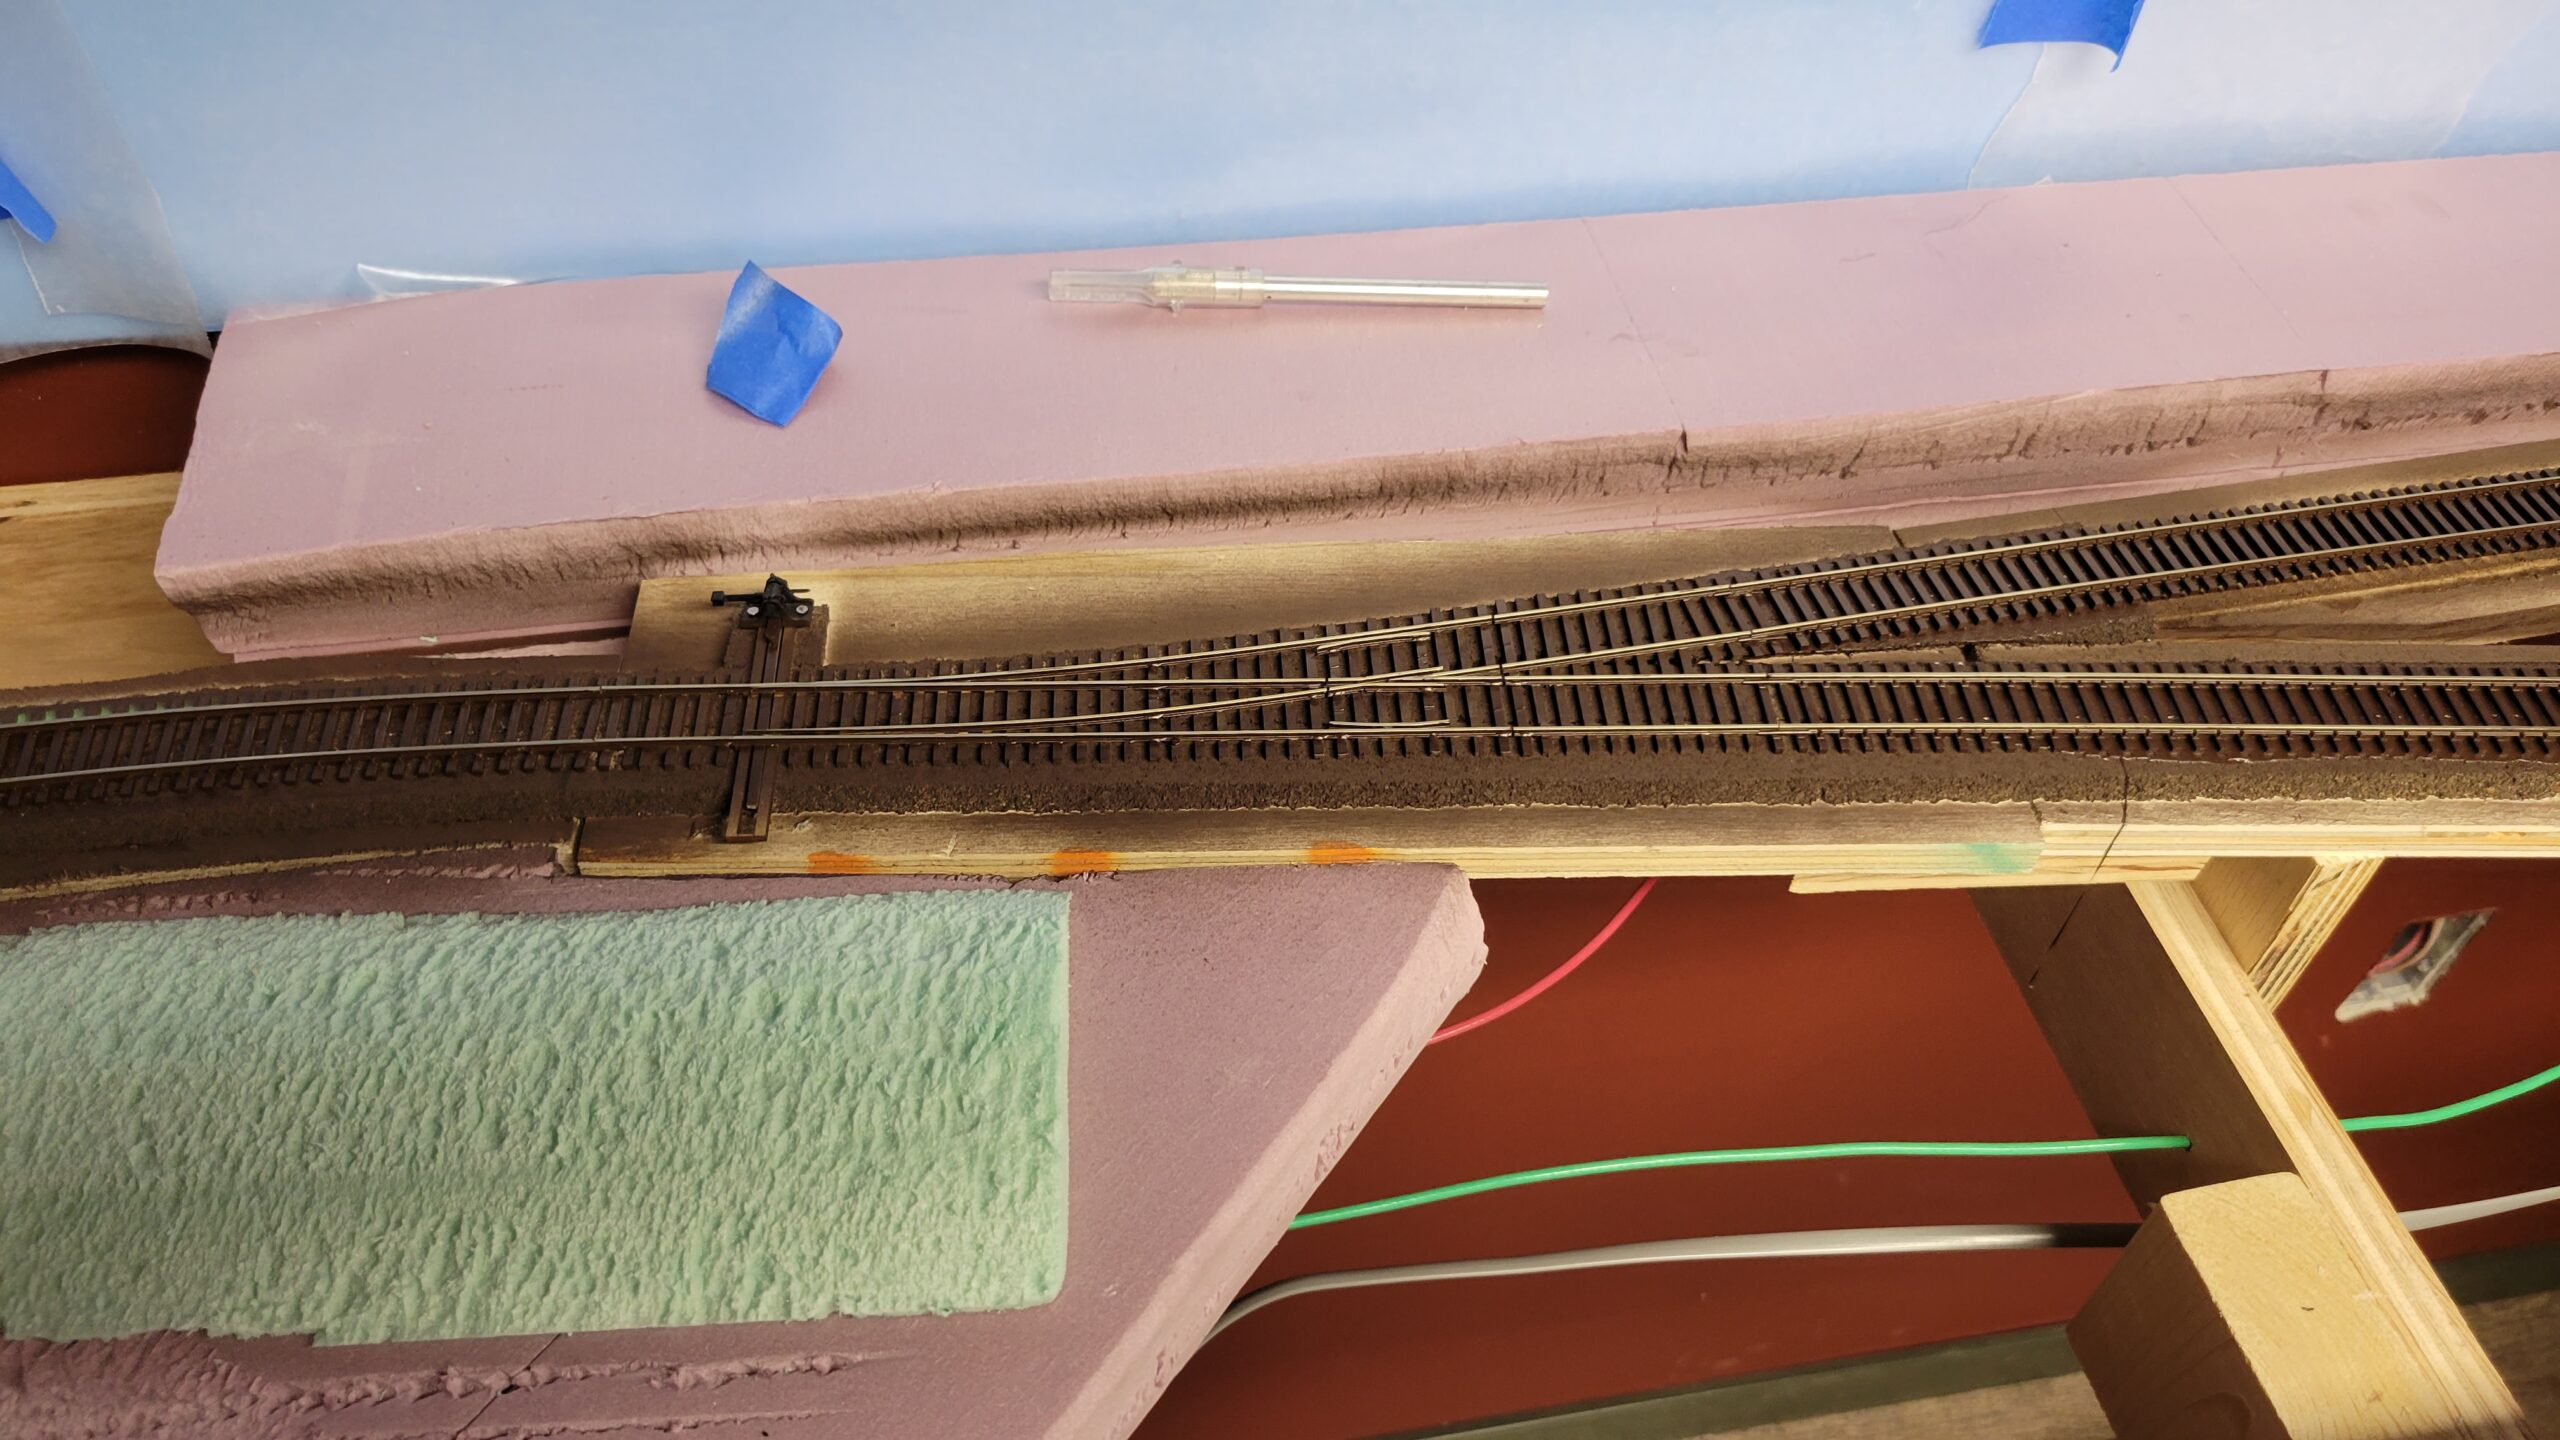
Today I laid out the Thermopolis track arrangement. I set the turnouts I've been building into place to help verify the layout. I'm still two turnouts short.

Finally, I began installing the mainline cork roadbed. The plywood to either side will be covered with cork sheet to act as the base for structures and roadbed for all the secondary tracks.
I've continued progressing on Thermopolis, but not without a small bump in the road.
On the 25th I cut sheets of cork to go over the plywood subroadbed, and glued the first piece down with diluted yellow glue.

Unfortunately I over-diluted the yellow glue and the cork did not stick to the plywood very well, meaning I had to tear it back up.

The issue was obvious, so I switched to using full-strength glue. Everything went fine after that. Here's a shot with a couple sections of cork glued down.
Here's the back side of one of the sheets of cork with the glue spread over the entire surface. Spreading the glue was a bit of a pain since it's so viscous, but it worked out fine.

And here's all the cork sheets installed (except at the far end, where I still need to work out the curve at the wall). I also laid out track sections to get a sense of what I'd need to complete the trackage.
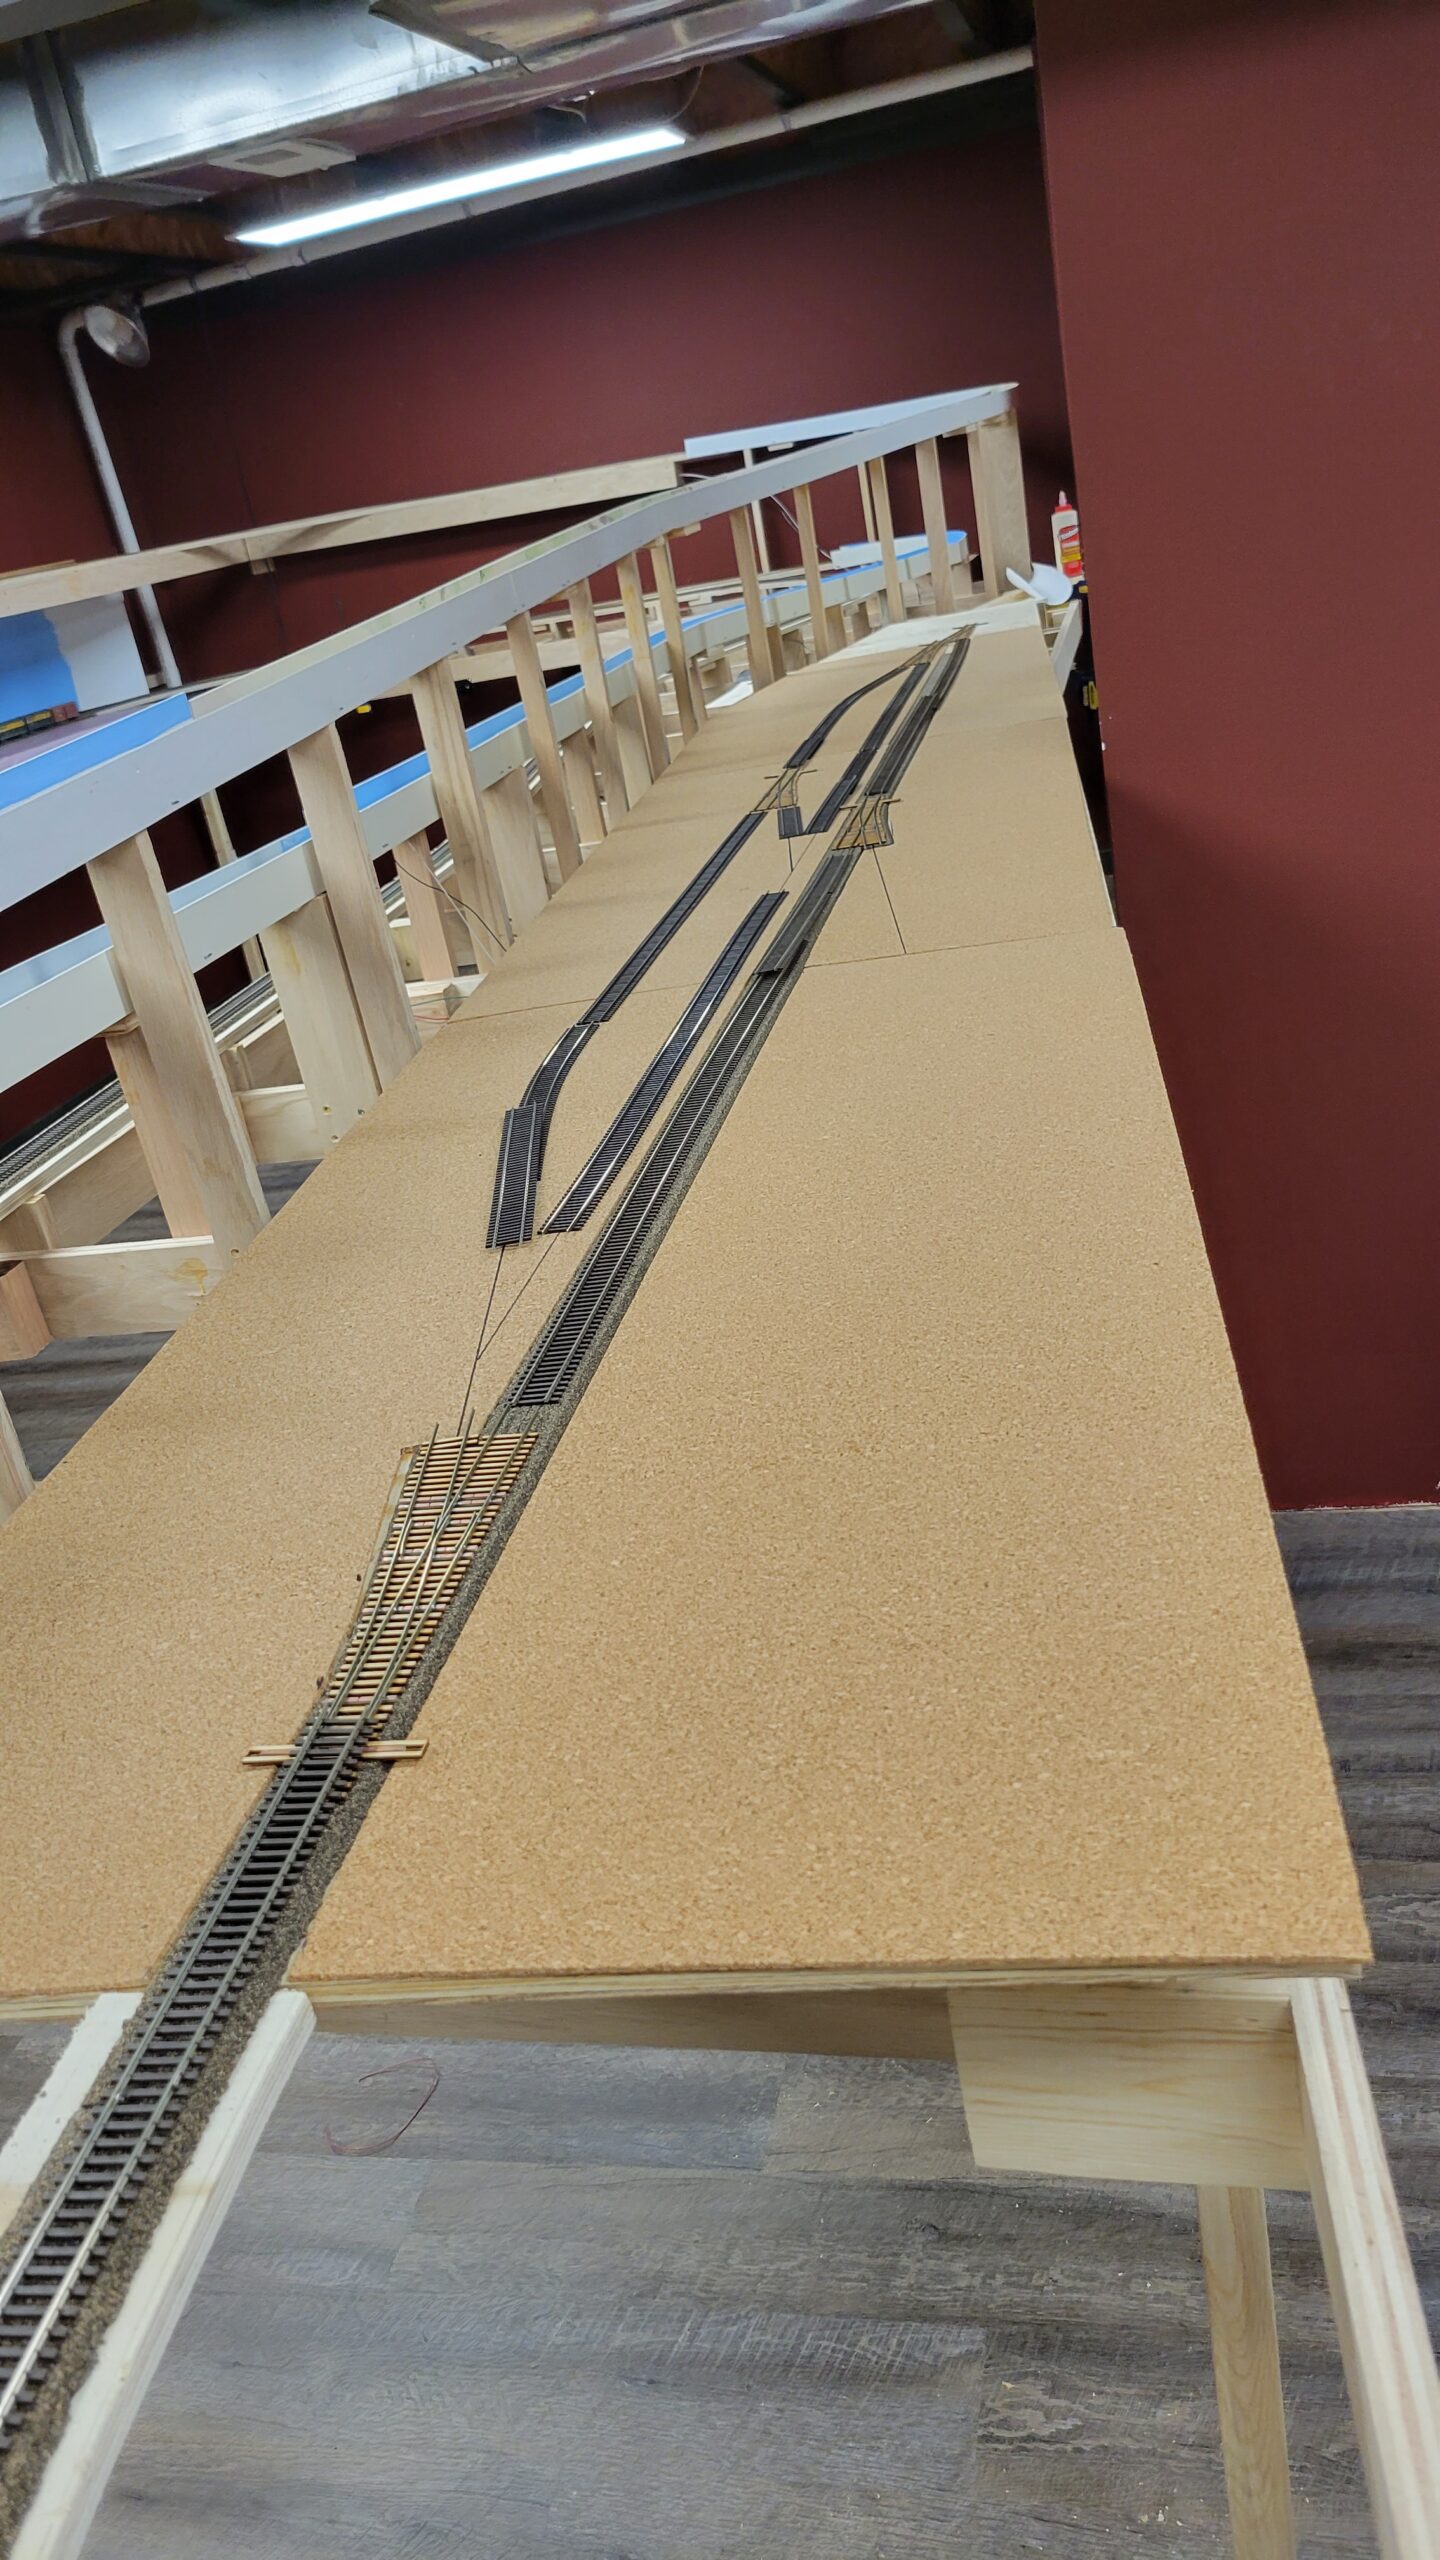
On the 28th I laid track into Thermopolis from the south.

I continued with trackwork in Thermopolis, and by 2 February track in the south end of town was complete, but the north end, in the distance, wasn't done yet. That was finished up a few days later, along with wiring and ground throw installation.
While I was installing ground throws anyway, I went over and finished replacing all the over-center springs in Casper. I'd started that a few months back, and just hadn't finished.
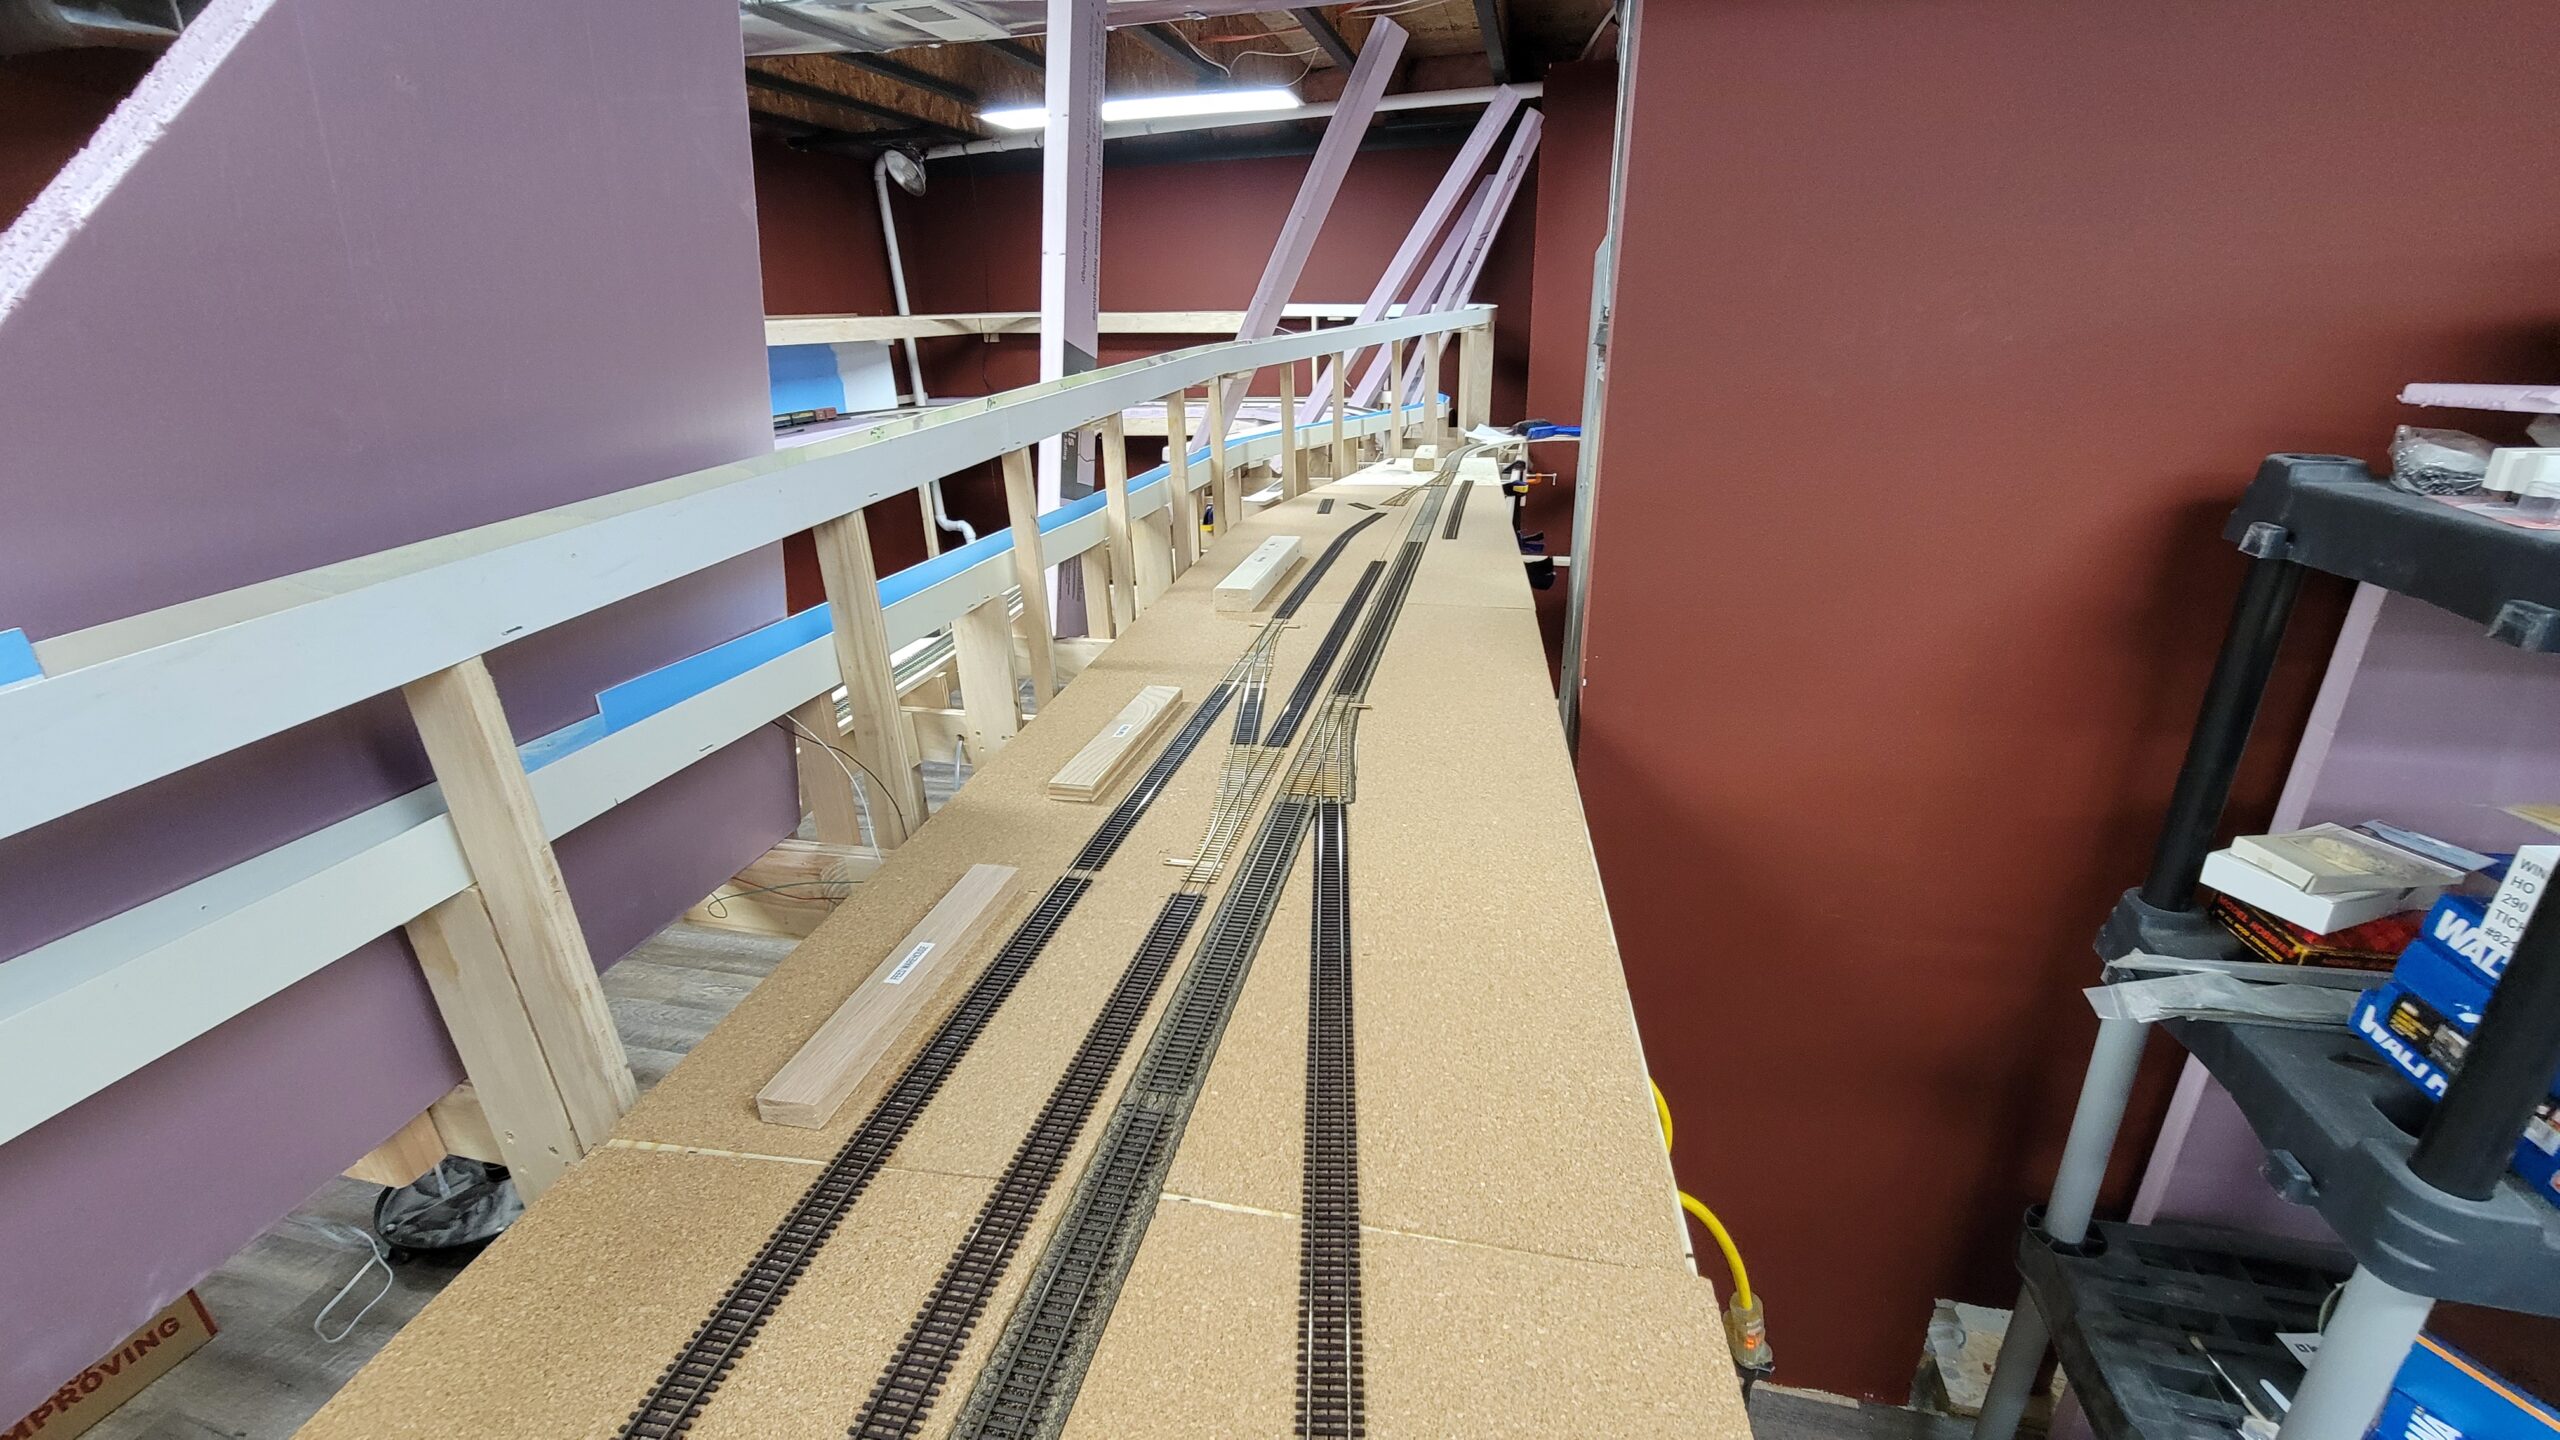
Here's Thermopolis from the north end as of the 6th. Everything's done as far as track goes (including wiring) except for installation of the two ground throws at this end of town. Those were finished later in the evening, depleting my supply of throws completely.

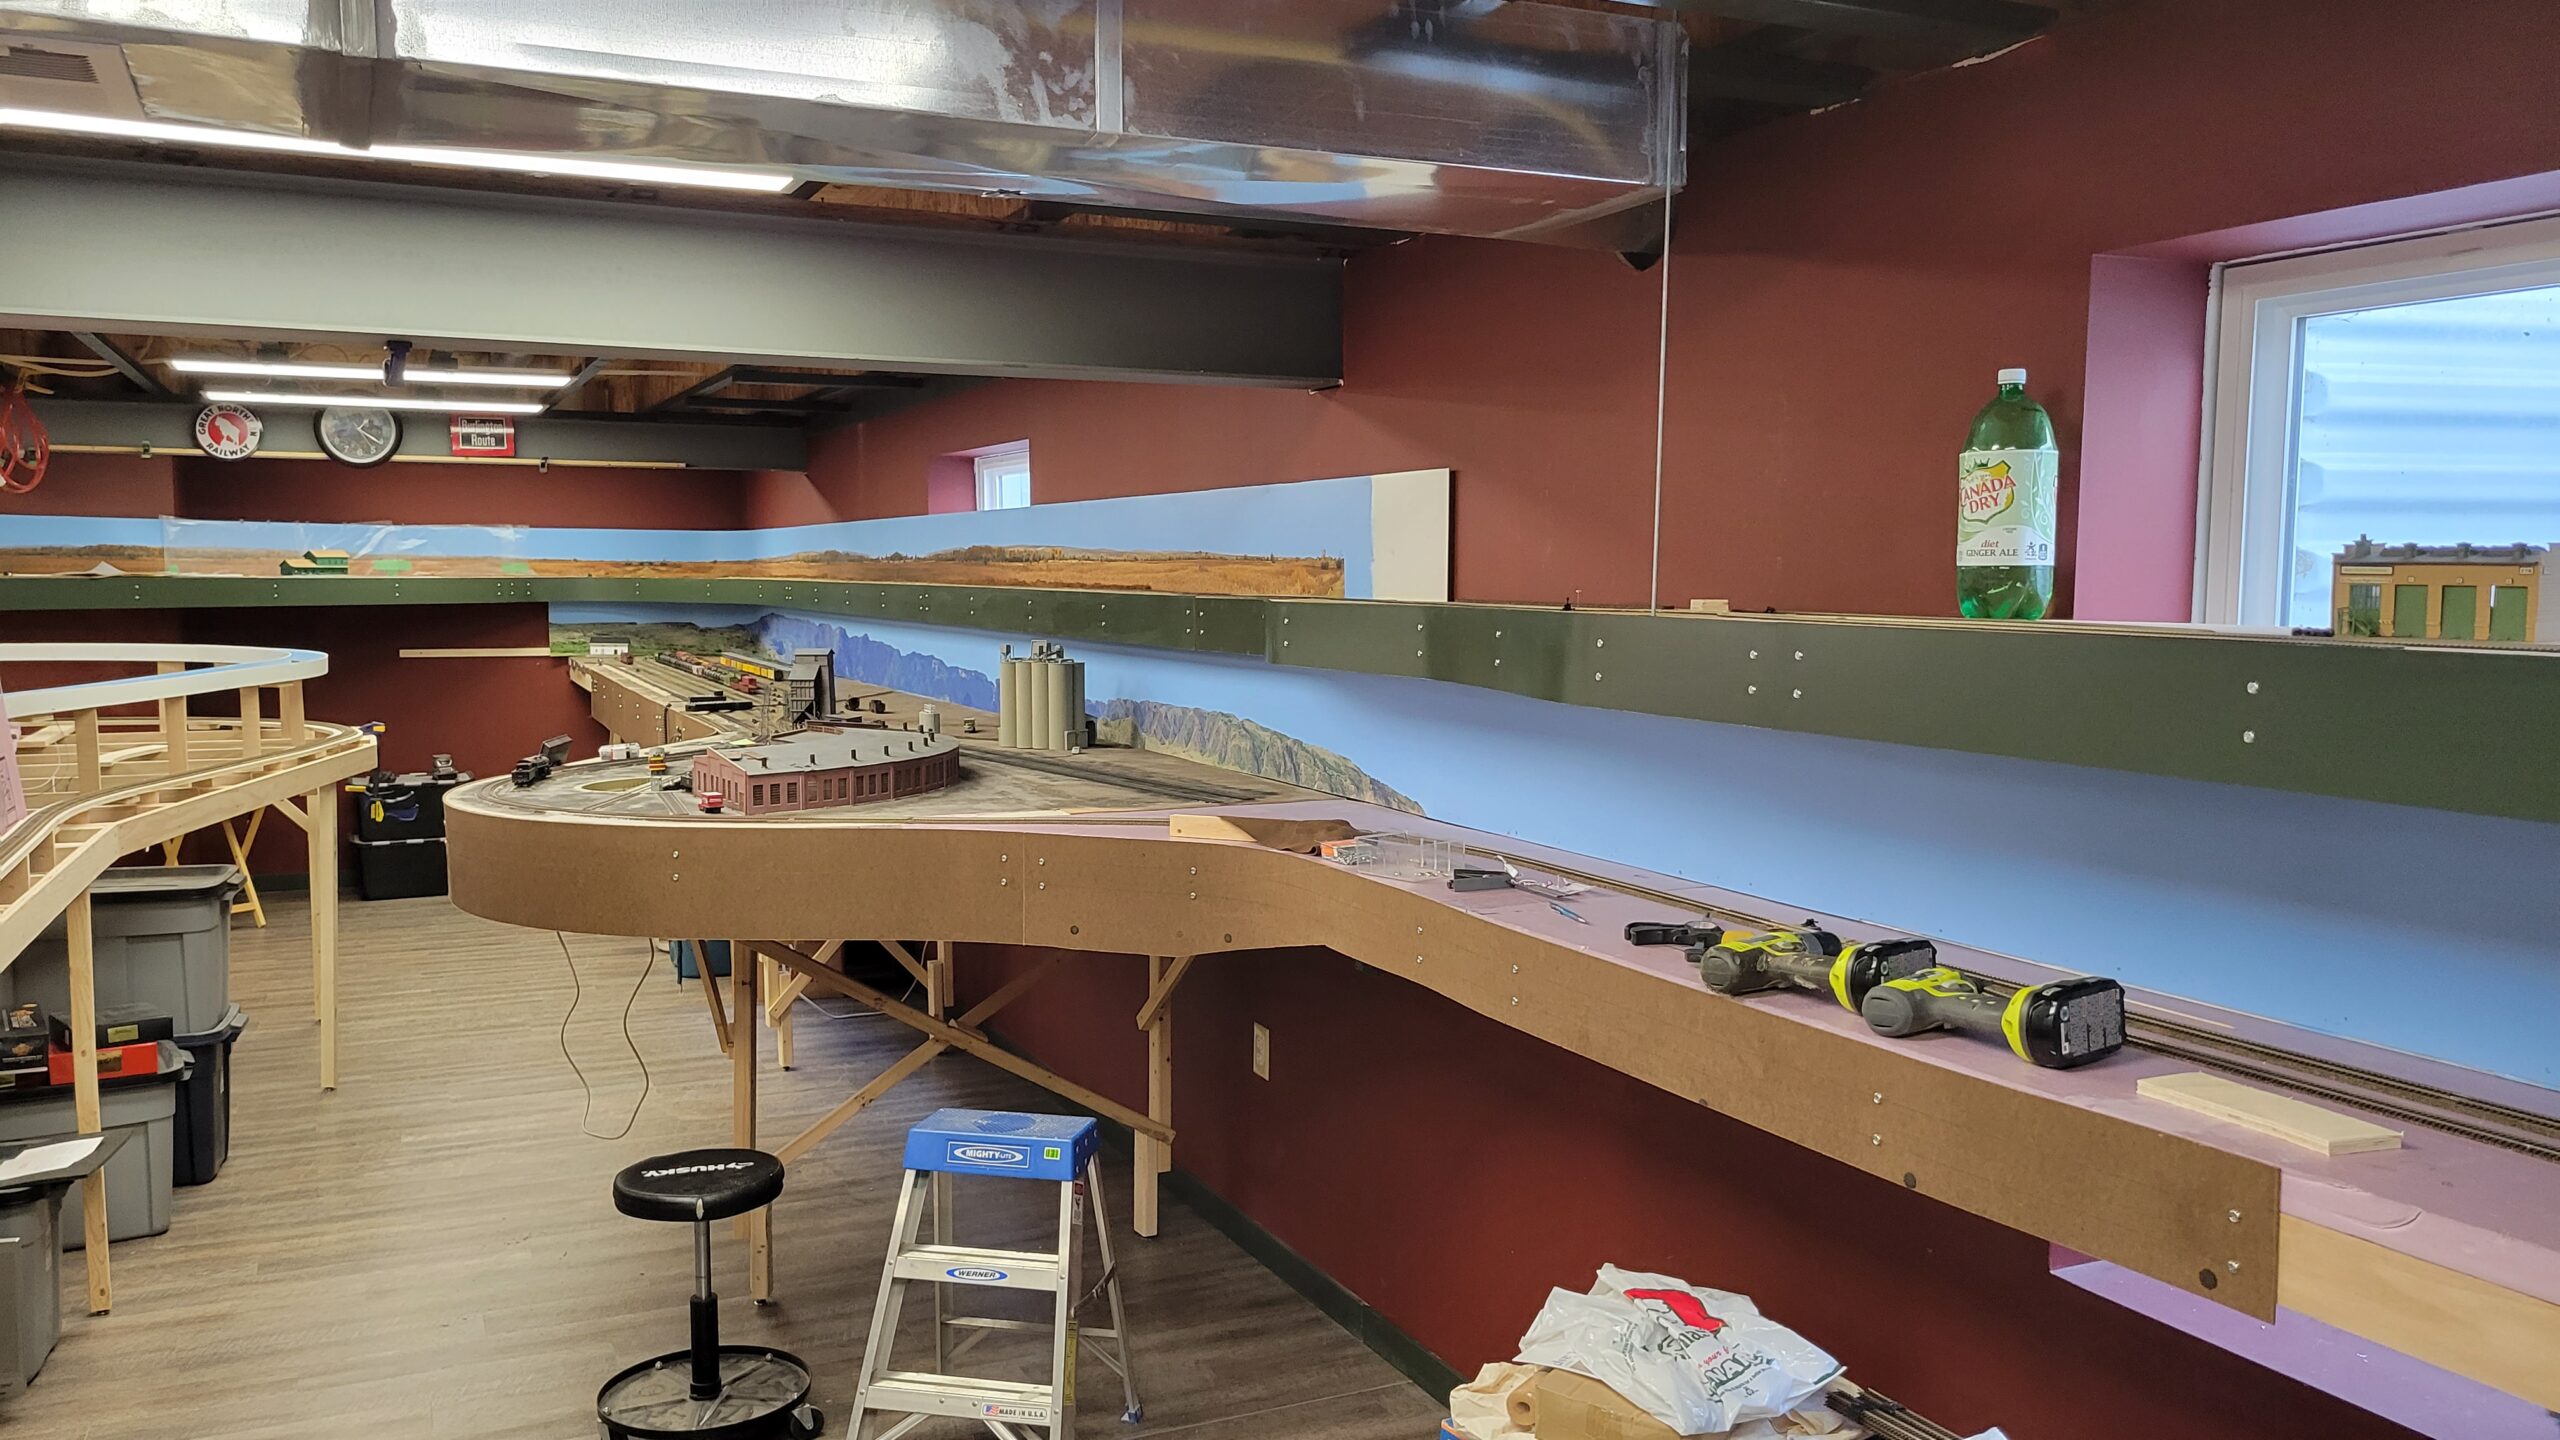
On the 7th I switched gears and began making fascia for the CNW around Riverton. Here I've temporarily installed two of the last three sections needed to complete the work at that end of the basement. I removed them again for painting on the 11th of the month.

On the 14th, with my wife's help, I started building the fascia around the bulge at the Casper engine facility. I had to add some mounting points to the benchwork for this, since foam isn't suited for mounting anything.
The last few days I also started messing around with the JMRI Operations package. As part of that I photographed all my rolling stock and then entered the data into JMRI. I added the towns of Casper, Riverton, Powder River and Thermopolis, and ran a couple of passes to test out the software. It actually builds some trains to switch those towns!
Here's one of the rolling stock photos (out of a total of 78 cars at this point).

I continued on with a bit more fascia, adding the section to the right of the Casper engine terminal towards Powder River. The fascia narrows down after it's off the Casper benchwork because current plans have Powell right below Powder River.
When I was visiting Dave in Basin last month, he gave me a train orders hoop that was used in Lovell. What a cool gift! I mounted it on the wall at the bottom of the stairs. Makes a nice view when descending to the train room.

This is the first code 55 switch I've ever built. I used my Fast Tracks code 83 jig, and was just careful how I positioned the rail in it. The base of the code 55 rail is narrower than the code 83 or code 70, so I just moved the rail to one side of the cut or the other to keep the rails in gauge. I checked the gauge using an NMRA track gauge.

After the switch was built, I installed the secondary tracks in Riverton. The two tracks to the left, the spur and the siding, are code 55. The through track to the right is code 70.

Once I had the fascia mounted to the right (west) of Casper, I carved in some slight undulations. While table-top flat is okay in a big facility like the yard, out on the prairie it looks unnatural. Since the fascia is still pretty close to the track the variation isn't much, but I think it will really help the appearance.

Once I had the Casper fascia painted and let it dry for a couple of days, I started remounting it to the layout.

I took a bit of time yesterday and mounted the turntable control into the fascia. It took a couple of hours to do this, since the control isn't really designed to mount anywhere. I had to disassemble the control box, and deepen the screws holes that attach the back so the screws would reach through the 3/16 fascia. Cutting the rectangular hole in the fascia was the easy part. But after a bit over 2 hours the control box was in and reconnected. It even still works!

Last evening I wired up all the Riverton tracks, cleaned them and tested them with a Doodlebug. This morning, in preparation for the inaugural operating session next week (really just an operations test with a friend from the area) I put industry labels along the siding, so we'll know where to spot cars.

Dave in Basin, who I visited last month, sent me three reefers he had no use for, then sent me a big bundle of rail! He says he's finished with trackwork so has no further use for the rail. There was quite a bit of code 70 and 83 rail, plus a few sticks of code 55. There was even one bit of loose code 100 rail. Here's the bundle of rail he sent. I spent a bit of time sorting it out into stacks of the different weights. Since I was completely out of code 70 rail, this was a real godsend! Thanks Dave!

Before I started cleaning the train room I extended the backdrops farther down the wall. Here's I've added to the CNW backdrop, getting it in place behind Riverton and around the curve.

A couple days later I had the Riverton skyboard extended further, and added the final section on the lower level, running behind Shobon. I added the first layer of plastic putty at the seams, but have yet to sand them and add the final smoothing coat.
The scenery will begin building towards the ceiling to the right of Shobon, so the second level will disappear into the rising hillside just before the end of the second level skyboard.

Part of preparations for the ops session included adding placeholder labels for industries. Otherwise we wouldn't know where they were, since most of the structures aren't built yet! Here are the placeholders at the east end of Casper.

Here's Riverton and Powder River.

And here's Thermopolis.

Here's the current view looking down the Wind River aisleway from the east end of Casper. I'm really looking forward to starting the canyon scenery!

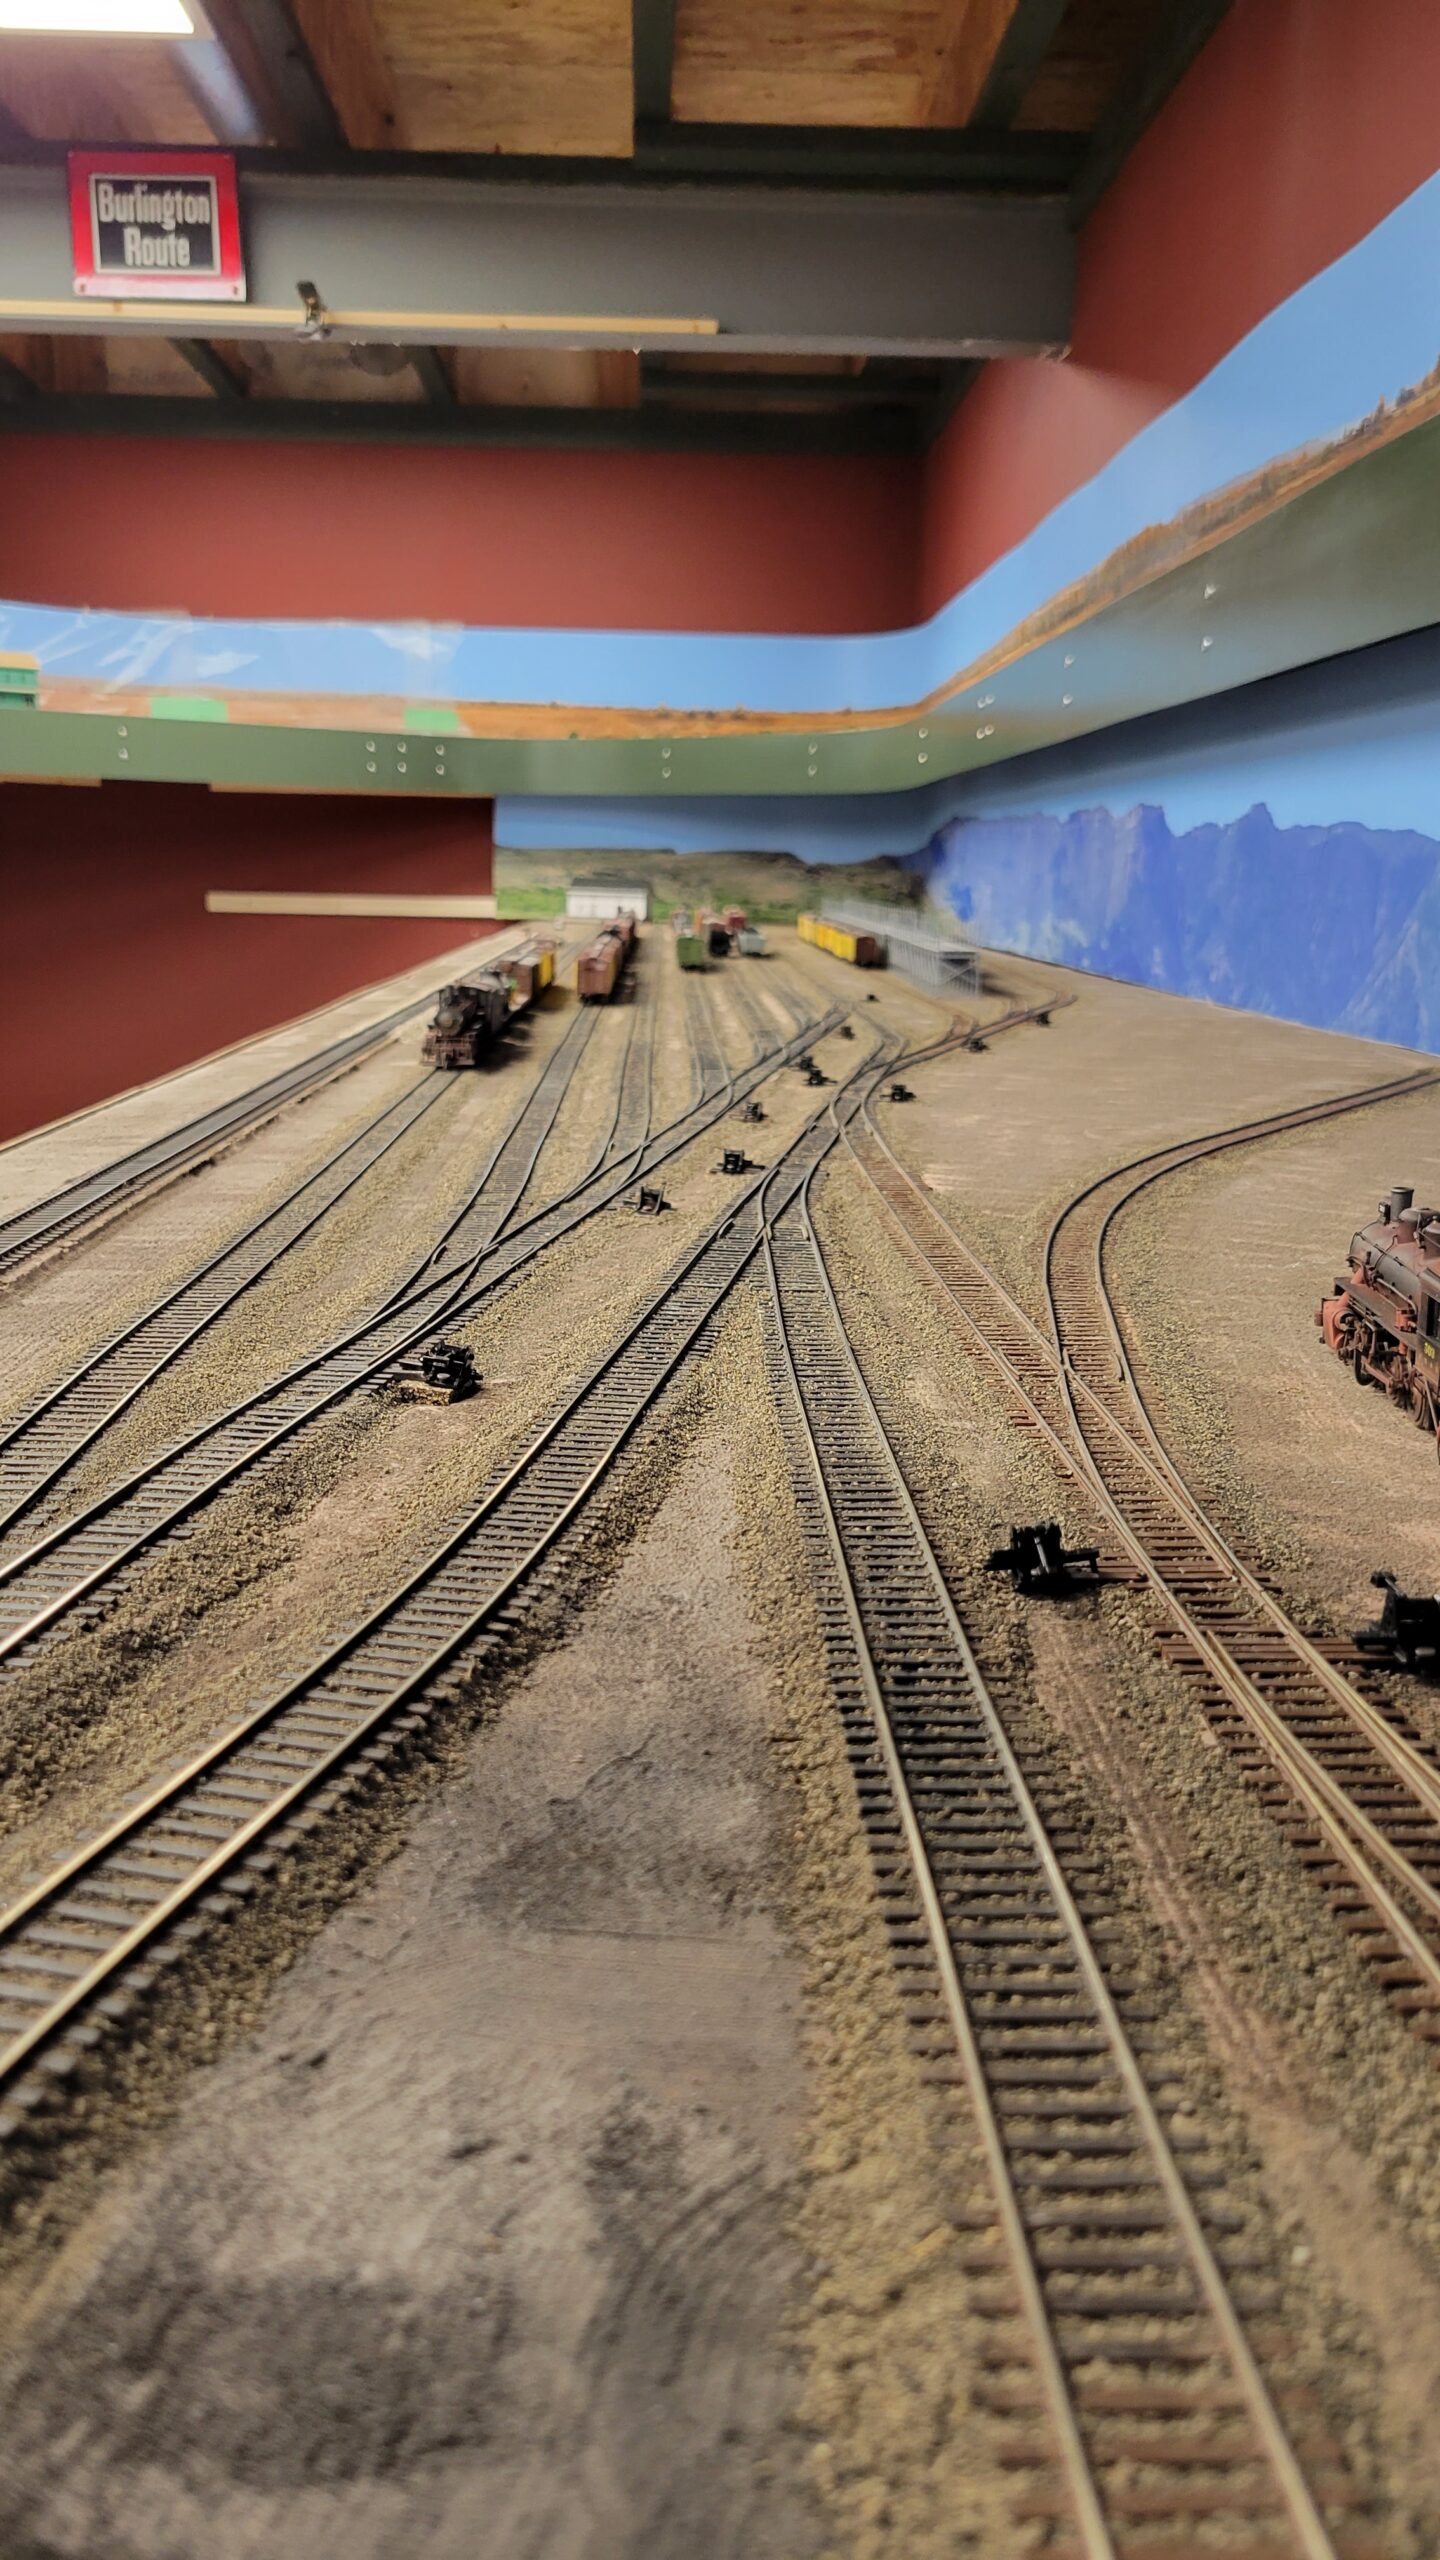
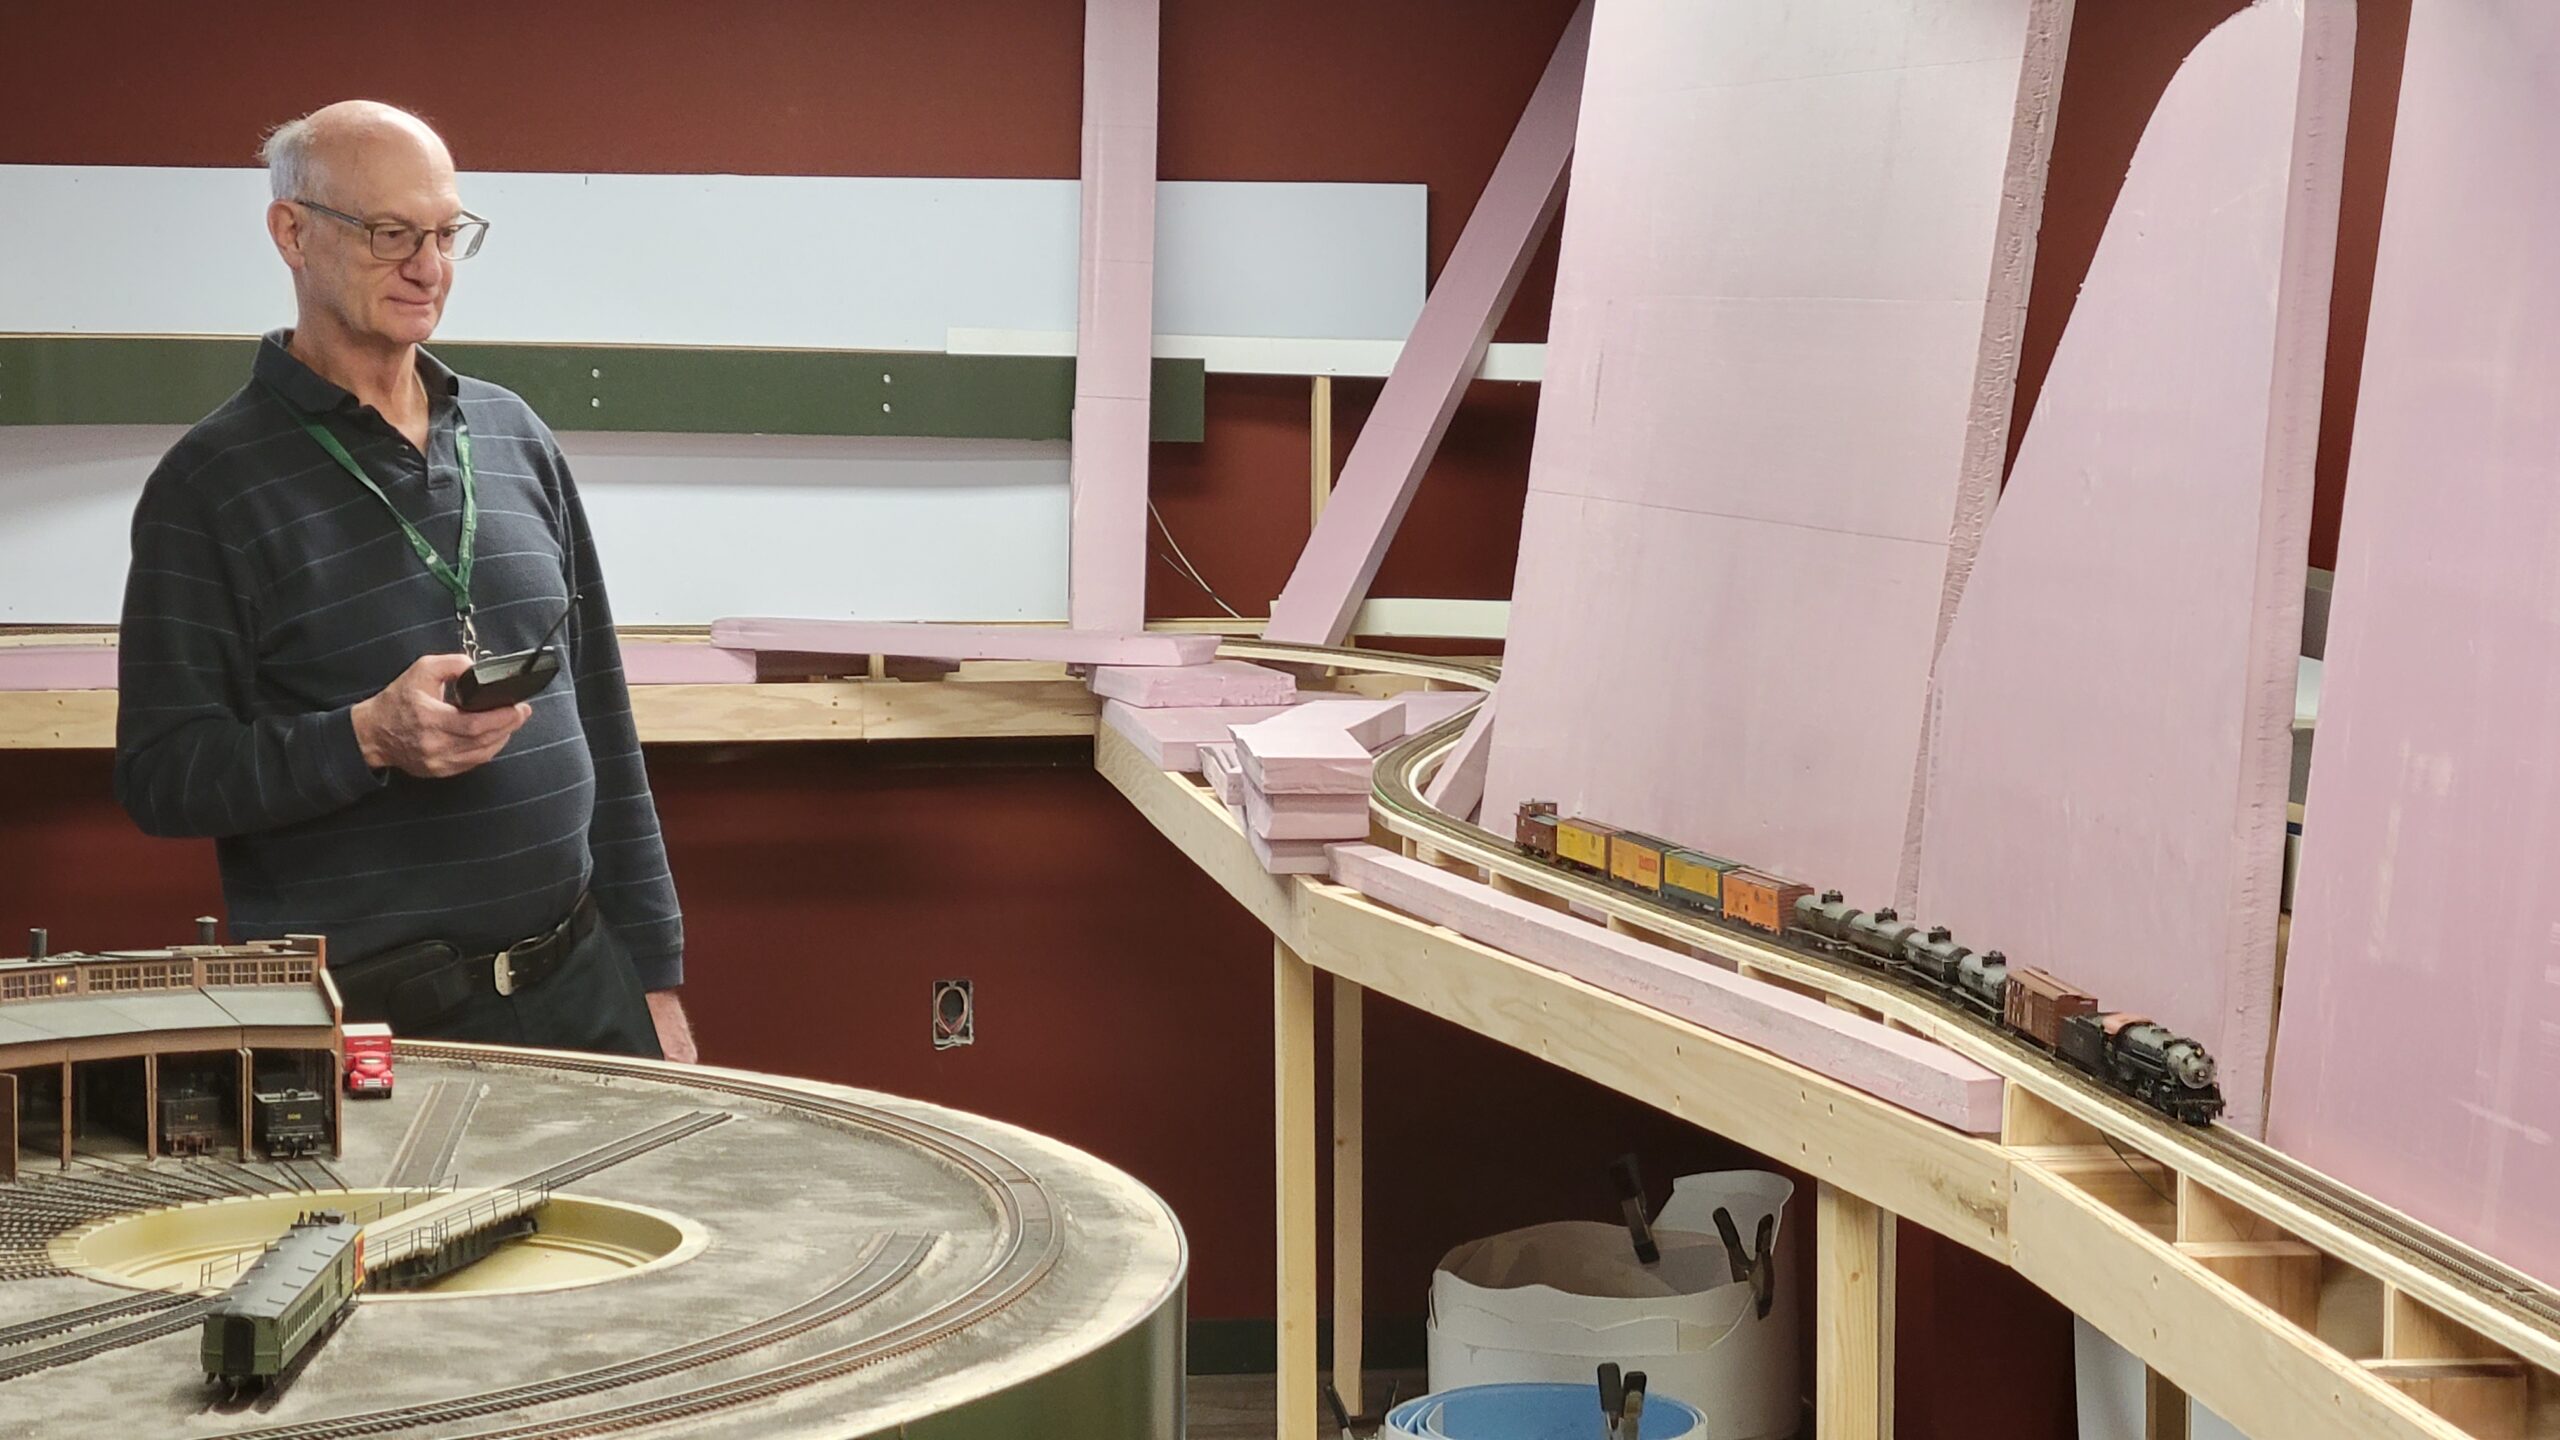
When I ran the operations test on Casper yard I identified a couple of less-than-ideal things. First, the caboose track is very inconveniently placed on the far east end of the yard, off the A/D track. Second, with a relatively short A/D track, longer through trains have to hold the main when they arrive in Casper. That's fine most of the time, but for reefer trains, which have to be iced in Casper, it's a huge problem. The geometry of the yard throat, runaround track, drill track, icing tracks and west end switch to the main is problematic.
The turnout from the main to the yard track is placed in line with the ladder, and should be placed in line with the runaround. The icing tracks come off the runaround track. so moving reefers to and from the icing track means pulling cuts from the main, pushing them onto the ladder, pulling them onto the drill track, then pushing them up the runaround to the icing tracks. Too much time consuming zig-zagging here.
If the turnout to the main came off the runaround, it would be a simple pull-then-push set of two moves to get cars to the icing tracks.
To correct the track geometry would mean pulling up and re-laying all the tracks near the yard throat, including the throat itself. That would be a LOT of work!
I came up with another solution - extending the A/D track at the east end of the yard, so those reefer trains can pull onto the A/D track. No more sitting on the main and zig-zagging cuts of cars to the icing tracks.
Here's the current arrangement at the east end of the yard. Orange lines is the benchwork under Casper. The heavy blue line is the mainline, showing the turnout off the main to the A/D track, one of the solid gray lines.

Here's the new arrangement at the east end, with the first section of extended benchwork as well. The mainline now extends another 38 inches between the east and west turnouts, and the A/D track is 55 inches longer! That will allow trains of 22-23 40' cars to pull onto the A/D track - perfect since the longest through reefer trains will be 22 cars.
Meanwhile, the caboose track will be moved over just off the runaround between the drill track and the inbound turntable lead.

With the realignment of the east of Casper now planned out, I started working on the benchwork extension, and decided to just continue with it through Douglas. Here's the first section, the Casper extension, in place except for a support leg. My camera tripod was pressed into service to support the end of the new benchwork temporarily.

I was ready to start developing the Douglas track arrangement, so on the 26th I drove over there to do some on-site research (Douglas is only about 45 miles away). Neither the Douglas Pioneer Museum or the Railroad Interpretive Center had any useful information on rail-served industries in the area, so I drove around town and photographed buildings that were obviously connected to the railroads in some way. When I got home I pulled up my Sanborn maps of Douglas and matched the buildings I'd shot with the one shown on the maps from the 1940's. Here's a couple of them.
This is the trackside face of the CB&Q freight depot. To the right, mostly out of frame, is the passenger depot.

A few blocks south of the depots, still on the CB&Q tracks is this building. The Sanborn maps call it an "IMPL. WARE HO". I think that means an implements warehouse, but I couldn't find anything more on it. It might have been some sort of farming / ranching implement business, and with the tower in the center and that pipe coming down into the main roof, may have handled animal feed or a small bit of grain as well.
Here's a 3/4 view of trackside (left) and south side.
About a hundred yards directly west of the Burlington passenger depot was this building, on the Chicago & North Western tracks. Sanborn identifies it as a wool warehouse (there was a lot of sheep ranching in this area until the end of World War II when the bottom fell out. Most ranches switched to cattle at that point), belonging to the Douglas Warehouse Company. The original northern section (or maybe the southern section) of this structure is gone. Tracks were on the opposite side of this building from this view.

The next day, armed with what little I'd learned about Douglas during my visit, I planned out the trackage for the town, and planned out all the benchwork as well. On the 28th I assembled the first of the Douglas benchwork sections.

It was installed that evening.

Over the next couple days I rearranged the shelves in the train room, built and installed the second and final piece of Douglas benchwork.
It's at a lower level because the Frannie cutoff will be descending under Douglas (towards the camera in this view), and will be on top of the far benchwork section. It will be low enough that it will dive under the higher section in the middle of this shot.

Yesterday afternoon I also held my inaugural operating session on the layout with Kurt, a friend who has periodic op sessions on his own layout. It was a big success! Even though ops are very limited at this stage of construction, he said he had a good time. We ran for about two hours. Here's Kurt running the Thermopolis local through the Wind River Canyon.
Here he's figuring out his next switching move in Thermopolis.

Toward the end of the session the westbound reefer express, having iced up in Casper, passes through Thermopolis. The local had to be sure the main was clear, as this train does not stop.

I didn't realize it had been so long since I did an update. Lots been happening.
I did a little bit of work on Rocky Mountain Drilling, finally getting it planted IN the scenery rather than just sitting all cattywampus on top. Still a lot to do in the area, but it's a start. I need to get this done before extending the mainline east, which will make it harder to get to this area.

I've deferred locomotive maintenance for far too long, and with two of the three Mikados down for repair, it was past time to do something about it.
First I had to build a cradle for hold the locomotives upside down as I worked on them. I made this out of some felt I already had, and scraps of lumber left over from building benchwork.

With the cradle built, I sat down and began working on locomotives. I've repaired the Mikes and lubed all but two of the steamers. I'll do them as time permits in the next few weeks.

In between working on locos I also painted the Skyboards behind Powder River on the lower level and Riverton on the upper.

Since I needed a DCC connection at my workbench while working on the loos, I added the track buss wires from Casper through what will be the Douglas area, extending them all the way to the end of the benchwork I added just a few weeks ago. For now, my workbench sits at the end of that new benchwork.

Around the 8th of the month I make a tiny start on scenery past Powder River and on towards Shobon. It progressed slowly up through today (the 20th). Here's the 8th, followed by some progress shots.


And as of today. I can't really go any farther since I have to get the backdrop installed before I can add the hills into the background.

Back to locos - I've had one Mikado that's been out of commission for some time because of a valve gear problem. I decided to try to address that while I was working on all the others. The valve stem (the rod that activates the valve that controls which side of the cylinder steam goes into when the loco is in motion), which sits above the piston rod, should move forward and back parallel to the piston rod. Here's a still from a video I made showing how far the valve stem can move up and down on this one loco:
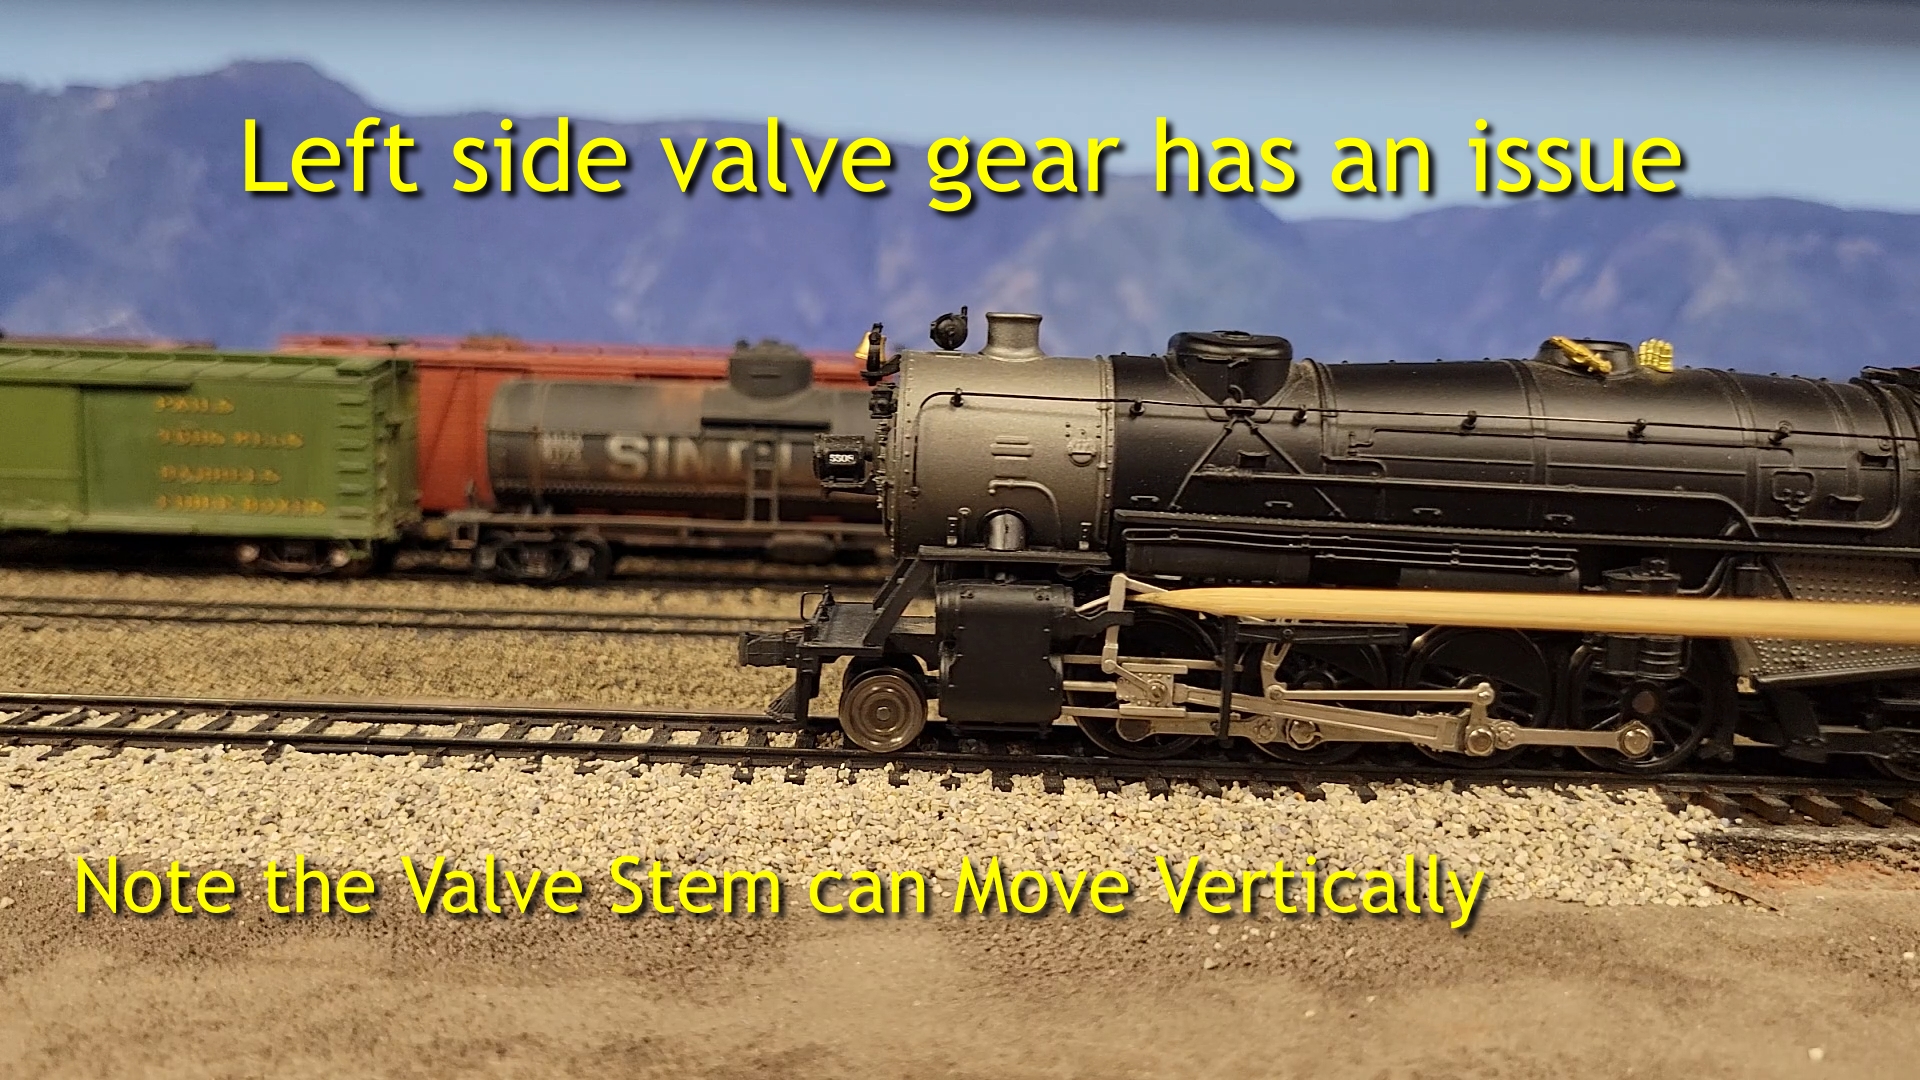 That sort of vertical motion is not normal, and it causes the mechanism to completely jam up at times.
While I was working on locos, I also dug out a very lightly used Athearn Genesis Pacific I picked up at a train show a couple years ago. When I tried to run it I found out why I had gotten such a good deal on it - the motor would spin but the unit would not move. Cracked gear!
North West Short Line has gears that fit, and I bought one right after I found the problem. Then I never installed it - that loco also went into a storage box until a few days ago. I partially disassembled the underframe, and you can clearly see the crack in the driving gear in this shot.

No solution other than to remove the geared driver and replace the gear. I disconnected the mechanism from the driver on both sides of the loco, carefully documenting each step with photos so I'd be able to reassemble it later. Here's the driver fully disconnected and ready to be lifted out.
 I have no way to pull the driver off the axle to replace the gear, so I ordered a Puller from North West Short Line (those guys are real lifesavers at times!) on Friday. When it arrives I'll be able to pull the driver and gear and complete repairs on the loco. Hopefully I'll have it in running condition soon.
That's more than enough about locos for now.
On the 11th of the month I started installing the skyboard for Douglas. Here it is on the 12th.

By the 16th I had all the seams filled and sanded smooth, so I painted the sky onto the new skyboard.

Friday I dug all the L-Girder sections of benchwork out of the storeroom and took them apart. I'd saved them from version 4 of the layout in New Jersey, planning on using them on the new layout in Casper.
As it turns out the only place I was able to use them is under Casper yard (because the benchwork with the L-Girders is far too deep for my current track plan because it has hidden track under almost every section). All the rest of the sections were stuffed into a storeroom until now. Here's all that benchwork disassembled. Takes up a lot less space! I'll be able to reuse nearly all of it except most of the L-Girders.

Removing all that benchwork from the storeroom freed up a lot of space in there, so I was able to move some shelves into it from the train room. Still in process, but I'm getting closer to having the room to build the Worland / Greybull peninsula.

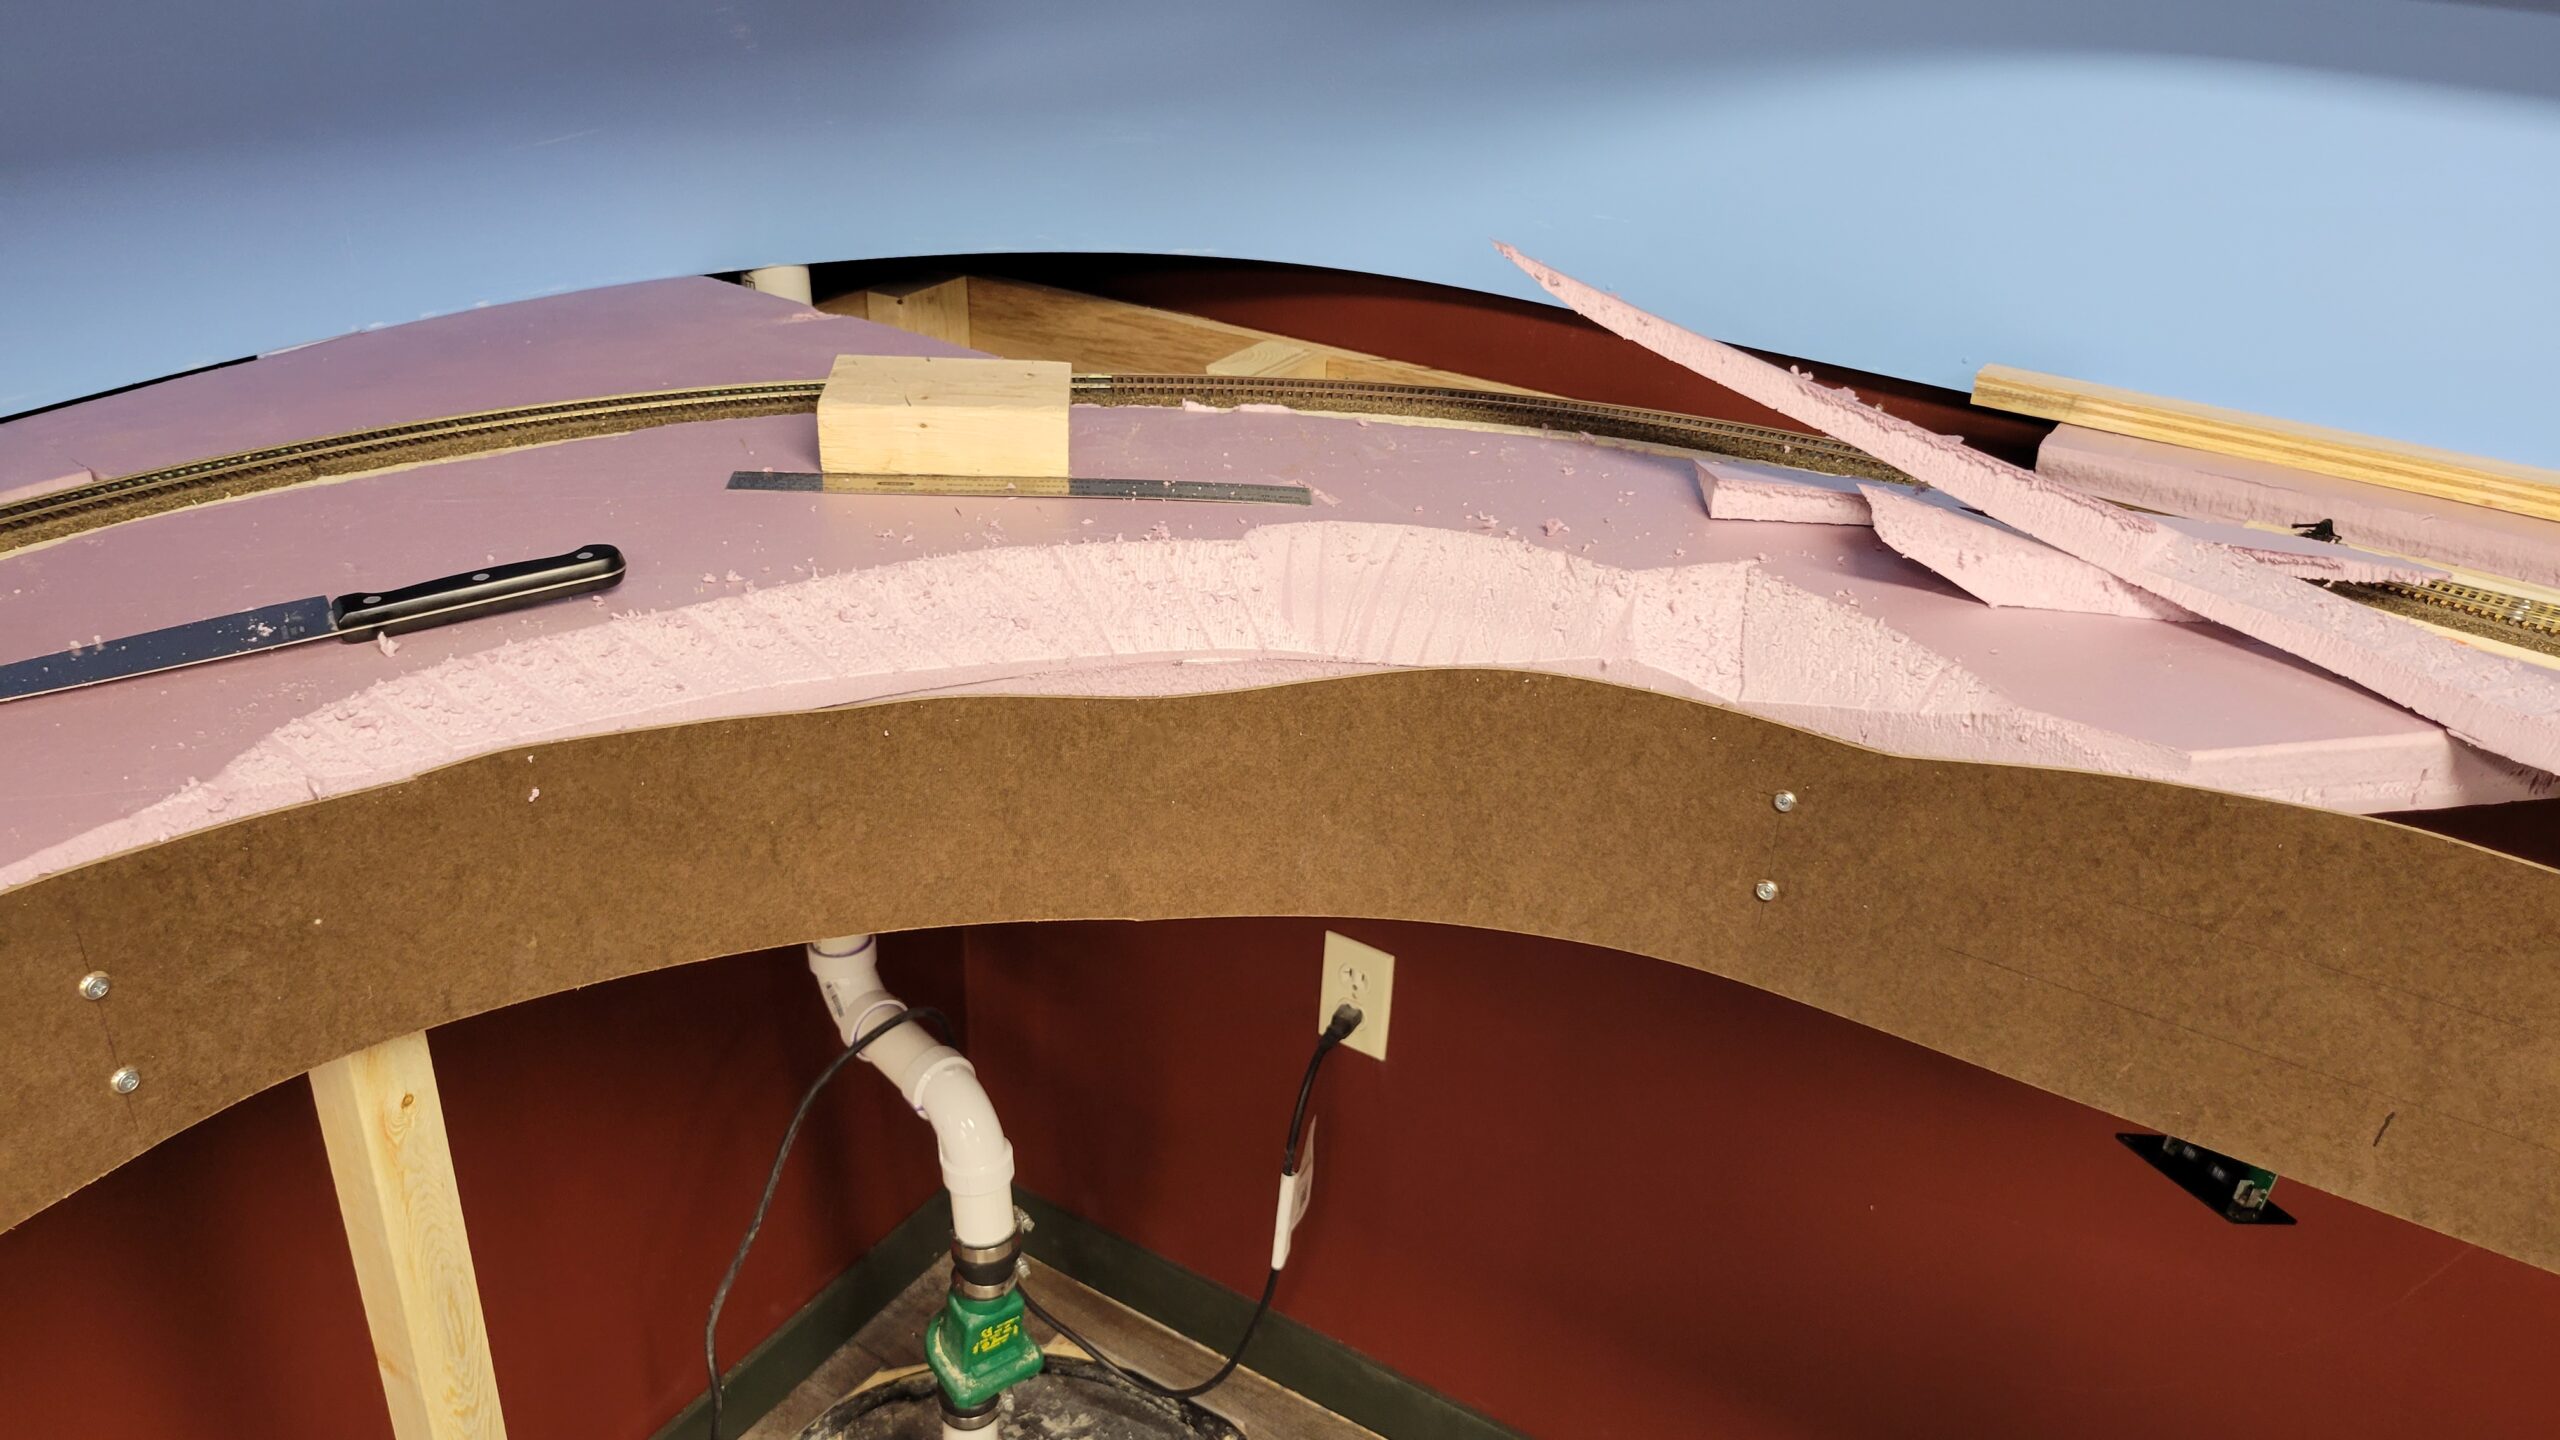
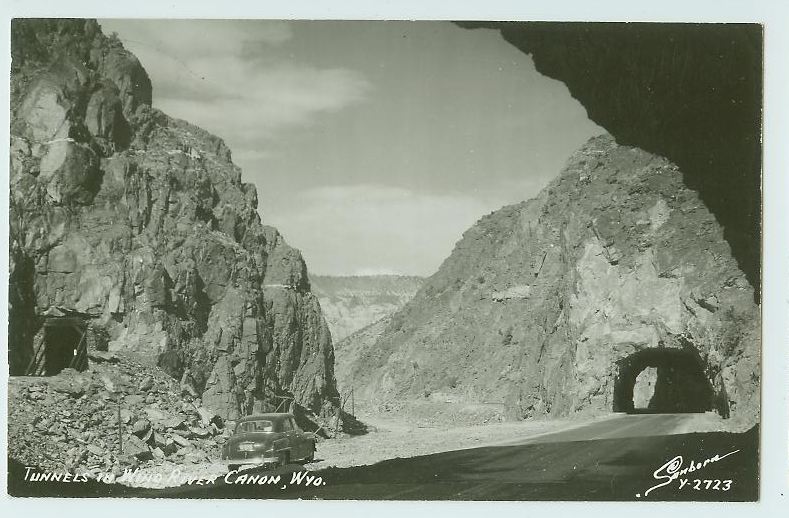
I used just a tiny bit of the reclaimed benchwork to build this bump out in Wind River Canyon.
 This will allow me to build a bit of the east side of the canyon, where US highway tunnels though the mountain, with the Wind River in between the tracks and the highway.
I'm trying for a view something like this. Railroad is on the left side of the river, and the highway on the right (as if you couldn't tell!).
An update on the Athearn Pacific:
Kurt, who was here for the inaugural operating session on the 3rd, had a NWSL Puller, so I borrowed his while waiting for mine to arrive.
On the afternoon of the 21st I pulled the wheel, installed the new gear with only a little difficulty, and reinstalled the wheel.
Here's the repaired set:

Confident in my repair work, I reassembled the locomotive and put it on the track to test it. I advanced the throttle, and... the motor spun but the loco didn't move!
%#$&!
Clearly there was another problem. I disassembled the loco again, this time removing the boiler and pulling the weights apart to expose the drive mechanism above the gears. I found this.
 There's a flexible coupling between the flywheel and the worm. On the worm shaft the press-fit coupling end (which is apparently made of the same material as the cracked gear), is also cracked. The flywheel was spinning but the coupling end no longer grips the worm shaft, so it just spins around the shaft.
Unfortunately, NWSL doesn't make a replacement for this part. I spent the better part of a nearly sleepless night working out a solution. What I came up with -
The shaft is 2 mm in diameter. I ordered some flexible plastic (like neoprene) tubing with a 1.5 mm inside diameter from Amazon. My idea is to remove the coupling altogether and replace it with the tubing. I've seen these kinds of flexible couplings before and they work pretty well. I hope the tube will grip the shafts tightly enough to transmit the power to the work and the drivers. If it slips, I'll use some vice grips to scar up the shafts so the tubing has a better grip.
If that doesn't work I'll probably chuck the whole thing in the trash.
Tubing arrives tomorrow.
I was about to start installing the new backdrop when I realized I still needed to paint the track. So off I went to do that.
My least favorite part of the hobby is replacing ties missing at rail joints. I had a lot of those to do, since I've been mostly laying track the past few months. Everything outside of Casper, including Riverton, Powder River, Shobon, the entire Wind River Canyon and Thermopolis was missing ties.
So I got started. Over a few days I prepped and installed replacement ties for everything up to Thermopolis. I'll do that town later.
I trimmed up and installed what seemed like a thousand ties but was really only 50 or 60. I installed them and painted the track.
Here's three photos showing the work at the Shobon switch.
Before tie installation:

Ties installed:

Track painted and railheads cleaned:
Here's Powder River after track painting:
 Once I complete final railhead cleaning with a Brite Boy and verify trains run okay, I'll install the backdrop.
Then I can finally start on scenery through this area in earnest.
The tubing I ordered arrived on the 28th. I removed the flywheel end of the coupling. That end, recessed into the flywheel, had the same sort of plastic coupling end pressed onto the flywheel shaft. On that end the coupling wasn't just split - it was broken into two pieces! No wonder the thing wouldn't move! I fished out the pieces with a pair of tweezers.
I cut a short piece of tubing to fit on the shafts. Here's what it looked like:

I pressed the tubing onto the flywheel shaft, then cleaned up the worm shaft (it was covered with oil). I pressed the worm shaft onto the tubing and set about reassembling the running gear. The motor and worm are housed in a two-piece weight. Only the idler gears stick out underneath, to engage the axle gear on the drivers.
Once I had the weights bolted together I worked that assembly back into position on the chassis. That was it for the loco for the day.
The next morning (the 29th) I attached the motor assembly to the chassis. This took about an hour because the motor wires have to be positioned just so or the assemblies don't fit together right. It took me half a dozen tries to get the wire routing figured out, but once I had the mechanism fully reassembled I tested it. It seemed to run just fine. I ran it in forward and reverse (upside down in the cradle) and the motor actually turned the wheels!
I spent a couple hours reassembling the rest of the unit. Putting the boiler back on was a bit tricky, but once I figured out what I was doing it went right together. Before I reinstalled the cab I took the loco over to the layout and tested it on the track. Success! The mechanism is very stiff, but it may loosen up as I run the loco. Evidence suggests the loco was never run at all until I got it. A roughly 12 year old mechanism that was never run at all and sat in a box all that time certainly might be stiff!
I finished reassembling the loco and attached the tender. I had to add a coupler to the tender, because whoever owned the loco before me never attached it. Handrails, whistle, tender coupler and all other parts which Athearn supplied but left to the purchaser to install were in the box but had never been installed. I added a coupler but have yet to add all the loco details.
Here it is sitting on the layout. You can see the holes in the sides of the boiler where the handrail stanchions go.