On June 1st I started messing around with creating a panorama of Casper Mountain for the backdrop behind the yard. This is my first experiment - a single shot taken with my cellphone camera in panorama mode. This was taken from Amoco Park in Casper, the site of the old Standard Refinery. This is a reduced resolution shot - the original is a pretty big file.

Also on June 1st I taped up the yard ladder in preparation for basic ground cover and ballasting of that area.

Then I repopulated the "finished" area.

By 12 June I had the plaster ground cover added, and "dirt" sifted onto the area.

By 14 June I removed the tape and cleaned up the entire area. Then I started ballasting. In this photo you can see that I started with the icing track turnouts.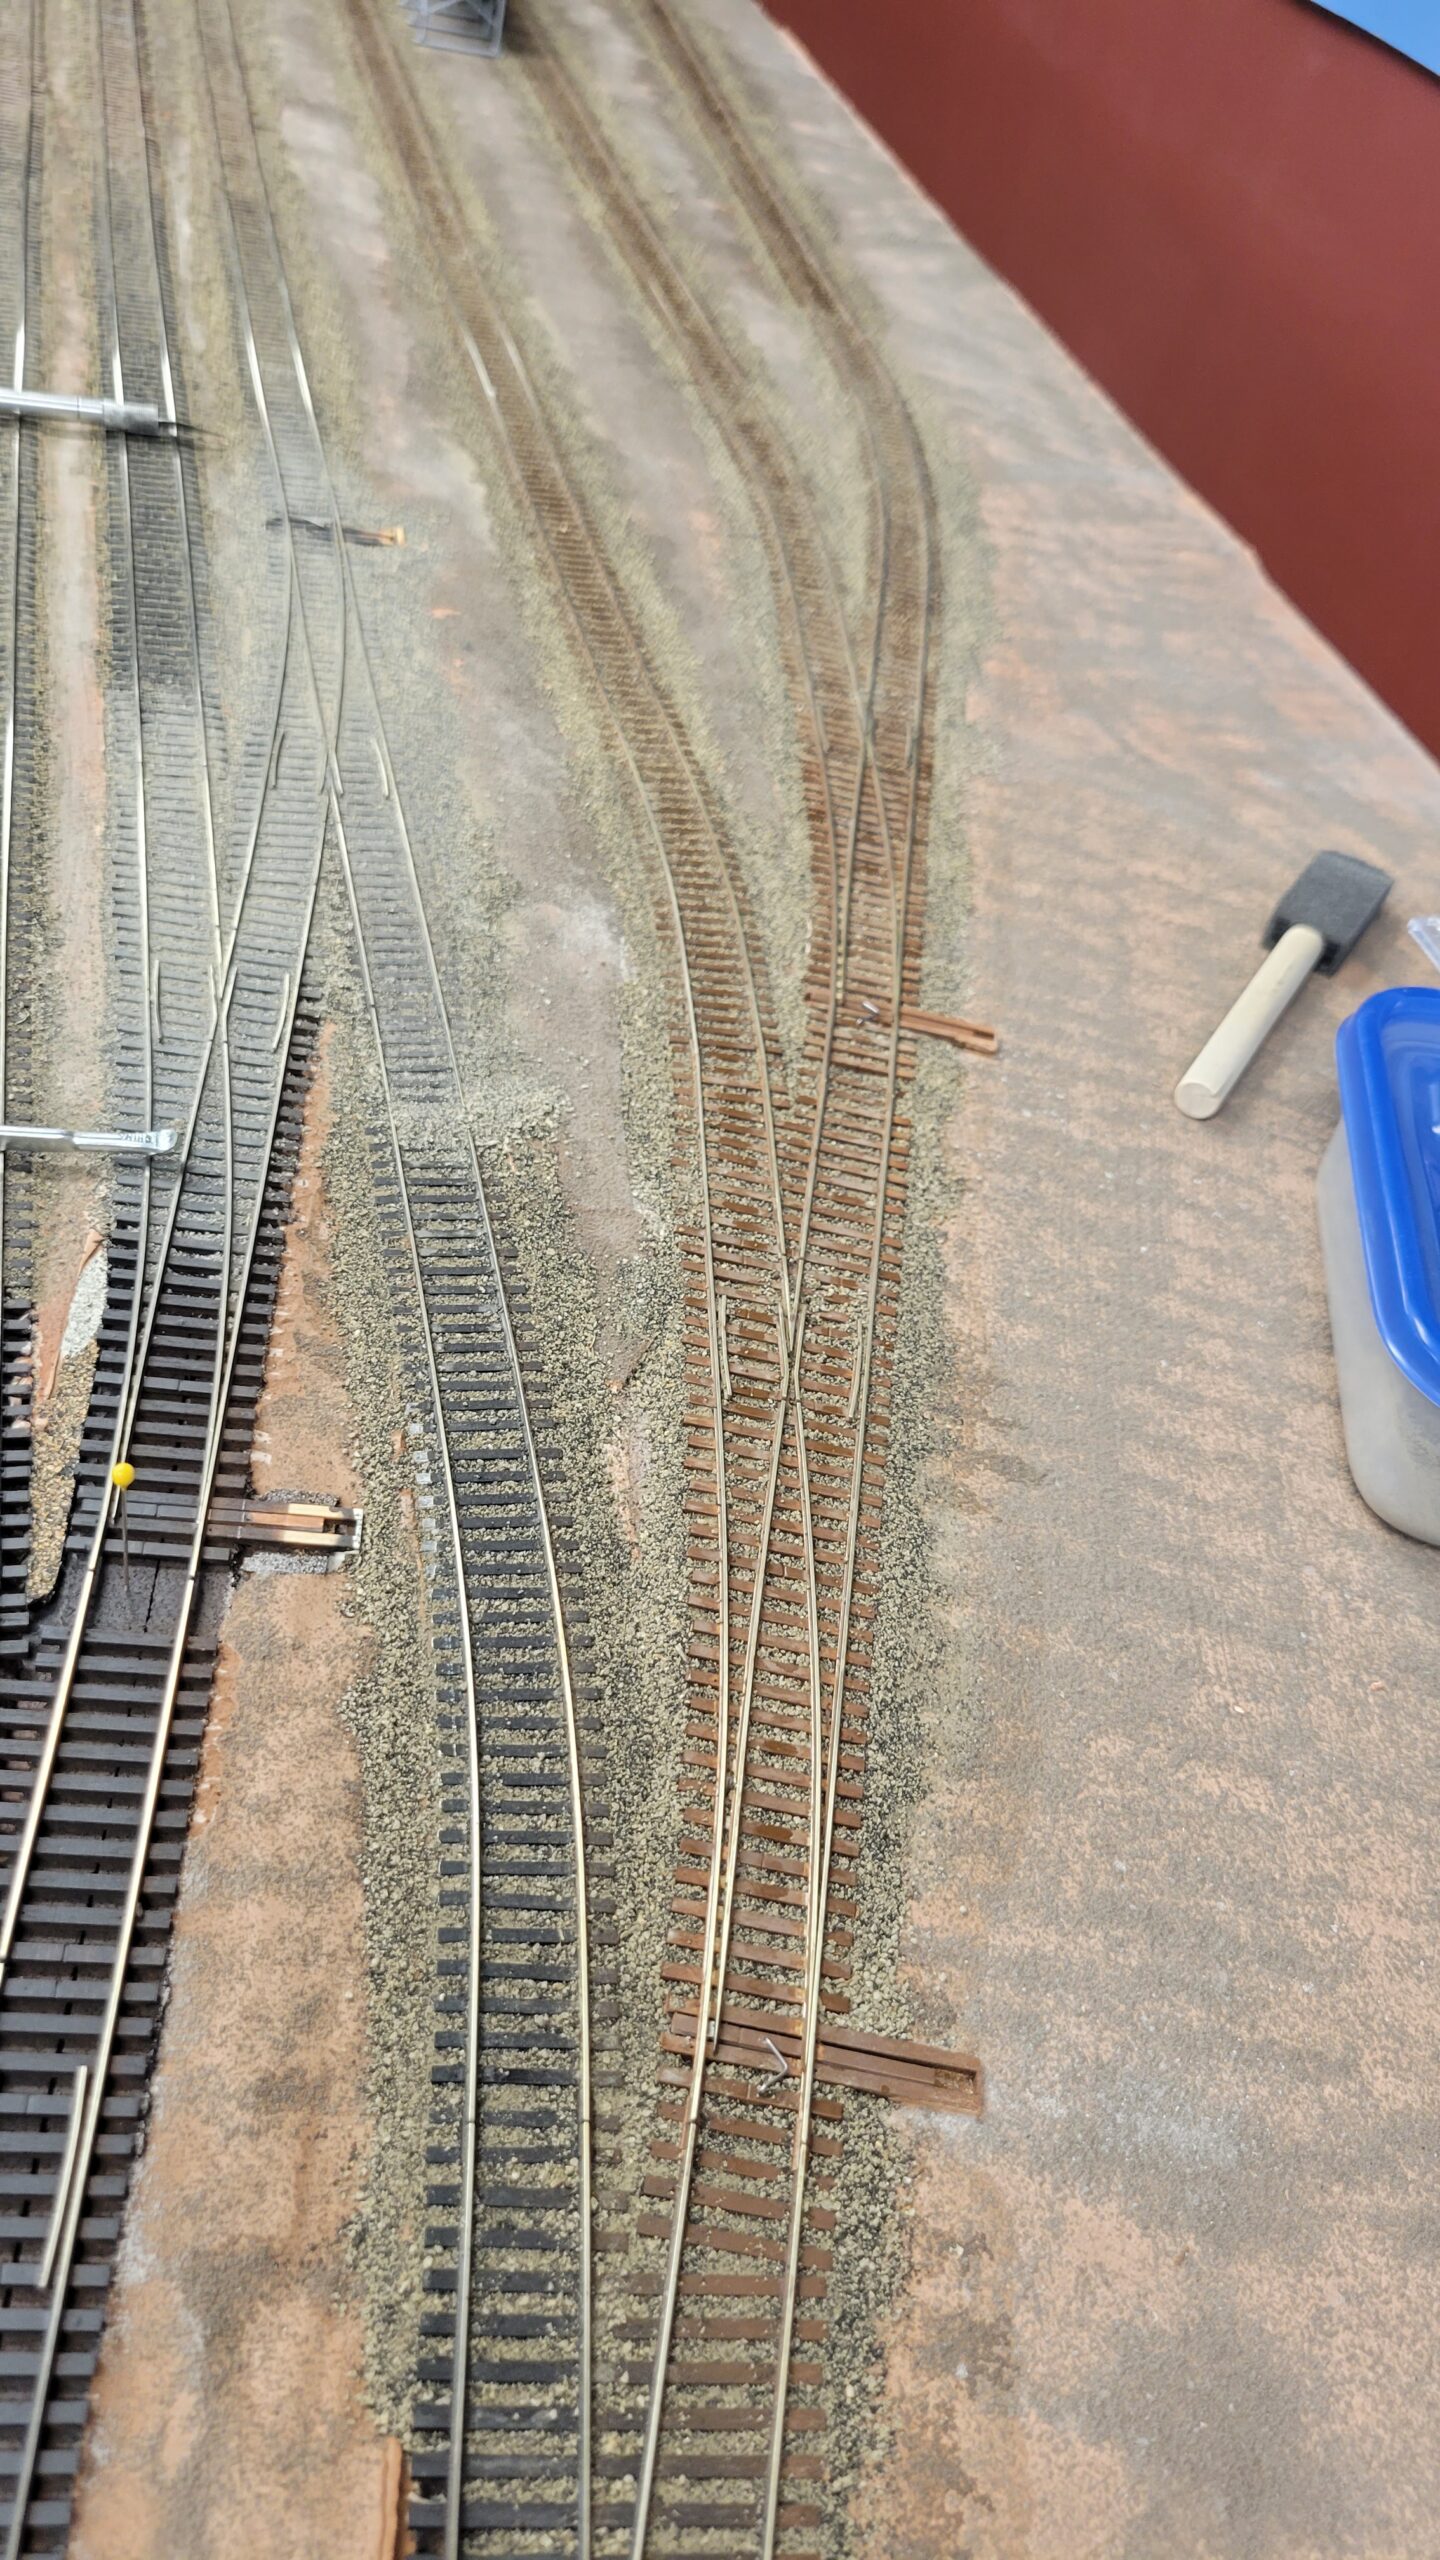
Then I moved on to the ladder turnouts themselves. I proceeded very slowly and cautiously here, since I didn't want to mess up operation of the turnouts with the ballast and glue. I also had to make several over-center springs to replace the ground throws I'd originally installed. I spent most of the rest of the time on the layout for the month ballasting the ladder and adjacent tracks.

By 2 July I had the entire ladder and adjacent industry track completely ballasted. All turnouts function properly.

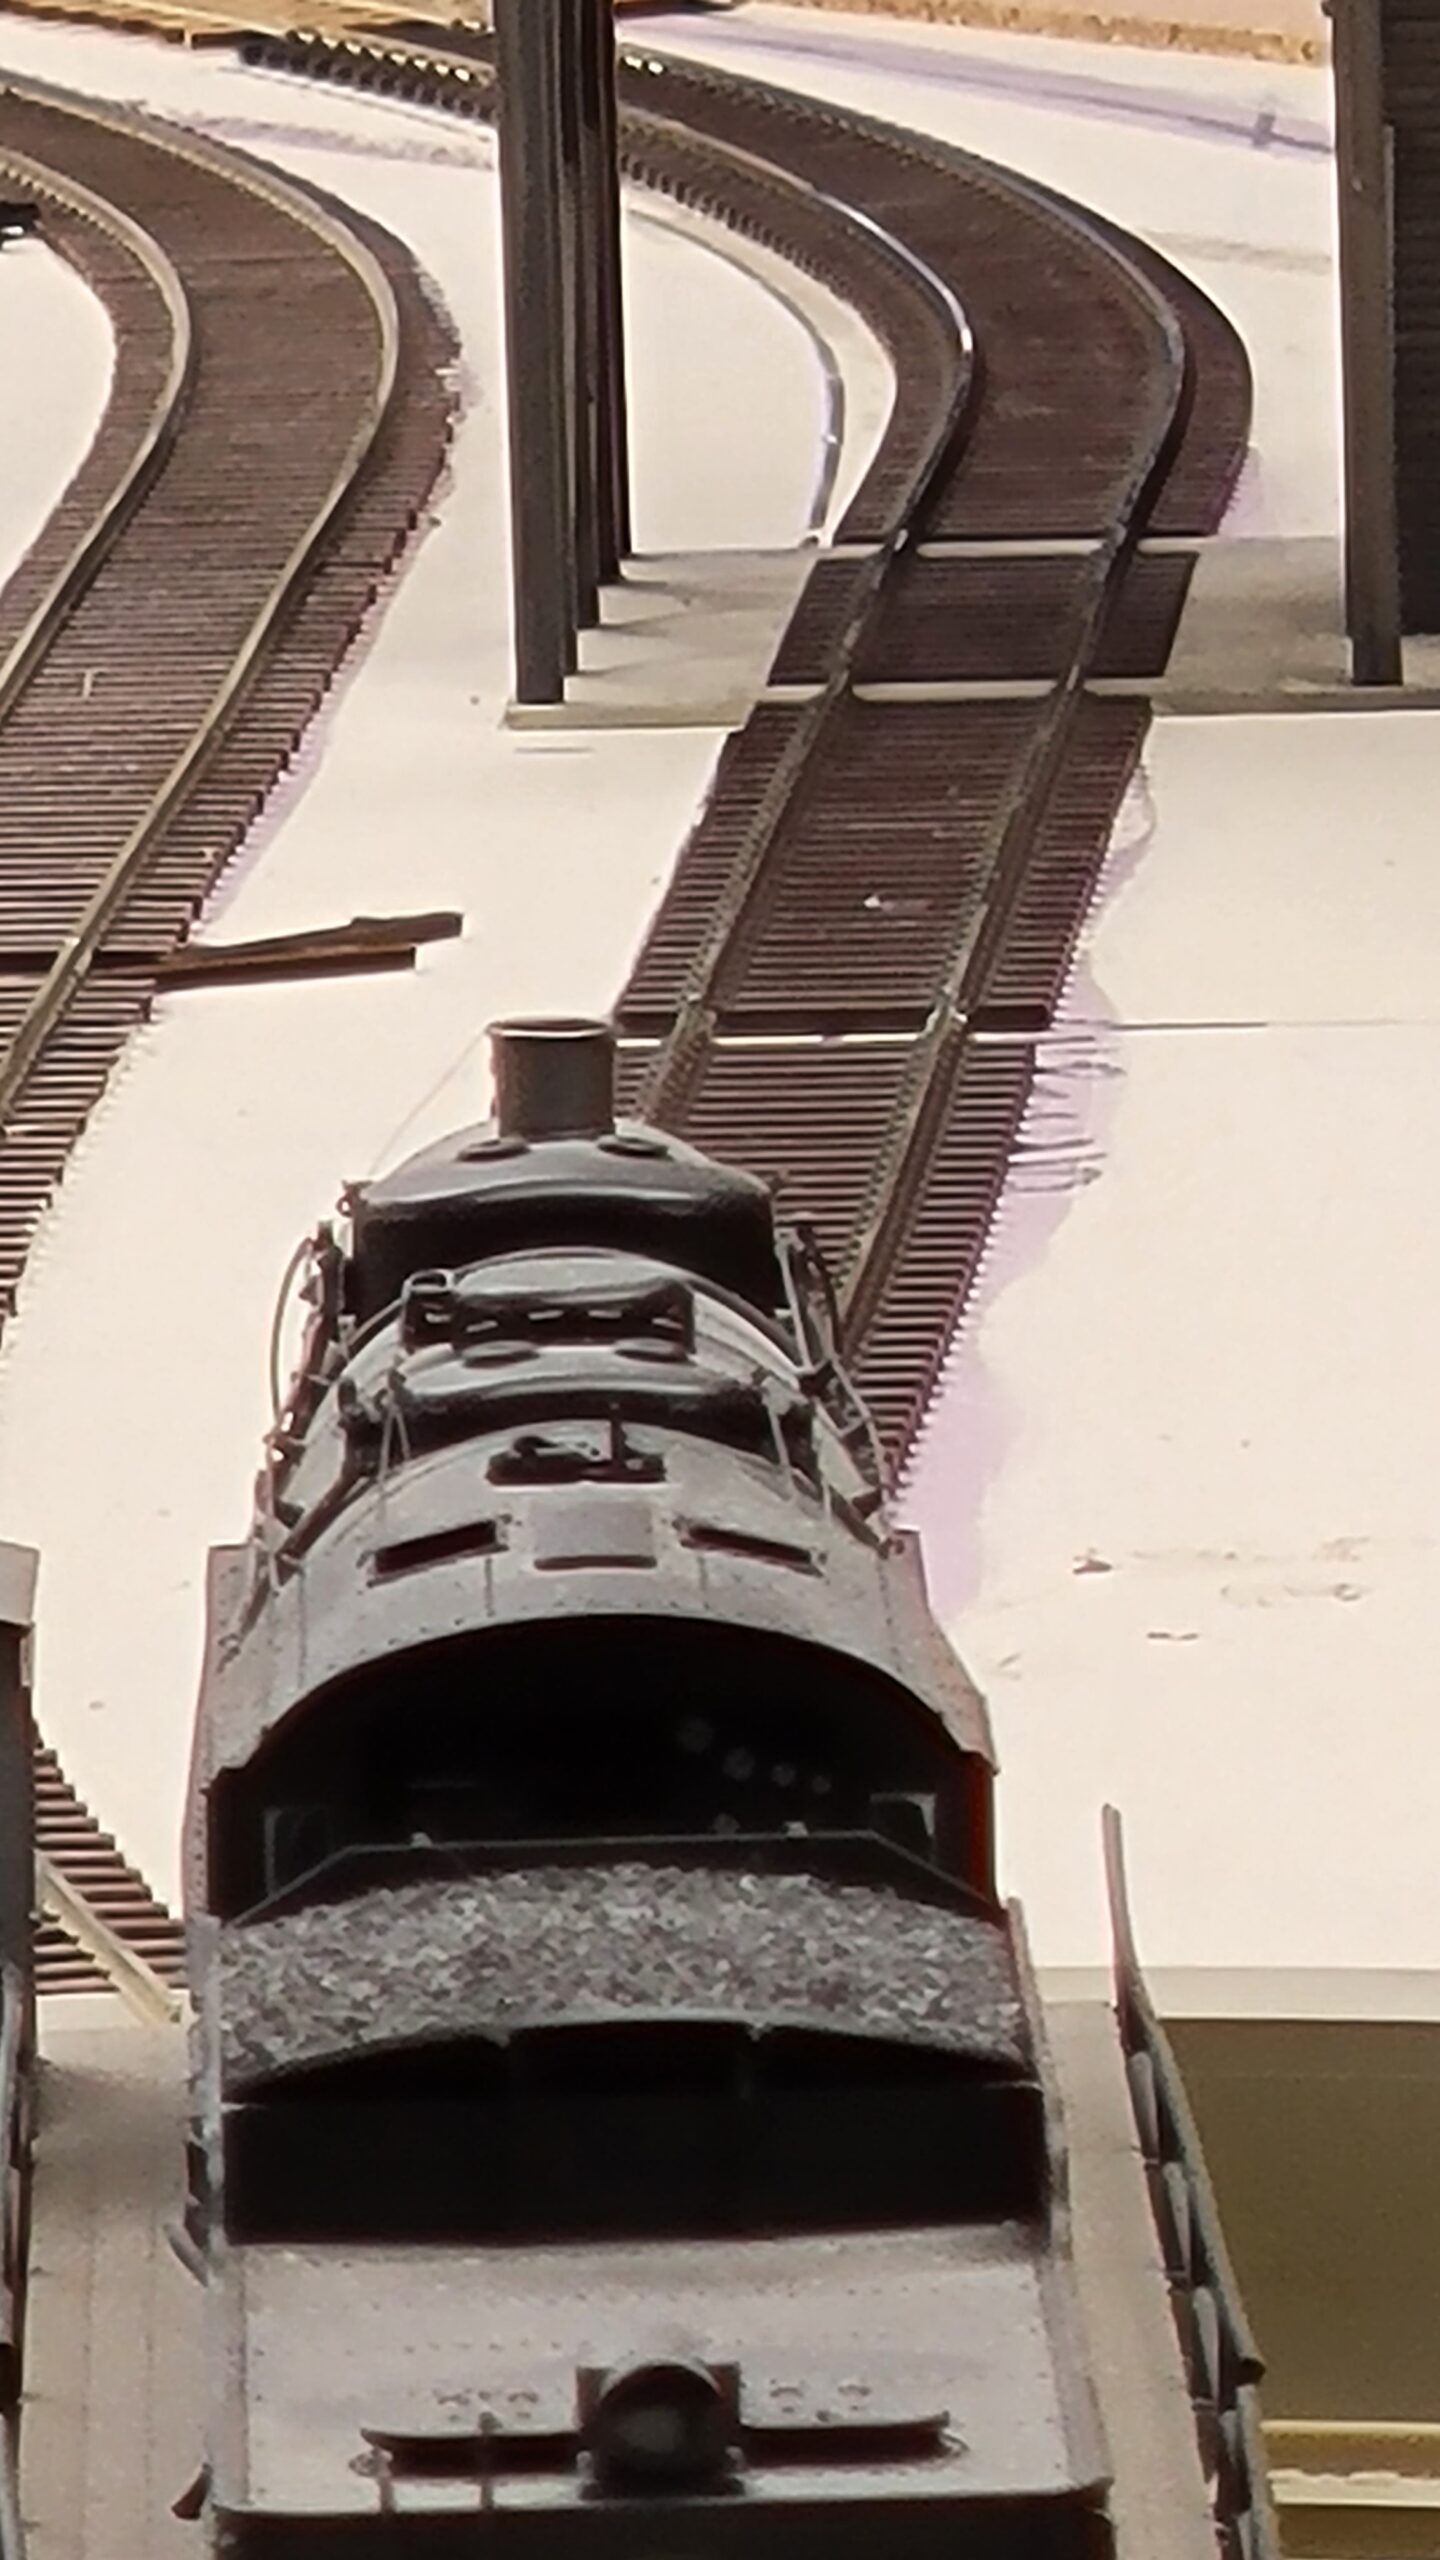
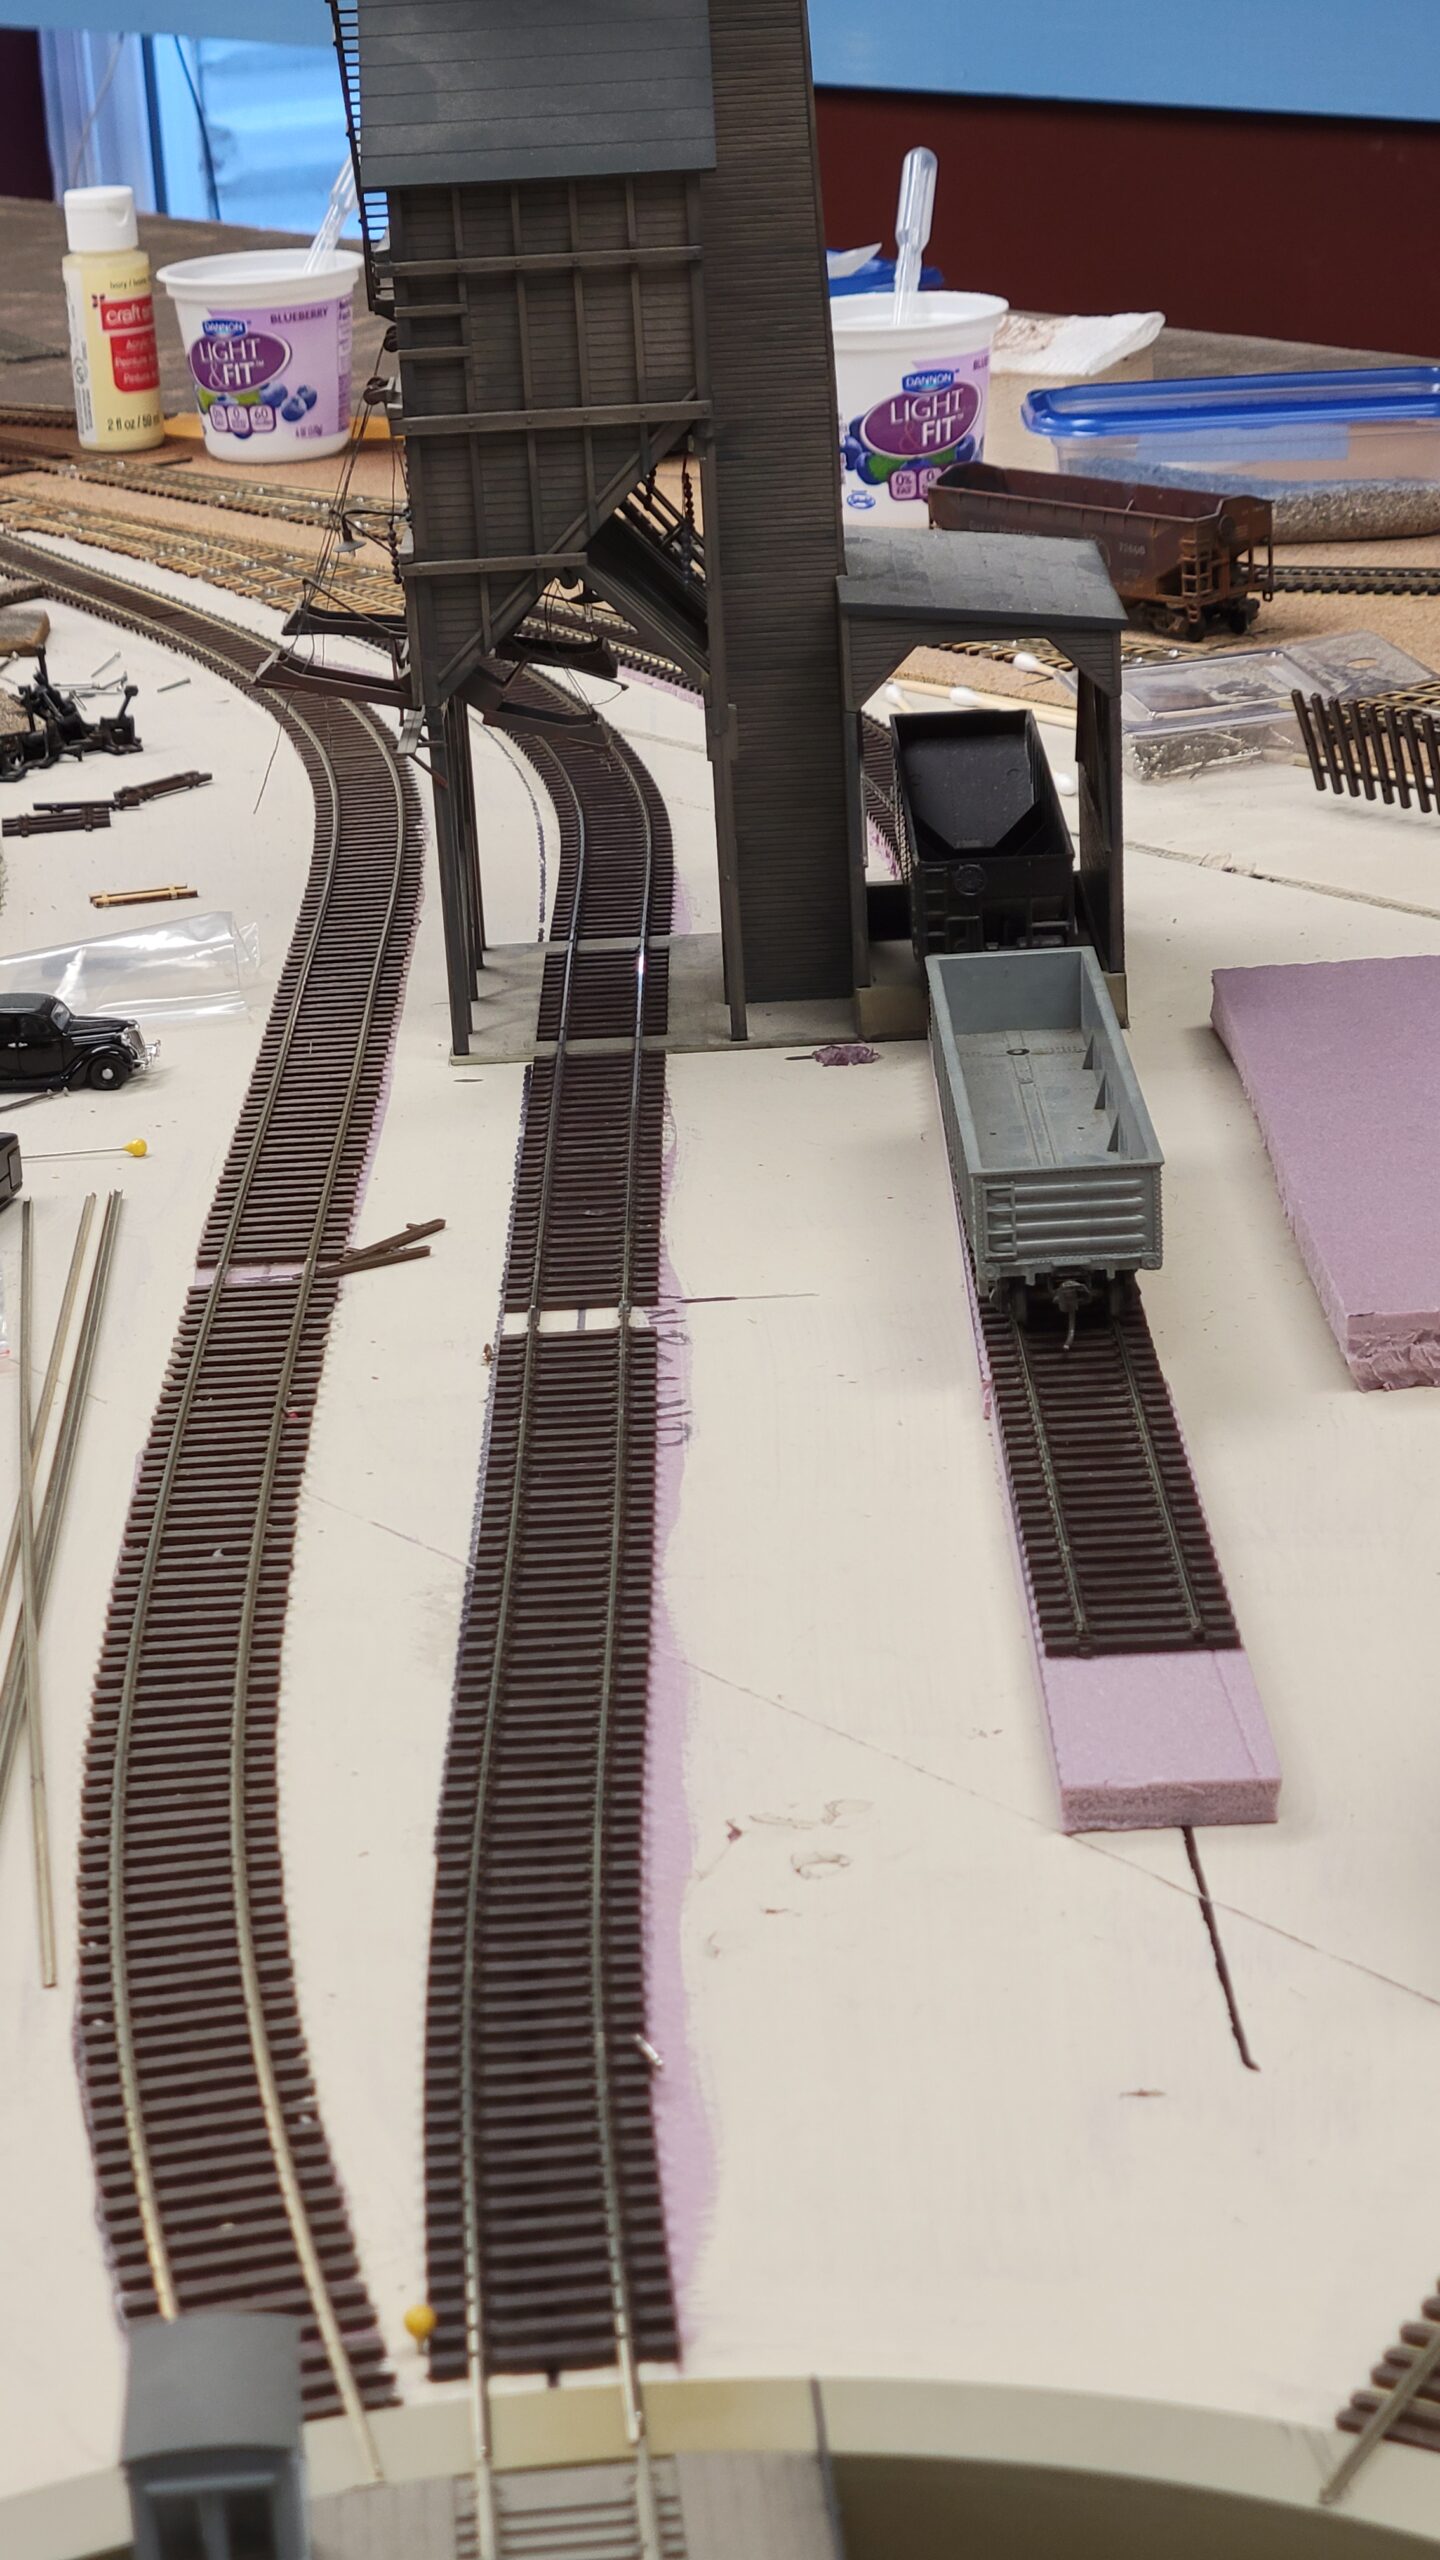
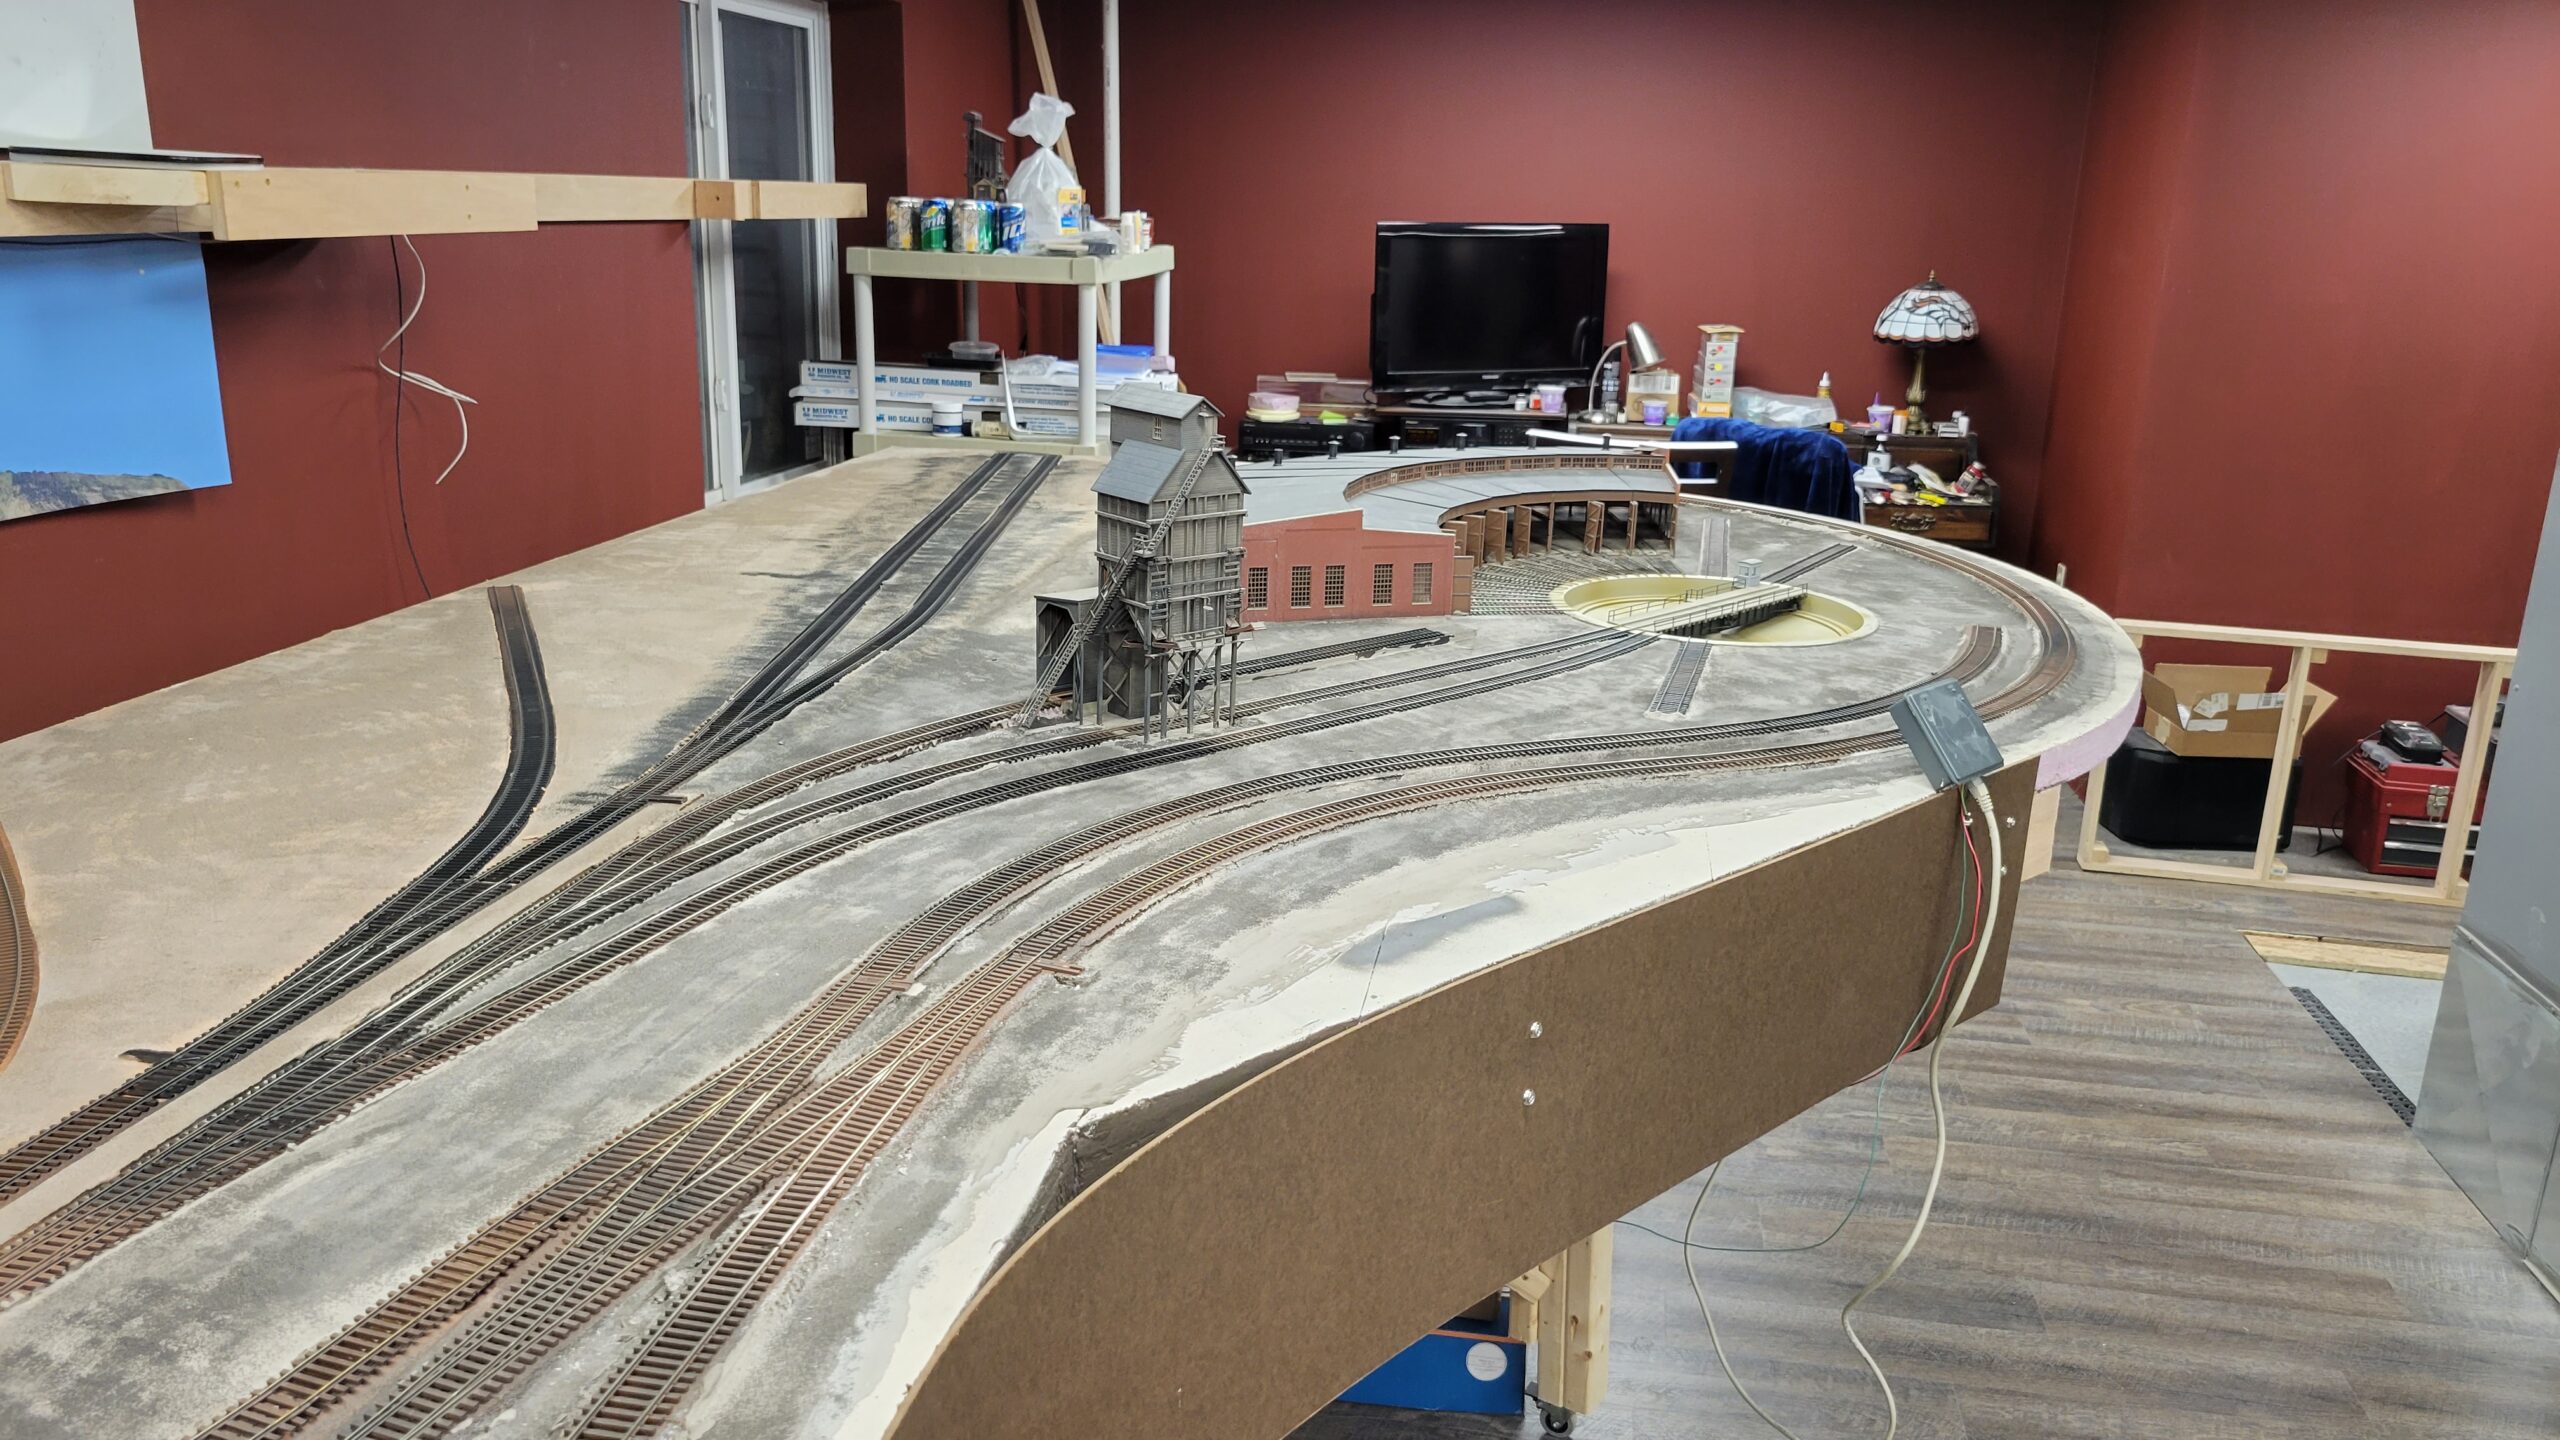
Today I installed the second turntable lead - the one that goes through the coaling tower. The only track left to complete in Casper yard is the service track for the coaling tower, sand bin and ash pit. That will be added in the next day or two, and after that I'll wire up the new tracks and begin finishing this section.

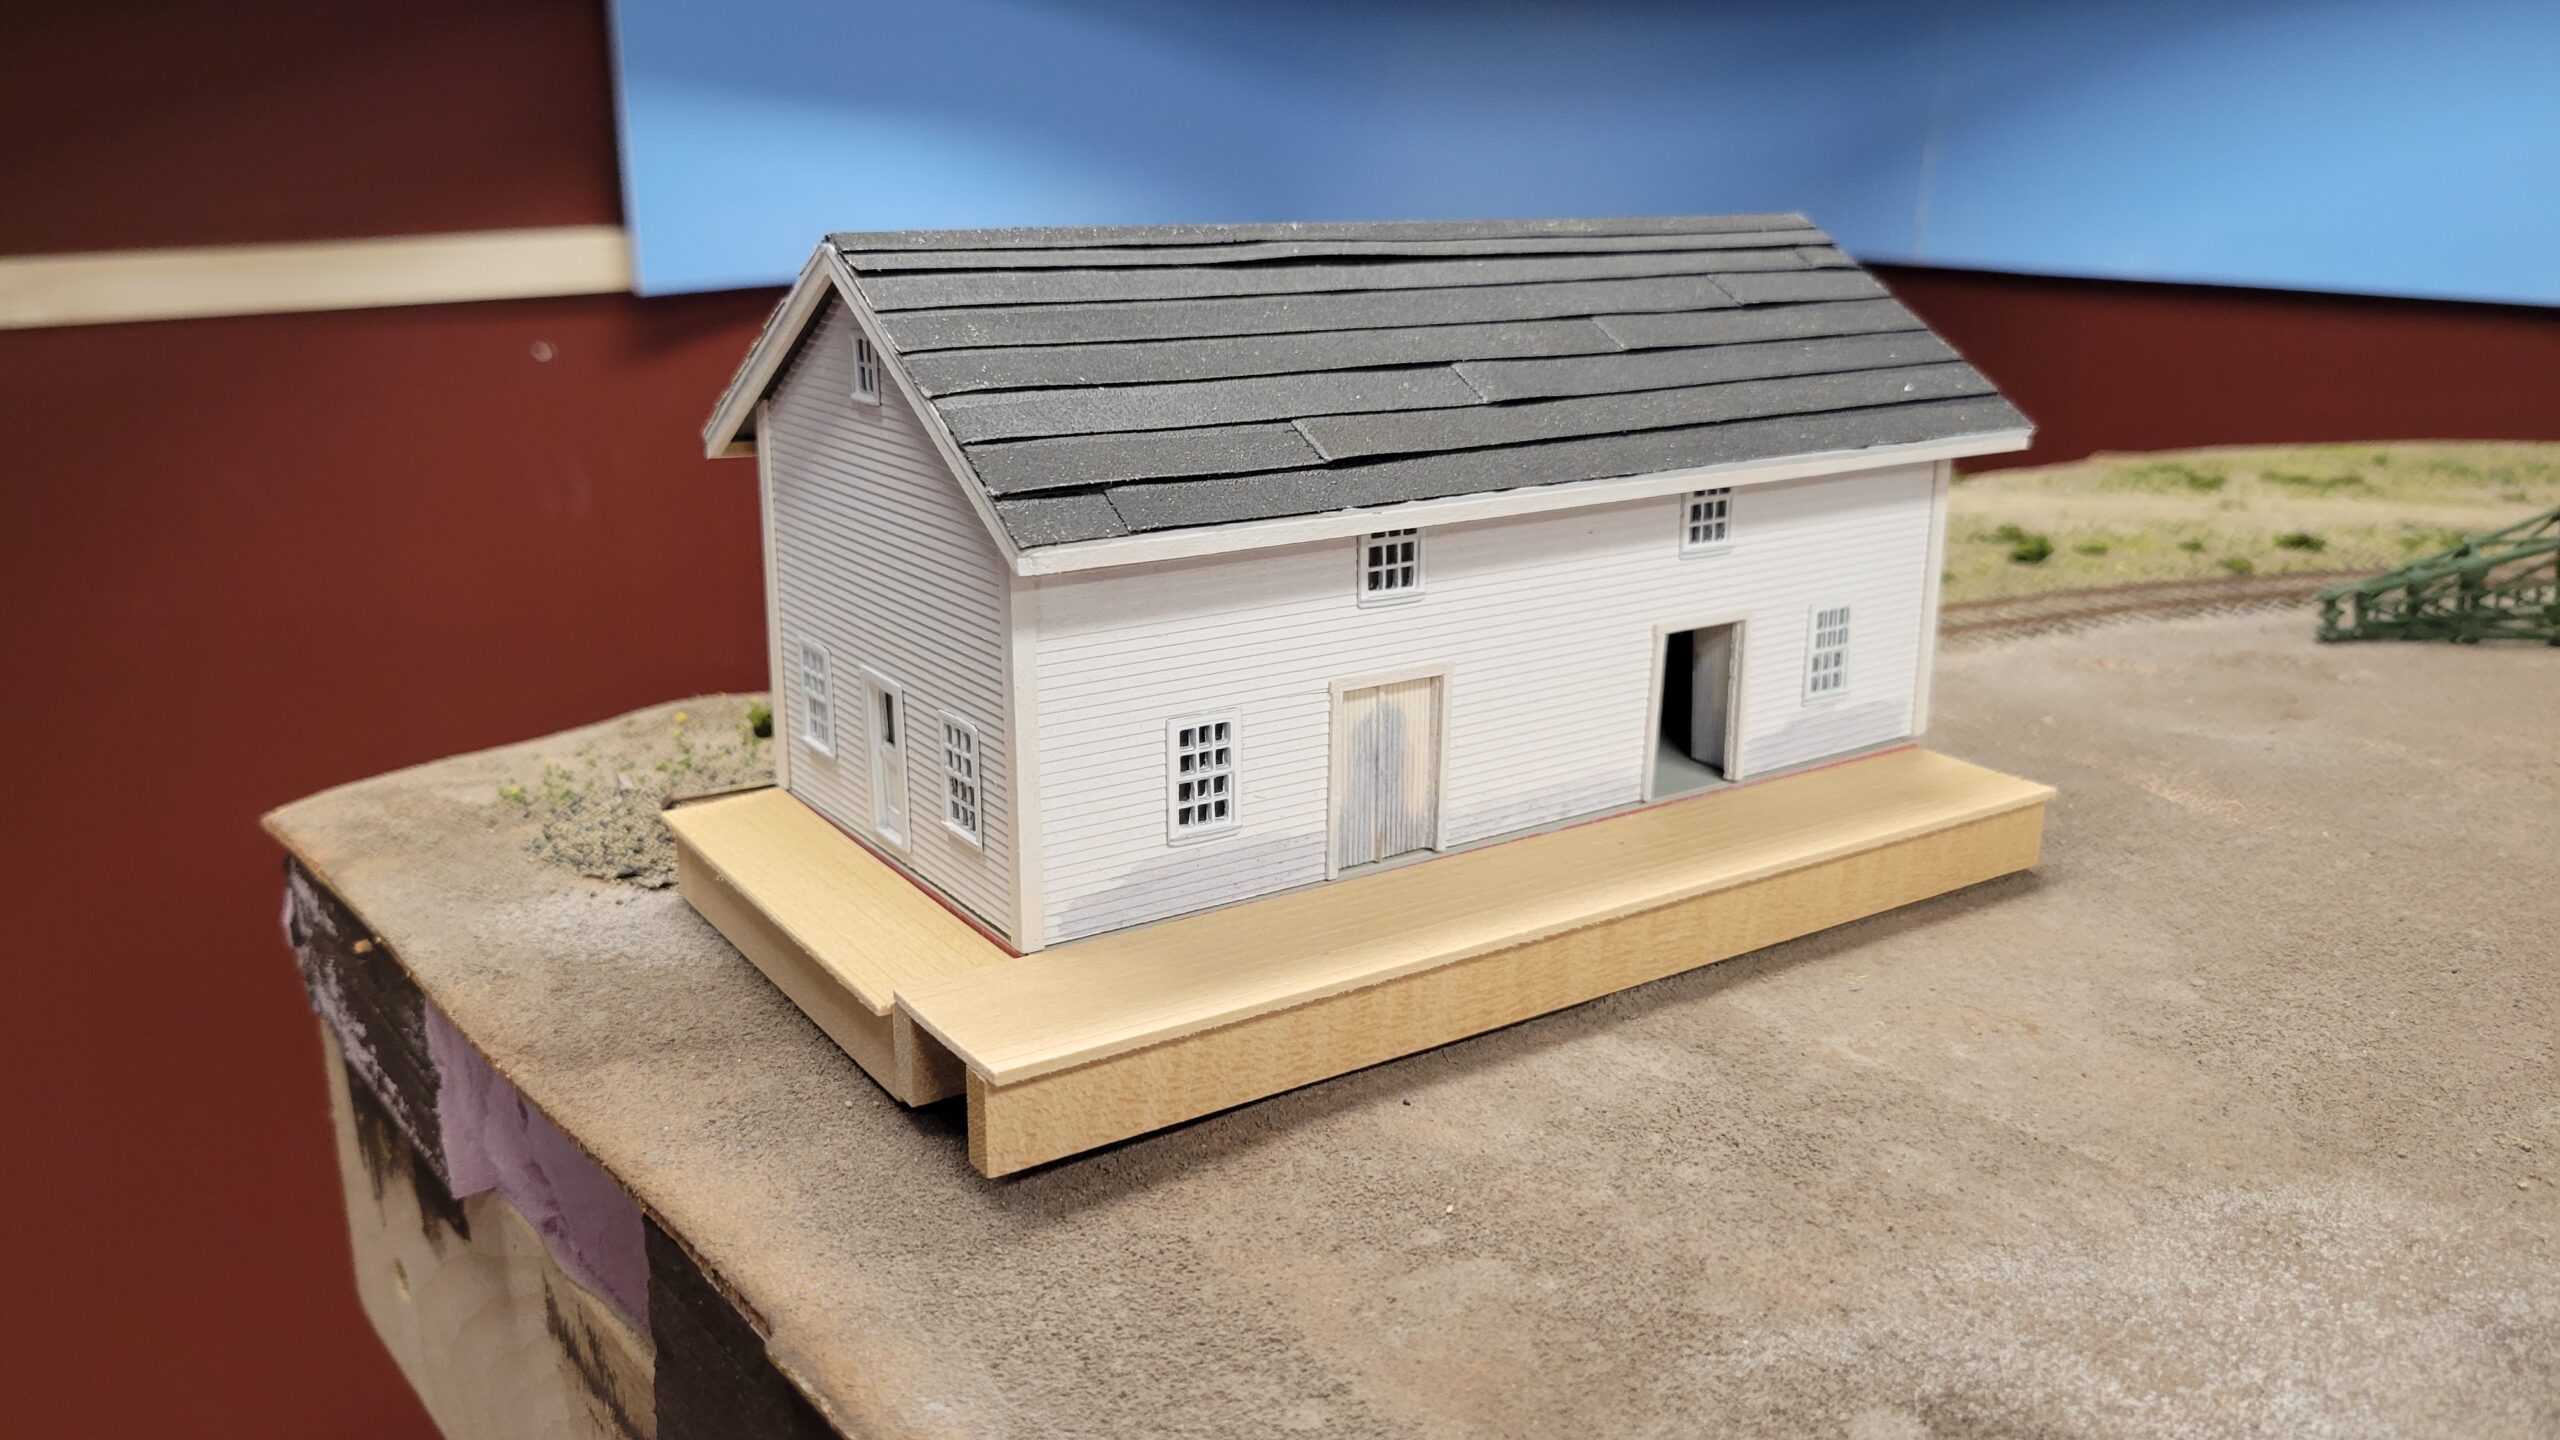
I did just a little bit of work on Rocky Mountain Drilling, adding frieze boards along the roof line and fabricating the loading platforms. Here's the building set in place, with the platforms sitting loosely alongside. Work has stopped at this point until I can get lighting installed. Parts for that are on order and should arrive in a week or two.
I've also continued working on the panorama for the backdrop. Casper yard is 24 feet long, and the mountain needs to extend across that entire distance. On June 20th the weather was right, so I spent several hours travelling across the town taking many photos of the mountain. I've built several test panoramas, and while none have been of sufficient quality to use as the final product, I'm getting there. I'm hoping to have the backdrop at least ready for final printing by the end of July.
The panoramas are way to large to post here (several hundred megabytes each), but here's a photo that representative of the what's going into it.
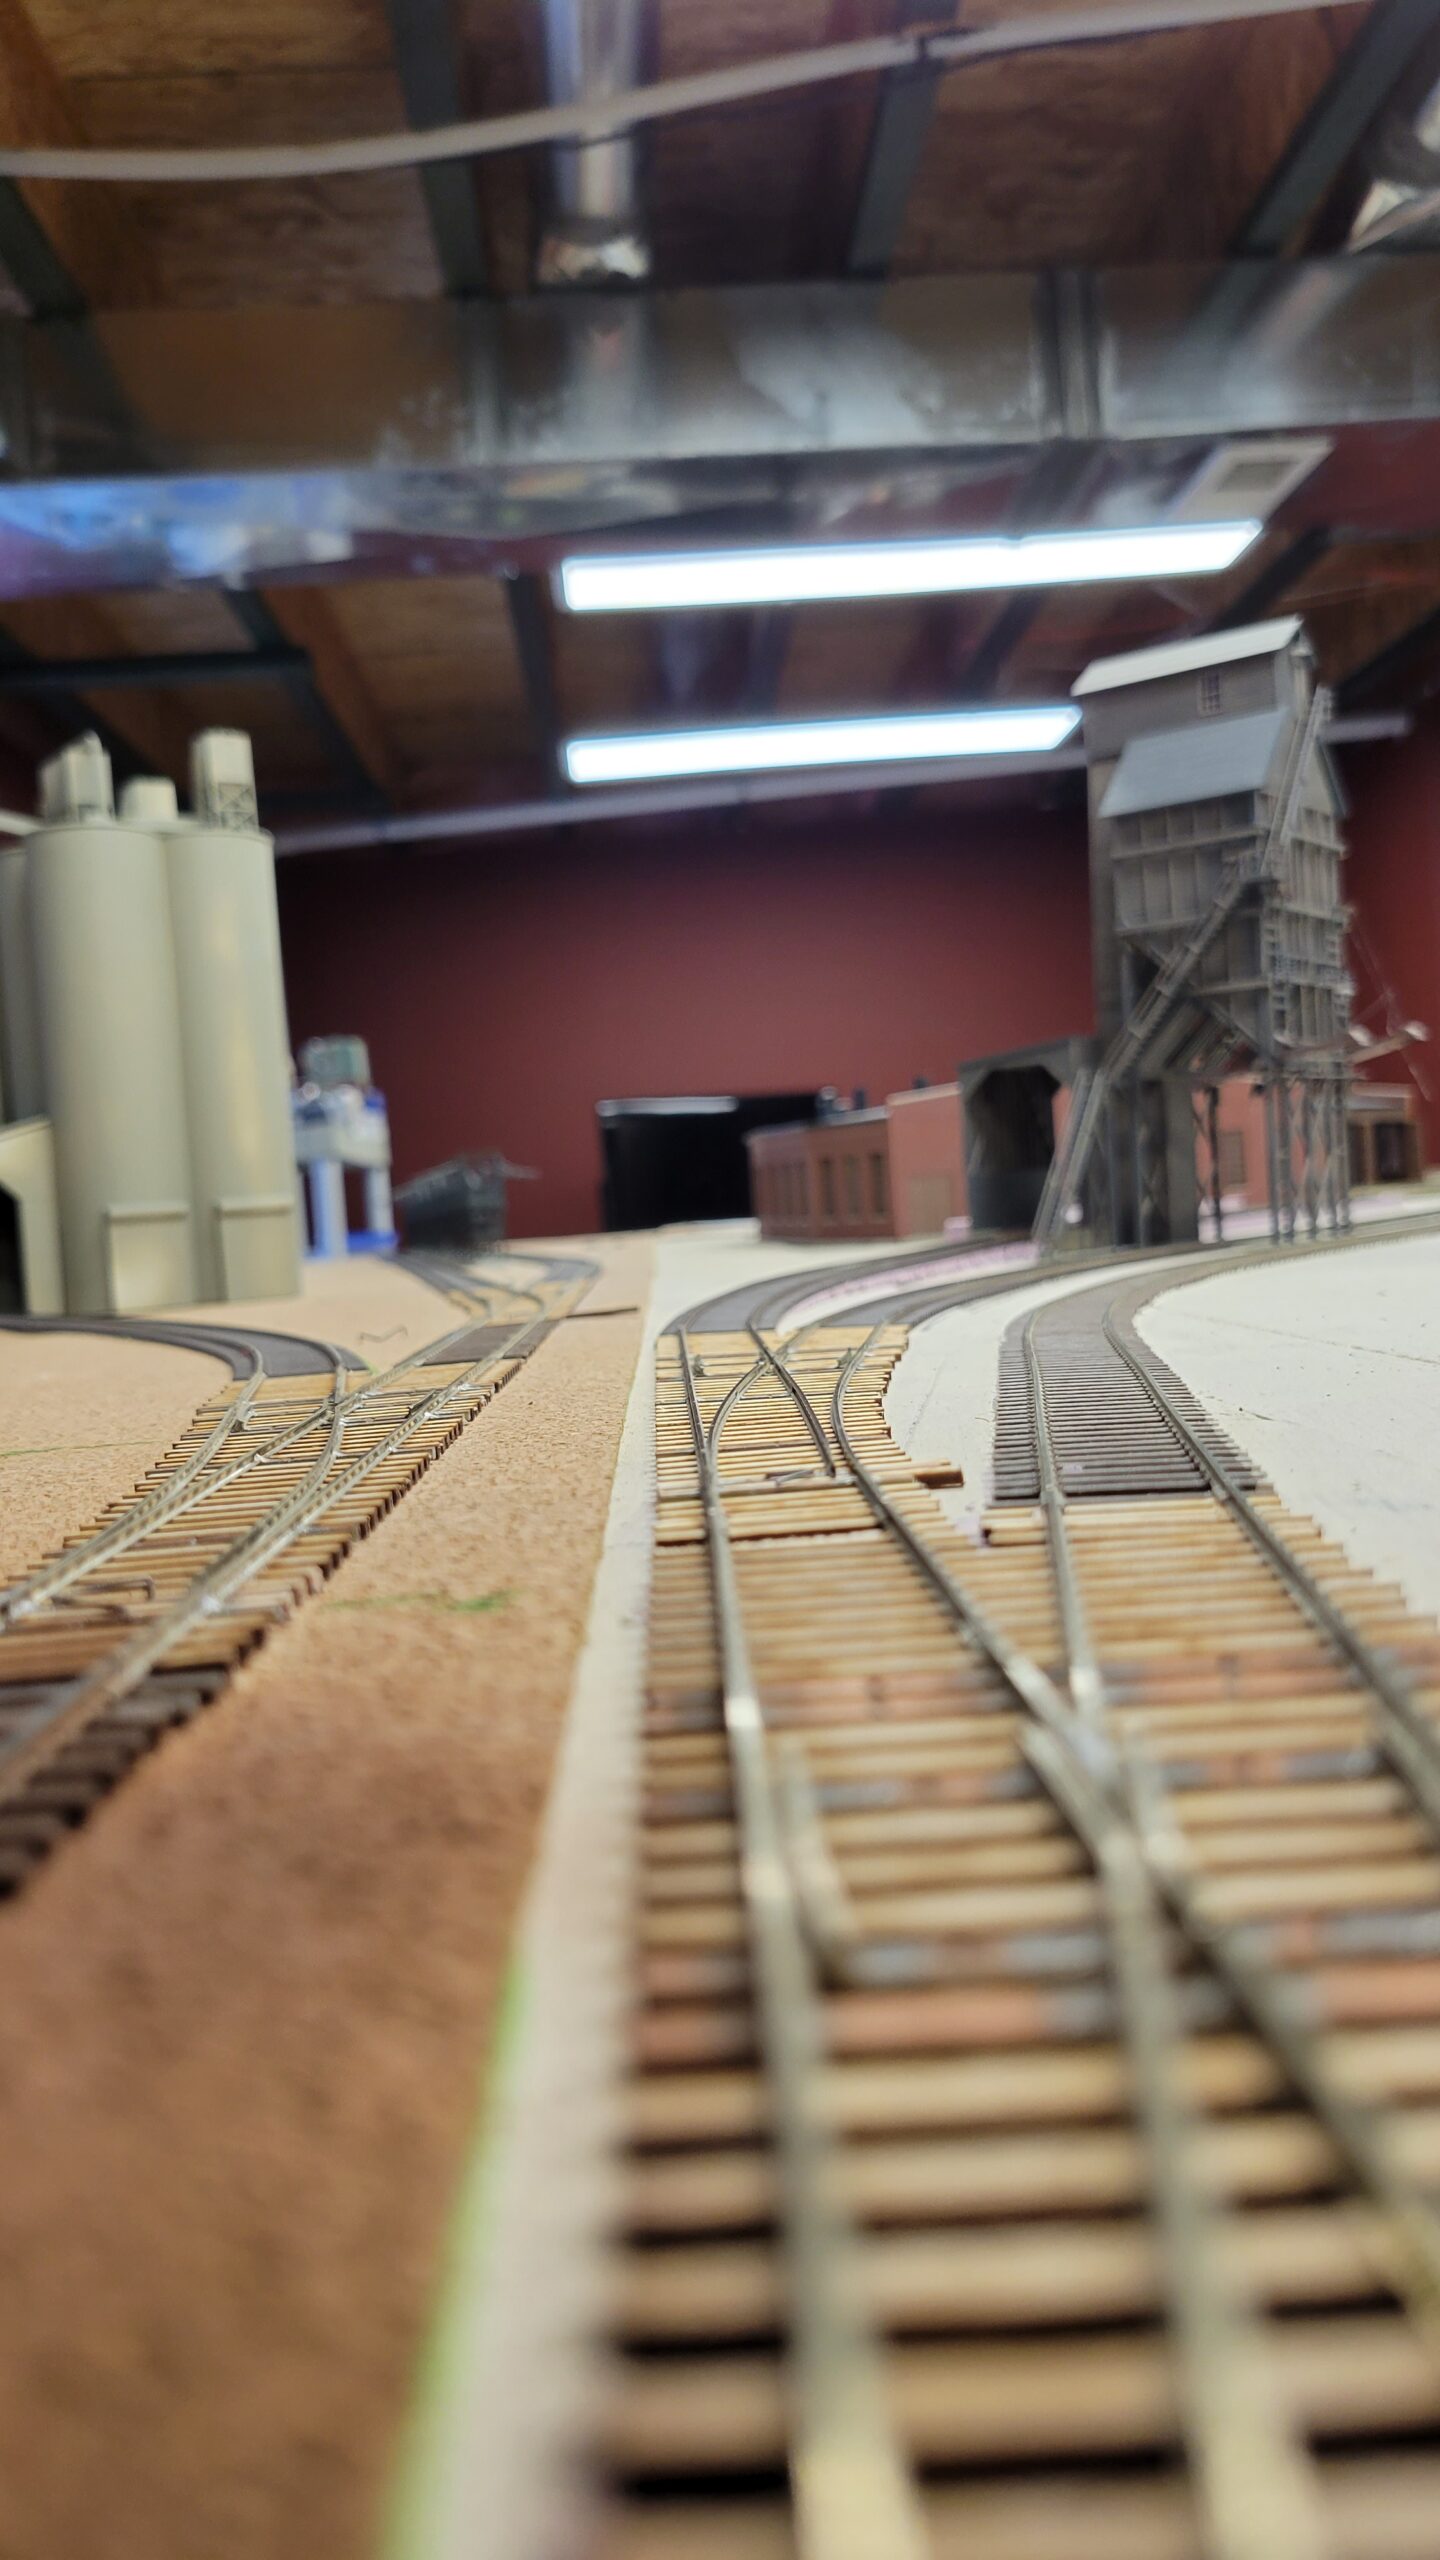
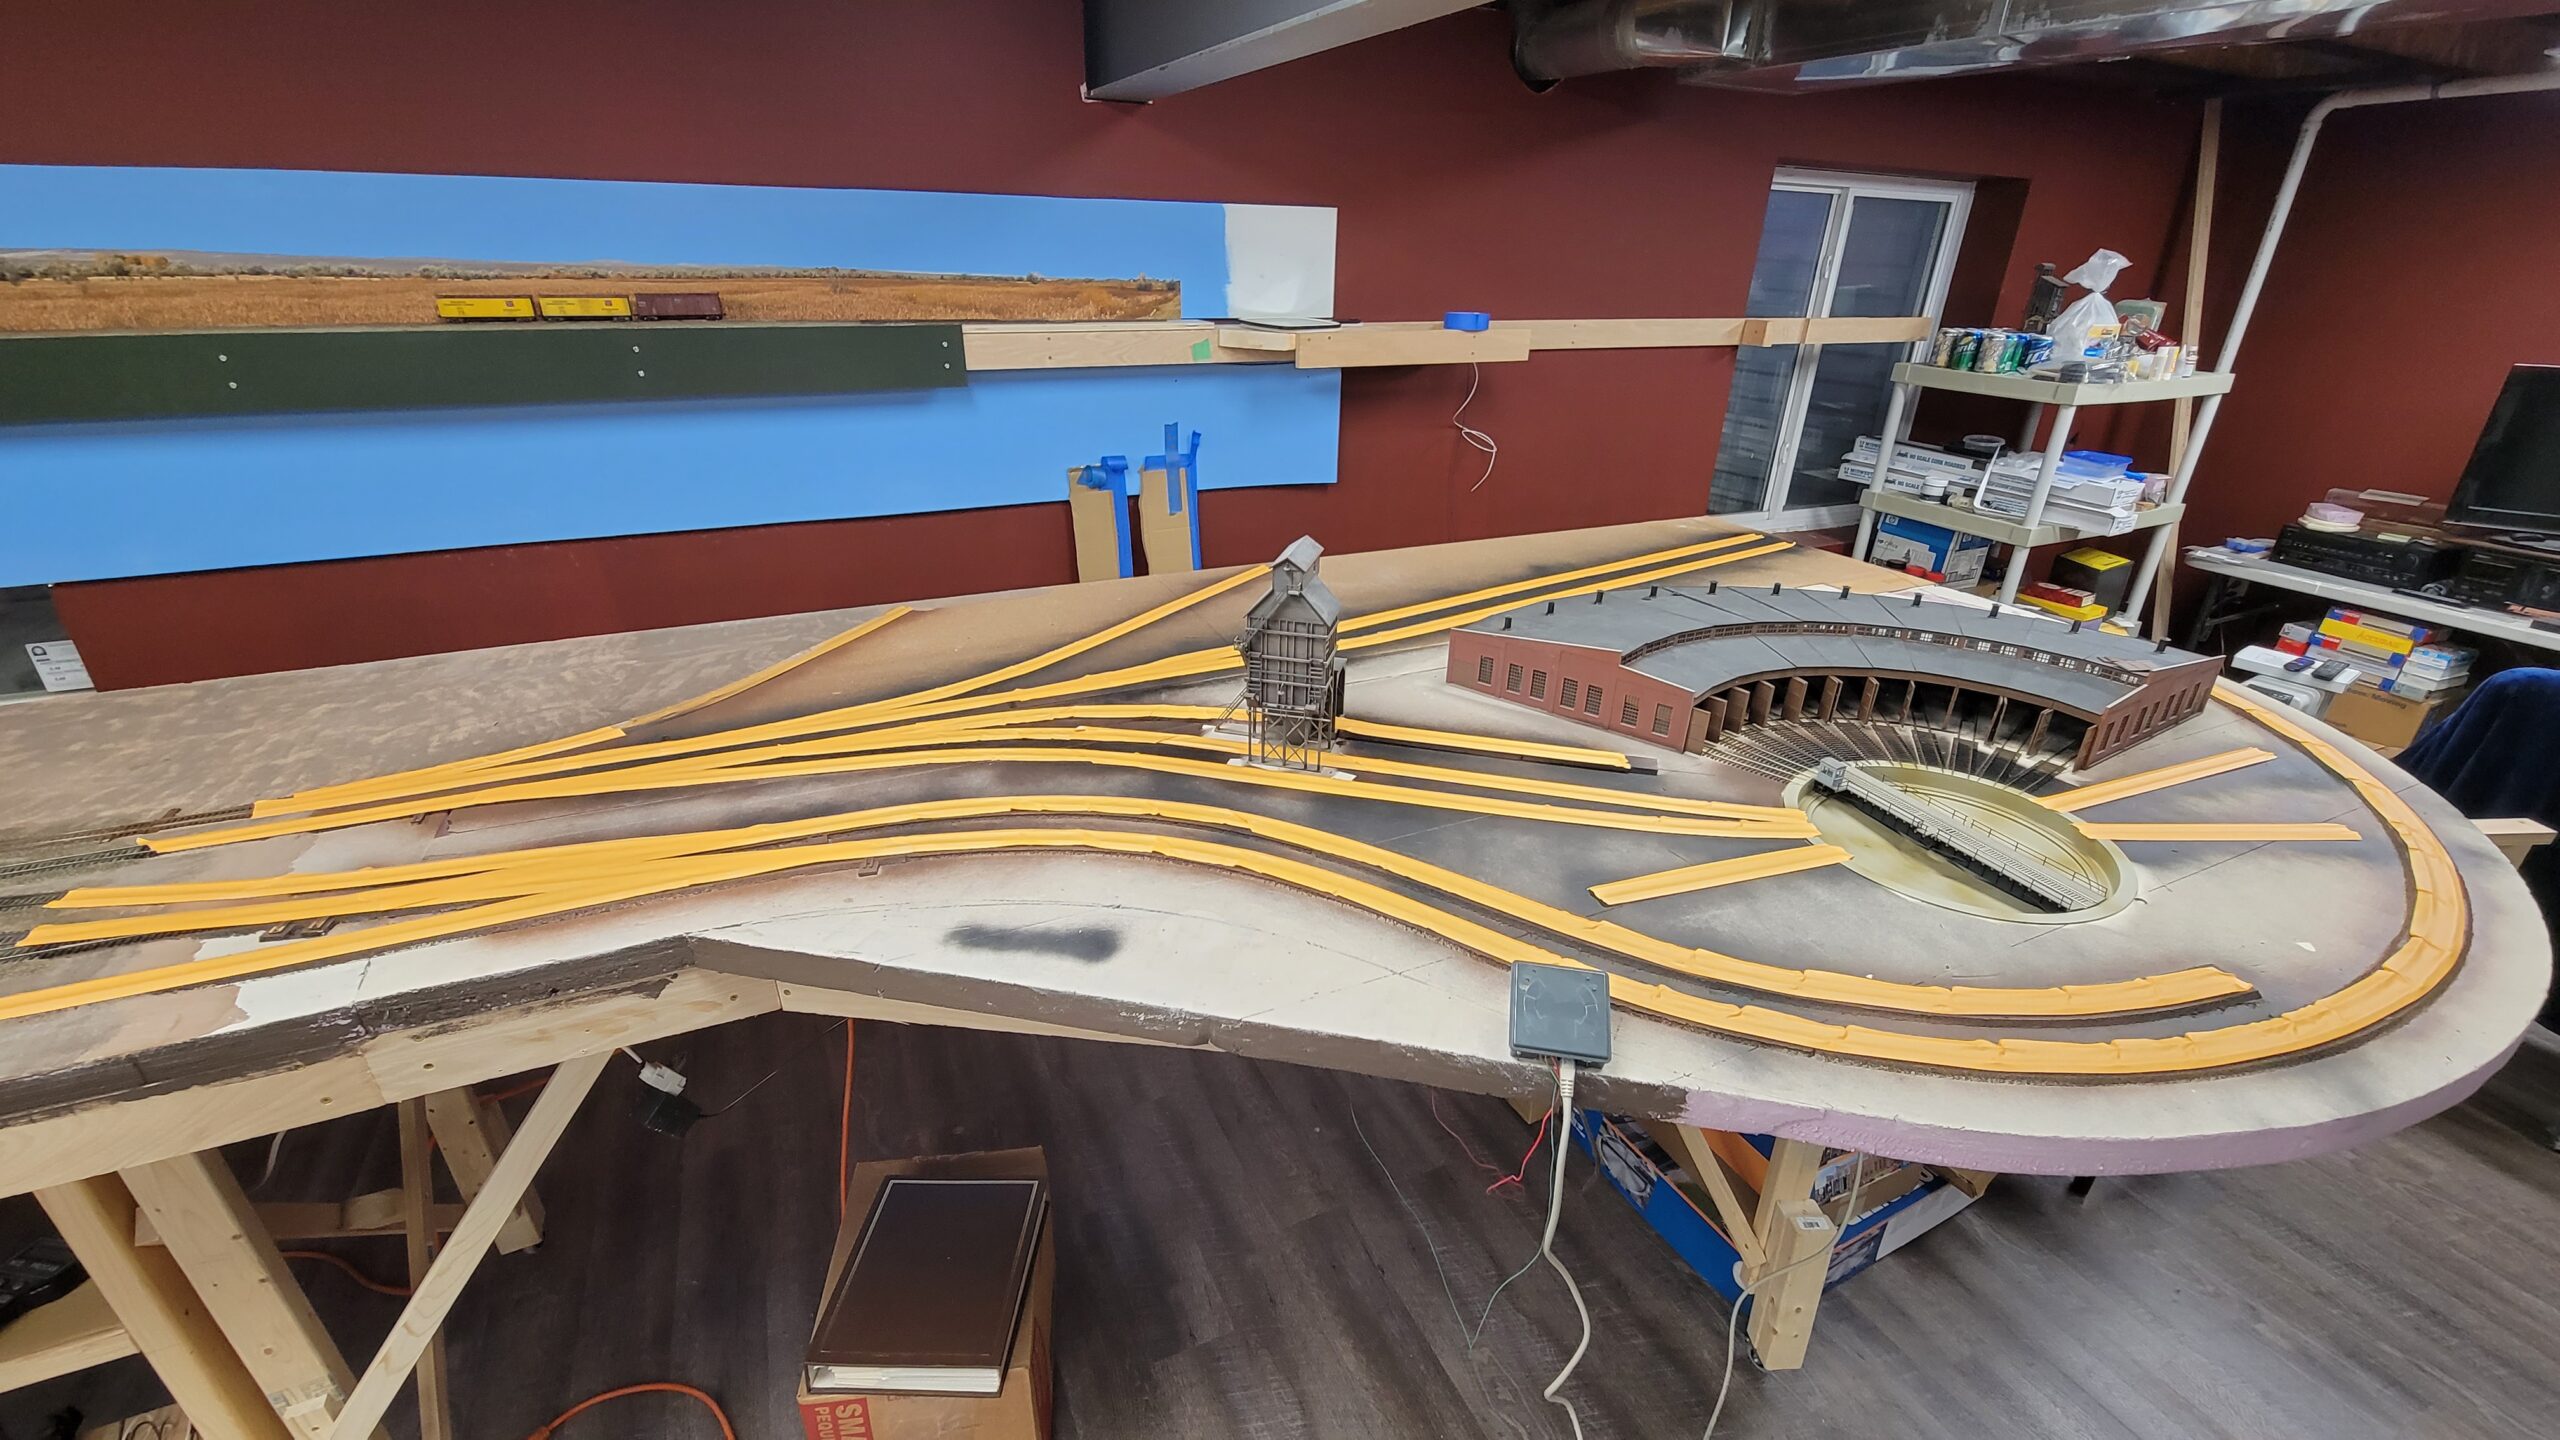
The last few days I've been preparing to ballast the remainder of Casper yard - the west end industries and the engine terminal.
First I had to install the missing track in the engine terminal - the inbound turntable lead and the commodities supply track. Here the inbound track is being installed.

And here the second lead is complete.

Here's a shot down the engine terminal lead, checking alignment of the new turnout and tracks.
Here the last track - the commodities delivery track - is in, running through the coaling tower delivery shed.
The pink foam block that's partially visible at the right edge of the photo matches the footprint of the sand bin and drying house that will be placed about there. The gondola is roughly in position to deliver sand. The end of the track extending towards the camera is where a gondola will be positioned for the ash hoist to empty into it.
Today I got ready to paint the track. Everything moveable was cleared away from the area. Here the turntable pit has been covered, and the roundhouse is shrouded in paper towels to protect it from overspray.

I also wrapped the coaling tower with paper towels to protect it.

Here are a few shots after I applied the first coat of paint. This coat is a brown to simulate the rust on the sides of the rails.

Here are the Standard Refinery oil loading tracks - also with a first coat of brown.
The entire area, especially the refinery tracks, will get a second coat of black paint, ranging from light near the yard ladder to somewhat heavier in the engine facility, and very heavy on the loading tracks, where years and years of oil spillage will have turned the ground black.
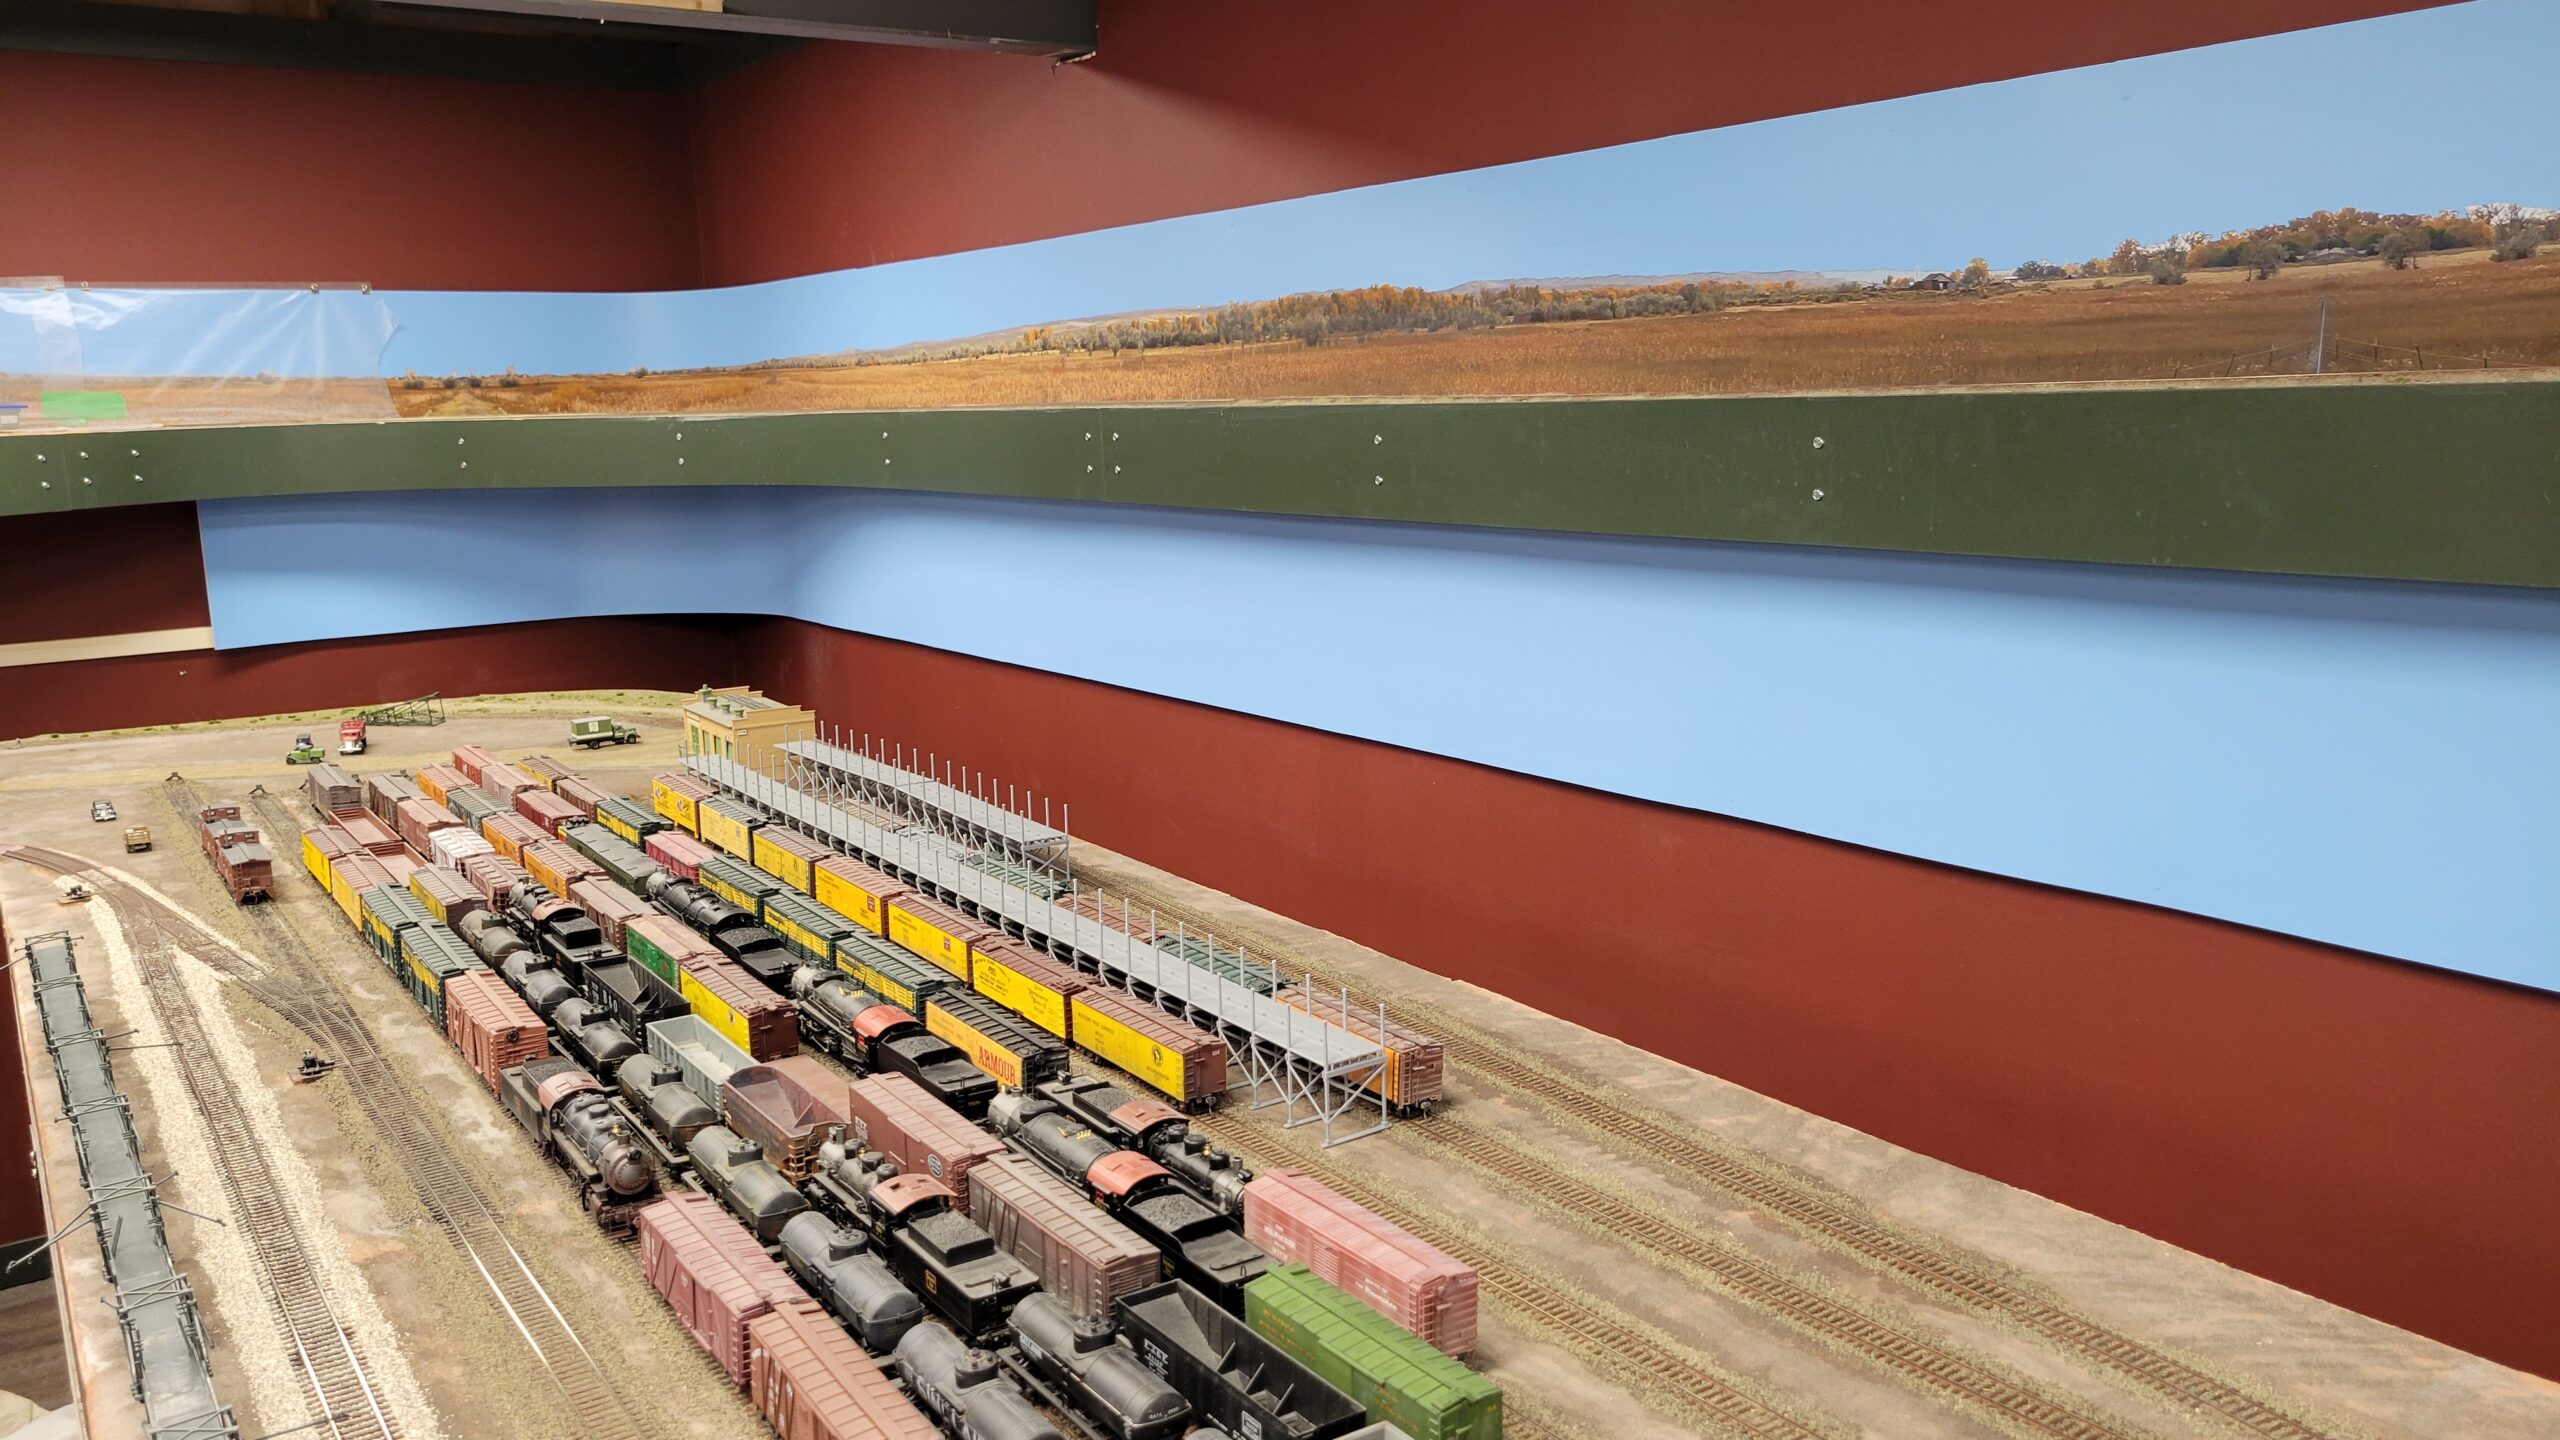
Here's an overall view of the west end of Casper from a few days ago, showing all the freshly-painted and cleaned track.

The last few days I've mostly been working on the Casper Mountain panorama. This has taken hours to put together, but I think it's about ready to go.

This was stitched together out of 40 or 50 photos in Affinity Photo.
Here's a closer view of the center section of the backdrop, showing the switchbacks on the road up the mountain.

This backdrop will be about 13 inches high by 29 feet long.
Quite a few different things have happened over the past three weeks or so. In chronological order...
I got the west end of the yard ready for plastering, dirt and ballast by taping up all the track.
I also completed work on the backdrop and had it printed out at the local Fed-Ex / Kinkos. It sat by the basement stairs rolled up like this for a couple weeks.

It sat rolled up like that because I had to finish preparing the skyboard. Some of the seams had cracked a bit while it was rolled up after being removed from the New Jersey layout. I patched the seams using Squadron White putty and, when that ran out, Testors plastic filler.
 I also filled all the nail holes and sanded everything smooth.
Late in July I switched back to the yard for a few days and applied plaster to the area behind the engine terminal.
 It's hard to tell in this photo, but the plaster along the oil loading tracks has been darkened a bit to reflect oil spills.
Then it was back to the skyboard, where I refreshed it with a new coat of paint.
I spent a couple hours putting together a new sanding station, replacing the TV tray I was using as sander stand with a old stereo cabinet I found at a thrift store for just a couple of bucks. I built a new top using left over scraps of wood fro the bookcase project in the library, and had a much improved place to work!

The last day of July I rough trimmed part of the backdrop and taped it up to see how it would look. Might be okay...

That same day I finished initial weathering of the platforms of Rocky Mountain Drilling and sat it on the layout.

Also on the 1st I finally got around to adding dirt to the plastered area behind the engine terminal. I added extra black to area around the oil loading tracks. Should look better once its all blended in a bit more.

I also finished installing the first couple sheets of fascia in Casper that day. I still have to add cutouts for throttle jacks, and possibly cut out for the turntable control box. Once that's done, I'll take the fascia back off and paint it.

On the fifth, after spending a few hours final trimming the Casper backdrop, my wife helped me install it. It came out pretty good!

On the 6th I tried my hand at soldering leads to tiny little LEDs for the lights above the doors for Rocky Mountain Drilling. Much to my surprise, the second LED works! The first one flew off into the ether somewhere, never to be seen again.
These LEDs are really small - they're one millimeter long by half a millimeter wide!
I had to work using a magnifying lamp AND my Optivisor to even begin to see the solder pads. I've since bought a lamp with more magnification power so I can see better.

And finally, today I added the plaster groundcover to the engine terminal itself. Shortly will come dirt, then I'll peel off the tape and ballast the entire area.

Yesterday I got all the dirt applied to the west end of Casper yard. It's still soaked in these shots.


This morning it looked pretty decent after it dried overnight. Just a couple bare spots to touch up, and it looked like this:

I let the touched-up spots dry through the day, and this evening I removed the tape and vacuumed up all the debris. Here's an overall view of the area:
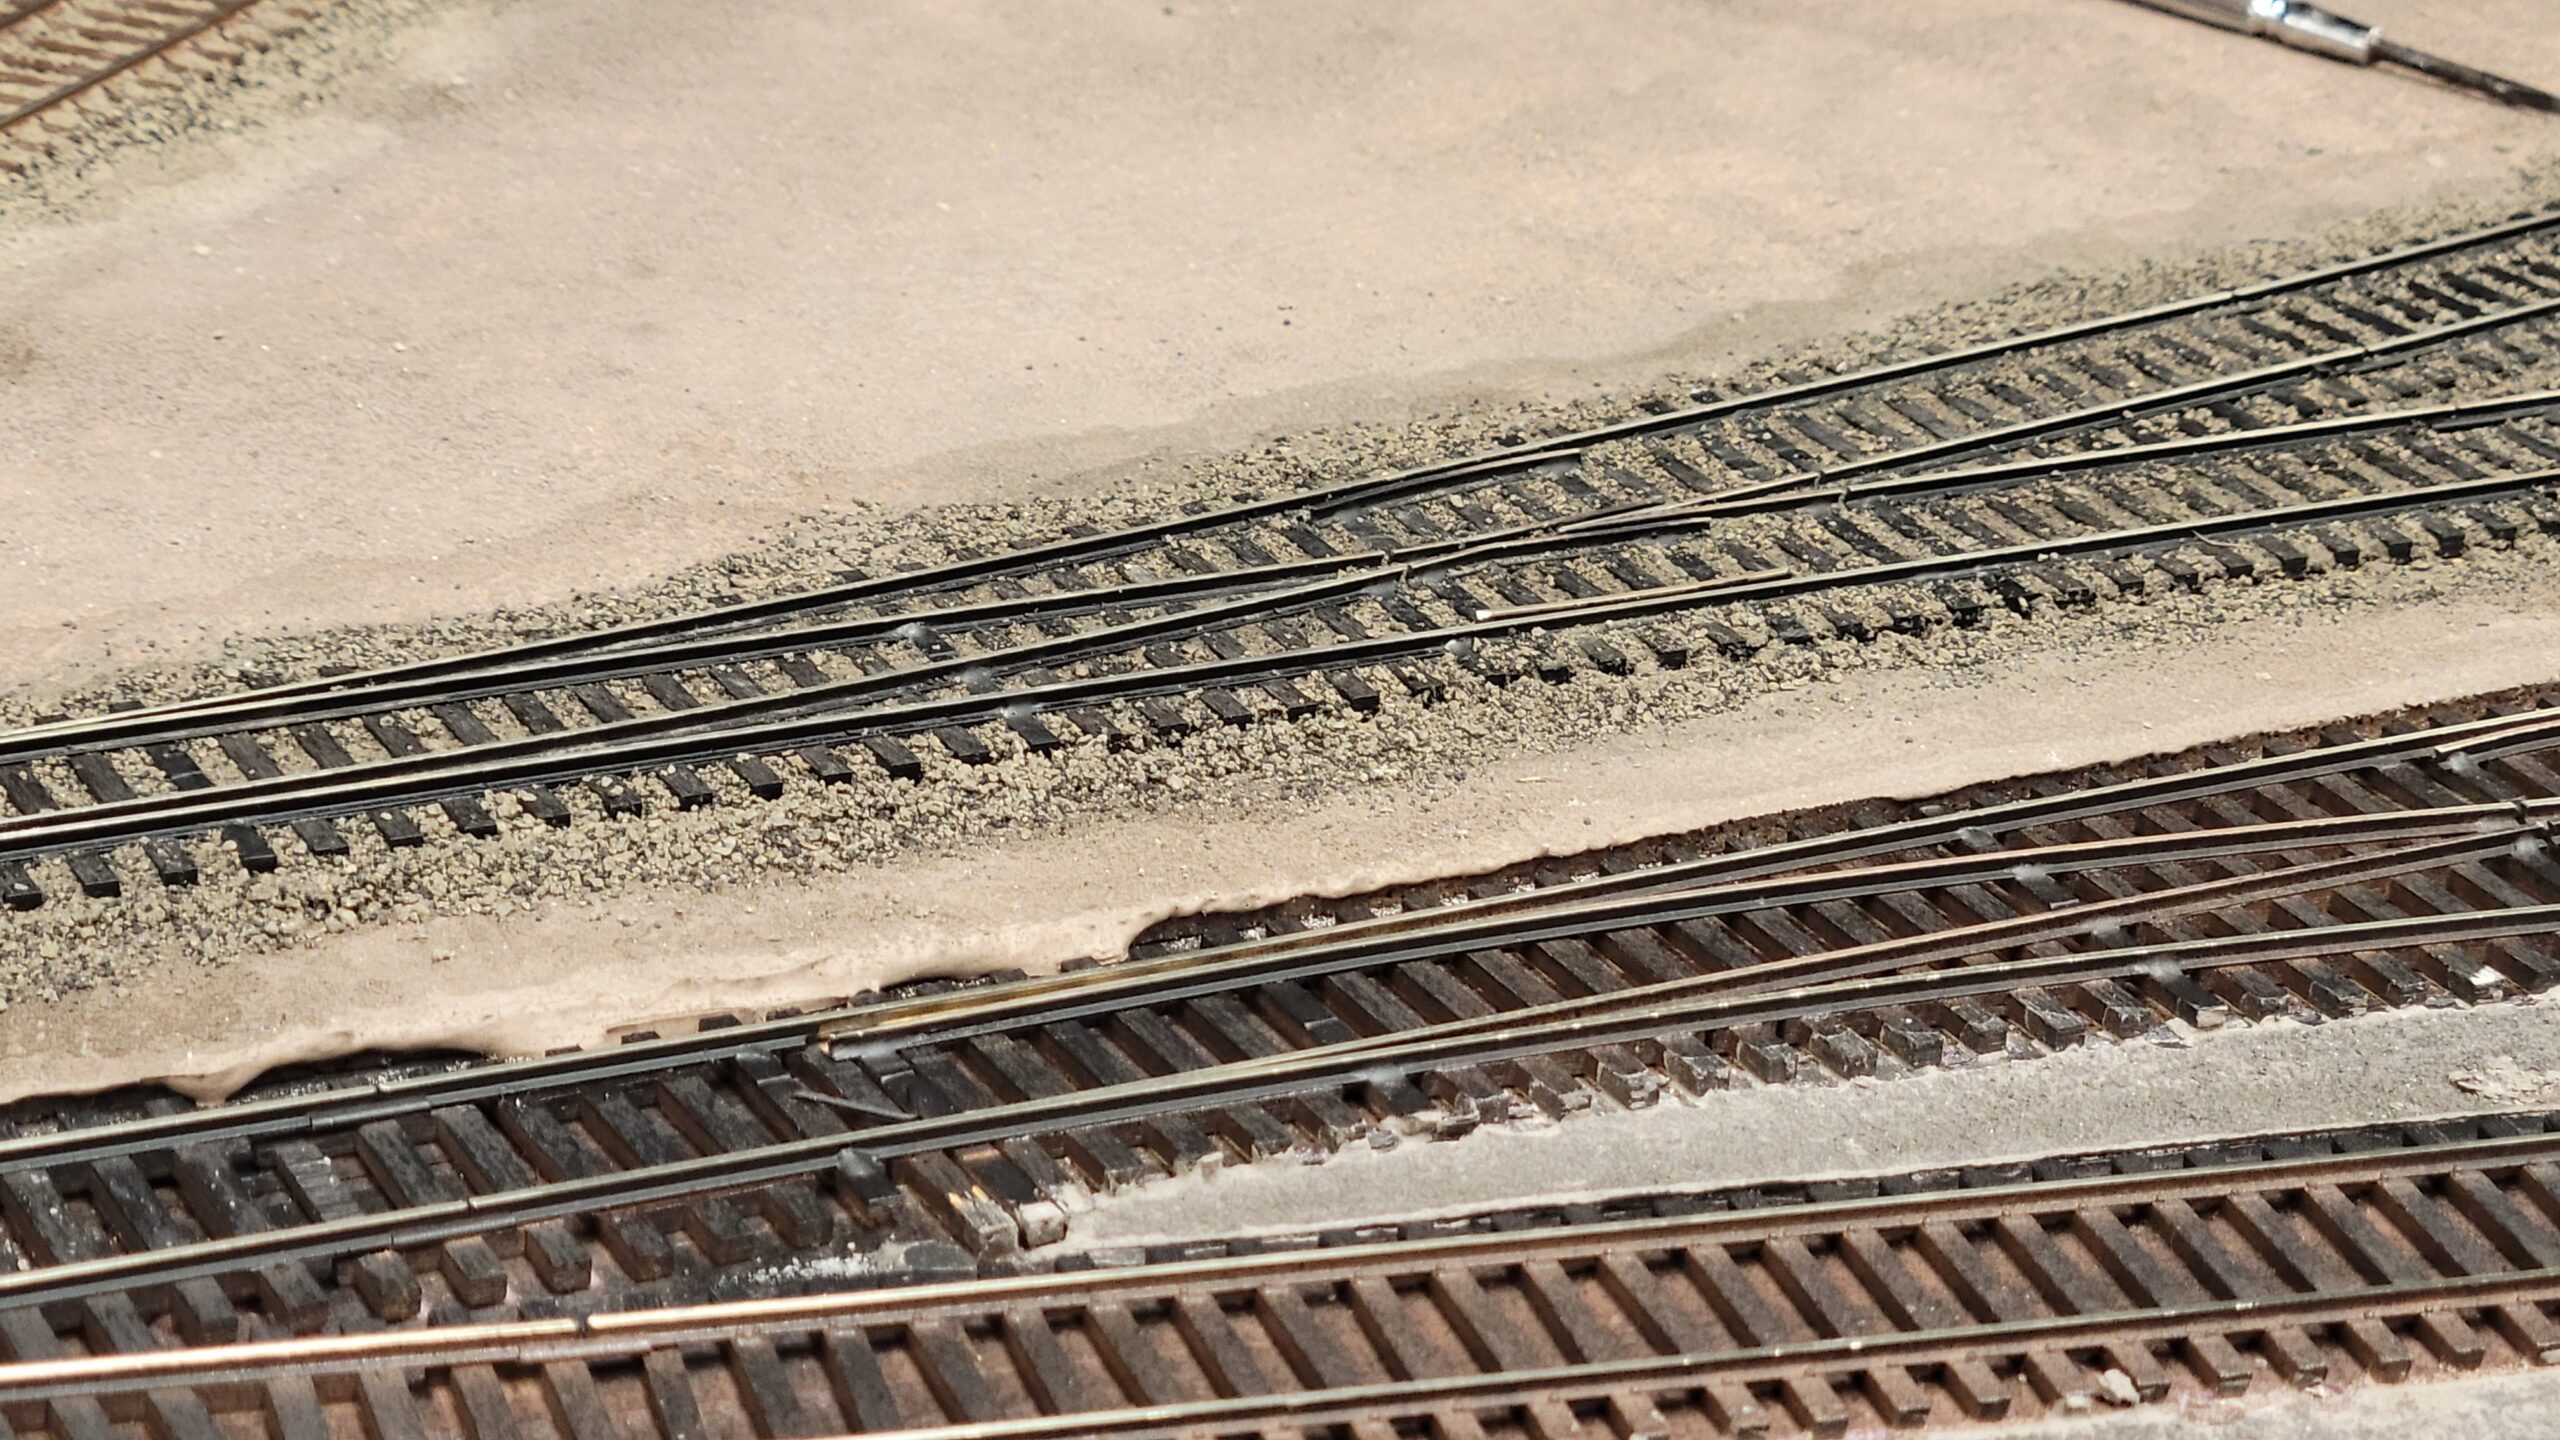
Still a bit of work to do before ballasting. In some areas the plaster oozed up between the ties a bit, like this. That was expected, and I'll chip it out with a small screwdriver. Since it's just plaster of paris, it comes out very easily.

Here's a shot of the oil loading tracks...

And the turntable and leads.

SUCCESS!
It looks like the cork sheet repair, where the cork lifted a turnout, worked. It looks like there was ever anything wrong at all!
A few days ago I started ballasting the west end of Casper yard. I started with the Natrona Lumber spur and the lead towards the engine terminal. Ballast is laid but not yet glued in place in this shot.

The last few days I've kept on with ballasting the Standard Oil Refinery tracks. It seems to be going well...

A few hours later I went back down to the layout to scope things out and maybe do some more ballasting. I'm glad I did! I had another disaster in process!
The water in the ballast glue apparently soaked into the cork enough to loosen it from the subbase, and it wrinkled severely between the two sets of tracks! Not only that, but the supposedly waterproof caulk let go under the turnout, and it bowed up as the cork wrinkled.

I decided to try to weight everything down in hopes that it will flatten back out as the moisture leaves the cork. I added some full strength yellow glue under the loose edge of the cork and laid a 4' level along the tracks. With the added weight of the soda cans it flattened the switch back out (I hope!) and the thick steel rule from my combination square flattened the edge of the cork.
 It will stay like that for at least a full day before I remove it tomorrow night (or maybe Thursday morning). Hopefully everything will be okay. If not, I'll have to pull up this switch and the cork underlayment and relay it.
On August 24, in preparation for placing Casper in it's permanent location in the corner, I moved it there and adjusted the elevation off the floor to get a best fit. It looked like this:


Part of the preparation had been to add braces to all the legs. Not very exciting, but necessary for stability of the yard.

I almost forgot that I have to finish the CNW scenery above Casper in the corner before I can set Casper in its permanent home. So I pulled the yard back out and got to work on the area by painting the rails. Here's the painting in progress:
 That job is now done, and I can proceed with grass and other foliage in the area.
I also finally received the LEDs I need to add lights to Rocky Mountain Drilling. Using .018" outside Diameter tubing, I fabricated this gooseneck lamp, threaded the leads of a pre-wired 0603 LED through it, added the shade and an escutcheon at the building wall, and wound up with this:
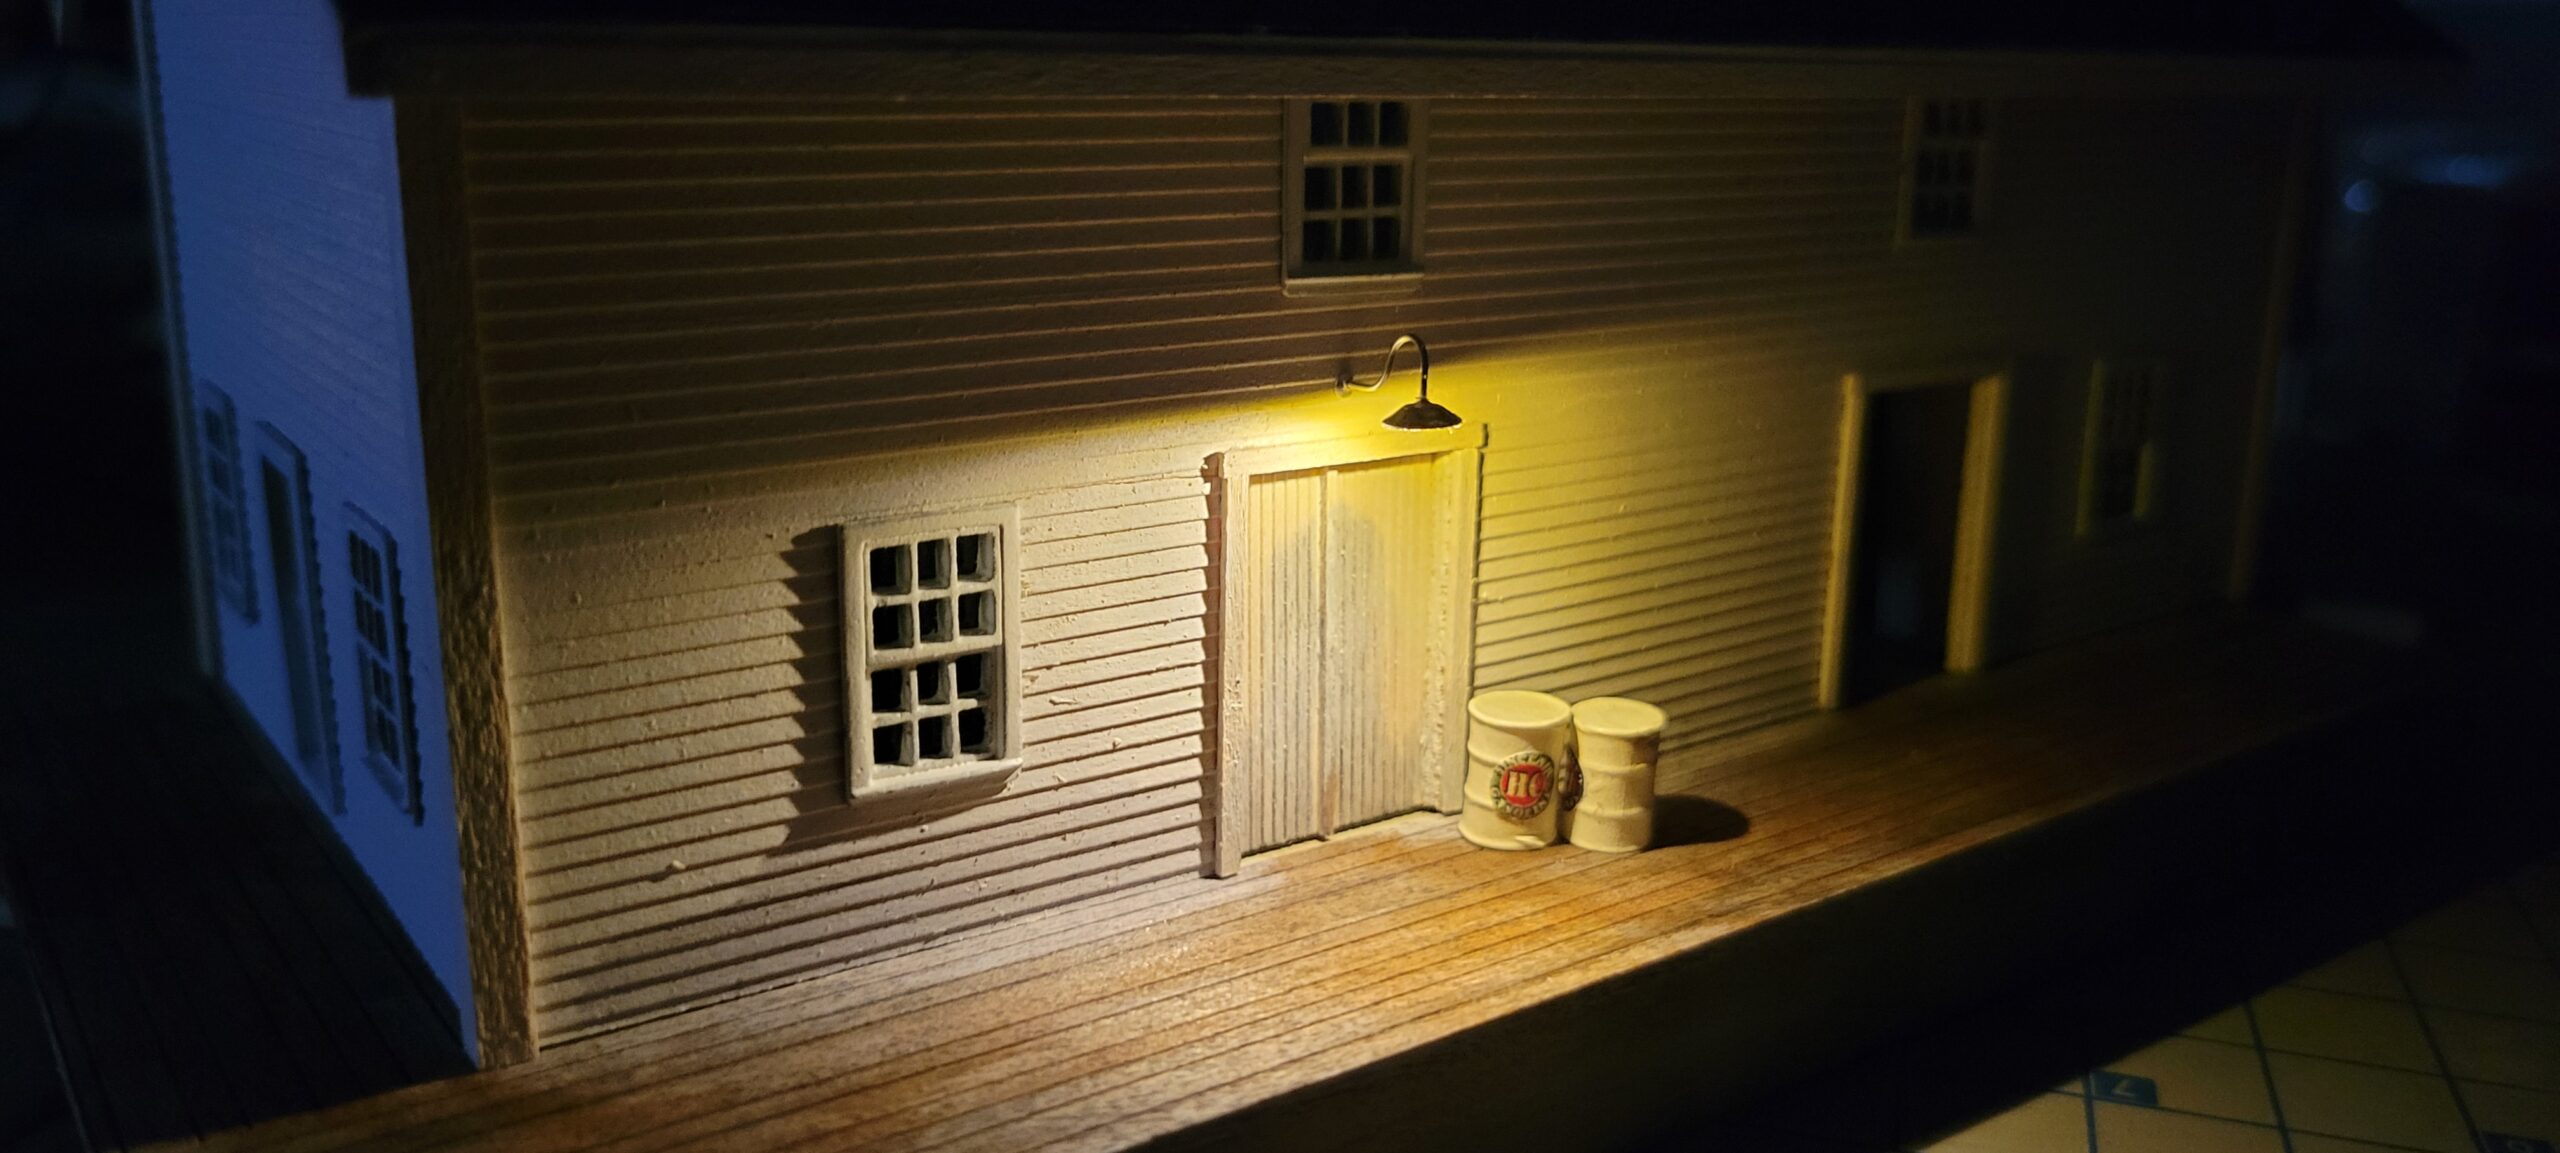 This came out better than I hoped! Five more of these and the lighting will be done!
The last several days have been spent mostly on Rocky Mountain Drilling lighting. I installed all the exterior lights, then added some scrap thin plywood to the interior to act as light blocks from the upper windows. The idea is that the building is one large warehouse with a loft, open in the center all the way to the roof. No real interior detailing to be done, except maybe sitting a few pallets with crates near the open door.
After the loft baffles were in place, I added a few LEDs to the underside to represent interior lighting. Here's a shot of the inside:

I started connecting all the wiring together. I was concerned that the very fine LED wires would easily break when attached to a heavier wire to run under the layout. After turning it over in my head overnight, I came up with the idea of using scrap bits of PC board ties (the ones I use to make turnouts) to act as connection points for the wiring. I prepped two pieces - one for interior and one for exterior lights (in case I want to adjust the brightness separately). I cut a groove in each bit so that I had two electrically isolated pads on each, then tinned them.

I applied adhesive caulk to the back of the ties, stuck them to the underside of the structure base, then soldered the lead wires (the heavy ones) and then the LED wires to the appropriate locations. This provided a secure connection point that does not stress the LED wires at all.

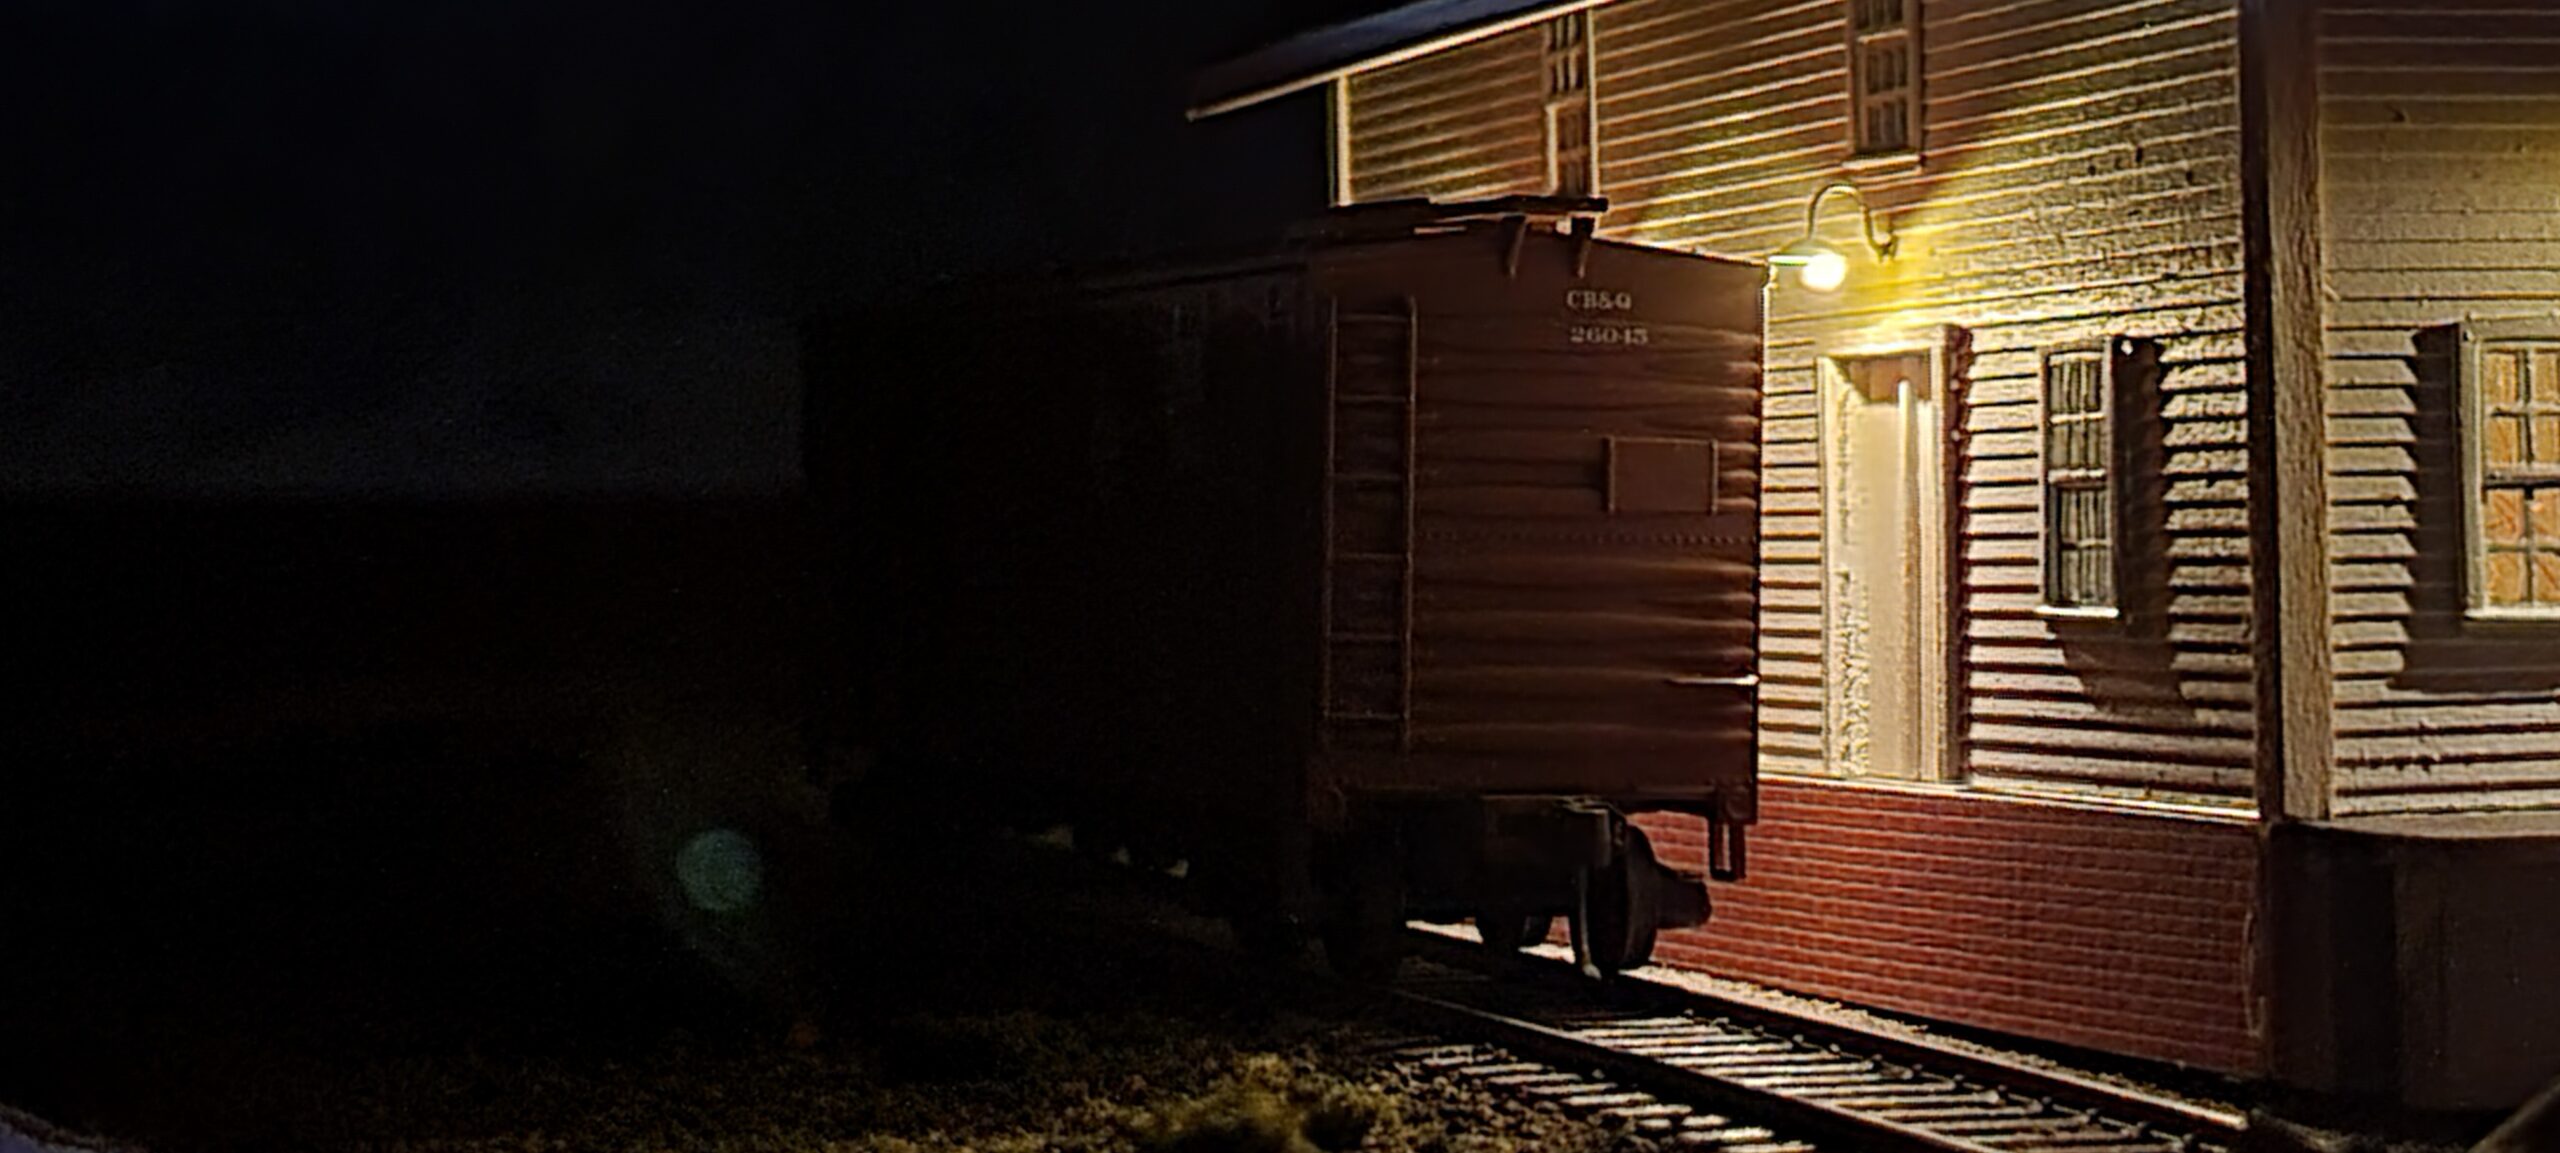
Then I drilled a hole in the layout surface below the building and fed the leads through it. I positioned the building temporarily and hooked up power. Then it was a matter of playing with the camera to get a few pictures. Here are a few of the better shots.


Quite a bit has been happening during the last few weeks. First, right after my last update, I purchased an Osmo Pocket 2 gimbal-stabilized camera. This is a very small video camera, and I was interested in using it to record cab ride videos on the layout. Here's a couple of still photos taken by the camera:

 These were taken using the autofocus feature of the camera. The depth of field is not good, and the camera focused on the track about eight inches in front of the lens. But I really DO like the "eye level" of the camera - it's about six scale feet above the ties when the camera is sitting on a flatcar.
While all that messing around with the camera was going on, I was also getting all those many boxes of books out of the train room. For a long time the room looked like the background in this picture:

Now it looks like this:
 I still need to organize all the shelves, but most of the non-train stuff is out of the room.
I was finally able to clear all those boxes out of the train room because we finished the library:
 (my wife didn't want to be seen).
With that done I was finally able to get back to the layout.
I'm focusing on the upper deck of the CNW, in the back corner near Hudson, since that's the only thing I have left to finish prior to moving Casper back into it's permanent location in the corner.
I'm trying to make a cornfield in the corner, where the benchwork is wide enough not to just represent the railroad's right-of-way. Not sure I'm doing a very good job, but it will be in the background and with a very limited viewing angle, so I'm not too worried. I picked up a bag of polyfiber at Hobby Lobby and started out by painting some stretched out handfuls brown and orange to match the cornfields on the backdrop.

I glued it down on the layout:
And weighted it down overnight to even out the top somewhat.

Then I added some fine ground foam to the top to simulate the tassels (ok, so you have to use your imagination here. Like I said, it will be in the background).
Today I went back and added grass to the rest of the area on the wall above Casper.

I barely got started on the "cornfield," by adding ground up oregano around the bottom of the polyfiber on the east end.

I've given up on the over-center springs for the turnouts. While they generally worked okay, they're just not reliable enough. They springs tend to pop out, and they're kind of a pain to install. Just a little off and they push a turnout to one side or the other all the time. So I'm going back to the ground throws, this time installing them with ring shank panel nails and caulk to ensure they're stable. I have to drill out the mounting holes to 5/64" for the nails to clear, but when installed they don't look too bad.

Work has continued on "cornfield corner" near Hudson. Yesterday I added dead vegetation at the edges of the fields, plus some various bushes.

Today I added static grass and additional low weeds.
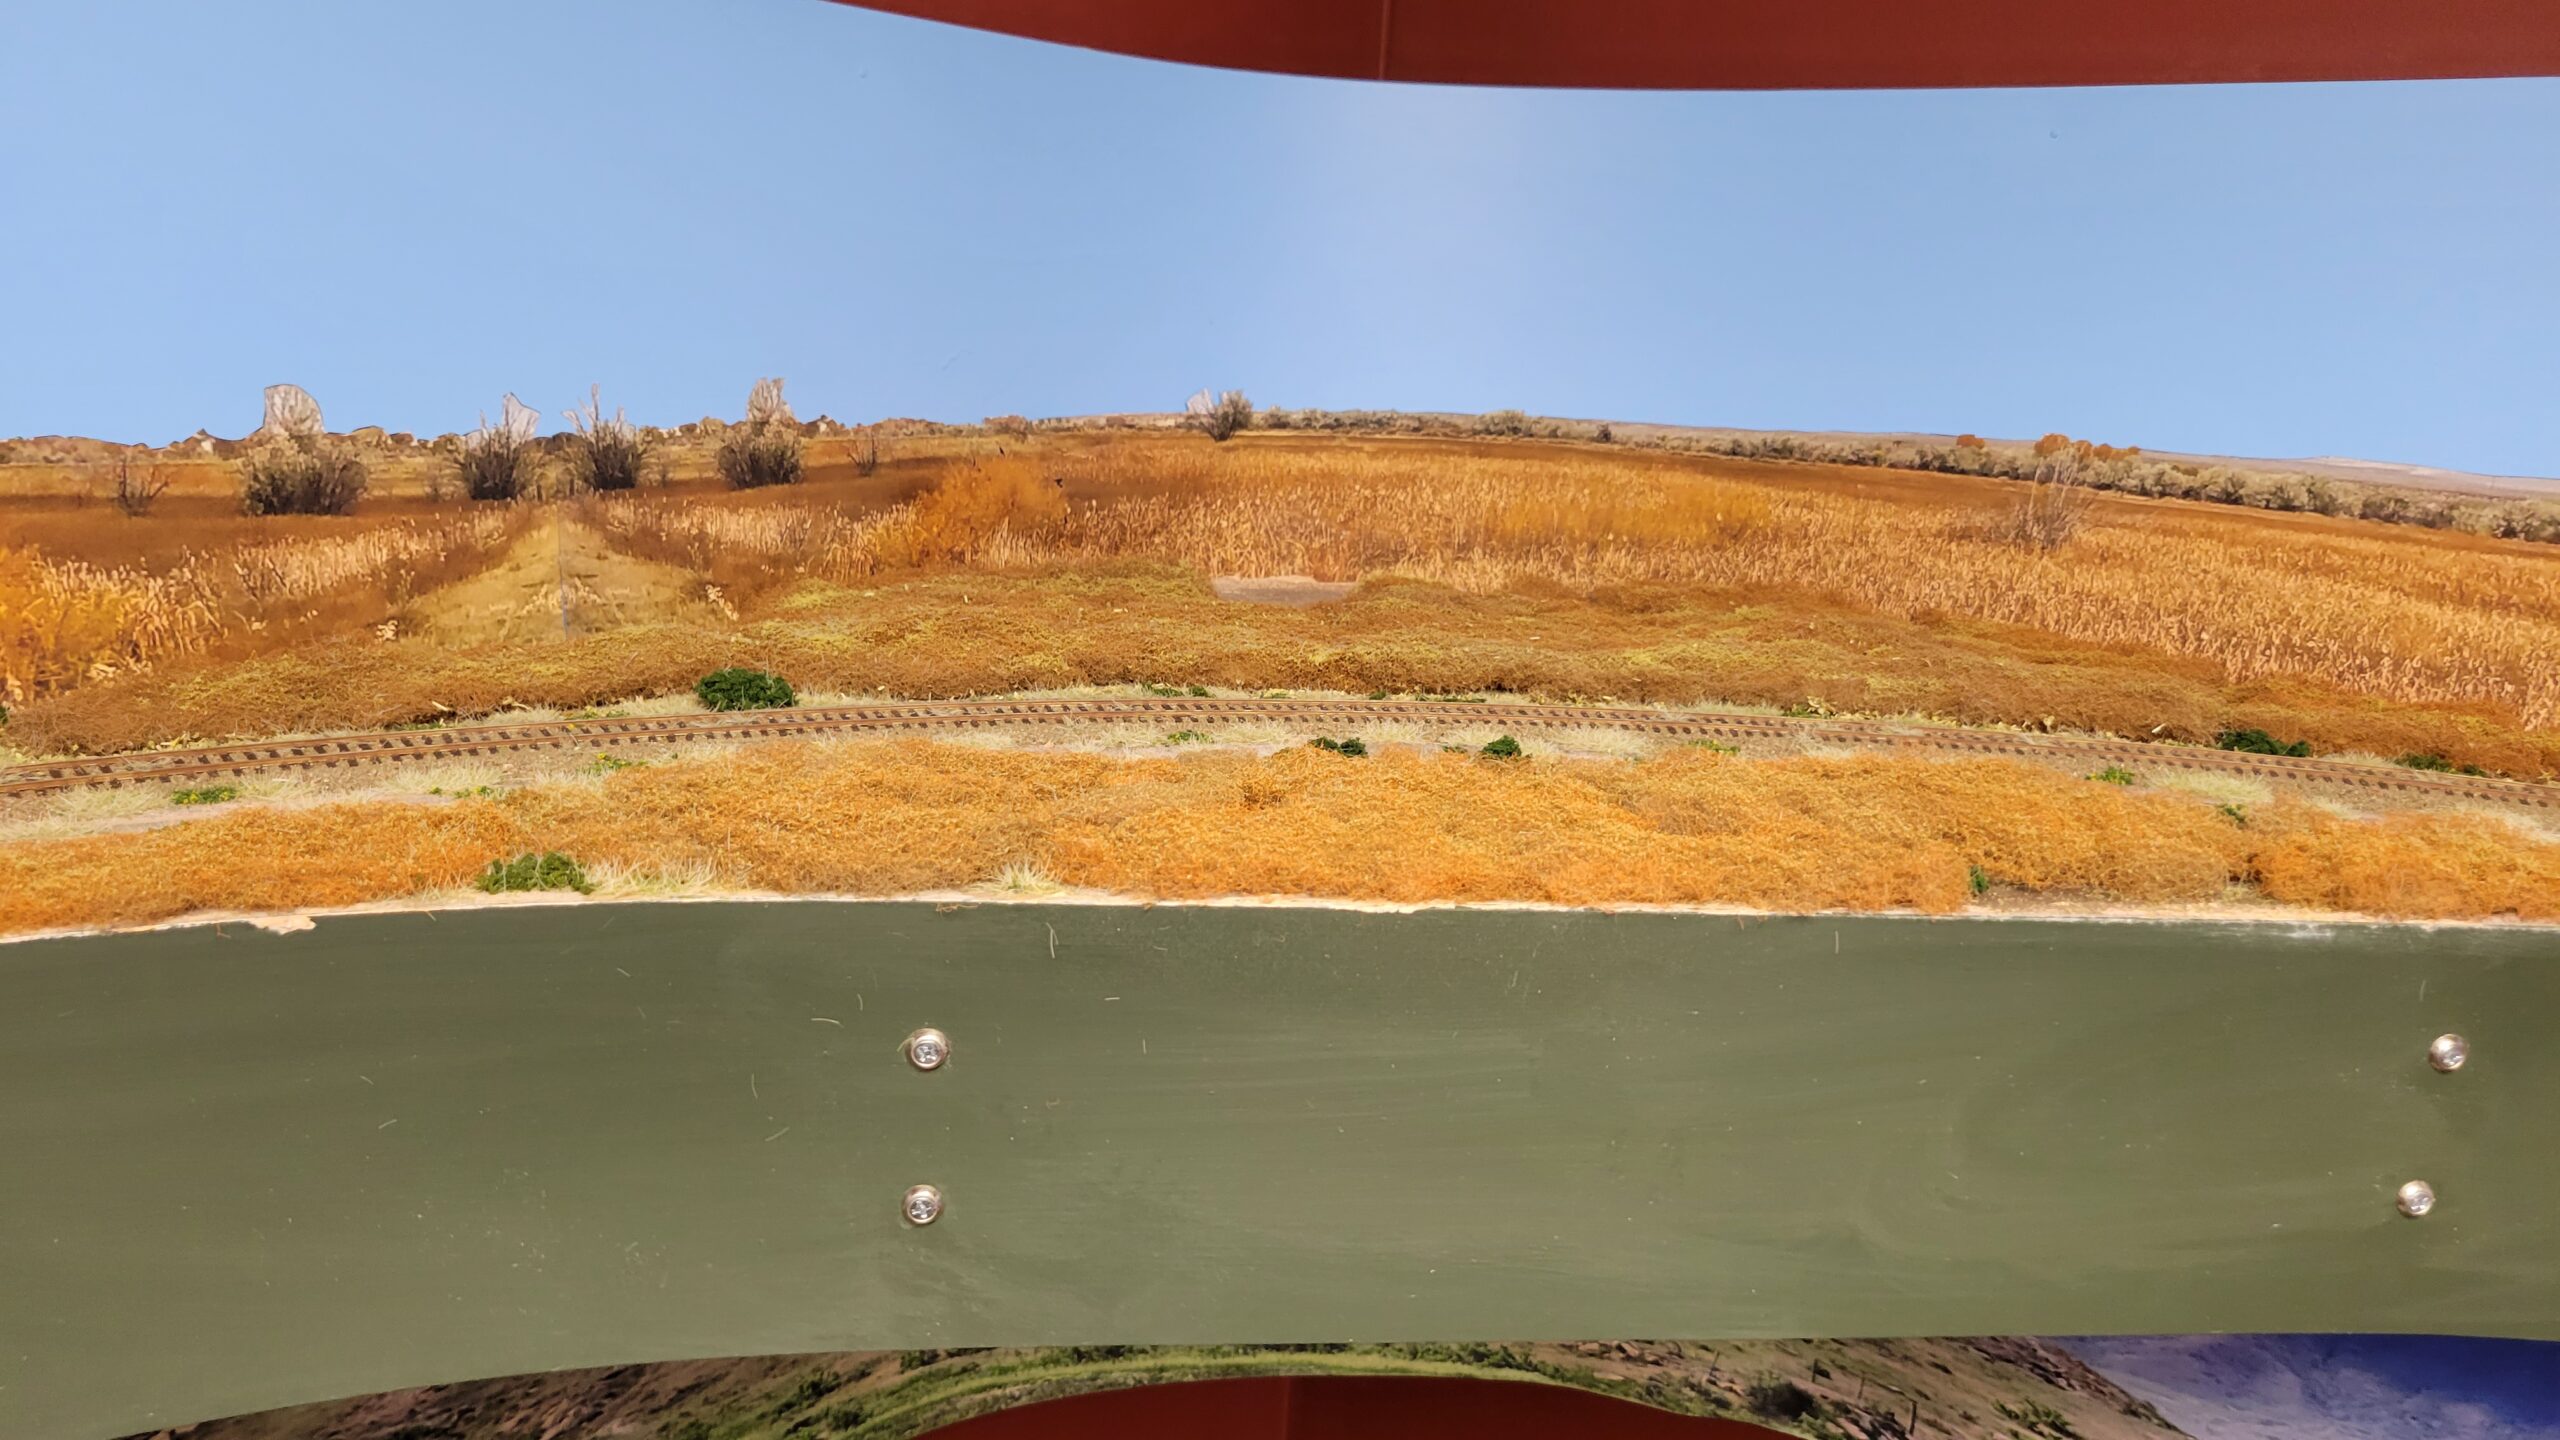
 All that's left is to add a couple of 3-D versions of the trees you can see in the backdrop. I already have an idea how to make them. It involves an old wallpaper paste brush and ground foam. But those can wait a few days (or weeks). I think tomorrow I'll move Casper back into its corner and secure it. Over the weekend I may start benchwork towards Powder River!
Boy, that fascia sure needs cleaned, doesn't it?